89Rallye
Well-known member
Appologies to anyone who has seen this before 
This is about 2 1/2 years of work so I'll try and keep it a short as I can :lol:
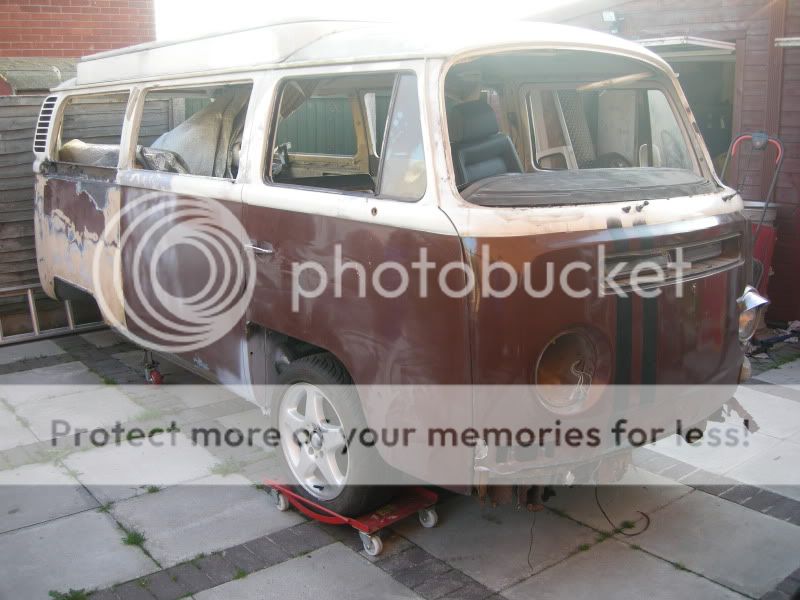
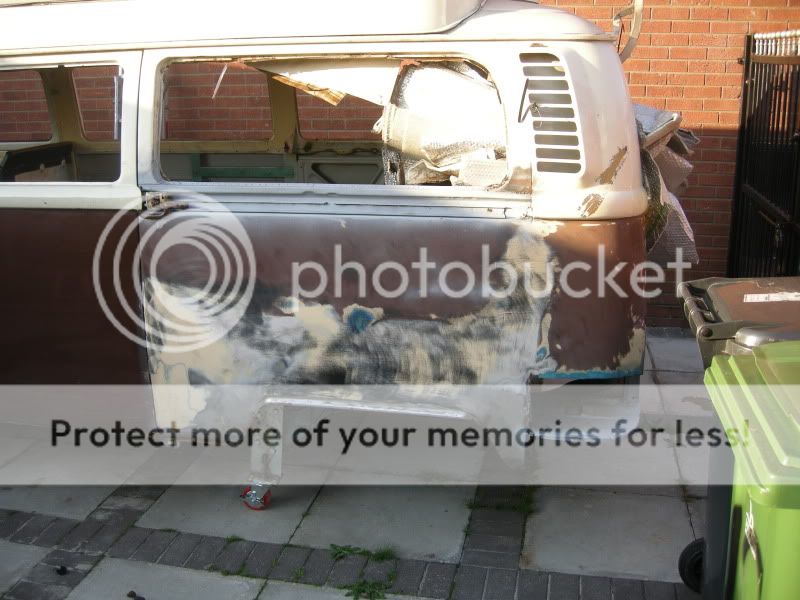
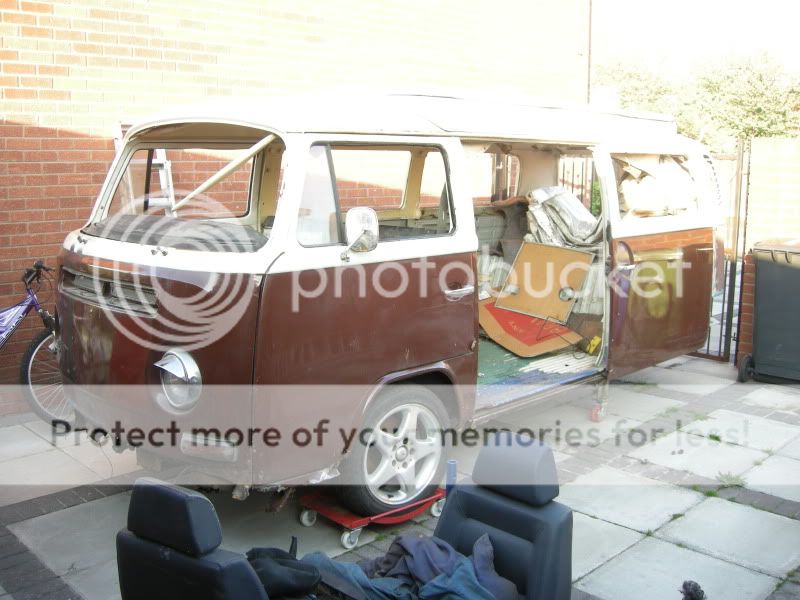
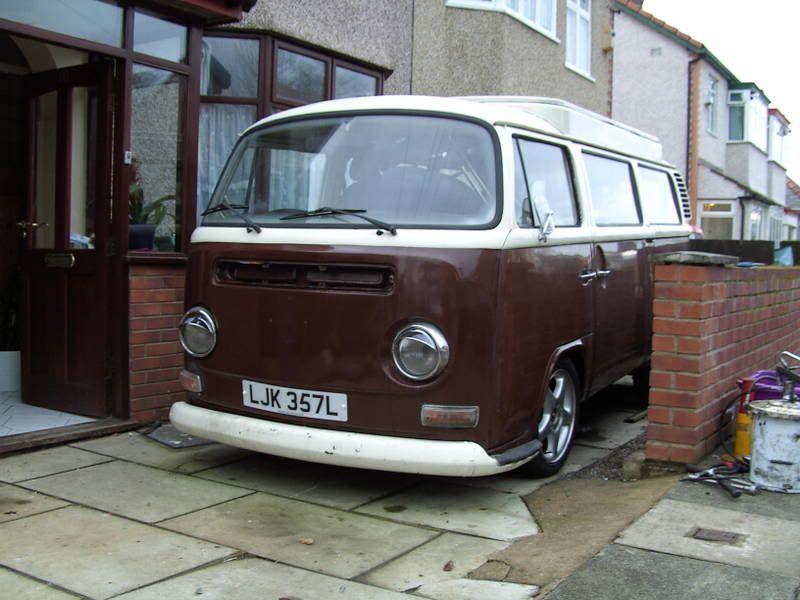
As bought, my dad actually found this van through a mate of his it had been taken in px for another newer motor and the dealer who had it just wanted rid.
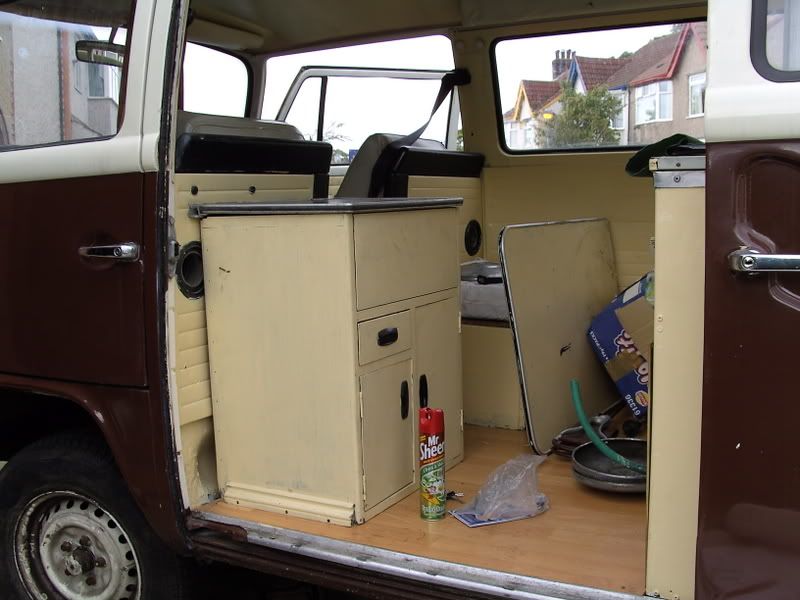
It appeared to be in average-good condition but how things can be misleading, also for some reason that i’ll probably never know the original owner had decided to paint the ENTIRE interior with what looks like magnolia emulsion. Oh and I mean everything and probably with a roller judging by the finish, door cards, headlining, all the interior cupboards etc etc
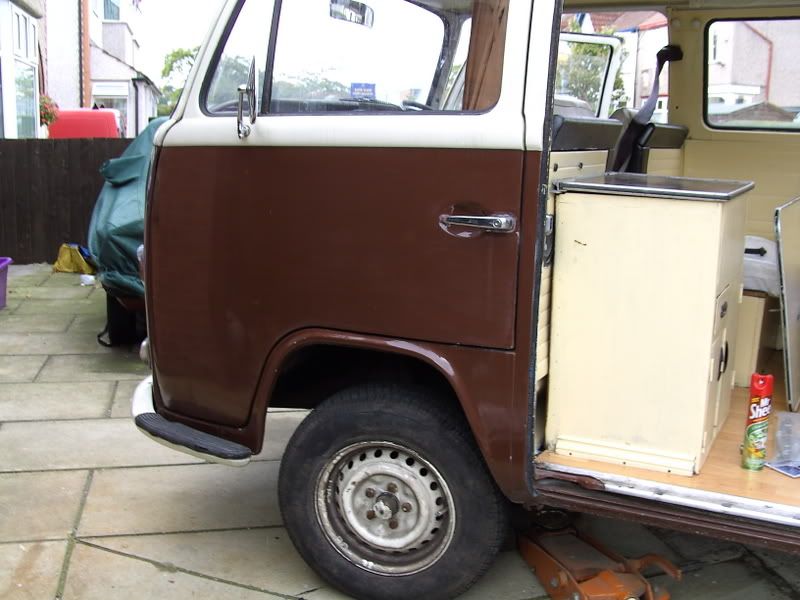
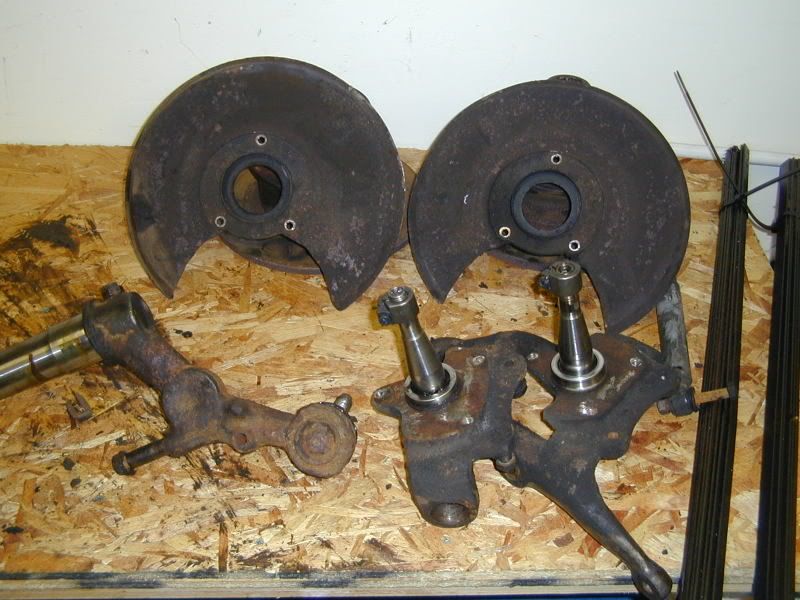
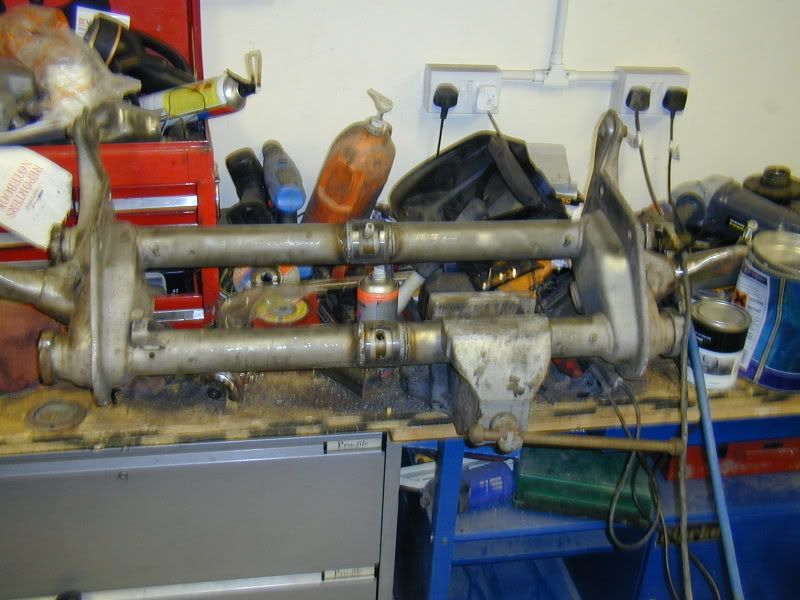
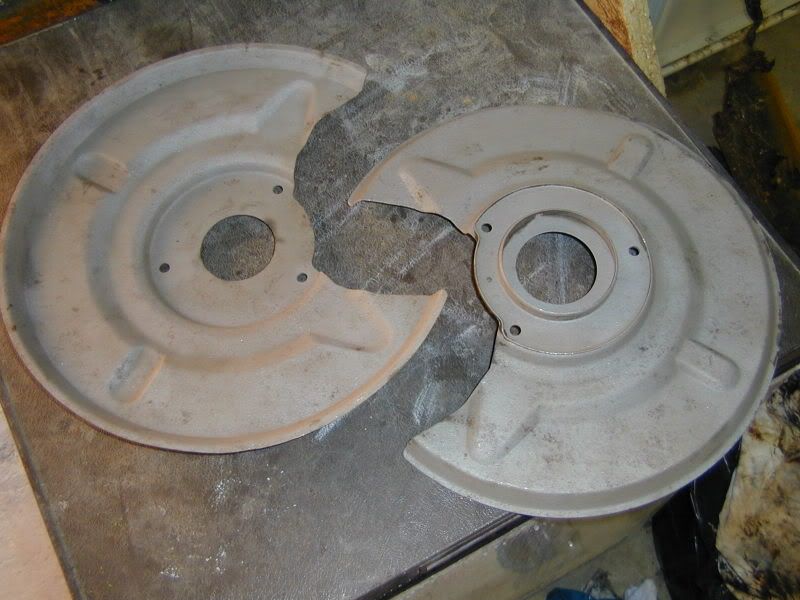
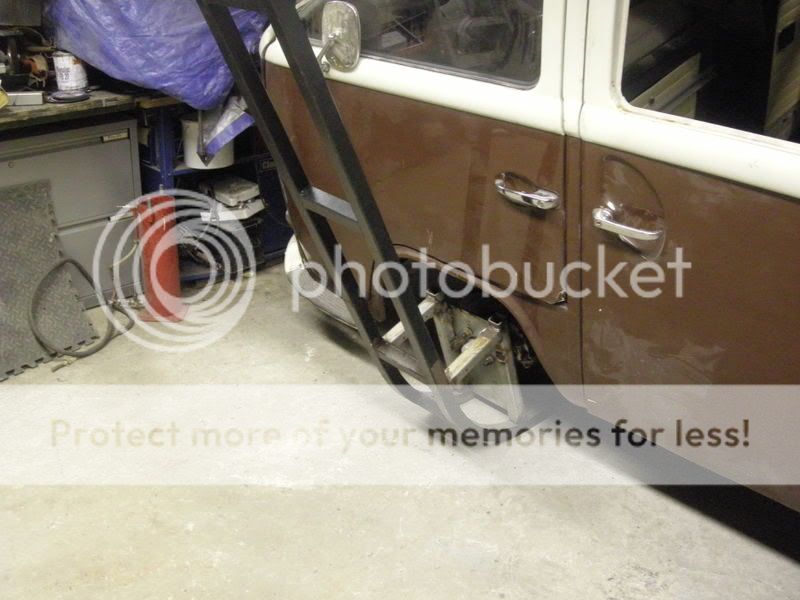
After a quick strip, shotblast and overhaul of the front axle she was lowered to tera firma and with the addition of some new wheels studs a nice cheap set of merc alloys followed.
All of this....
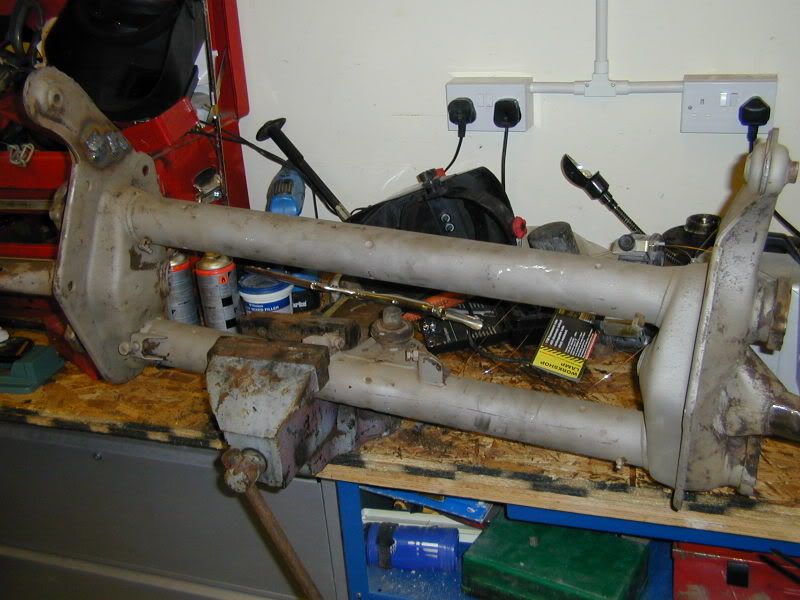
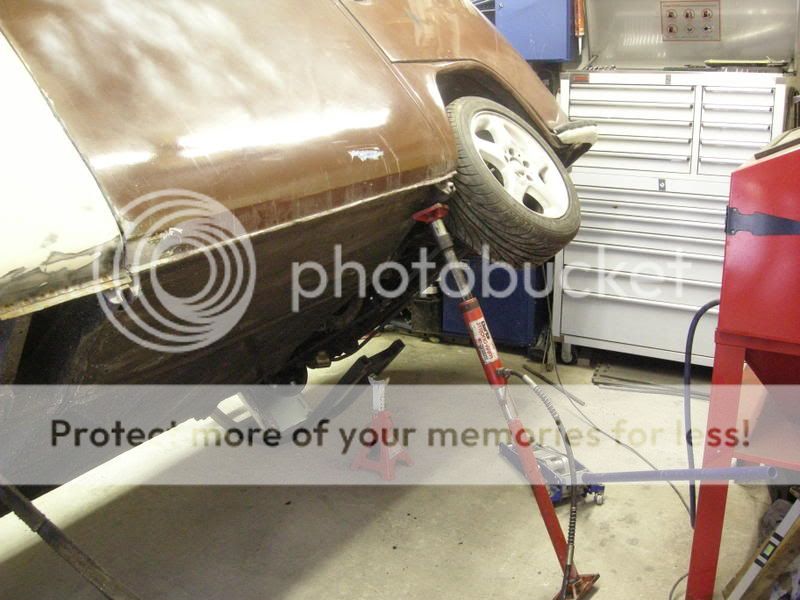
Lead to this...

Which lead to this...
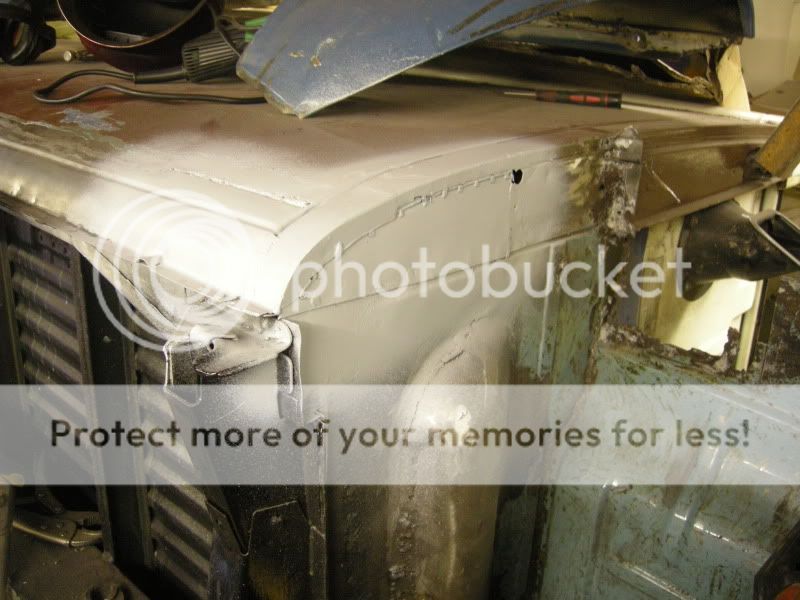
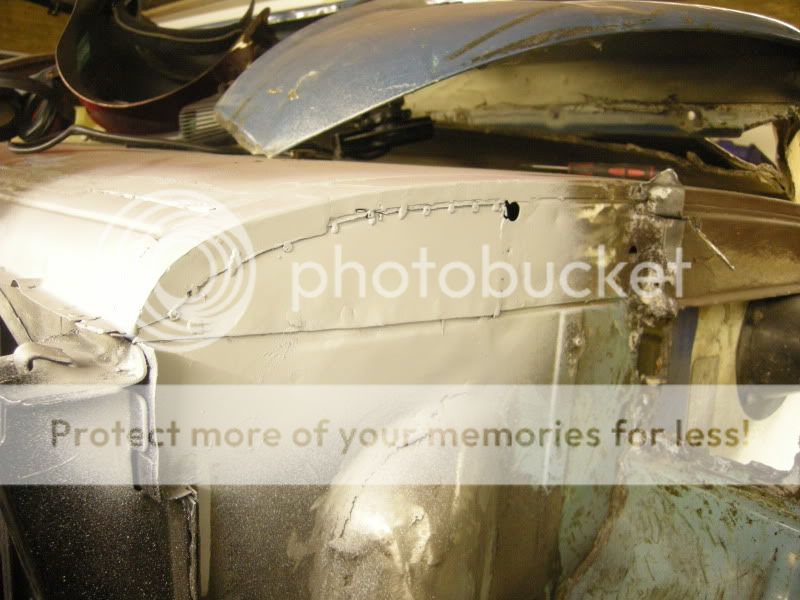
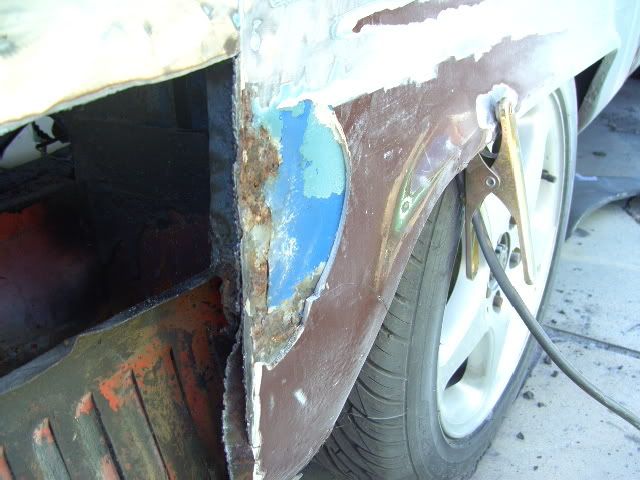
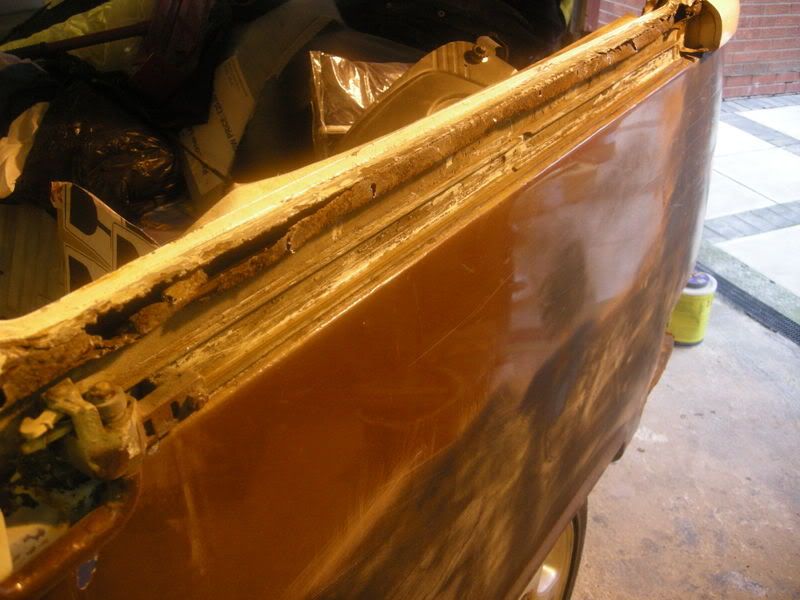
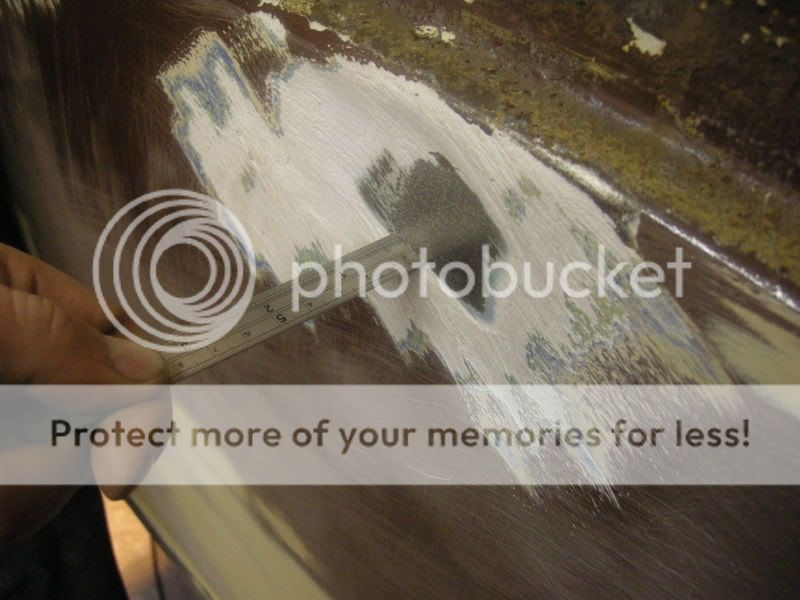
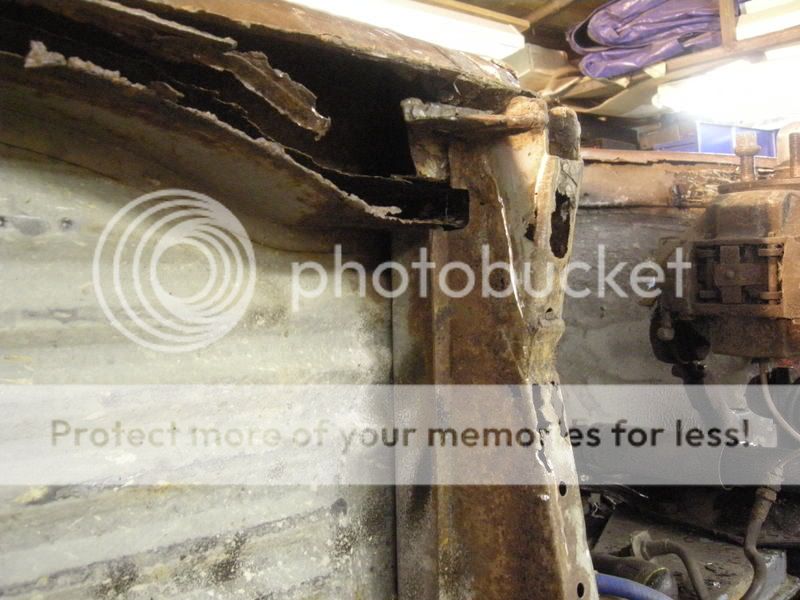
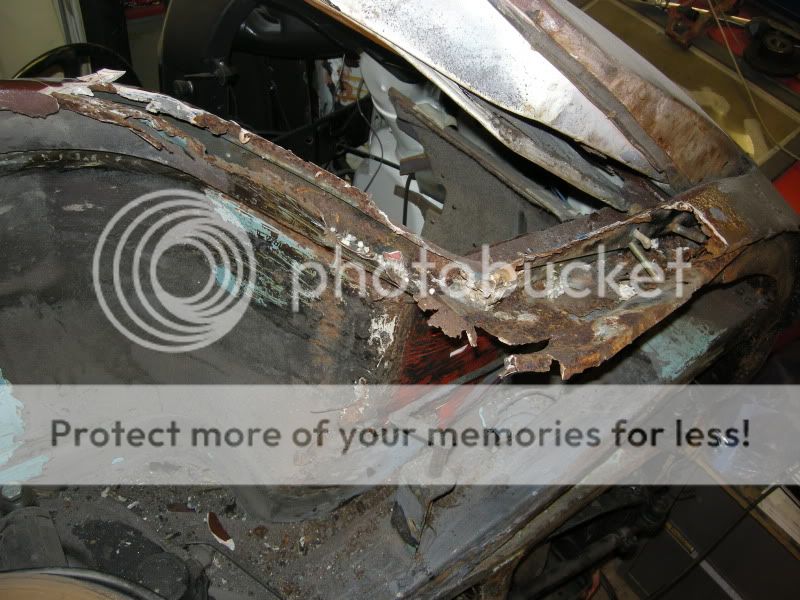
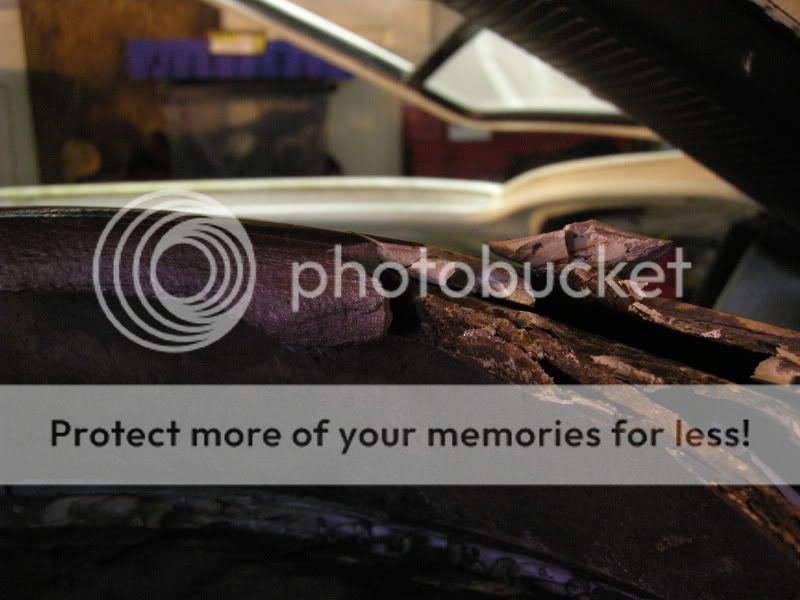
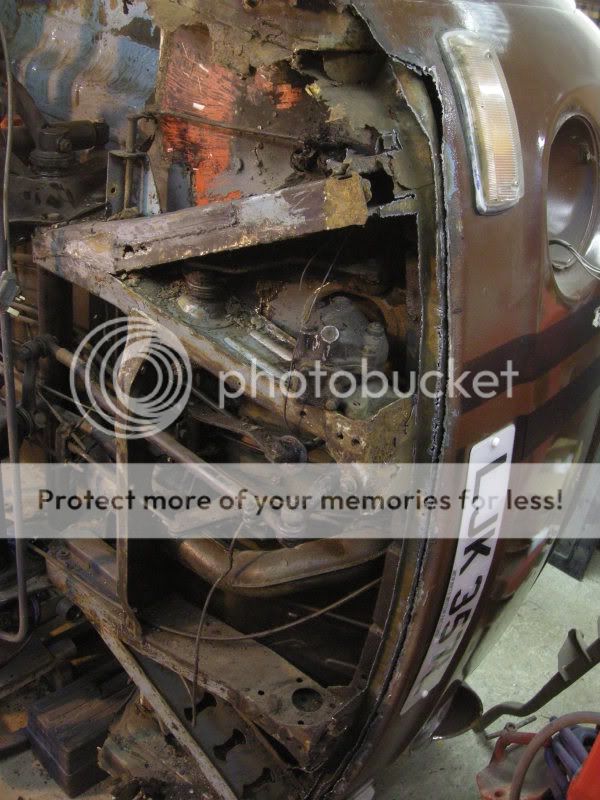
Then things started going downhill, after a bit of poking this happened.
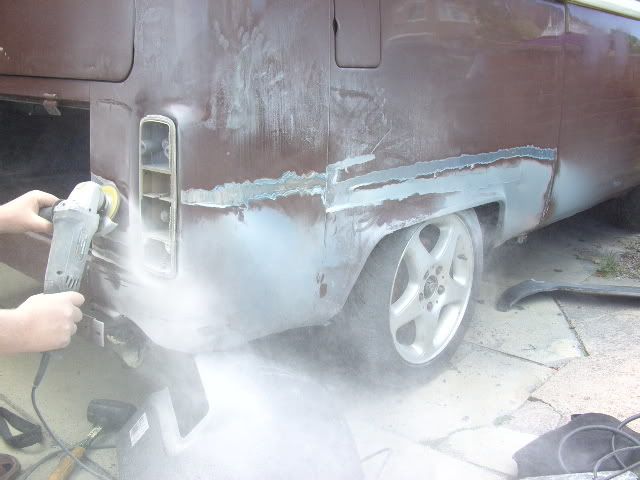
Inch of filler anyone?
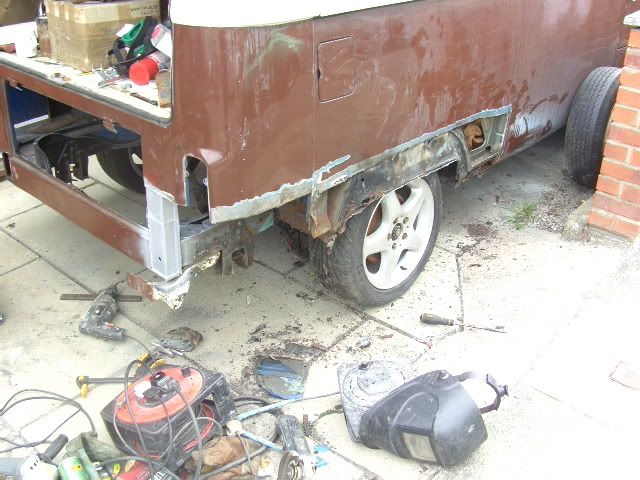
It was just botch after botch
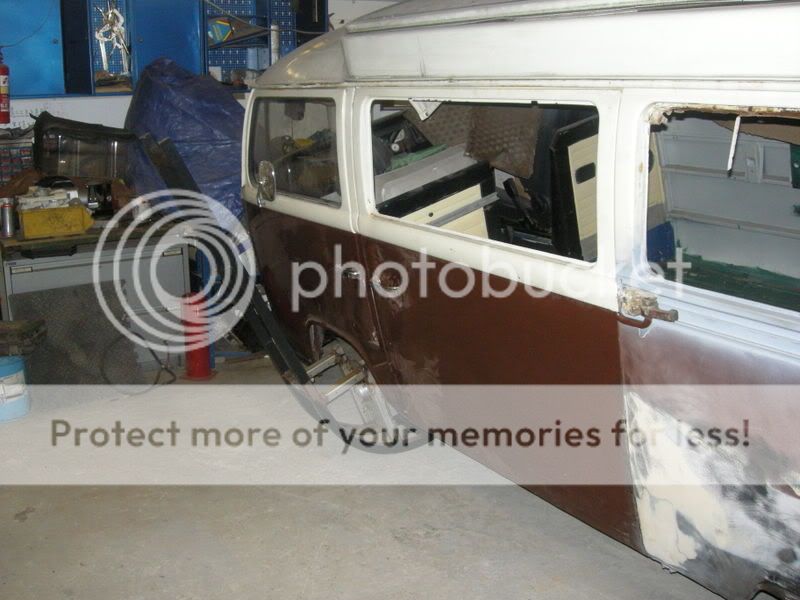
But things started to turn around, I converted the rear arches to early ones as I prefer the look but I am now starting to regret this decision so may end up changing them back.
All this was done outside me dads as I have the Caddy in my garage at home, which wasn’t really ideal. Just a few more random body work photos
Botched battery tray
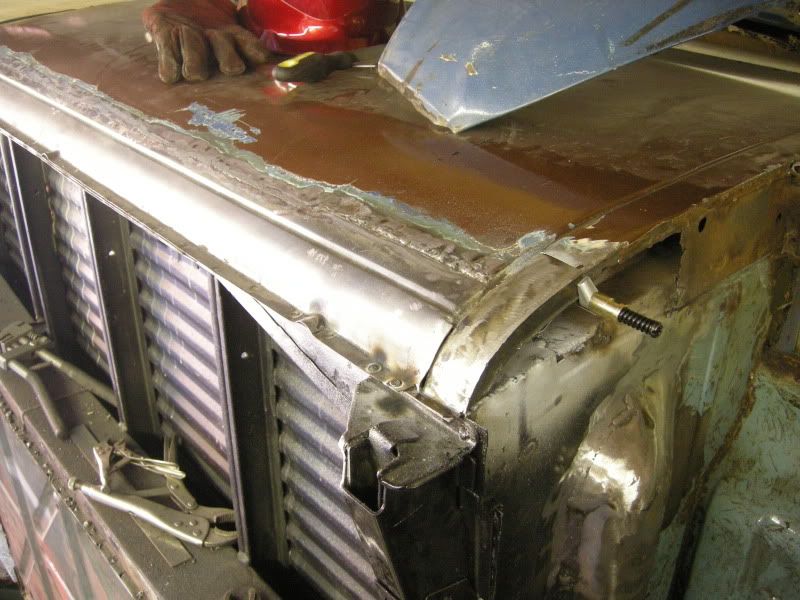
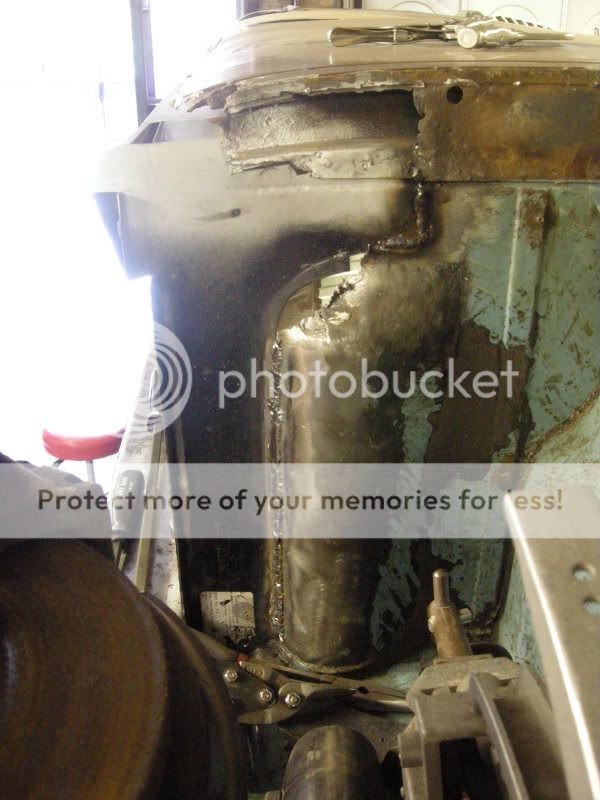
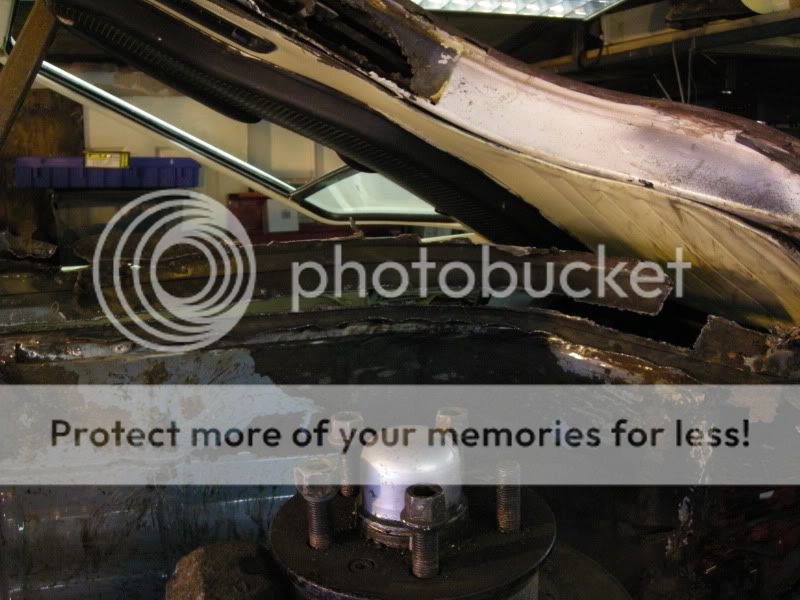
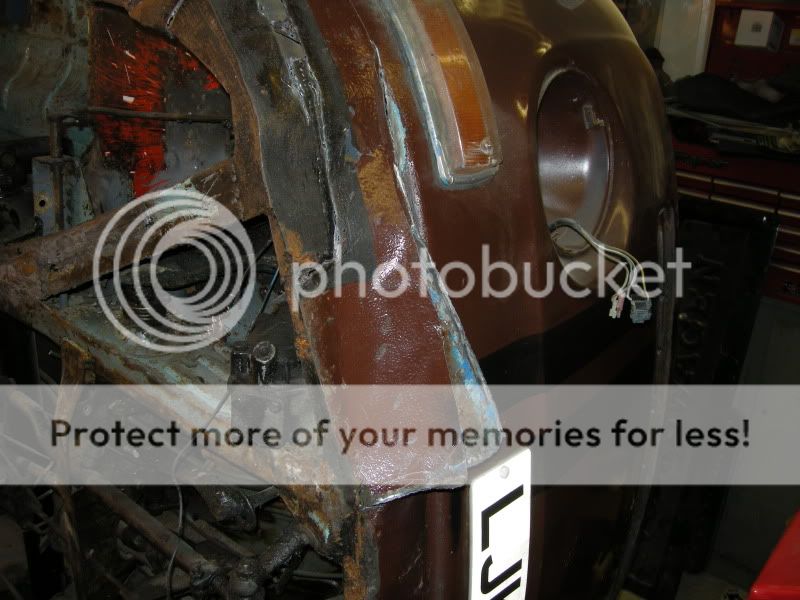
Engine bay repairs
This looks a little better
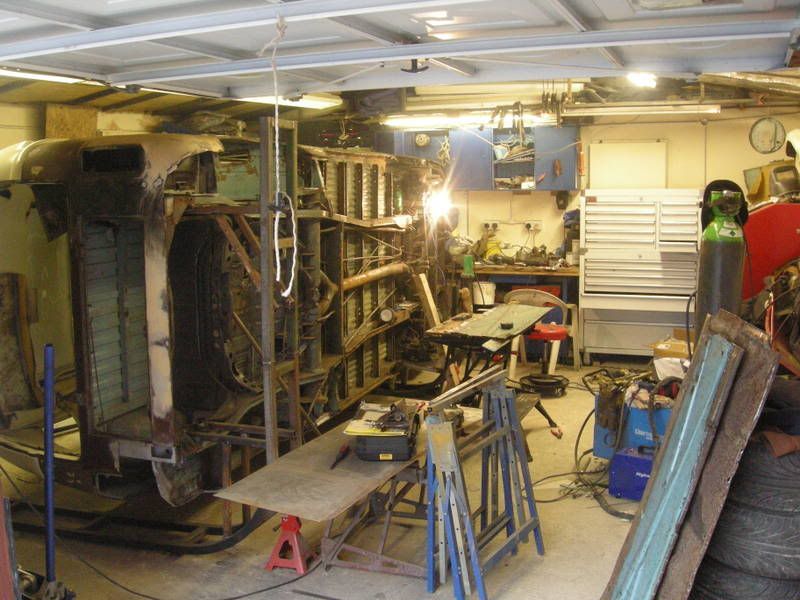
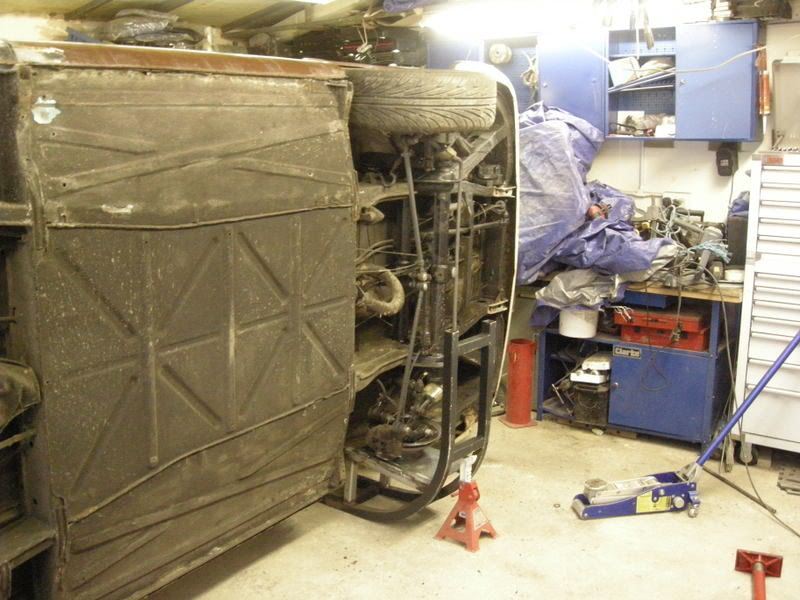
So with things being alot worse than we thought the van was moved up to my garage and my poor caddy was turfed outside, this was mainly due to not wanting the weather getting to the van.
So home she came, (excuse the mess!)
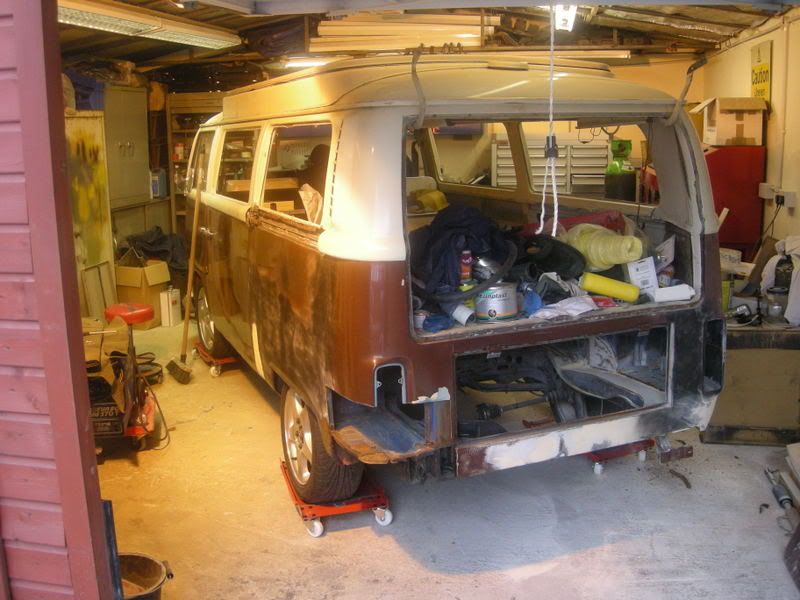
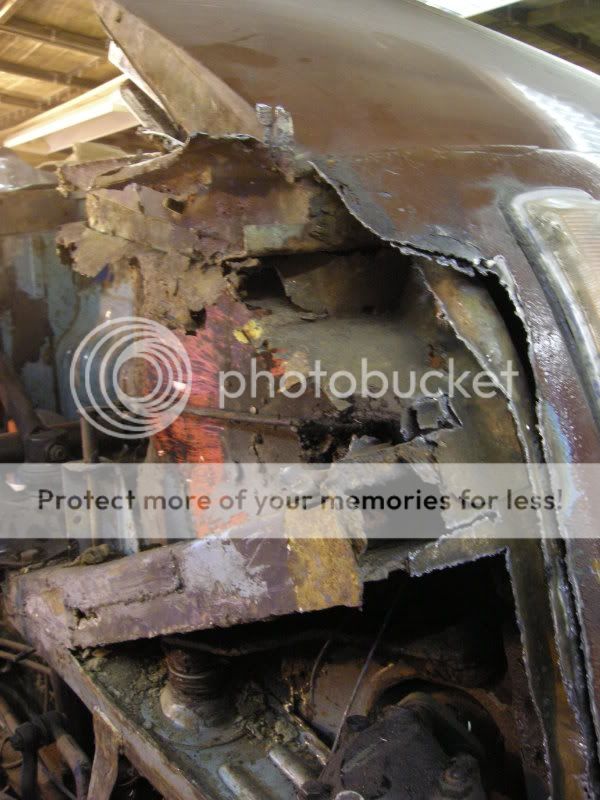
Where the rust and the filler just kept on coming.
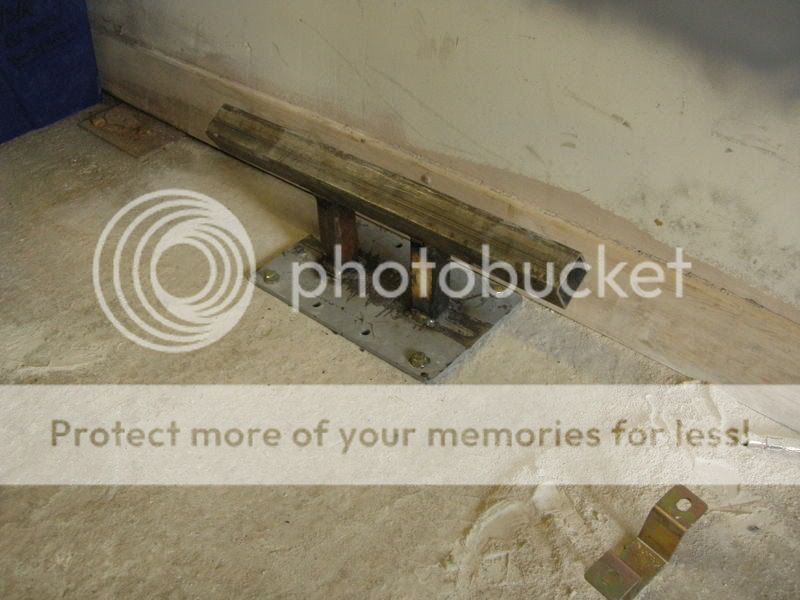
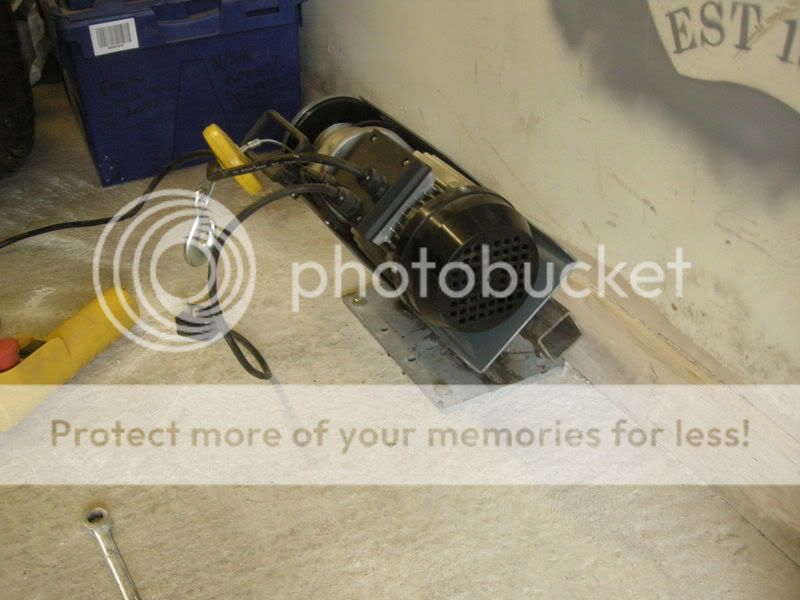
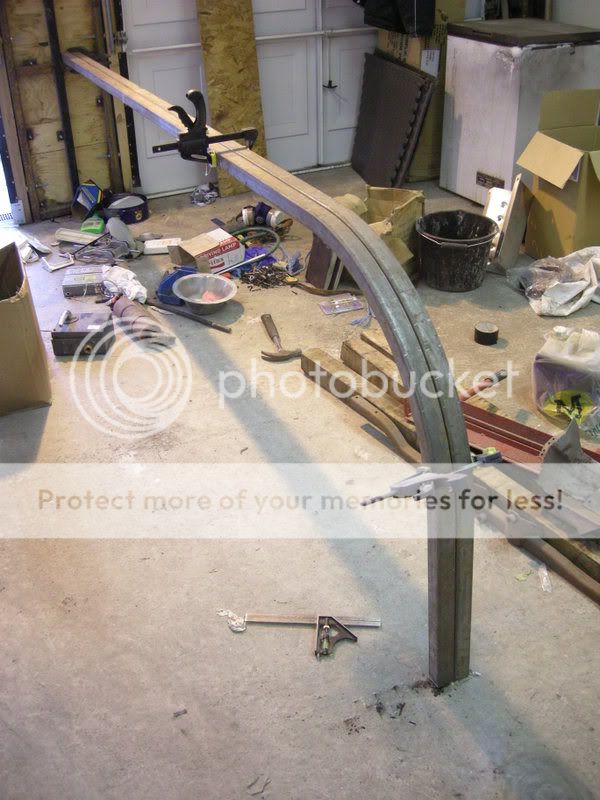
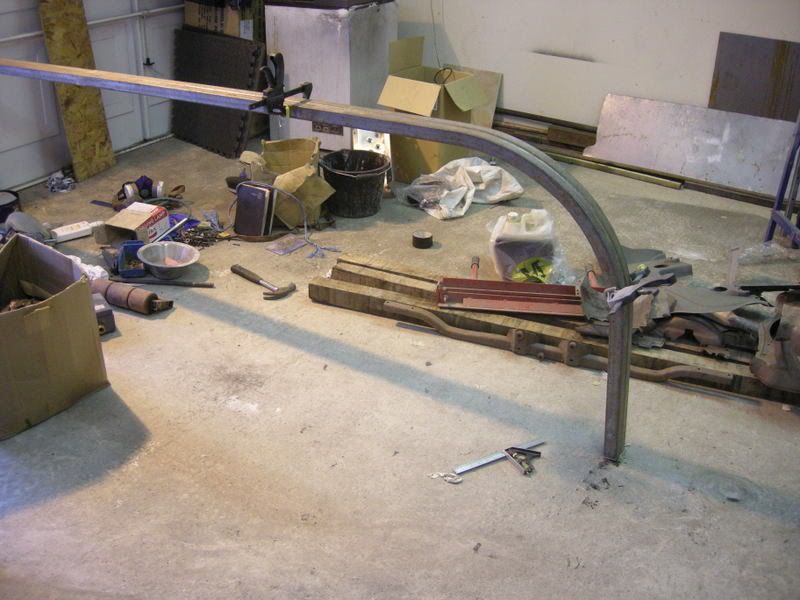
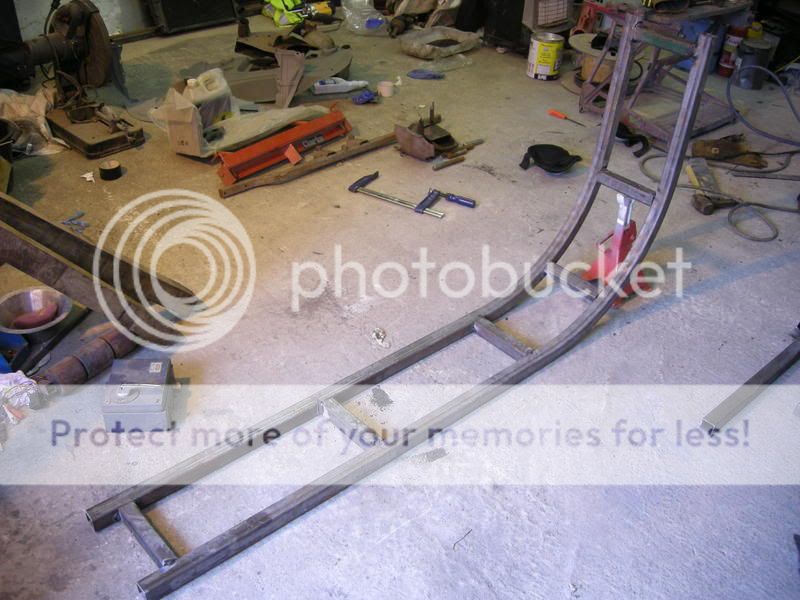
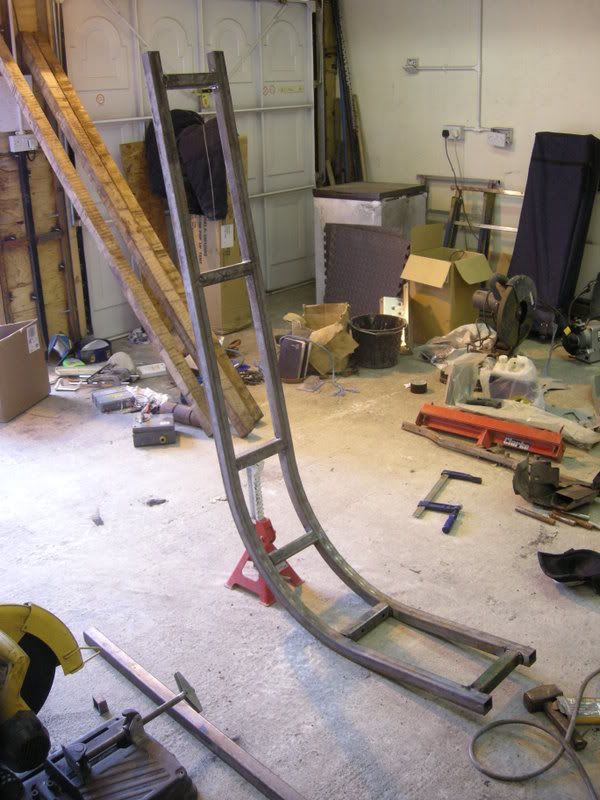
Now I had already started to make this to use on the Caddy, but since I knew the van was here for the long haul I adapted it. I was actually experimenting with a pipe bender (while make the roll cage for my Caddy) to see if you could bend square box tubing with it, turns out you can!!
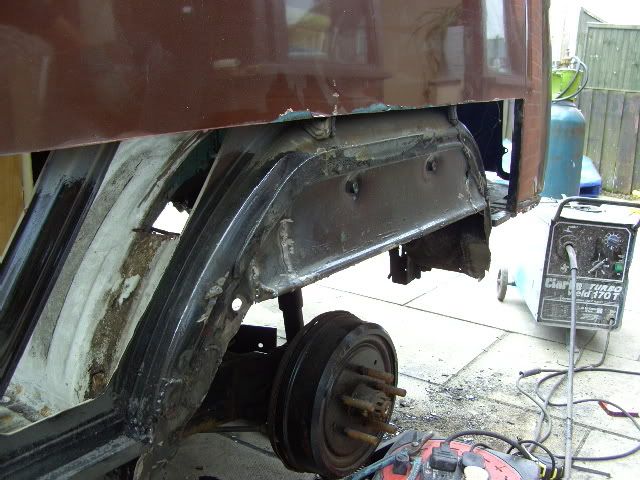
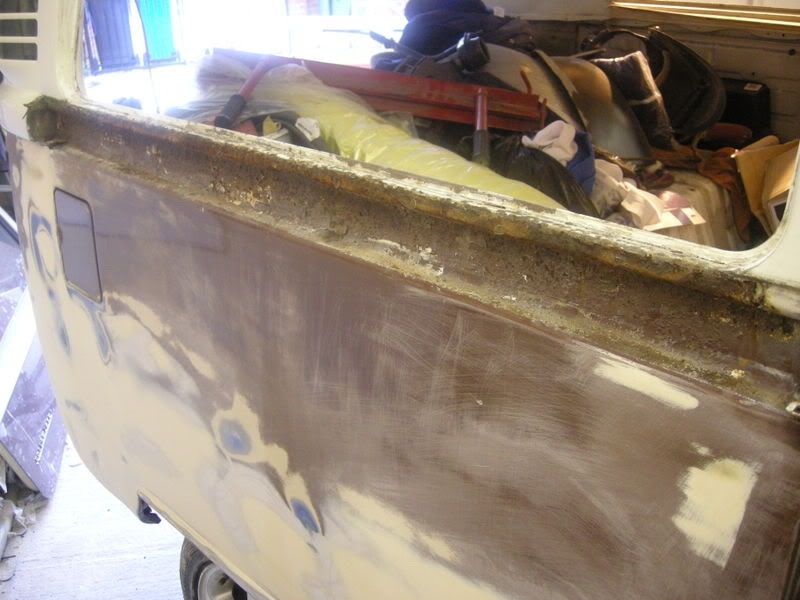
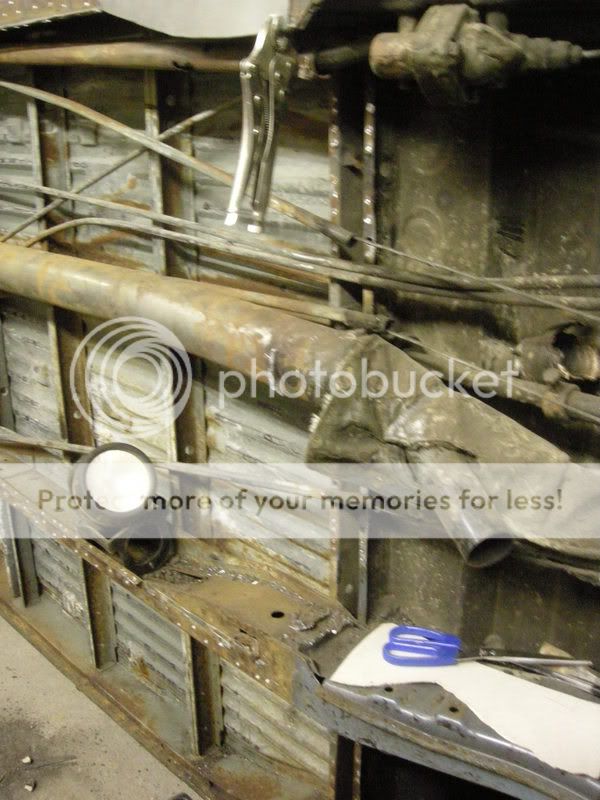
Lots of digging and scraping later...
And it didn’t take long for the holes to start to appear

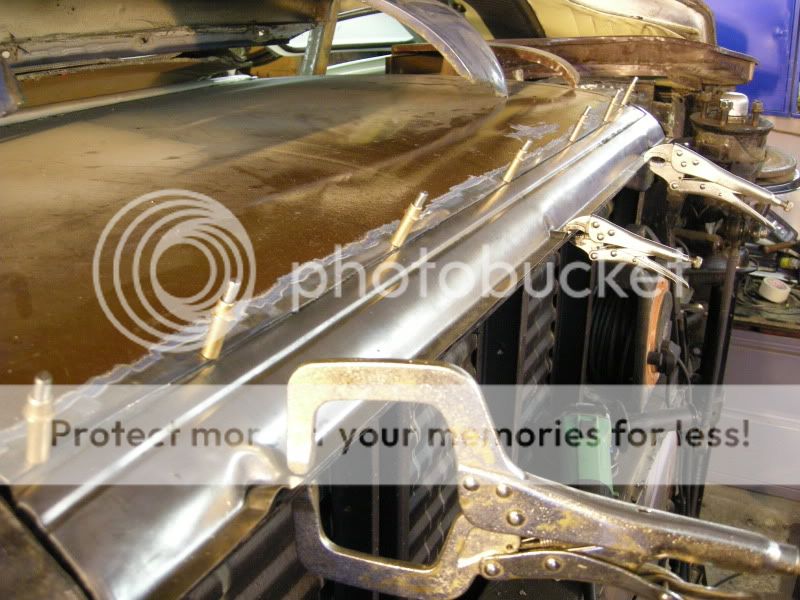
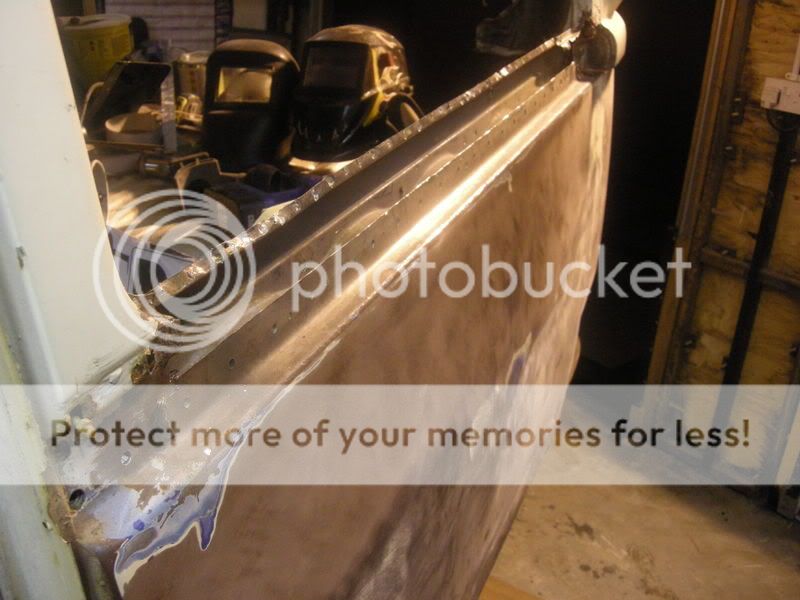
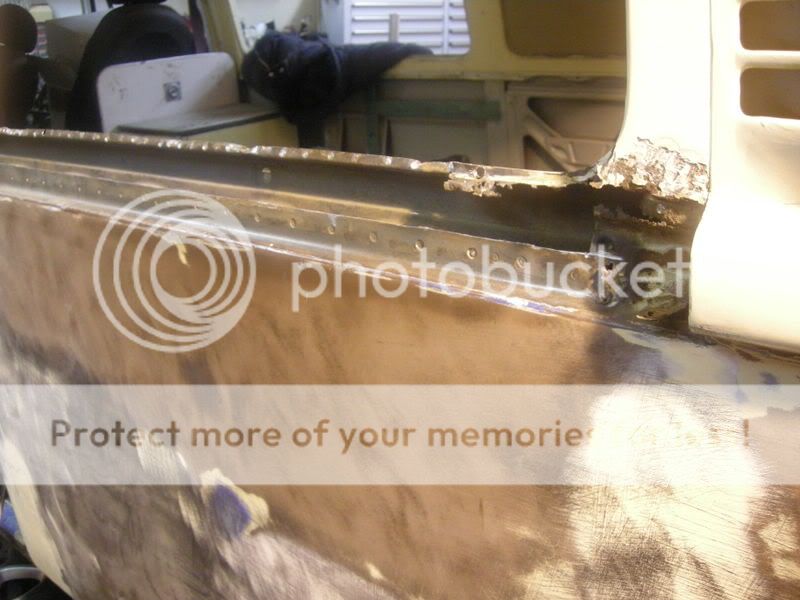
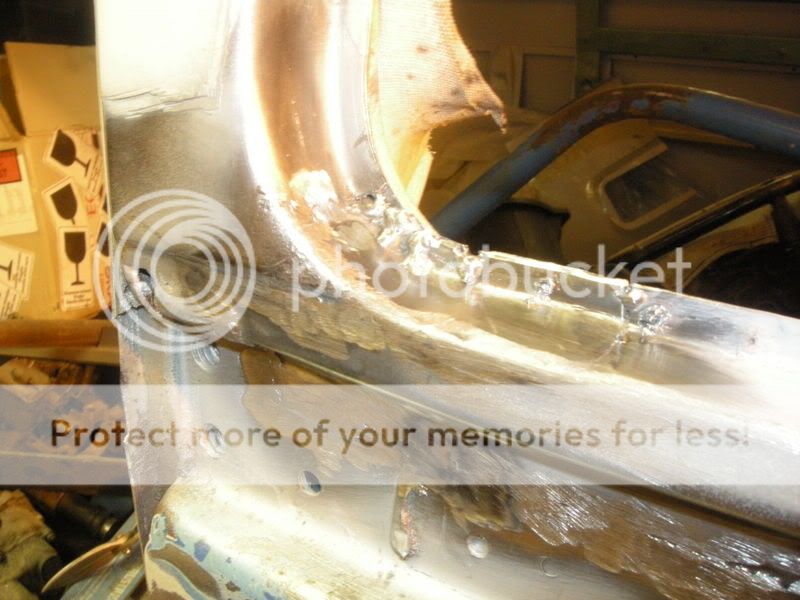
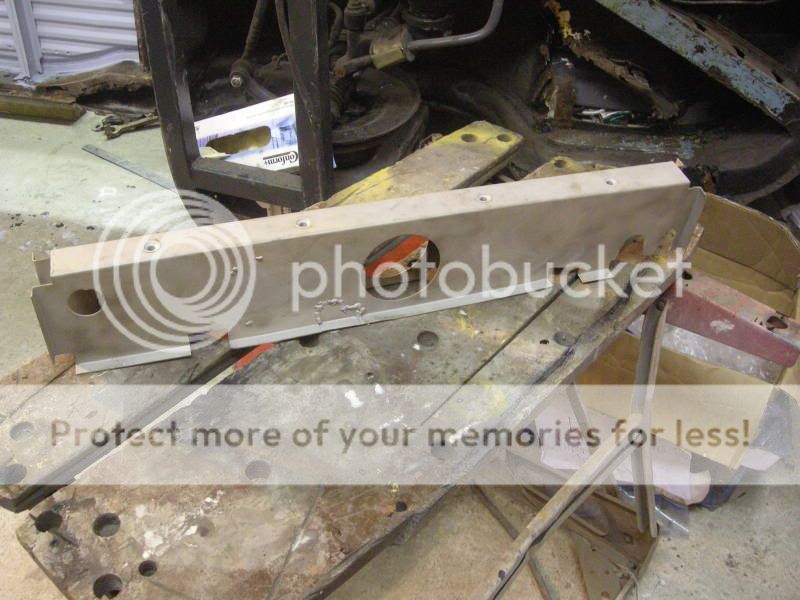
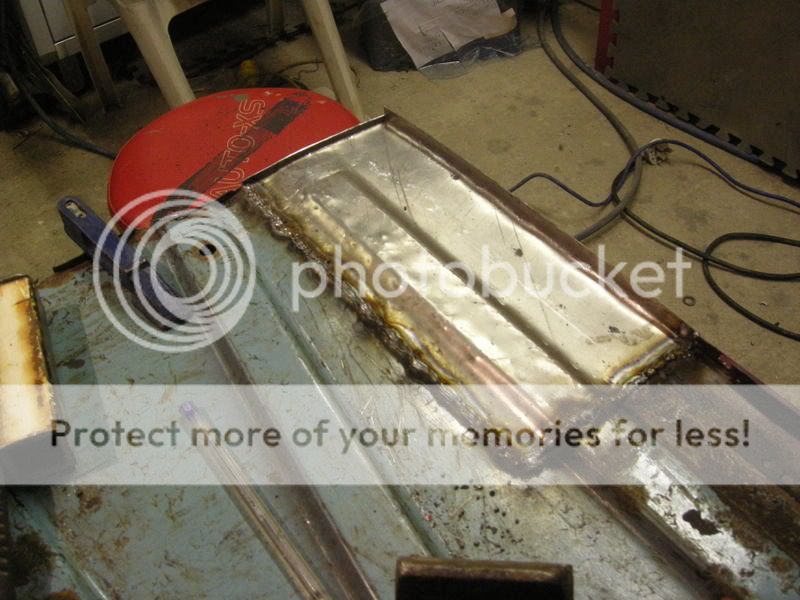
So only one thing for it, start cutting it all out...


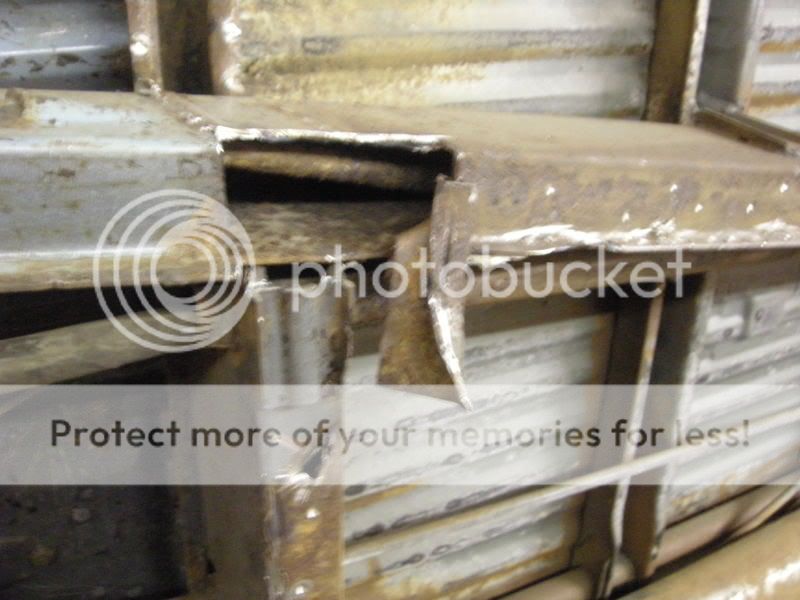
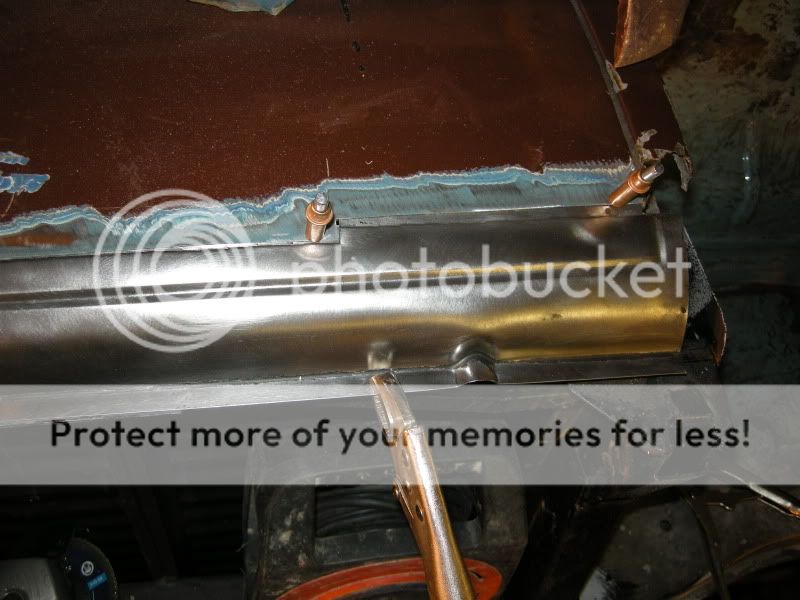
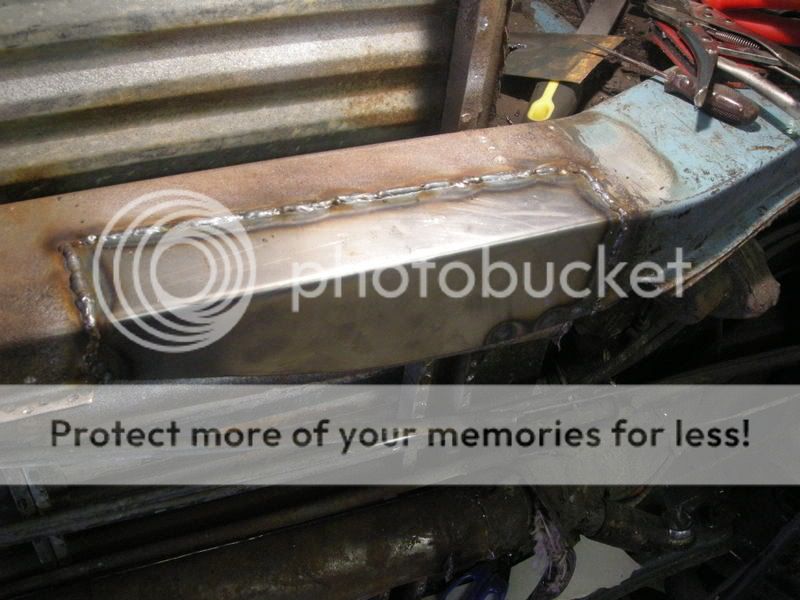
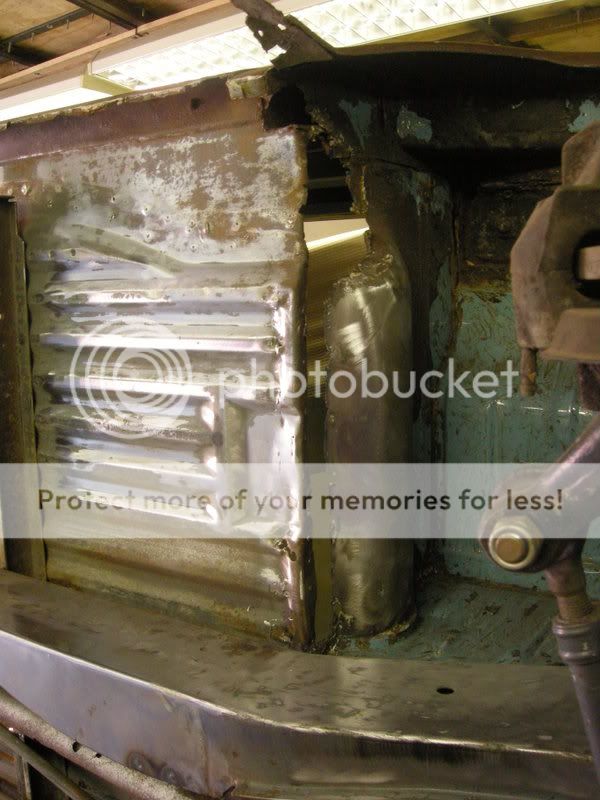
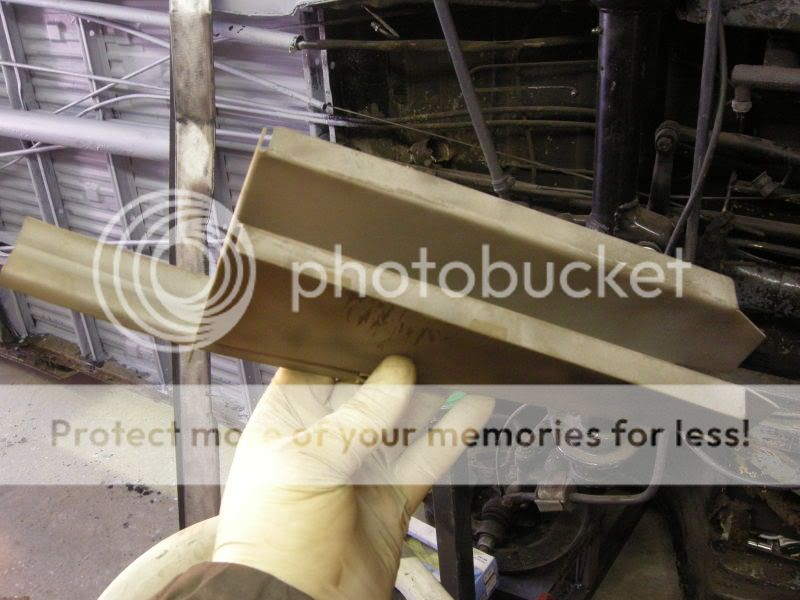
And start replacing it with good steel.
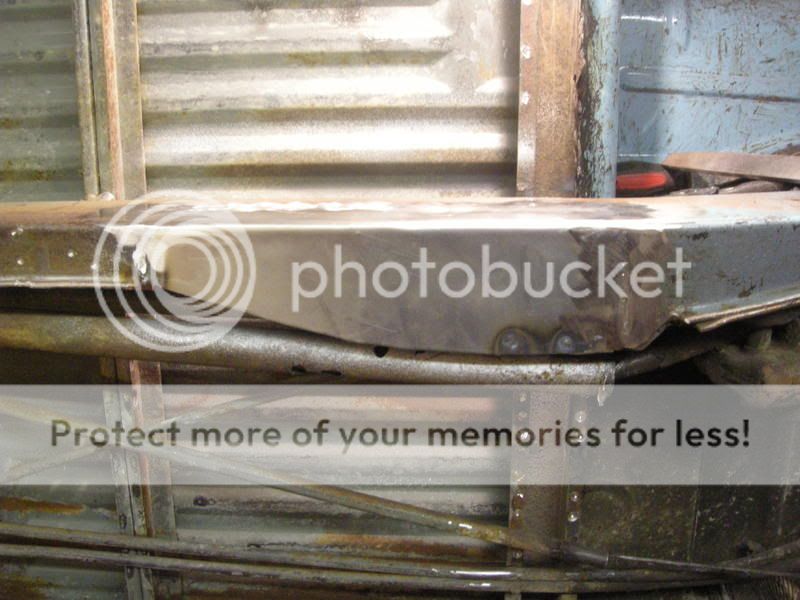
I was starting to get really anal with it, this is the reason why everything I do is so SLOW.
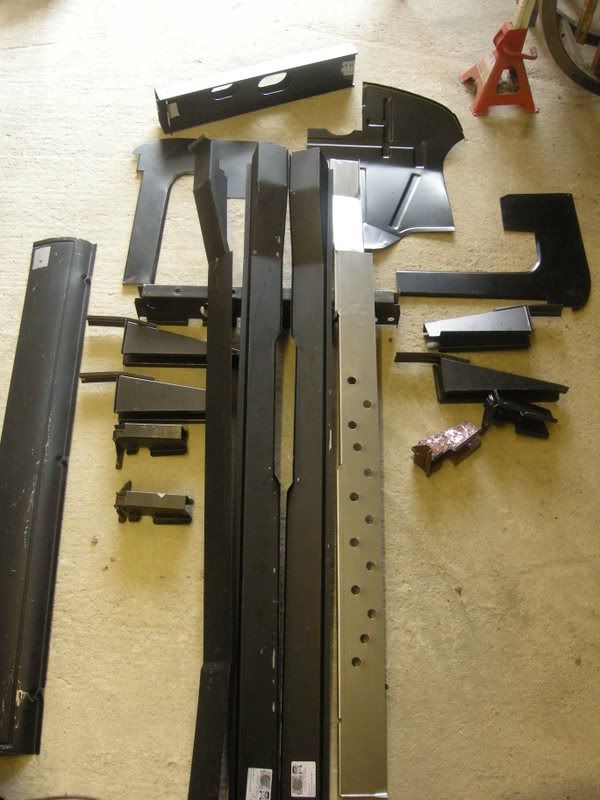
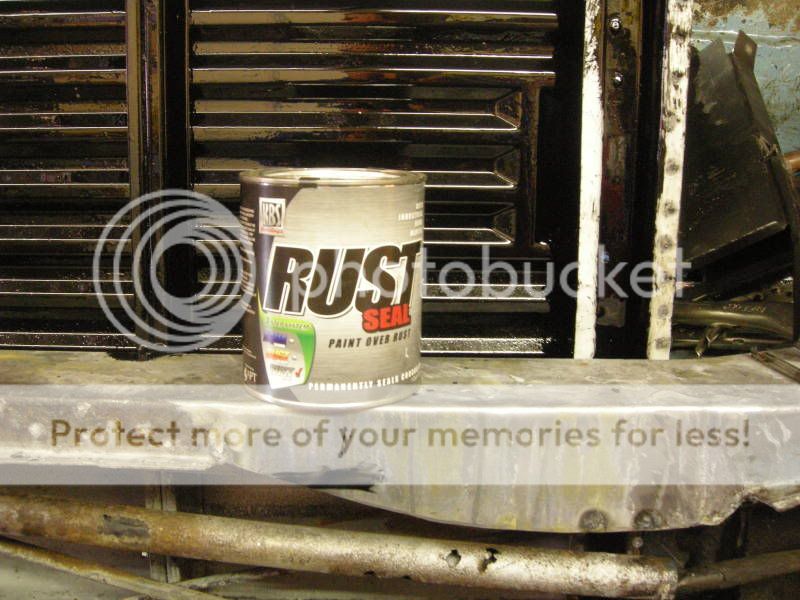
All the repair panels that would fit in the shot blaster where cleaned, prepped and painted with rust protector
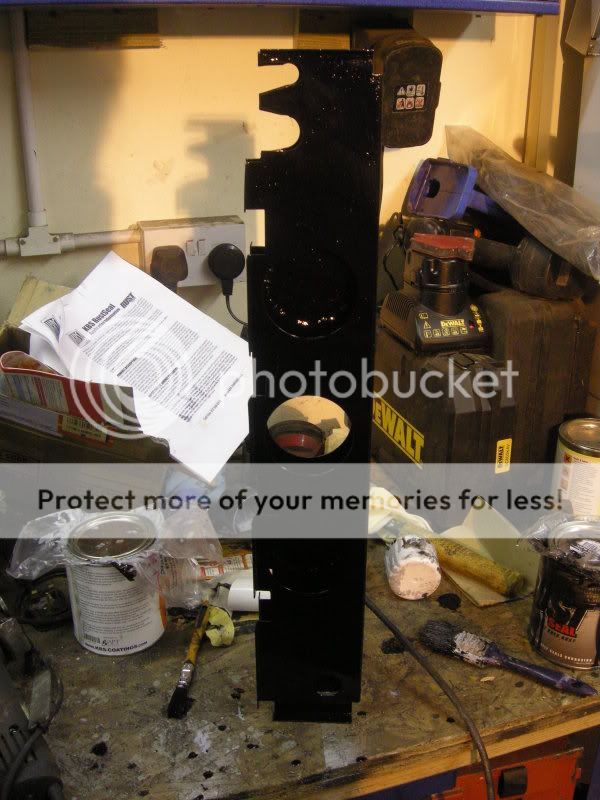
Yet to find out how good this stuff is, not cheap but not as expensive as some (por15 for example)
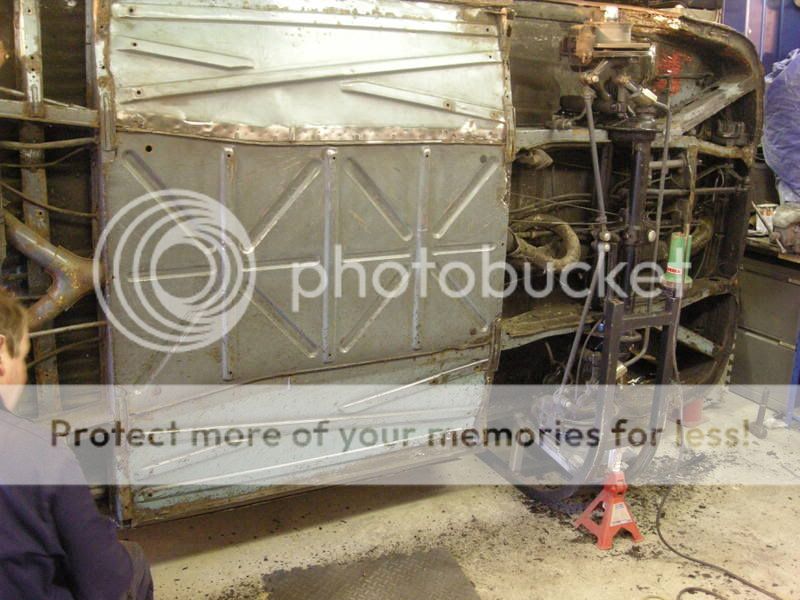
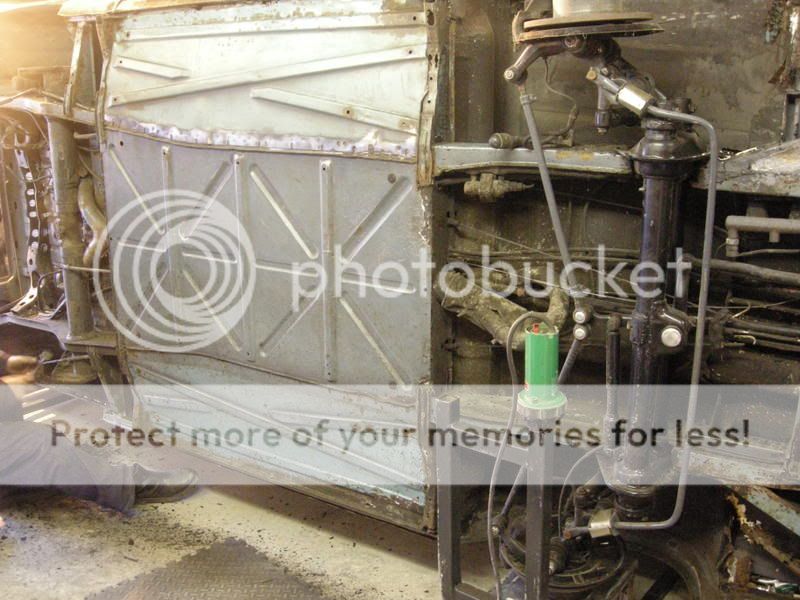
Belly pans needed a fair old bit of work

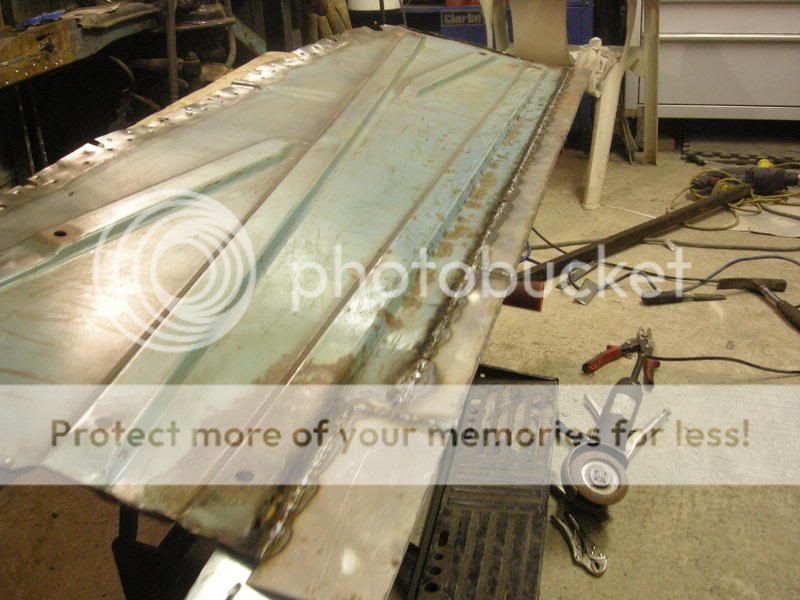
But getting there
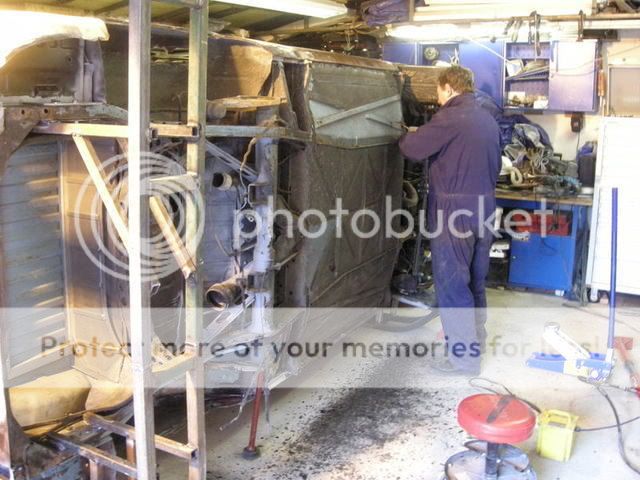
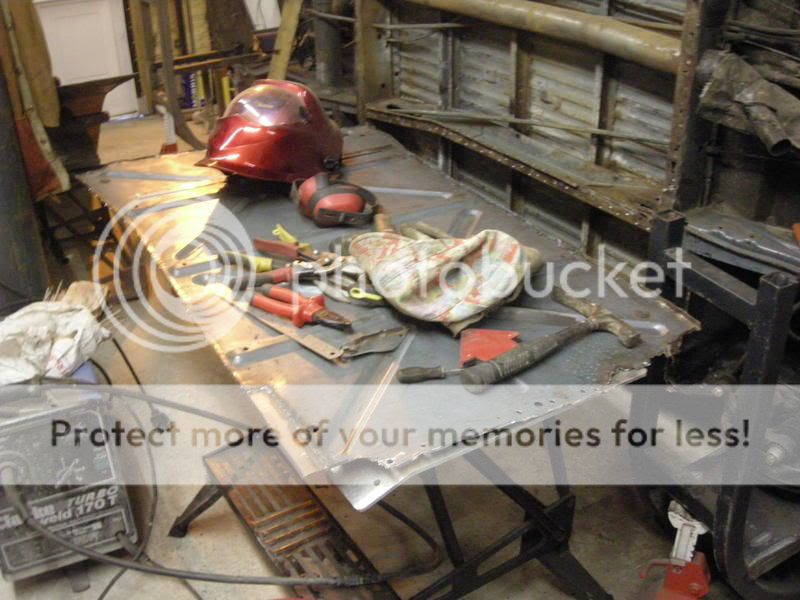
I have recently started work on the van after probably an 18 month lay off due mainly to work and laziness if I’m honest.
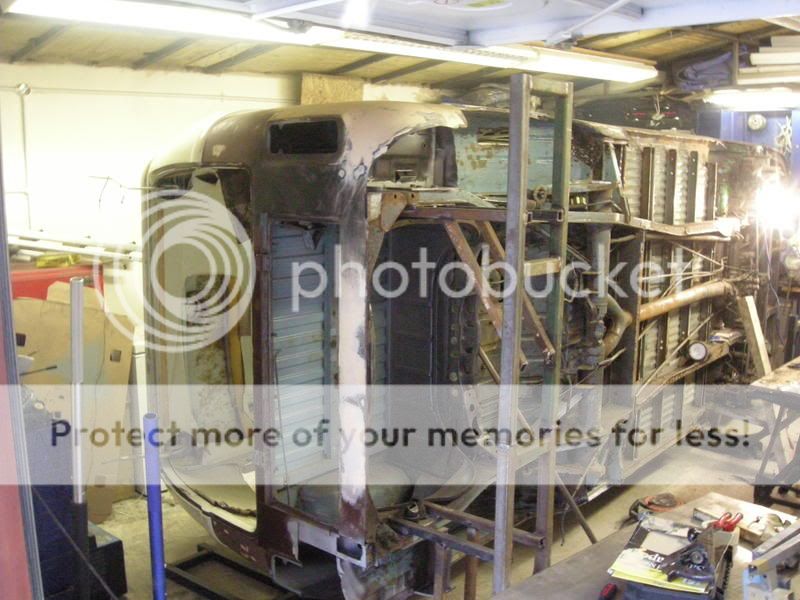
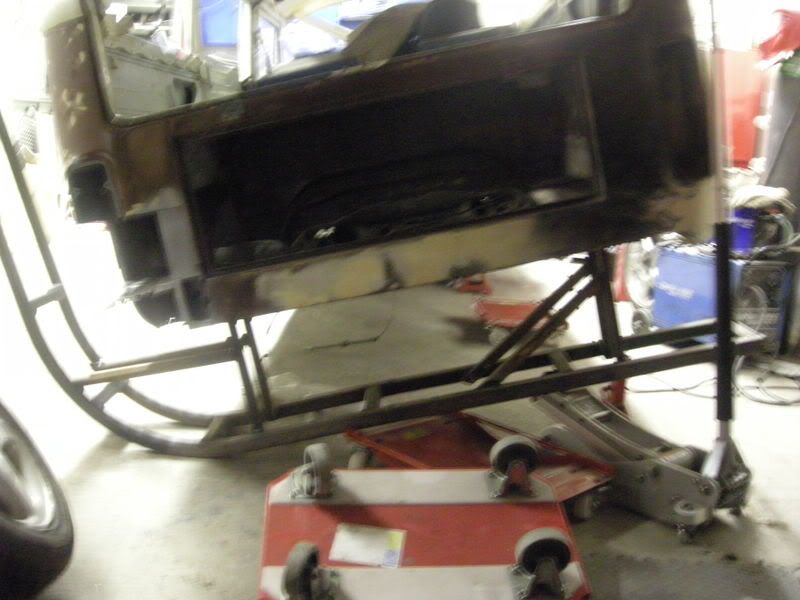
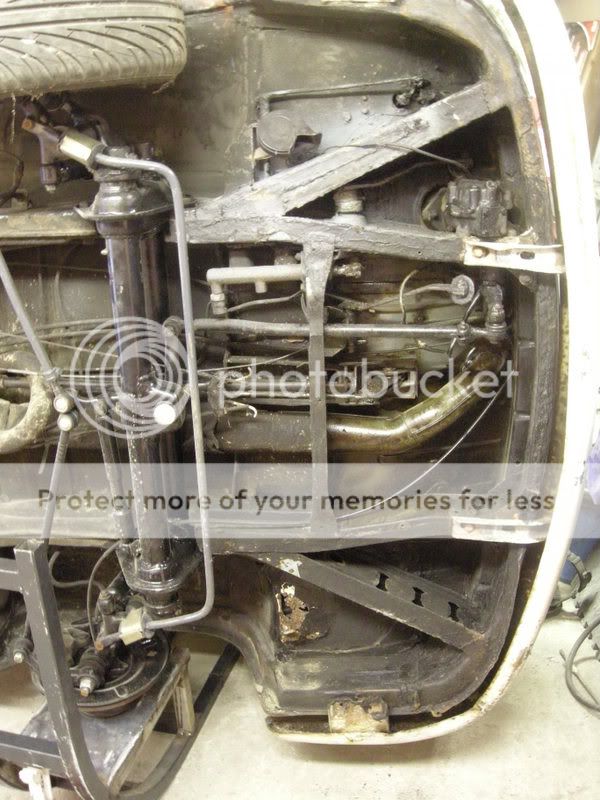
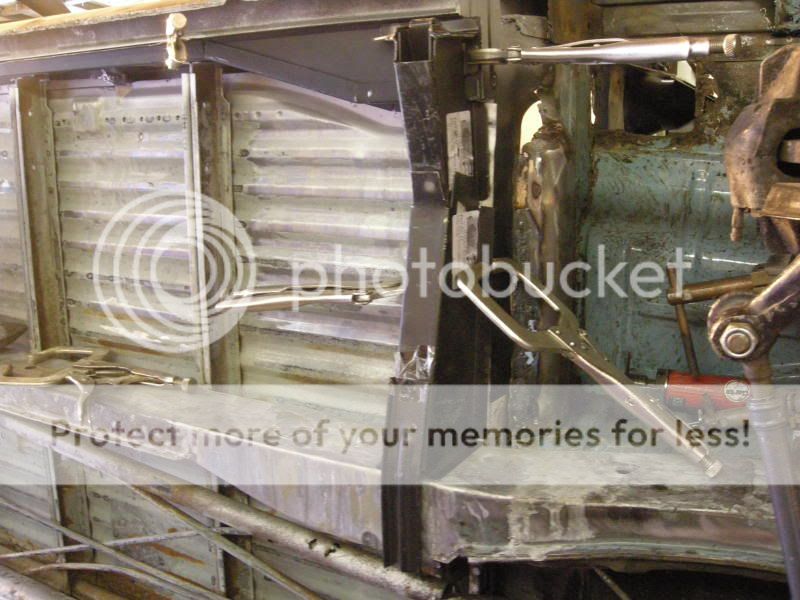
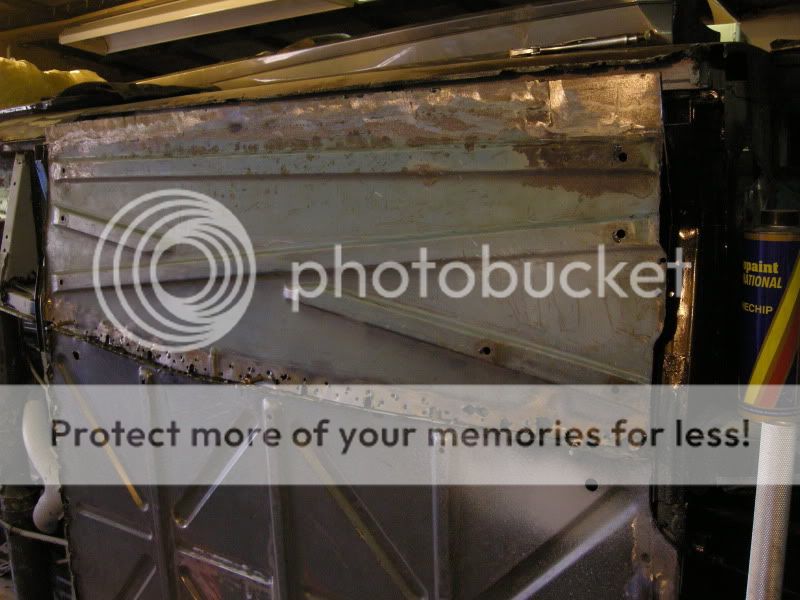
Trying to complete one side of the underside of the van so it can be dropped and rolled the other way
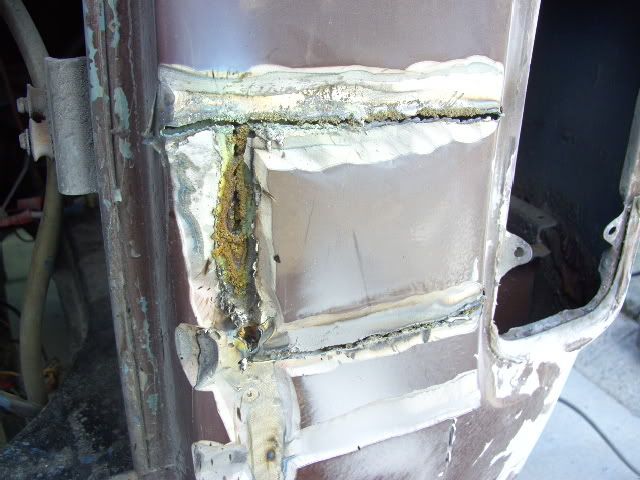
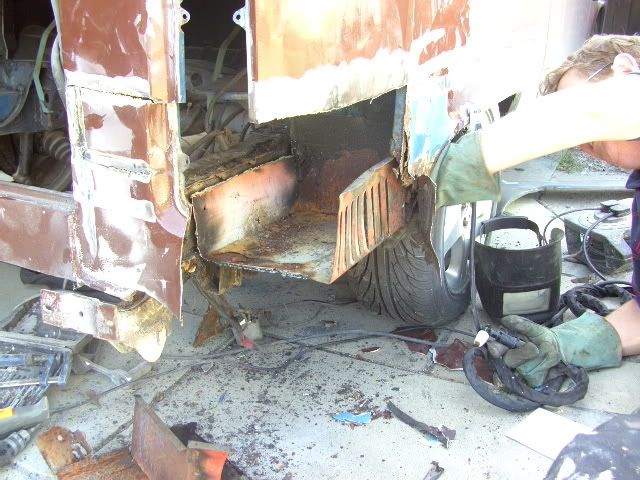
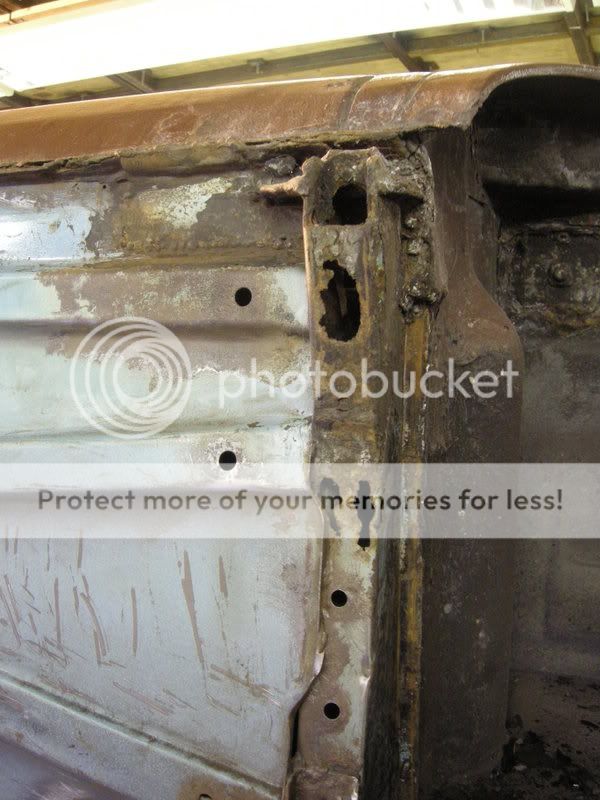
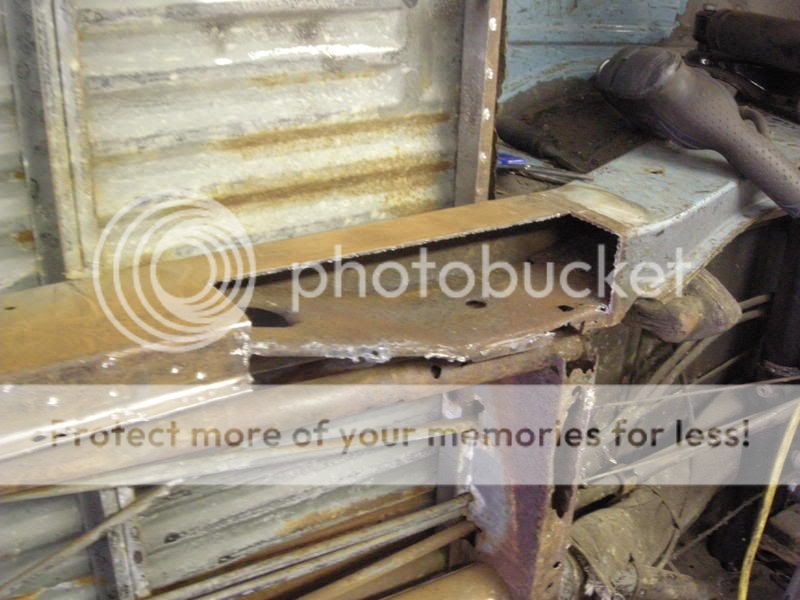
Plenty more rust, oh and guess what more botches and filler.
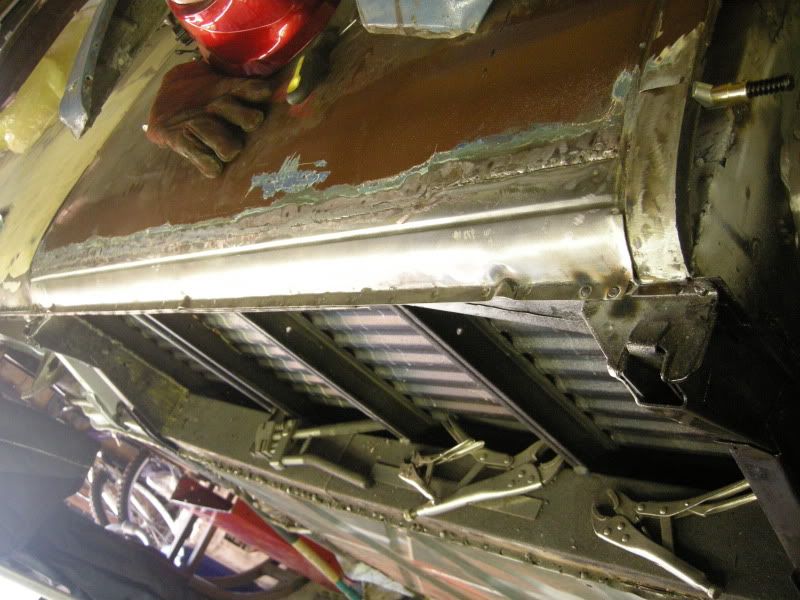
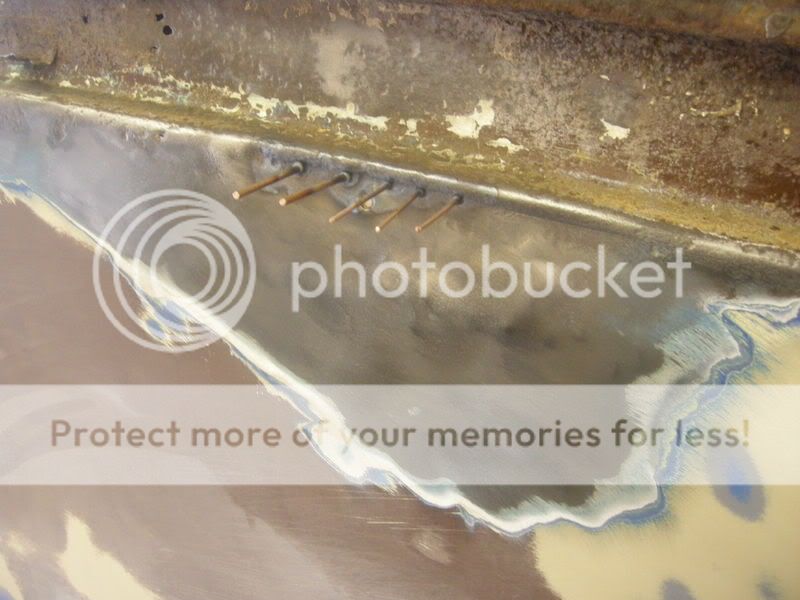
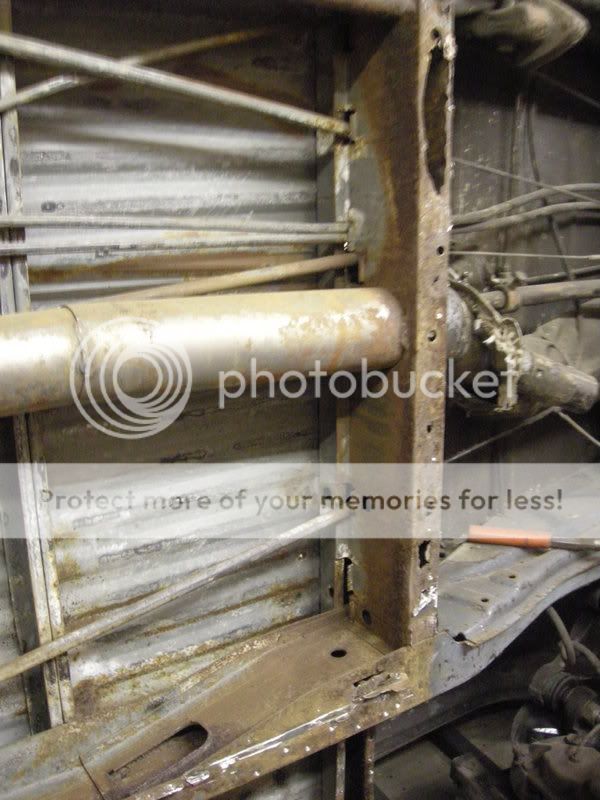
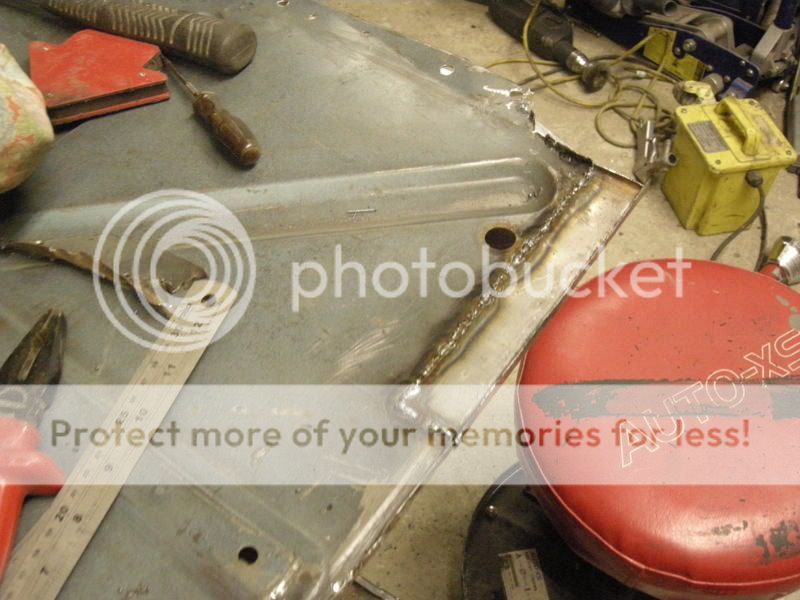
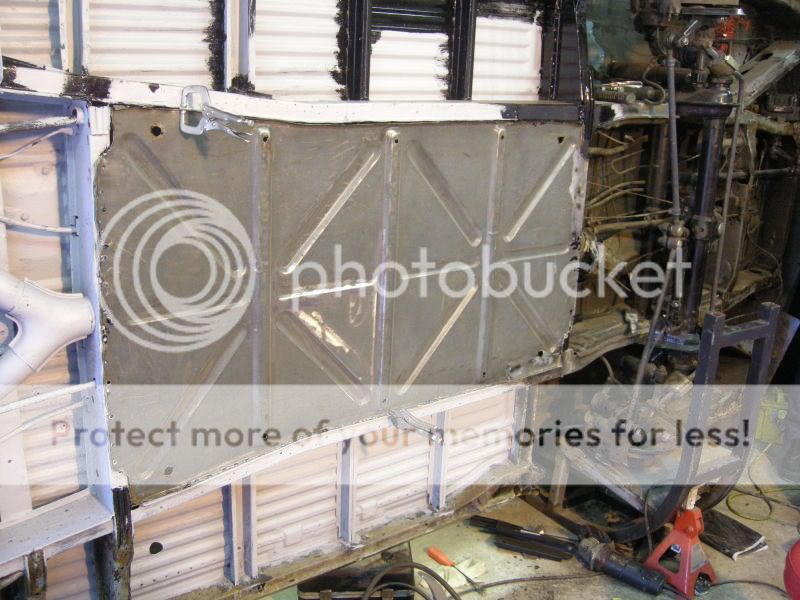
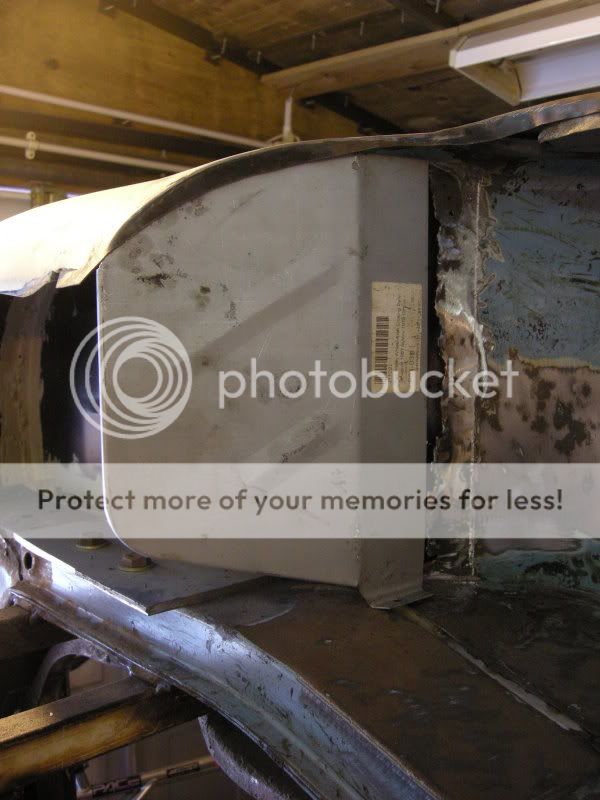
I removed this plate with my hands, it was just tacked on and filled over!!
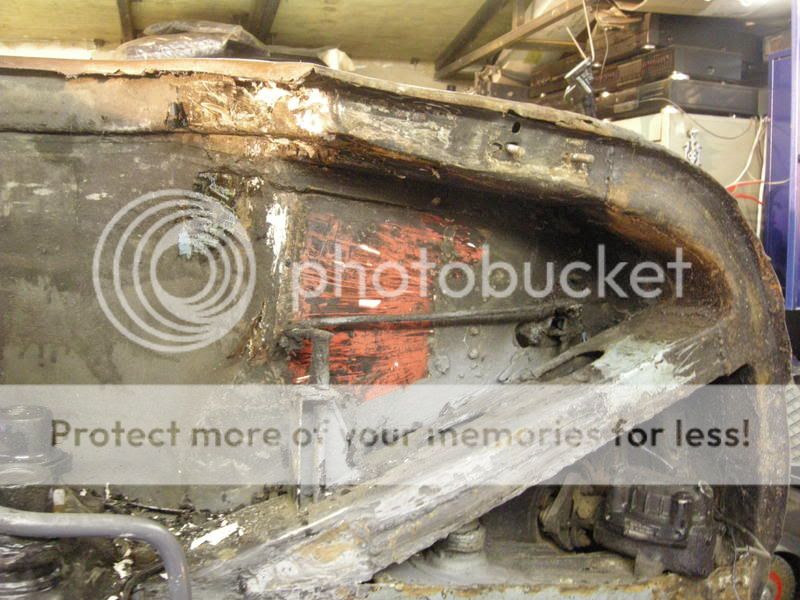
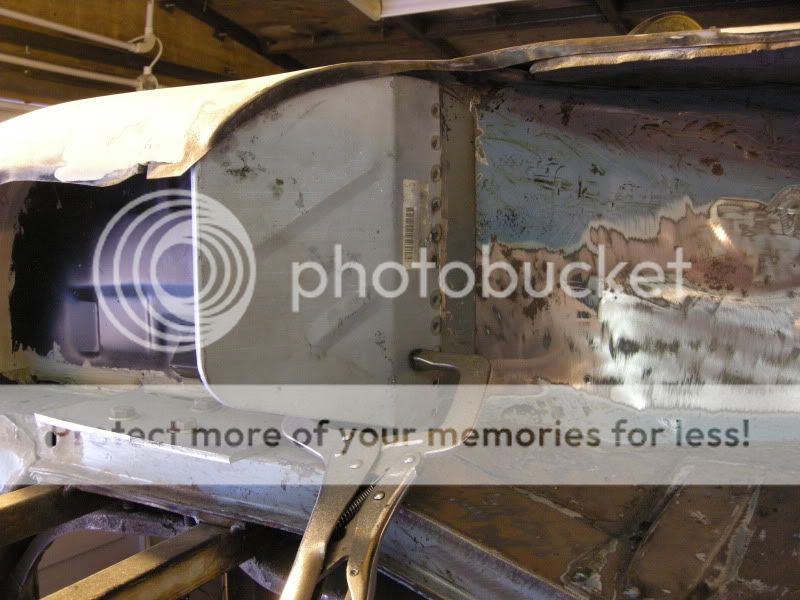
Plasma cutter made short work of the rest. I’m going to wait till the van is upright so I can line all the arches up then they will be tacked up and fully welded once the van is rolled again.
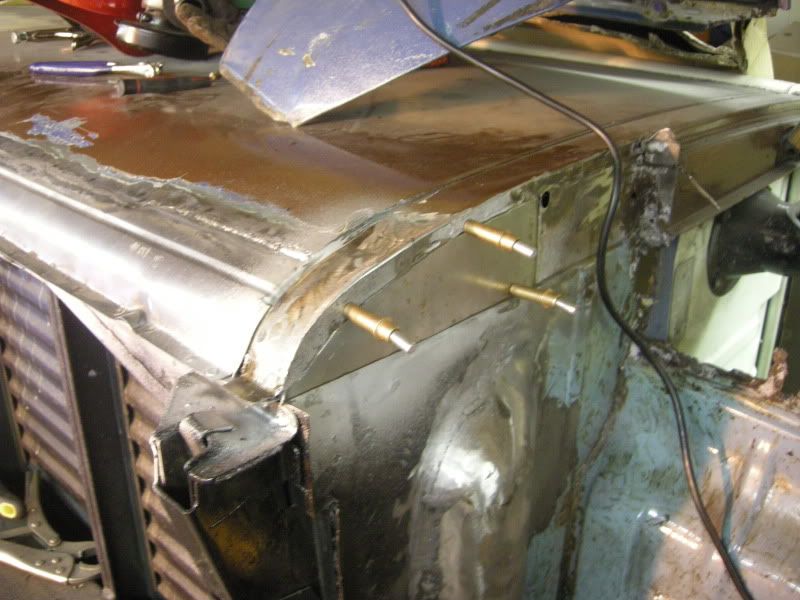
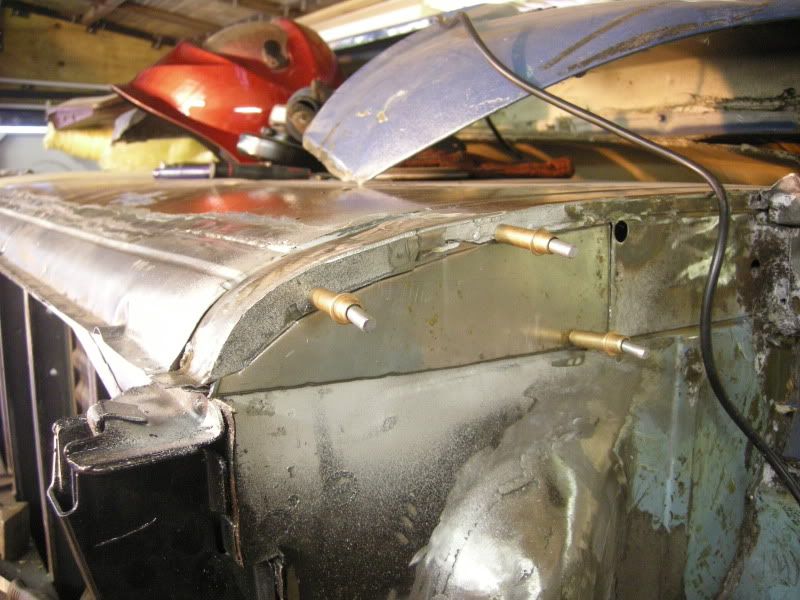
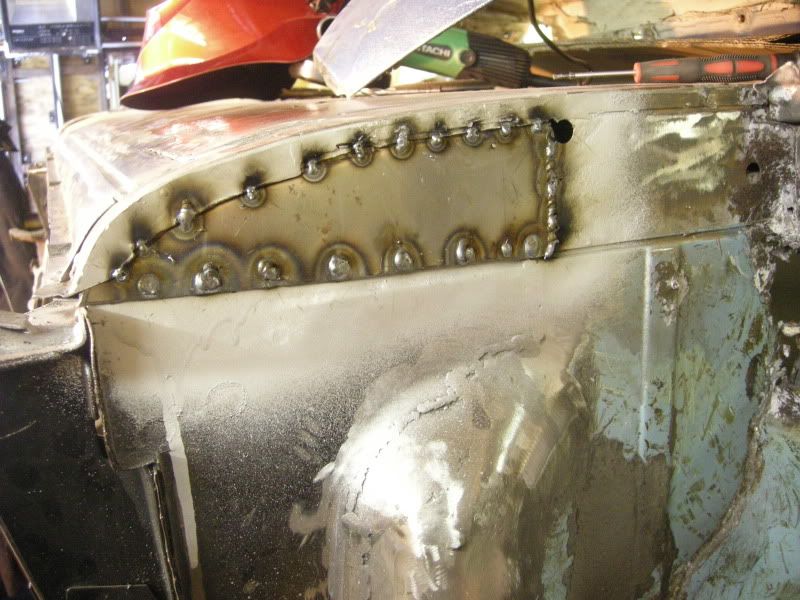
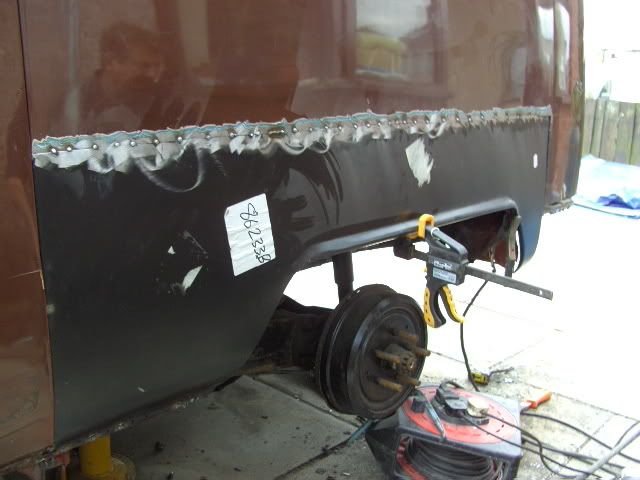
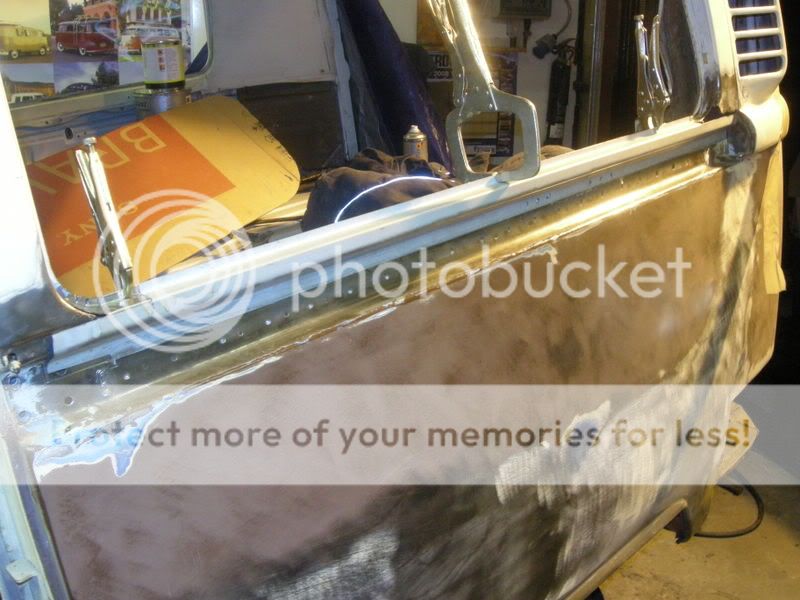
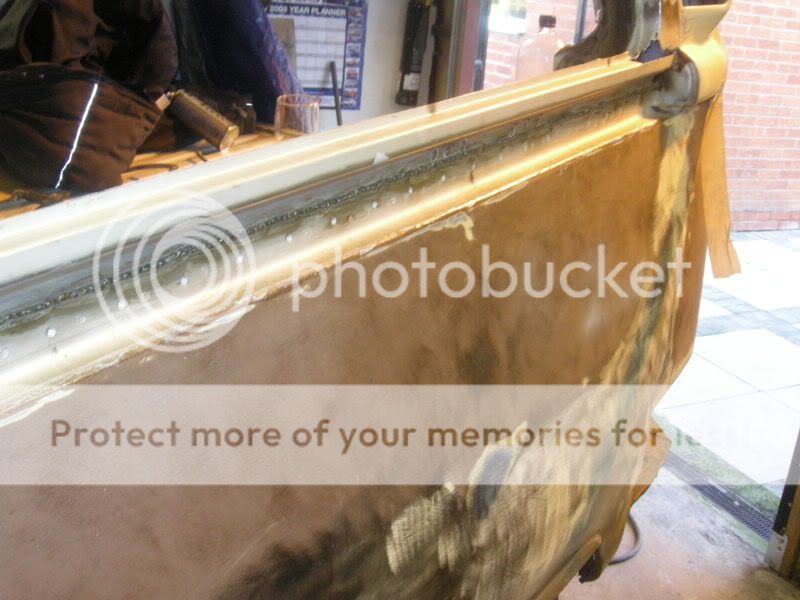
Managed last weekend to get the rear arch closing panels finished, its almost ready to be put back on its wheels again!! And I can get it outside and give the garage a good cleaning.
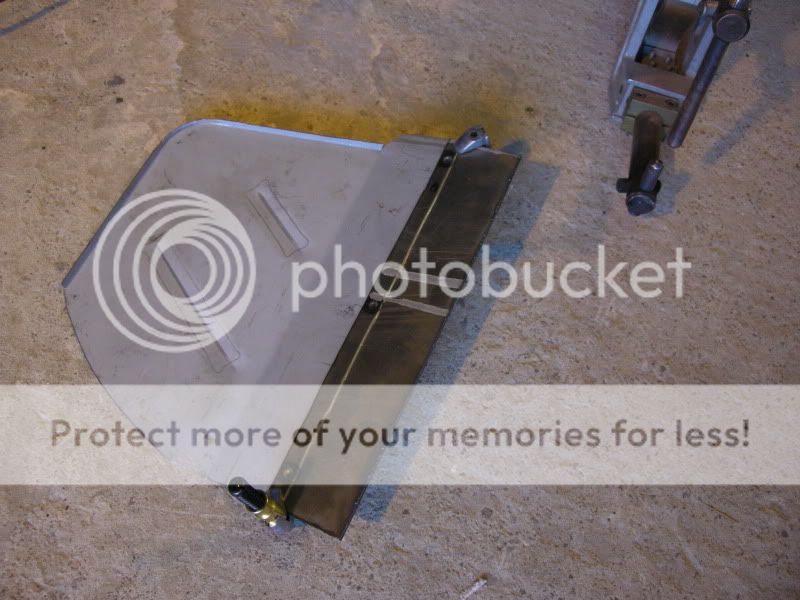
This just needed a little extending
And thats basically the bodywork up to date, I have missed loads off (phew I hear you all say) but you can only have so many photos.
LOL, in the meantime though I also built this for the van but not going to use it now as I want to convert the van to diesel... more on that later.
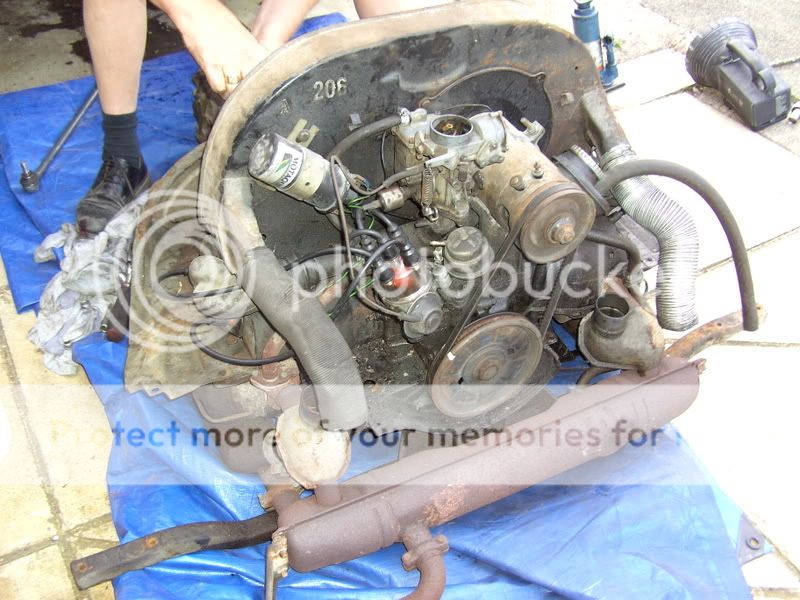
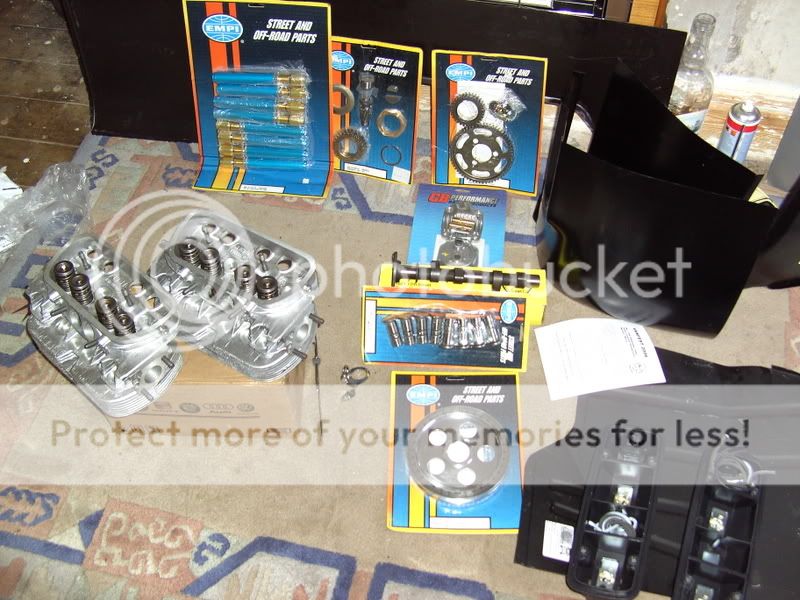
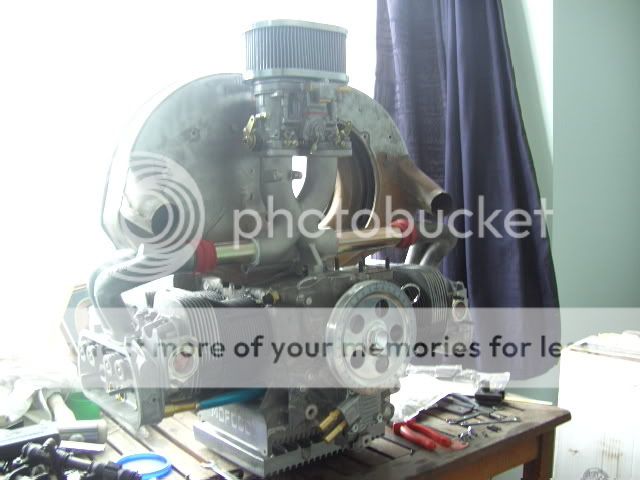
This is my dads engine, its a 1776cc built with all new parts (apart from tinware) bought from America.
Out with the old
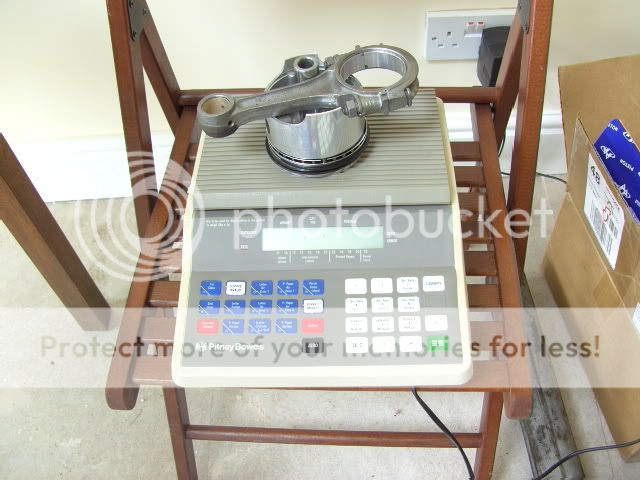
Nice little delivery
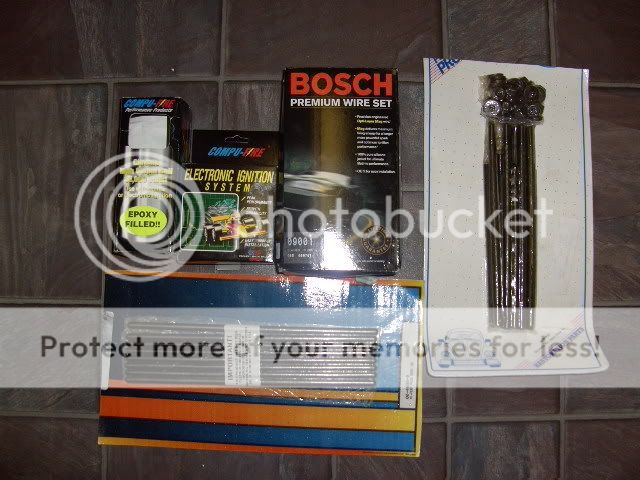
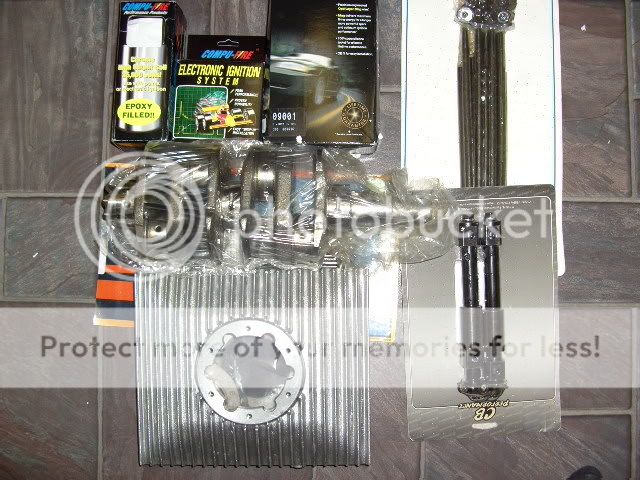
And a few bits picked up at vanfest
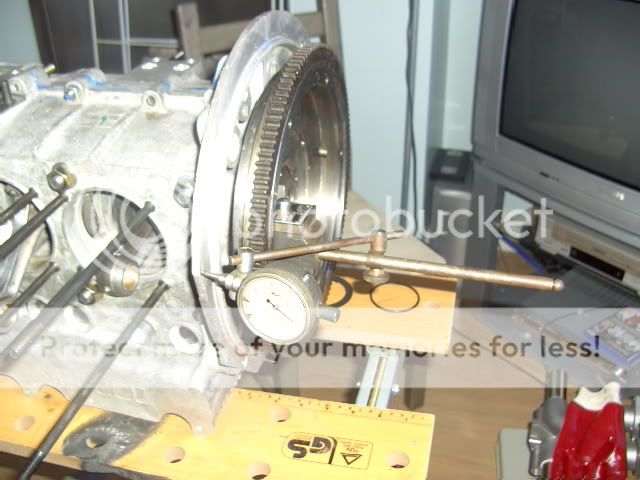
Led to this, built in my dads living room.
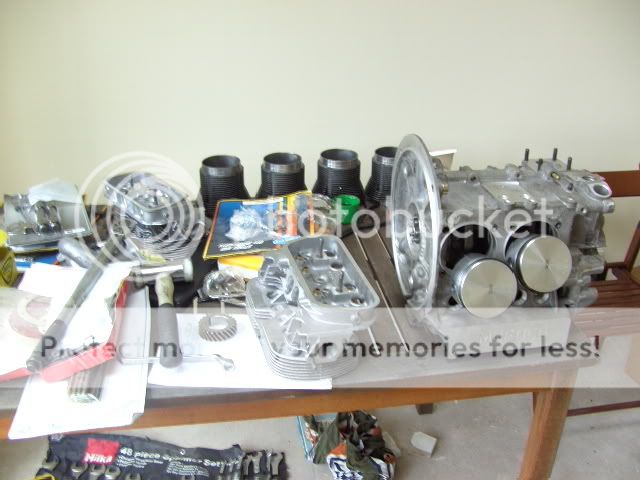
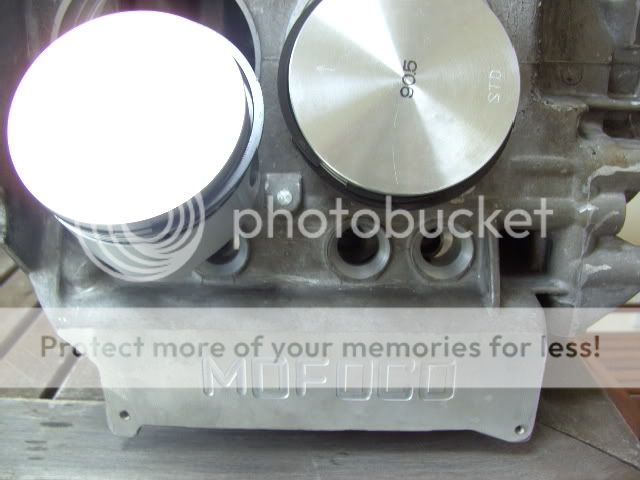
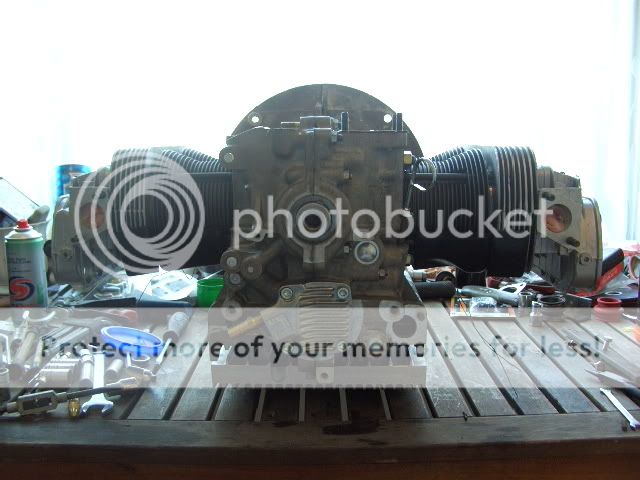
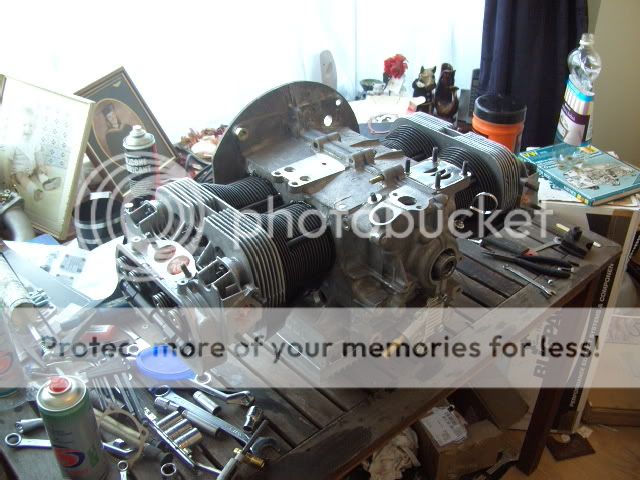
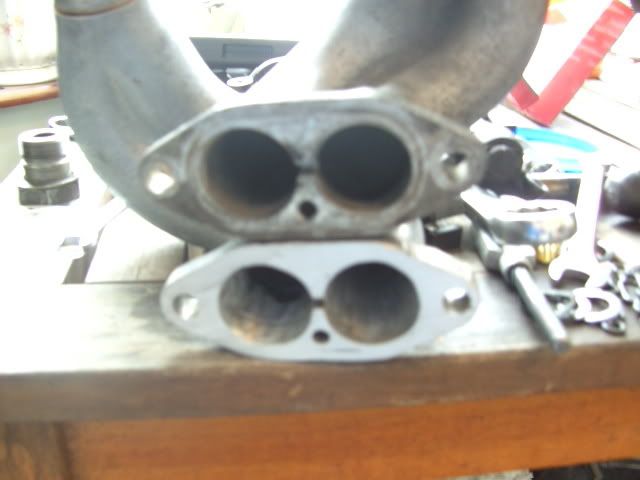
Quick mock up
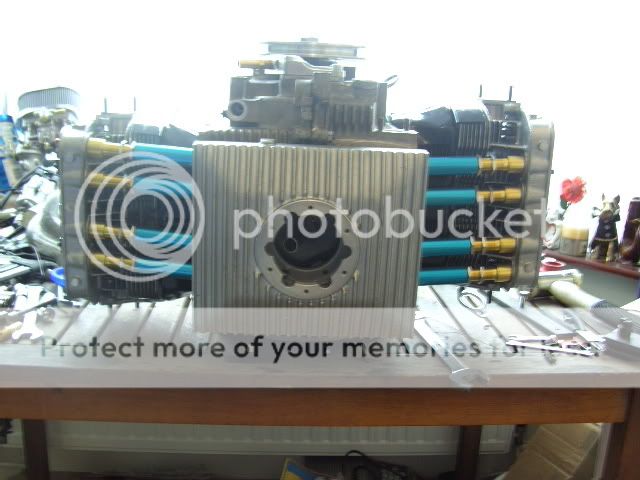
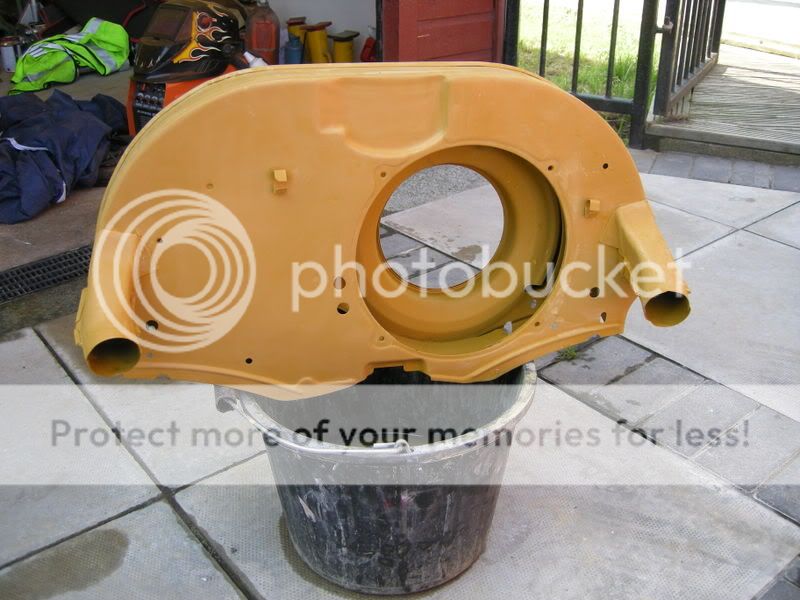
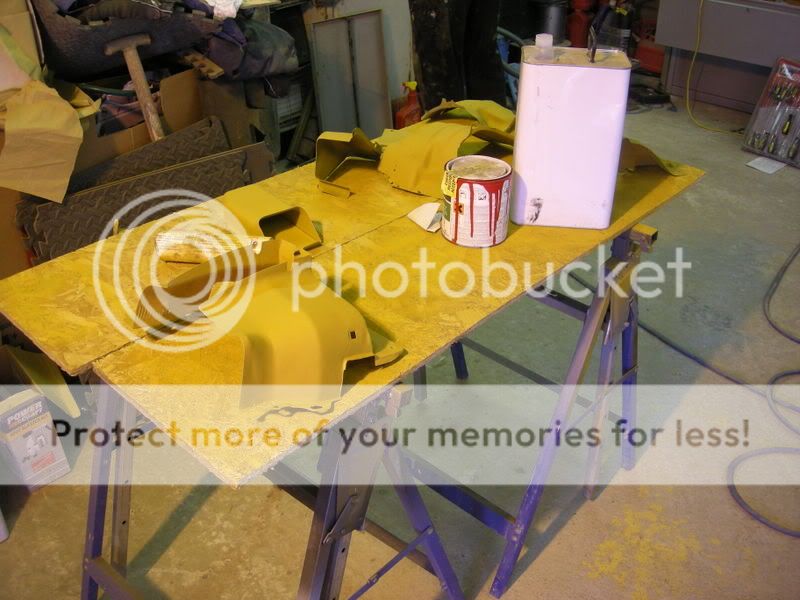
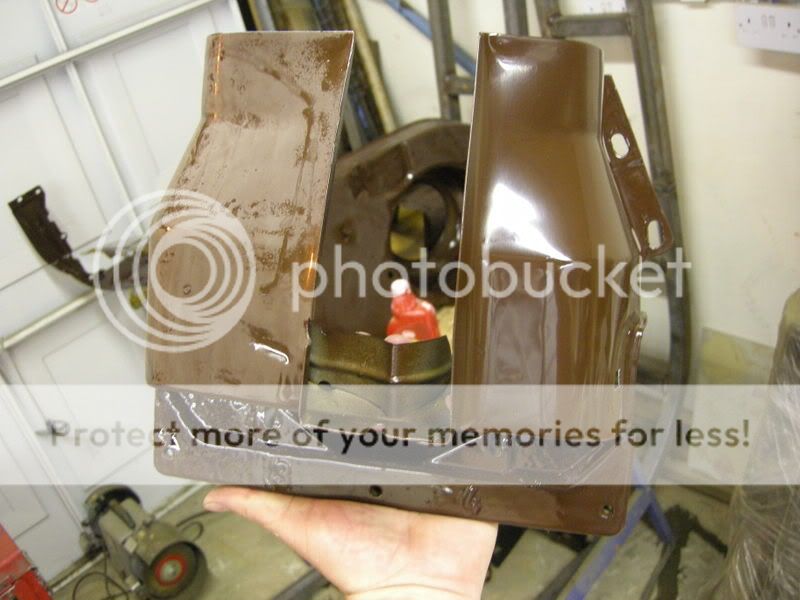
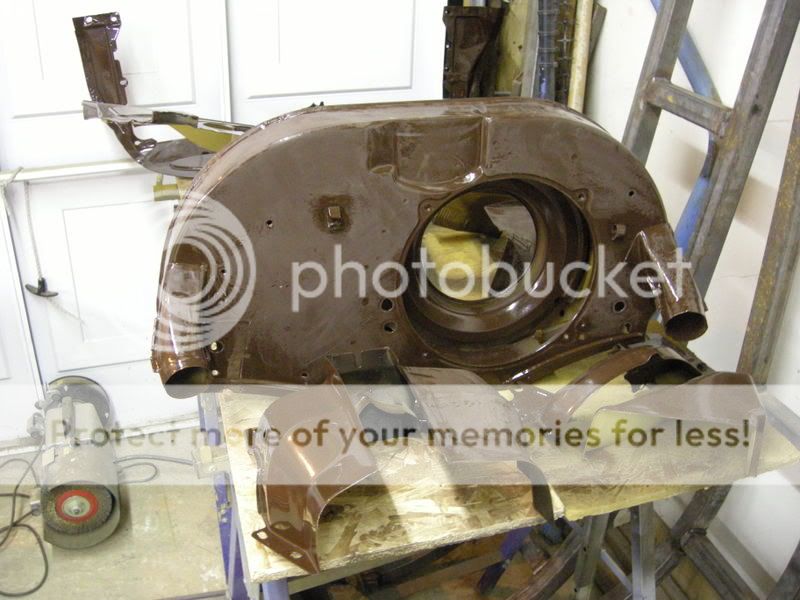
And tonnes of work needed with the tinware, some of it was literally in half.
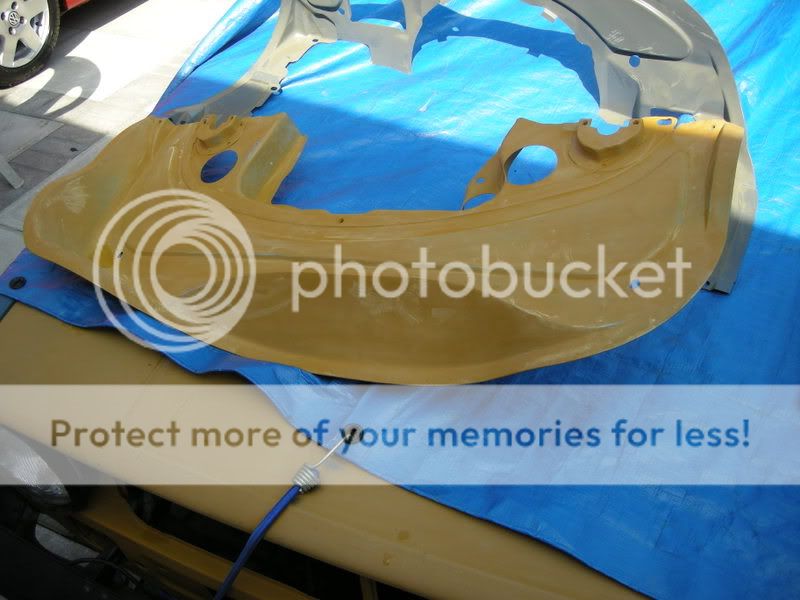
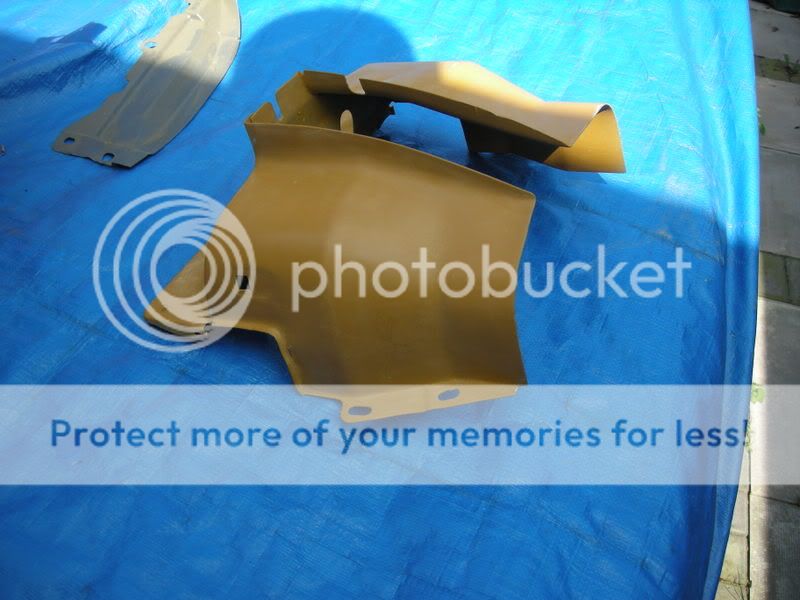
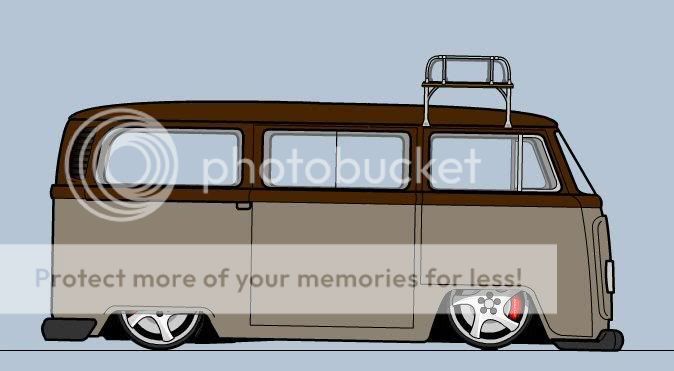
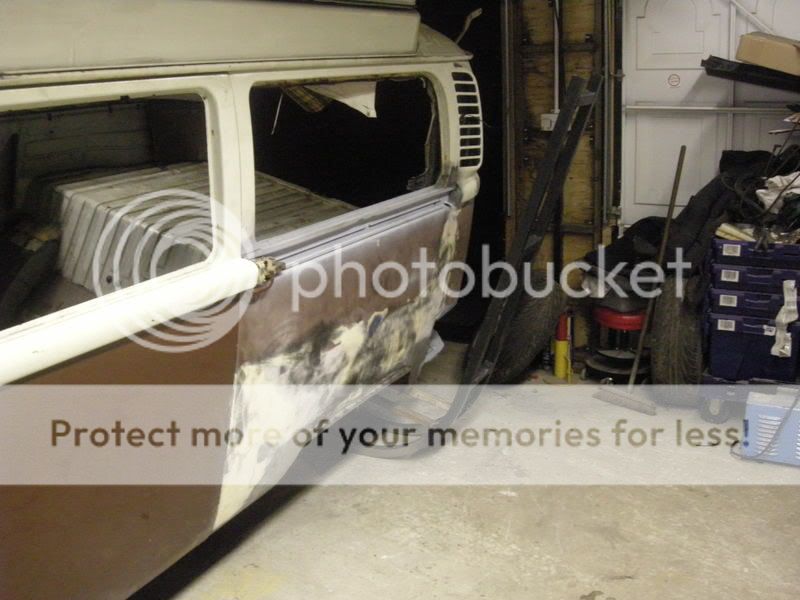
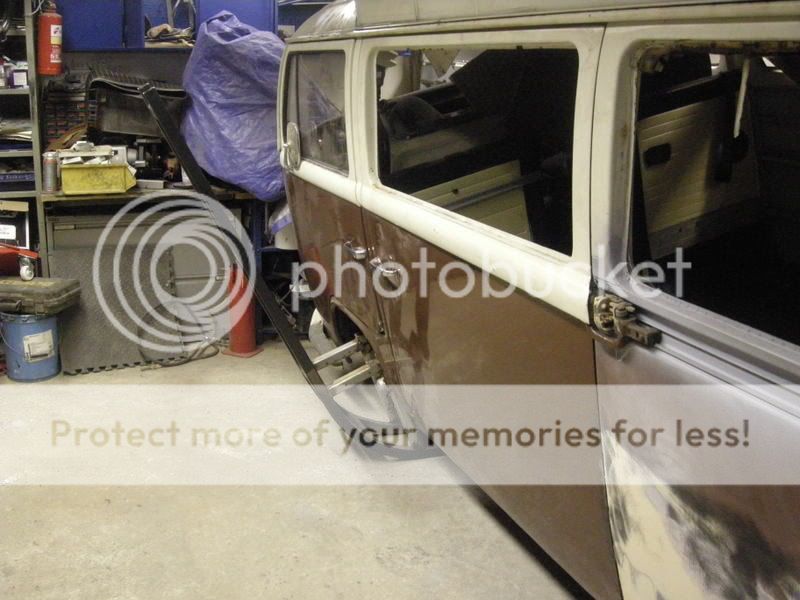
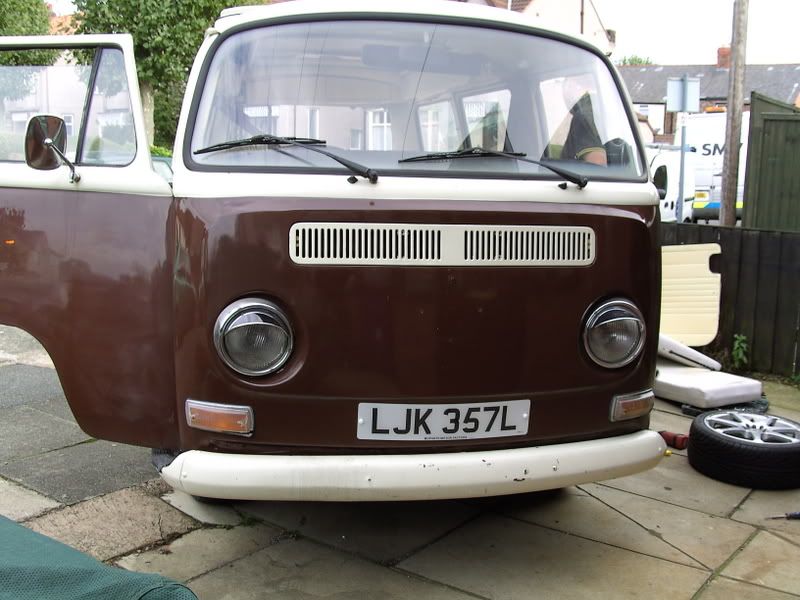
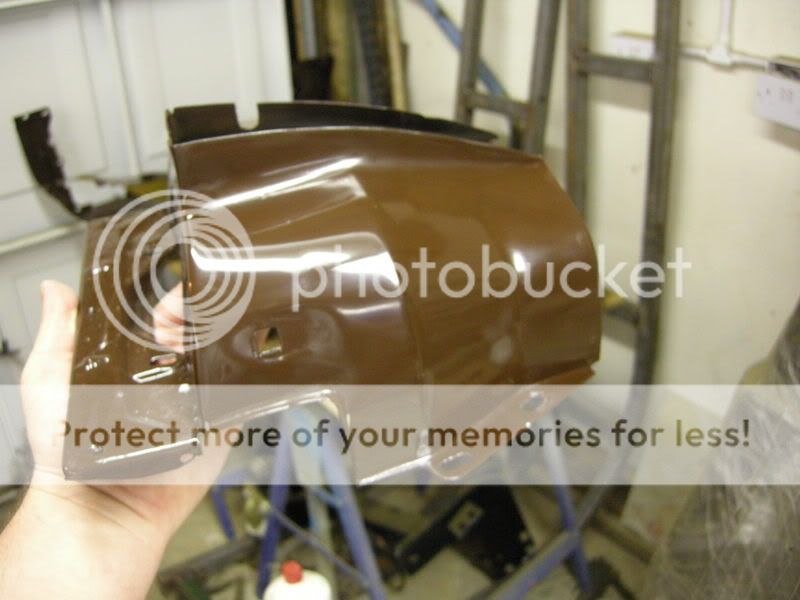
Originally was thinking of going brown again with the van but thats changed now too..
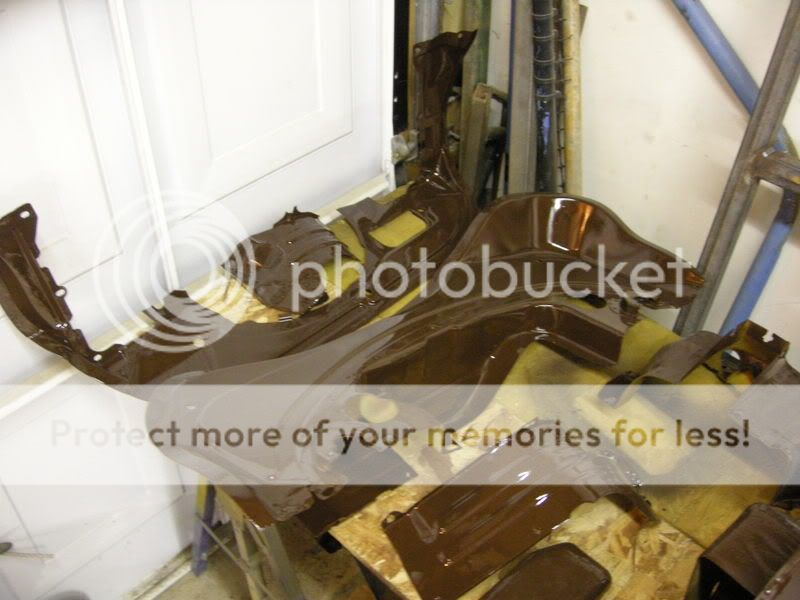
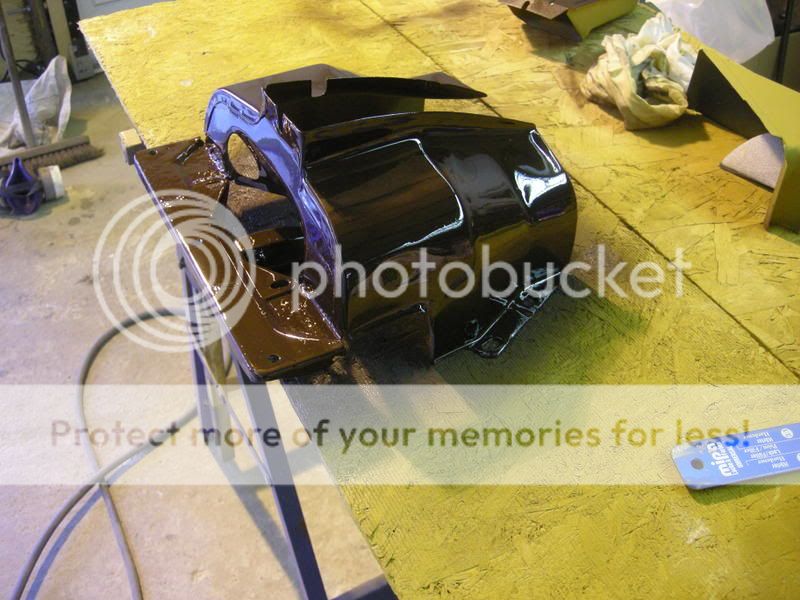
Starting to flat it off, there not perfect but then its not going to be concours
That will do for now, thanks for sticking it to the end :lol:
Beleive it or not I've skipped alotof photos.
This is about 2 1/2 years of work so I'll try and keep it a short as I can :lol:
As bought, my dad actually found this van through a mate of his it had been taken in px for another newer motor and the dealer who had it just wanted rid.
It appeared to be in average-good condition but how things can be misleading, also for some reason that i’ll probably never know the original owner had decided to paint the ENTIRE interior with what looks like magnolia emulsion. Oh and I mean everything and probably with a roller judging by the finish, door cards, headlining, all the interior cupboards etc etc
After a quick strip, shotblast and overhaul of the front axle she was lowered to tera firma and with the addition of some new wheels studs a nice cheap set of merc alloys followed.
All of this....
Lead to this...
Which lead to this...
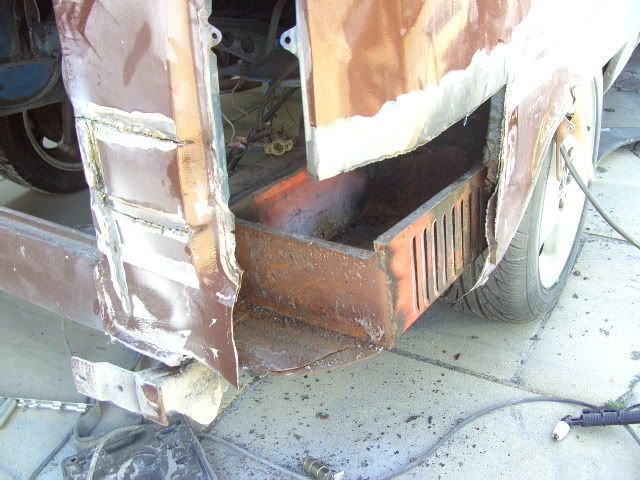
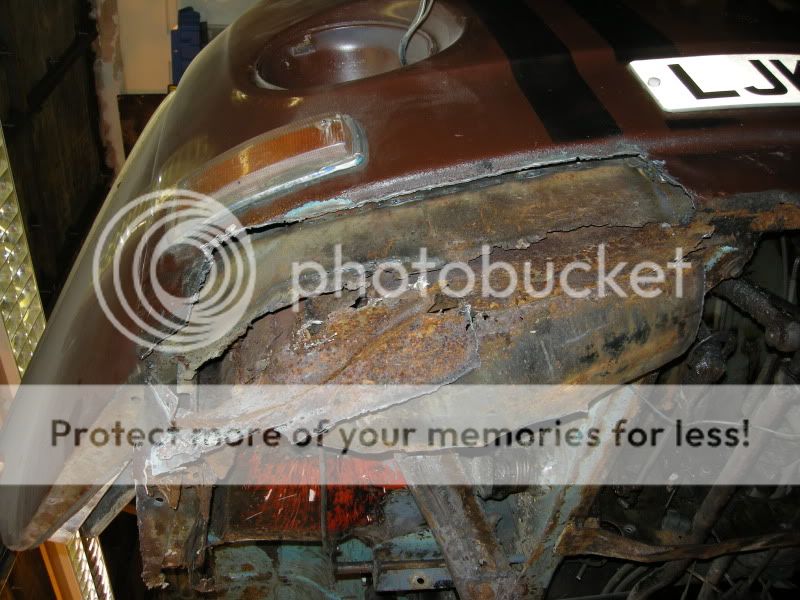
Then things started going downhill, after a bit of poking this happened.
Inch of filler anyone?
It was just botch after botch
But things started to turn around, I converted the rear arches to early ones as I prefer the look but I am now starting to regret this decision so may end up changing them back.
All this was done outside me dads as I have the Caddy in my garage at home, which wasn’t really ideal. Just a few more random body work photos
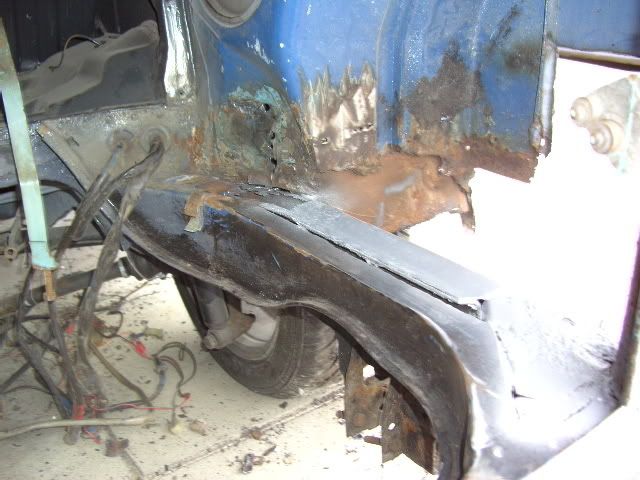
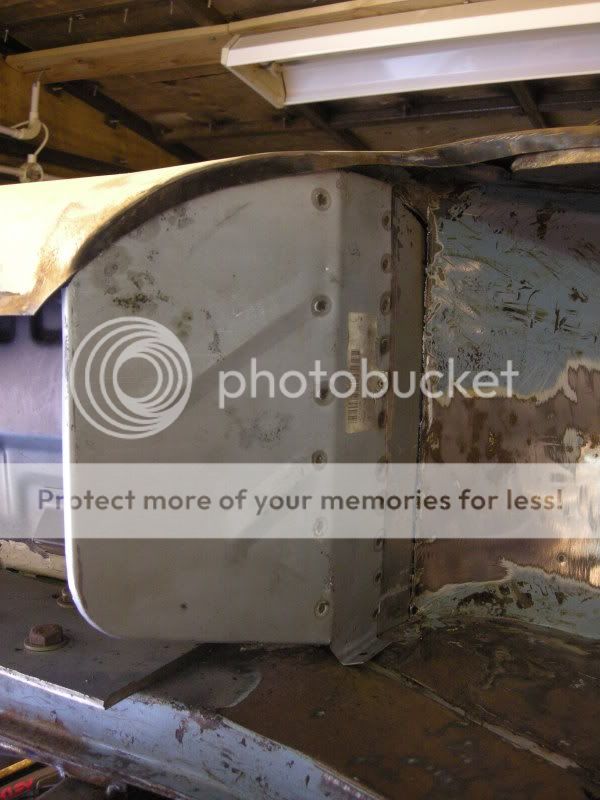
Botched battery tray
Engine bay repairs
This looks a little better
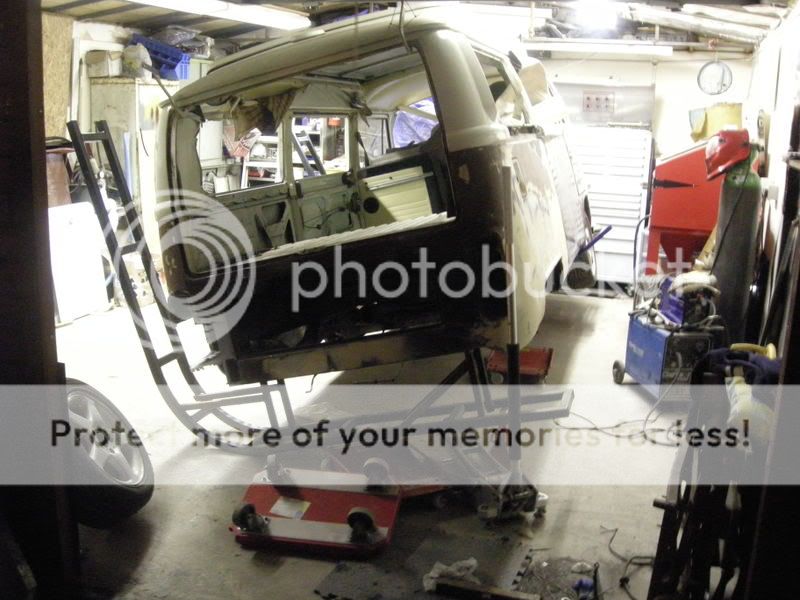
So with things being alot worse than we thought the van was moved up to my garage and my poor caddy was turfed outside, this was mainly due to not wanting the weather getting to the van.
So home she came, (excuse the mess!)
Where the rust and the filler just kept on coming.
Now I had already started to make this to use on the Caddy, but since I knew the van was here for the long haul I adapted it. I was actually experimenting with a pipe bender (while make the roll cage for my Caddy) to see if you could bend square box tubing with it, turns out you can!!
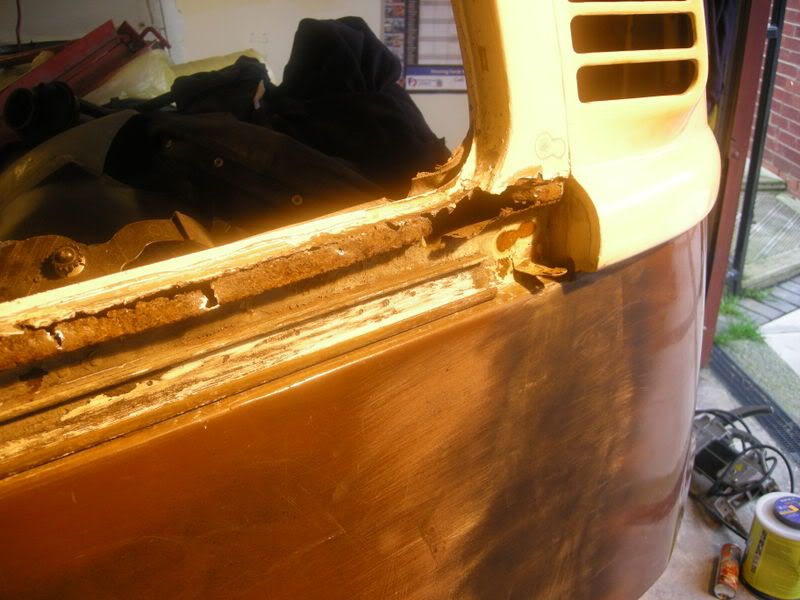
Lots of digging and scraping later...
And it didn’t take long for the holes to start to appear
So only one thing for it, start cutting it all out...
And start replacing it with good steel.
I was starting to get really anal with it, this is the reason why everything I do is so SLOW.
All the repair panels that would fit in the shot blaster where cleaned, prepped and painted with rust protector
Yet to find out how good this stuff is, not cheap but not as expensive as some (por15 for example)
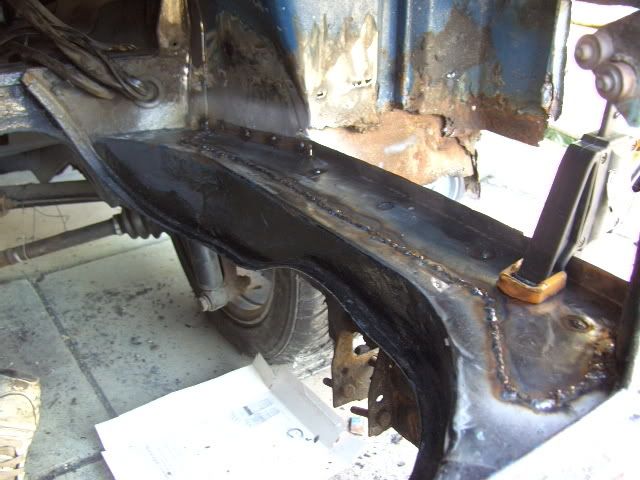
Belly pans needed a fair old bit of work
But getting there
I have recently started work on the van after probably an 18 month lay off due mainly to work and laziness if I’m honest.
Trying to complete one side of the underside of the van so it can be dropped and rolled the other way
Plenty more rust, oh and guess what more botches and filler.
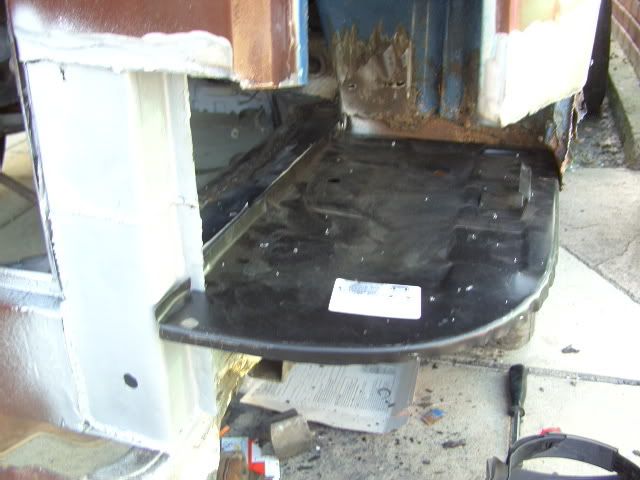
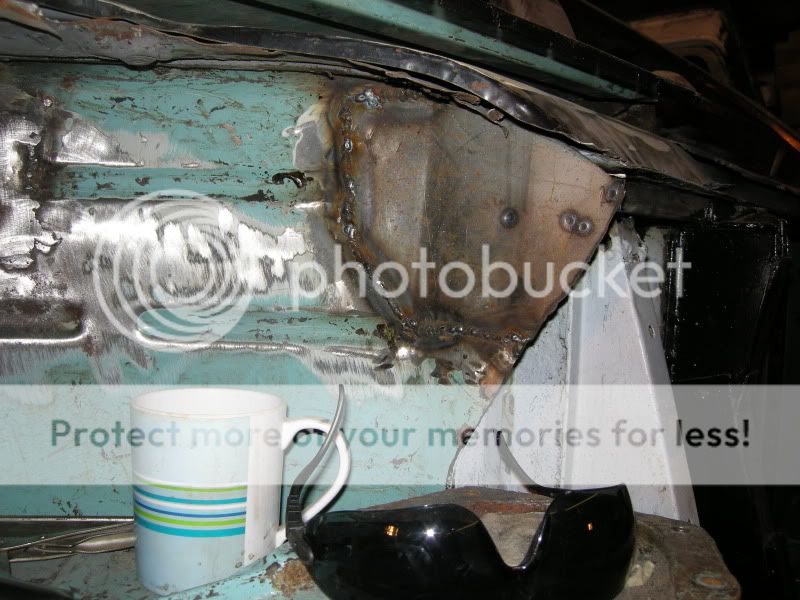
I removed this plate with my hands, it was just tacked on and filled over!!
Plasma cutter made short work of the rest. I’m going to wait till the van is upright so I can line all the arches up then they will be tacked up and fully welded once the van is rolled again.
Managed last weekend to get the rear arch closing panels finished, its almost ready to be put back on its wheels again!! And I can get it outside and give the garage a good cleaning.
This just needed a little extending
And thats basically the bodywork up to date, I have missed loads off (phew I hear you all say) but you can only have so many photos.
LOL, in the meantime though I also built this for the van but not going to use it now as I want to convert the van to diesel... more on that later.
This is my dads engine, its a 1776cc built with all new parts (apart from tinware) bought from America.
Out with the old
Nice little delivery
And a few bits picked up at vanfest
Led to this, built in my dads living room.
Quick mock up
And tonnes of work needed with the tinware, some of it was literally in half.
Originally was thinking of going brown again with the van but thats changed now too..
Starting to flat it off, there not perfect but then its not going to be concours
That will do for now, thanks for sticking it to the end :lol:
Beleive it or not I've skipped alotof photos.