Lee C
Well-known member
They're cardboard!!!
Not much use in the rain!!!
Not much use in the rain!!!
Look cool at a show though........Lee C said:They're cardboard!!!
Not much use in the rain!!!
")
 :x
:x 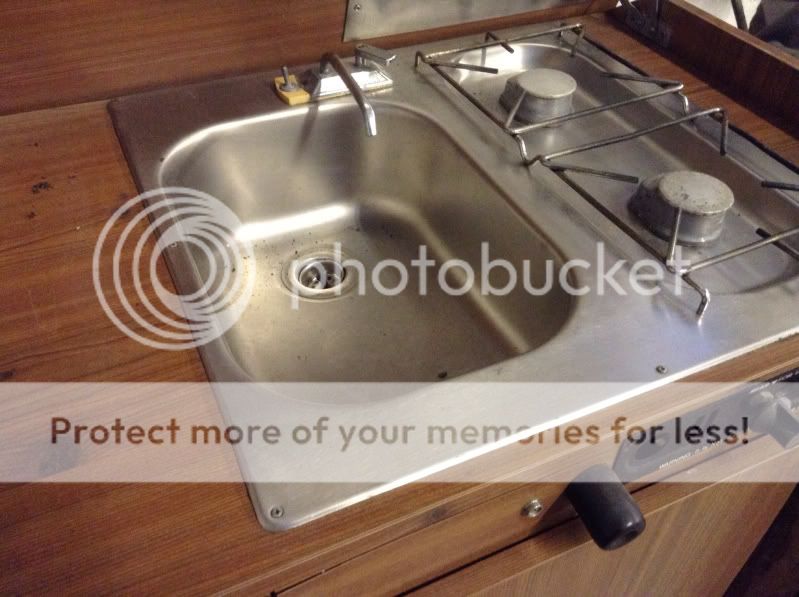
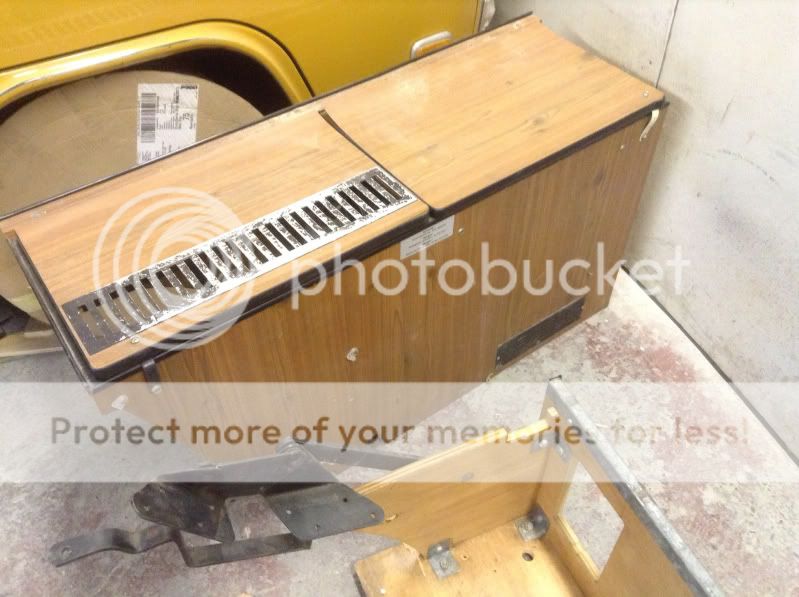
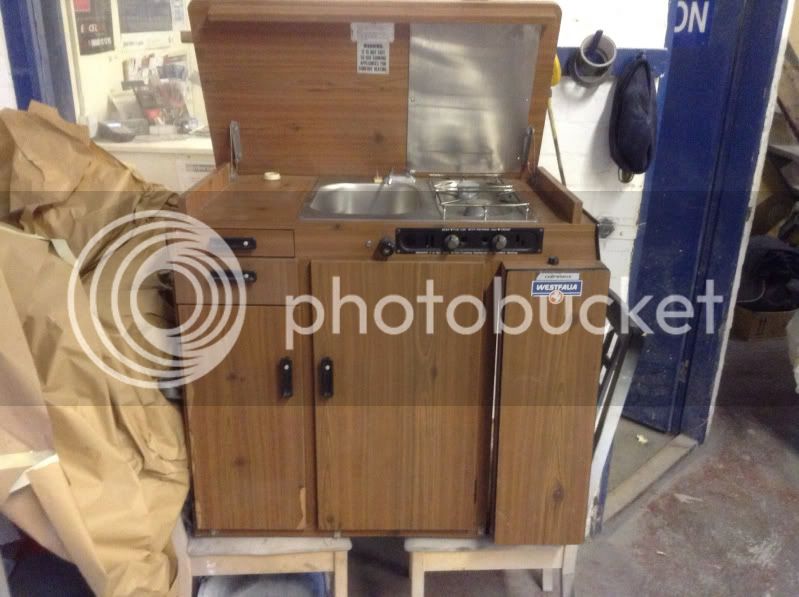


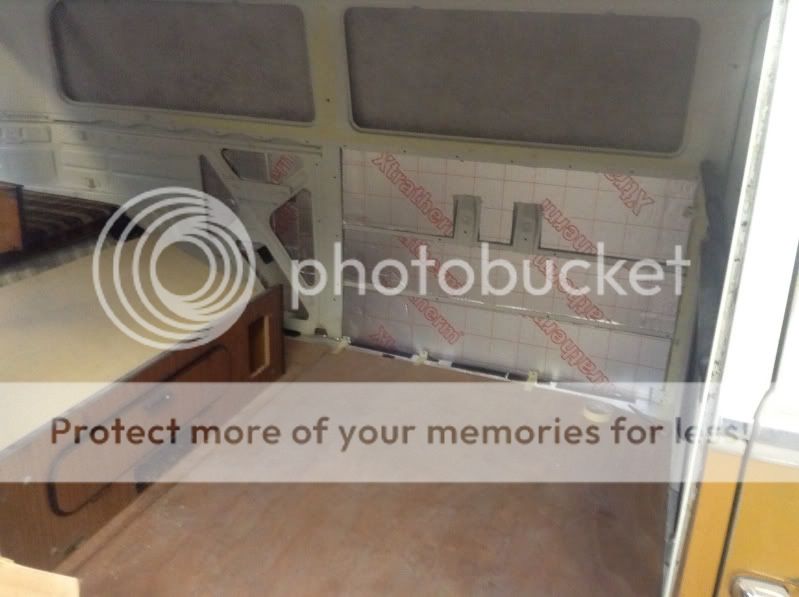
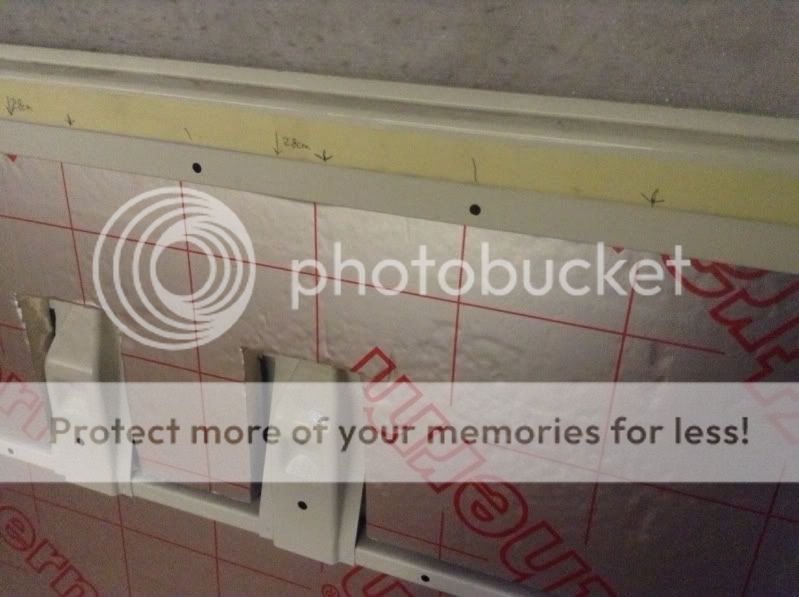
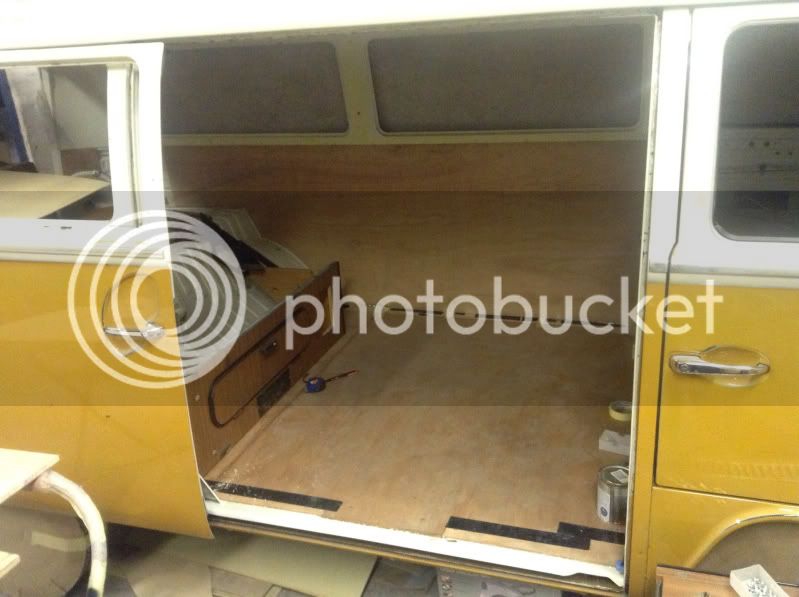
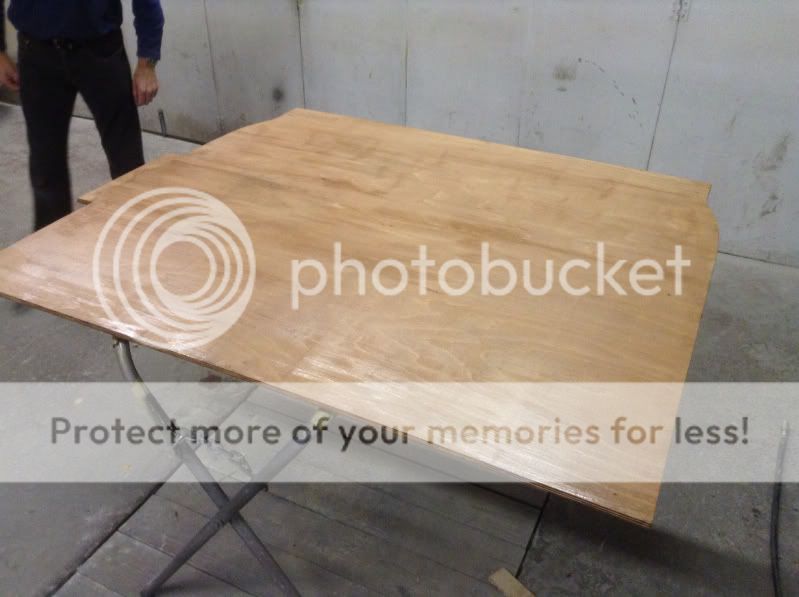
Lee C said:Body & paint is my profession, but i quite enjoyed the engine building & I'm rockin this interior rebuilding at the moment, just pissed off its taking so long, missed 2 summers noo!!!
Well one really as last year was crappy :lol:
very happy with me bit job done the neet like!!!