My other van 1969 lhd camper

Early Bay Forum

Help Support Early Bay Forum:

This site may earn a commission from merchant affiliate links, including eBay, Amazon, and others.
I haven't had much chance to get much work done over the last few weeks as i have been on holiday in my other Early bay.
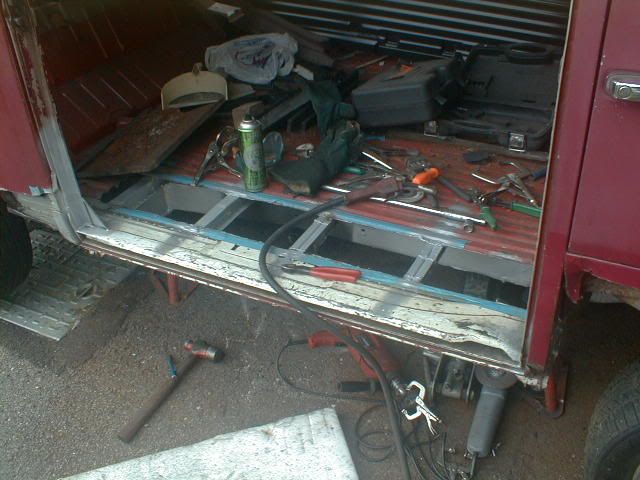
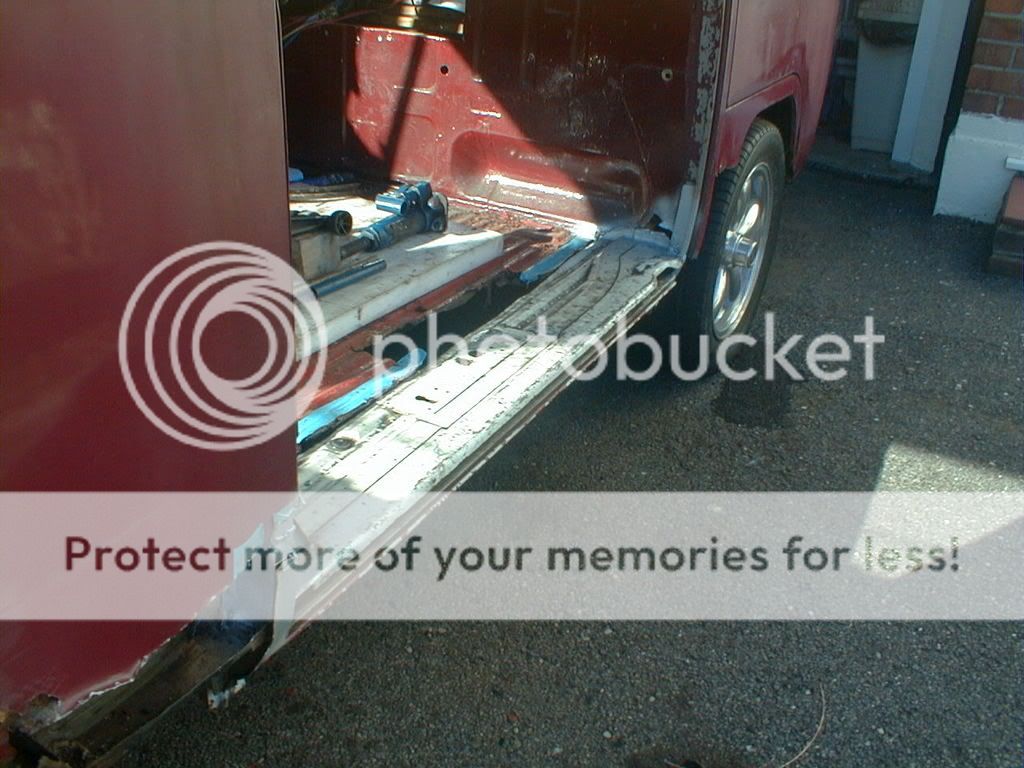
I have also had a problem as i seem to have removed to much of the inner sill/sliding door track and discovered that no one makes a replacement complete middle sill( with UPPER and lower track),although they are advertised as with "sliding door track"
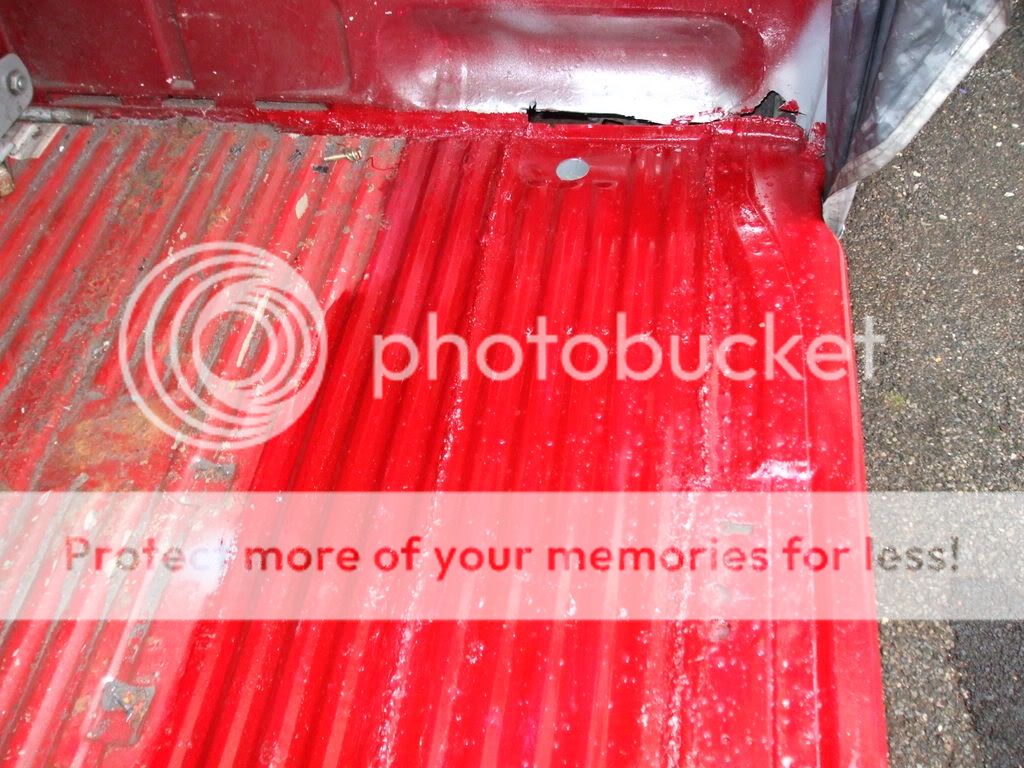
Anyway to cut a long story short,many phone calls later i finally managed to get the 3 seals complete with a small section of b & c posts and inner rear floor which was cut from a Californian import.
PIC00043.jpg

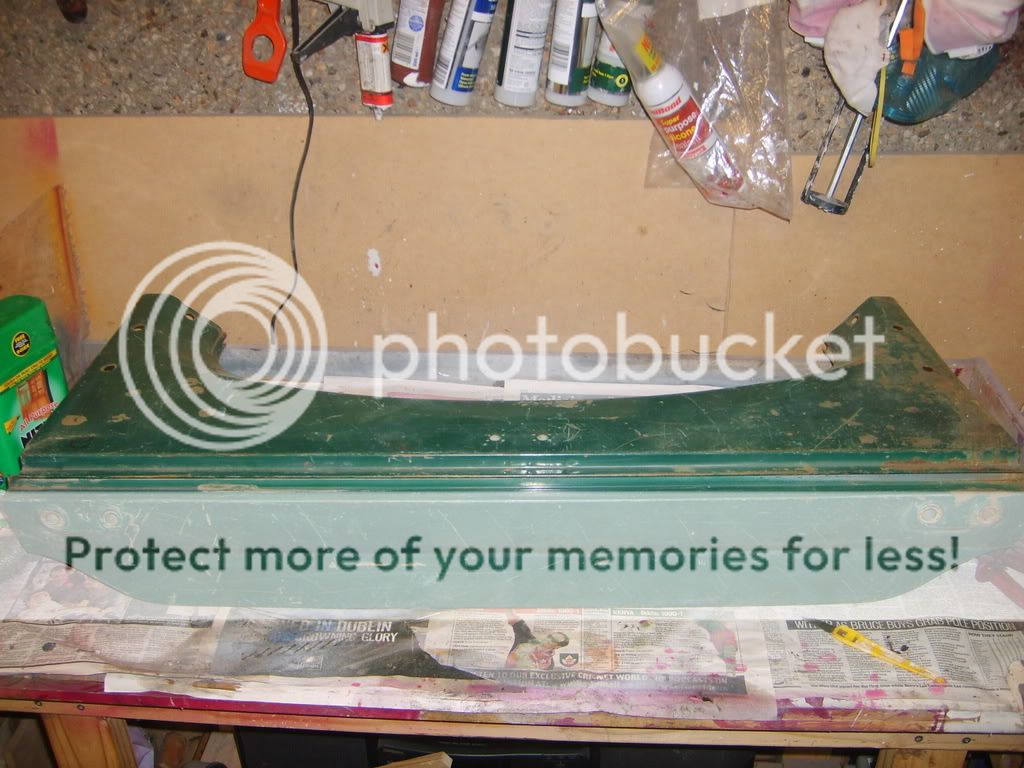
Thanks to Volkshaven!!!!!,as promised in great condition and no rust!
PIC00044.jpg

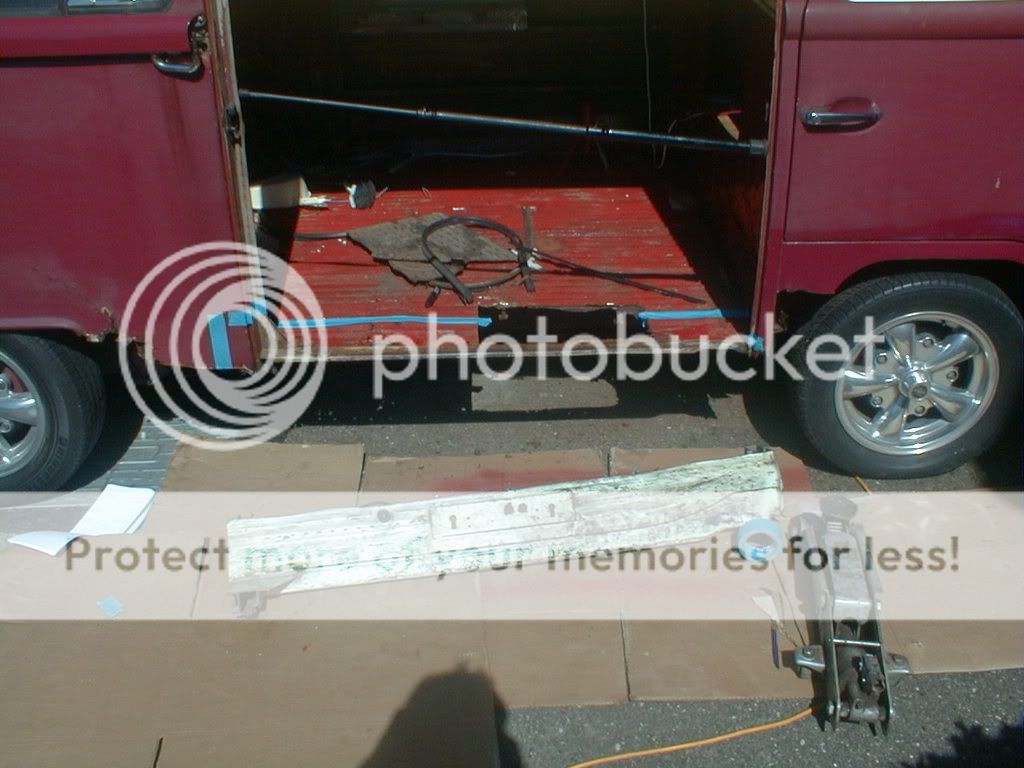
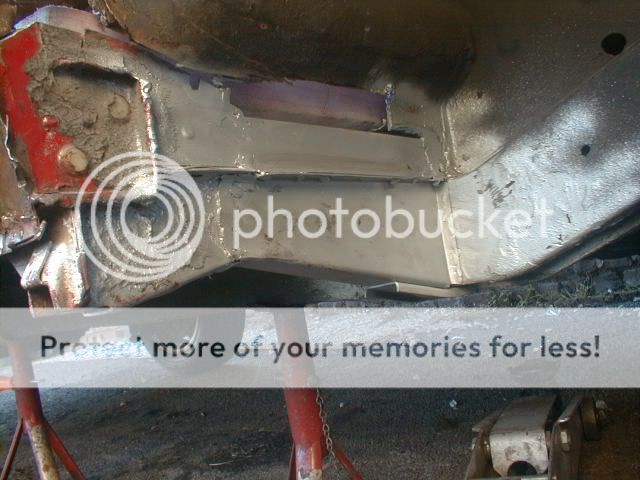
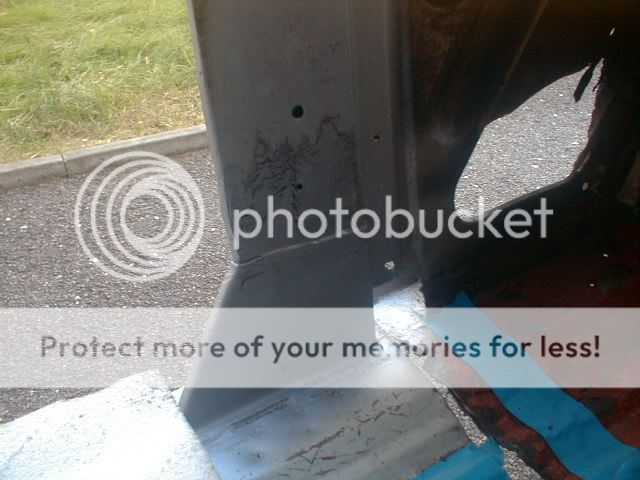
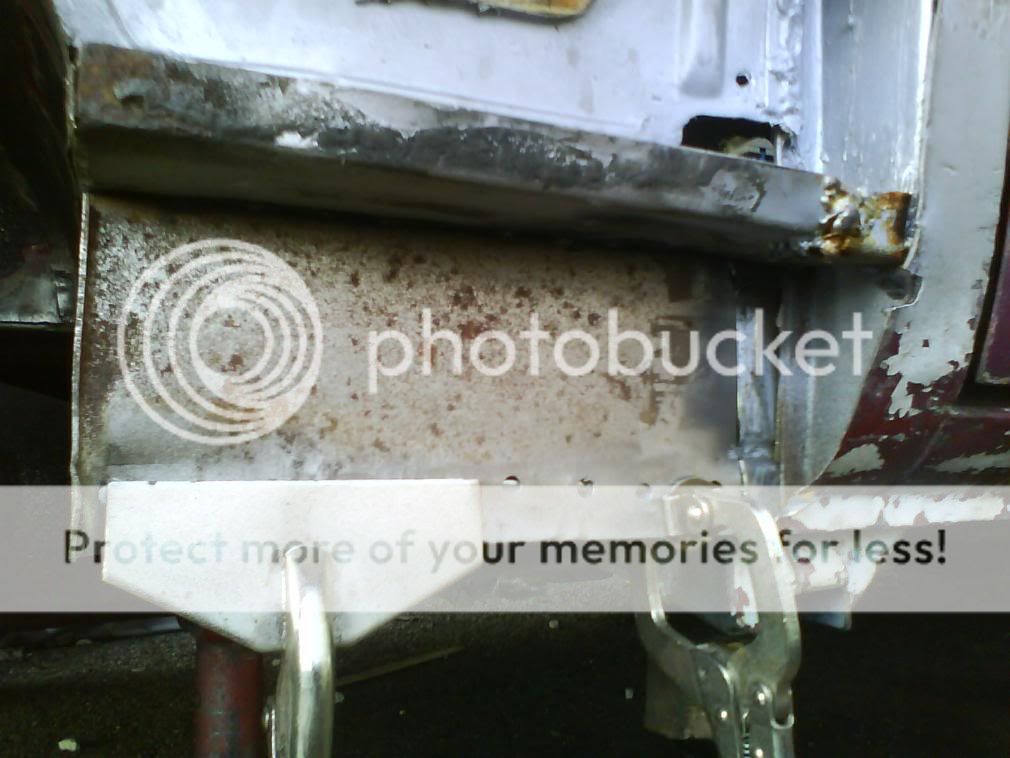
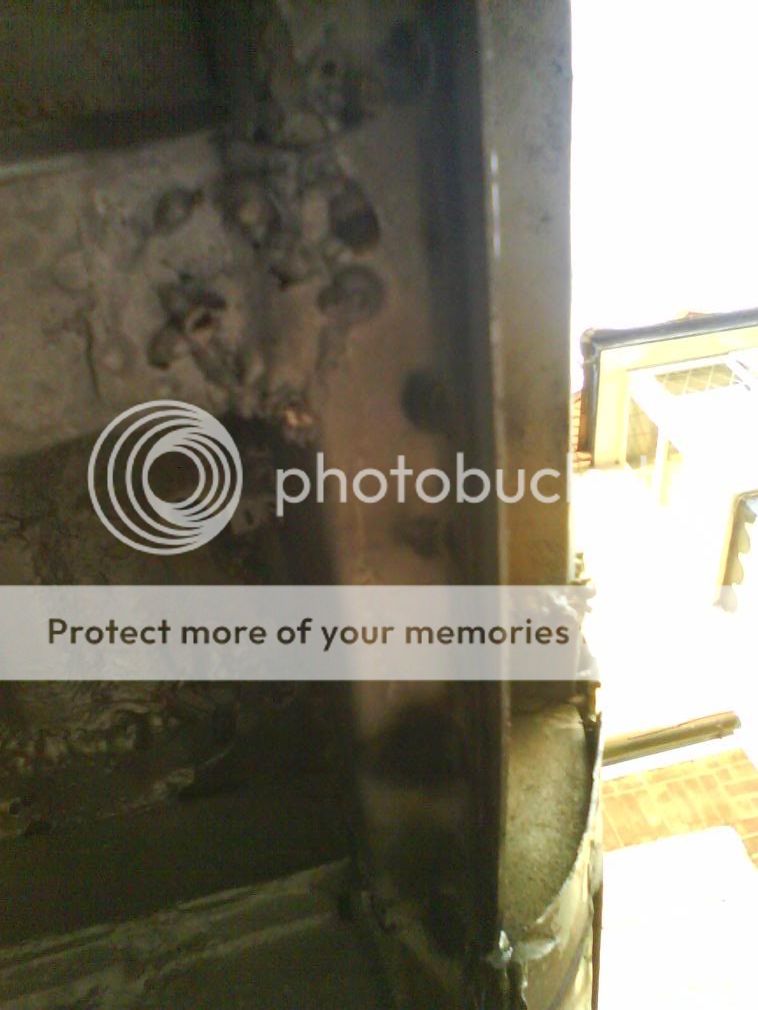
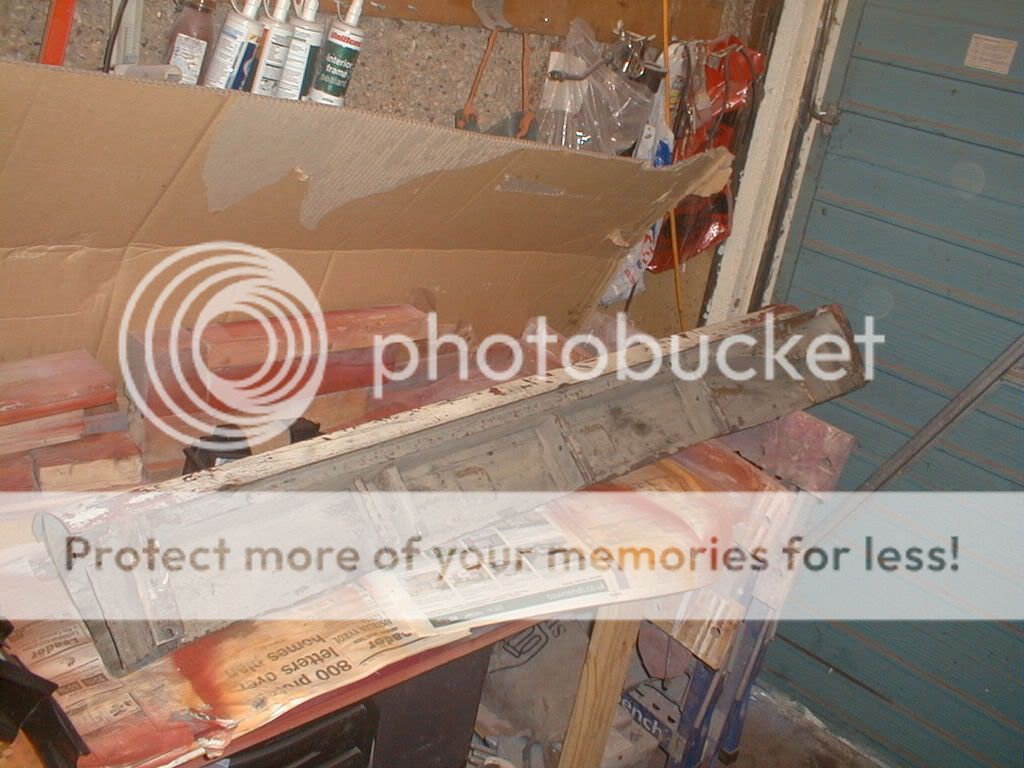
Preparring the section to cut
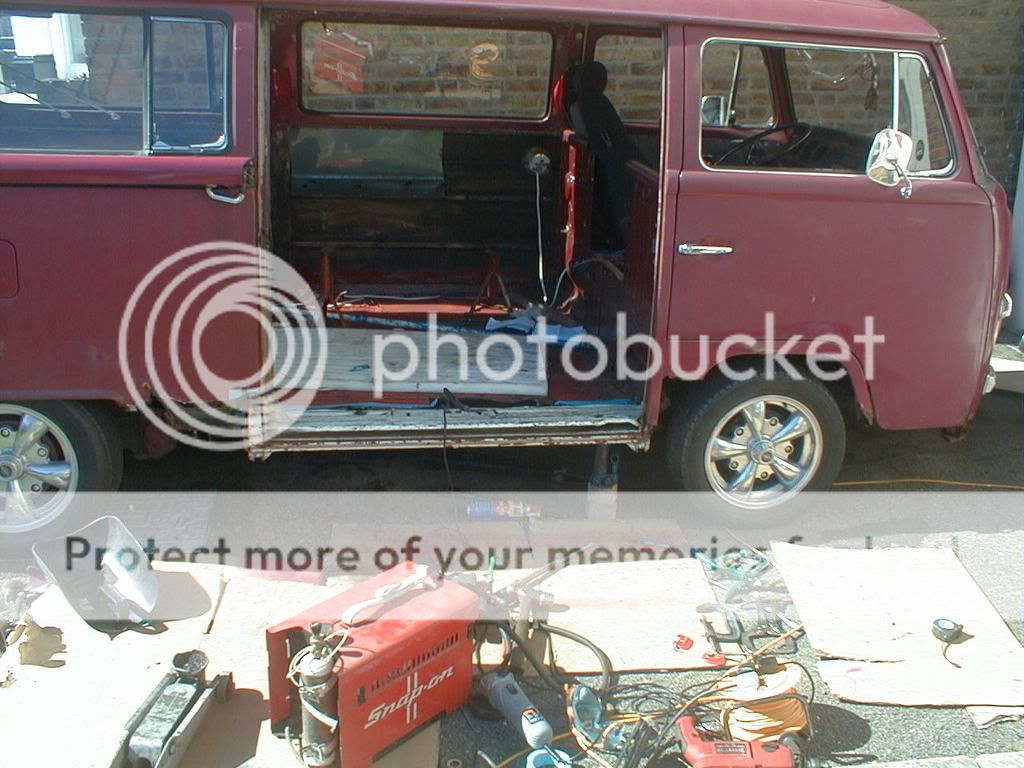
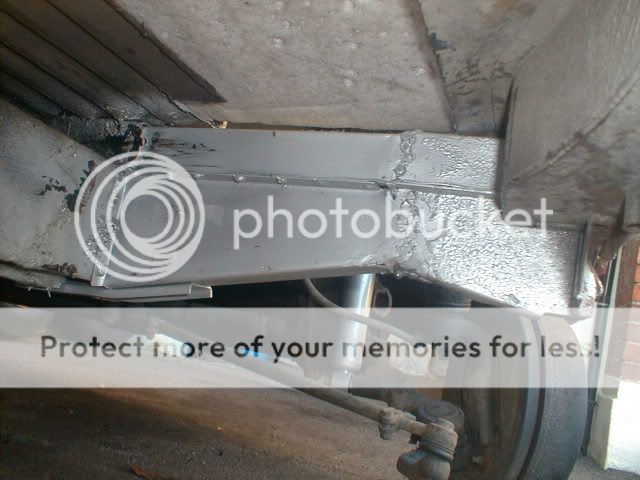
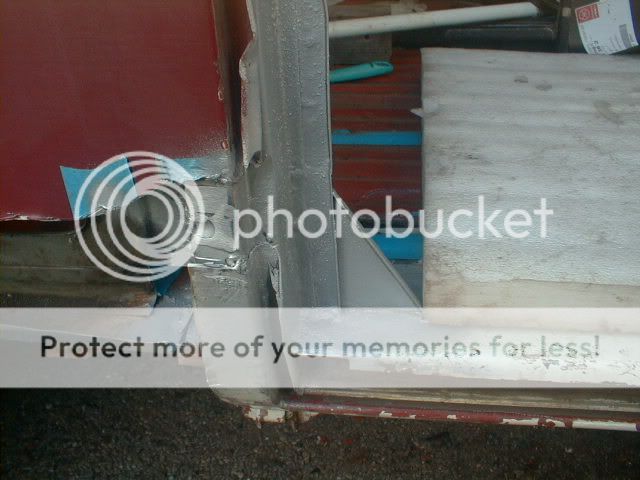
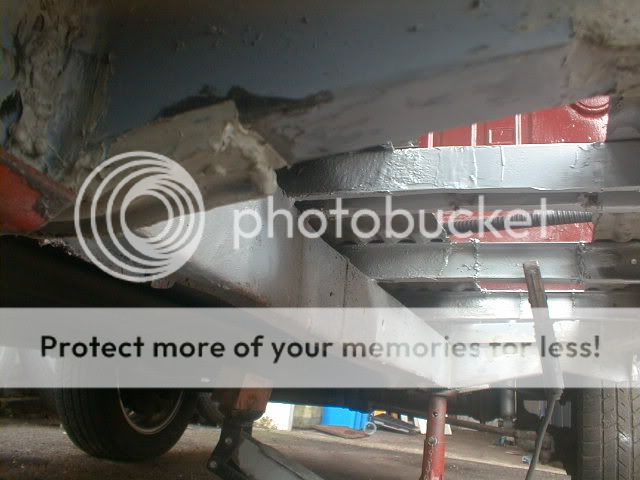
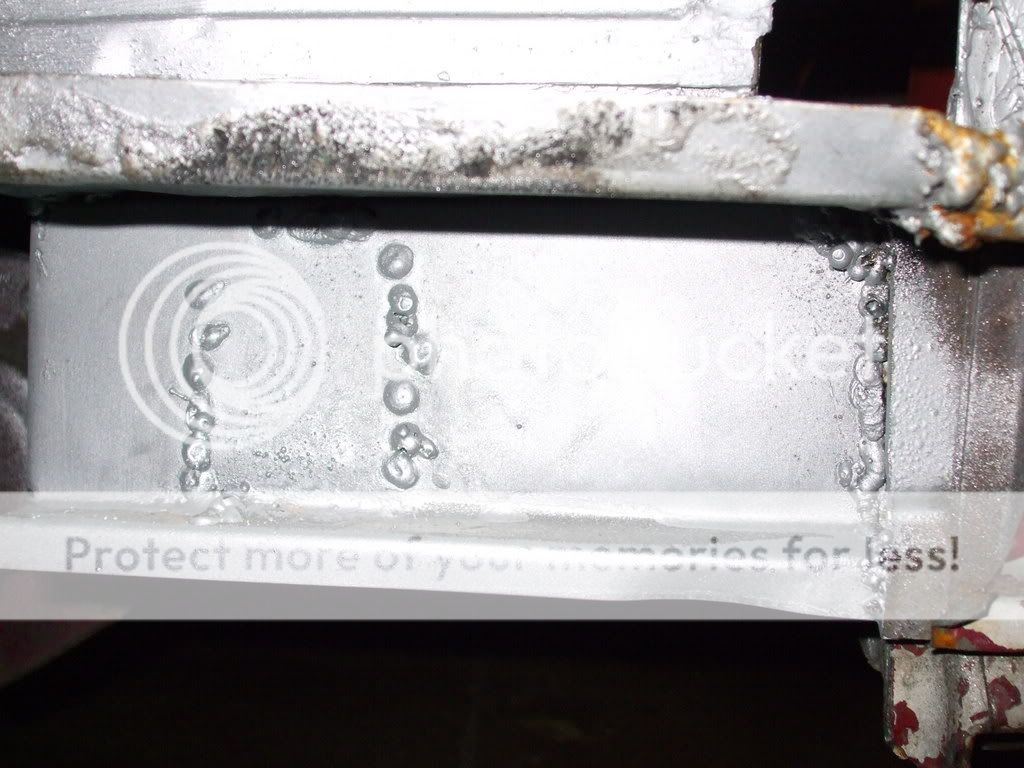
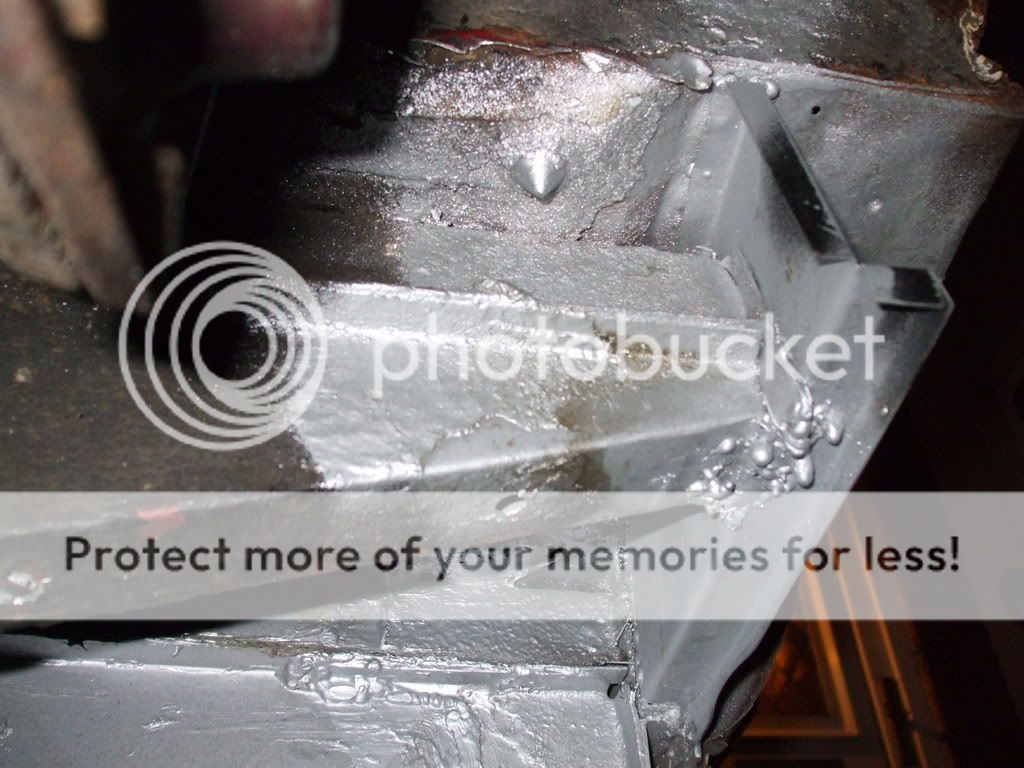
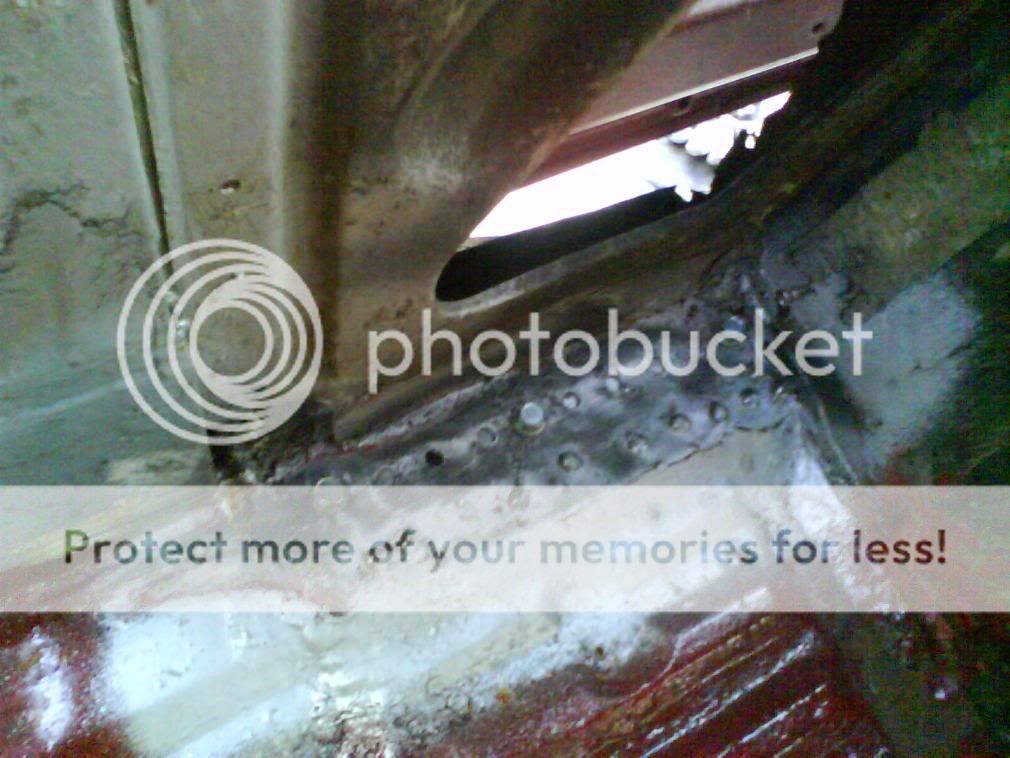
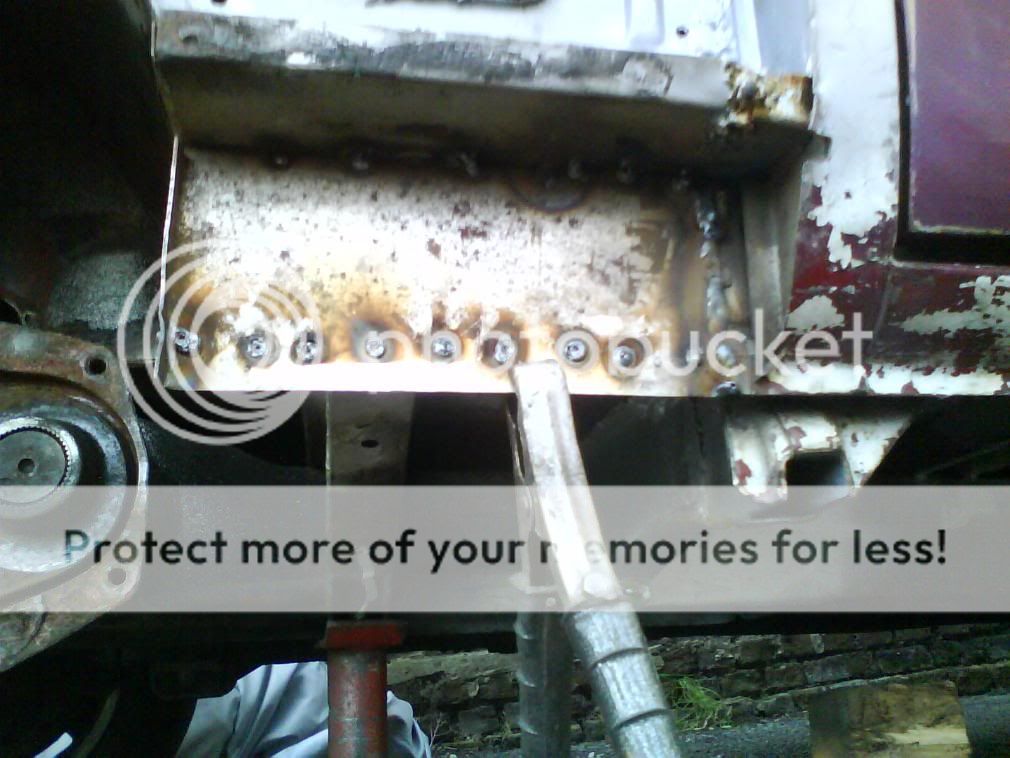
PIC00045.jpg

Cut and welded
PIC00047.jpg

PIC00048.jpg

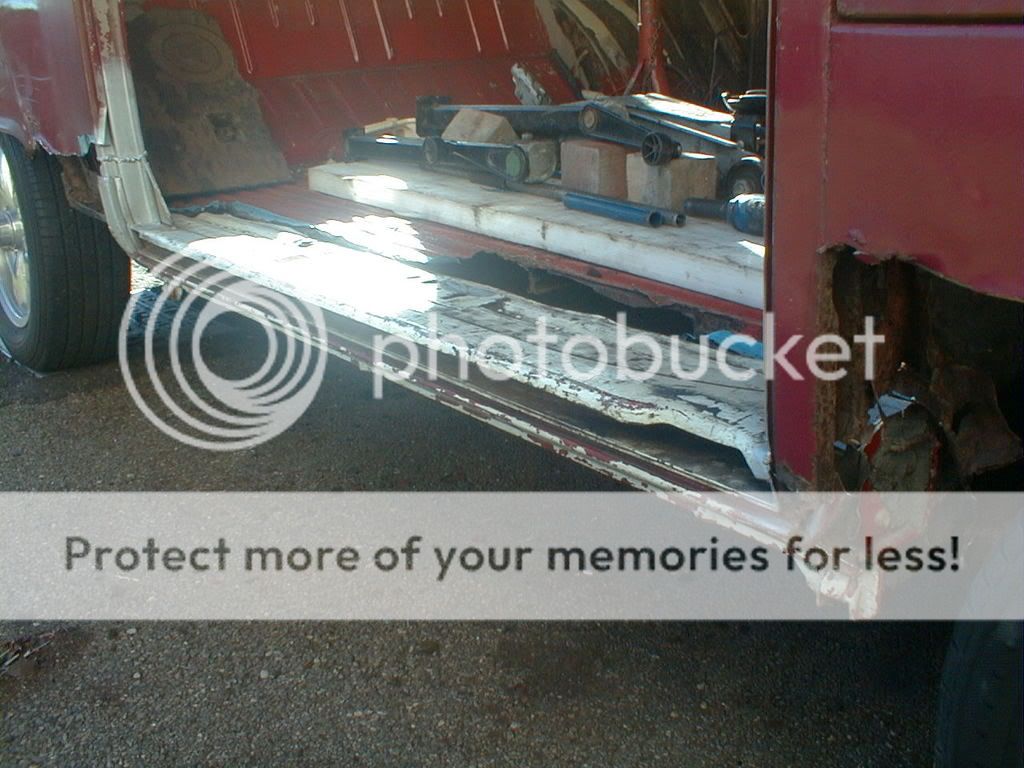
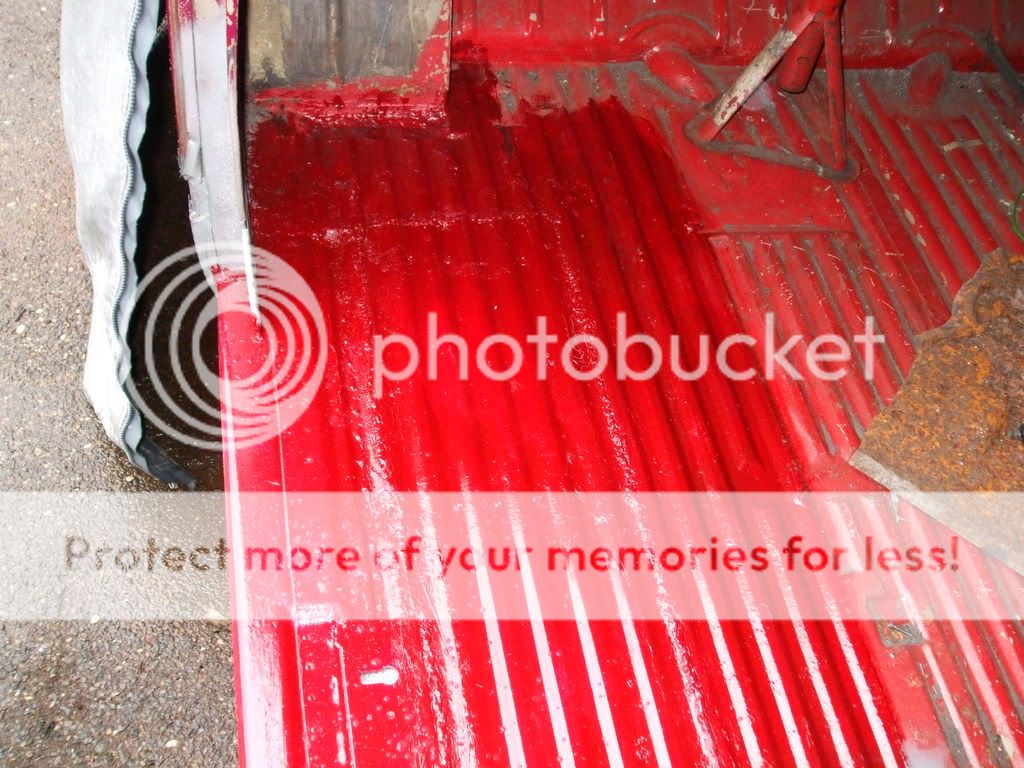
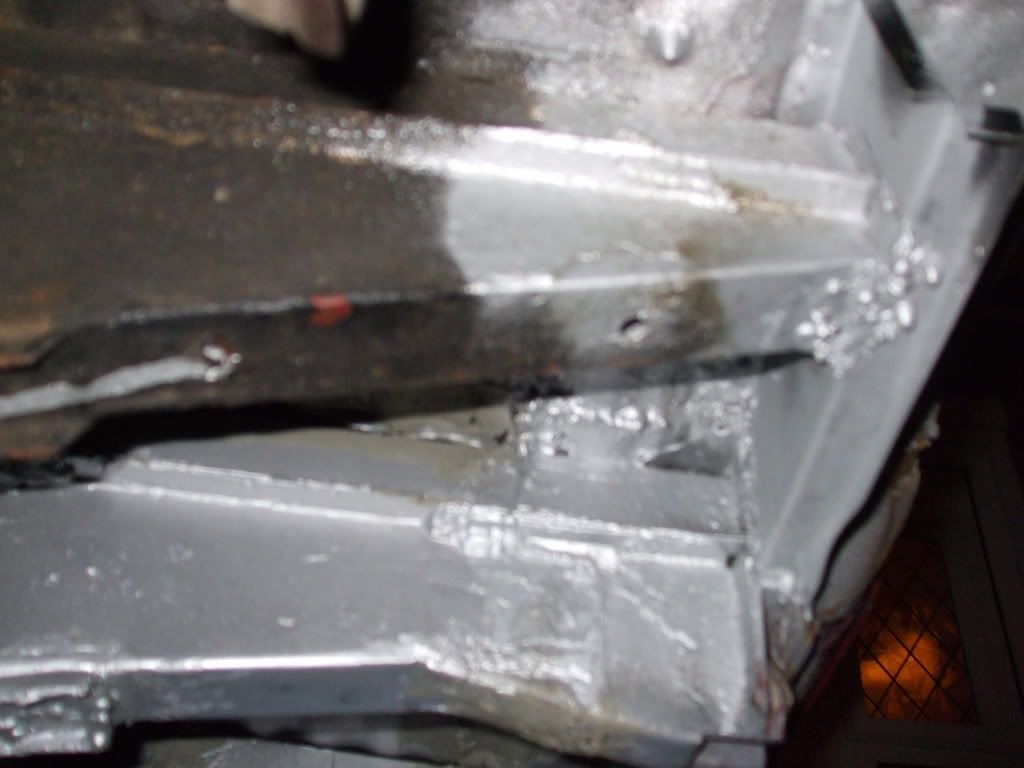
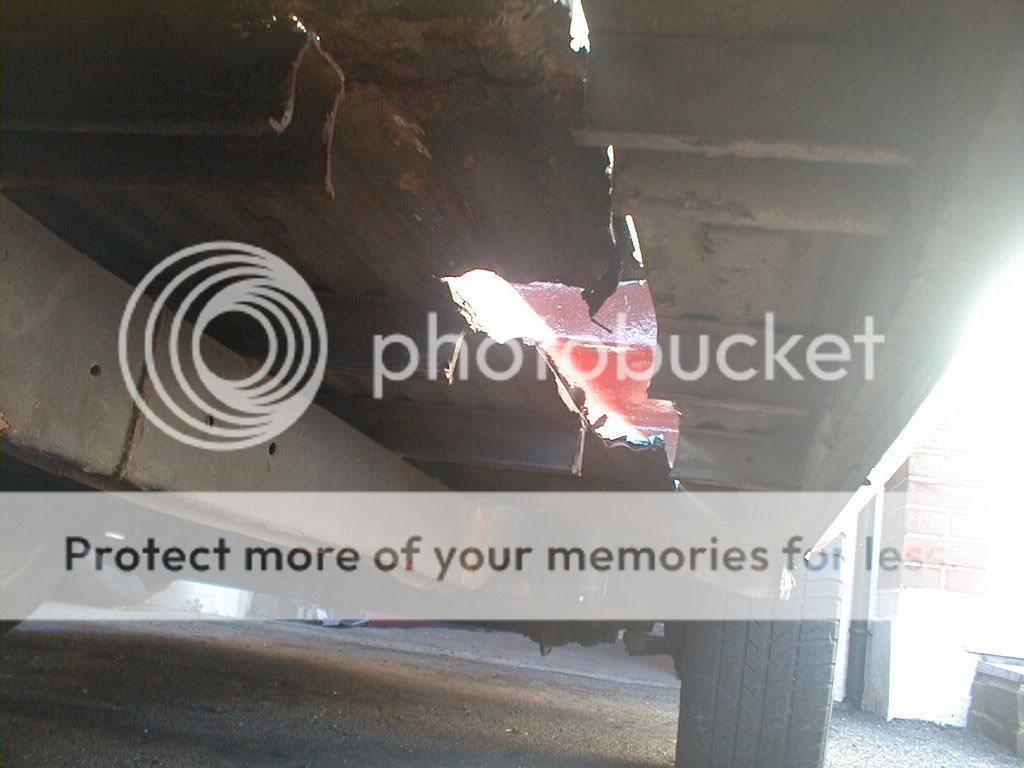
Just need to join up underneath and replace the left part of the floor.
PIC00049.jpg

A tip from me if you are having problems with replaement panels try secound hand.
 
have finally started to weld parts on
PIC00050.jpg

I have joined up the top support with the van and the section i welded on previously.Then i fitted a new out rigger and connected that to the jacking point that was also on the section.
PIC00051.jpg

I still need to improve my welding as i spent a long time welding,grinding,welding and grinding and i still have to grind the welds some more.
I have managed to replace my damaged rear valance
S5000388.jpg

£30 from stonor park.......These are going for more than that on ebay!
PIC00053.jpg
 
Only cleaned up the welding,rewelded,cleaned etc until it looked right.
PIC00055.jpg

I thought that i did alright! i am pleased with the out come
PIC00056.jpg
 
I managed to do a little more thanks to the weather!
PIC00067-1.jpg

I connected the top hat section,put on a new outrigger(i had to fit a front outrigger as when the sliding door section was cut it was a little short and the front outrigger is longer!) and then connected the rear jacking point up.
PIC00064.jpg

I have also connected the 2 floor supports and the other top hat secton
PIC00063.jpg

Ready for the floor to go down,hopefully before xmas weather dependent as i am doing this on the drive.
I still have not tried the sliding door yet!!!
 
Doing a grand job there dude 8)
Looks like xmas should be done deal at this rate :D
 
I finally fitted the floor section.
DSCF0161.jpg

I cut the section out of half a floor section so everything would line up correctly.
DSCF0160.jpg

I did not spend too long grinding down the weld as i am going to cover it anyway!
DSCF0159.jpg

I have still got one or two bits to weld before i can paint the whole floor.........hopefully before xmas......thats why its Red.

That should stop a cat from using the van as his home!!!.....i think he has been getting in throught the whole in the floor!!!!!!!!!
 
Connected up the rear part of the inner seal.........yes in my drive and it's nearly December!
DSCF0199.jpg

DSCF0205.jpg

A view from underneath annd i have not cleaned up the weld yet.
DSCF0214.jpg
 
Been lucky with the weather so I have been out on the drive and finally finished the o/s sills at the rear.......just the rear closing panel left,the rear arches later!
DSC00013.jpg

This was before i welded,i drilled the floor and welded from above and drilled the middle sill and welded the inner panel from behind i will not need to grind the welds down as much and the finish should look good.
DSC00014.jpg

I used self tapping bolts to hold the panel from above and welded the middle seal to the floor from above........no need to grind much again!!!
DSC00018.jpg

Welding getting much better
DSC00023.jpg

I think it looks good and seemed to have got good penetration
 

Latest posts

Top