My Pennsylvanian '67 Panel Project

Early Bay Forum

Help Support Early Bay Forum:

This site may earn a commission from merchant affiliate links, including eBay, Amazon, and others.

Smithy2801

Member
Joined
Nov 7, 2014
Messages
18
Reaction score
0
Hello all,
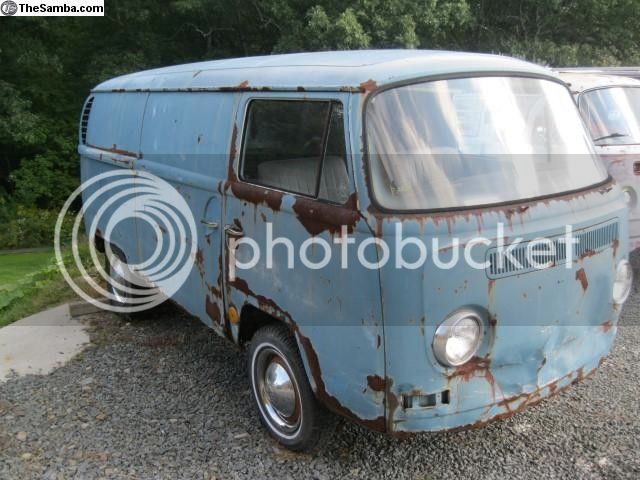
I have been on the forum for a little while and now my project has arrived I decided to start a build thread. This is my 1967 panel van that I bought in November from Pennsylvania.

After it got delayed it finally arrived at the beginning of the month :D.
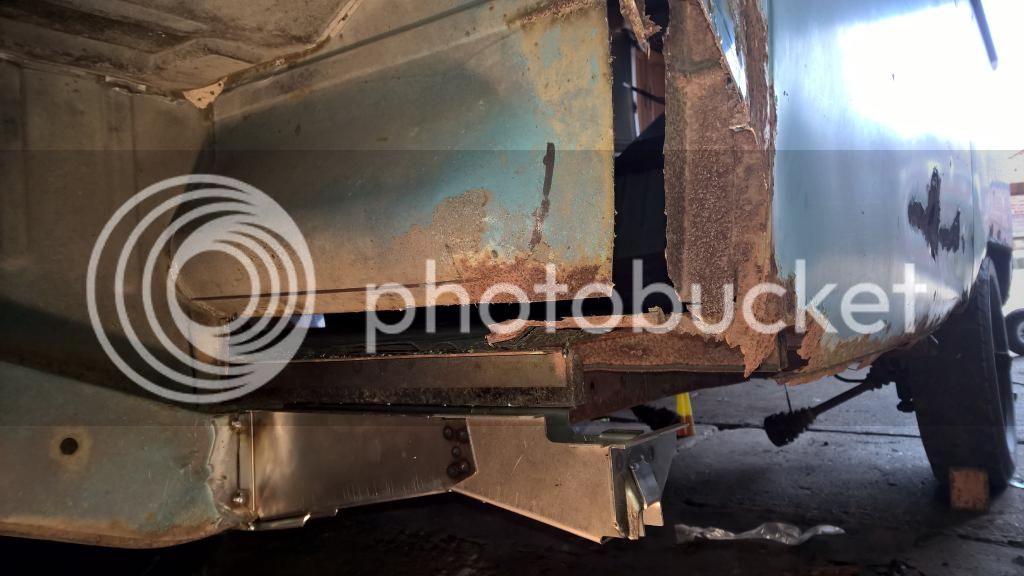
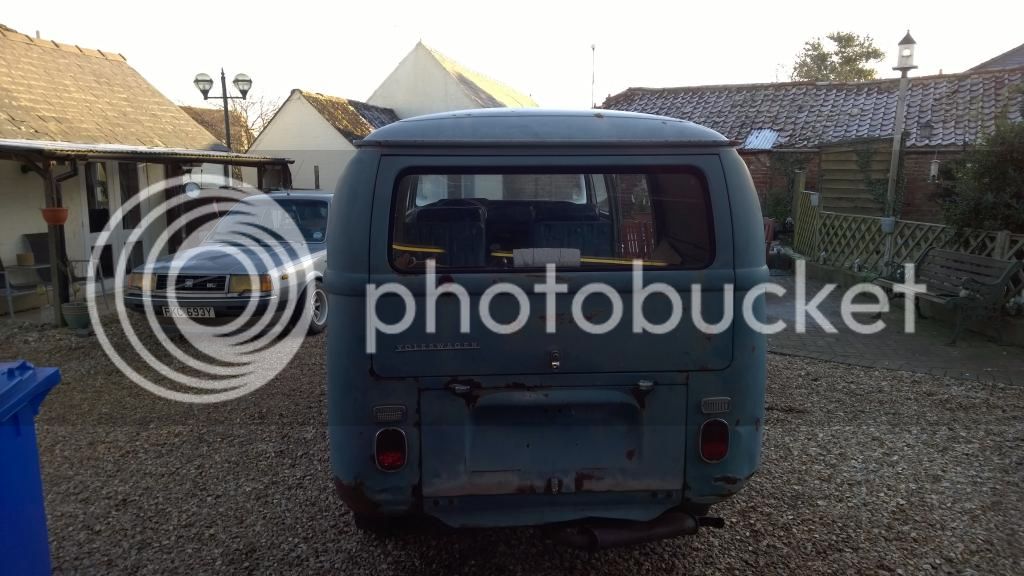
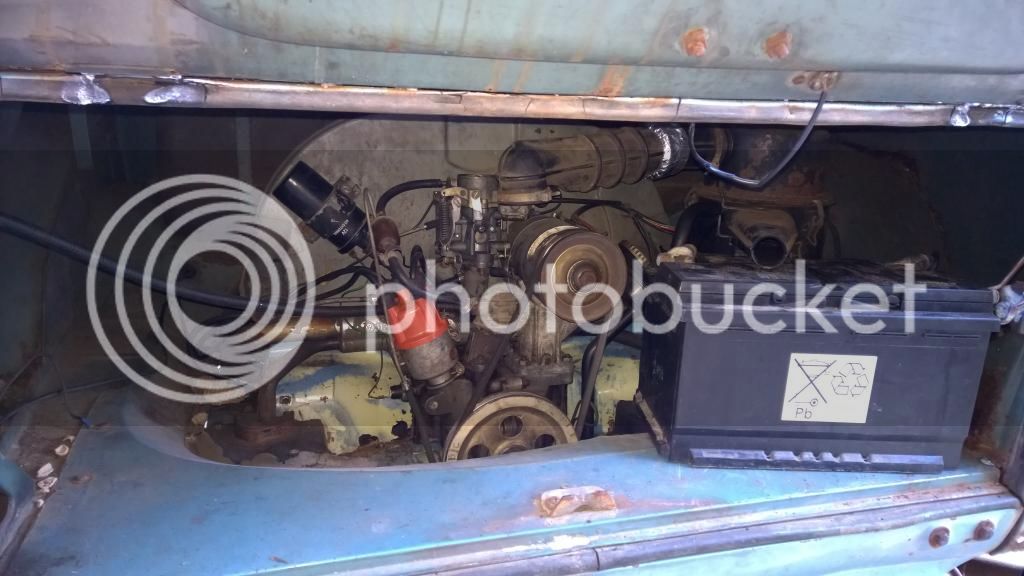
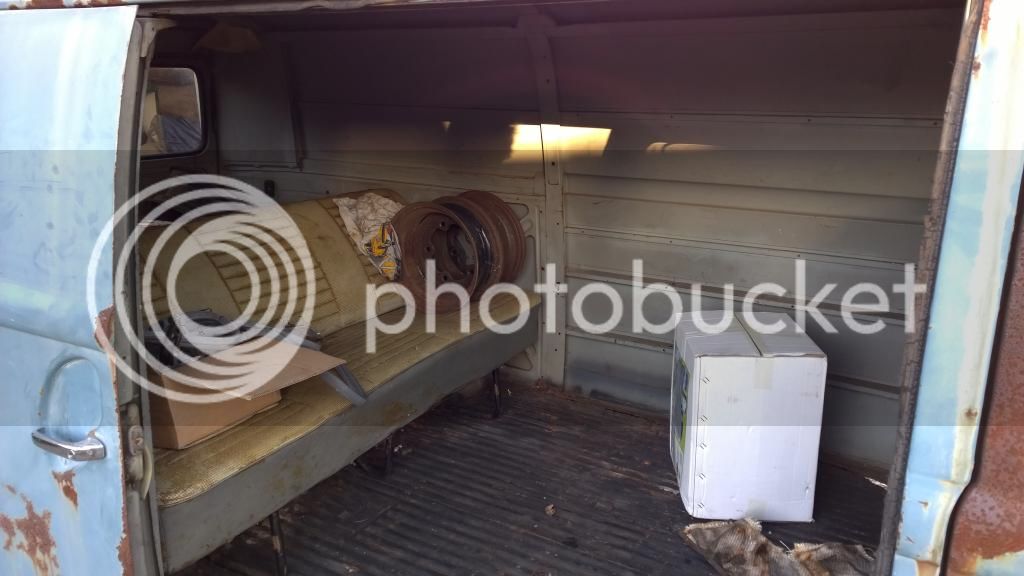
Here are a few pictures of it now it has arrived at its new home.


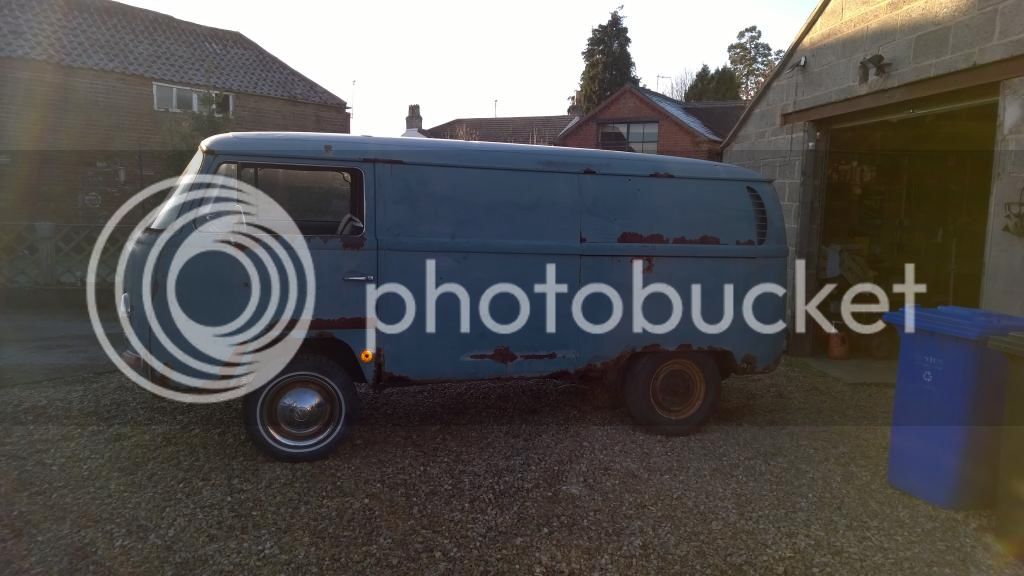
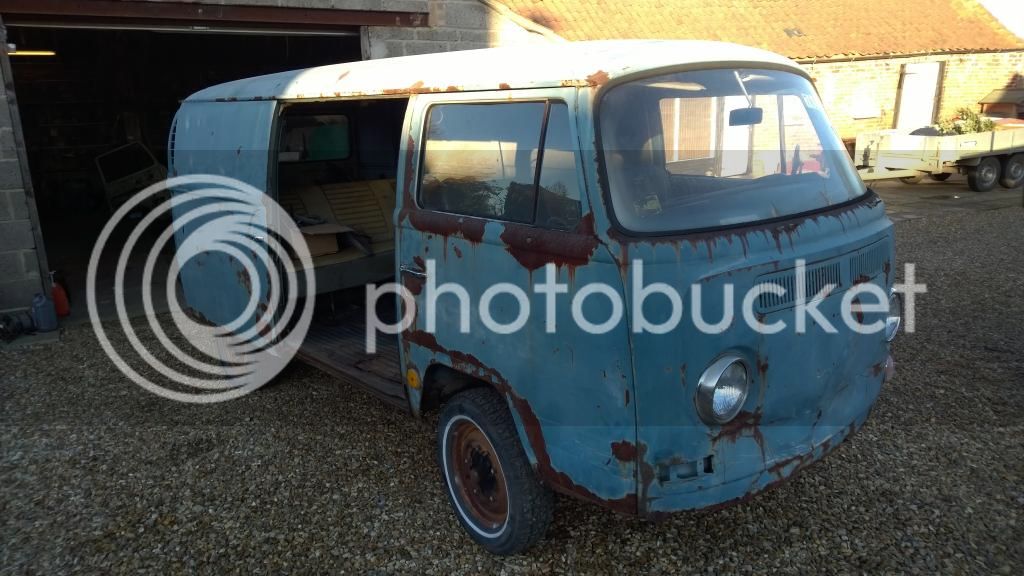
I tried to fit the offside indicator but due to the front panel damage it didn't fit so that will need straightening a bit to fit it :lol:

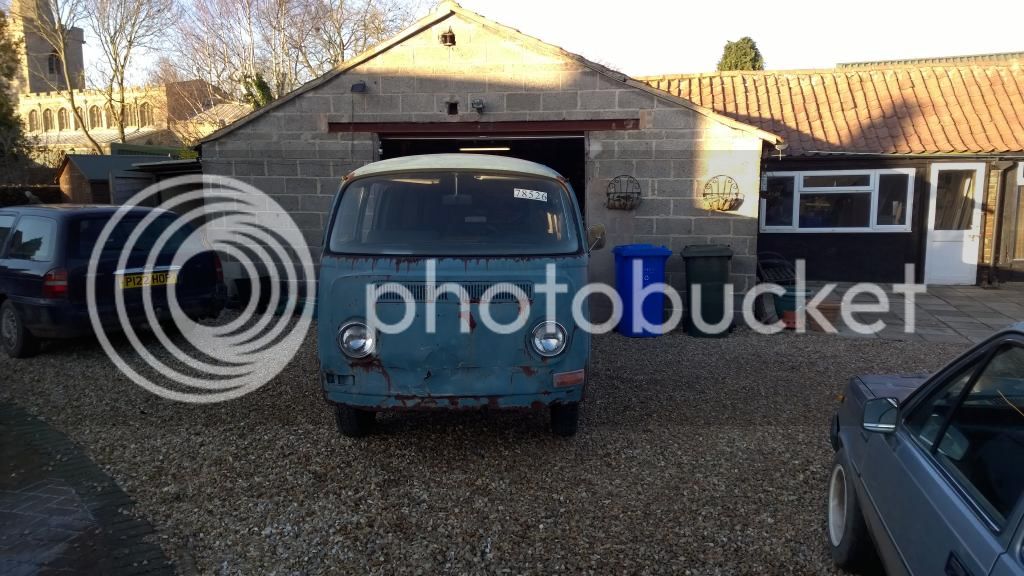
My favourite part of the van the heavy front end damage :lol: it would be interesting to know what caused it


With just a battery and fuel it fired up :D runs smooth but cant hear anything as its on J tubes and they aren't clamped to the 4-1 at the back so it is rather loud :lol:


My plan is to get it registered and then move onto the fun bits of lowering etc :D
So keep an eye on this thread as I slowly work to getting this on the road how I want and start to get some use out of it :D
 
Nice looking panel 8) Much welding needed or is it pretty solid?
 
Thanks for the comments guys :D
Haven't really done much to the van just sorting all the parts that came with it that I need to sell :lol:

I did however receive this during the week :D


Then spent today trying to move stuff in the garage to make space so I can get it up on stands and attach all them bits :lol:

Curiosity did get to me so I took the windscreen out just to assess the situation with the rust around the screen think im going to need a bottom screen section but I hope to save as much of the rust as I can :lol:


Now I just need to move a vehicle out the way and then the disassembly can begin :lol:
 
Thanks for all the positive comments guys :D
I received all my paperwork from the shipping company :D
So this weekend was mostly spent making space for the van including moving this wonderful vehicle :lol:
I knows its not a VW but still pretty cool 8)


Then I moved to pulling the engine out once it had made its final journey into position for work to commence :D


Then to my surprise I found that the gearbox has a cradle mount so I assume its crossover/late bay box and was just wondering if anyone could shed some light onto what box it is and if it is any different to what it would of been. I dont see that it will matter but just good to know what its from :D


who? said:
Very cool looking panel mate, cant wait to see this come together.....

Gear box looks the same as my 70, whats the cradle situ all about?
Thankyou :D Its just I know that late bays and prob crossovers have the strengthener/support/cradle that goes above the gear box from chassis to chassis and then the gearbox bolts to that, so I may make use of that and make a gearbox mount for it.
 
Little bit more progress over the weekend :D
Removed the gearbox

Removed the fuel tank

the rubber filler neck snapped when I pulled it just shows how brittle it has become over the years :shock:


My plan is to respray the engine bay and make it look nice and shiny in comparison to the outside :lol: but it isn't in too bad condition for its age


Then I started my first bit of bodywork :eek: decided best place to start was with the front outrigger/jacking point as the rears of both front arches are completely missing so I felt that the outrigger is a good base to build up around it. So chopped the old one off

And then just clamped the new one in place


The outrigger fits very nice and I'm really impressed with the autocraft parts compared to the other pieces I have :D So with the outrigger held in position I just got the other panels mocked up to assess how to go about attaching this all.
This side looks good :D

Still a few more bits required for the other side :lol:


Now that I have got a visual of where I'm going with these panels I think going to attach the outrigger and build up and around there with the closing plate and then the inner and outer sill and then it should all hopefully line up :D but this is my first time doing bodywork/welding/chopping so I'm taking it steady to make sure its all square and nice :lol: I am planning to have the underneath in a better condition that the top with it all painted and shiny new suspension pieces etc

Hopefully some big progress for next time with a lot of these panels attached :lol:
 
So began welding on my first panels :D started with the outrigger


There isn't much there :shock:
WP_20150222_12_22_46_Pro1_zpskeyapl4a.jpg
[/URL]
fitted the the new b post but after mocking up the inner and outer sill it looks like it needs to be 10mm higher :? so leaving that till I have the inner and outer sill in place then ill line it all up from there.


Don't have any before pictures but repaired the small hole in the top of the wheel arch

then cut off the rear outrigger to get the sills in place to the re attempt the b post

but found this underneath so will repair that first but decided to call it a day on the van :lol:


Some more small progress but I'm making a lot of small repairs to save money on buying the entire panels or having to buy body cuts but hoping to have this side done in the next couple of weeks
 

Latest posts

Top