Spring Valley Bus meets Corvair

Early Bay Forum

Help Support Early Bay Forum:

This site may earn a commission from merchant affiliate links, including eBay, Amazon, and others.
A few years ago I bought one of the dash top units that had internal and external temps (with the probe) and time/date etc. It didn't even last the 200 miles to Cornwall 🤣

That reminds me, I bought some Earz and had them delivered to our campsite in July this year. They were there waiting when I arrived! I unpacked them and went about fitting, 2 minutes later they were in the bin, snapped :rolleyes:
 
I got mine in, the first one also snapped, warmed the second one up in the sun over the summer and got both in.
Now I have a spare:ROFLMAO::ROFLMAO:, although once in be careful walking past , it's surprising how quickly you forget.

J & P
:D:D:D
 
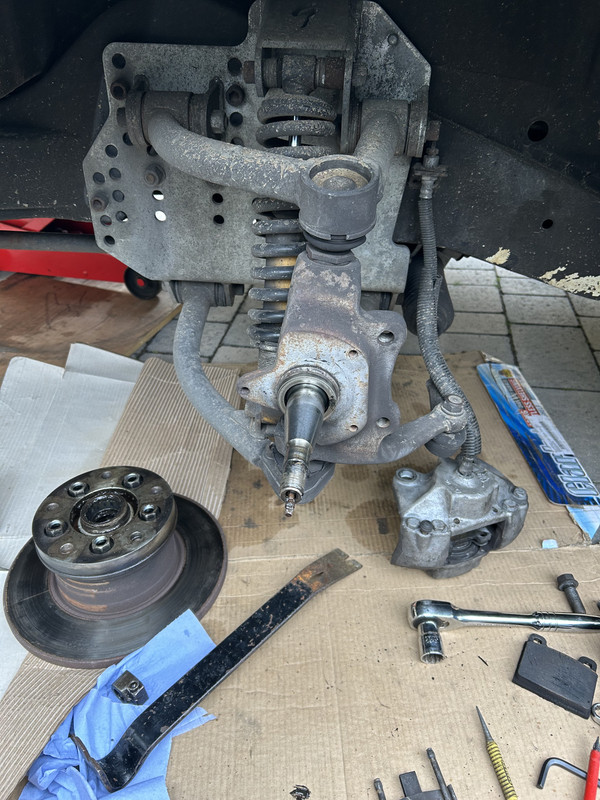
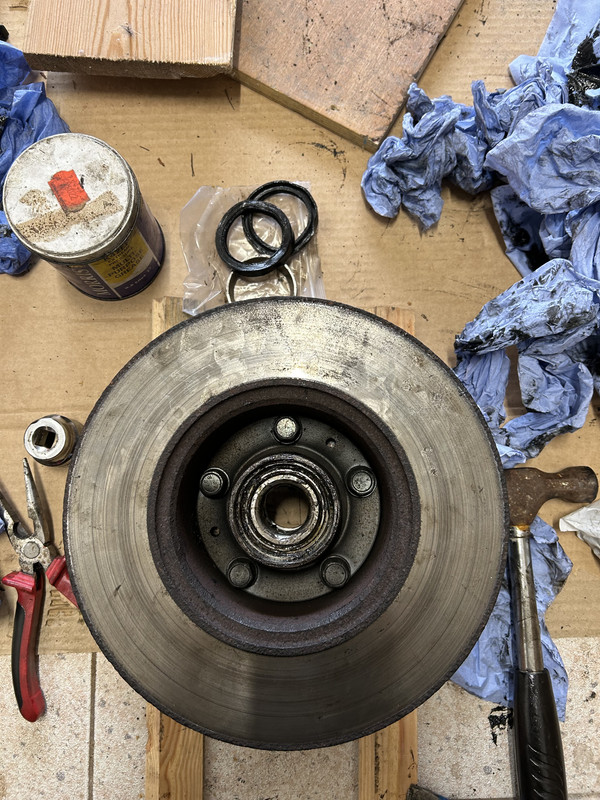
Quick update, had a spare hour so whipped off the front wheel (****** a thread last time using an impact gun, took an hour!) Smashed out the inner and outer bearings on the late bay hub (red9 wishbone) no problem, tried to instal the oil seal and no! Damaged it putting it in, no problem, I’ll use the other one, nope! Damaged that too! Bus been on the drive since awaiting seals.
Someone messaged me saying they’d done the same job over the weekend and had the same experience with the oil seal so reused the old one. I’m now thinking the oil seals from JK are slightly too big for the hub!? Will try freezing them when they arrive tomorrow before fitting
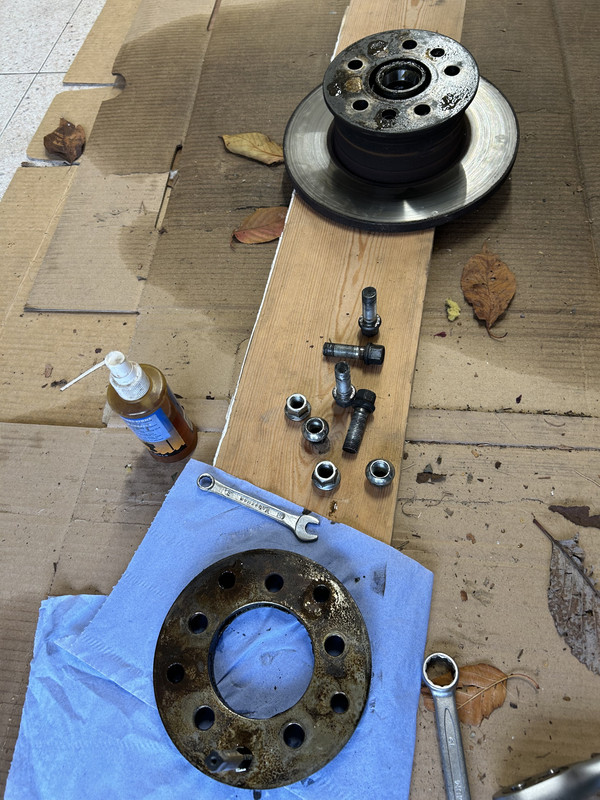
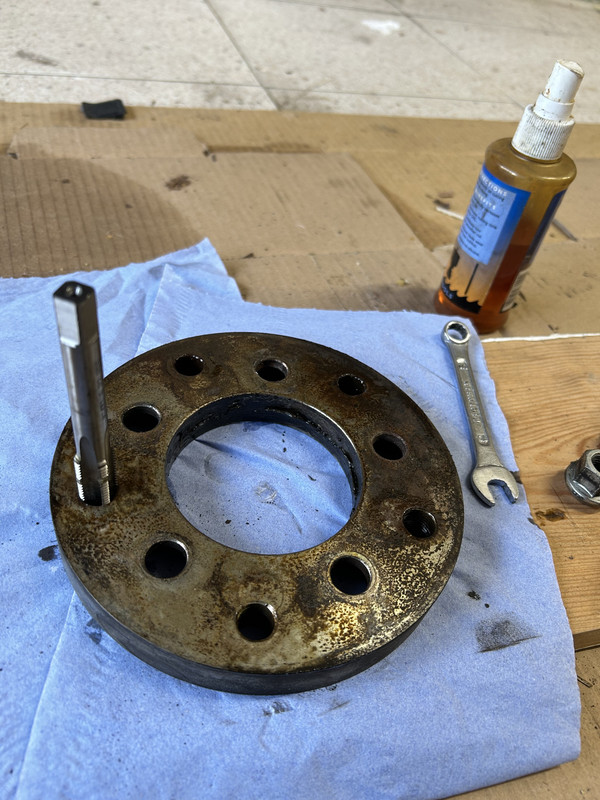
As for the damaged thread on the wheel nuts I will run a die over them and a tap thru the hub and hopefully save them.

IMG-0296.jpg


IMG-0297.jpg
 
Forgot to tell you bud. I also had the same issue. I just didn’t want you to say ‘me too’ ,, ‘me too’,, for me. I just put the sizes in the iPad and it came up with the seals, which I ordered straight away. I think I ordered something else too in order to get the free postage. When they came, I coated them in 3:1 oil but used my heat gun on the hub, so the opposite to what you’re saying. I got loads of monster sockets too. My mate said to put an extension bar in the socket as that’ll help with centring the impact. It worked too. If you’d like some sockets , then give me a ring .

Ozziedog,,,,,,,,,,’me too’ for anything cocked up :)
We all got a me to story after all these year surly lol.
So the JK seals turned up and went in the freezer, I got home from work and they pushed straight in, no force needed. They did look a different make to the ones that came in the kit, so anyone else ready this get the oils seals separately to the bearings.

Annoyingly the M14 tap and Die I ordered on Amazon prime that said it was delivered at 15.35 this afternoon certainly wasn’t delivered to me! So tomorrow I’ll take the wheel off and run the tap thru the adaptor, it’s only 1 thread that’s stripped so I recon it can be saved. Will get a couple of new bolts rather than messing about. If anyone in Bristol has two going spare I’ll shout you a beer
 
Is it regular wheel bolts? I’ve got a few . And an-idea too. If you just run something through that iffy thread from the back then use a punch to mark that particular one with a couple of punch marks so you can always put that one at the top when replacing the wheel and put that one in last so it’ll be easier to thread in. If you were still unsure then perhaps a dab of loctite.

Ozziedog,,,,,,,,,just a thought :)
I just ordered some bolts off JK :LOL::LOL: Ordered a steering coupler and some brake fluid but thanks for the offer. Van currently running on 3 bolts just to get it back in the garage, the other 4 threads all took a bolt and I’m sure the damaged one will come good, but yea I’ll mark it for future ref and add some loctite and not over tighten it.
All being well the disc won’t rub the pads which was the whole point of doing the bearings
 
Dismantled the hub to get the adaptor off. Bought a cheap snide makita battery as the one I had wouldn’t take a charge and it’s worked a treat. Ran an m14 tap through all the threads and put it all back together.
One thing that I’d never encountered before was the hub got stuck on the stub axial and wouldn’t seat on fully or come off without the use of a hammer. Needed to go on completely square, which after 3 attempts I got right. Anyway all back together with a couple of new wheel bolts.
Took Ozzie’s advice and marked the damaged thread with a punch for future reference
IMG-0359.jpg


IMG-0360.jpg
 
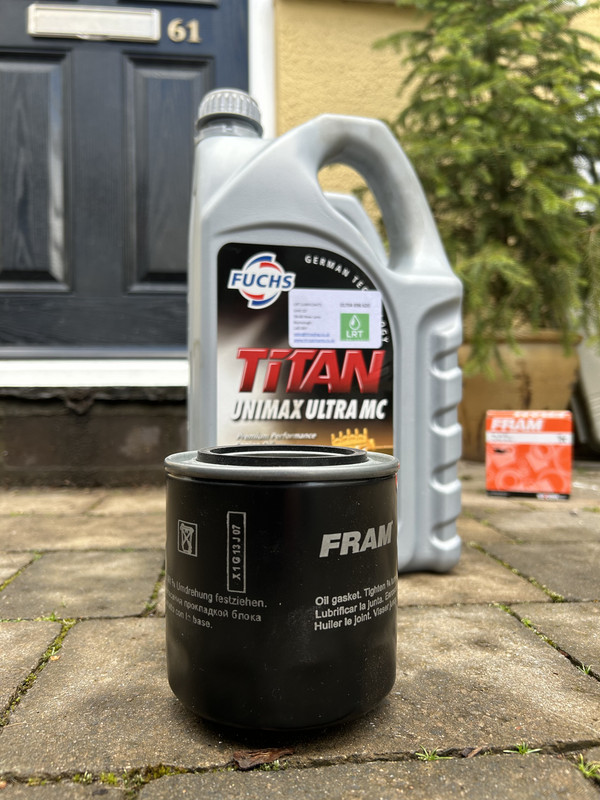
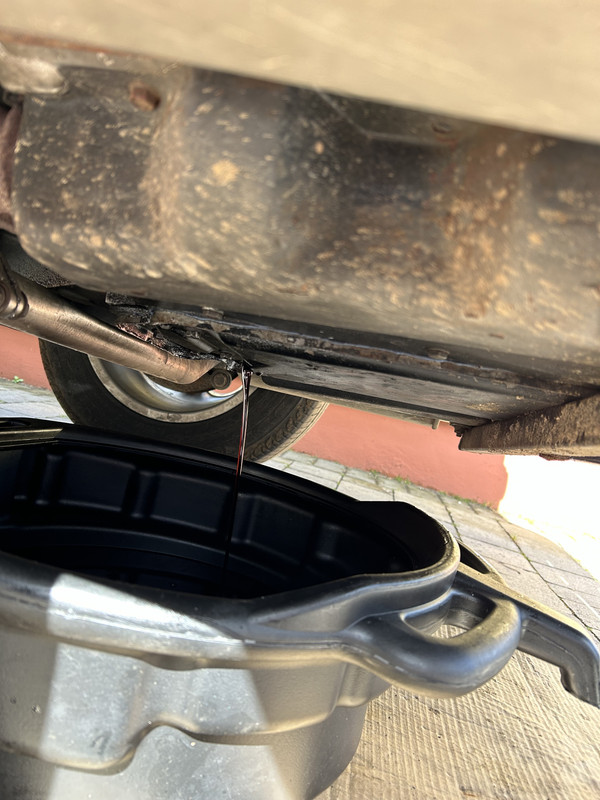
This weekend I dropped the oil & filter. Didn’t do it last year so was due a change. Actually I had an oil leak coming from the bell housing, so it’s been on my mind to investigate, but when I found those loose bolts and sorted that issue it must have cured the oil leak too which makes sense.

IMG-0377.jpg


IMG-0378.jpg


Next job the offside front bearing but no rush to complete that then to change the **** Red9 bevel box for their new design with will sort the wondering steering.

Oh, something is going on with the rear brakes, tend to get a metallic clunk when I pull off, probably a spreader bar had moved as that happened before :unsure:
I do like your oil catcher tray dooh dah thingy ma bob. Is that a spouting between those handles ?

Ozziedog,,,,,,,looks great, good place to hide sump plugs.🫣
 
I do like your oil catcher tray dooh dah thingy ma bob. Is that a spouting between those handles ?

Ozziedog,,,,,,,looks great, good place to hide sump plugs.🫣
They’re quite good at catching, but not the easiest to then empty owing to the odd design of the spout.
 
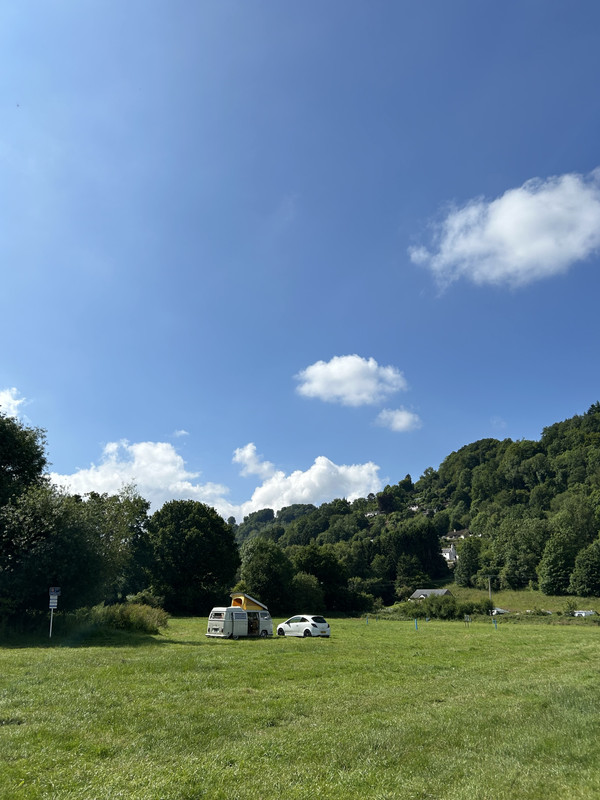
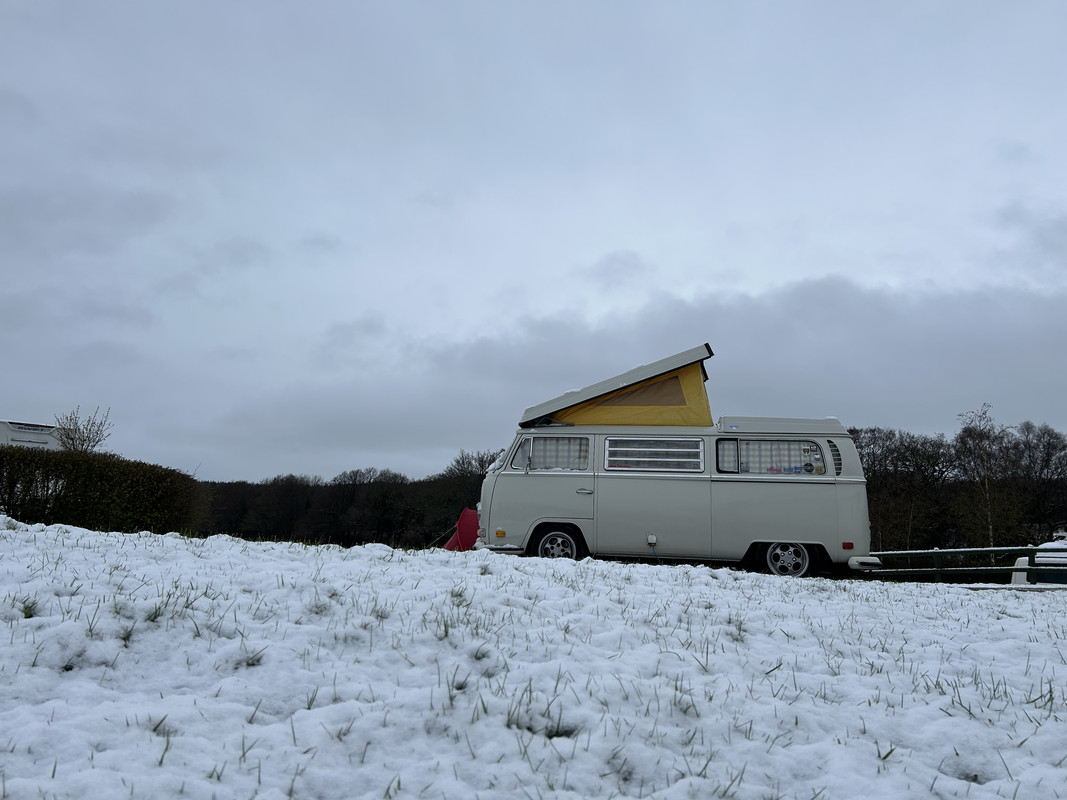
So, we had a fun weekend

IMG-0444.jpg


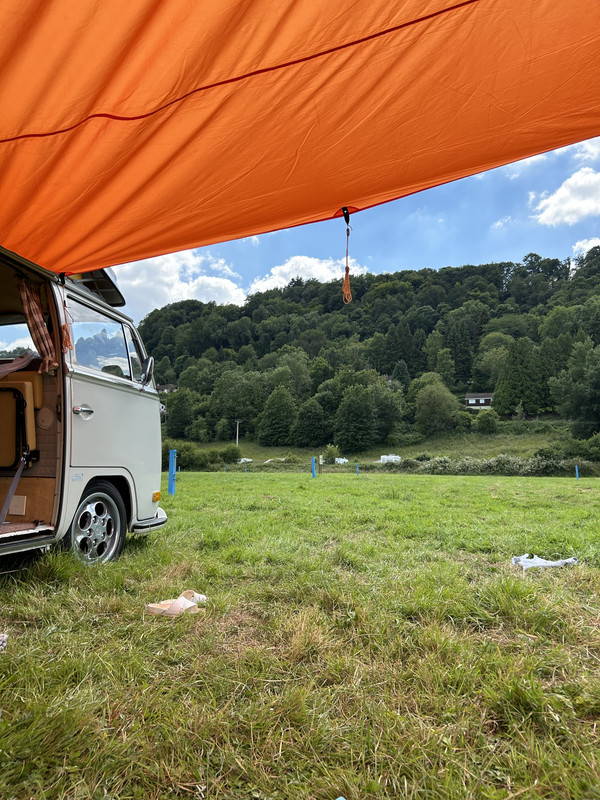
All four seasons in a day along with high winds and hail! Was great to get in the bus tho!

Of course there was a slight issue….

IMG-0483.jpg


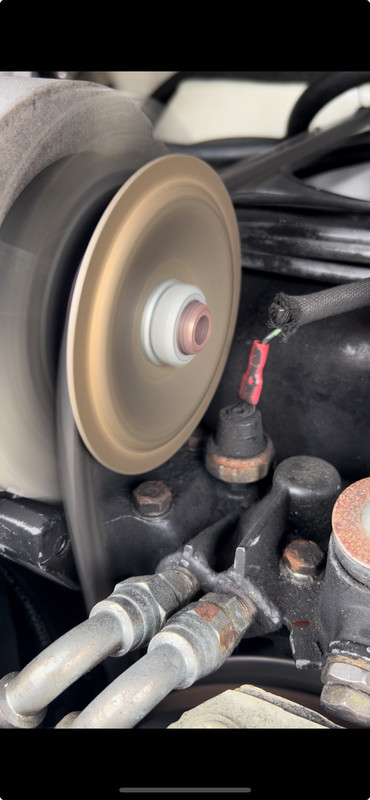
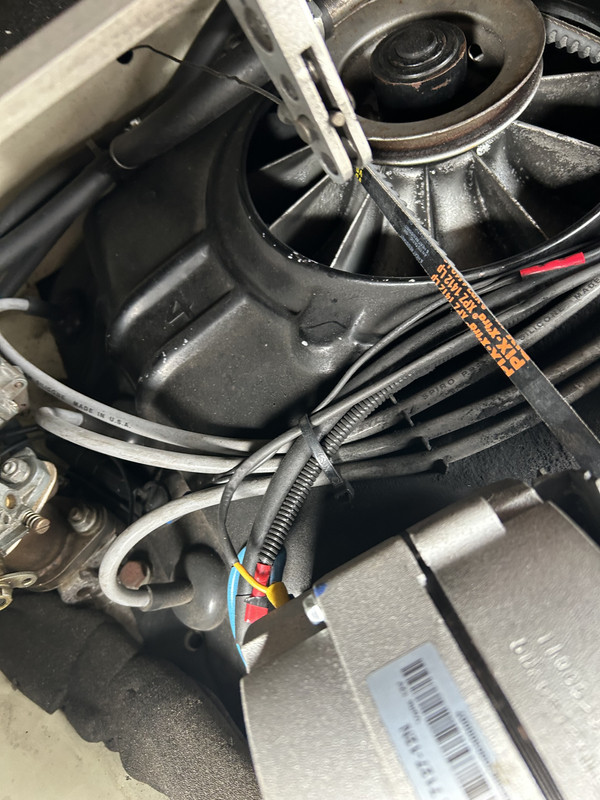
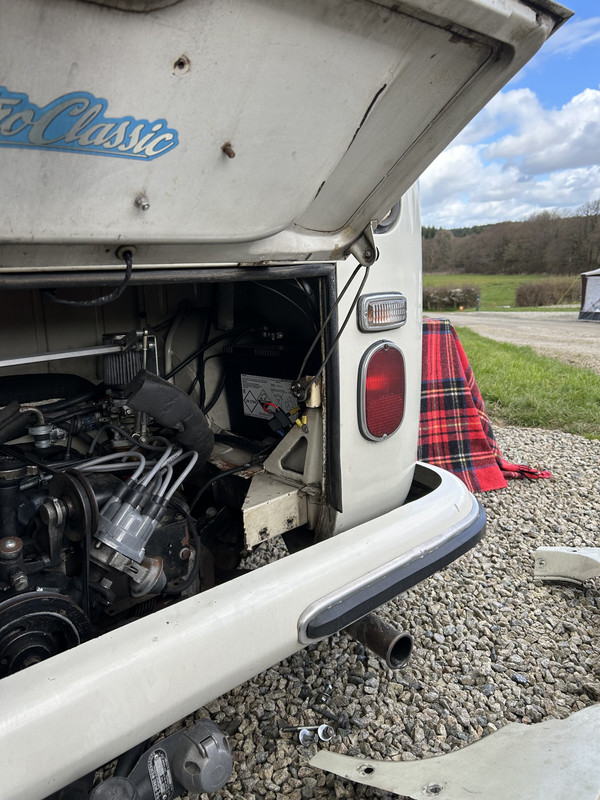
The fan belt had worn and was not charging (yea that issue again). On inspection the adjustment idler would take the belt beyond the straight line of the engine pulley and I didn’t want to chance the journey home so put another belt on.
 
I fitted a toothed belt to see how it performs, bc the engine has been reversed the alternator side is slack (see pic) and when hot it won’t always give a charge due to slip, it’s taken me ages to figure out the reason after noting the patterns over the last couple of trips

IMG-0526.jpg


IMG-0542.jpg


So on testing this weekend I’ve noticed I now get an audio notification of slippage on start up when cold, and the volt meter shows no charge, after a few minutes the noise goes and the volts rise. I drove a few miles and filled up with fuel, on restart I had the same pattern, I waited a few minutes and the noise again went and the volts rose.

I’ll see how this goes over the coming months, with the smooth belt it usually charged when tight but the belt wore in double quick time.

The next step is to design a sprung idler pulley rather that the fixed one.
 
What das the new Red9 bevel box looks like?
Sorry, missed this post. I'm going to try and fit a new steering coupler this weekend and will look at swapping over the bevel box too, however I feel like last time I tried to unbolt it I couldn't get it off the shaft. This was some years ago but I struggled on the driveway and have been putting it off until I have a ramp available. Will post a picture
 

Latest posts

Top