The 1971 White Westfalia 'Fe'

Early Bay Forum

Help Support Early Bay Forum:

This site may earn a commission from merchant affiliate links, including eBay, Amazon, and others.
Looks good mate.
Interesting to hear you had an issue with delilahs, I have heard nothing but positive feedback about them.
Are they making good the issues?

Sent from my GT-I9505 using Tapatalk
 
Looking great!

Steve at Gasure does great work and a good guy too – always recommend him to people.
 
That's a lot of work done! Nice idea of having the gas-tank outside to keep more space inside. :)

Pity the hook up cover is black, white wouldn't stand out as much, but as you said it can be painted.

Seats look good.

8)
 
Thank you all. Not had much time to reply to things as I've been working on the bus every day.
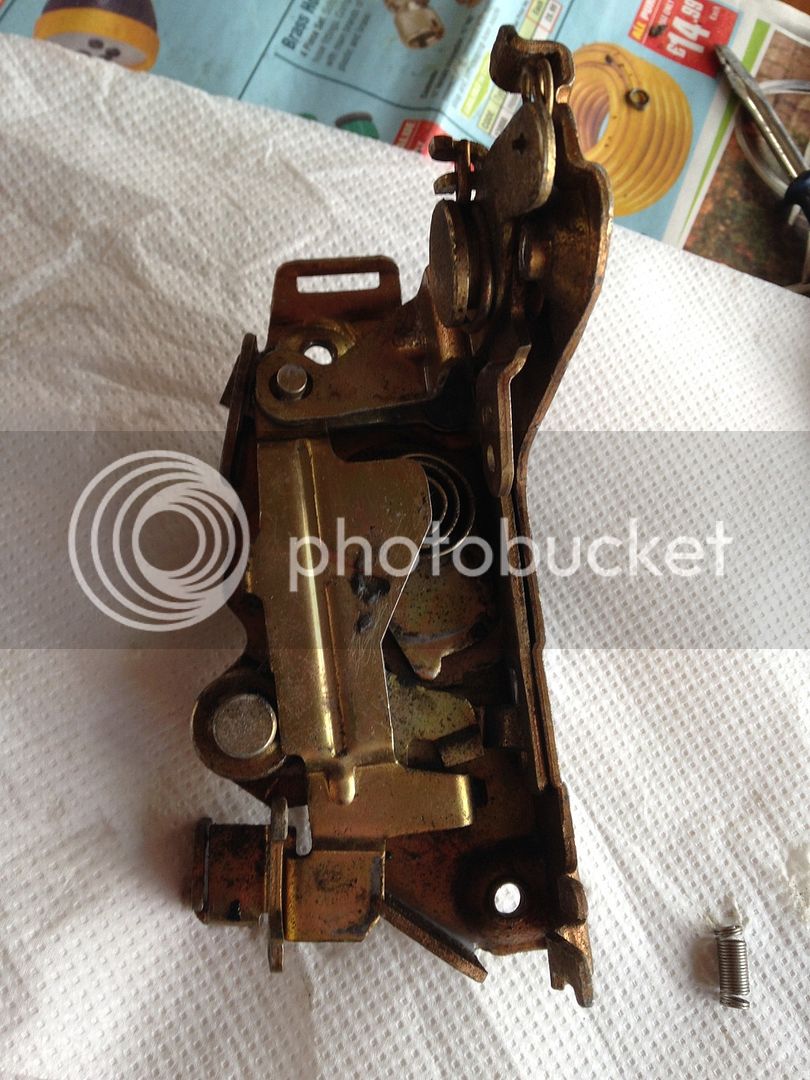
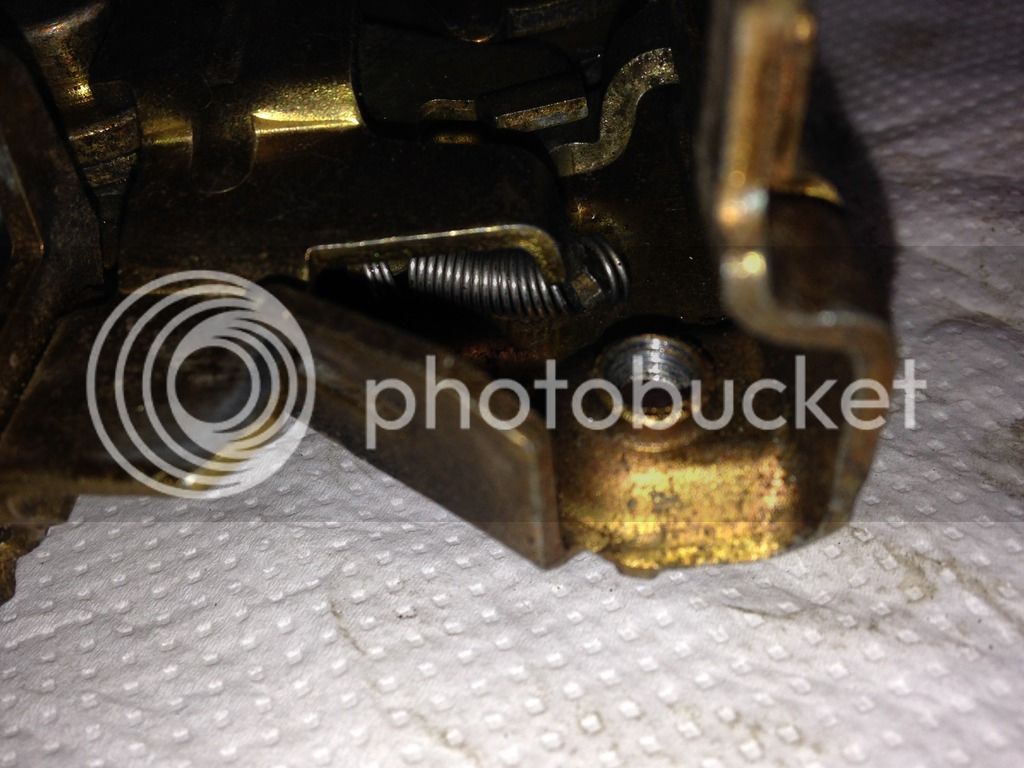
Mike, followed your thread on changing the lock springs and WOW! Had two doors that didn't lock/unlock and now have doors that do. Feels amazing for such a little change. First door took me about an hour to do, surprised at myself really. Second in 20 minutes excluding degreasing.

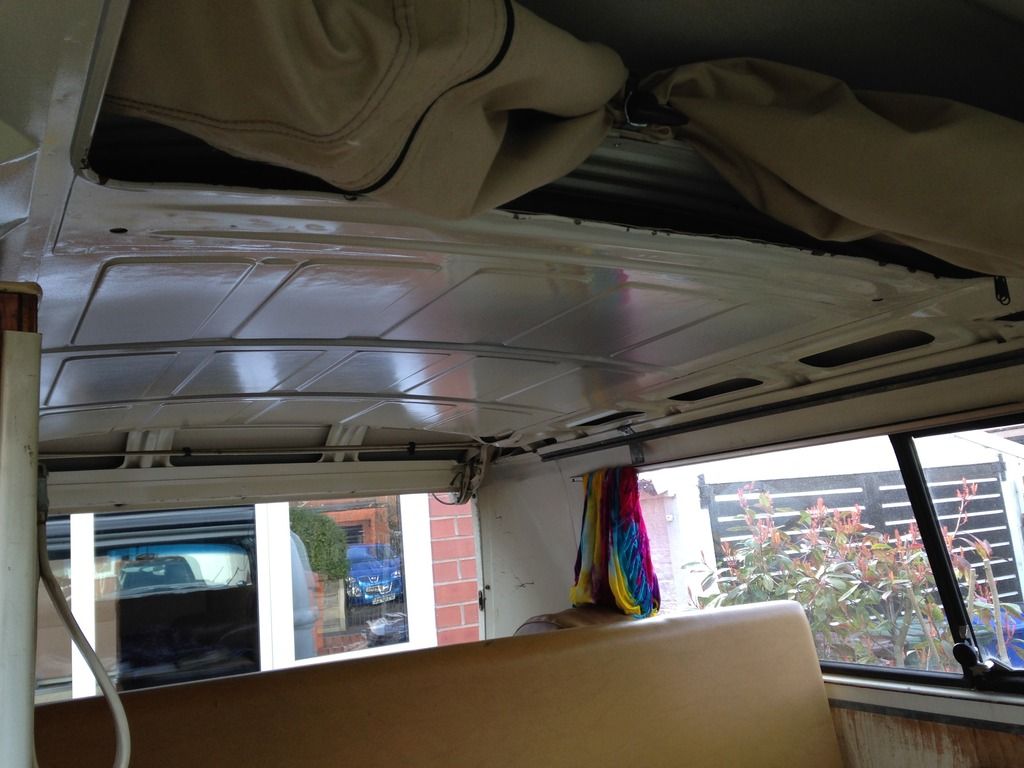
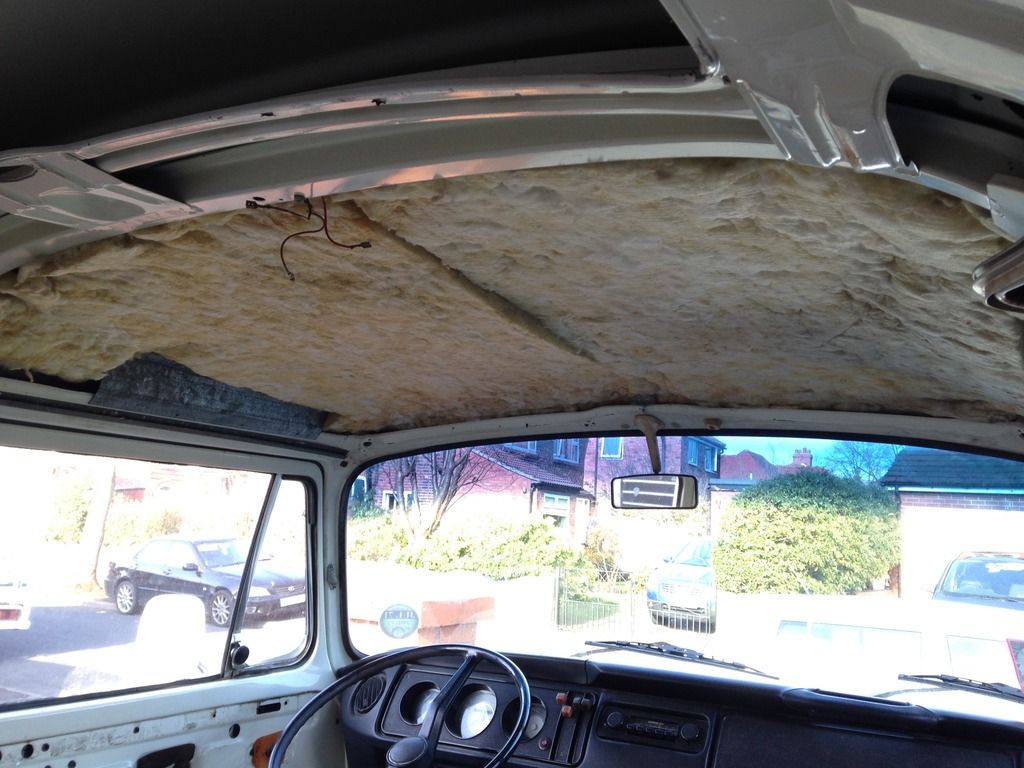
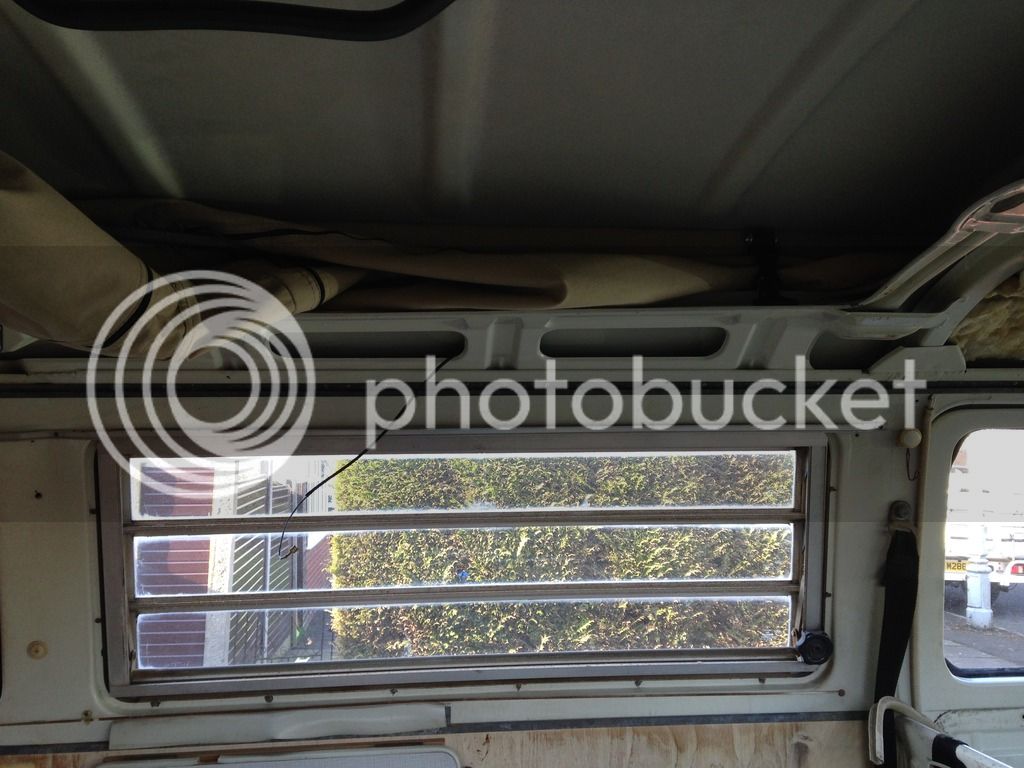
Also stripped a lot out of the bus, headliner is out and a few of the side panels. Bought new ply ready for cutting, it's all a mad rush and I'll update as and when.
 
How the bus currently looks:
17735BD0-DCFD-4360-9AD0-3DEBC58B7FFF.jpg


CFF963D2-2979-4020-8DE0-1CA904676529.jpg


08755E71-941D-4D62-A16B-6AE9F7502EEA.jpg


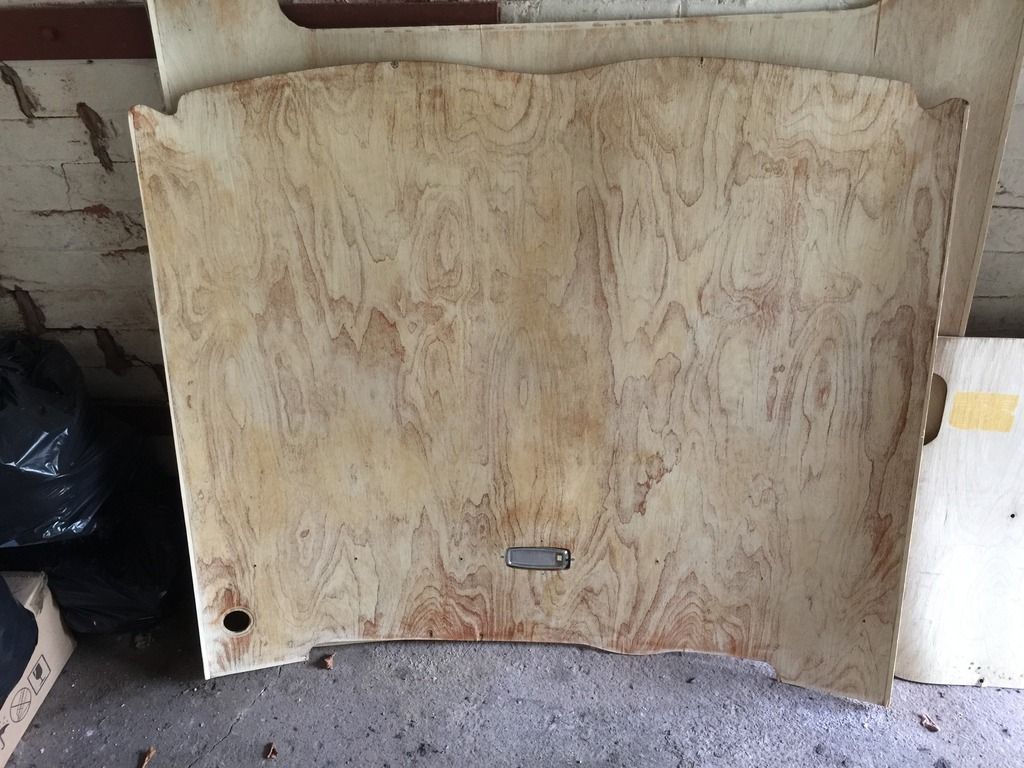
Fortunately the headliner came out in one piece (well, four) so I can use it for a template.

F8F22A14-371E-472C-998A-080087290C55.jpg


9E1F66AB-B6AE-4B78-83A5-00885FE5A27D.jpg


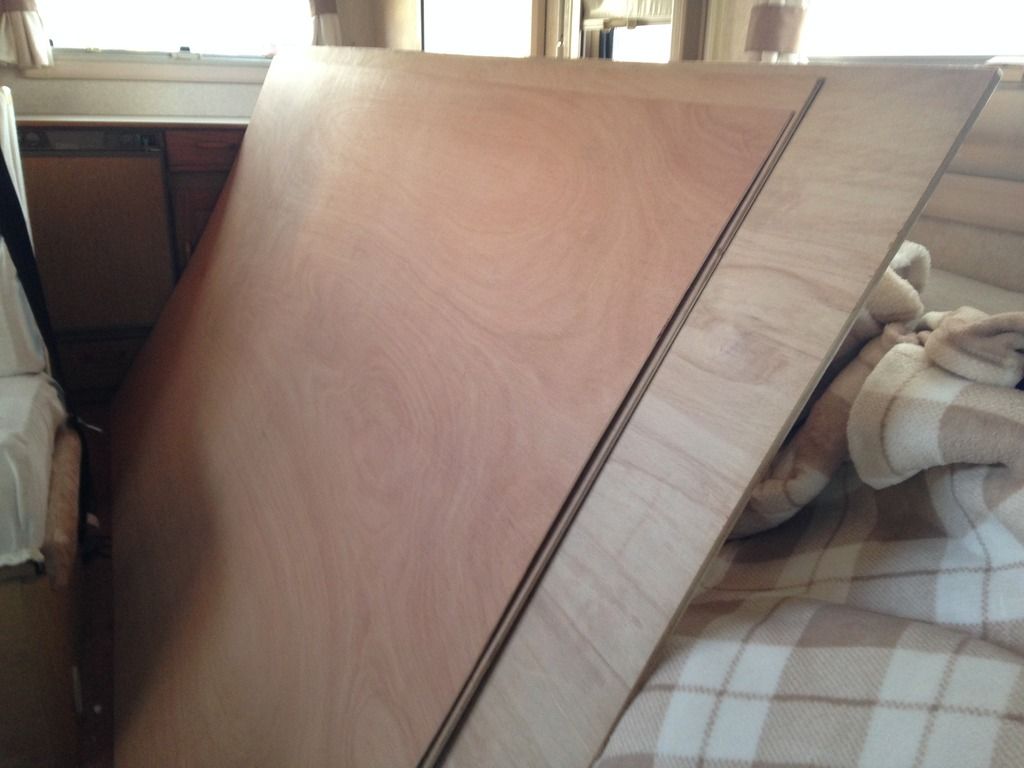
Went and picked up the ply. My parents motorhome did a sterling job, getting it through the door was a bit of a struggle though :lol:
1F7476F0-EDBA-4995-AA0F-1A148ED7C91F.jpg


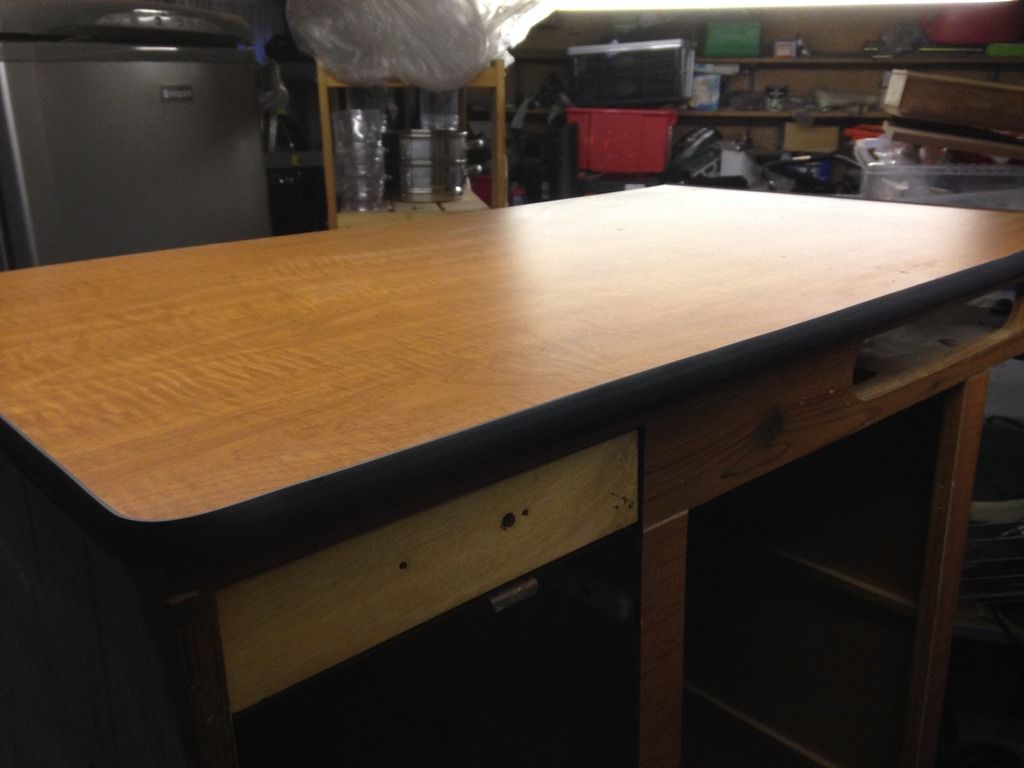
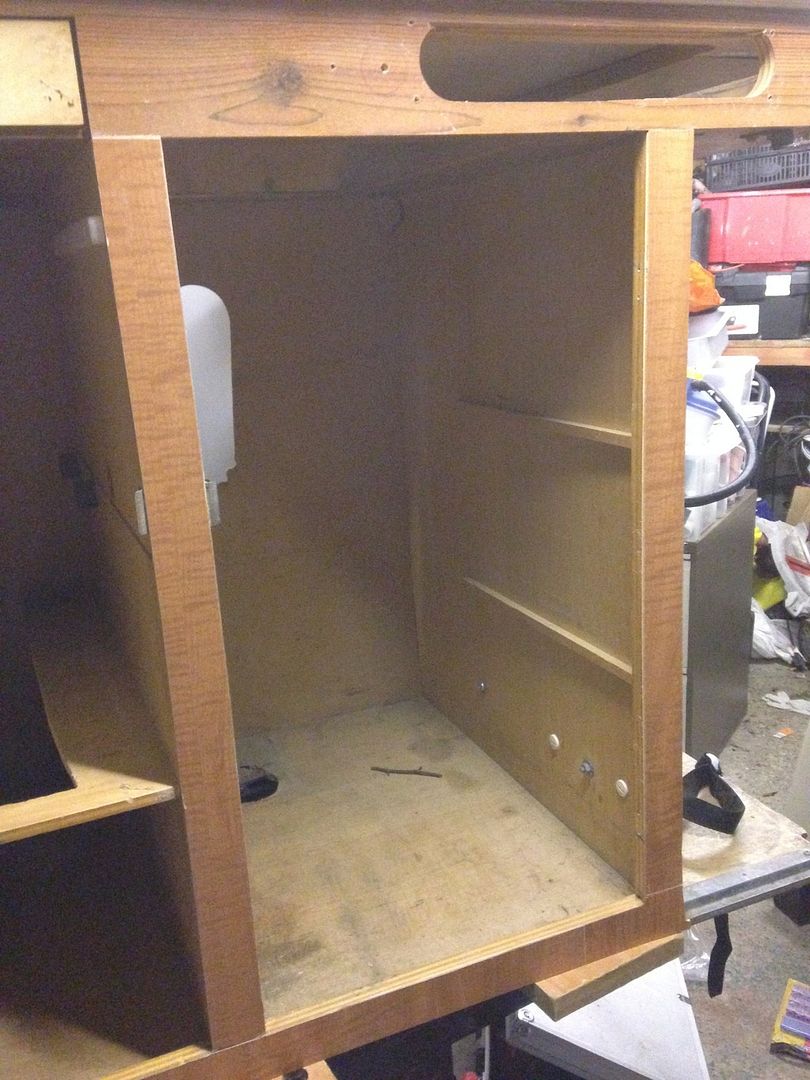
New worktop on the Berlin unit and laminated in old style, also made a start on the front relamination.
E1F04AA5-8295-443C-BB35-6B97BB828224.jpg


701AAEAB-5D6A-4FEA-82C9-E7FC57E3DA0B.jpg


New spring on door locks (locking doors woo!)

F29EAFF8-2520-470E-A0B6-9E1C4D4BE1A3.jpg


1C42DC47-ECB4-4687-8B13-FD279D6A678E.jpg


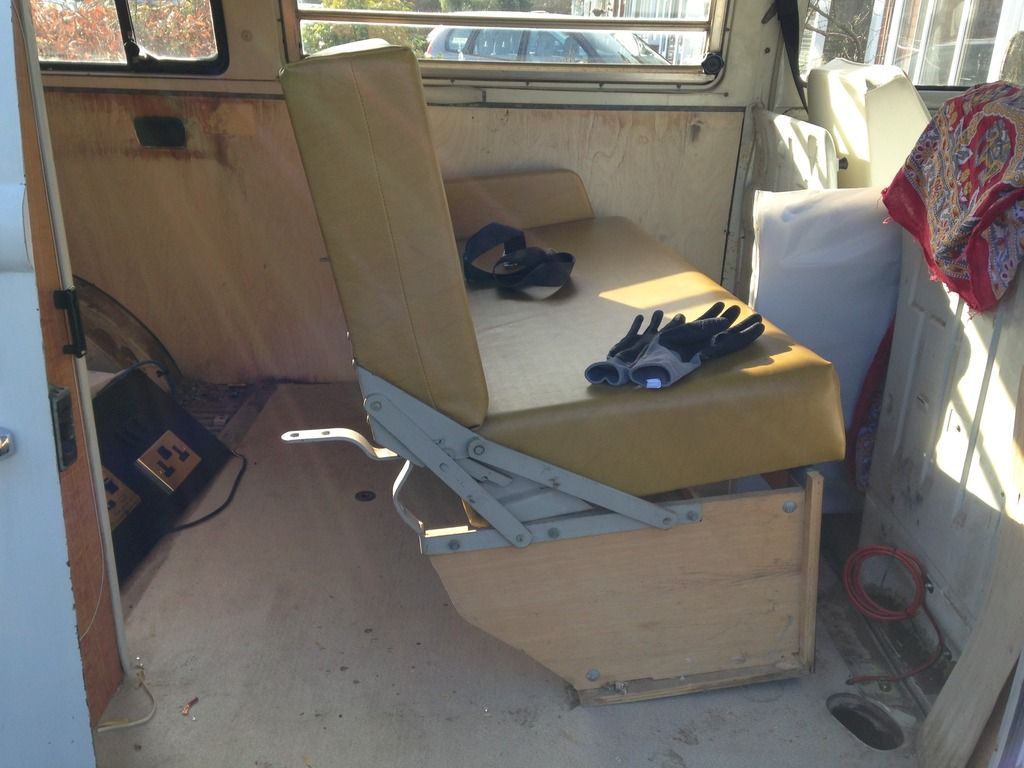
So the bus is in major transition at the moment. Looks very sad with it's headliner stripped, bit poorly on the engine (rolling road tomorrow) and a million other jobs to do, though we're now down a few more.
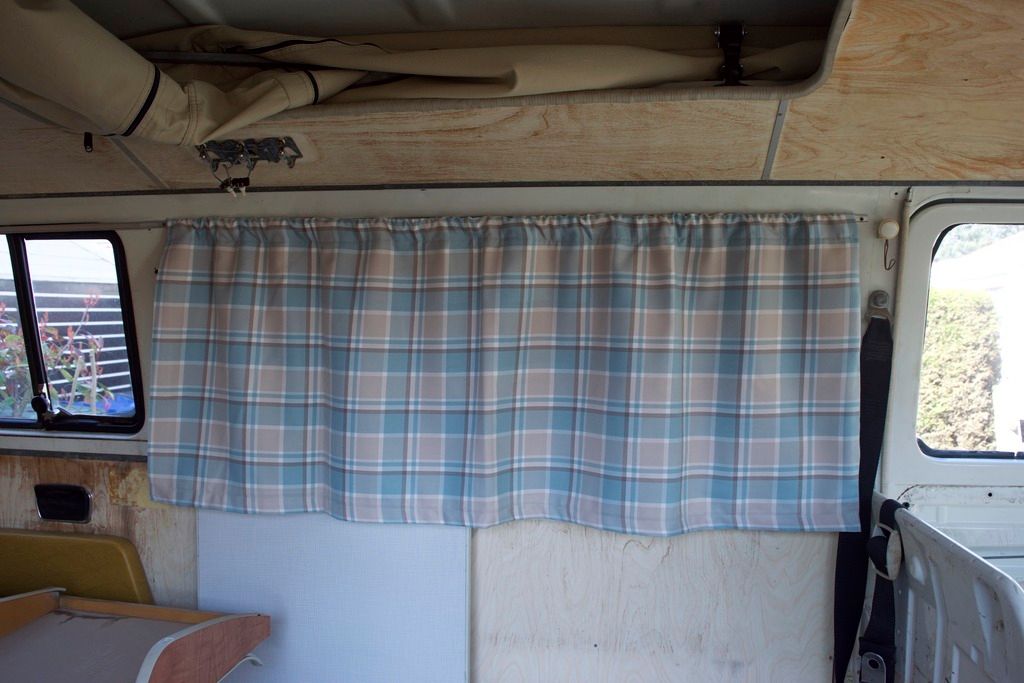
On the bright side, the curtain looks amazing.
DSC_0193%202.jpg
 
Wow :shock:
I've mised quite a bit on this build thread!!!
Will have to have a proper read back through when I get time!!
Pics look 8) 8) 8) tho!!
 
Thank you Lee, Dale and Alastair.

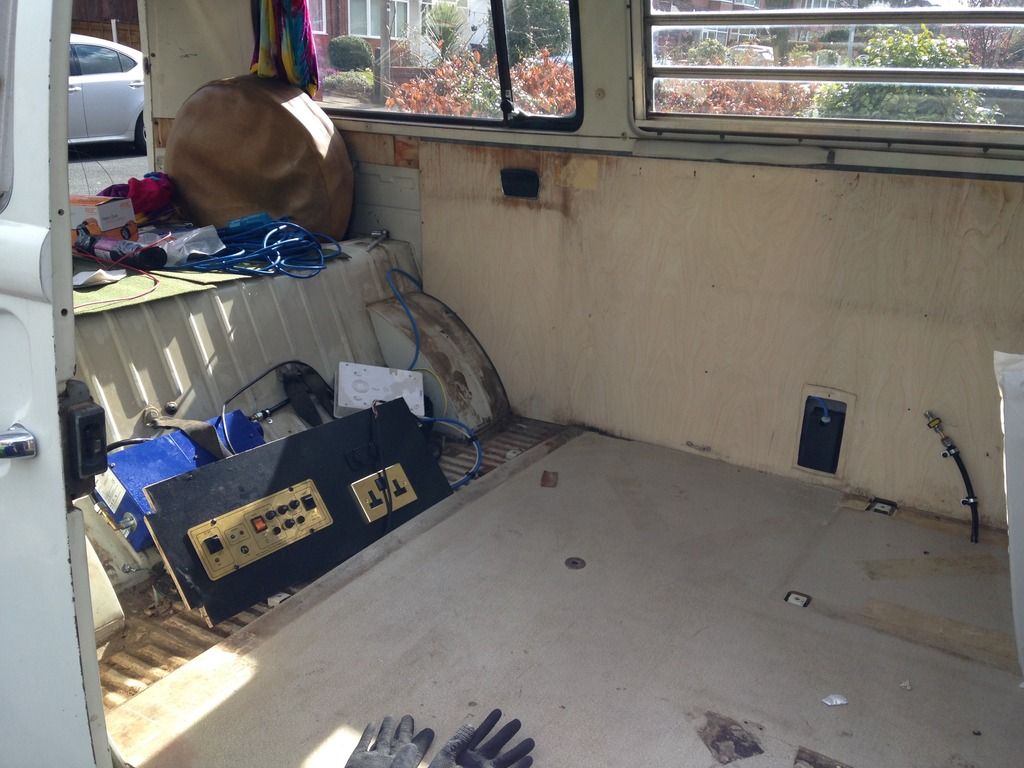
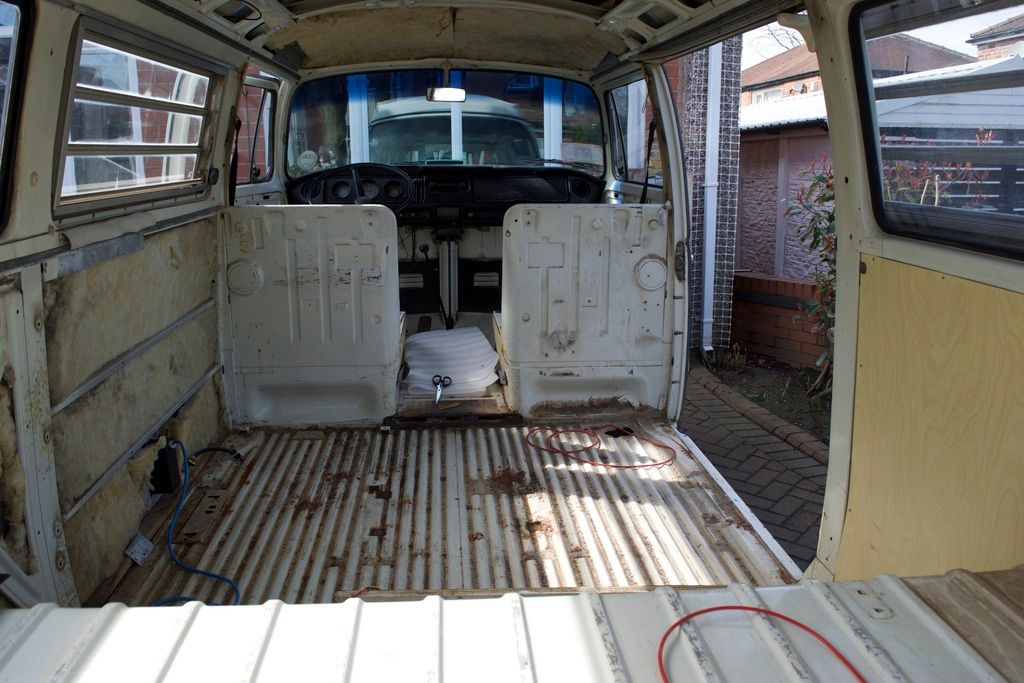
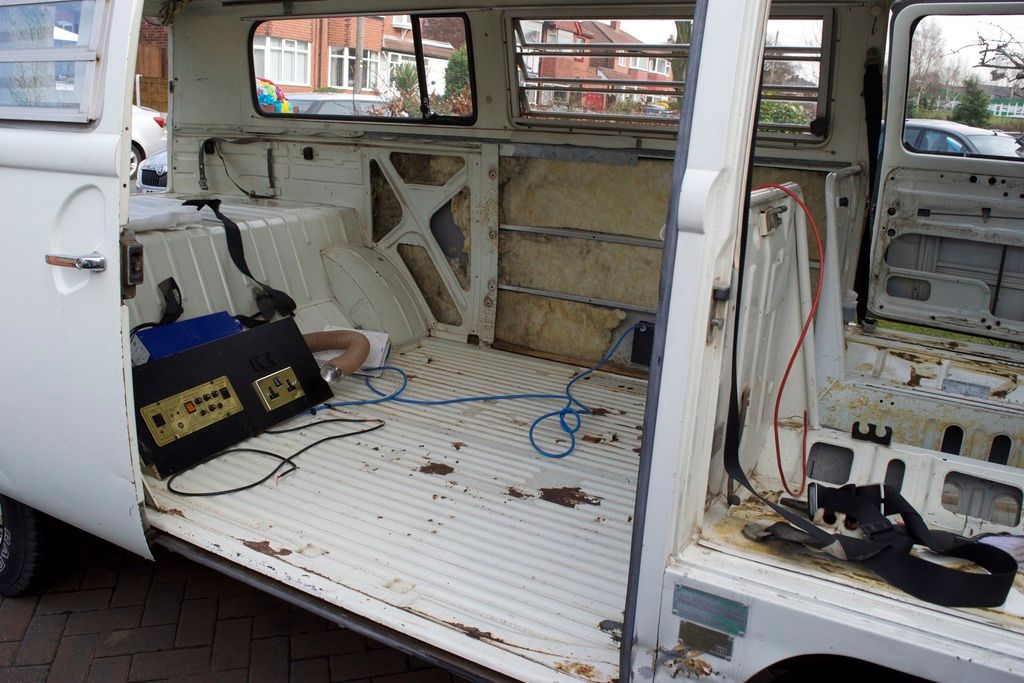
Progress on stripping the bus continued. Went from a full interior to this:
EED1B385-6F7E-4F44-BEF4-09A5ADA02085.jpg


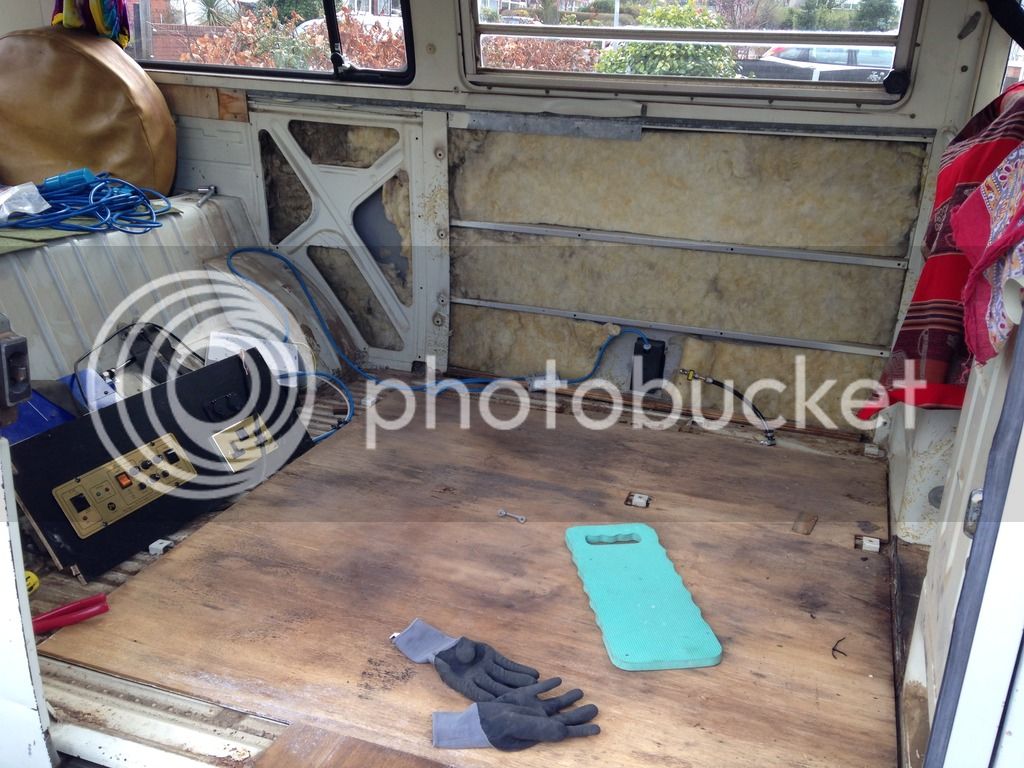
Then this
F69DF6F8-8FDE-4B9E-BBF8-3DF88B59B195.jpg


to this
8AECD725-9615-4455-814F-B9C7C6983965.jpg


And finally
AB1928FE-BA6D-4FBD-A7F5-2E812CF426D4.jpg


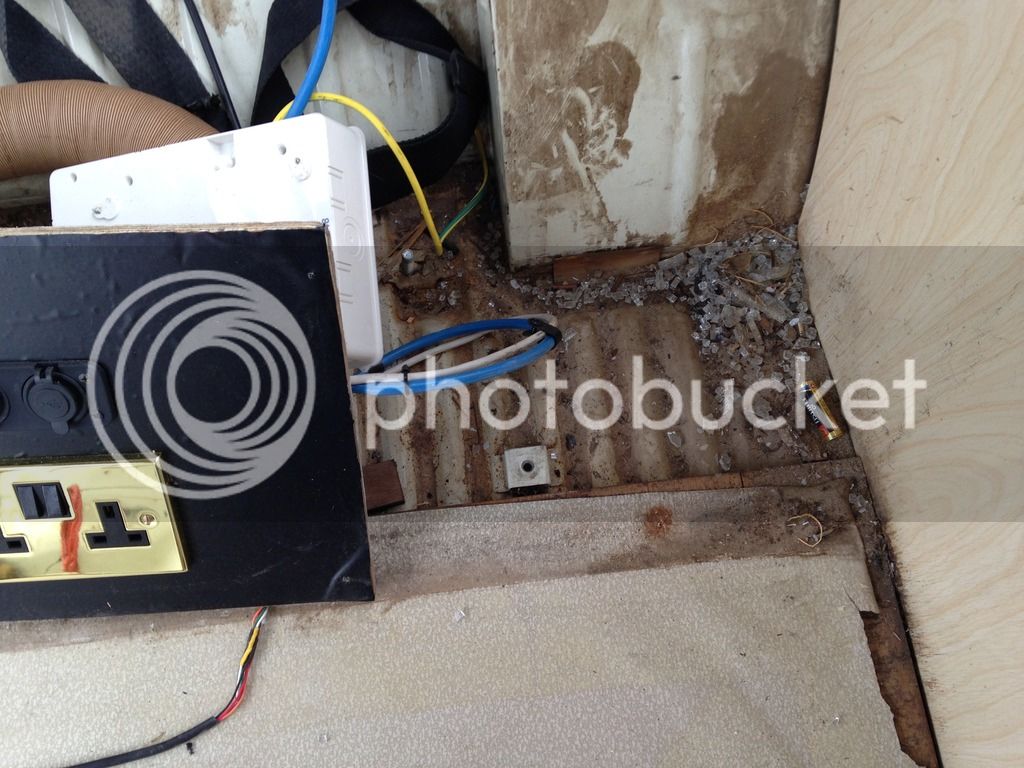
Found the entirety of one of the windows under the floor:
7FC1EEA4-ABEE-4D48-AFFD-BE0156E7FD00.jpg


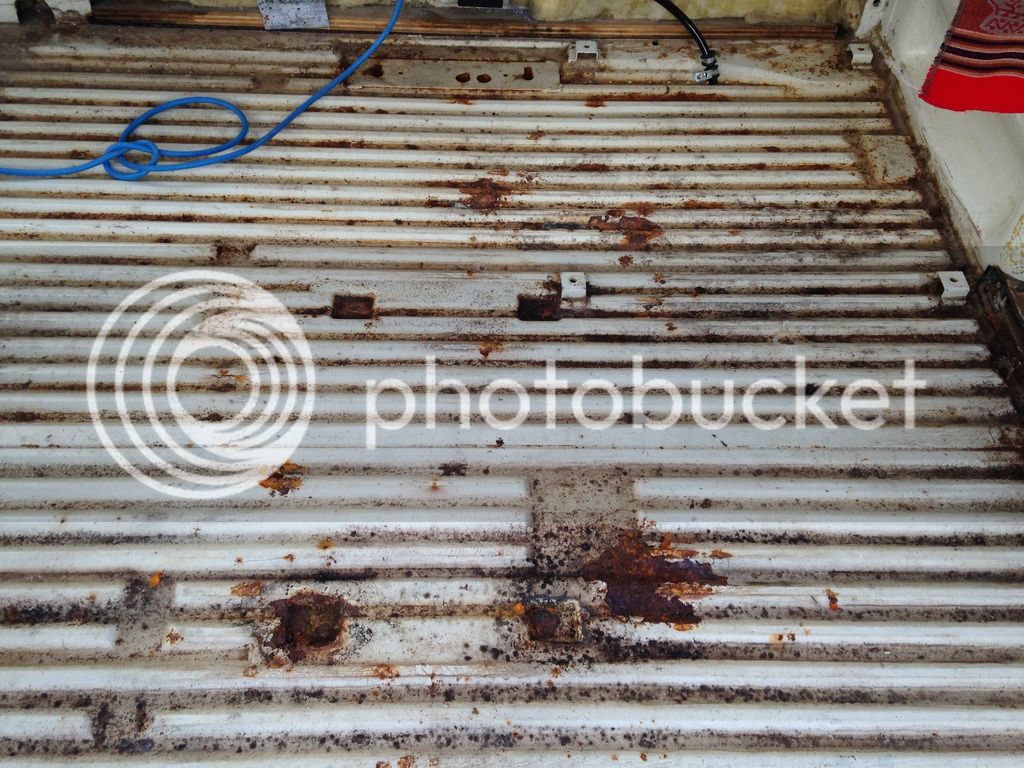
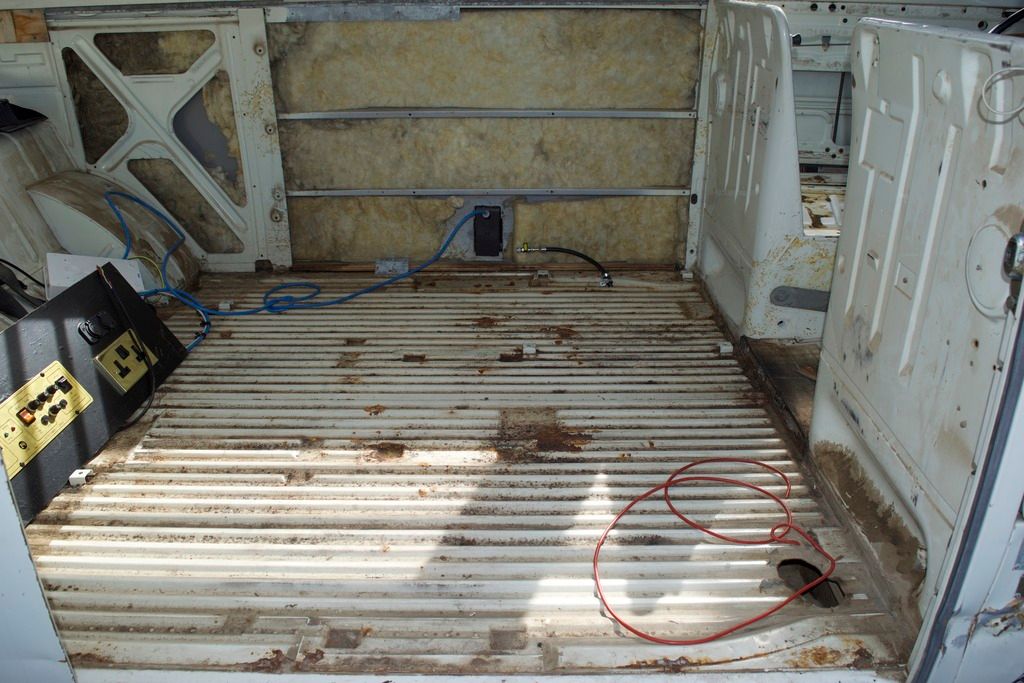
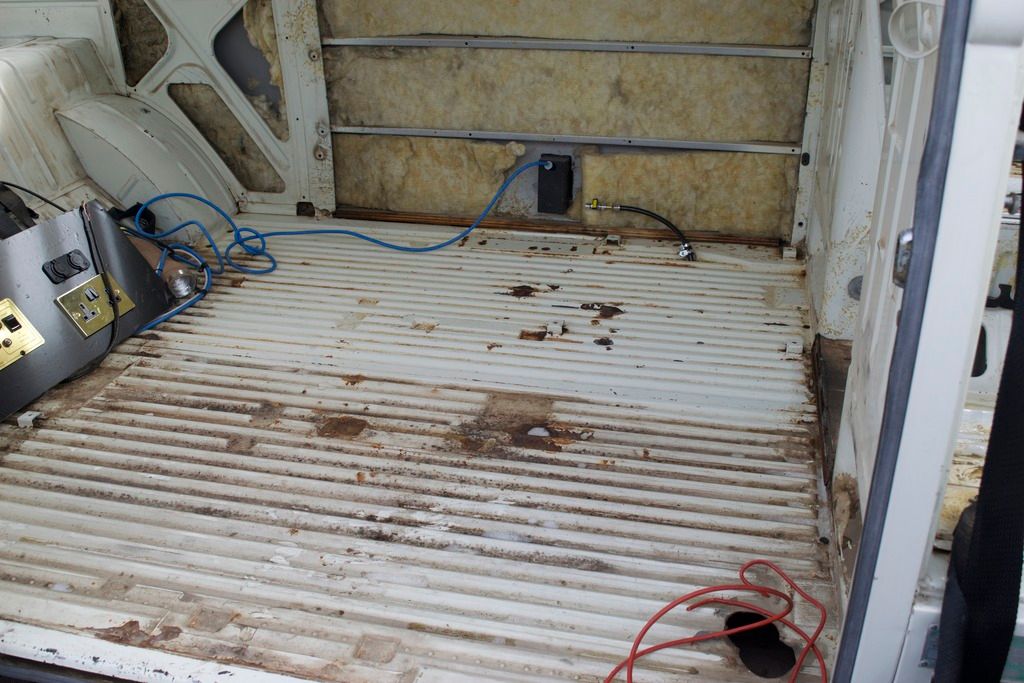
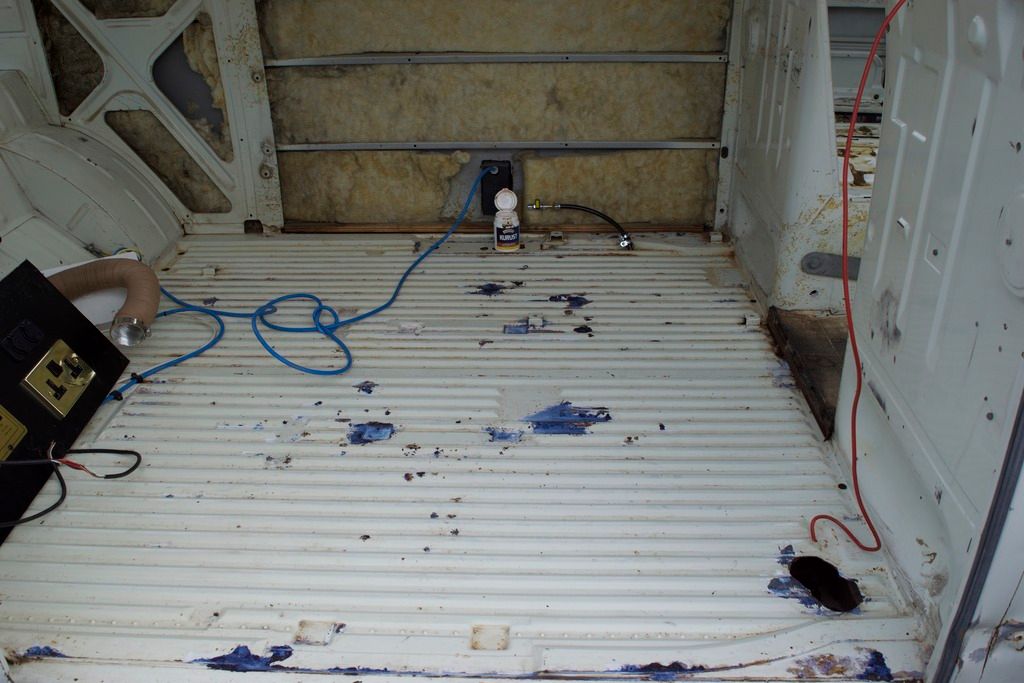
Cargo floor isn't in bad condition, just a bit of surface rust to treat. Then the new ply can go down. Bought the Noisekiller soundproofing kit so that is to go on and then the ply side panels and headliner can be installed.
Much to do...
 
Nice work on the locks. It's a great feeling walking up to the drivers door and actually unlocking it, rather than suddenly remembering it doesn't unlock and skulking around to another door :lol:

Just replaced my lower ply panels, the roof panels were still good.

Keep going, you'll get there!
 
mike202 said:
Nice work on the locks. It's a great feeling walking up to the drivers door and actually unlocking it, rather than suddenly remembering it doesn't unlock and skulking around to another door :lol:

Just replaced my lower ply panels, the roof panels were still good.

Keep going, you'll get there!

Cheers Mike, it really is a great feeling for what is effectively such a small change. Just ticking off jobs slowly one at a time, so that at least we are moving forward.

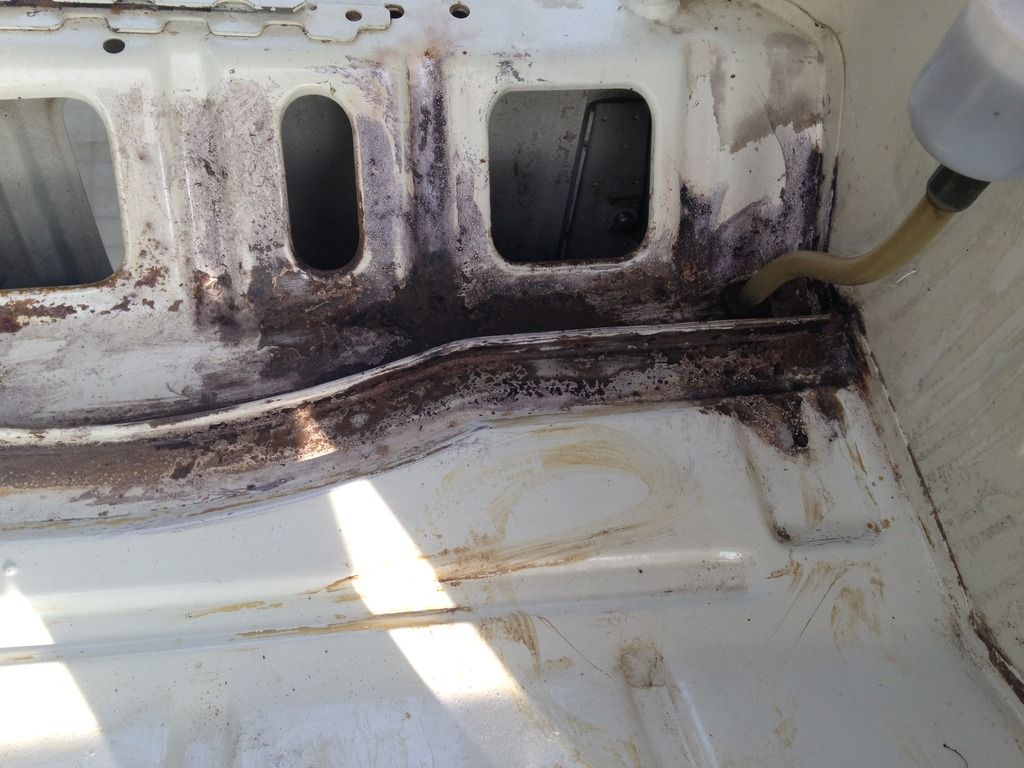
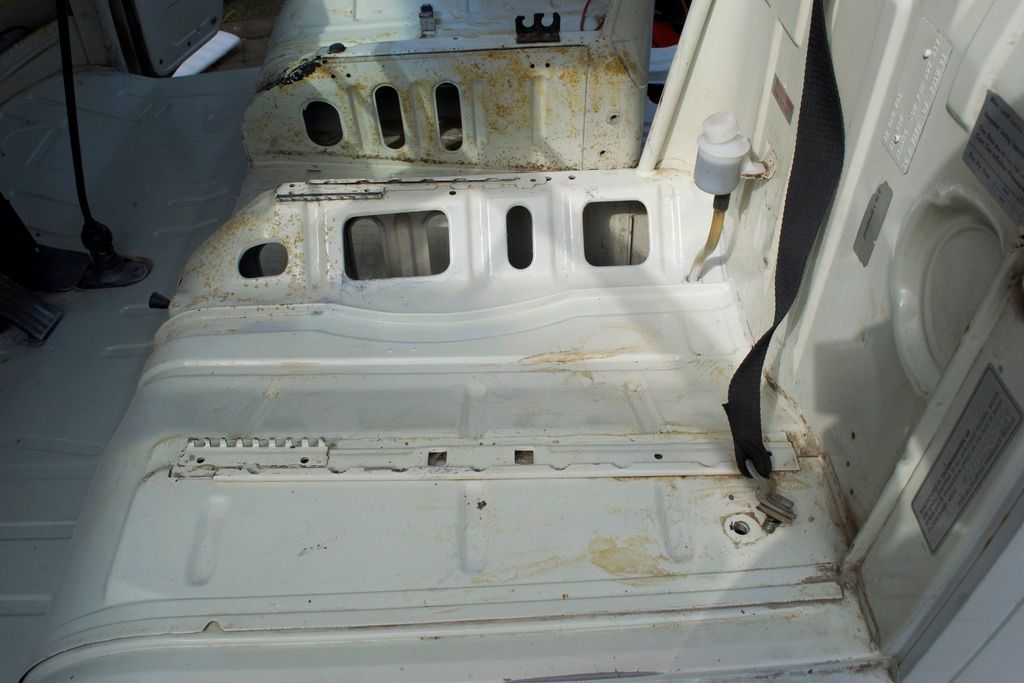
Cracked on today with more stripping and then cleaning. 43 years of dirt, sand and grit is a pain to remove, but we got there.

Completely empty
DSC_0194_3.jpg


Before cleaning
DSC_0198_2.jpg


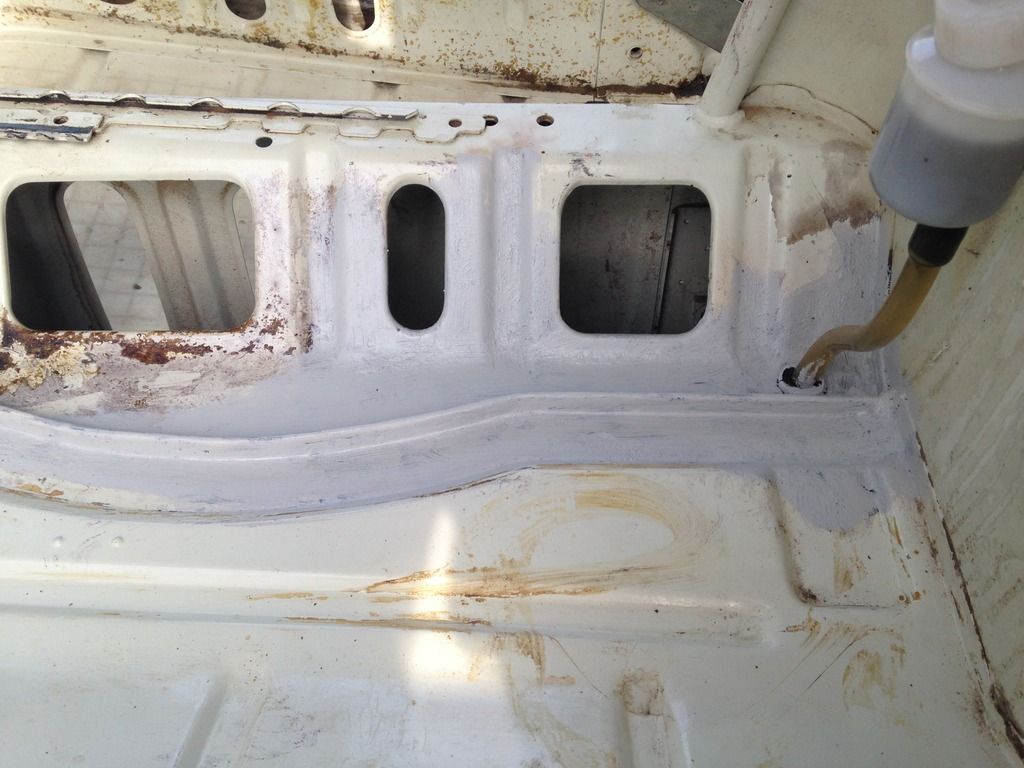
During
DSC_0204_1.jpg


After, including rust killer
DSC_0215.jpg


DSC_0208_1.jpg


More to follow tomorrow.
 
Lots of good work going on here mate 8)
Just wondered if you were keeping the fibreglass insulation above cab , as this can hold moisture ??
I have foil insulation under mine , not saying im right but just an idea for you ;)
Best of luck as you continue
 
Grazy said:
Lots of good work going on here mate 8)
Just wondered if you were keeping the fibreglass insulation above cab , as this can hold moisture ??
I have foil insulation under mine , not saying im right but just an idea for you ;)
Best of luck as you continue

Cheers for the reply, nope fibreglass is going in favour of foil insulation, just haven't decided where to get it. Where did you get yours?
 
The last few days have been spent entirely working on the bus. Progress is starting to quicken up but I'm doing 15 jobs at once, so this post will be a little bit confused.

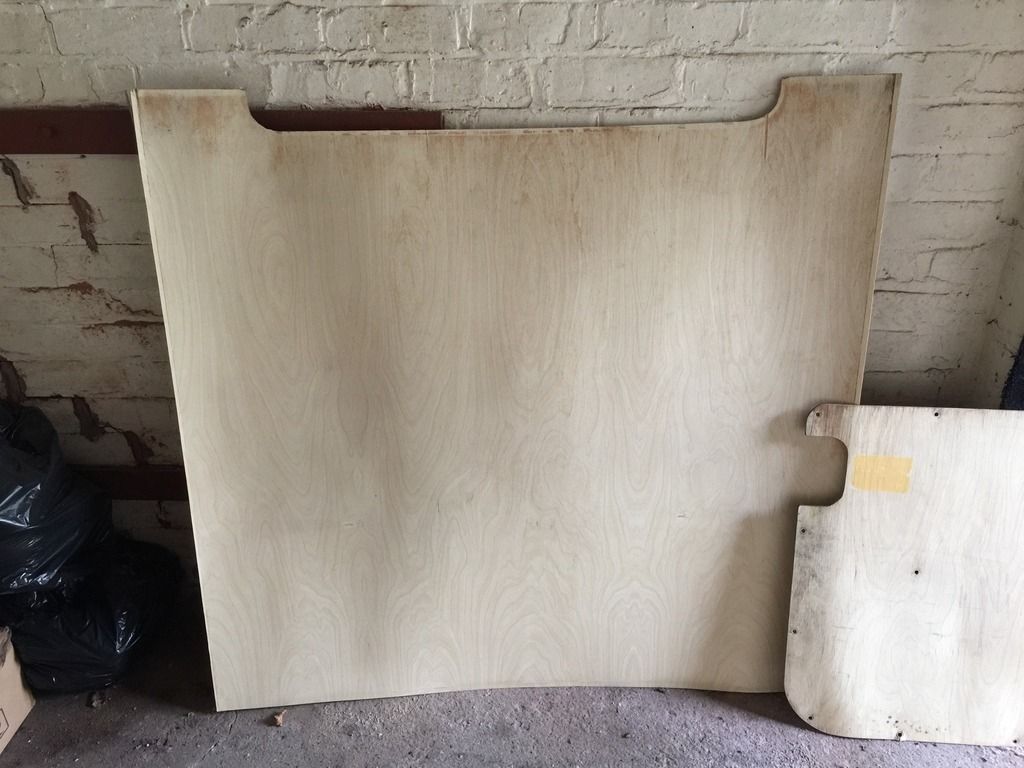
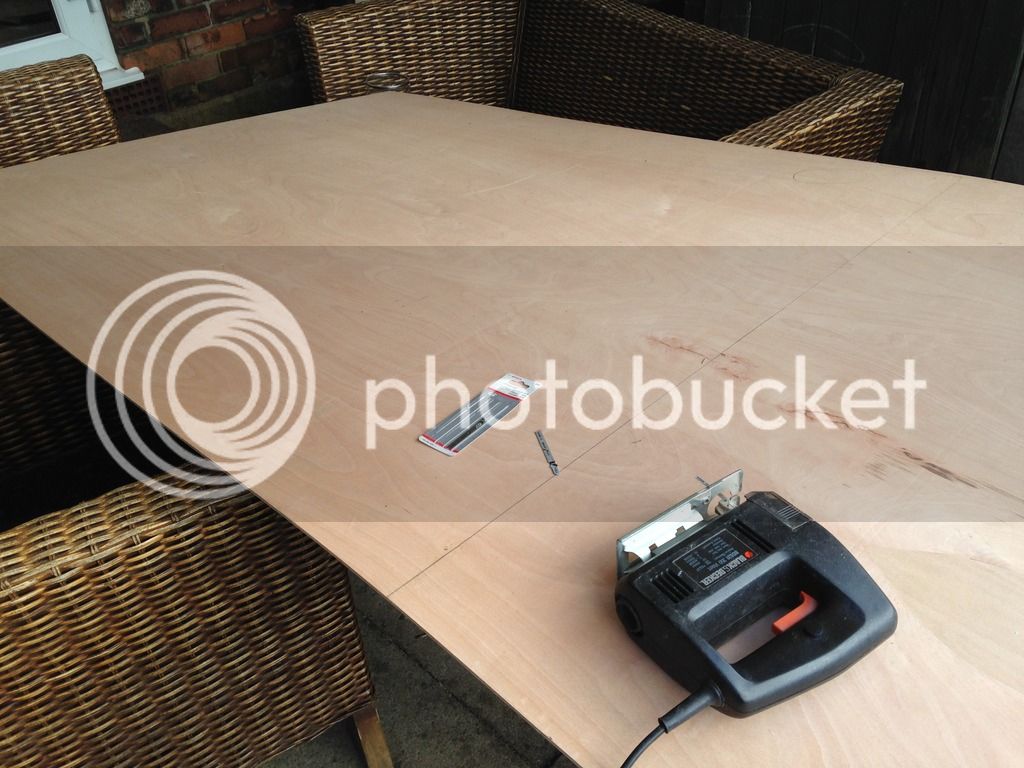
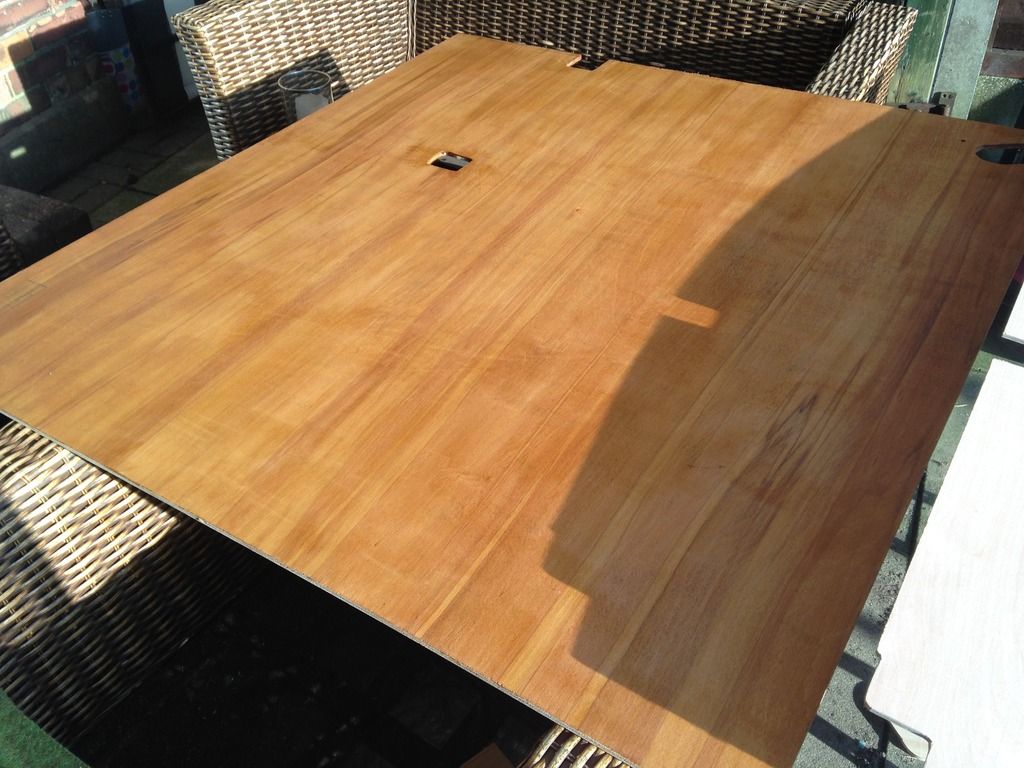
Started cutting the ply for the floor. Two sheets, one 9mm one 6mm. Unfortunately could only get them 8x4 meaning a join would be needed on each, not the end of the world.
Cutting began:
957D995D-16EB-4E49-A022-ADB67F9BA01E.jpg


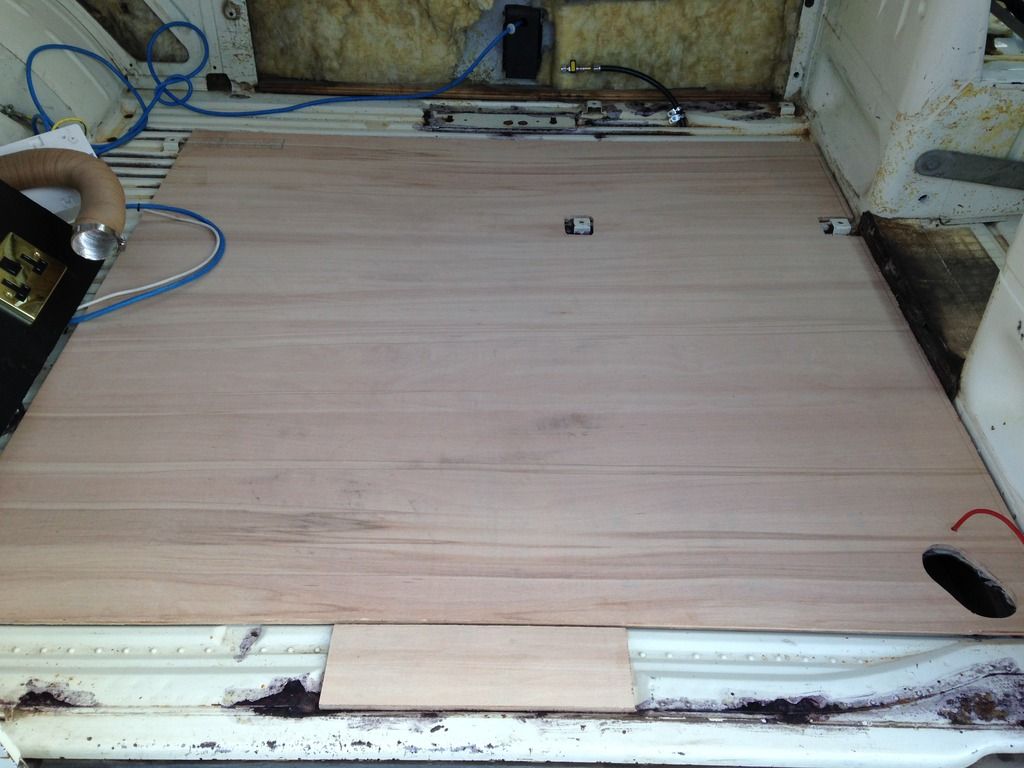
And a trial fit of the 9mm:
01F68F27-047B-43DE-ACD0-26AB3020D0EE.jpg


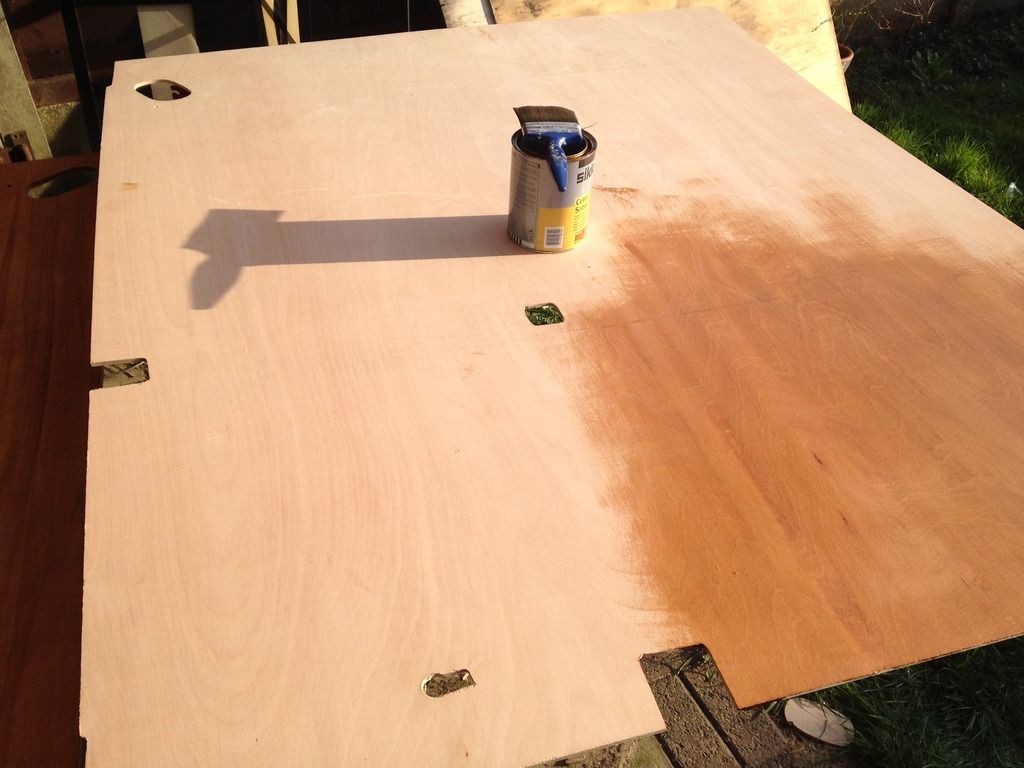
Very happy with this so decided to seal and weather proof the wood just to be on the safe side, used Sickens.
C9E95DE7-5A0C-4974-B121-C0E0BA682D47.jpg


And done...
5253754B-A974-4D44-B8D2-32E8BD983AB2.jpg


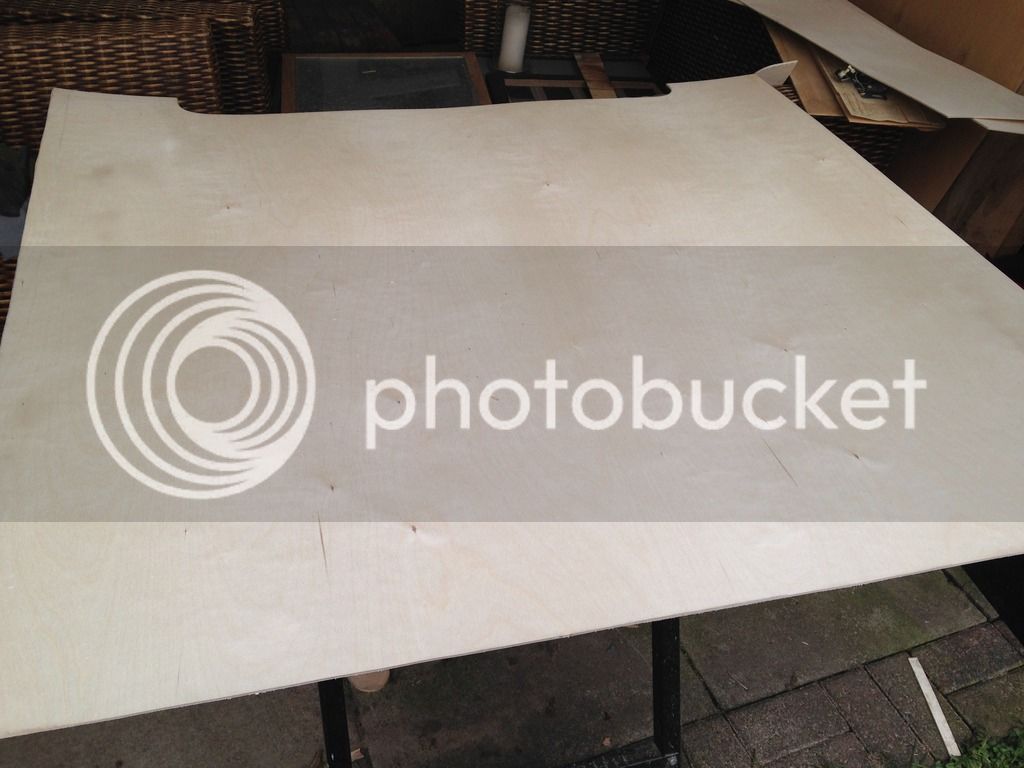
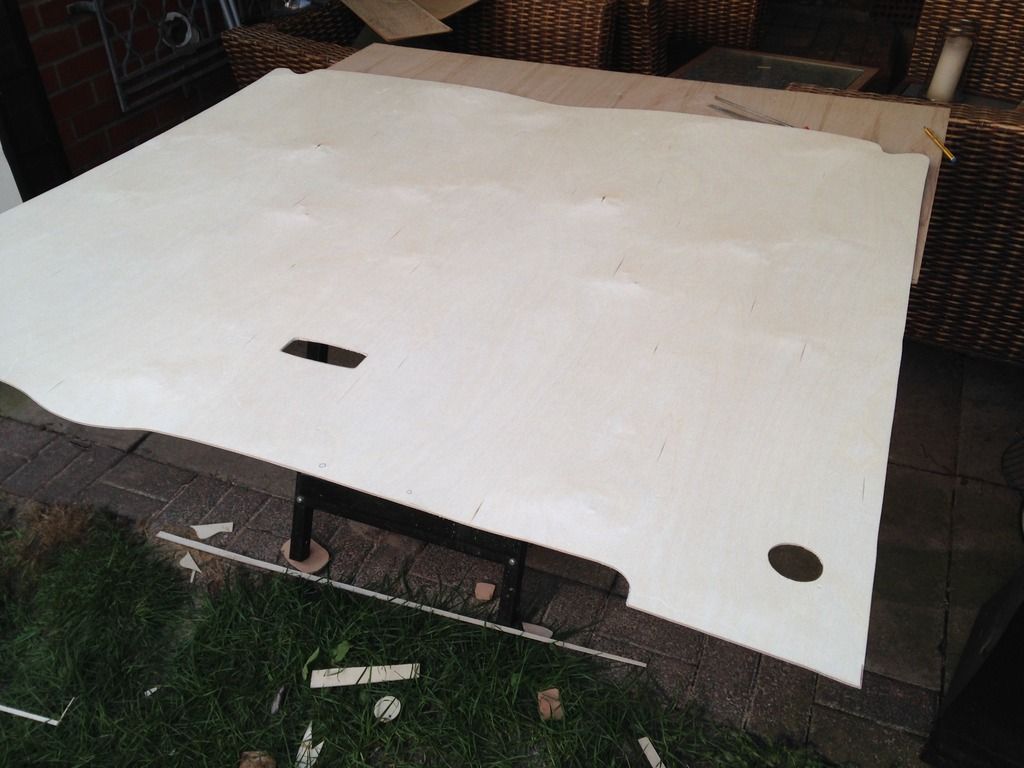
So then moved onto cutting the ply headliner:
775572C5-CC91-4381-A951-D7862EC9E818.jpg


8052D022-EAC3-4020-9619-8147BA5CB706.jpg


I don't know how people can cut these things off measurements, credit if you can. Fortunately I was able to use my old stuff as a template, making the job far easier. The headliner is all cut and ready to trial fit in the bus, I think it probably needs a few adjustments to fit, though fitting tips would be handy.

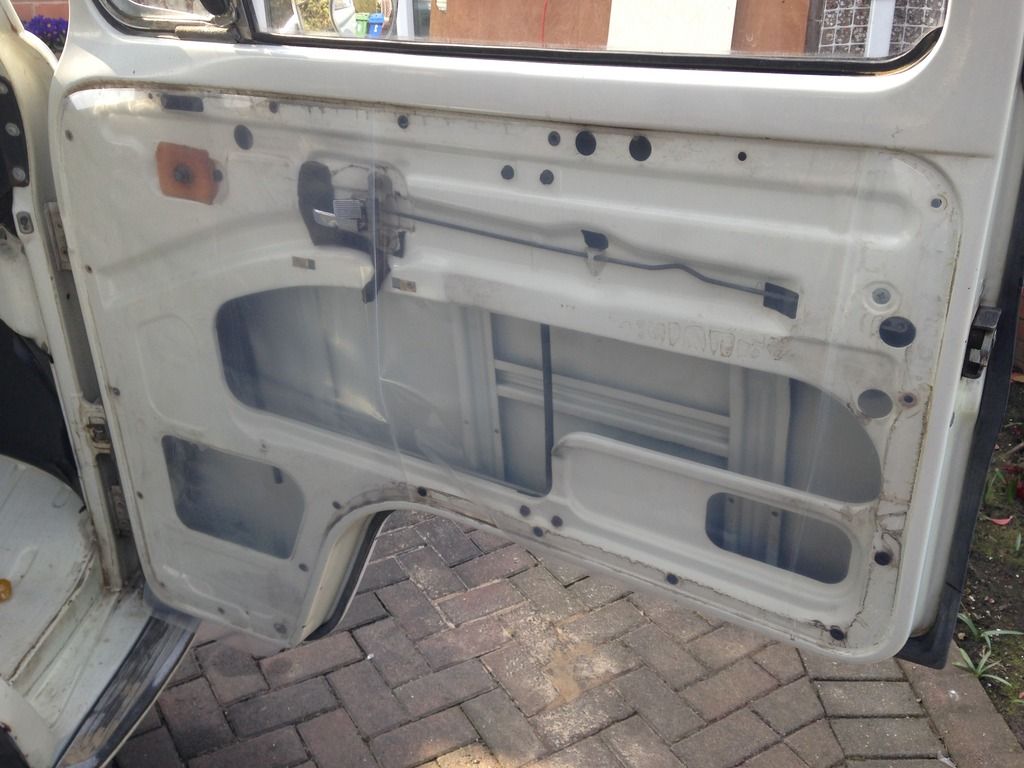
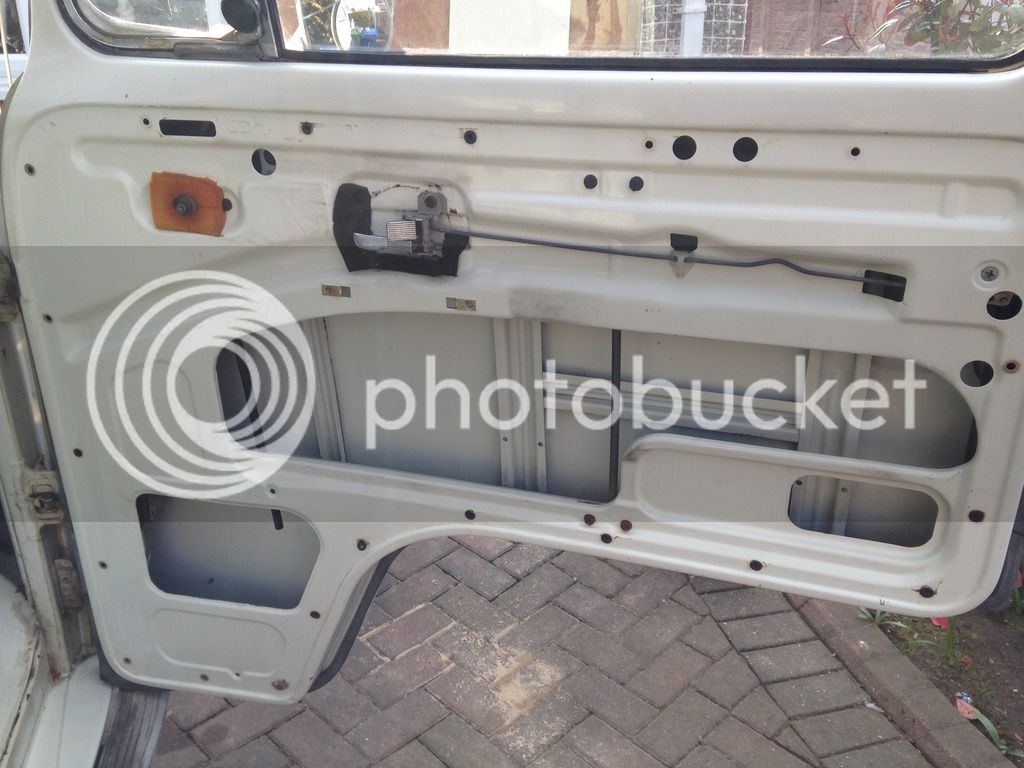
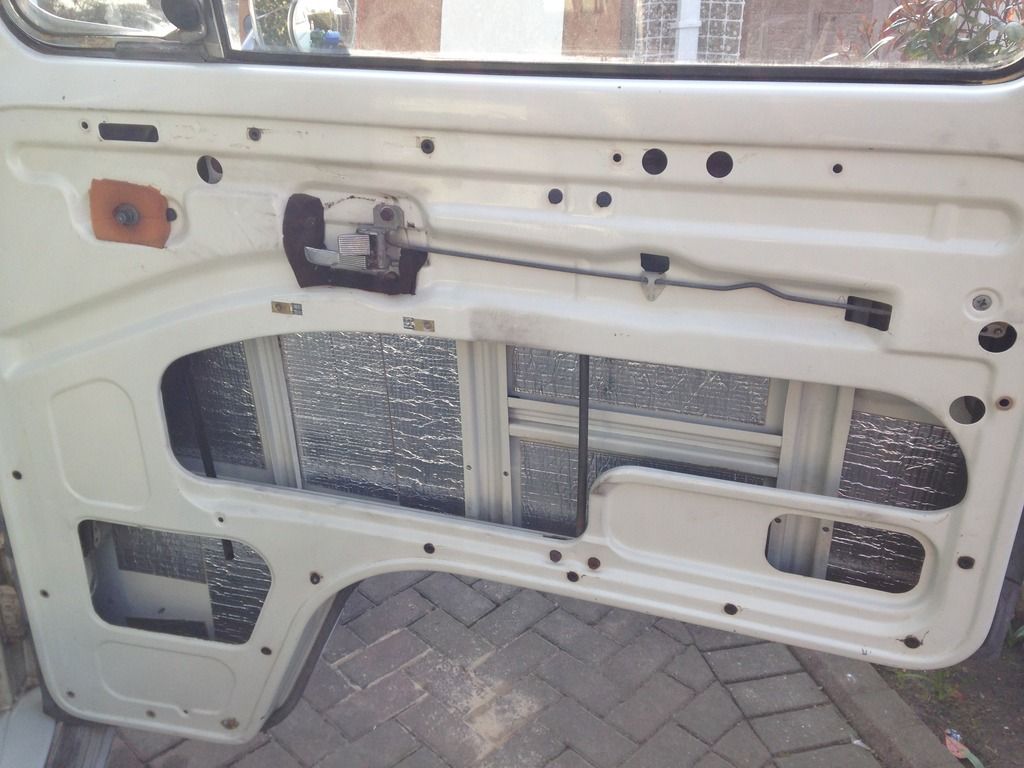
Once I'd finished cutting the ply I decided to move on to the cab doors which needed cleaning, soundproofing, and new membrane sorting. So onwards...
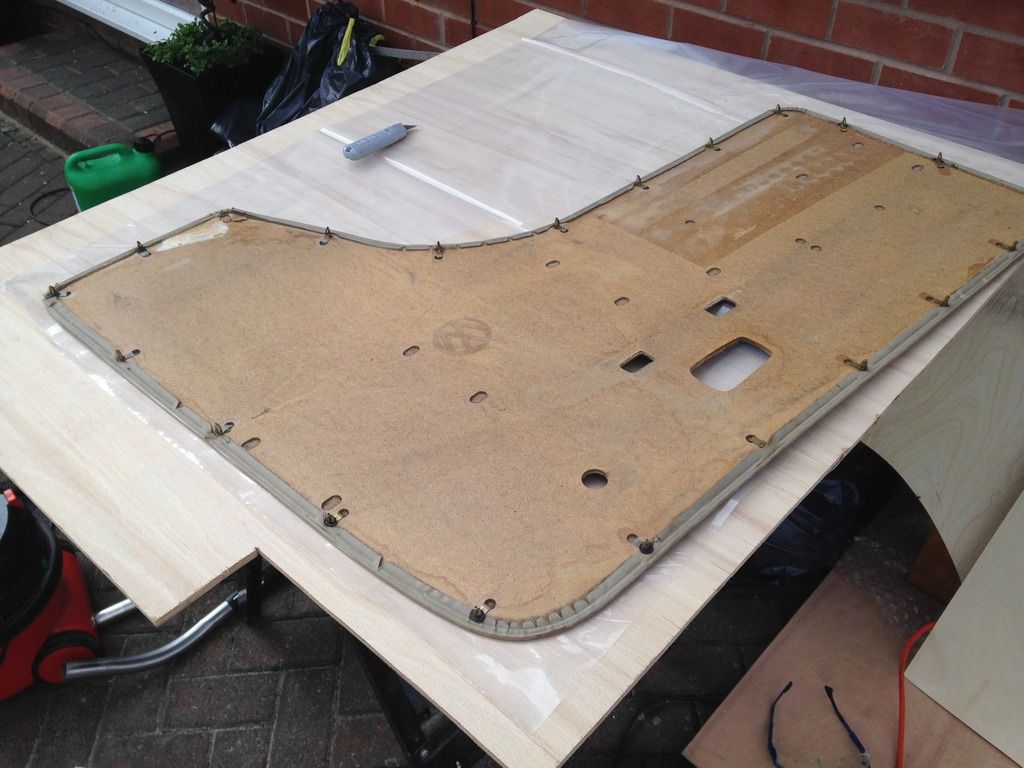
Used my old doorcard as a template:
BC018894-BDD4-46AD-92CF-AE3148D62F98.jpg


Quick fit to check size
72833BCE-0BC5-4B01-92C5-0D6599DA94D0.jpg


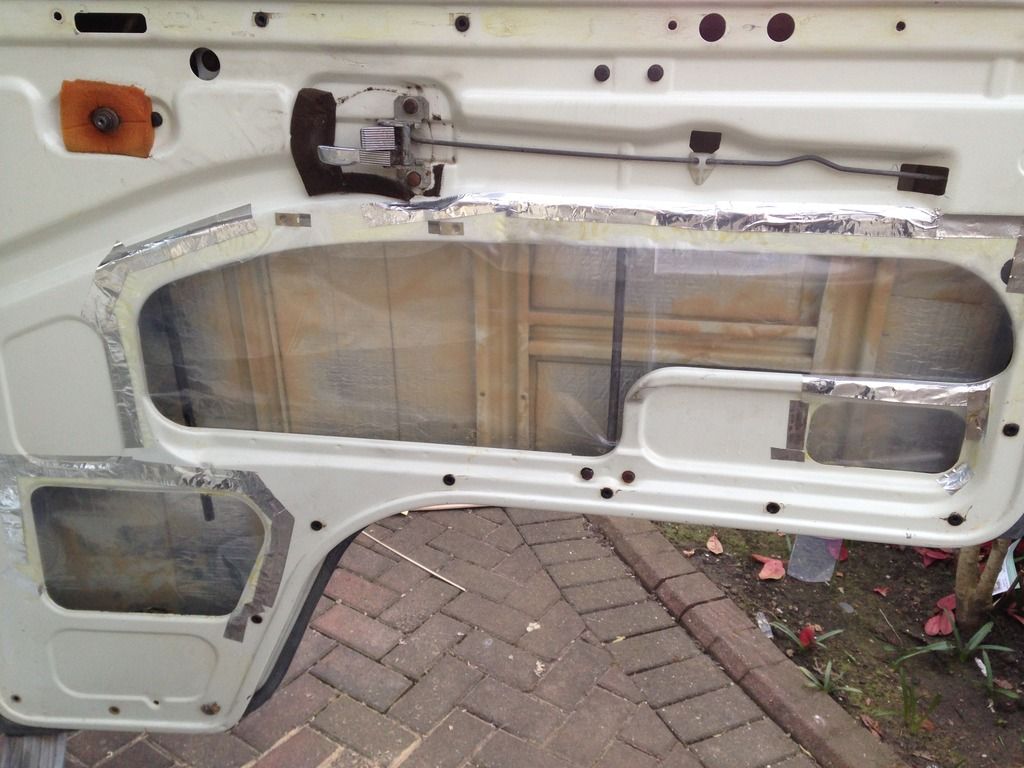
I cut two pieces for each door, the first I'm going to fold and lip inside the door, the second over the top of that glued to the bottom. Two layers of this stuff should be more than enough to keep water from hitting the door cards.

Door cleaned:
230F3275-5AC2-4240-93C4-6FEF970108DE.jpg


And soundproofed:
E22120B2-1566-4BCA-93C6-3EF43811663F.jpg


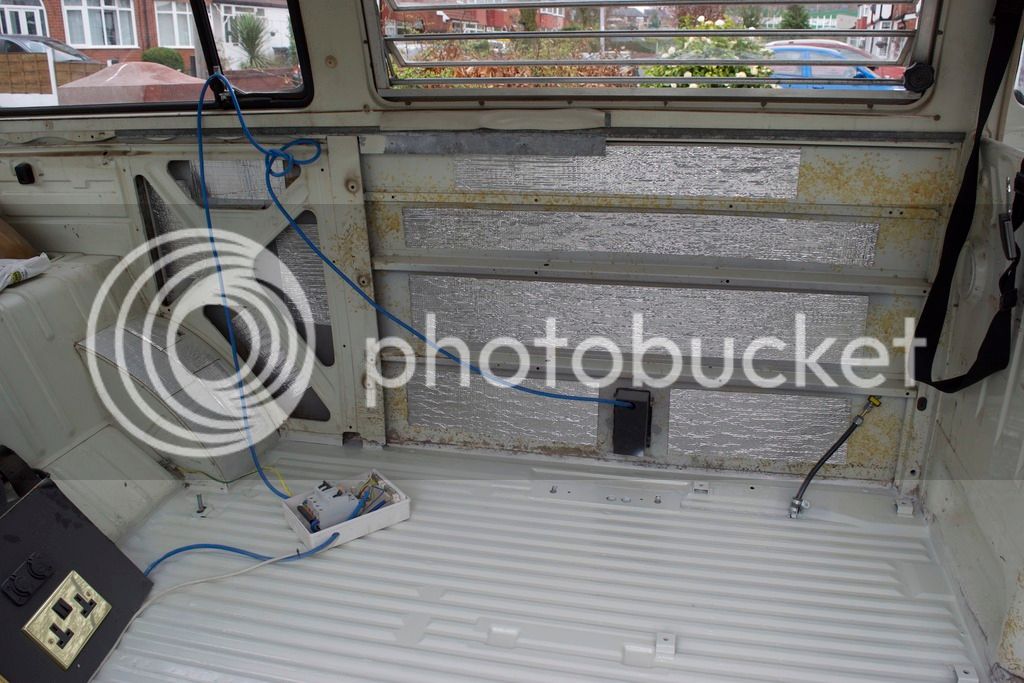
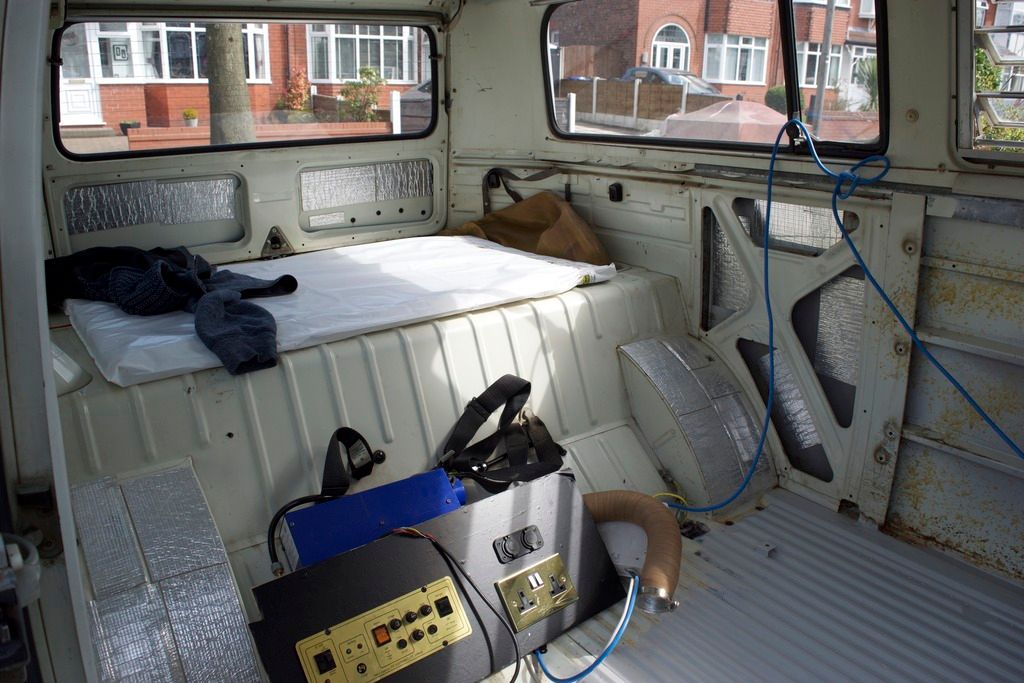
I'm using Noisekiller for the soundproofing. The foil stuff is a deadener, I also have a black matt for the actual sound proofing. The doors however, now shut with a reassuring thud rather than clank! Fitting was very easy given that they're self adhesive.

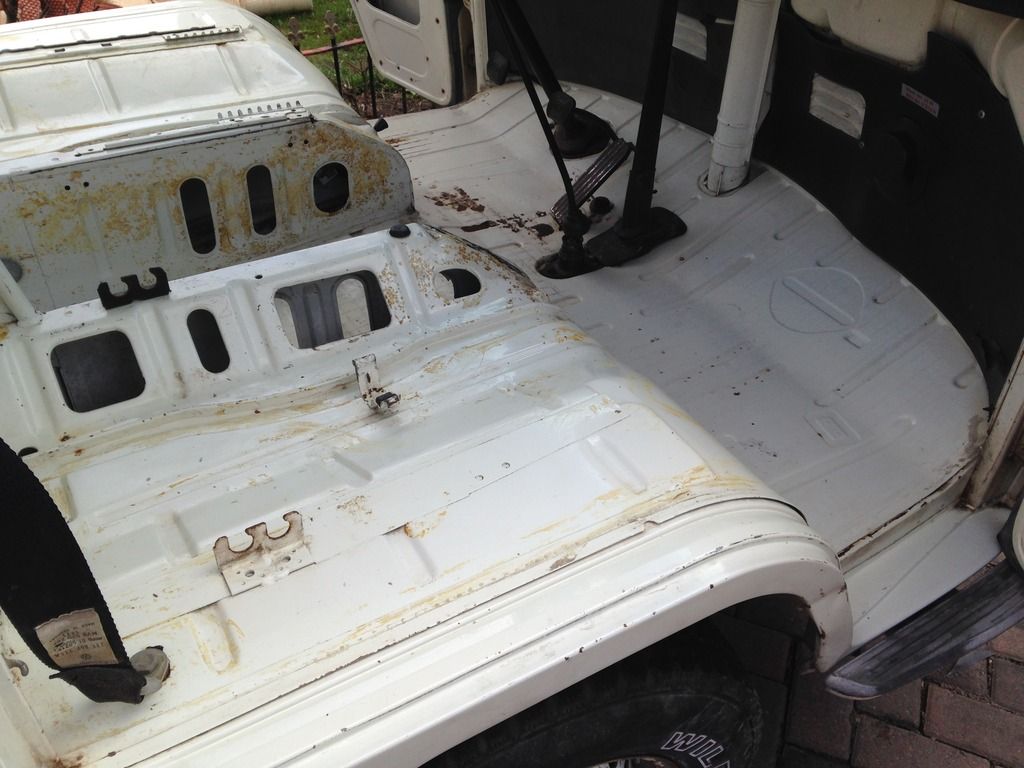
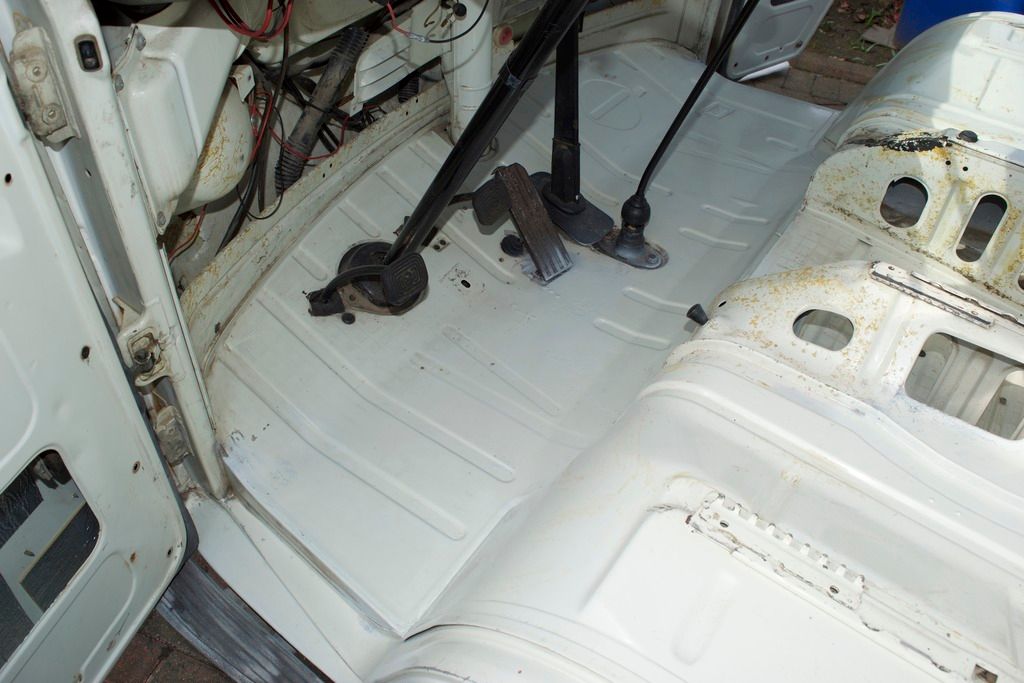
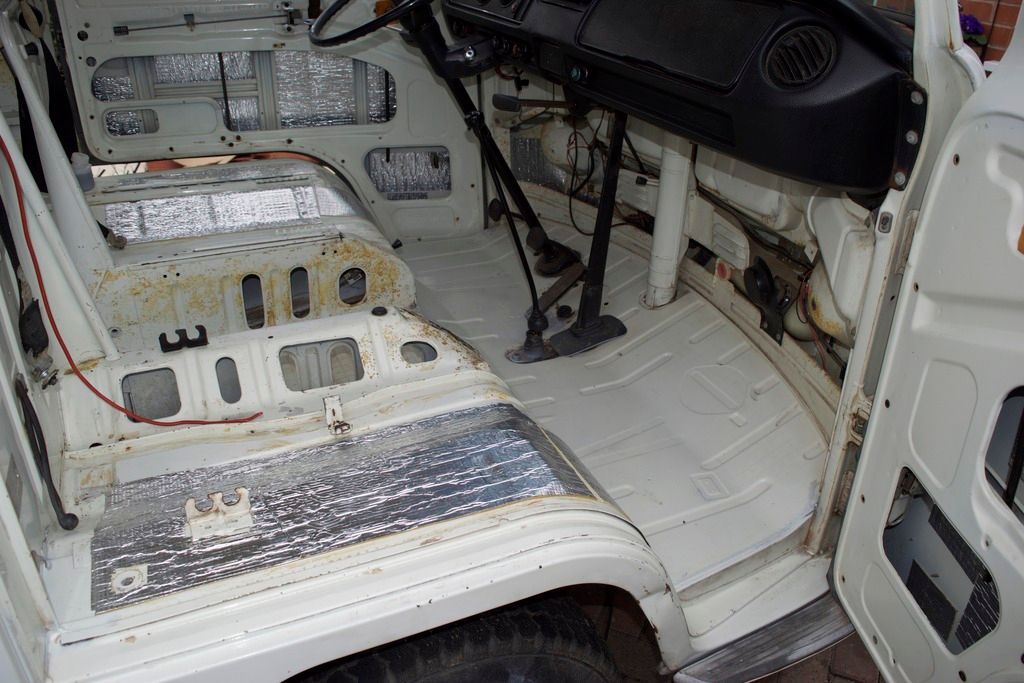
Also cleaned the cab floor ready for rust proofing and paint:
9D514C90-AED7-4692-AA80-C25EDB9369F5.jpg


I seemed to have done far more over the last few days than these pictures actually show but as you can see it's starting to take shape.
Todays to do:
Finish door membranes
Soundproof rest of the bus
Insulate the bus
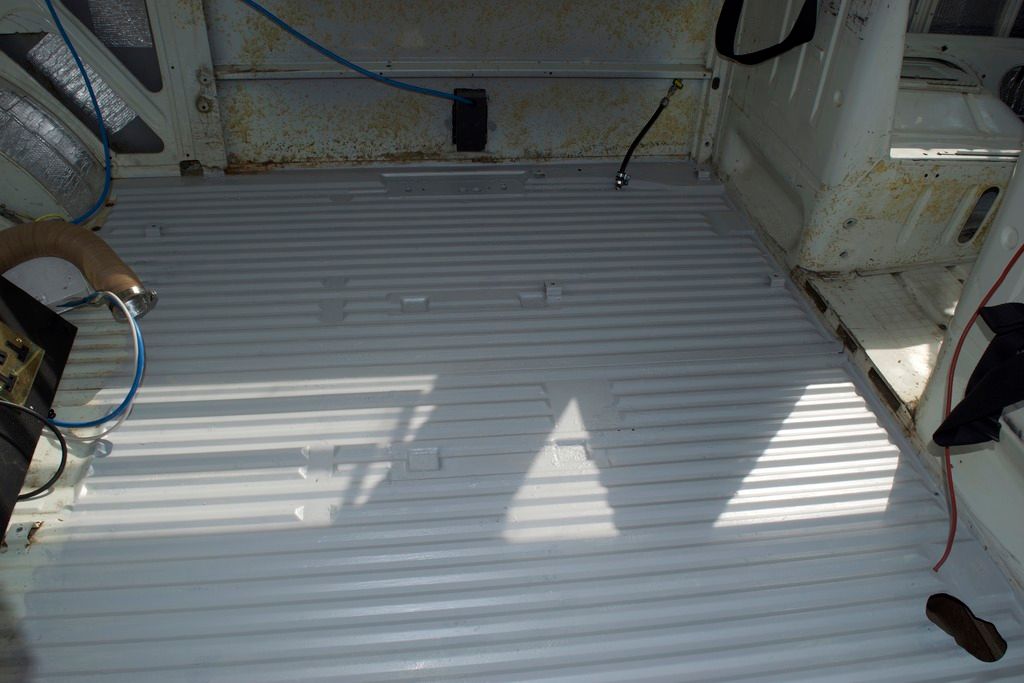
Prime and paint cab/cargo floor
Check headliner fits

More updates tonight.
 
Got up at 6am yesterday, started working on the bus at 7am, finished at 8:30pm, crawled into bed.

Rust
2524BF23-989F-4FE7-AFE1-26B258107042.jpg


Primed
6D32A58E-85E8-432D-806A-2DF0E955108A.jpg


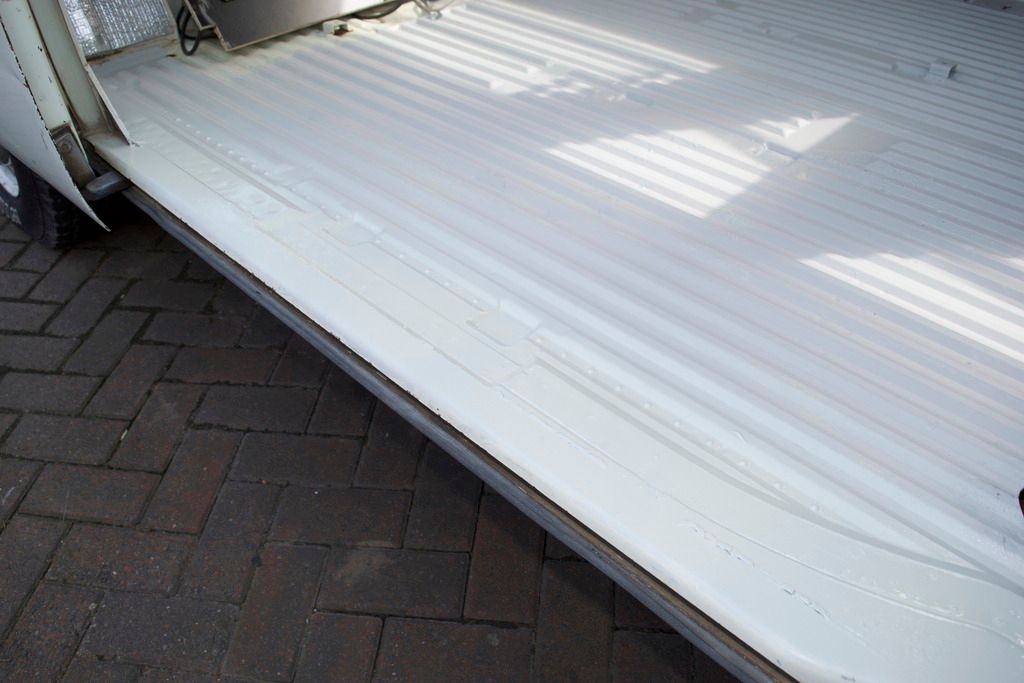
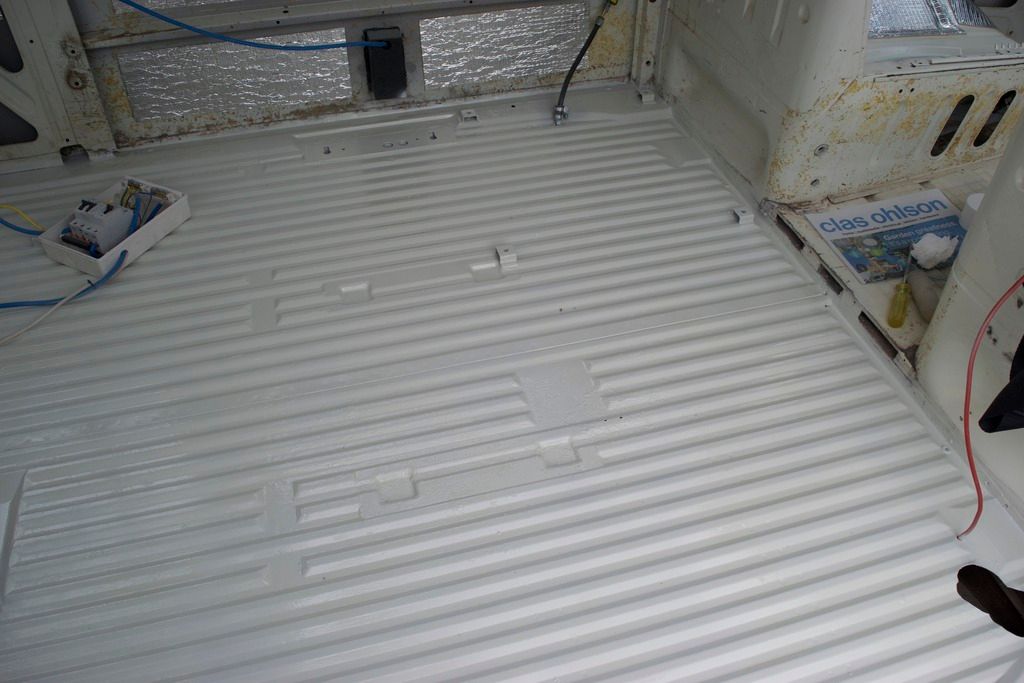
Painted, paint from Auto Paint in St Helens, excellent colour match
DSC_0214.jpg


Same process on the floor
DSC_0209_1.jpg


DSC_0215_1.jpg


DSC_0223.jpg


DSC_0212.jpg


Finished the first stage of soundproofing
DSC_0218_1.jpg


DSC_0222.jpg


DSC_0216.jpg


Then waxoyled and waterproofed the cab doors
7433A9F9-0BD2-4DD6-8026-1994AAF505F5.jpg


Loads of progress in one day, if I do say so myself. Need to finish the membrane on the cab doors and then onto stage 2 of the soundproofing (cutting the barrier mats) and finally insulation.
 
nice work, good idea to get the door membranes right. That should stop water creeping in and rusting the seat stand and cab floor 8)

As long as the door seals fit properly :lol:
 
Not updated this due to the amount of work it's taking to get this bus ready.
But, MOT day today, six months before it's due to expire :|
 

Latest posts

Top