redwards
Well-known member
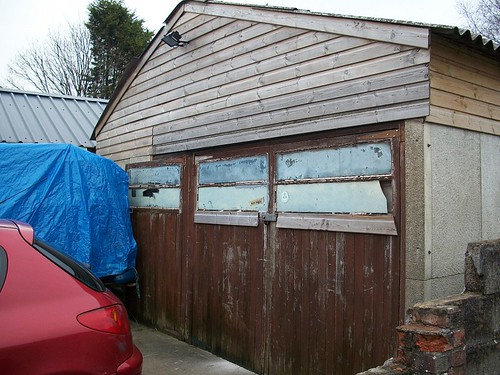
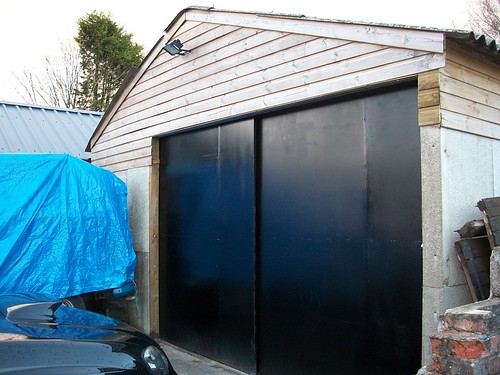
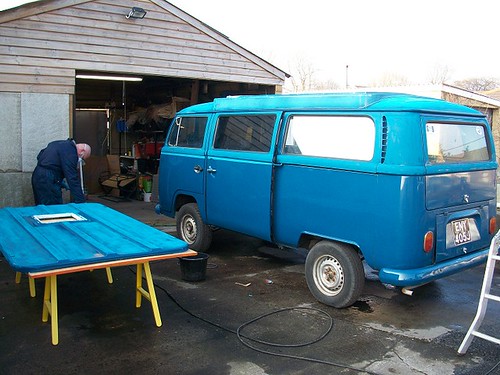
Some of you might have seen this already, I thought I'd start a project thread in here. I bought the van last summer as a present for the wife. The plan was to buy a van with sound body work and sort out the interior / mechanicals. Here's some pics of when she was first bought.


Nothing changed for a few months due to a baby turning up soon :roll:
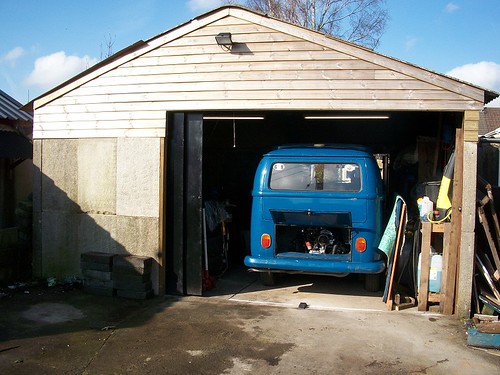
Now the boy has arrived I can get on with the camper ready for the summer. Took the engine out on the weekend, it took a little longer than I expected, but it's out now along with the box.


Got the engine on the stand

Took the exhaust off first, as it was sticking out from the stand. Had a bit of a shock when I removed the pipes, hopefully she'll breath a little easier once I'm done!

Next job is to strip and clean the engine, then sort out the gear linkage bushes. Paint the engine bay, and refit.
Nothing changed for a few months due to a baby turning up soon :roll:
Now the boy has arrived I can get on with the camper ready for the summer. Took the engine out on the weekend, it took a little longer than I expected, but it's out now along with the box.
Got the engine on the stand
Took the exhaust off first, as it was sticking out from the stand. Had a bit of a shock when I removed the pipes, hopefully she'll breath a little easier once I'm done!
Next job is to strip and clean the engine, then sort out the gear linkage bushes. Paint the engine bay, and refit.
")