the knuckle bus

Early Bay Forum

Help Support Early Bay Forum:

This site may earn a commission from merchant affiliate links, including eBay, Amazon, and others.

mrknuckles

Active member
Joined
Aug 2, 2008
Messages
37
Reaction score
0
Location
SWINDON/OXFORD AREA
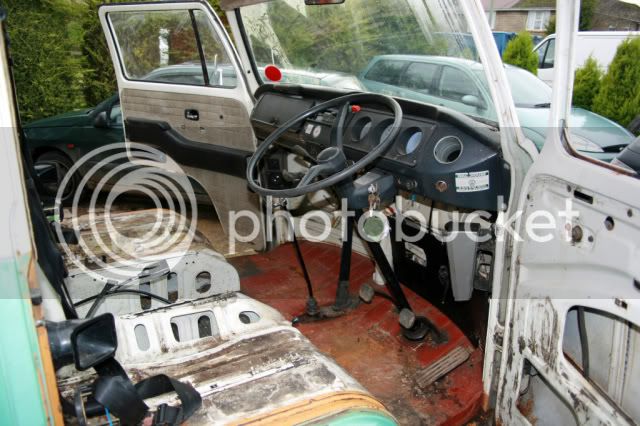
hi, introduced myself the other day and made a right balls up of everything! struggled to upload from photobucket then without realising it deleted it all so here goes again. Bought our '72 devon after deciding didnt want LHD, couldnt stretch to RHD import so only thing left was to try and reserect a uk RHD
IMG_0006.jpg

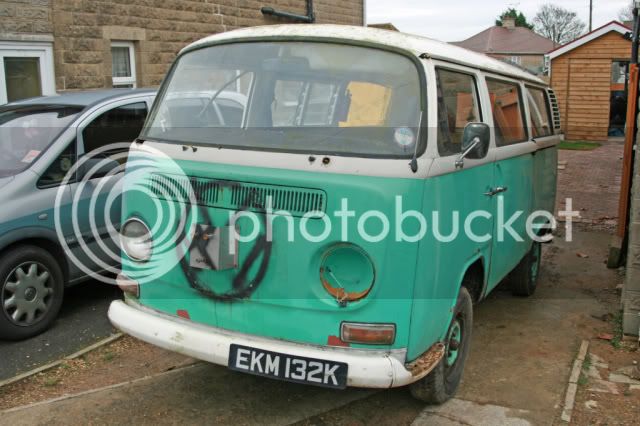
the previous owners had used it as a donor vehicle taking everything except the rust!

IMG_0014.jpg

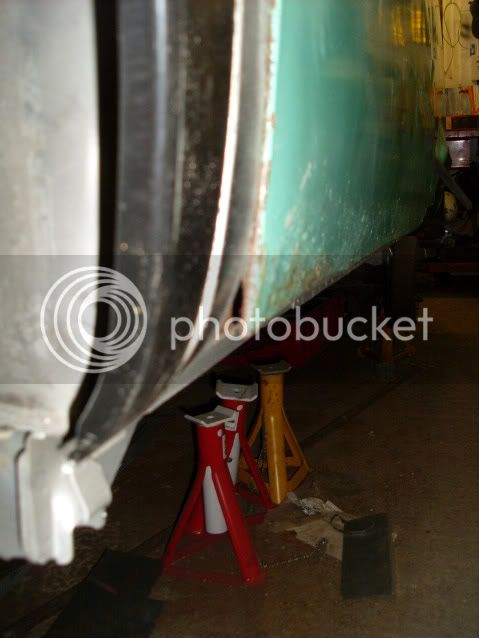
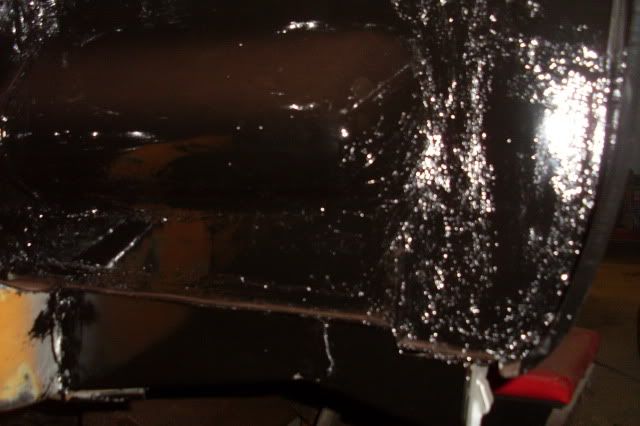
started by removing the front wheelarch, good a place as any.
006.jpg

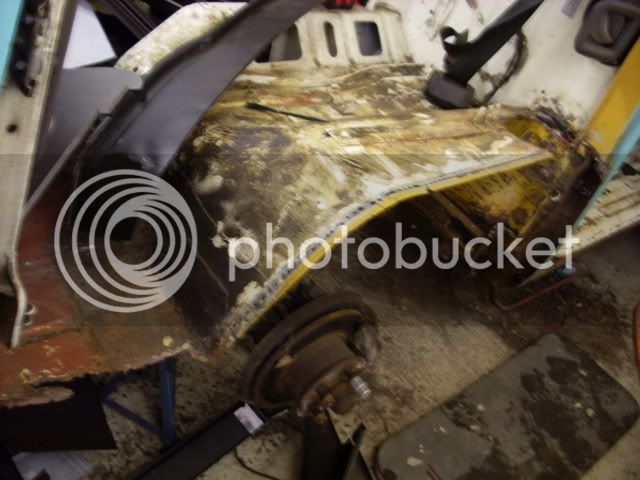
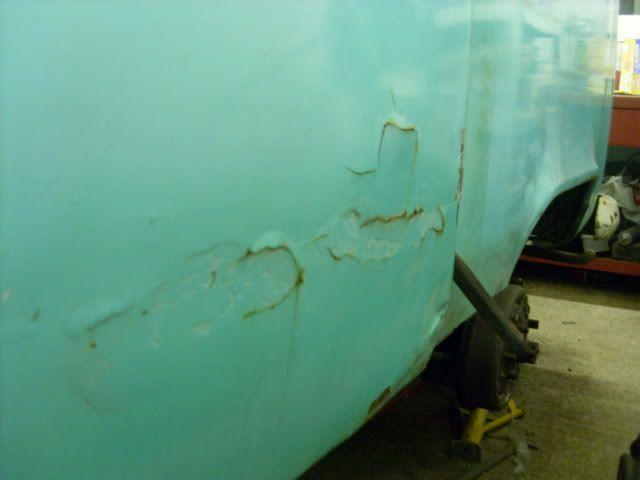
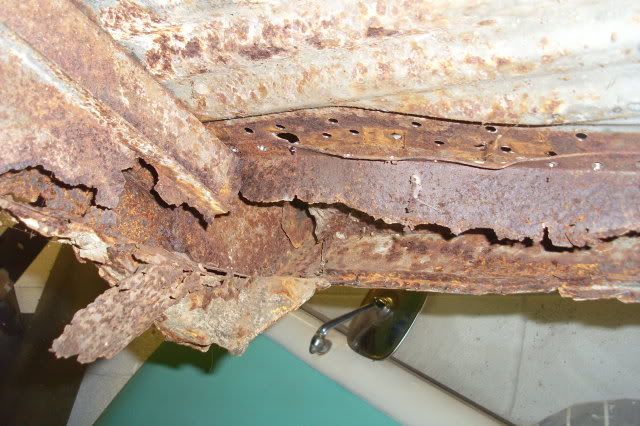
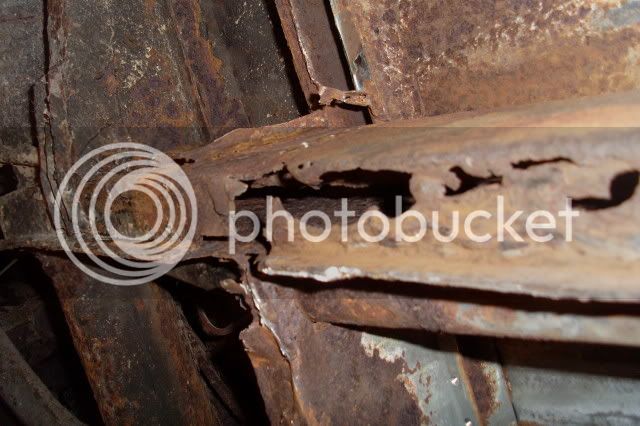
once arch removed started to get better idea of what i'd taken on

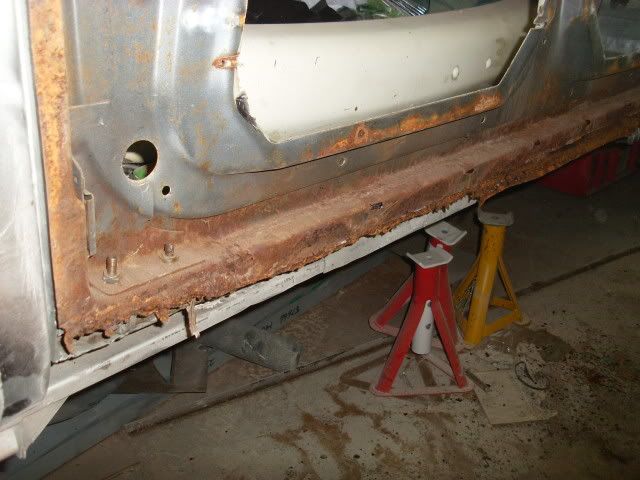
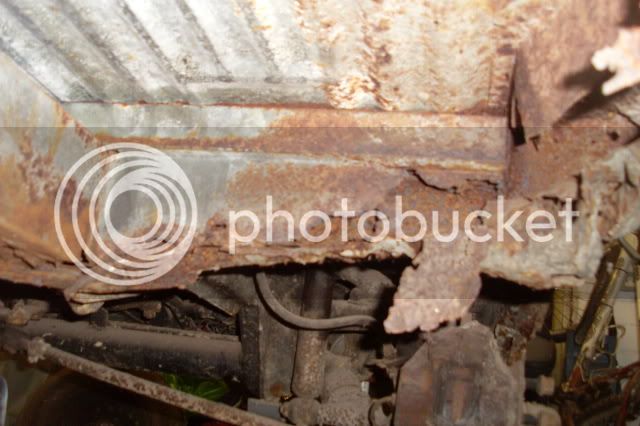
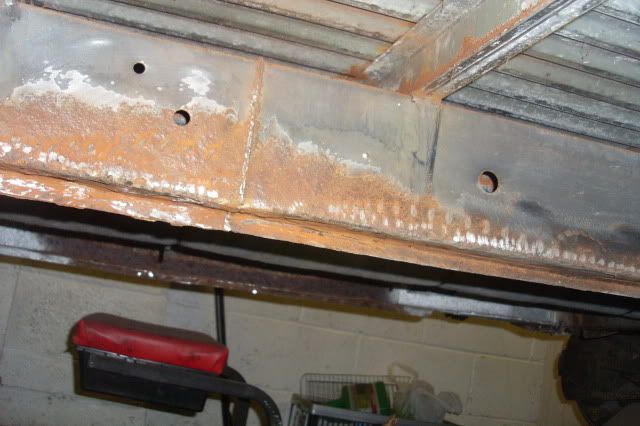
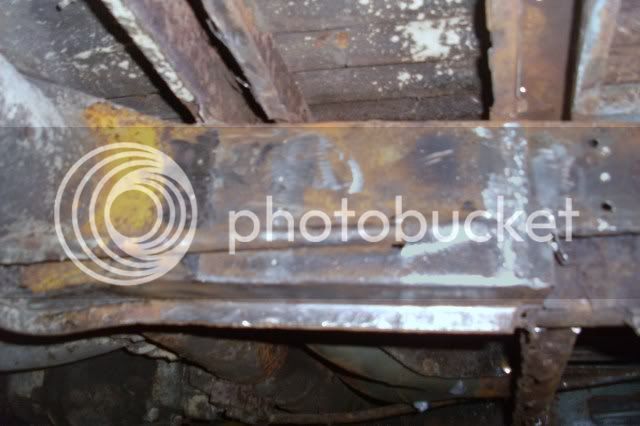
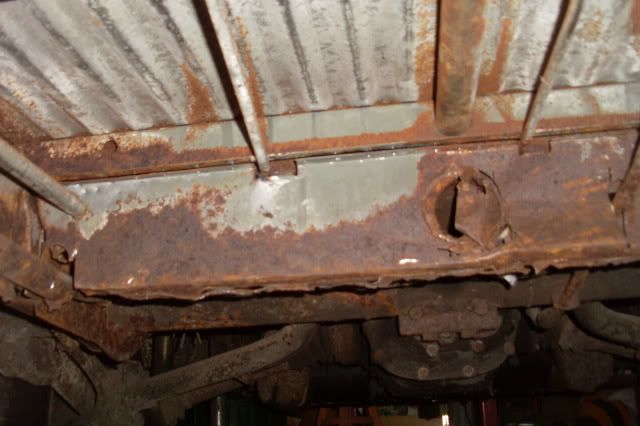
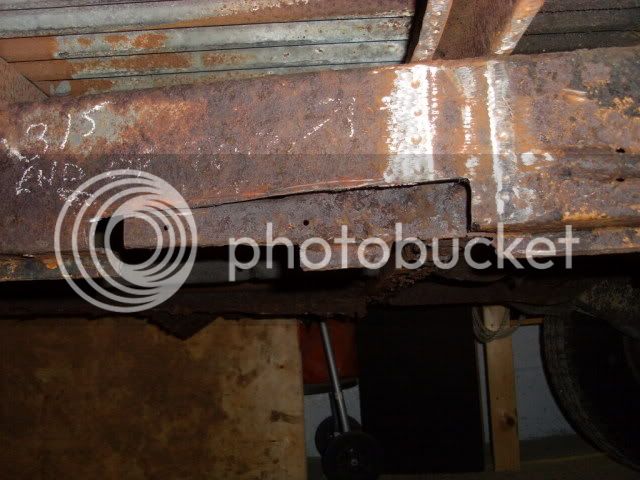
was going to be while before new arch was back on, next step-remove bellypans to start outrigger, jacking point and sill replacement. Still experementing with photobucket also
008.jpg

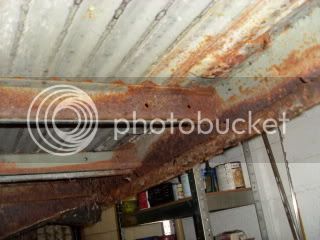
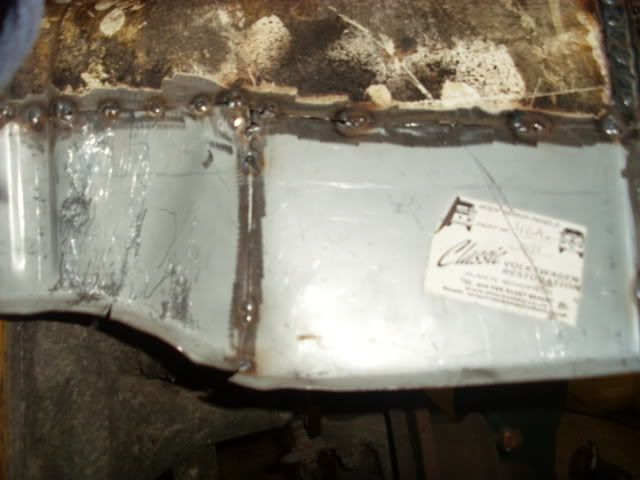
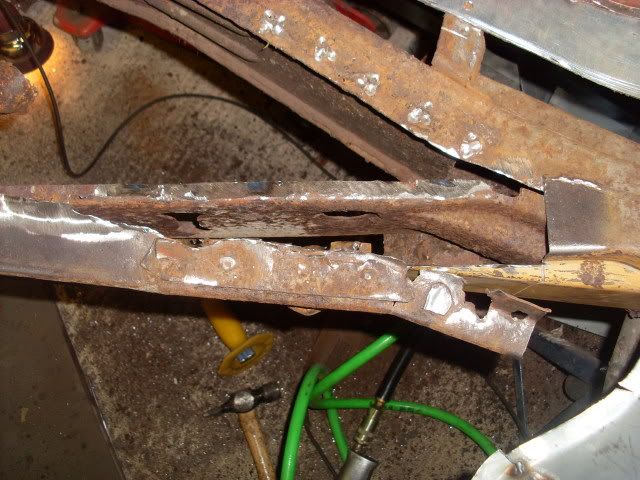
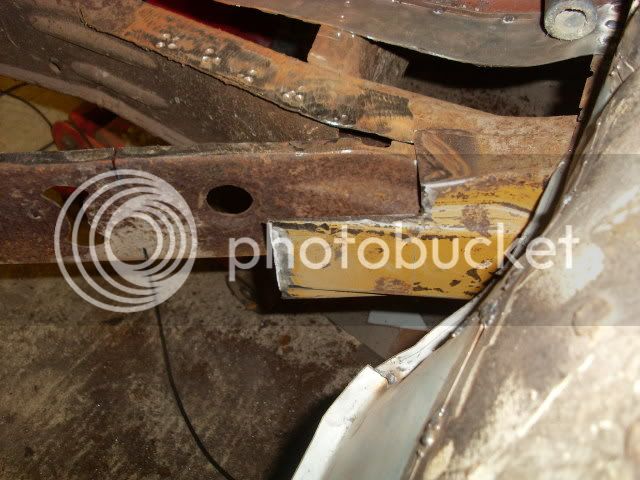
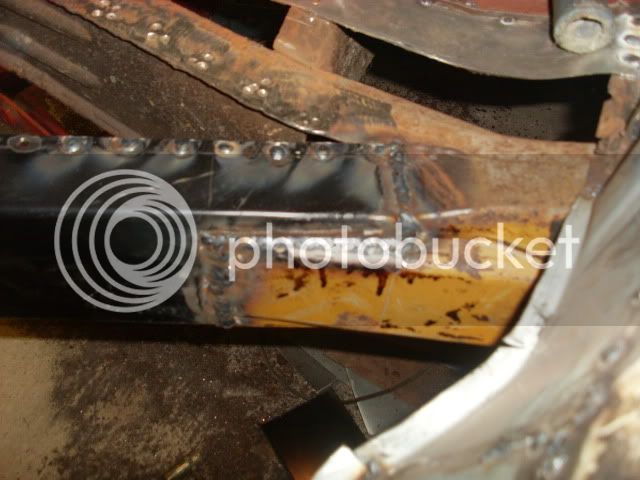
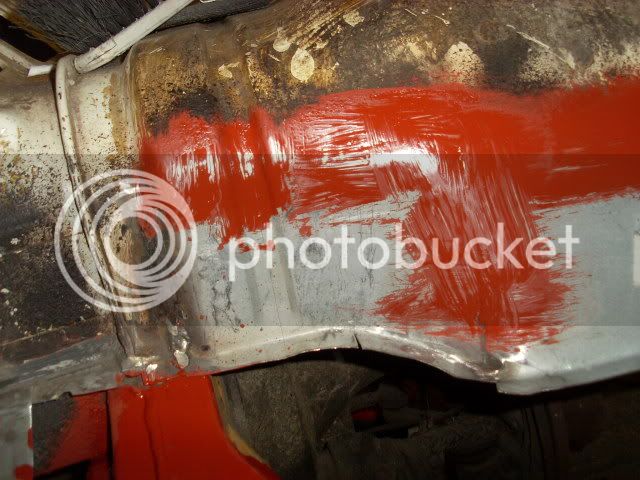
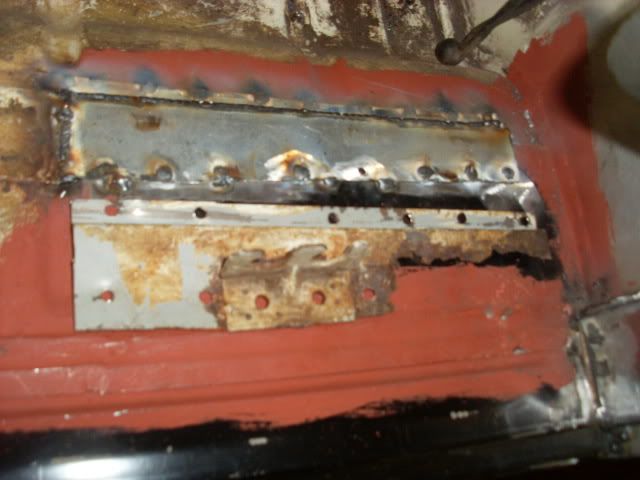
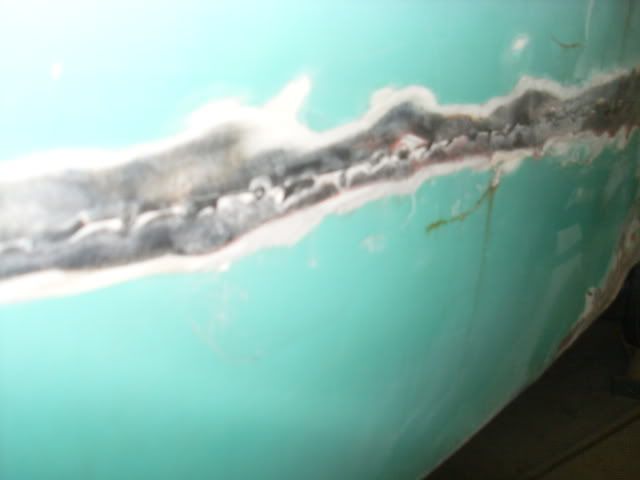
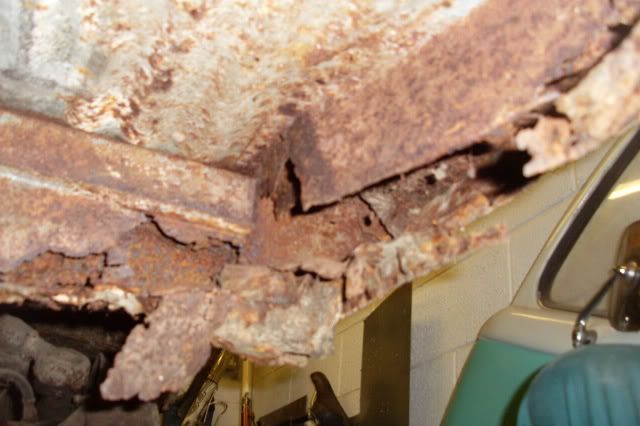
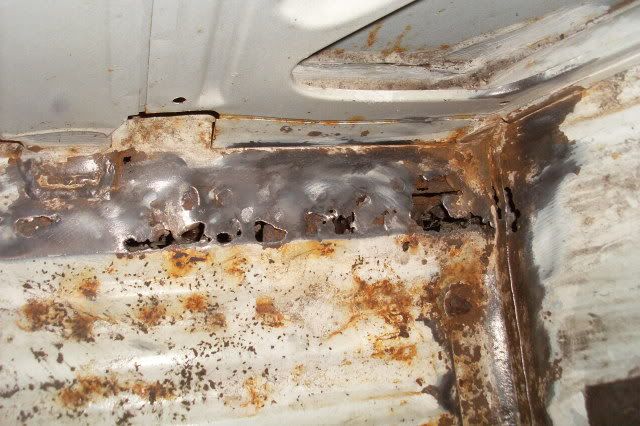
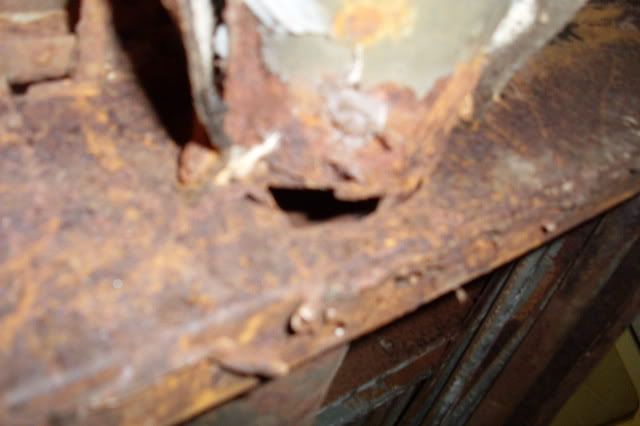
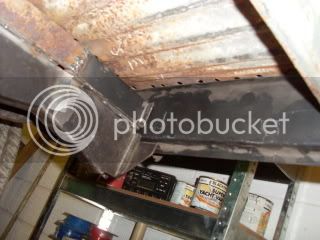
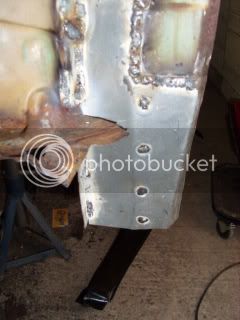
once jacking points cut away had to keep going until found something to weld to
012.jpg

030.jpg

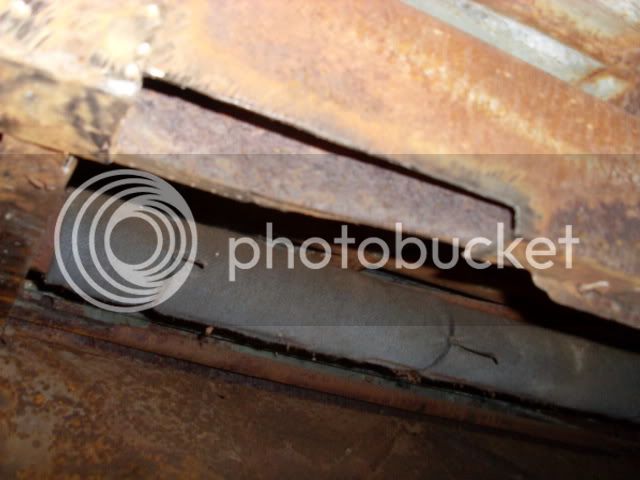
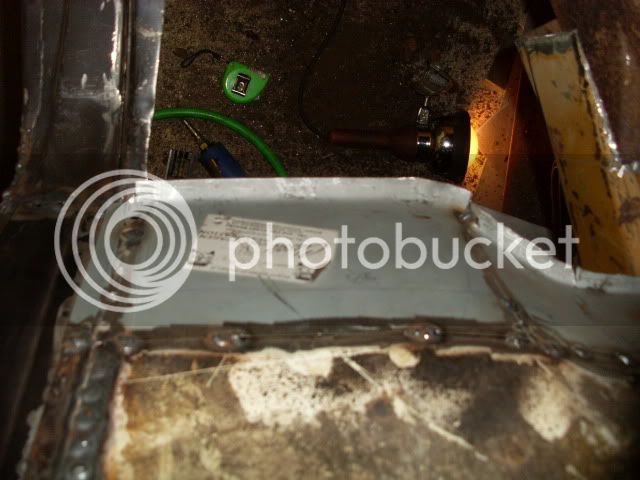
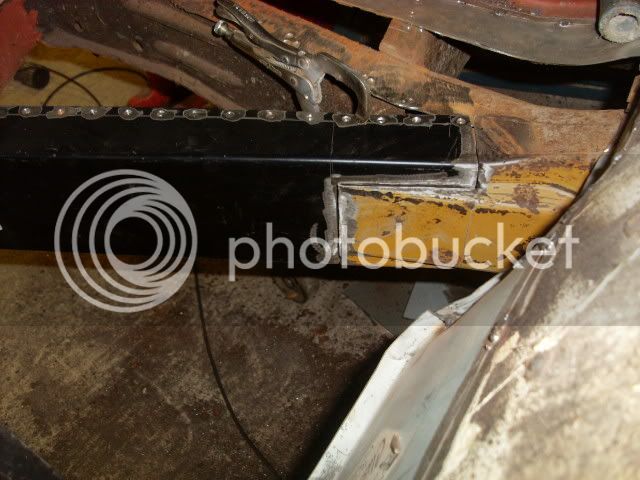
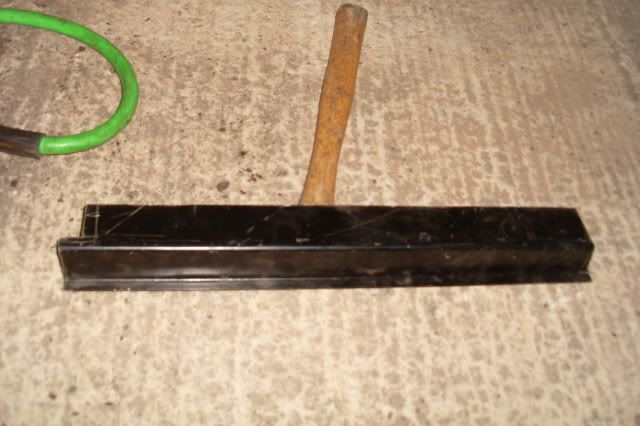
this done front and rear the jack points could now go back on
034.jpg

035.jpg

006.jpg

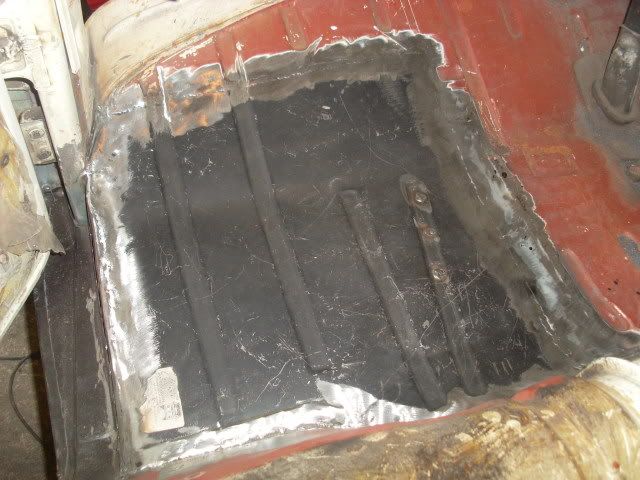
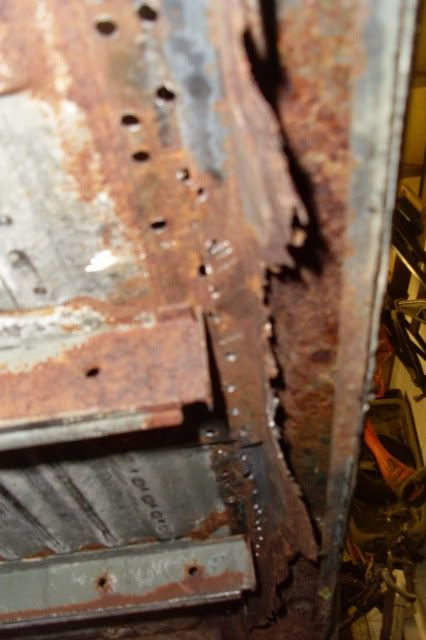
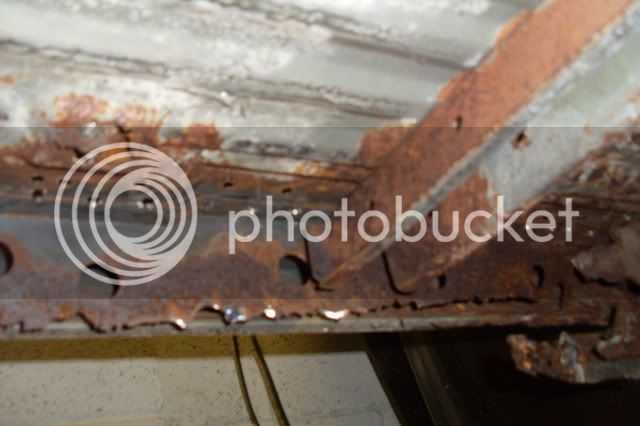
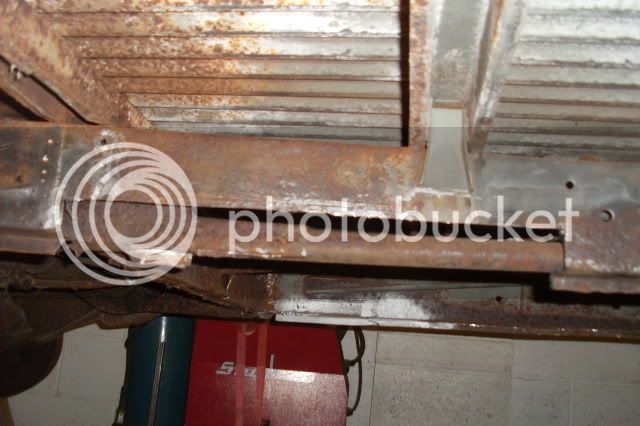
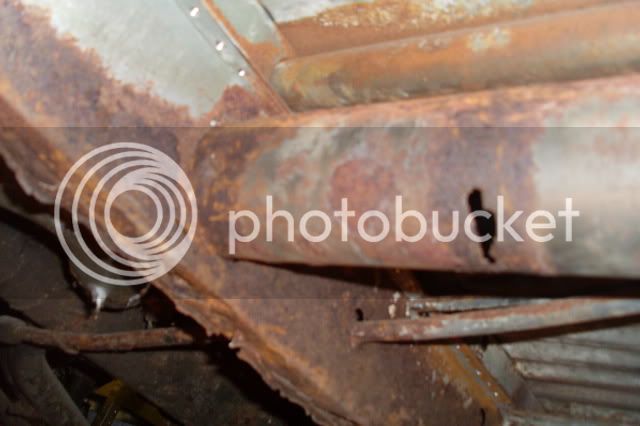
before fitting inner sill had to make a reoair to the rear inner wheel arch where it joins sill
057.jpg

080.jpg

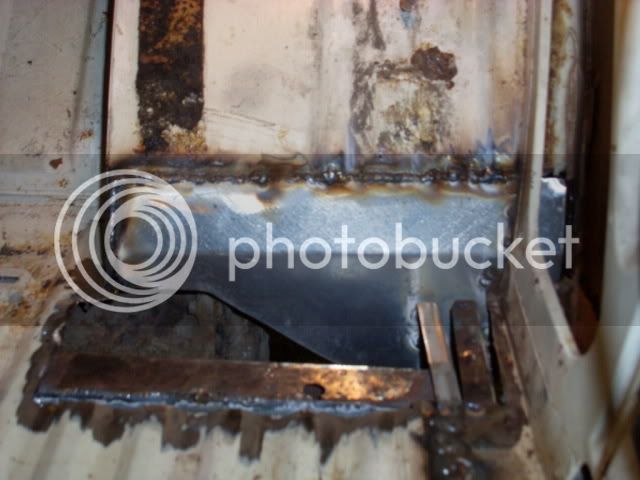
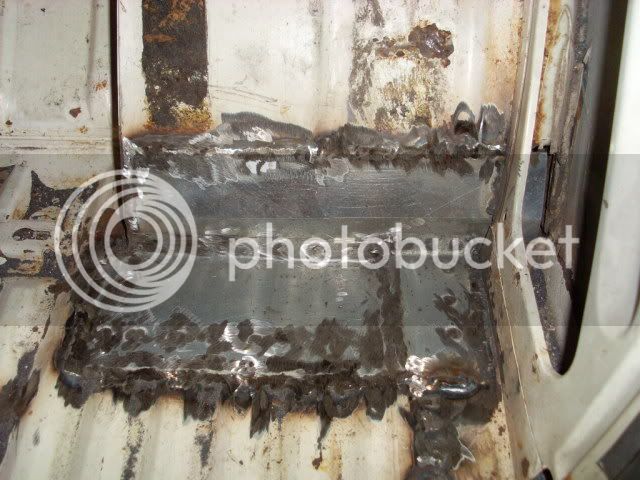
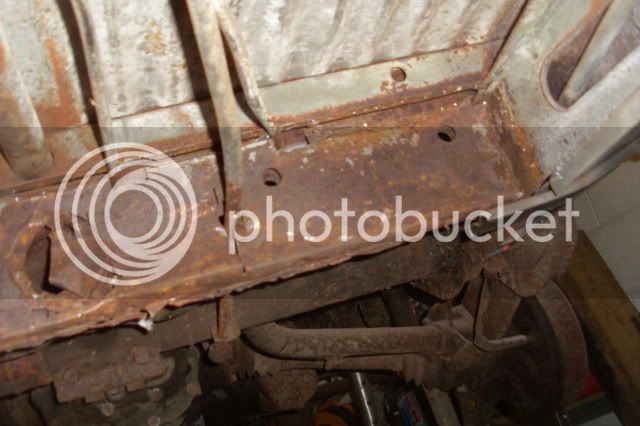
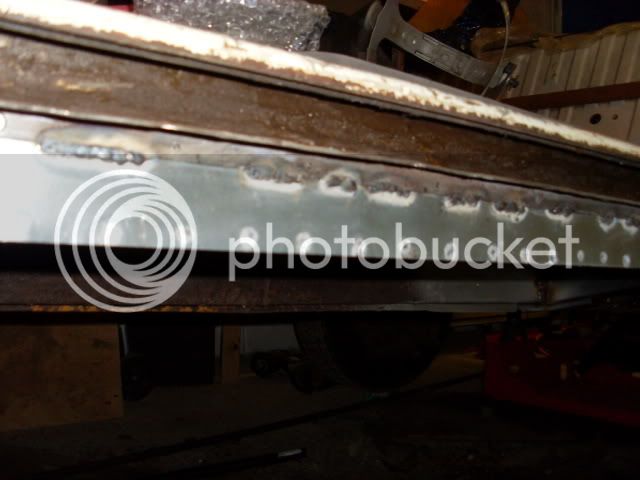
this done could now repair middle sill before continuing with front arch
067.jpg

maybe not! Bpost next then, after bracing A to B post, floor to roof, side to side and finally myself
085.jpg

087.jpg

101-1.jpg

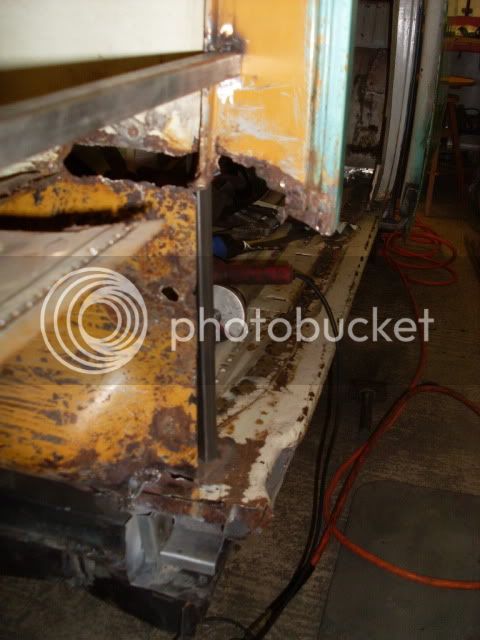
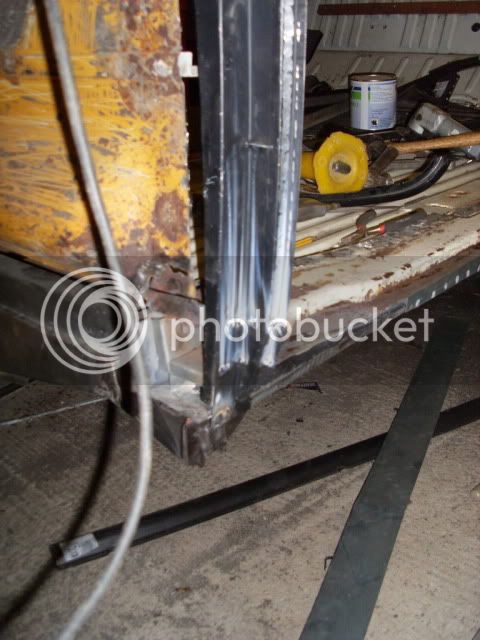
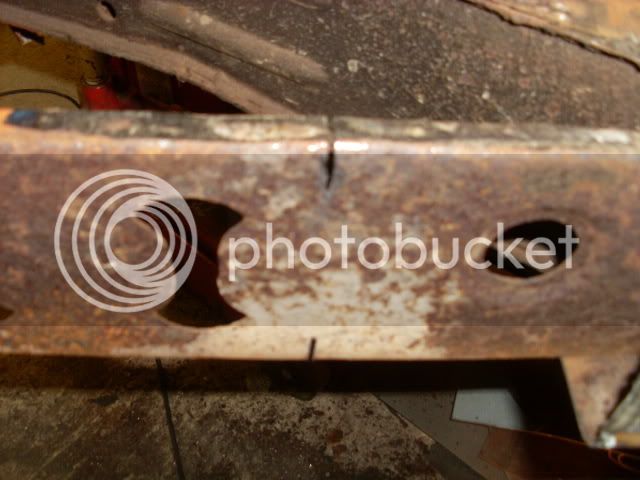
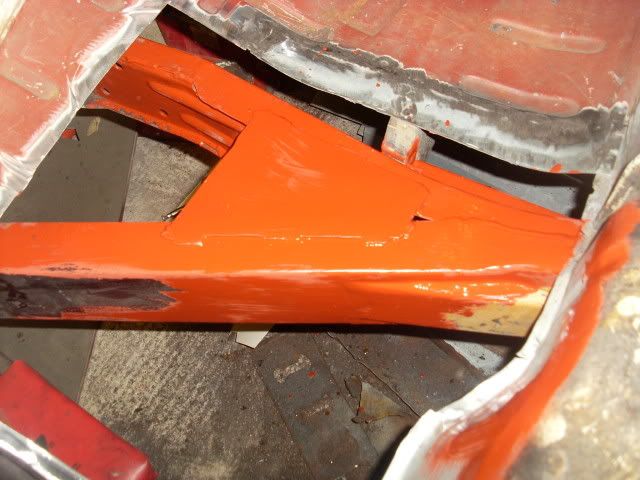
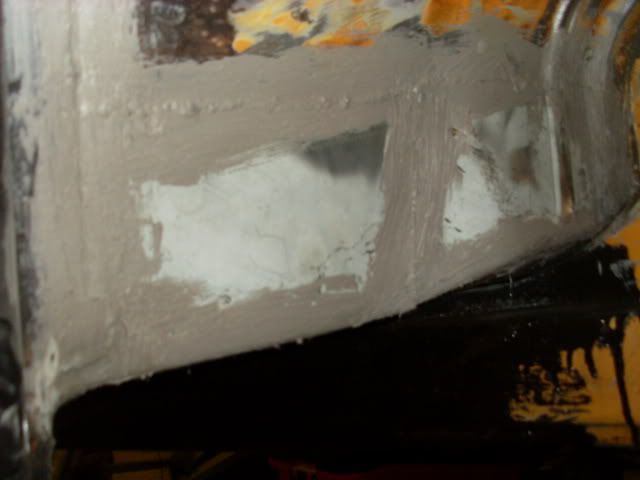
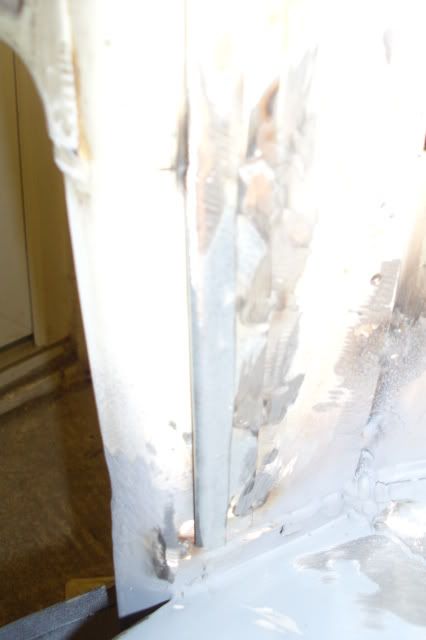
this finally done just one more job before wheelarch can be fitted- the lower A post. Lokked at lots different shots of these on web trying to work out what should be there
114.jpg

115.jpg

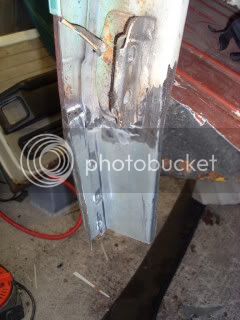
and came up with this. My finest hour so far ha ha
104.jpg

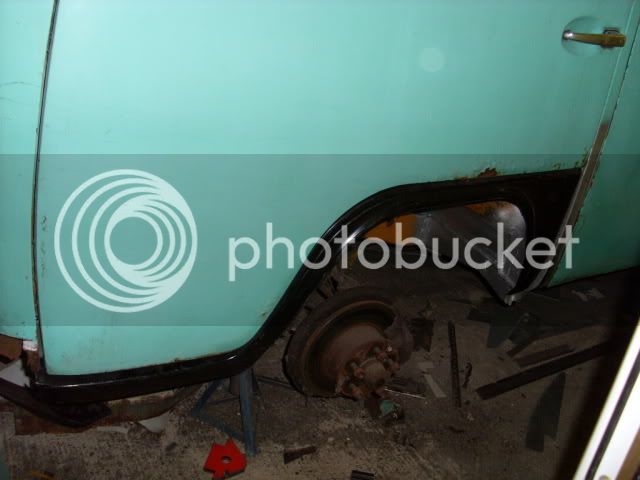
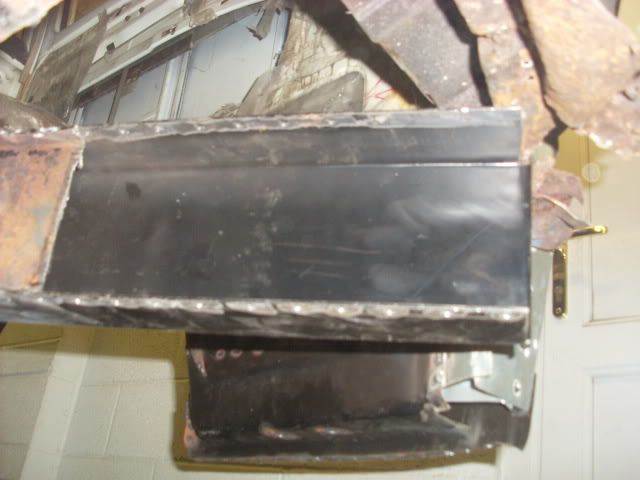
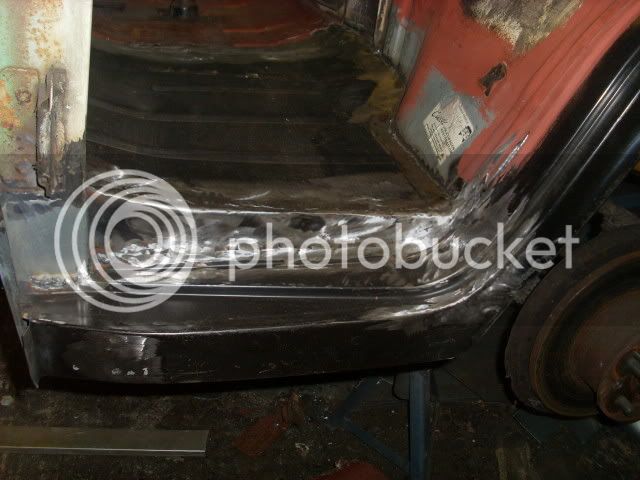
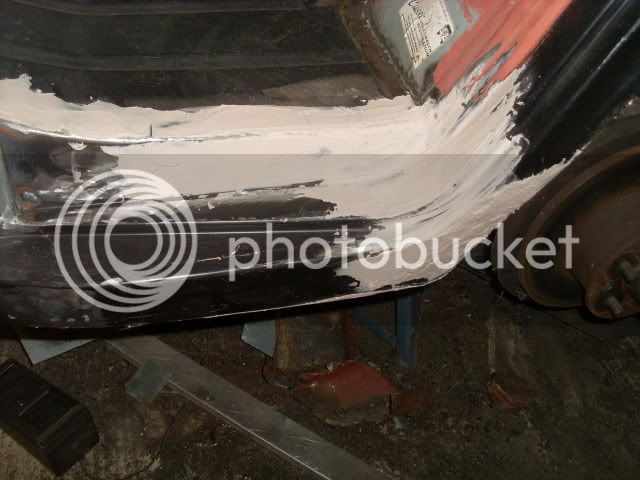
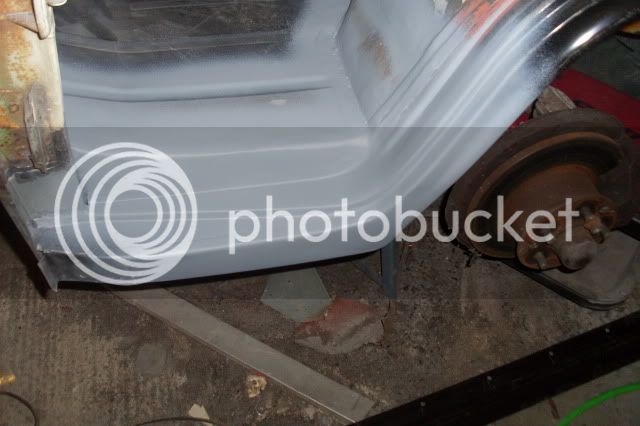
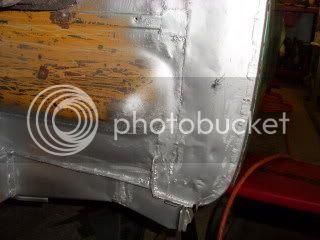
when offering up new arch found the gap was not good, had a look around and saw how they were on new vans, nothing else for it, out came the trusty air cutter and off it came. Replaced the lower arch/ step with earlier step and this how it looks
207-1.jpg

the gap much more even, no beauty queen,but if you squint as i drive past(at dusk) should look ok
208.jpg

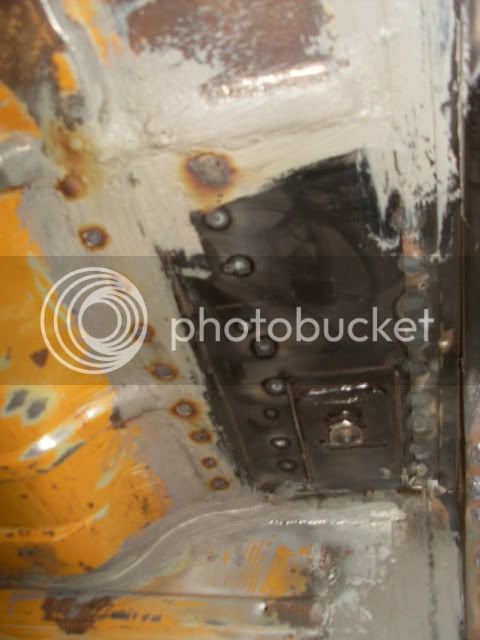
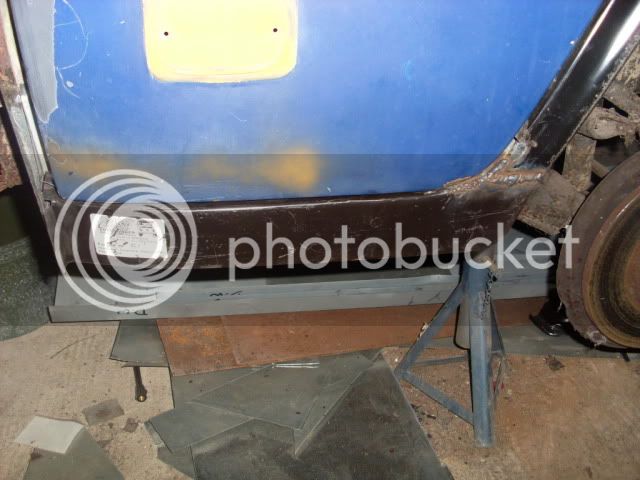
and this is the view inside the door ( S/H from fbivw) the step appears to line up ok with same clearance from inside door as other side . Thats about it for now currently sorting passengers front floor
and finally couldn't resist the reason for the strange name our bullie "knuckles" he's the one in the middle. Sorry to go on
SL380521.jpg
 
great work 8) i wouldnt want to tangle with knuckles :shock: , hes a beautiful bull terrier
 
thanks, he's a real laid back surf dog. He's also part of the reason we've got the van, both had bikes and had to leave him behind. Now he can come too
 
Good work and fast progress.... at this rate you'll be on the road in no time at all!

There can never be too many crossover buses in my opinion.... so keep going "weld all day and save a Bay"!
 
thanks, i wish it was quick work. Bought van 6th oct last year, had to finish building the garage and he moved in in january. Had to stop working on it for few months cause of other commitments, but since joining this forum its spured me on, want it on road by summer(warm rain season) for the anual pilgrimage to watergate bay
 
offered up the new floor pan and did not fit at all, floor and arch had been patched up so many times it had more plates than our kitchen! Roughly cut floor and lower arch out just to get some idea of how panel was going to fit, this was ok but cut lower arch repair panel to make it line up with pressings in floor
SL380551.jpg

SL380553.jpg

trimmed floor panel down and offered this in place, unfortunately this didn't cover all rot so had to make a filler strip to fill the gap. Started to clean up chassis underneath floor and found this had holes in 4 places so decided ty replace this instead of repair
SL380529.jpg

cut strengthener off and drilled out welds, both parts of box had rotted so first cut off "c" section and cut new section to shape
SL380549.jpg

SL380557.jpg

before welding in place cut top and bottom of other part so could use this to line up new section then cut down middle without damaging new section
SL380555.jpg

SL380558.jpg

once both parts tacked in right place seam and plug welded new sections
SL380559.jpg

not touch van all weekend girlfriend organised suprise 40th party last night for me she made this cool cake (checkout position of front indicators) she's a legend!
SL380582.jpg

late night so today we're all recovering
SL380583.jpg

may take few days to recover then back into garage
 
thanks, spend most nights in garage until 9ish. Wanna get the structural stuff done so can start bolting the juicy bits on. Earlier this year when exchange rate was good we bought some bits from wagenswest and cant wait to see how it looks
 
Looks like a lot of work needed there keep it up . I have noticed you still have your scooters, so do i and my van is the same colour .Must be a scooter thing :!:
 
jim,still have northern soul blasting out of car and garage. Have just the one scoot now, my trusty p range i bought new in '92 although doesn't get used much anymore. Now terrorise the neighbourhood with this
121.jpg

122.jpg

done a bit more on van this week, cleaned up the welds on chassis leg and welded the bracing plate back on
070.jpg


seam welded the wheelarch panels in place ground back, quite a good fit if i do say so myself
[img]http://i443.photobucket.com/albums/qq155/mrknuckles_photos/069.jpg
and then a quick coat of primer on seams to protect it
082.jpg


then gave everything a coat of red oxide before giving everything a coat of por15 also welded filler strip into floor to fill gap between new floorpan and good metal
093.jpg

once this done eventually got floor pan in but done expect "off the shelf" cab carpets to fit ha ha
104-2.jpg

welded in and ground off
then removed the door and started to tidy up the step where i'd joined the step from the earlier model onto the later arch in an attempt to get it looking somewhere near
112.jpg

this done mixed up the filler and slapped on but will refiot door before attempting to get the shape right
114-2.jpg

116.jpg

welded in the seatbelt anchor plate then ground back and primed
079.jpg

then made a deliberate mistake! Seam sealed all the underside joints and cleaned under the arch ready for the por15
119.jpg

120.jpg

then welded in the seat belt mounting repair plate that i knocked up
108.jpg

the fumes that stuff gives off, not recomended!
and lastly for now repaired the lower B post
101-2.jpg

made plate
103.jpg

then welded and ground off
110.jpg
 
Hello MrKnuckles your van seems to be coming on well , glad to know the northern is still going strong ,not too shure about the big bike i think i'd kill my self with that big NOS tank . Just been thinking take it off the bike and put it in the van :twisted:
 
the bike may be going, always fancied a series 2, not restored but tweeked to make it practical. If the bike goes will be putting the gas on van, shame none of the other bits will fit
 
just a bit of an update. Sanded down the filler where i welded the two different arches together, thought i got the shape somewhere close so primed it to stop rust. Now its one colour can see i still have a long way to go
SL380668.jpg

SL380669.jpg

gonna leave this for now and consentrate on repairing the sliding door and replace the rear arch then do all filling and sanding together, and hopefully get better at it as i go.
Took some pic's of sliding door before starting because already had lower panel repair at some point
SL380642.jpg


it looks as though the panel may have been just a piece of sheet steel because it doesn't exactly follow the contour of the door
SL380644.jpg

and the panel had just been wedged up behind the rest of the door panel
SL380647.jpg

and a nice straight line cut then seam welded into position....NOT.
At least should go bit better with a lot less filler in door (about 10mm thick)
then cut the skin off high enough to find good metal agian,
SL380652-1.jpg

Before i cut the inner lower frame off to replace i wanna make sure the door adjusted properly ,but when the door in the closed position you can pull the front lower runner out of its upper channel. Tried to adjust and made it better, now doesn't pull out but only just in the upper channel and don't want it becoming a problem when painted. Cleaned the grease out and found a groove that the lower wheel runs in, it seems perfectly formed, but not sure whether the roller has caused it over the years and this caused the whole lower mounting to have "dropped", or that i just havent adjusted it correctly (hope you can make sence of all that)
 
some work that folk did in the past beggers belief mate. im doing exactly the same repair on my bus at the moment on my thread. the inner repair panels arent the best quality so try and retain as much og metal as possible especially ate the ends where you secure the runner wheels etc. good luck with the repairs
 
bit of an update, after stripping back under the newly replaced wheel arch sealed all joints then gave everything a good coat of red oxide followed by por15
063.jpg

064.jpg

cut off the lower part of the trim retaining strip on n/s 'a' post, to get the shape wrapped it over a piece of 2mm steel that was for repairing the chassis
061.jpg

bit over exposed then
Then was going to replace lower part of sliding door, and carry on down the side to replace wheel arch and corner. But due to space and the position of van decided to start on other side and replace sills jack points etc then concentrate on front end. So tonight cut the o/s belly pan off only to find..... thats right more rot
rear chassis at jack point
[img]http://i443.photobucket.com/albums/qq155/mrknuckles_photos/069-1.jpg
front jack point and sill
071-1.jpg

073-1.jpg


allegedlythere was a sill here once
[img]http://i443.photobucket.com/albums/qq155/mrknuckles_photos/074.jpg
drilled out welds but didn't have to worry bout it in some pleces, the rust beat me to it
075.jpg

inner sills removed
080-2.jpg

077-1.jpg

078-1.jpg

at least the chassis ok in some places, i know im lucky there's others are a lot worse than mine
082-1.jpg

and a few bits designed to set the juice loose, wagenswest narrowed adj. beam, dropped spindles and rear horse shoes just to make sure it sits nice and low
118-1.jpg

117-1.jpg
 
the rear chassis was worse than i first thought after removing belly pan
006-1.jpg

but luckily the new panels turned up today so had a productive evening, cut the two rear outriggers of roughly for now so could repair main chassis
007.jpg

then marked out and cut the new chassis section down to size
009-1.jpg

cut the section out of chassis roughly where its gonna go, just need to tidy up a bit before welding in
008-1.jpg

once this is in need to cut another section out infront of this and do same again, decided this be the easiest way to keep the slight kink in chassis. Once this done can then repair inner section where the centre cross member joins, so in preparation for its removal drilled out spot welds just need to cut around the various tubes or just wire brush the rust away
010.jpg

011.jpg

also found the heater tube and tube the harness run through rotted out
003-1.jpg

005.jpg

so this will be done at same time as cross member but not looking forward to threading harness out then back through again
 

Latest posts

Top