the knuckle bus

Early Bay Forum

Help Support Early Bay Forum:

This site may earn a commission from merchant affiliate links, including eBay, Amazon, and others.
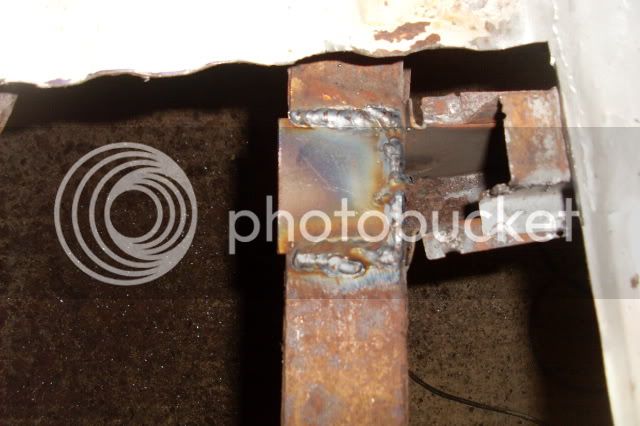
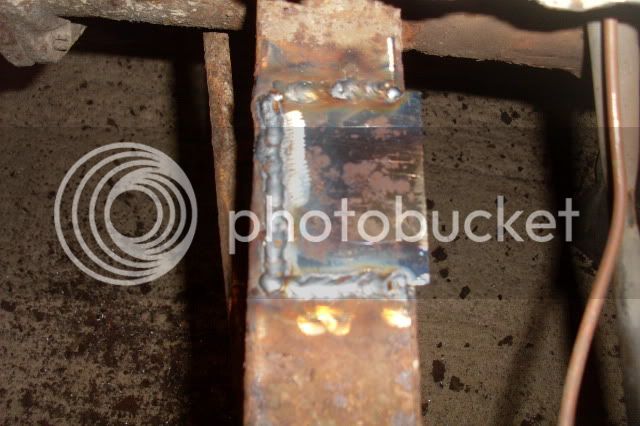
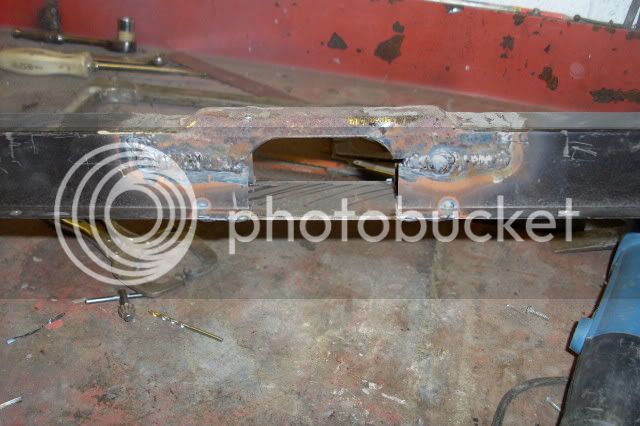
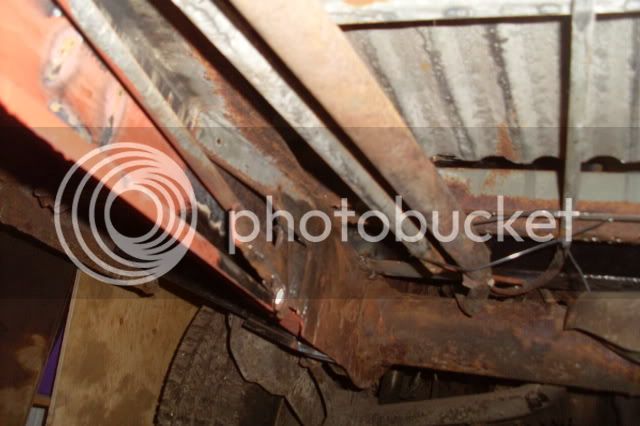
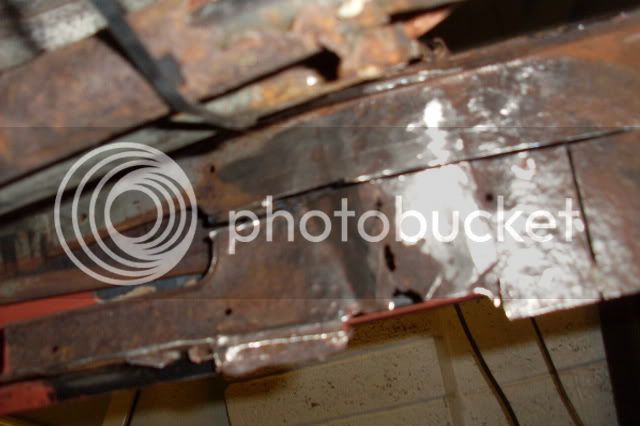
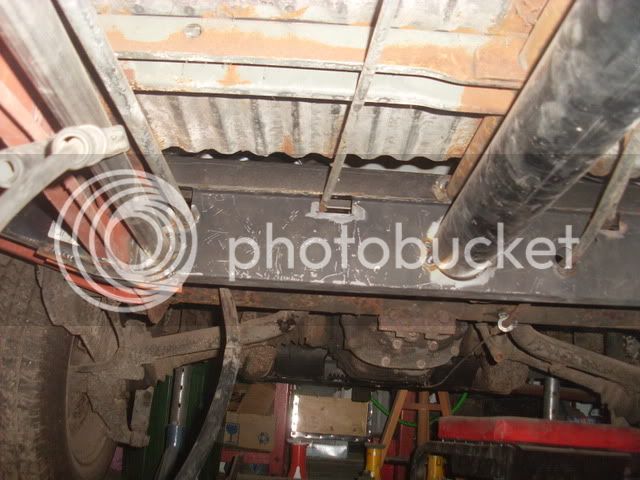
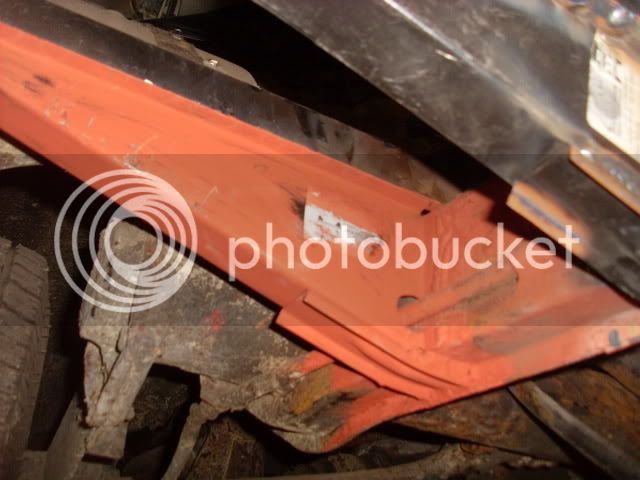
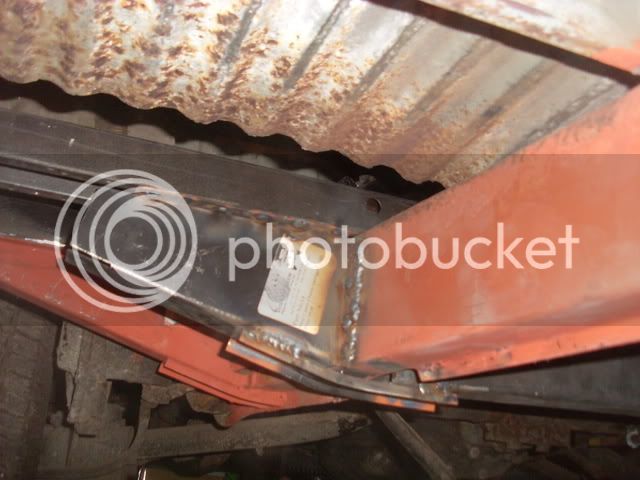
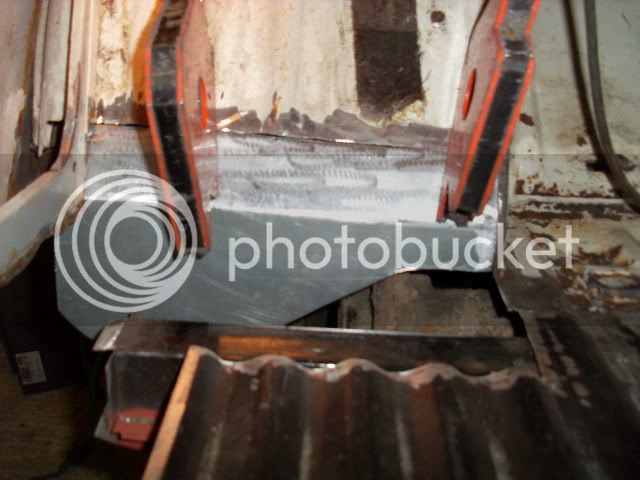
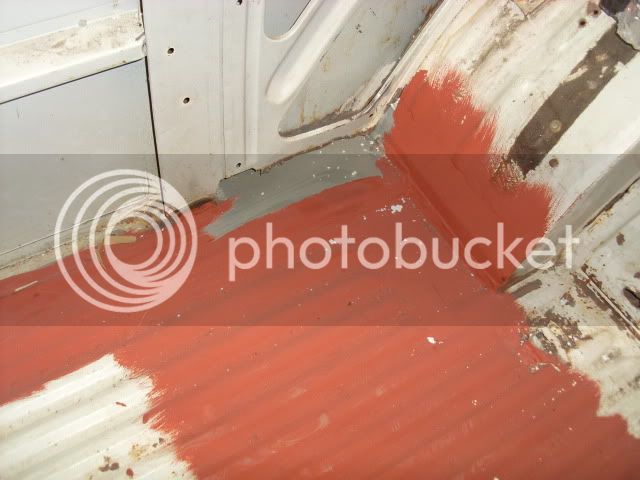
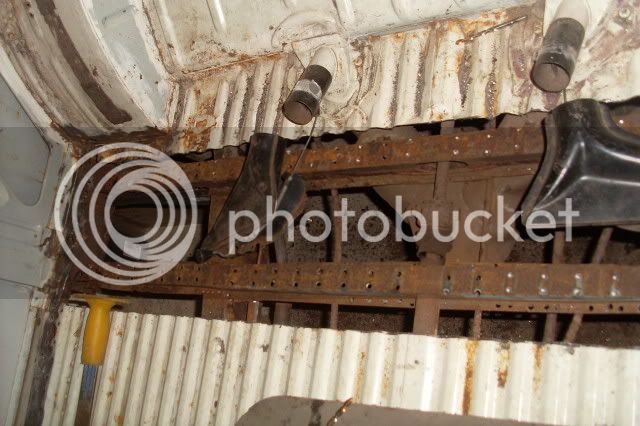
This week welded the new section into the chassis
003-2.jpg

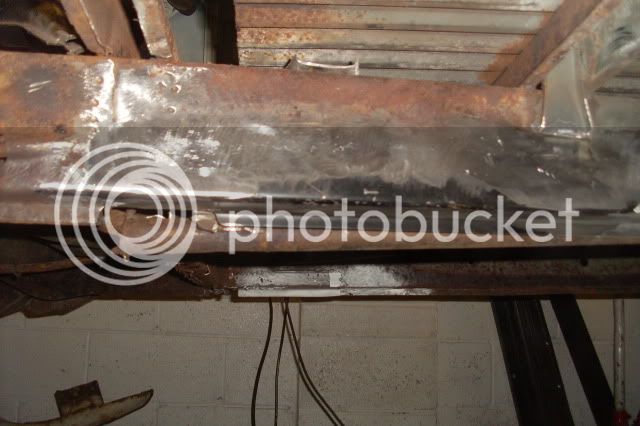
Had to do it in two sections because of the kink in chassis
048.jpg

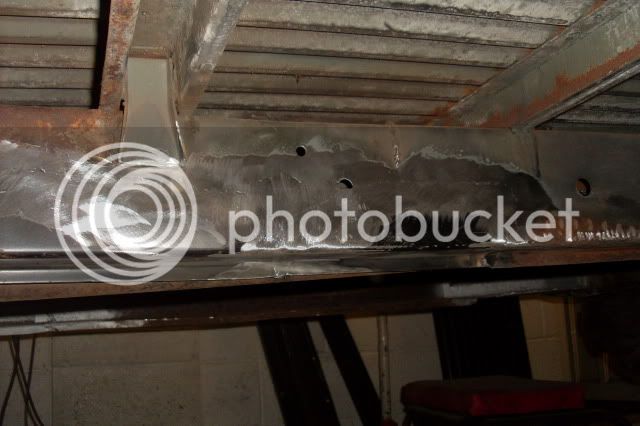
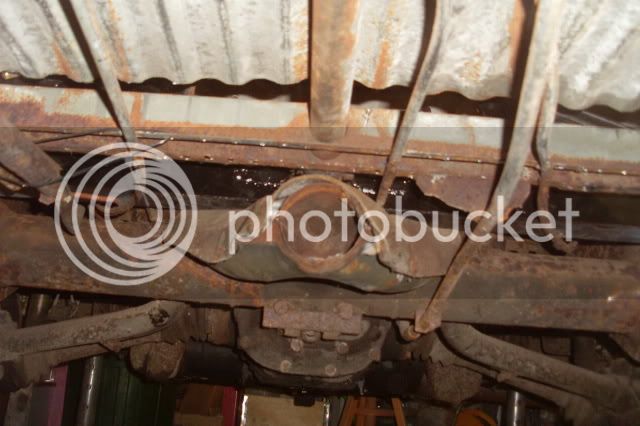
and from underneath it looks somat like this
004-1.jpg

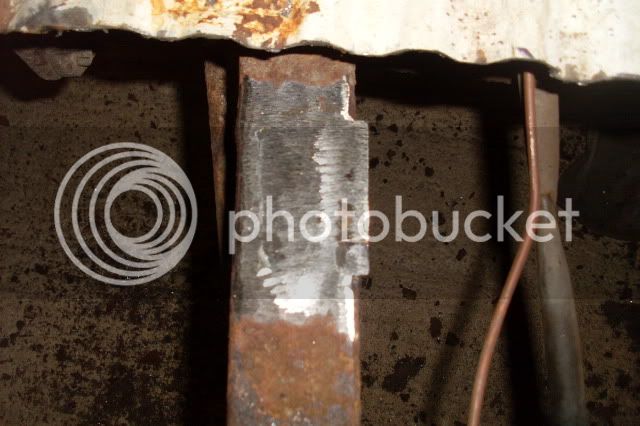
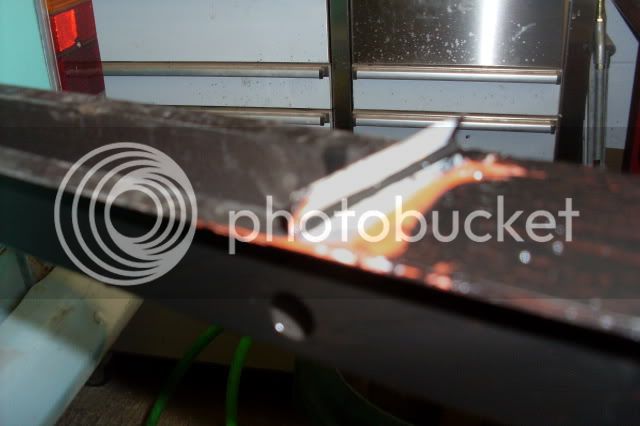
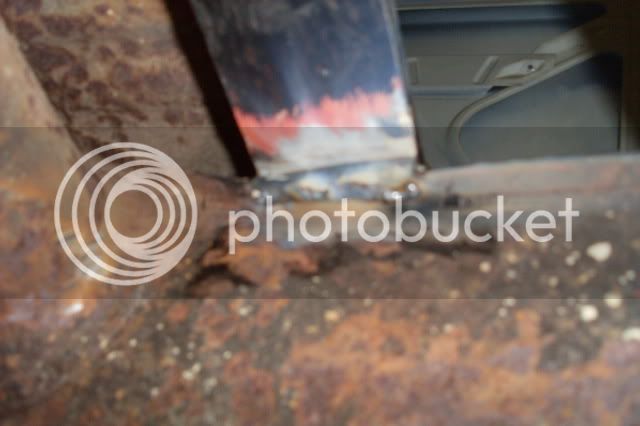
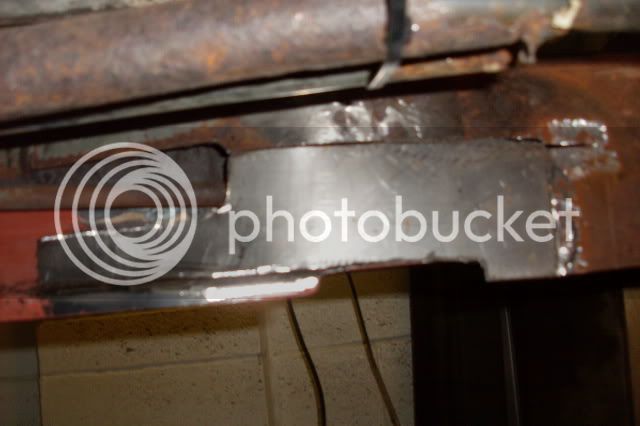
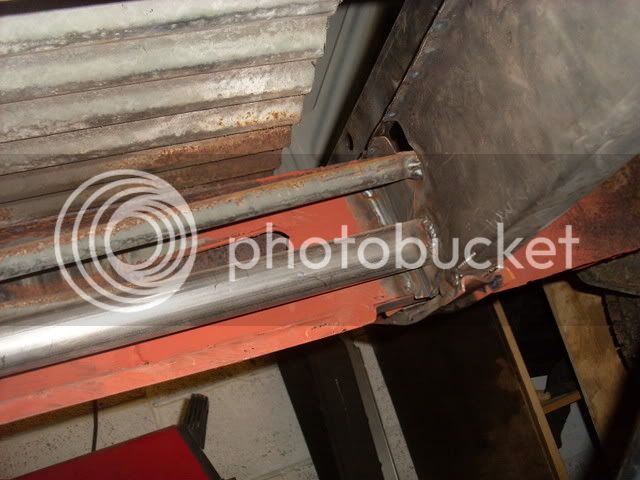
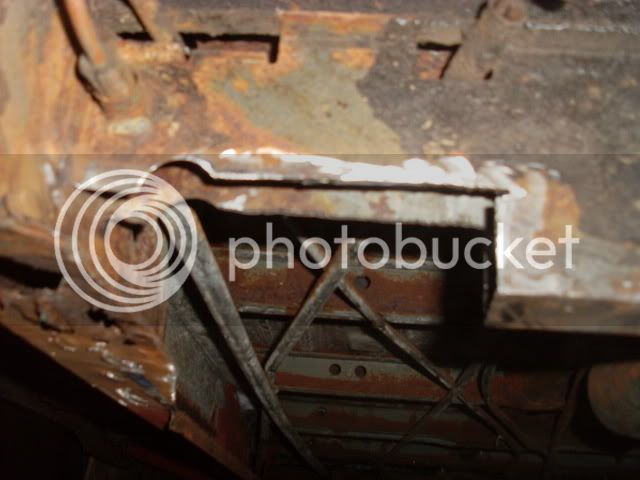
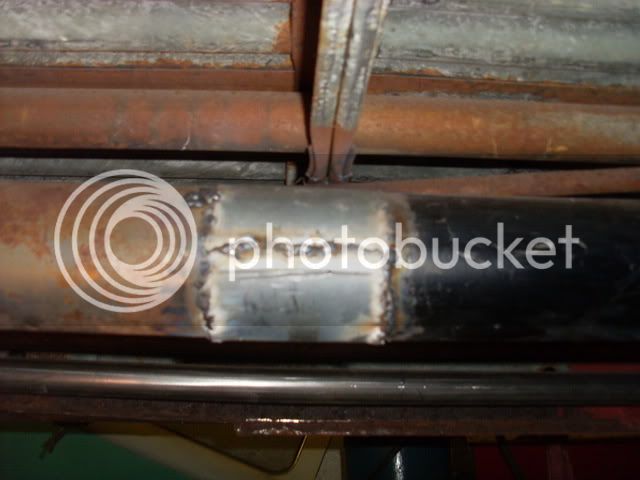
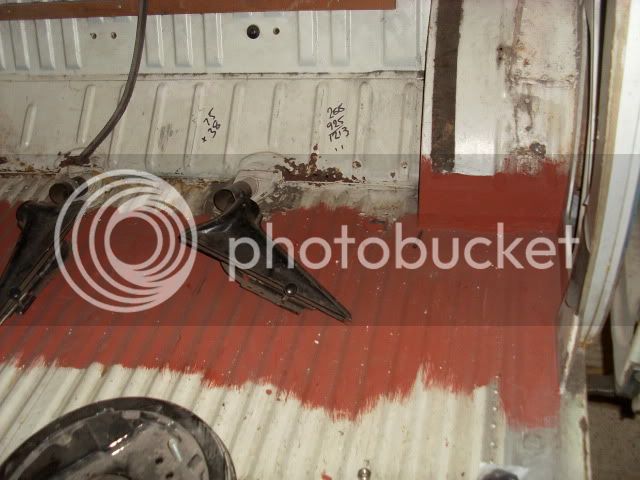
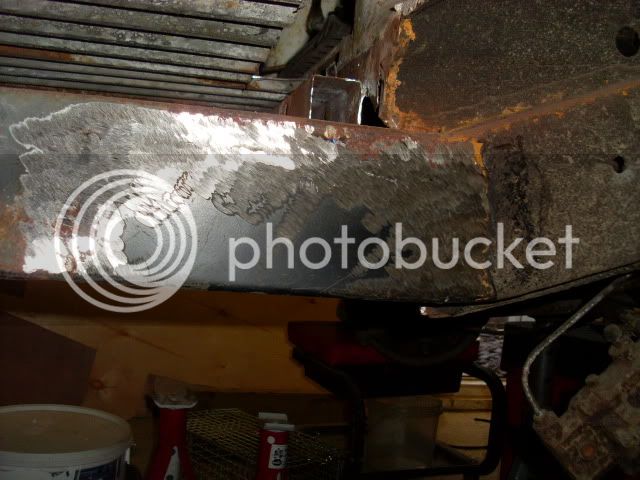
Marked the chassis where out rigger got to go then leaving it clamped in place to line up the top hat section
005-1.jpg

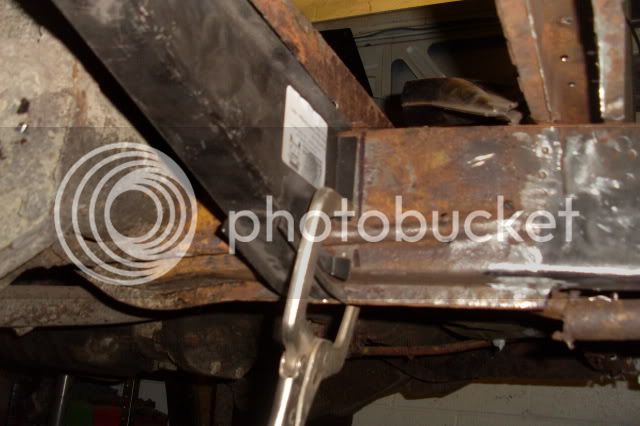
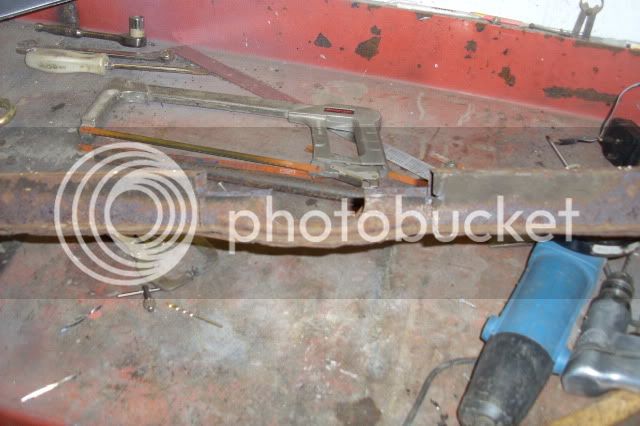
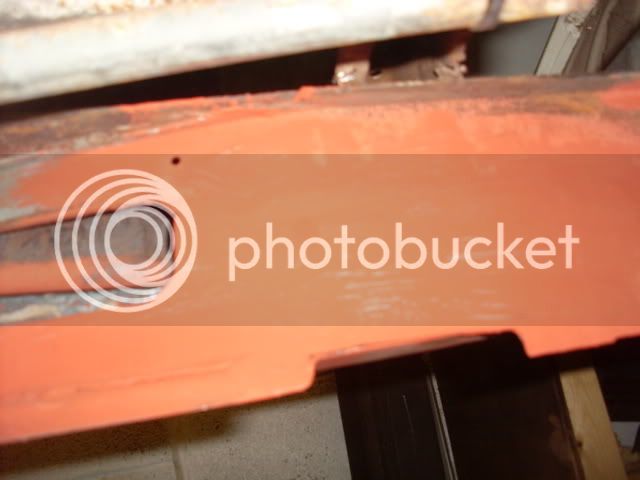
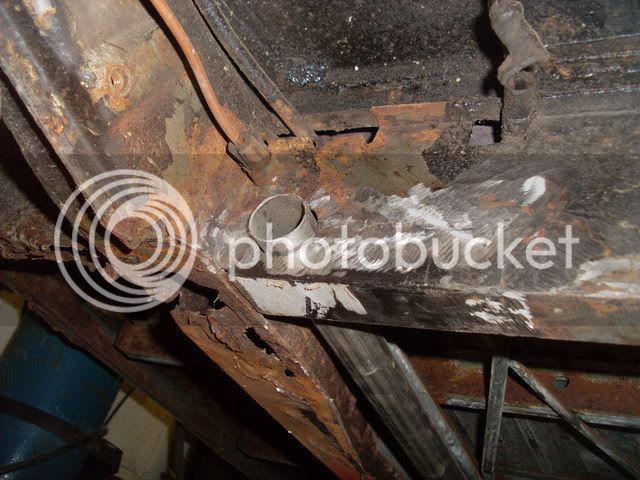
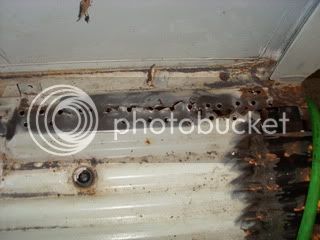
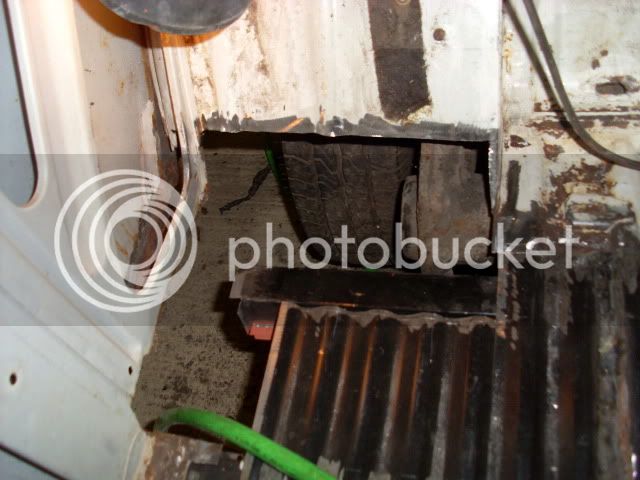
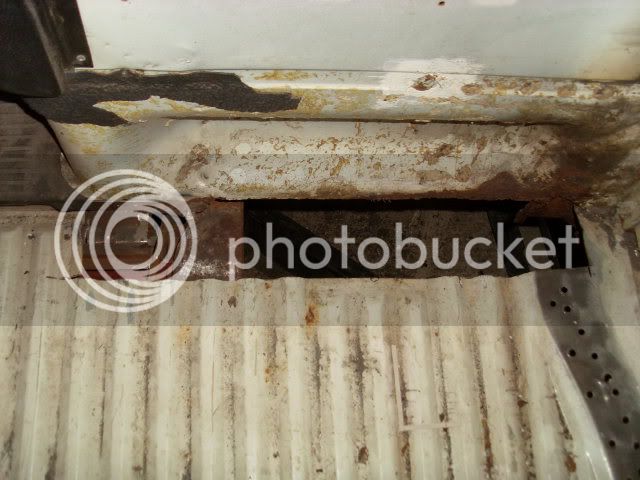
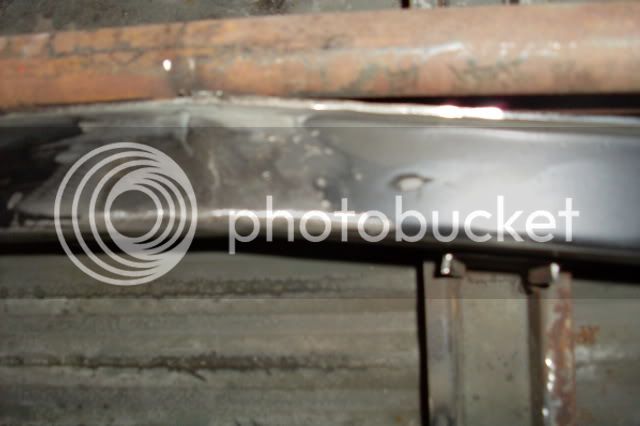
And tonight cut floor section out ready to replace top hat sections so can then use this to line up rear cross member
002-1.jpg

047.jpg

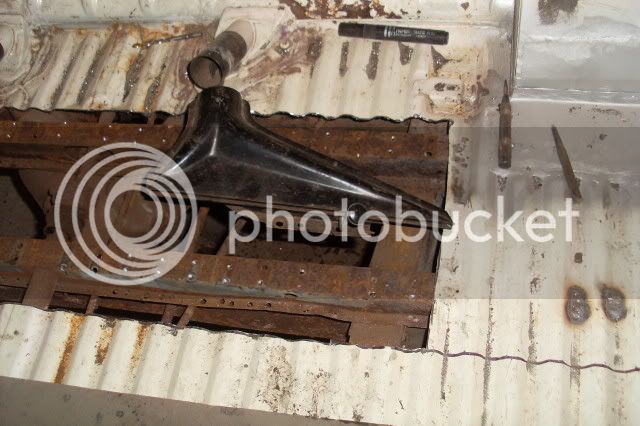
just wish i'd realised this earlier because i've already replaced the end of top hat's when did n/s. (what a w%*k?r )!
 
Bit more progress but not much im affraid.After cutting the rear top hat section off found yet more holes on top of chassis
049.jpg

so cut section out and let in small plate
054.jpg

then ground off flat (and yes the outrigger is correct, its the top section than must have moved when clamped in place and welded from underneath)


then repeated on other side
056.jpg

057-1.jpg

this done, then cut the centre hump off of old top hat and let this into the new sction
053.jpg

052.jpg

then after trial fitting welded strip to the bottom to create a "box" as per original and painted before fitting
067-1.jpg

left a 10mm lip that could be hammered over, welded to chassis and painted
075-1.jpg

that was last week, and tonight finished removing the rear 'x' member
079-2.jpg

080-3.jpg

thn cut out the rotten piece where the x member joins
077-2.jpg

then made a repair section and trimmed ready to be welded in tomorrow night
083-1.jpg
 
wow really good work and very inspirational 8) . I want to get out of work early now and get stuck in :D
 
thanks johnny, will never be concours,finish of work may not be as good as some, but hoping to do everything possible ourselves and it saves another bus from the big car park in the sky
 
Hi, been a while. Bit of an update on the goings on in the garage.
Finished off fitting the repair section i made
005-2.jpg

This done could then set about replacing the rear x member and at the same time replaced the heater tube and wiring tube, what a job that is pulling the harness back through the tube to the back
019.jpg

022-1.jpg

But before i could fit the wiring tube had to repair the front x member just below the tube, rest of member ok so for ease just replaced this section
002-2.jpg

And here it is
026.jpg

Once cross member was in could replace remaining top hat
018.jpg

Then the out riggers went on
028.jpg

027.jpg

When tried to fit the heater tube, found the new one is exactly same size as old one so cunningly made a sleeve to slide over
008-2.jpg

once the 2 were butted together tightened jubileeclip and welded into place
025.jpg

Have almost finished replacing the floor section that had to be cut out, replaced with new will post pics later. Hope anybody reading this has managed to stay awake after my rambling
 
I've just read the thread from start to finish - you're doing a great job with the repairs on your bus, top work!!

Keep the updates coming...

;)

PS - my wife wants your dog 8)
 
Evenin', not been on here for a long time, been messing around with 2 other projects. Managed to get possibly the cheapest T4 going and a lambretta chopper. Having the T4 meant we've been able to go to a few shows recently, vanwest and Bristol volksfest. This has given me the kick up the rear i needed to get back in the garage so been and took some photo's. Now got no excuse for not keeping this up to date
SL380009-1.jpg

Cut this section out to replace with a simple panel also the lower part of inner wheel arch, used cardboard template from otherside 'cause that seemed to fit ok
SL380008.jpg

SL380014-1.jpg

And this is how it looked before welding in place (good job it won't be seen when finished)
The floor was partly back in aswell
SL380314.jpg

SL380315.jpg

I've not welded it to the rear 1/4 panel 'cause this is to be replaced later
SL380316.jpg

Have now started work on front jack point but as usual the chassis needs some repairing to give me something to weld to
SL380317.jpg

And that's about where it's at
SDC10121.jpg

And this is the chop, makes me grin when ever i ride it- but not the most practical
 
Hi, not an update but a question to anybody who reads this. We need to sell our project and need some advise as to what it's worth. i know how much we've spent but would like to some idea of what to ask for it from people who know more than us. It's as last updated pics show, has a towbar fitted but no idea what make, has no interior and obviously still needs lots of work. BUT on the plus side it comes with a wagenswest narrowed adjustable beam, drop spindles and horse shoe plates all of which we brought but have never been fitted. Complete new rear brakes (drums, shoes, cylinders and back plates), new rear quater panels, rear corner repair panels, battery tray, sliding door repair panels and new rollers for door, sills (all sections) right hand front arch (and the early step section to fit to look like original)right hand floor section, front chassis repair section, front inner lower panel (goes across between chassis legs, new rear bumper, good second hand front steps, brand new empi shifter complete front panel with sections to make into early type. If anybody could give us some idea of what its worth we would be gratefull thanks
 
I'm not sure what value but I'd sell it with the original beam if you have it and sell the wagenswest beam, spindles and horse shoes seperate if i were you..
 

Latest posts

Top