I realise this is hardly worthy of mention compared to some of the epic builds on here - but thought I'd continue the thread just in case any other
amateur was interested to see what was involved. (I realise I should have replaced the whole section, but what's the fun in that!)
Inner and outer patches - curved bits were difficult to make with only a hammer and vice - but just about got there in the end:

Inner section :

with patch, the area was sprayed with weld through primer before patch attached

For the outside it was too difficult to make one big patch - so settling for 2 smaller ones - the remaining one should be quite straight forward as it's mostly flat.
First ever welding, bought Clarke 135TE - watched some youtube videos and spend a happy few hours burning up bits of metal.
It is one thing practising welding on a bench - quite different welding outside, vertically with a patch that's slightly thicker than the OG bus metal.
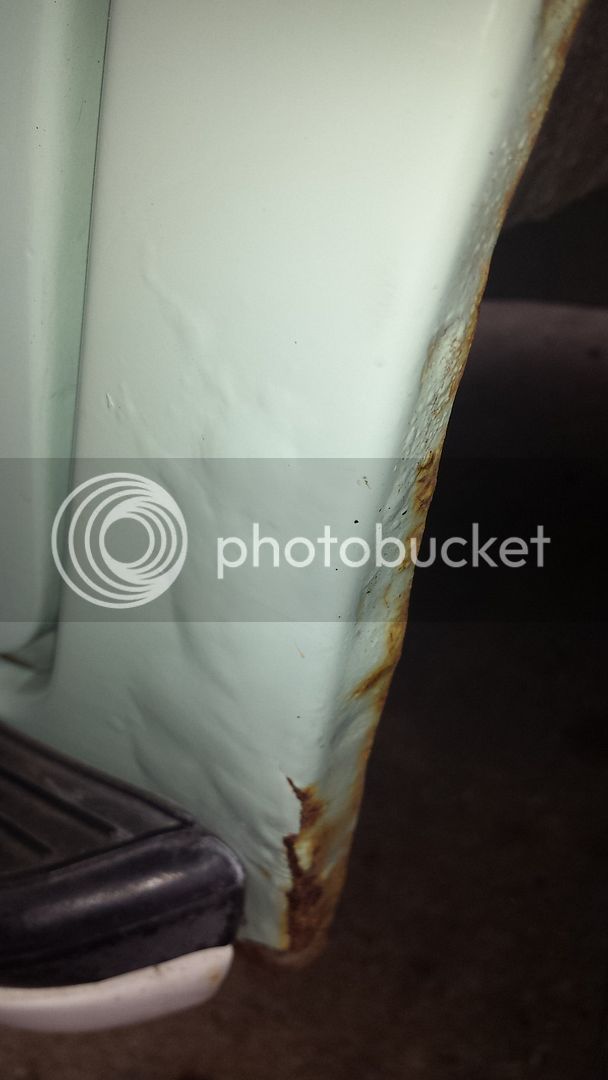
The reason buses rust here is rain runs down the window, inside the door, out the door drain hole and sits on the seam in the step, eventually rusting through to this
section where it is trapped. I am considering drilling a drain hole to let water drain out of this section, but am yet undecided if that would let more rain in from being
flicked up from front wheel. Has anyone got a solution to this...?
Any hints and suggestions on any of this very welcome...
That seam in the step was not originally there. That's only on aftermarket parts. I cut off the tab and spot welds and welded the seam along the edge so there are no gaps.


")


