UK Dormobile

Early Bay Forum

Help Support Early Bay Forum:

This site may earn a commission from merchant affiliate links, including eBay, Amazon, and others.
gninnam said:
Nice interpretation on your units 8)

Have they been rebuilt or just recovered?

The units are made from scratch and are the same as the og ones in dimensions other than the doors which are slightly larger, i am using the old mountings for the table when i get round to making it :roll:
 
chippi said:
The units are made from scratch and are the same as the og ones in dimensions other than the doors which are slightly larger, i am using the old mountings for the table when i get round to making it :roll:

Thanks for the response and a very nice job indeed and credit to you 8)
 
Well, i have finally sorted my Porsche adaptors out and fitted my teledials 8)
Image0075.jpg

and while the wheels were off i treated the drums and calipers to some paint :)
Image0076.jpg

Image0074.jpg


I think i need to get some skinny tyres on the front to lower it down but for now i will roll with the tractor tyres :p .
Got to do the bumpers next in cloud white and im ready for a weekend at tredegar house :D oh... and squeeze a fresh mot in :roll: :cry: ,not sure if my front discs will scrape through this time,........fingers crossed.
 
Fantastic work dude, I'm loving the units and Dormobiles rock (very biased opinion)

Looking forward to your how to on the interior ;)
 
Doing a nice job there - its looking good.

Re you query on colour :-

The vehicles from Dormobile in pastel white had pastel white bumpers as well. The Dormy roof was unpainted and simply had the white gel coat finish. The inside of the elevating roof was also originally unpainted.
 
Cracked on this weekend and got the bumpers back on, i went for Cloud white in the end but tbh it looks very silmilar to Pastel white.
Took it for its first drive in 4 months today and all was good :) kinda wished i was going on holiday in it, although a bit grey today hence the slightly drab pics.
Need to sought a badge now not sure if chrome or painted though.
003-5.jpg
 
Great Job, man! Seriously impressed by your skills... Welding, carpentry , paint... It must be priceless to go out on your first ride after such hard work. Badge : imo chrome
teledials look cool too!
 
Thanks for the nice comments ;)
Got a fresh mot on the bus last week :mrgreen: so well pleased, need to do a few bits over this weekend ready for its next outing.
Just a note, Ive had a few requests for the interior drawings/plans, would like to apologies for those waiting on pics of the build etc as work has gone mad and slowed me up getting these to disc however i will be at Tredegar house camping and your more than welcome to have a nose ;)
 
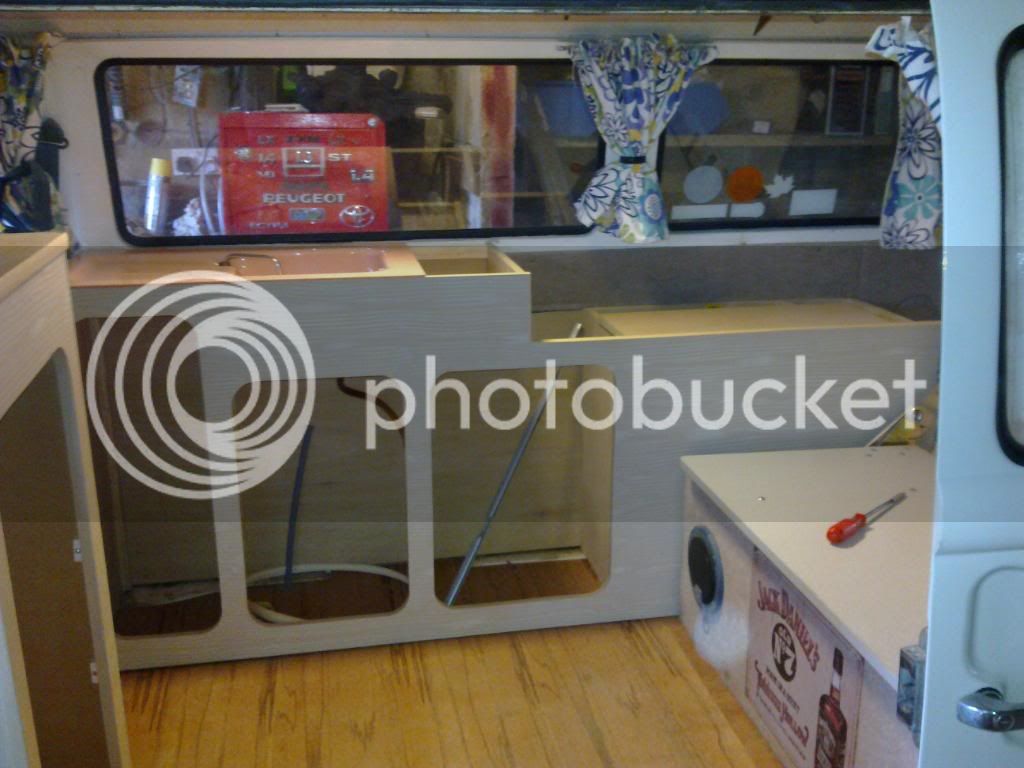
well, the interiors been in for a short while so i guess i better get some build pics up. :D

I have based the build on 18mm moisture resistant MDF for the fronts and 9mm ply for the carcase. It does not matter what you use for the fronts as long as you can lip the edges with a t trim, in this case i have used 18mm trim, you could use 15mm finished ply for example and a 15mm trim.

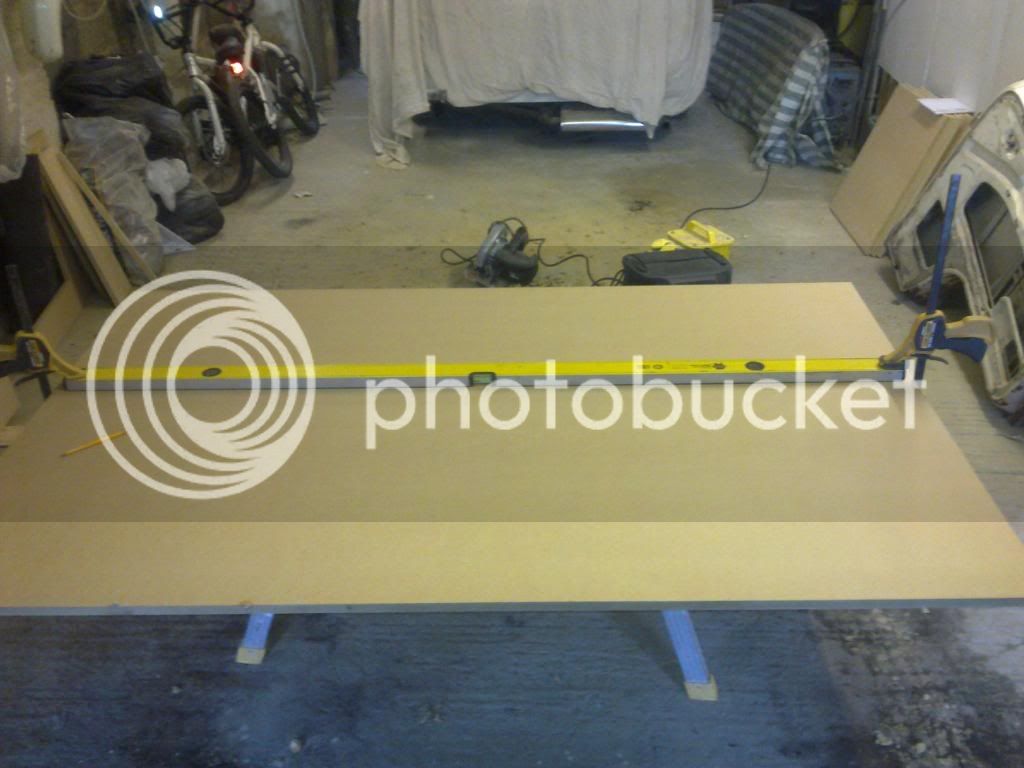
I started with the og interior as a template for all the carcase measurements.

006-5.jpg


Then got to work with some measuring
Image0009-1.jpg


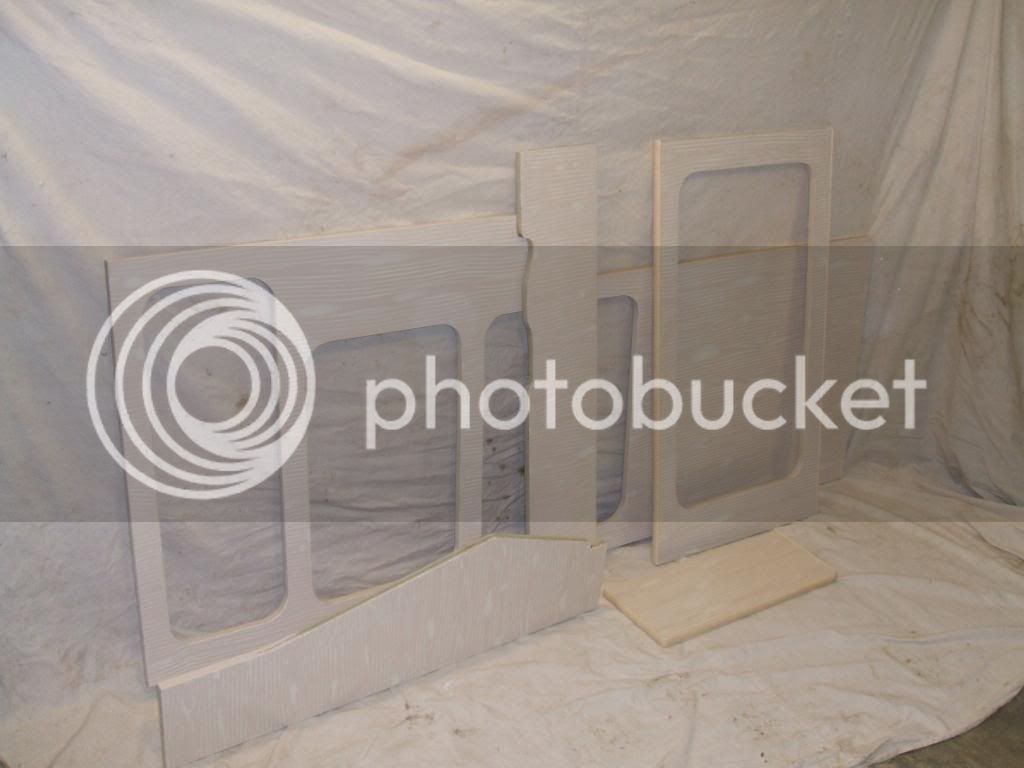
Front cut out with a router and jigsaw.
Image0013-1.jpg


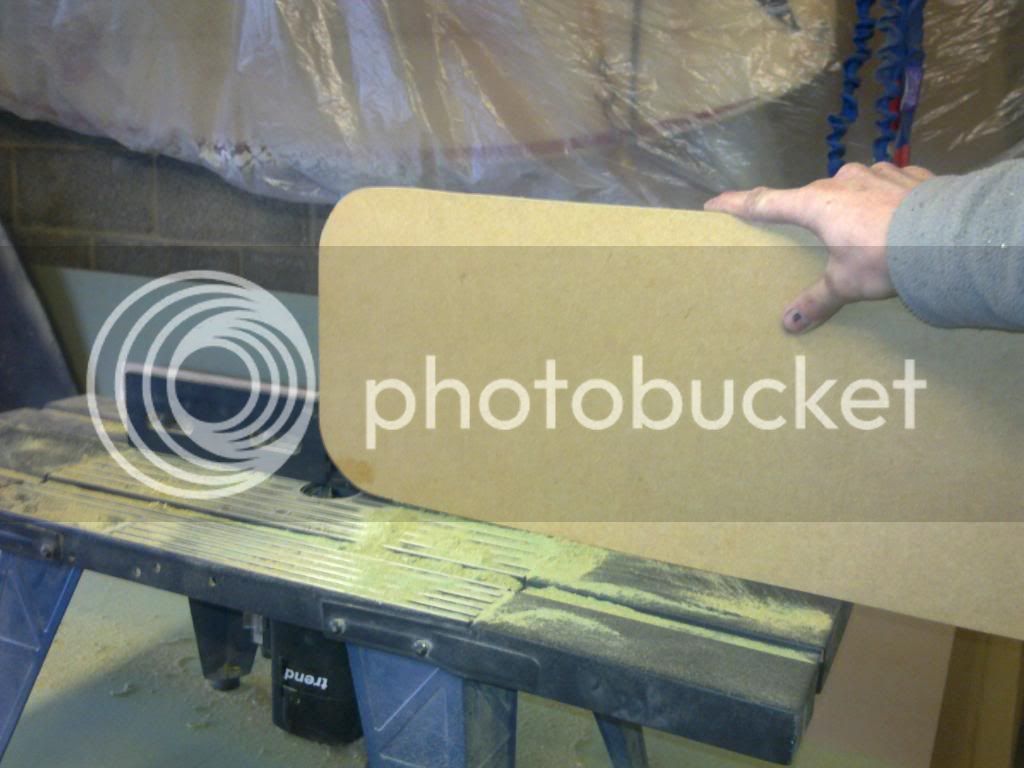
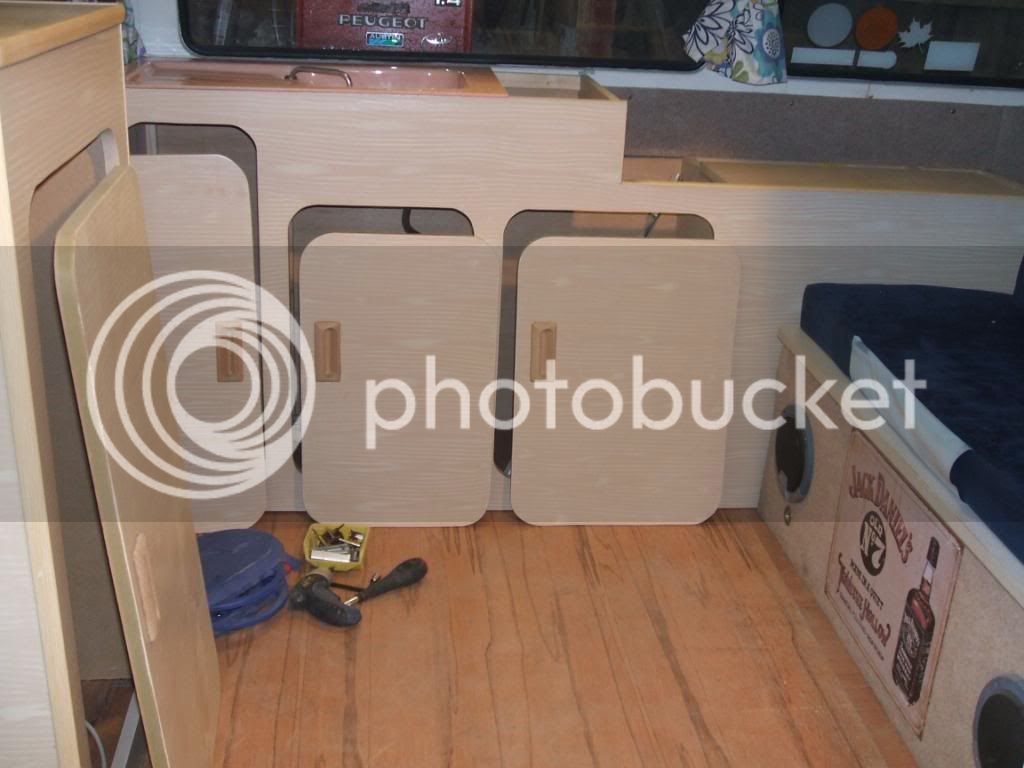
Next job was on to the doors, these are bigger than the original doors as they will sit face mounted when fitted.
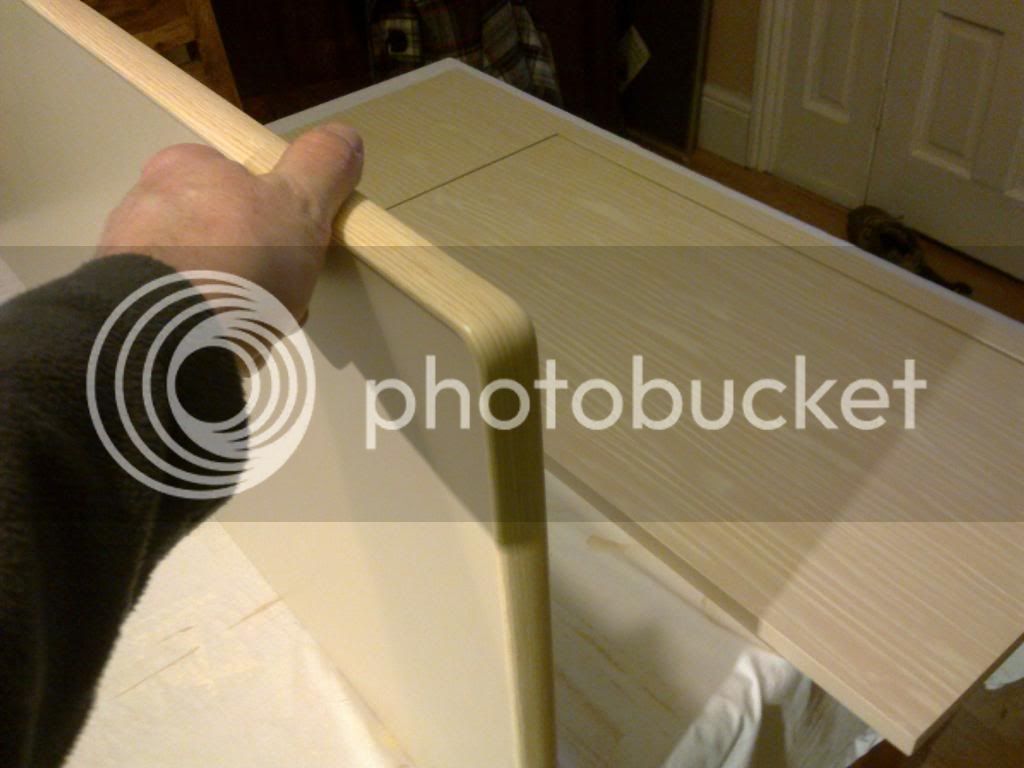
Pic shows the groove being cut for the t trim.
Image0036.jpg

Image0042.jpg


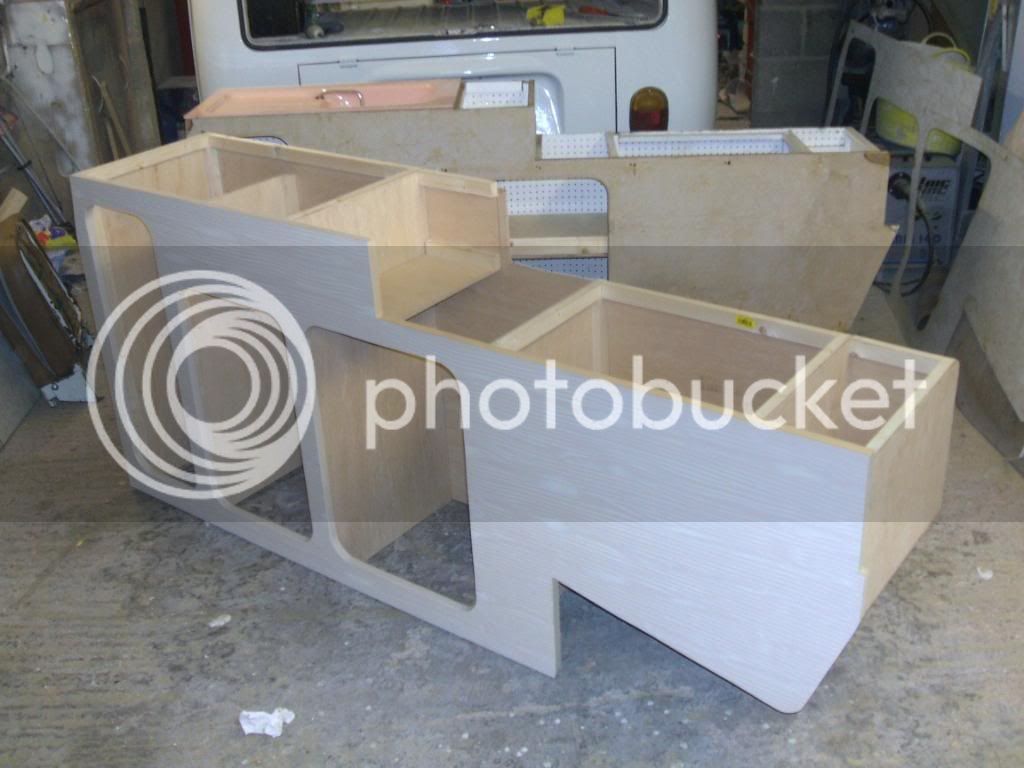
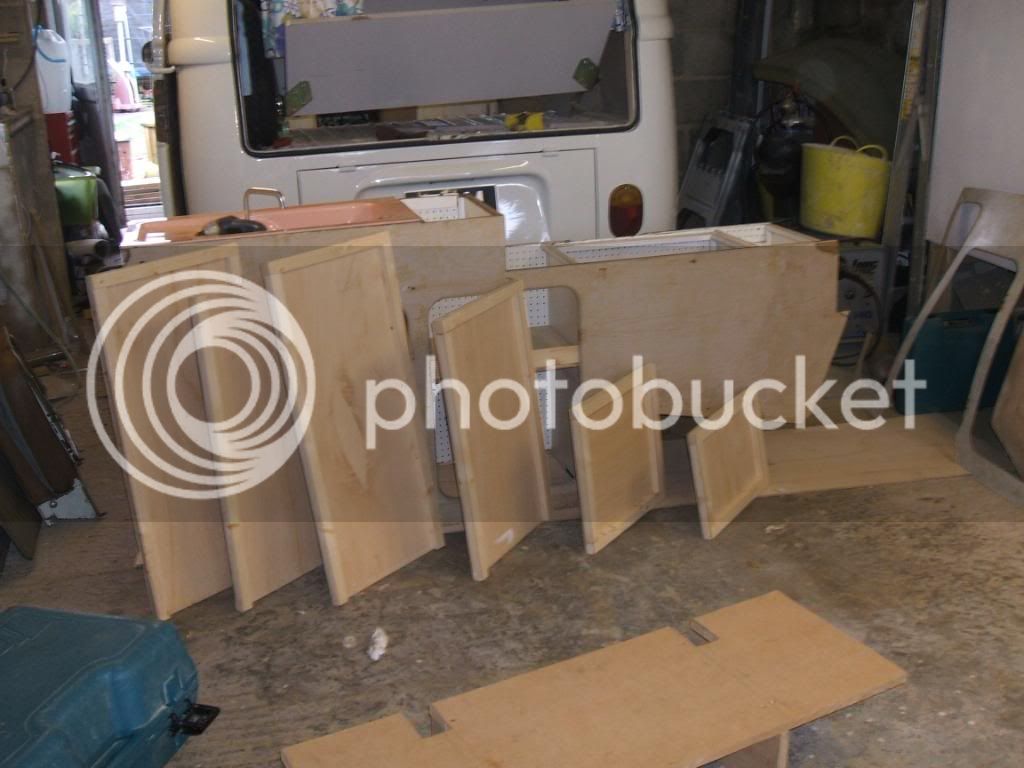
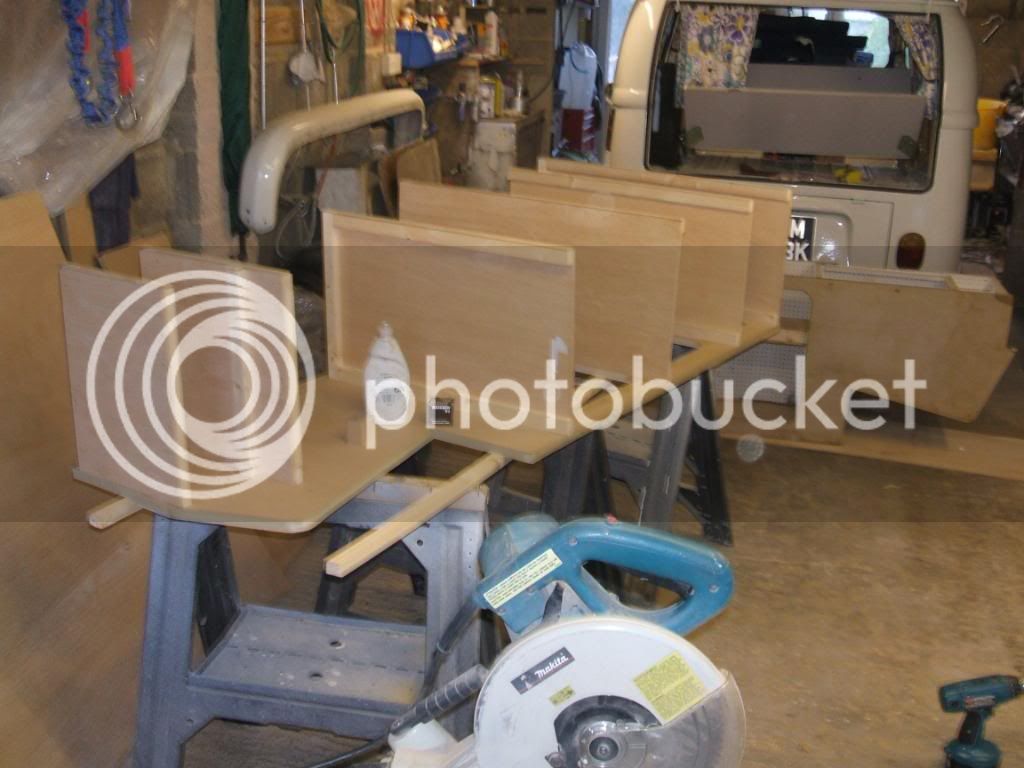
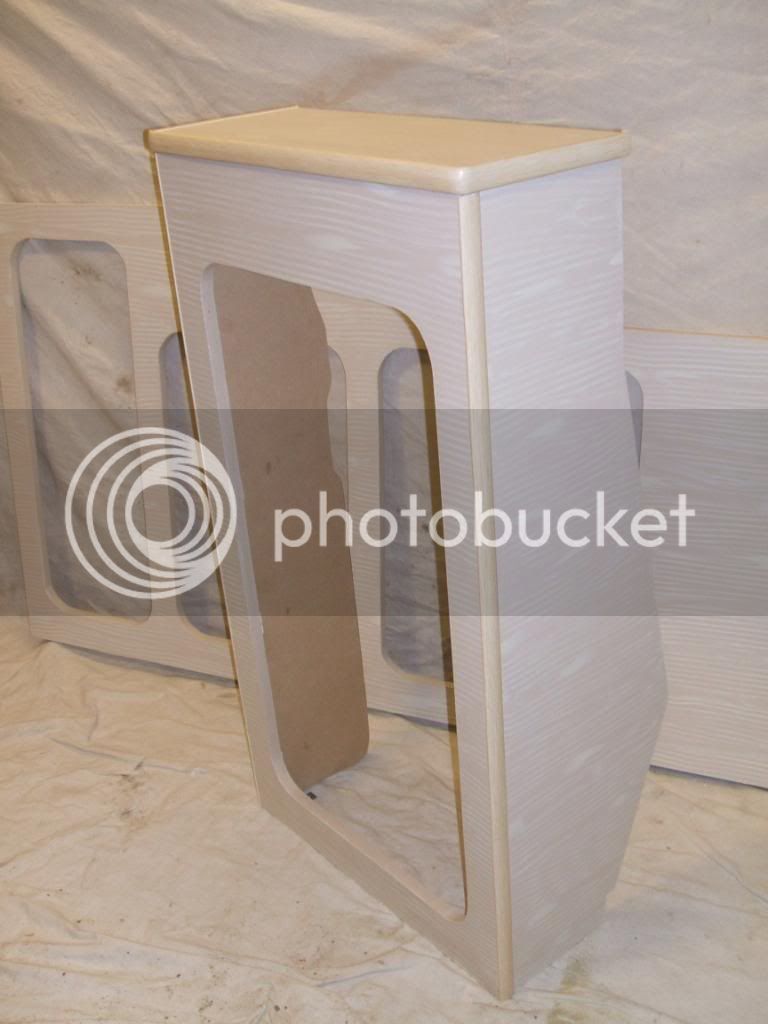
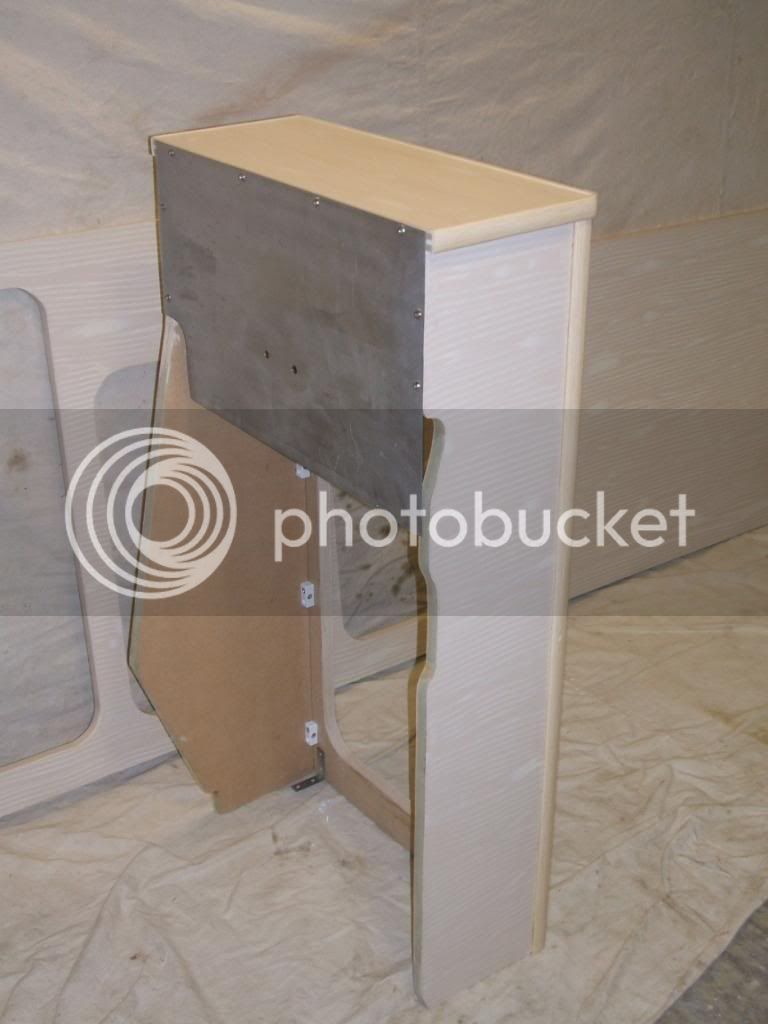
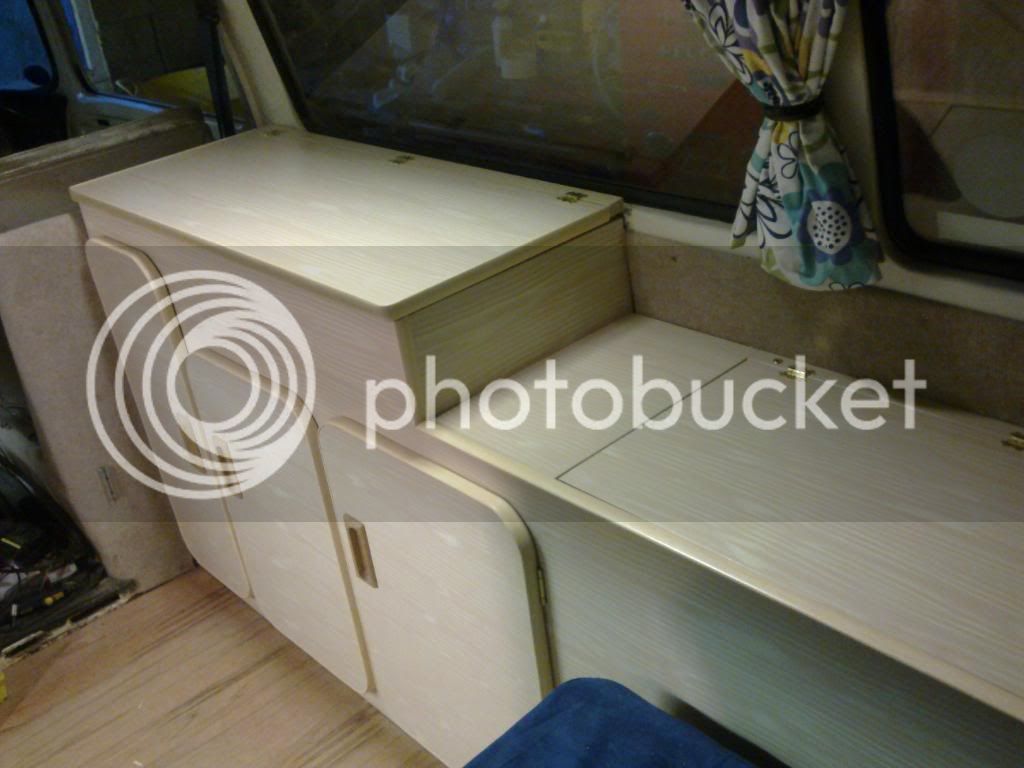
now for the Carcase,i have cut all the panels first so its now a case of assembly.
004-5.jpg

005-6.jpg


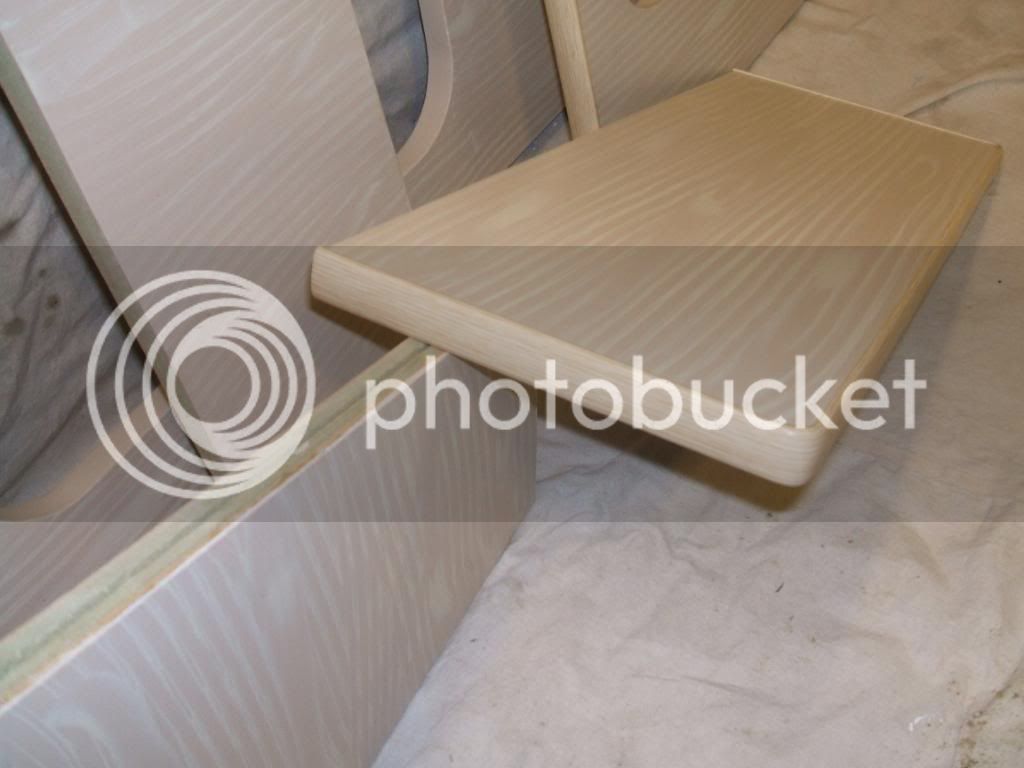
once your this far the rest is a bit more pleasurable (as its a bus mans holiday for me) as its time for trim and finishing.
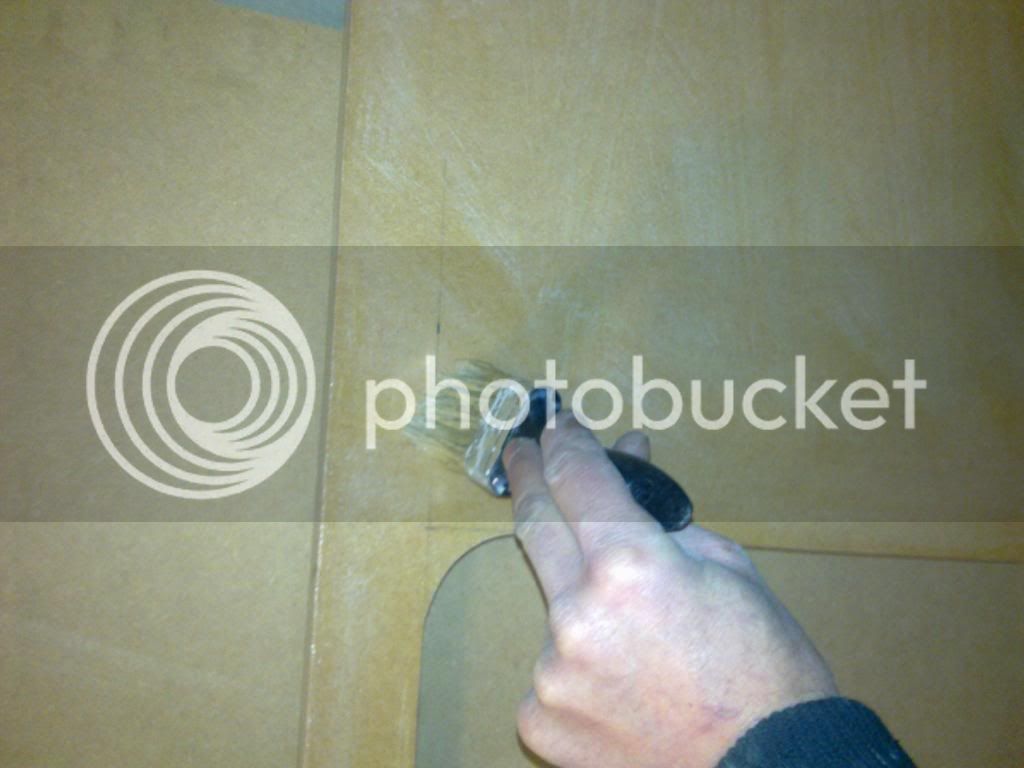
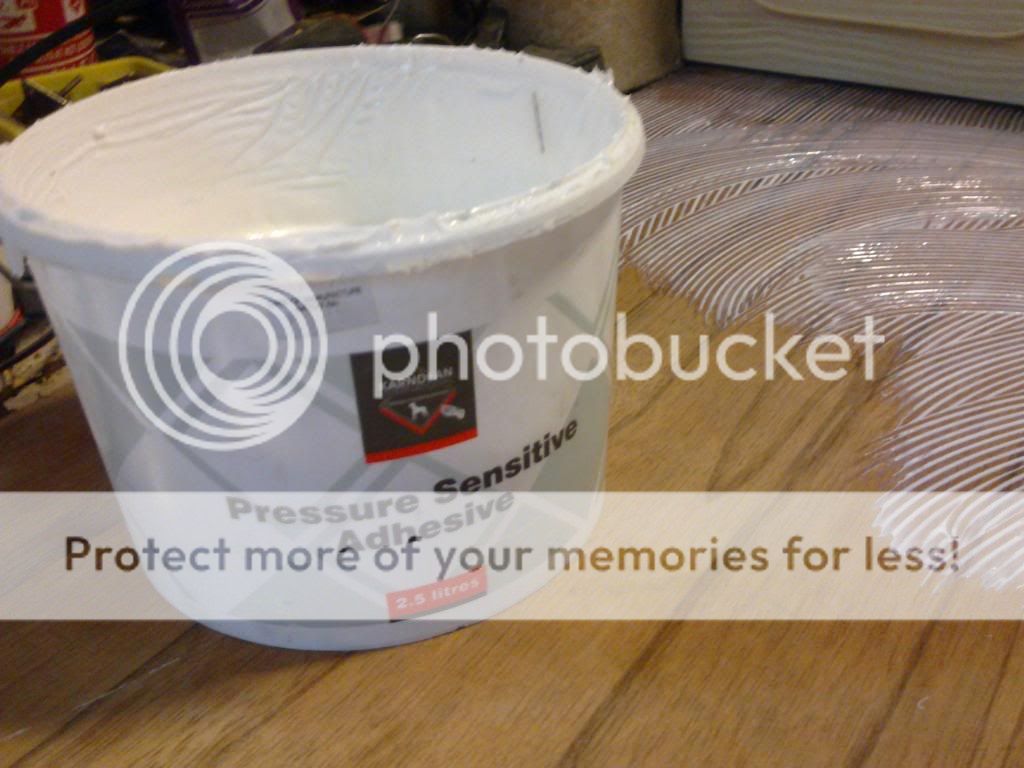
Firstly the mdf is given a coat of pva to seal it against any nasty damp :evil: :x
Image0015-1.jpg


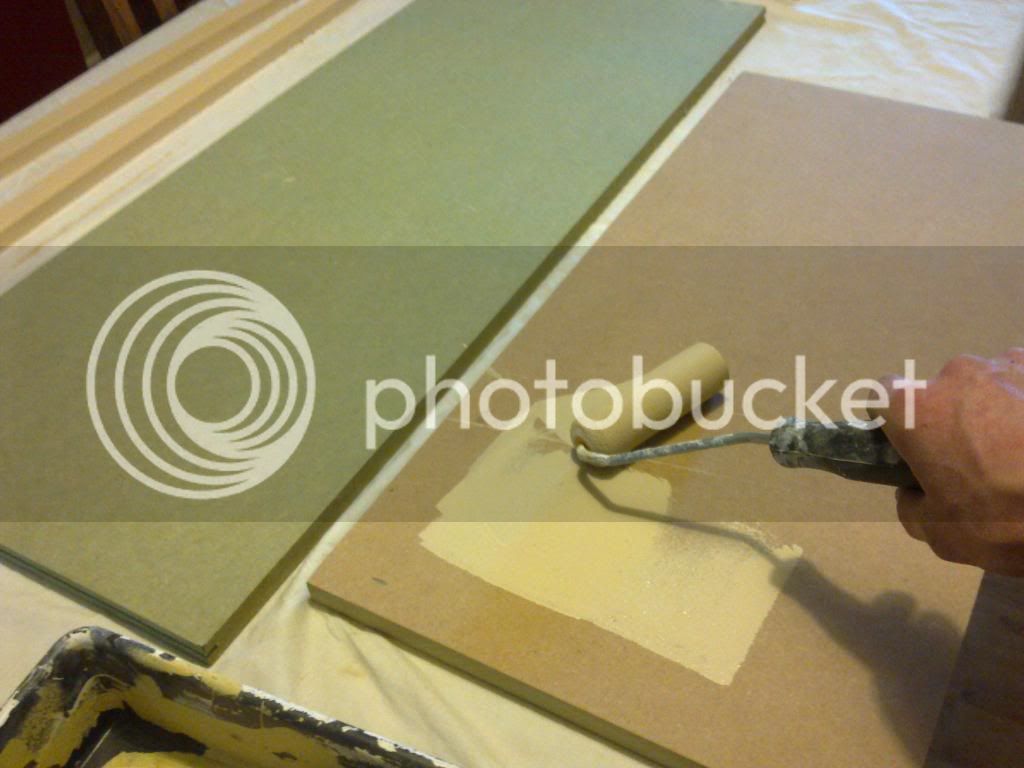
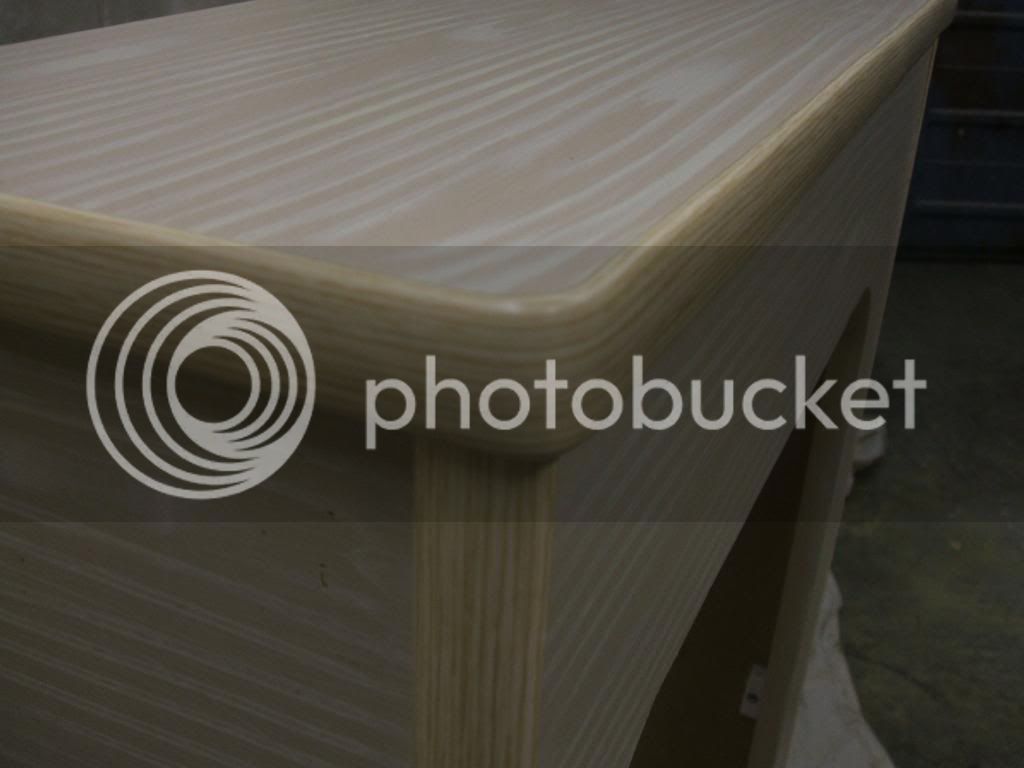
now the fun bit, paint and grain then two coats of varnish :mrgreen:
Image0046.jpg

Image0016-1.jpg


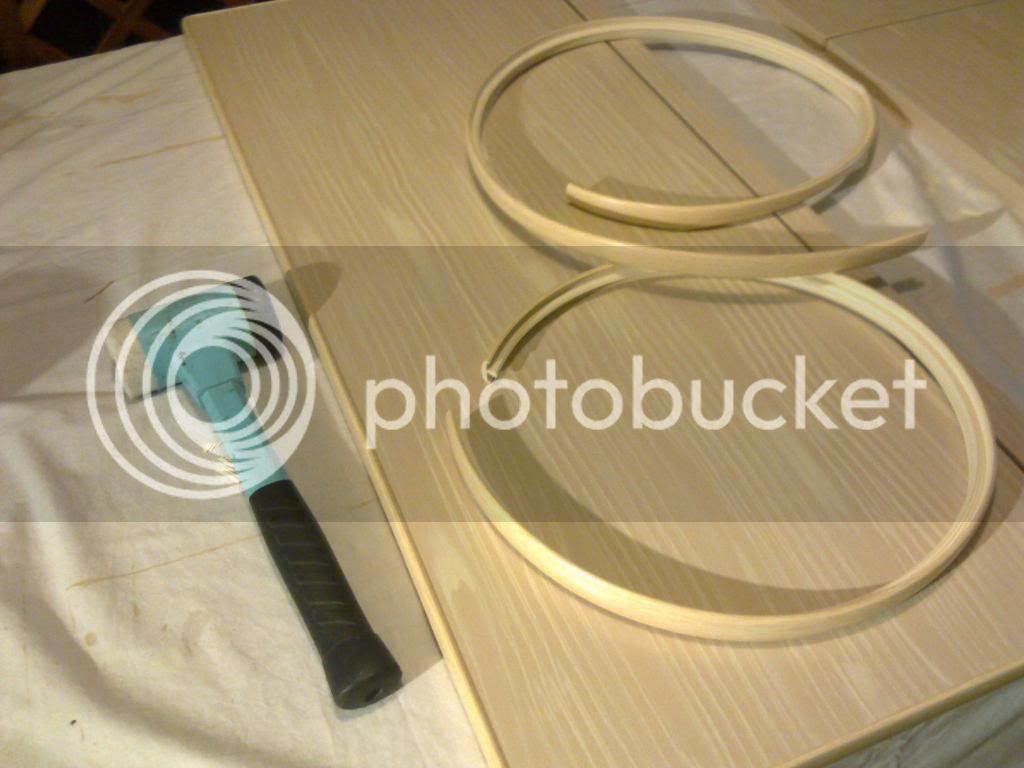
Then on to the trims
rubber mallet a must :D
Image0047.jpg

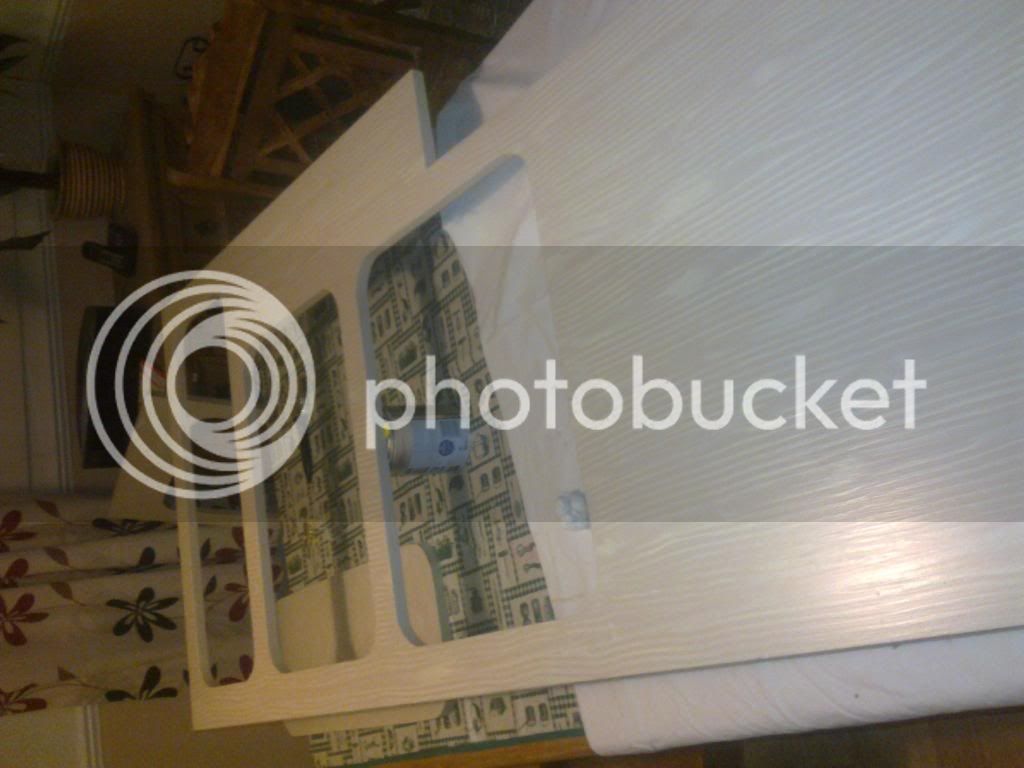
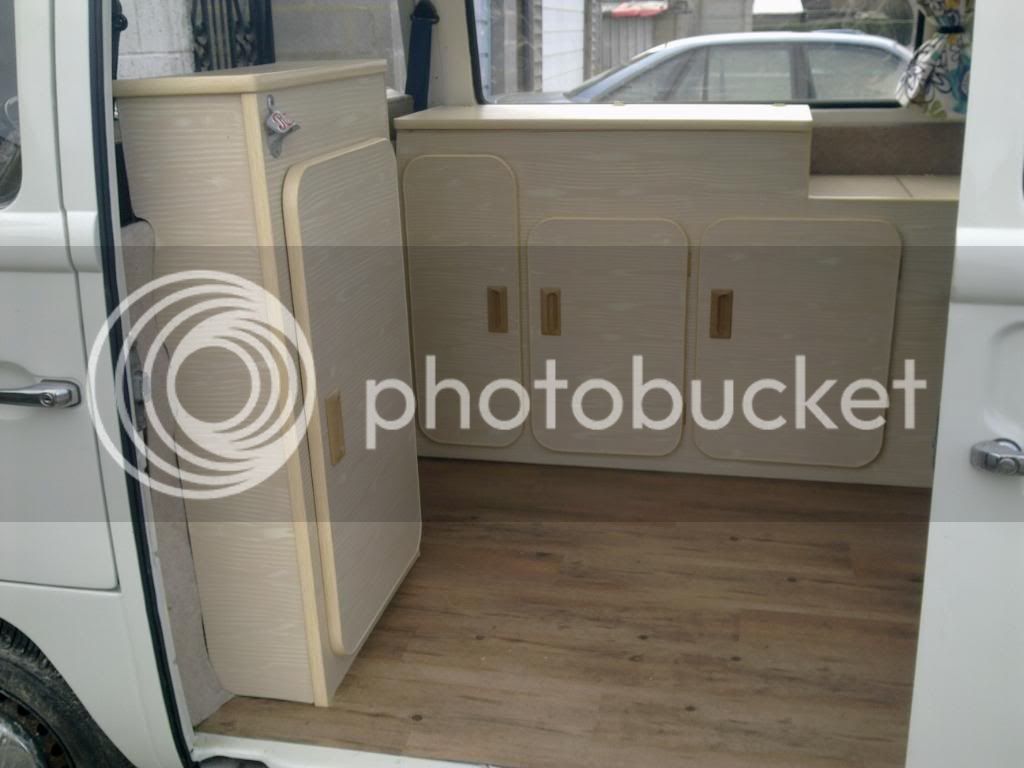
which all should end up looking like this.
008-6.jpg

009-6.jpg

Image0049.jpg


More to come soon :mrgreen:
 
Phew :shock:

Fantastic work you have done - looking forward to the next instalment ;)
 
ok, I did say I was slow on the pics :lol: heres some more for all the Dormy pervs out there :D

This is the carcase all assembled ready to go.

006-5.jpg


Now on to the small cupboard

011-7.jpg


016-7.jpg


014-7.jpg


Now lets try it for size 8)

Image0025-1.jpg


More to come soon :lol: :lol: no seriously ;)
 
Very impressive 8)

Are you keeping the coolbox or going to use for storage (my coolbox is foobar'd so will probably use it to keep bedding in or something - or even hold an electric type cooler...) :?:
 
I have gone for a food cupboard instead of the cooler, there's massive storage in there and we just take a portable cool box when we go any where as it works better for us.
Heres the doors ready to be fitted.
0022-1.jpg


Now looking almost finished :) I have fitted a lid to the sink also which gives a bit more top space.
Image0054.jpg

Now the cupboards are in it was time to look at the floor, luckily i had some adhesive and some oak vinyl spare from another job so set to work.
Image0058.jpg

Image0057.jpg

Image0061.jpg

Floor down and well chuffed, next stage new curtains and seat covers which will be red.
 

Latest posts

Top