TooLow&NotEnoughGo
Well-known member
- Joined
- Dec 3, 2013
- Messages
- 60
- Reaction score
- 0
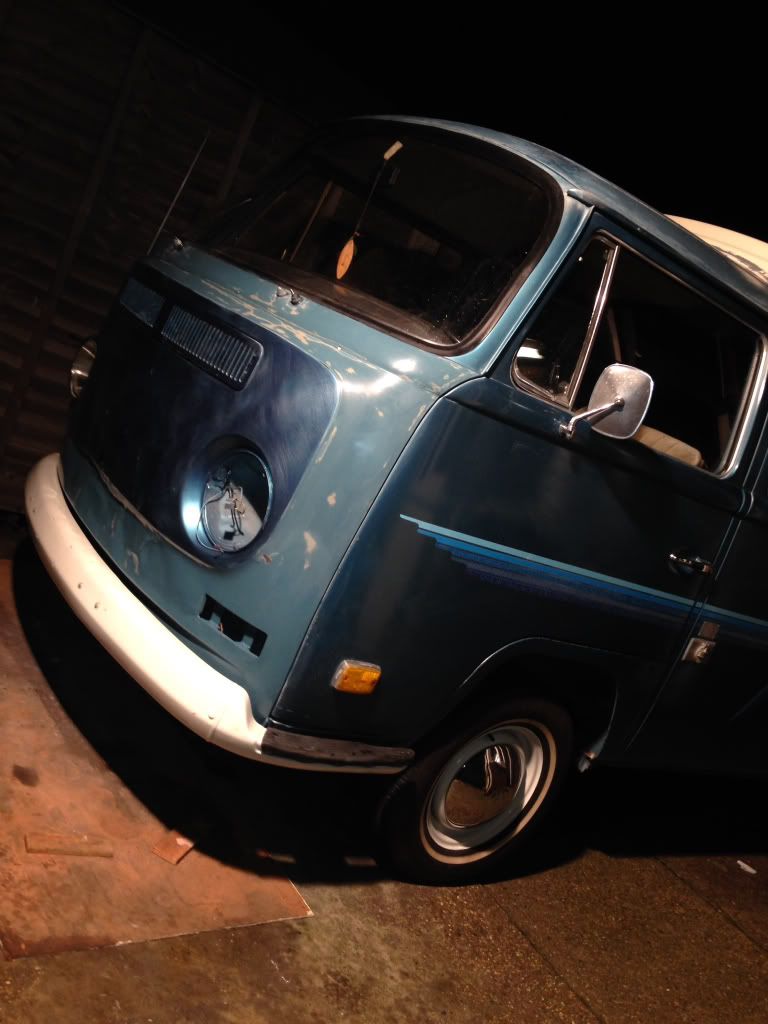
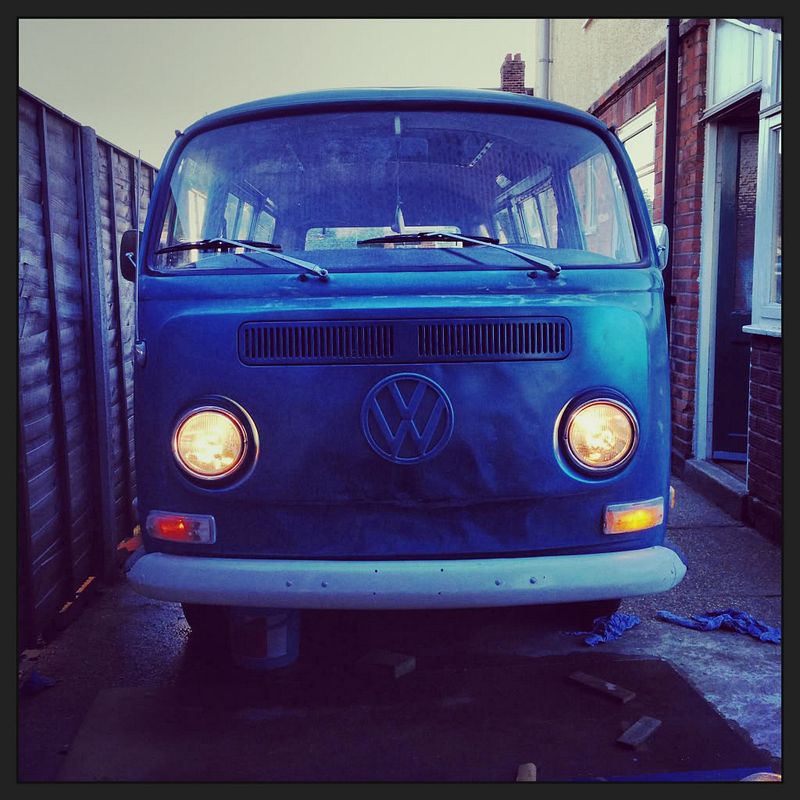
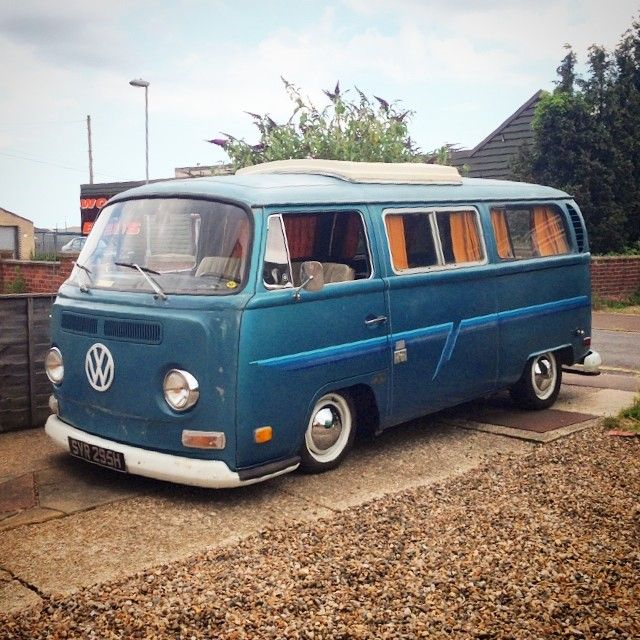
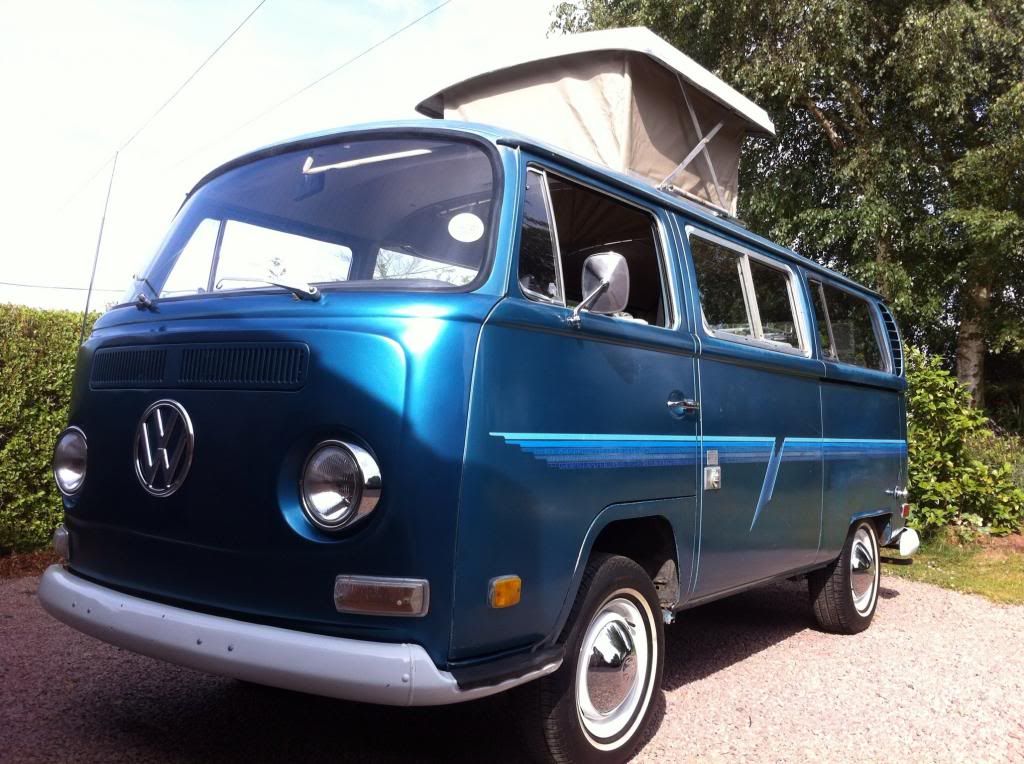
Hey guys, thought I'd share my Bus, 1969 (1970 model) Early Bay Riviera conversion. ")
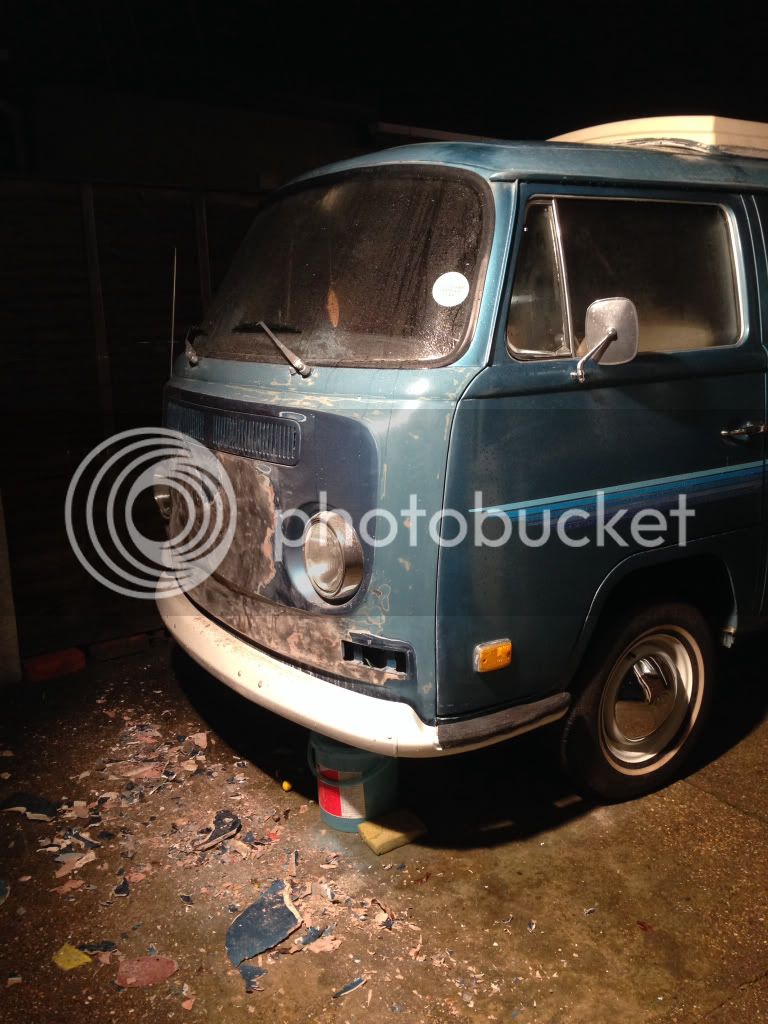
How it sits at the mo...
So...
Lets roll back to when I first started it...
The bus is an American import, with a Californian Title, but wearing a Washington State Recreational vehicle plate and a cool 80's used dealer sticker from Idaho,
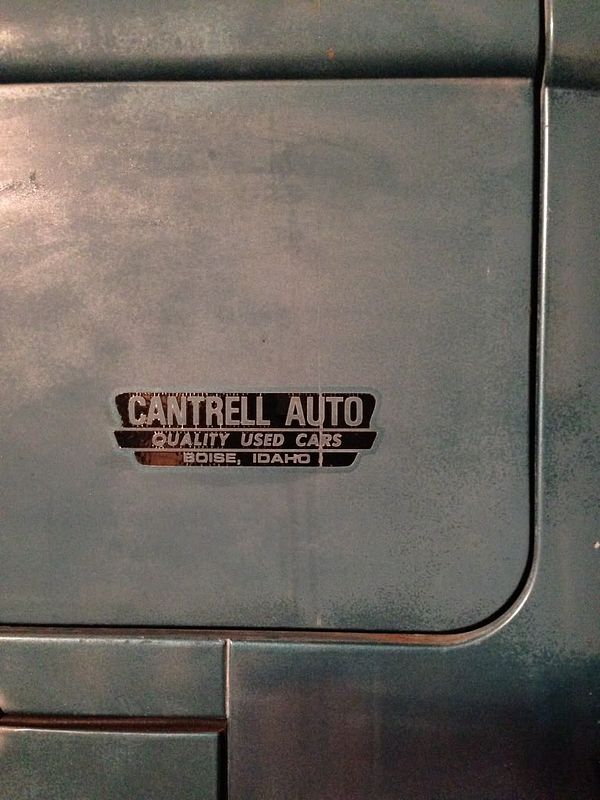
so guess its got around a bit!!
Anyway, down to business...
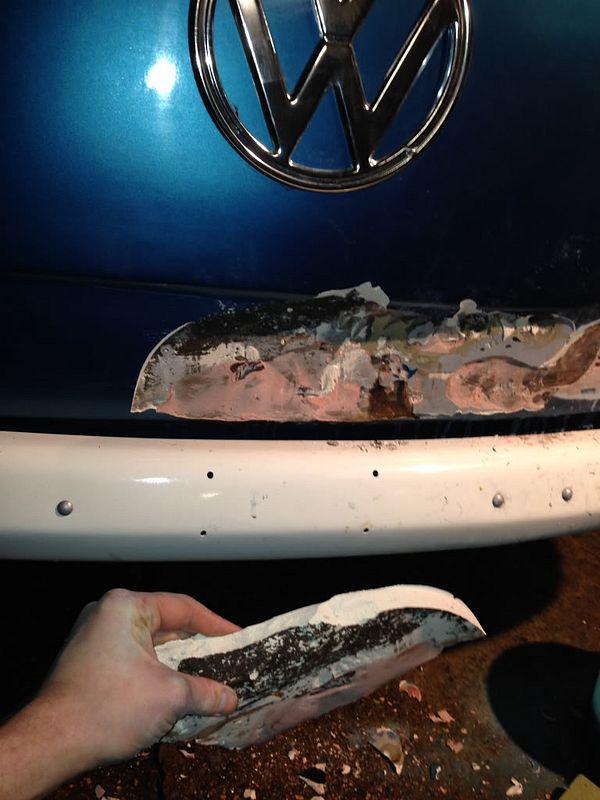
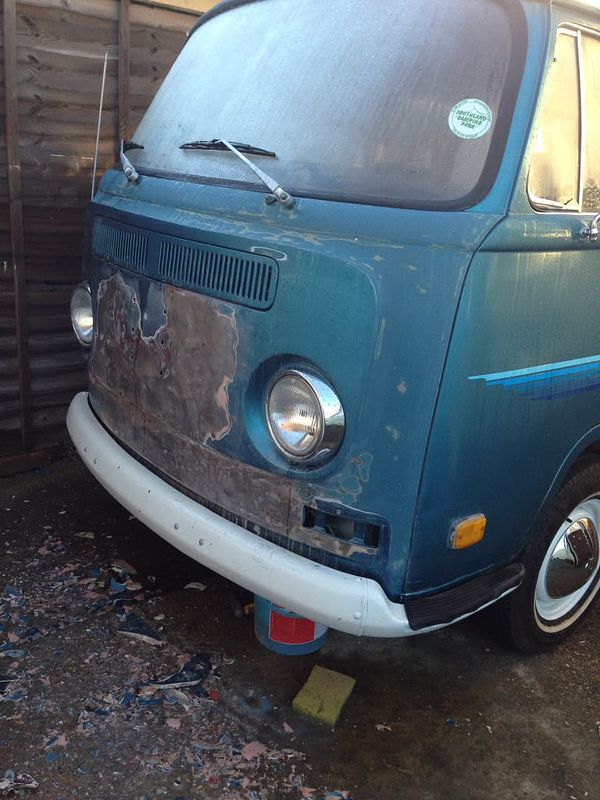
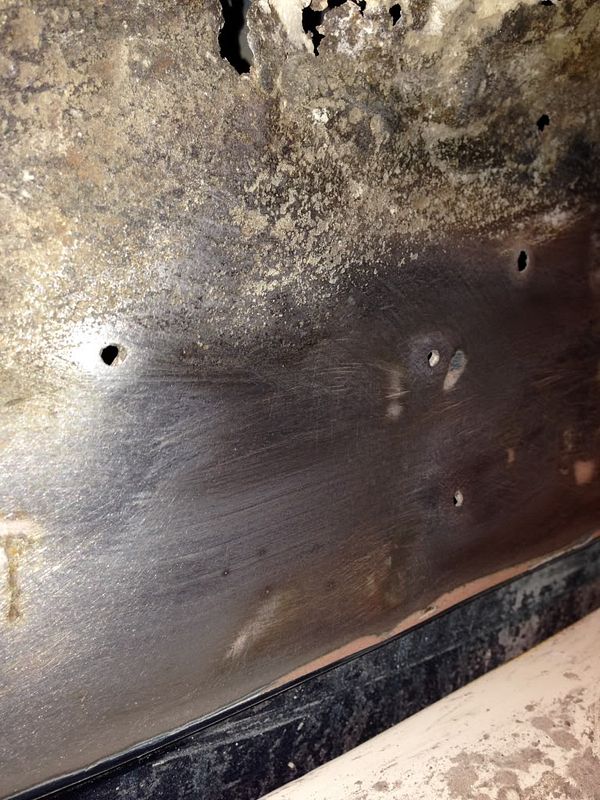
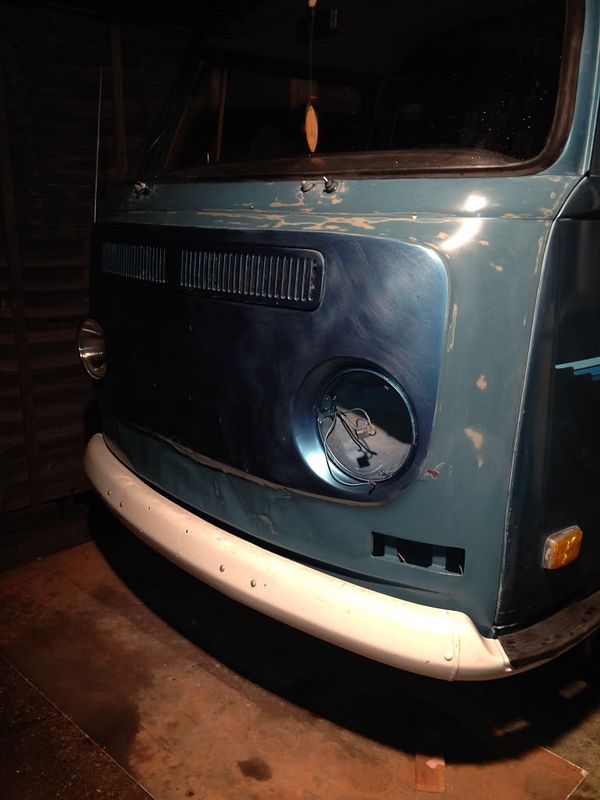
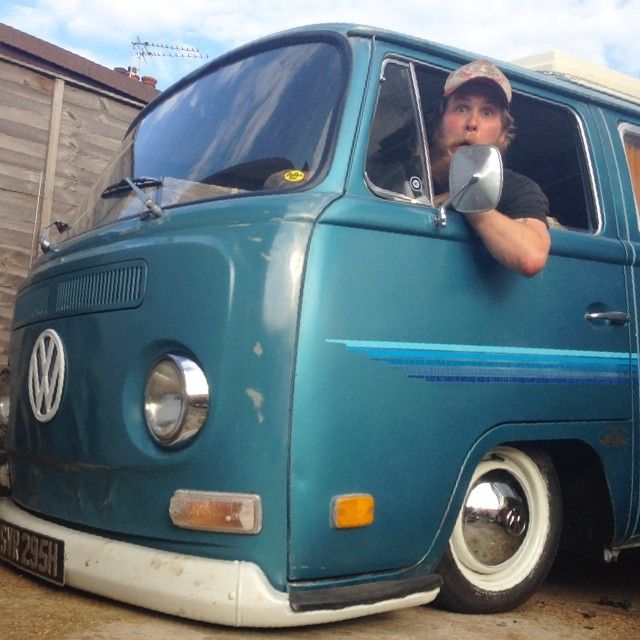
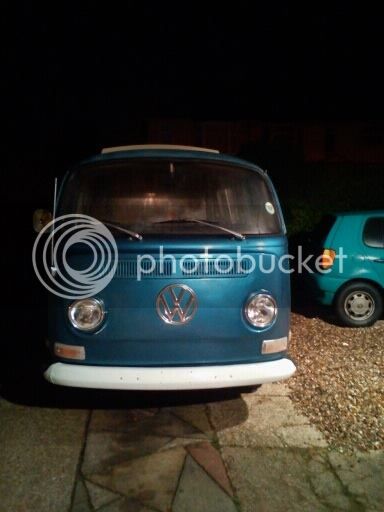
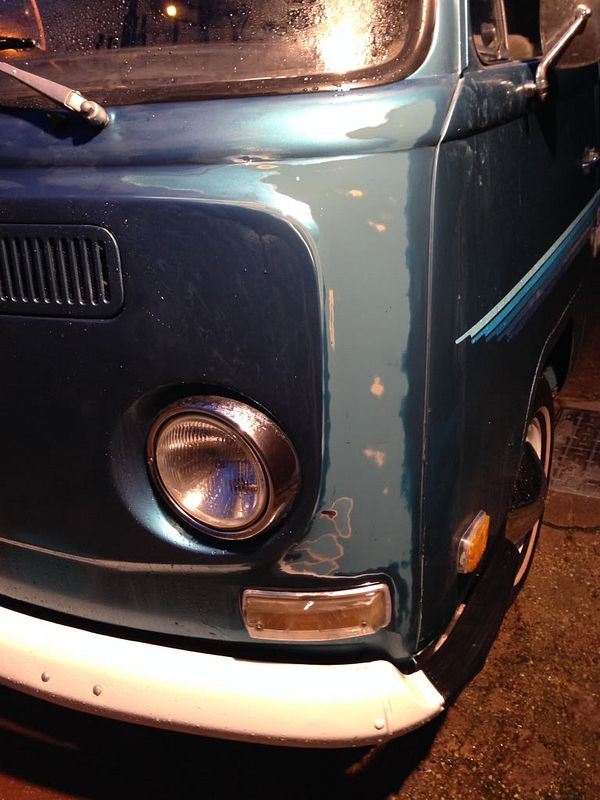
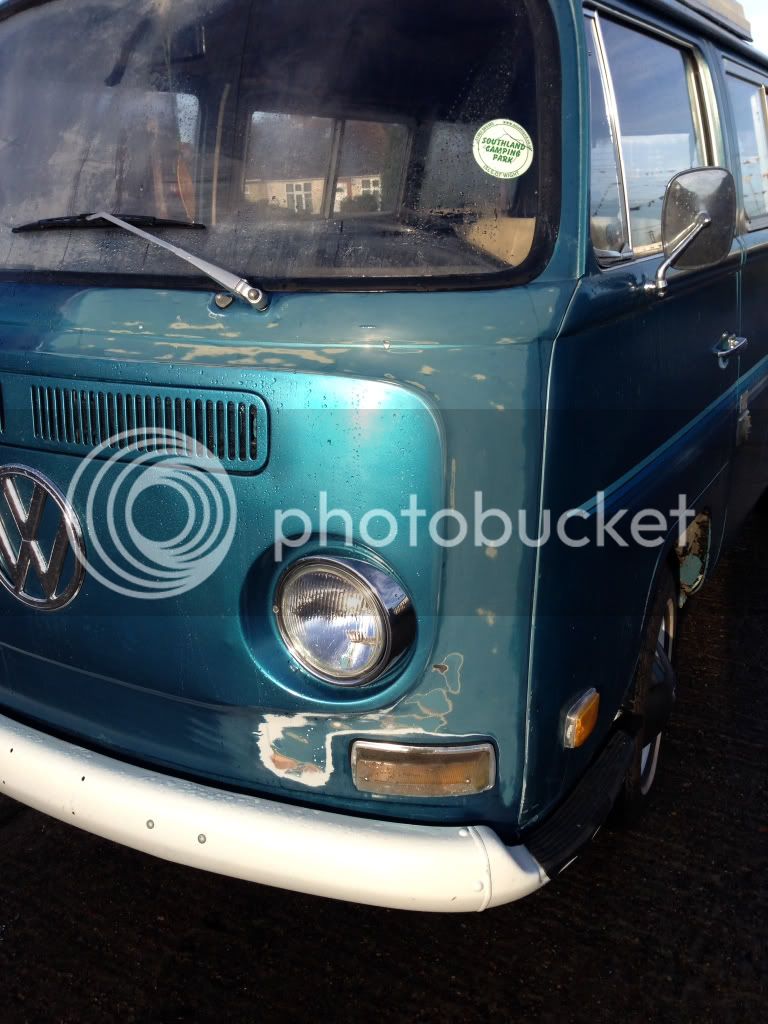
When I bought the Bus it was fairly obvious that although the rest of the bodywork was in fairly straight condition with cool old paint, zero rust, and of course those awesome '80's stripes, (hence the Van Halen namesake) the front panel had a very recent almost too perfect paint job. during the day it didn't stand out too much, albiet a tad souless with zero character, but at night time it stuck out like a sore thumb against the '80's Californian Burnt Seaside Dive respray over the original Neptune Blue showing underneath... Not to mention when examined closer it became obvious that it was probably full of filler, which my trusty fridge magnet confirmed!
Before...
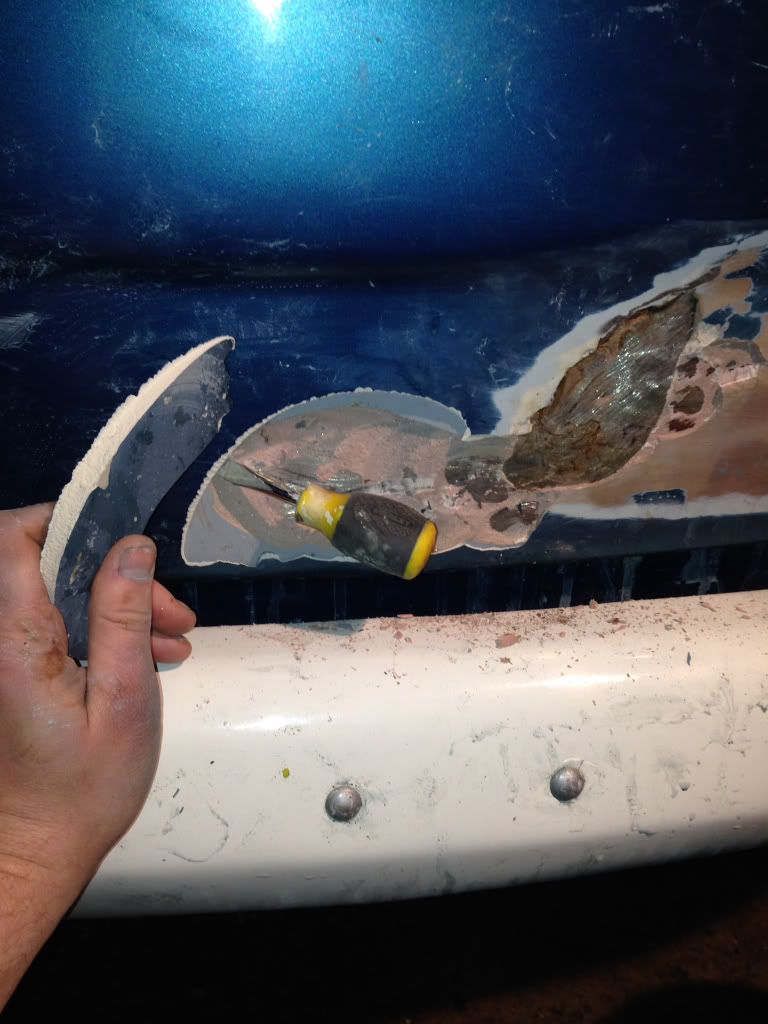
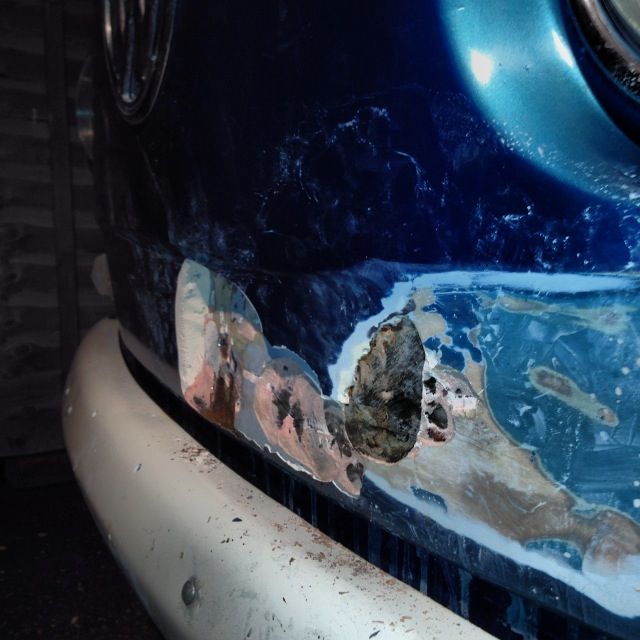
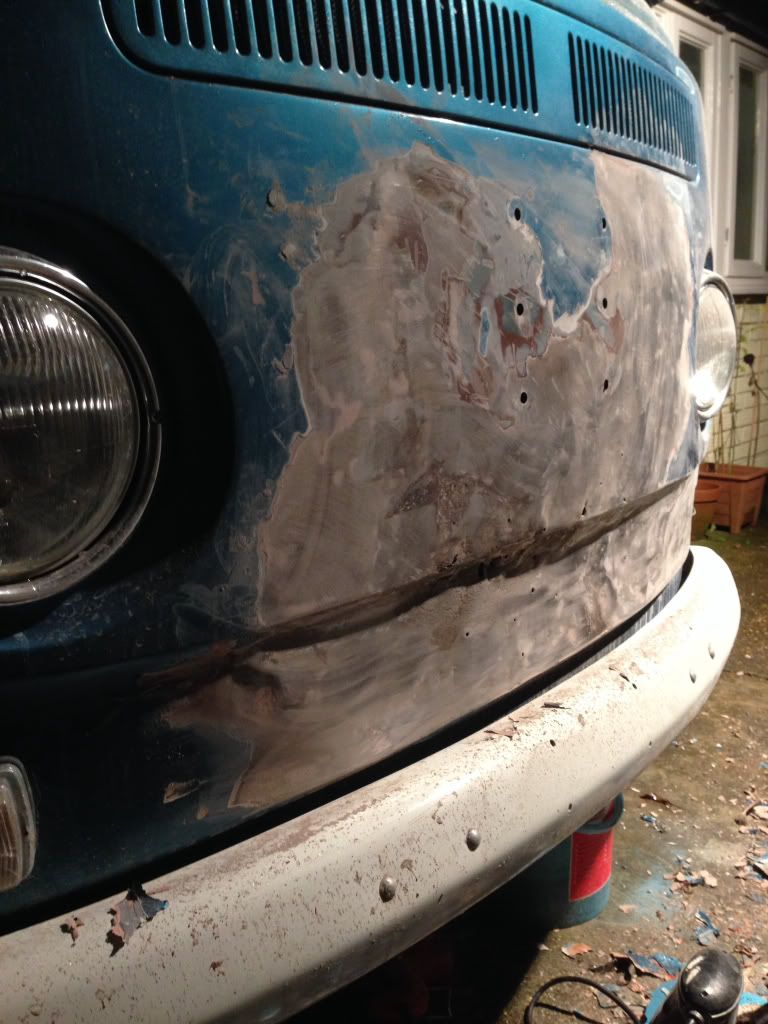
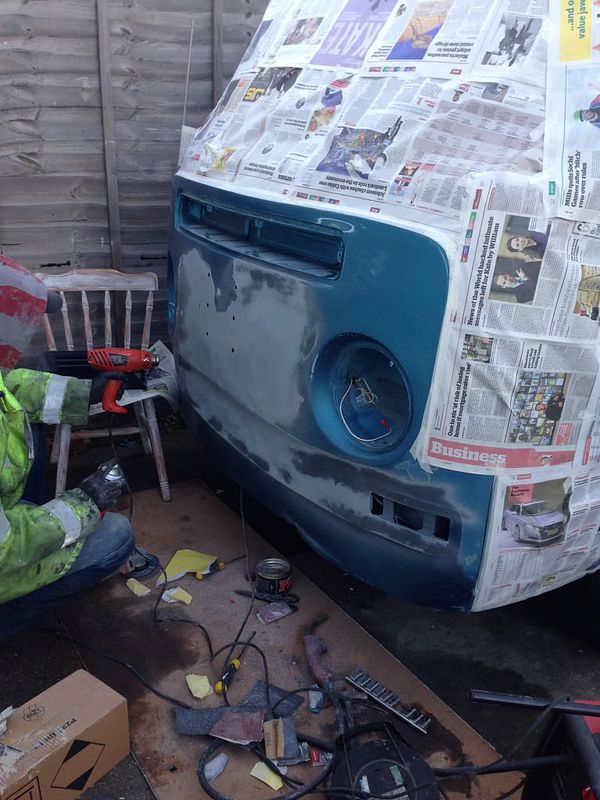
So starting at a fairly reserved pace I started to see what laid underneath...
As you can see I probably should have just tried to take it back to the 80's metallic job but the call for the original Neptune was too strong
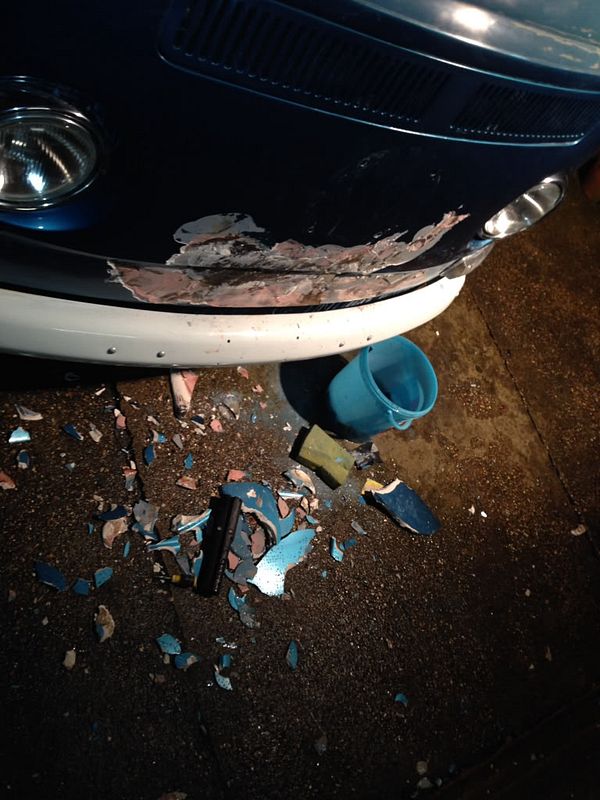
So at this point I had a dilemma. Do I, satisfied with seeing a bit of original paint cover it back up with metallic again ignoring the ton of filler at the bottom and have that shit colour match again of old and new paint? Or do I Carry on digging to unleash the horrors.
How it sits at the mo...
So...
Lets roll back to when I first started it...
The bus is an American import, with a Californian Title, but wearing a Washington State Recreational vehicle plate and a cool 80's used dealer sticker from Idaho,
so guess its got around a bit!!
Anyway, down to business...
When I bought the Bus it was fairly obvious that although the rest of the bodywork was in fairly straight condition with cool old paint, zero rust, and of course those awesome '80's stripes, (hence the Van Halen namesake) the front panel had a very recent almost too perfect paint job. during the day it didn't stand out too much, albiet a tad souless with zero character, but at night time it stuck out like a sore thumb against the '80's Californian Burnt Seaside Dive respray over the original Neptune Blue showing underneath... Not to mention when examined closer it became obvious that it was probably full of filler, which my trusty fridge magnet confirmed!
Before...
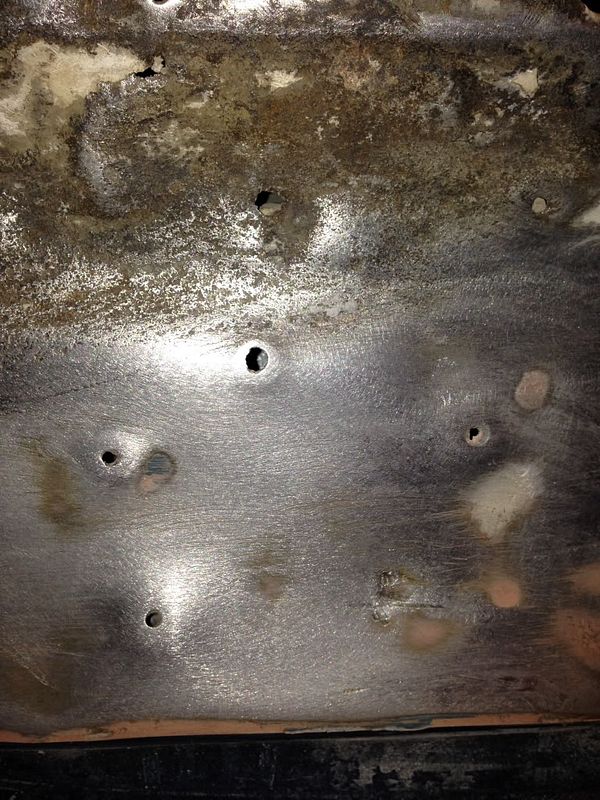
So starting at a fairly reserved pace I started to see what laid underneath...
As you can see I probably should have just tried to take it back to the 80's metallic job but the call for the original Neptune was too strong
So at this point I had a dilemma. Do I, satisfied with seeing a bit of original paint cover it back up with metallic again ignoring the ton of filler at the bottom and have that shit colour match again of old and new paint? Or do I Carry on digging to unleash the horrors.