TooLow&NotEnoughGo
Well-known member
- Joined
- Dec 3, 2013
- Messages
- 60
- Reaction score
- 0
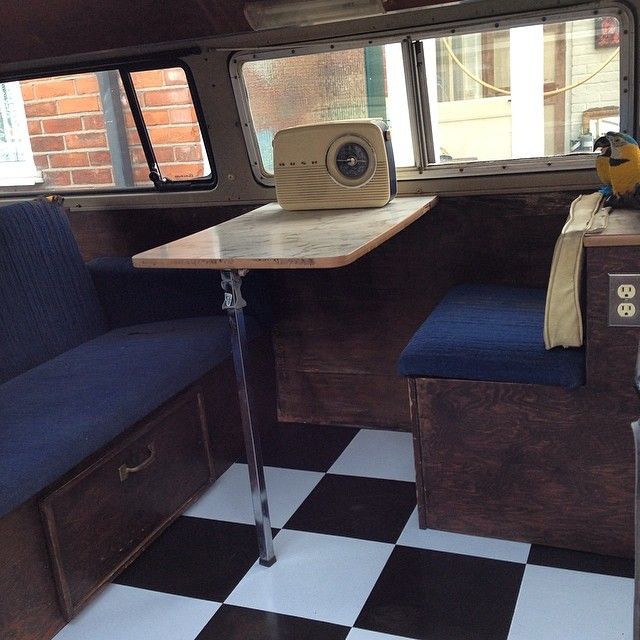
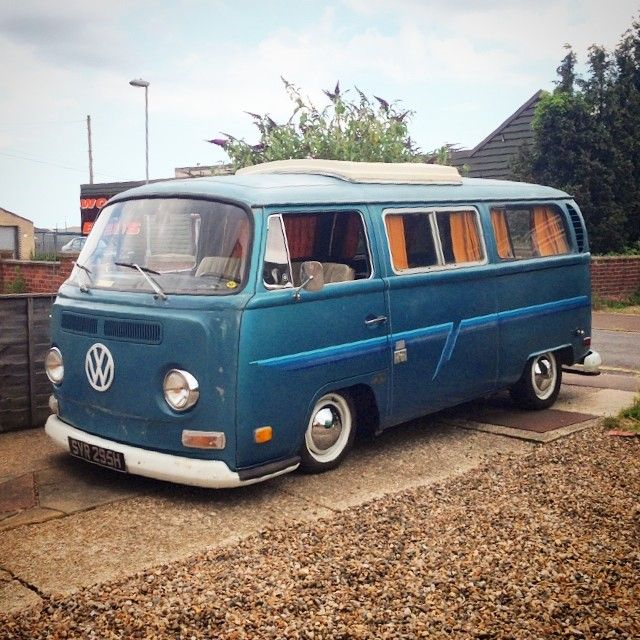
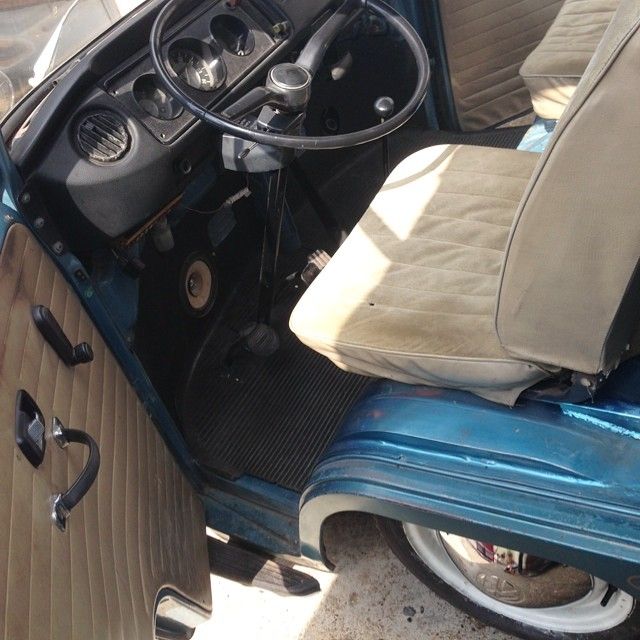
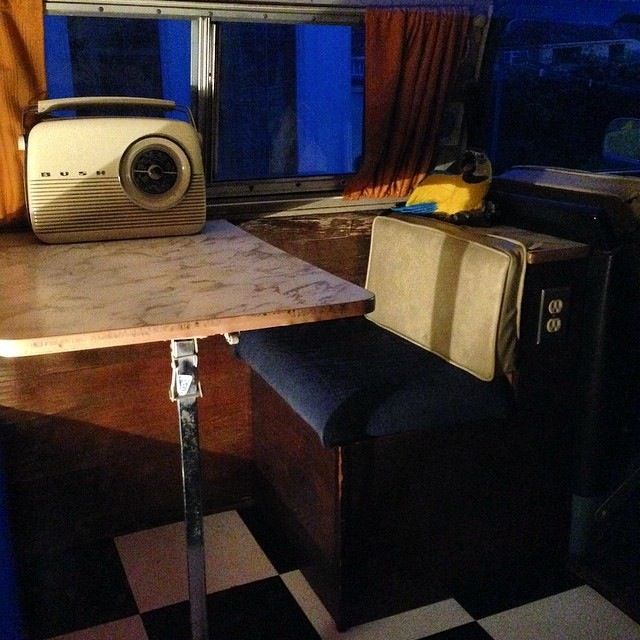
Got the floor down today, bargain Homebase vinyl tiles at £3.99 a pack of 6. They do the job and should be fairly easy to mop up the odd spilled beverage


 Good ol boy!
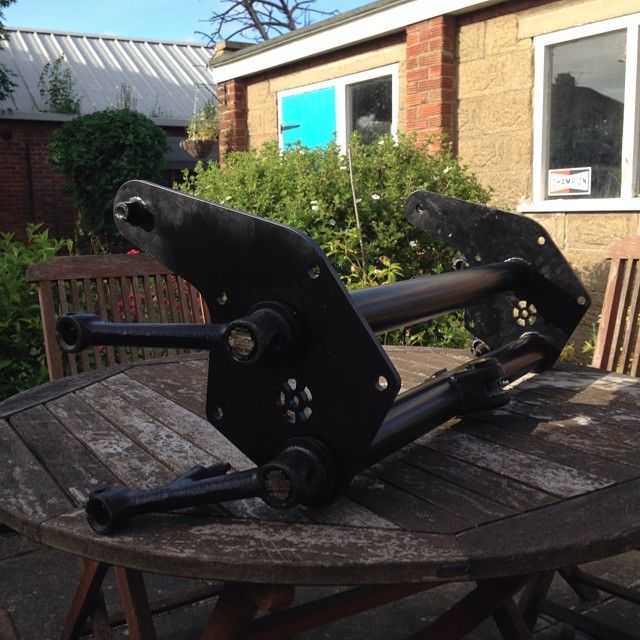
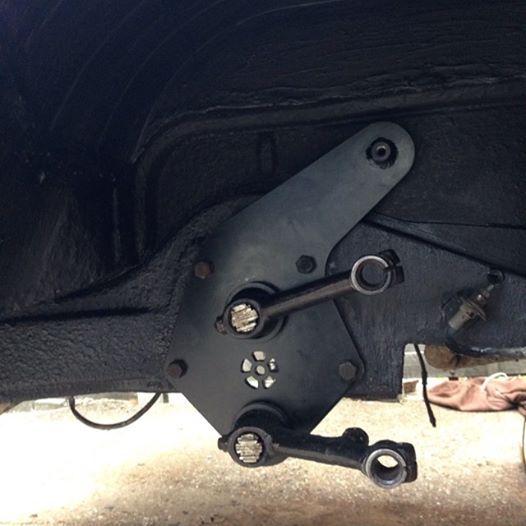
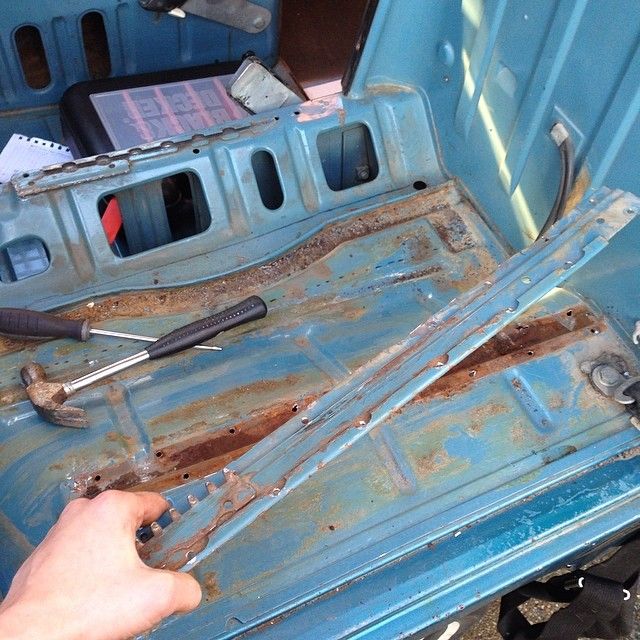
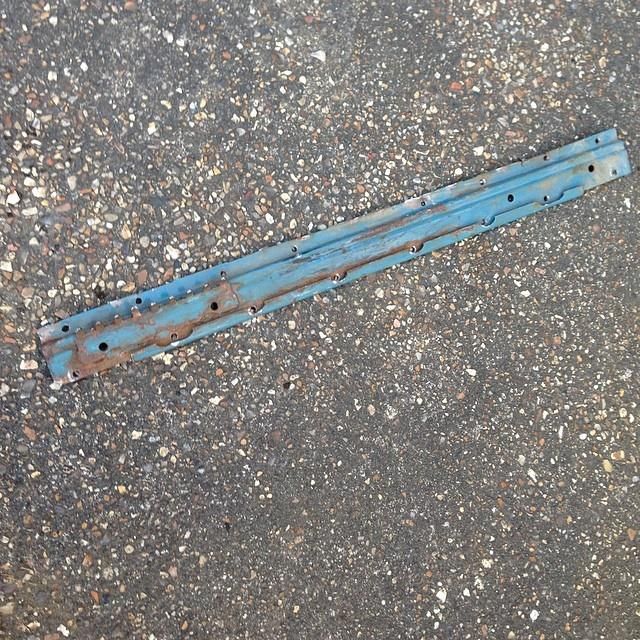
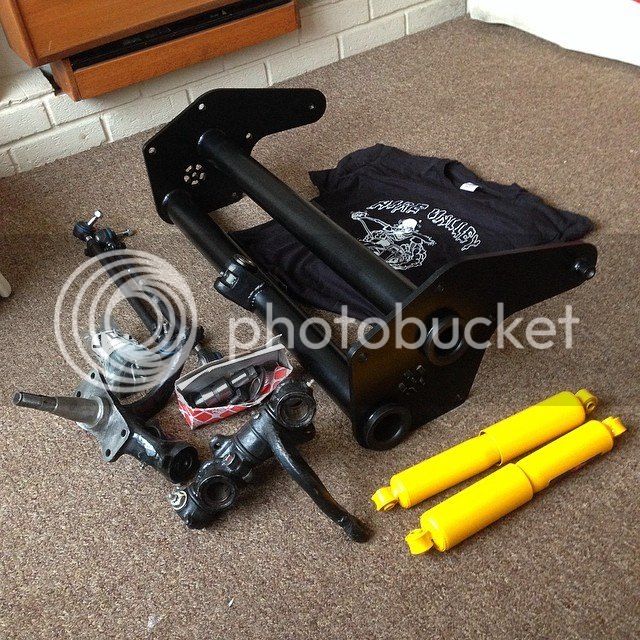
TooLow&NotEnoughGo said:Got my leaves back today, big thanks to Budgie the expert Dimpler!
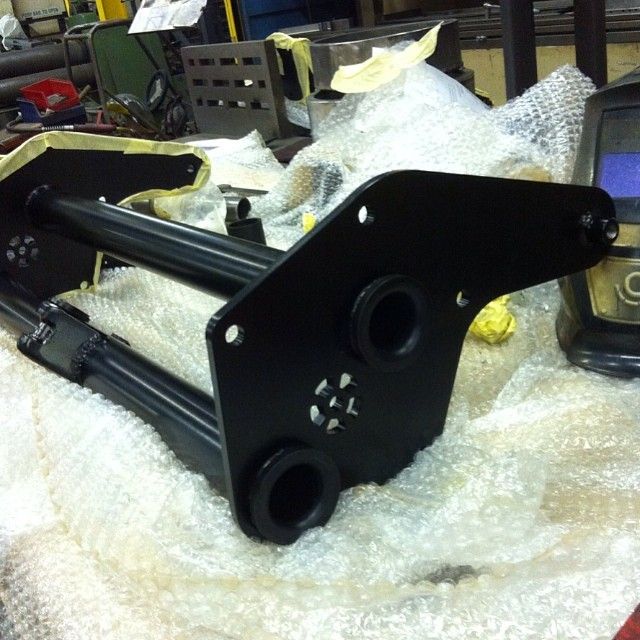
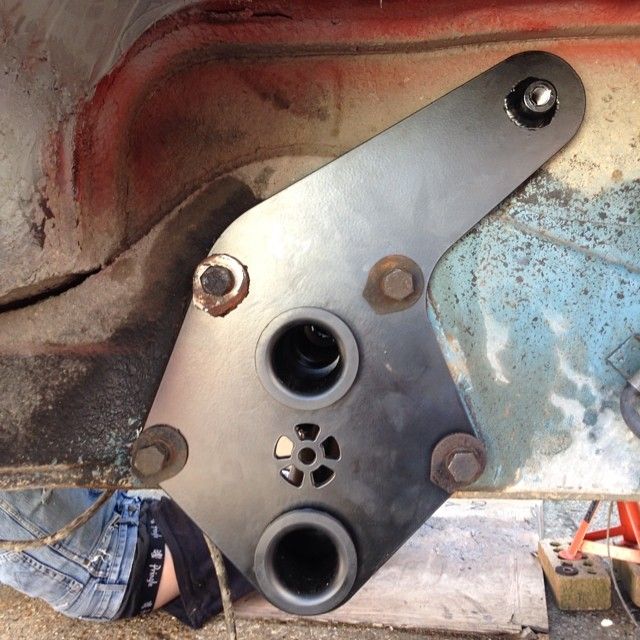
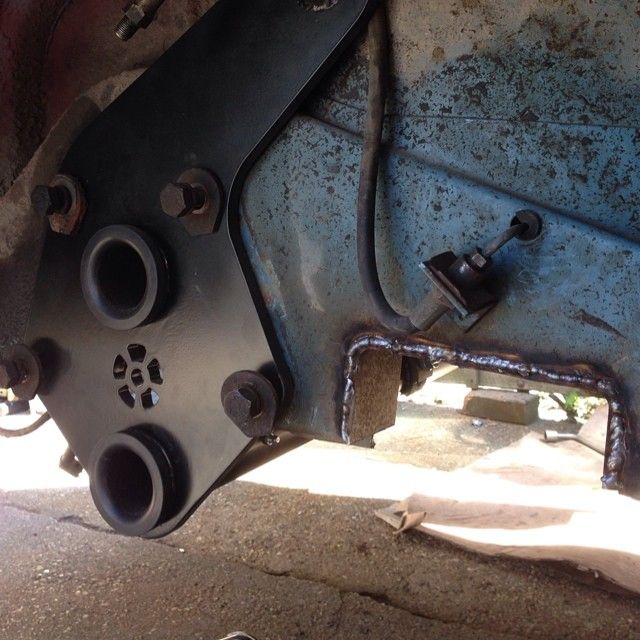
Set about building my beam up to the arms...
Only trouble is the lower arm shock bolts are too long so foul the end plates of the beam.
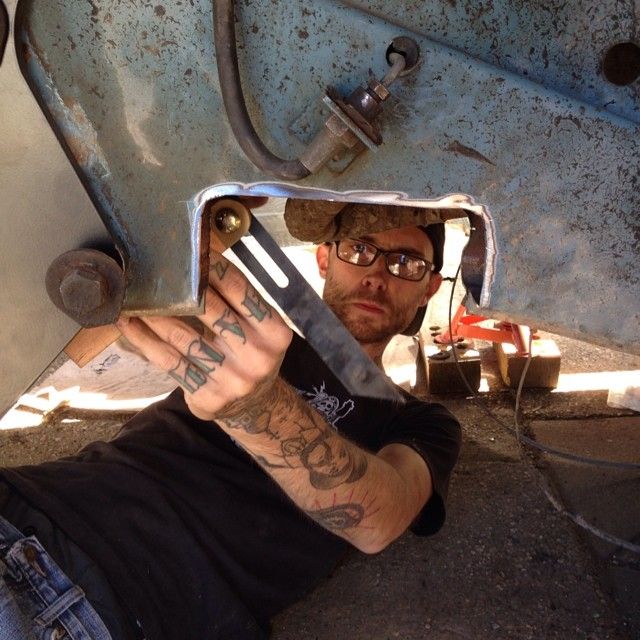
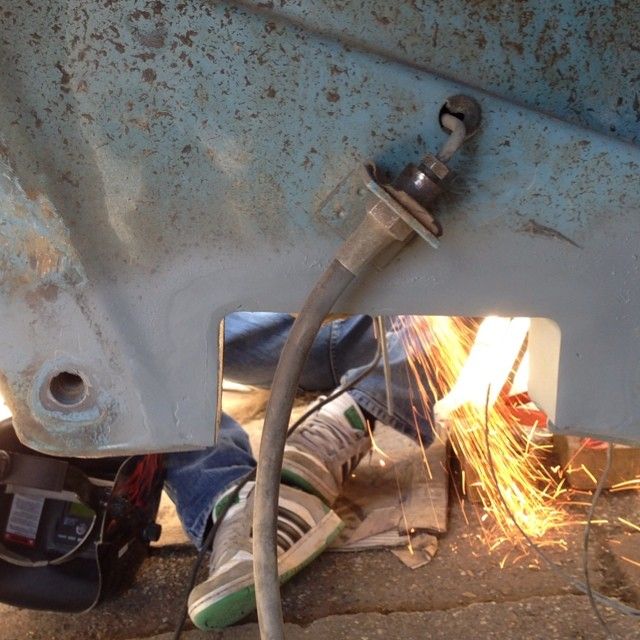
So off the arms come again
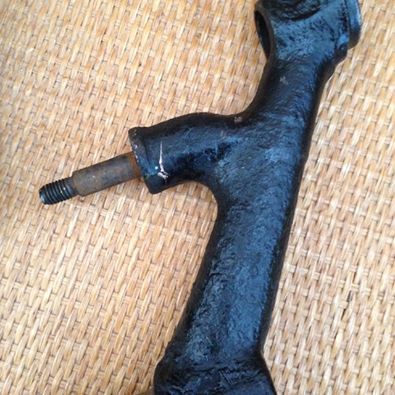
Plan is to chop off the mount and part of the arm body, maybe about 10mm off the arm body itself , and drill and tap a hole for a bolt to wind into.
radish said:TooLow&NotEnoughGo said:Got my leaves back today, big thanks to Budgie the expert Dimpler!
Set about building my beam up to the arms...
Only trouble is the lower arm shock bolts are too long so foul the end plates of the beam.
So off the arms come again
Plan is to chop off the mount and part of the arm body, maybe about 10mm off the arm body itself , and drill and tap a hole for a bolt to wind into.
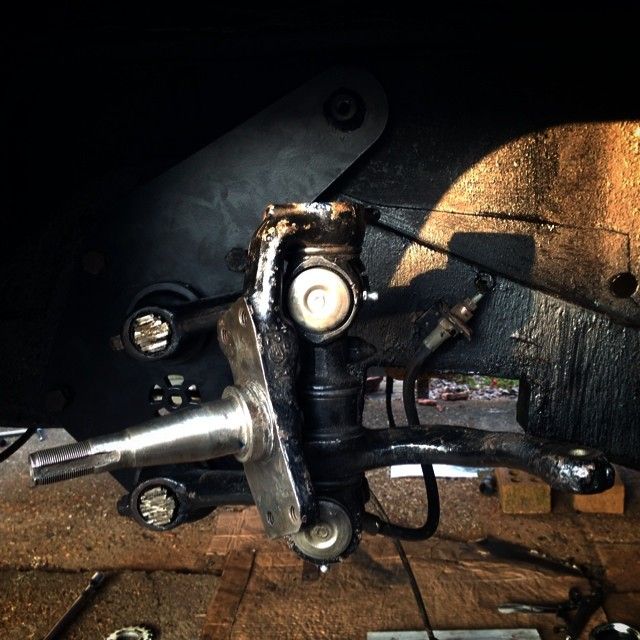
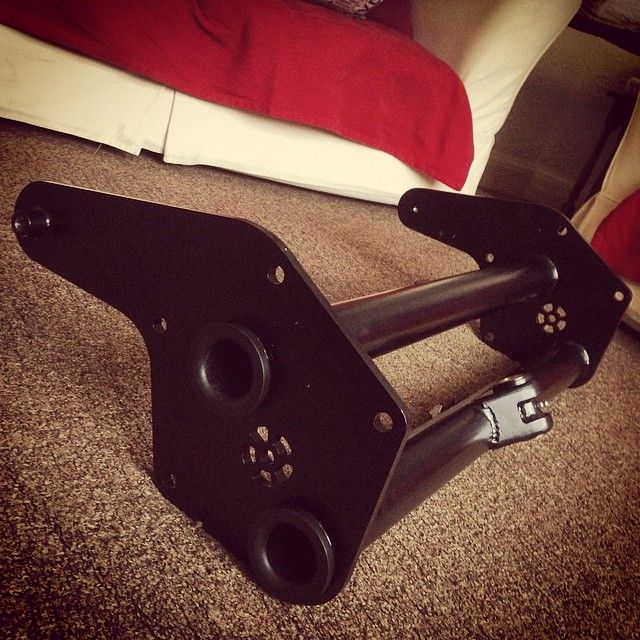
15mm is what you will need to trim off mate, you won't need to go any more.
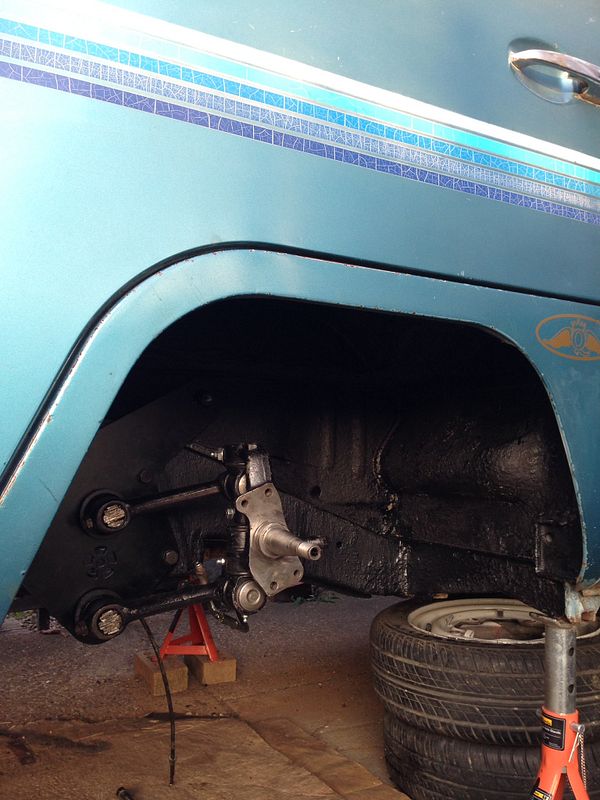
gvee said:Aire Valley beam?
Love that mockup 8)