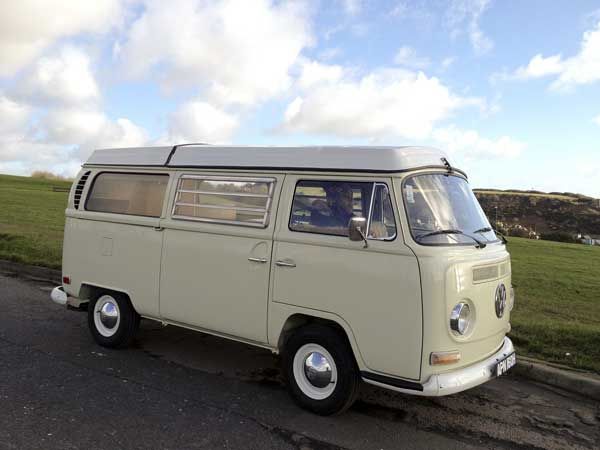
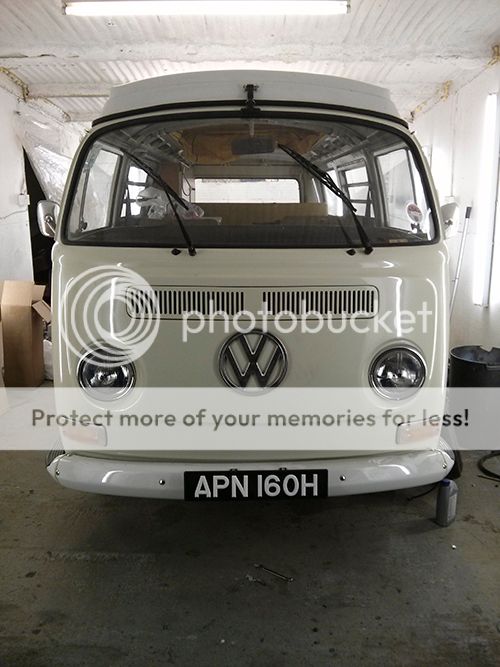
Wee White Westy

Early Bay Forum

Help Support Early Bay Forum:

This site may earn a commission from merchant affiliate links, including eBay, Amazon, and others.
aogrady said:
The engine looks amazing!! Very very nice in that colour, love the fan shroud, still got outlets to run heat exchangers, really nice. How does this differ from the stock tinware, aside from the shape?


Any more details on the steering box conversion? Sounds like a interesting option?

I'd love to see more pictures of the bus, got any of the engine in? ;) 8)

Cheers!

Alistair

I was a little nervous of replacing the original fan shroud, but my mate suggested it, I forget the reason why, but a certain engine builder took a spanner to it to accommodate some twin carbs :shock: I've read that repro tinware should be avoided, but my 'expert' mate has one too and he said he hasn't noticed any difference...good enough for me.

This is how it came back from Laurie....Just shows you what a lick of paint can hide :)
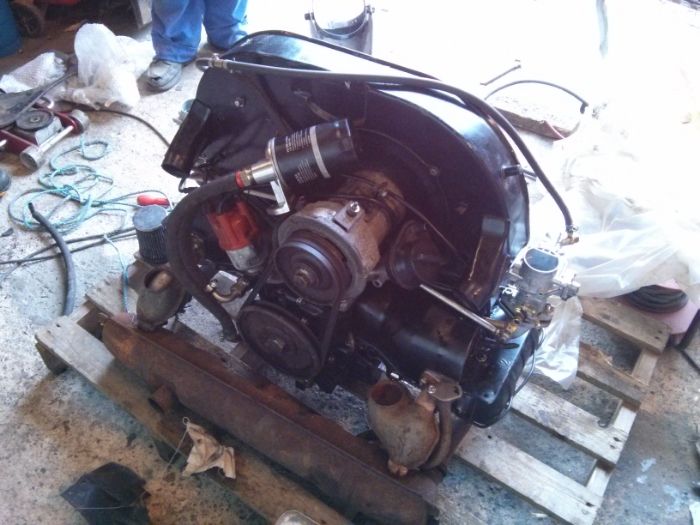


As for the steering box conversion, I can't give you an answer yet, but perhaps in 1-2 weeks, fingers crossed? For me it was my only option as my steering was completely banjaxed. Why waste time and money on a reconditioned con box?

Hmm, interesting. Maybe it's the bigger carbs that are a problem, my 34 ICT's went on with no bother. I don't like the empi hex linkage though, what's yours?

I am tempted to get a turnkey engine built for the forthcoming year, and sell mine on, it is a great engine, no endfloat, just leaks a little oil. (just needs seals) It came in my bus from the states 5 years ago, and has been faultless. I quite fancy the idea of a new engine with correct tinware, nicely set up, something with a little more poke. I have heard good things re Laurie Petit. How long does it take him to have a engine ready once you order it, and is it more/less than buying something from the likes of VW Heritage?

I'll keep my eyes peeled for a report on how the box works out. Are the brazillian boxes dear?

Cheers,

Alistair
 
magoo said:
martin.sim said:
Hi
Nice bus, how much is the servo upgrade costing you as it's certainly something I'd like done as drums all round

Mart

It's difficult to give you an exact price because I had other work done on the same invoice. I mean the Brazilian servo itself is £78, but with all the other parts required and welding, fabricating a bracket, re-routing brake pipes, rewiring, install servo vacuum, vacuum pipe from engine and the rest, it was about 10 hours labour perhaps? You're talking around £600?

But speak to the guy himself and he'll ask you some questions and should be able to give you a ball-park figure.

http://zedsbusgarage.co.uk/contact.html" onclick="window.open(this.href);return false;

Cheers, the ball park figure is great for now until I've raised some funds.

Has it made much of a difference ?


--------------------------------------
Why didn't I buy my bus years ago !?
 
Brazilian Late Bay Steering Box.

http://www.justkampers.com/211-415-049-h-steering-box-for-t2-bay-august-1972-may-1979-lefthand-drive.html" onclick="window.open(this.href);return false;

Steering box went on very neatly. He moved the two holes and original strengthening tubes and welded up the old holes in the chassis. The bolts all do up with your fingers. No need to cut anything out of the chassis - the new box fitted perfectly through the existing round holes for the original box. Technically no need for the Litesteer plate other than spacing the box a few mm's off the chassis as it has a few castings that won't fit through the chassis holes. Recess the inner valance to fit the larger box in, but nothing drastic - about 8-10mm. Older Litesteer plates didn't fit properly, but once they received my Steering Box, they fabricated a new plate, so people shouldn't have any trouble from now on.

Engine
The engine cost is perhaps towards the top end of the estimate, but reflects the quality and condition of the parts Laurie supplied for the engine. When you compare it to other offerings, it was a good deal. Most of the engine is genuine VW parts in very good order, the rest is new and selected by Laurie for price/quality.

I basically let him do his thing, Laurie prefers ICH carbs and they're cheaper because they are not as fashionable. He'll give you a detailed report about what work was done on the engine.

ICH Carbs linkage and manifolds £370
Delivery from Laurie £80
Engine £1750

Total cost £2200
+ fitting.

It comes with the usual 12 month warranty, but from what I hear he's not going to wriggle out of any warranty blaming third parties like you hear about. Of course I haven't been driving about for 12 months yet, but he's already earned the trust of others. As for the length of time of rebuilding, Laurie will look after those who are in most desperate need first. He is an eccentric, won't answer his phone unless he needs work or you are in his phone book already I'm guessing; but I was fortunate to choose a garage who had a direct line to him and could pester him to get on with the job. About 4-5 weeks to get it done? He had an emergency engine build to do before me for a catering van who was missing out on trade shows. But about a week to do the job, plus whatever for the workload.

Scat centre linkage from memory?? If that answers your question?

The tinware he fitted was very shabby, but everything else is shiny and new. An extra £160 to get it shot blasted and painted by a local paintworks brought it up lovely.

A 12 row cooler from MGBHive was recommended by Laurie, £30 with no added scene tax and I upgraded to an Accuspark electronic distributor £60.

He'll need a donor engine most likely and you'll get a good honest engine in return with the best parts he has available to him. Considering what I gave him on a pallet, I'm very pleased.
 
martin.sim said:
Hi
Nice bus, how much is the servo upgrade costing you as it's certainly something I'd like done as drums all round

Mart

Has it made much of a difference ?

I actually found a ball park figure of £500-£550 in an earlier email for the Brazilian servo upgrade.

Has it made much of a difference? I had no engine so I can't compare...I'm completing a restoration project with a complete mechanical overhaul. But it's definitely a recommended upgrade. There's a nice little comparison earlier in the thread if that helps.
 
Pulling together some ideas for the interior. Volksworld did an article on an L87 Pearl White Beetle which still had its original interior of Derby Grey cloth and Silver Beige vinyl.

I liked the idea of cloth seats rather than sweaty vinyl and found a source in Germany for the Derby Grey material...might turn out nice?


magoo said:
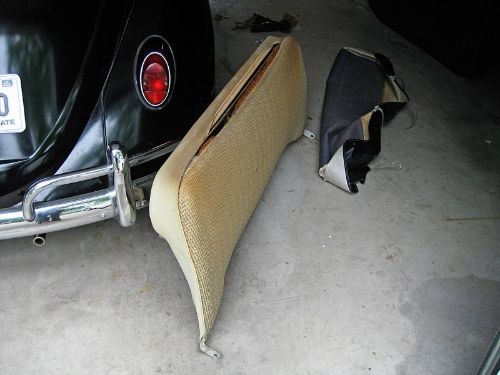
Pulling together some ideas for the interior. Volksworld did an article on an L87 Pearl White Beetle which still had its original interior of Derby Grey cloth and Silver Beige vinyl.

I liked the idea of cloth seats rather than sweaty vinyl and found a source in Germany for the Derby Grey material...might turn out nice?


Looks nice, I think that would work well! (IMHO) ;)
 
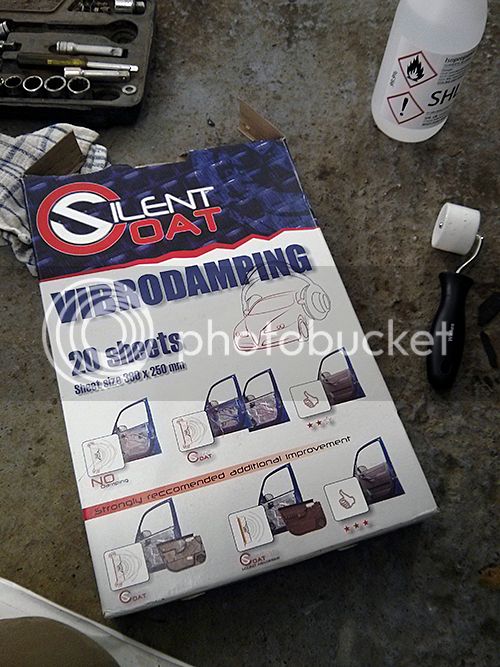
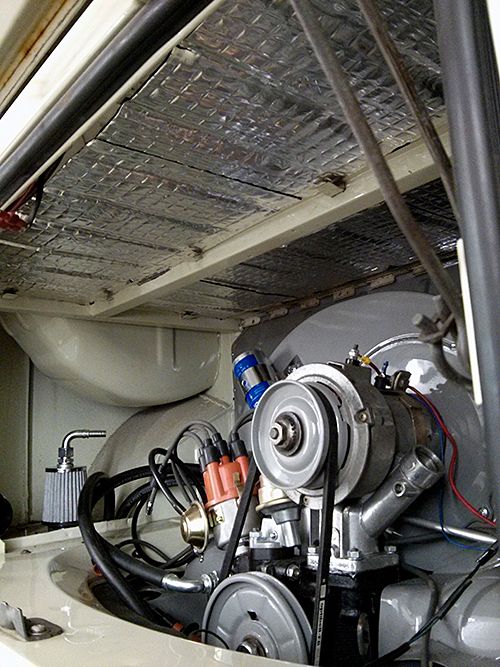
The engine board from Rackhams should arrive early next week, so that gave me an opportunity to add some sound proofing inside the engine bay. I used 2mm Silent coat which went on extremely easy and a wallpaper seam roller flattened it nicely around the bumps. Probably should have chosen 4mm for the doors, but it does sound better already.

Matched the Derby Grey German cloth up to the Pearl White paint; it matches really well with the L87 paint colour and looks very classy...it could be a winner. I'll price it up and perhaps do the back in Derby Grey cloth also?!!

I think I might abandon the idea of redoing the stock interior as there is too much work needed to make it decent looking, it's had it. The new Westy mustard vinyl sample from J&S Upholstery is absolutely spot on identical to the OG vinyl, they've done well. Even though I've finally found a good match and I expect the Westy cherry laminate to be spot on also, I'm not sure if I actually like it? :|

Steering still needs some attention as there are missing parts inside the steering column making it loose, but it gives me an opportunity to get that painted black. Should have it home very soon..can't wait to finally drive it!

Fitted the front mesh grill from VW Heritage, it's a like a cotton material and looks smart. It's a good fit, so no fly graveyard in my bus. :)


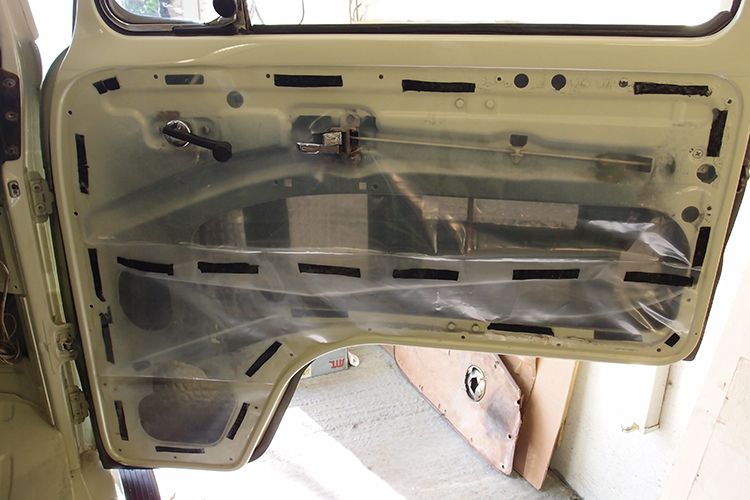
Got to work on the doors today before the trip to the upholsterer. Cleaned up the door, checked that the drainage holes in the door were clear and added the vapour barrier. Used DPC joint tape to attach the plastic to the door and another layer inside to guide the water back into the door. Finished the job by adding a set of Deluxe window winders, had the choice of blingy Beetle winders, but these looked better...but still plasticky :oops:

Fun part now is to find the right size of clips for the door cards.


Tested the winders and heard a lovely screech of metal scraping on glass....


Some leftover heavy duty polythene sorted that! ;)

Fitted biofuel safe lines from VW Aircooled Works to replace the R9 hoses. They are certainly very good quality and might last the 25 years it states, even if the clips are a little fiddly. Added some hidden security.

http://www.vwaircooledworks.co.uk/Biofuel-safe-fuel-lines-.html" onclick="window.open(this.href);return false;

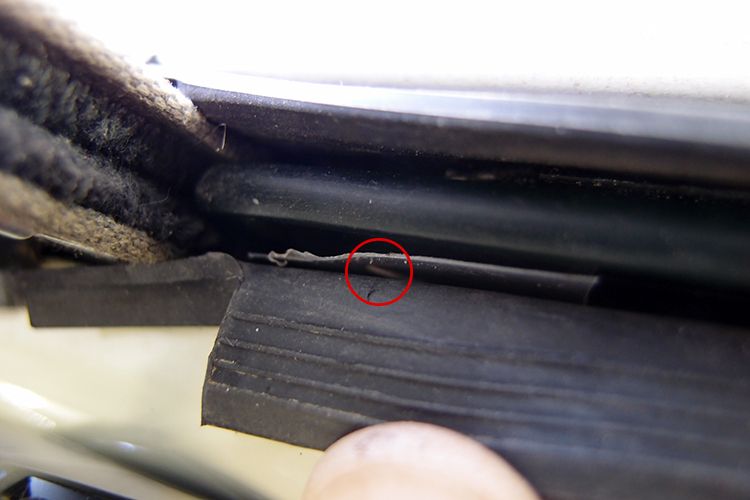
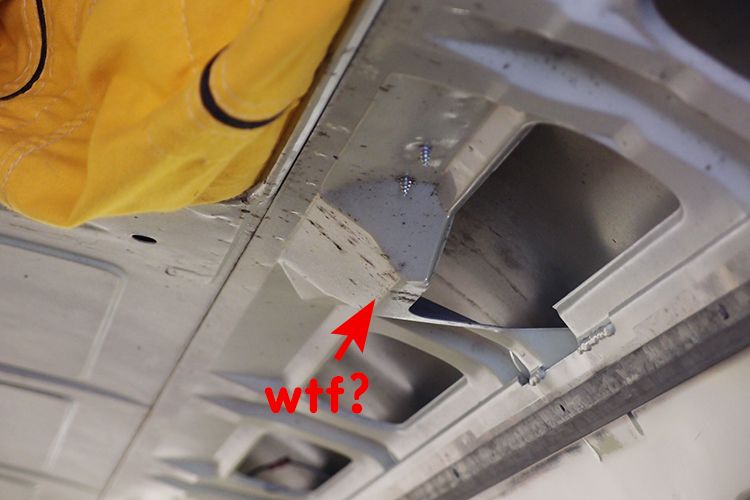
Even if your bus has been imported from a dry state, but your bus sat underneath a tree for years. If you don't clean your gutters of wet organic material it might just rot your roof! When the roof was replaced, a sun roof had been fitted but I think these were intended for fabric headliners.

So I don't know how the wood will slip into the channel with a bulging metal bit? Some DIY correction might be involved to get the wooden headliner in.


Tried a sample of this stuff on the Baltic Birch headliner, clear would probably be most people's favourite, but I wanted an aged look so opted for the honey. The Osmo Oil goes on best by rubbing in with a cloth. The darker colour disguised some of the grain and also exaggerated some of the planing lines when it went through the machine, but this can only be seen at a certain angle. The headliner will need a good sanding to smooth it down. It should look well when done.

 
Yes that and the light, i am working a way round it I think which will be to cut the ply neatly and shape it I think it is the best way particularly as i think i shall then cover the ply with material. Those self tappers look a bit scary i take it they are holding the stop on in place of the two spot welds? Tricky blighters Sunroofs apart from the additional buggeration of the cost of the parts cables, seals, covers etc there is the added value of the steel tubes rotting out in the posts plus the outlets blocking, rotting particularly the ones at the back - aah the joy of it all!
 
:!: It's MOT day 1.30pm. Yesterday the new brakes, steering and engine were untested or in bits and not starting. Nervously waiting or it will have to be SORNed tomorrow.
 
:party0053: Passed second time round, rear brake imbalance. I think I might actually get to drive this in time for the bank holiday.
 
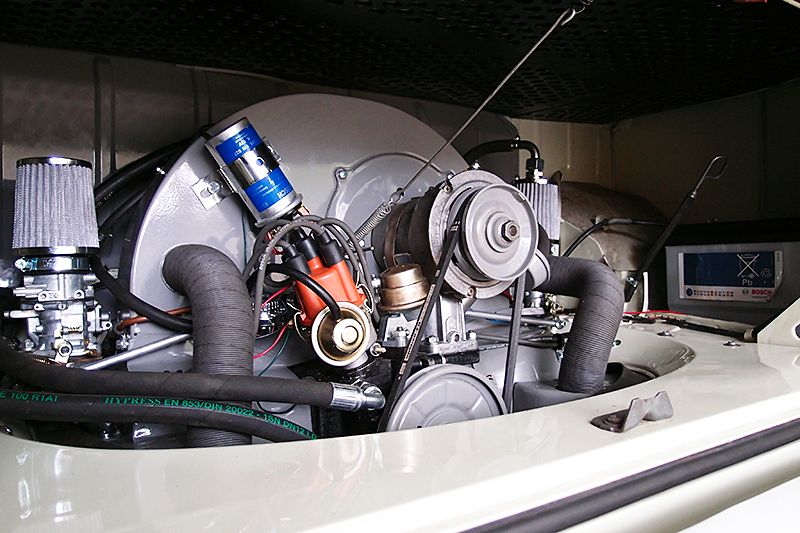
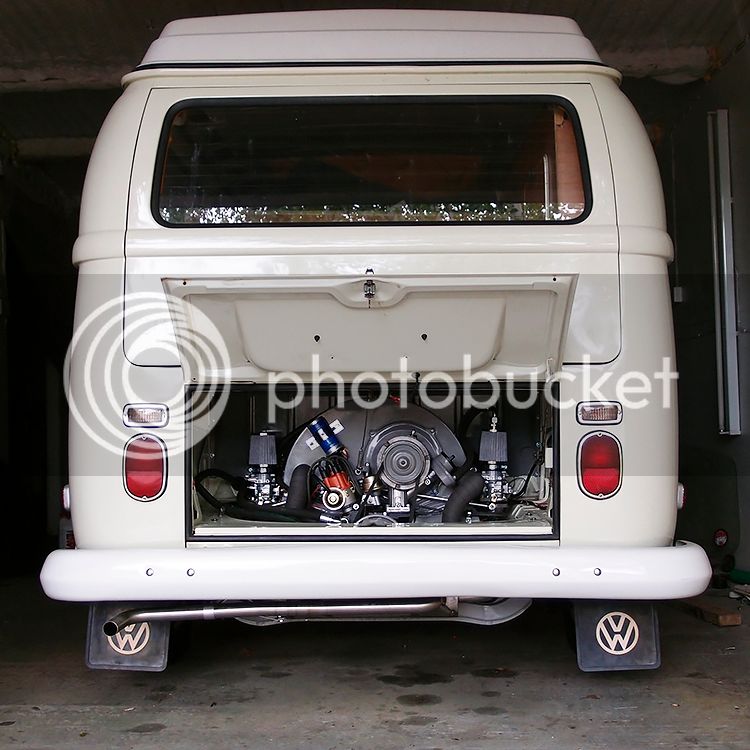
The completed engine shot! The 1776 and the Bluebird sounded very sweet on its first run out, a gentle roar with a stock look, I'm a happy man. Fitted the save my bug sensor and an ad hoc dipstick holder!


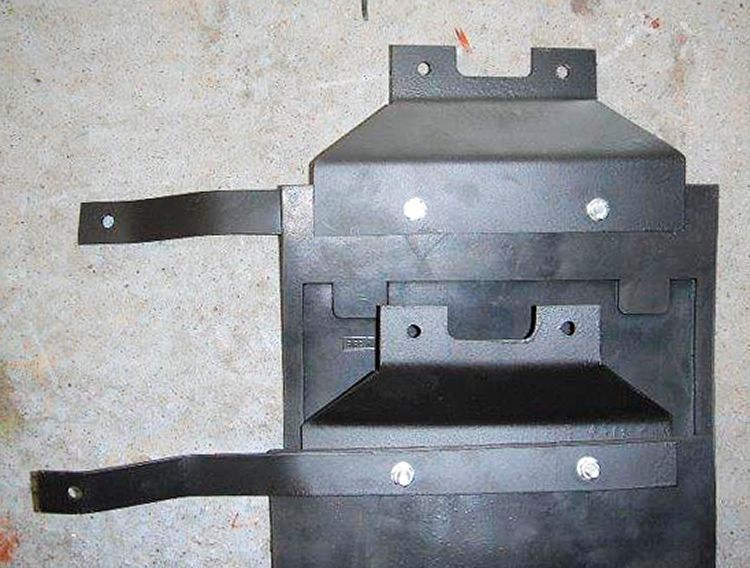
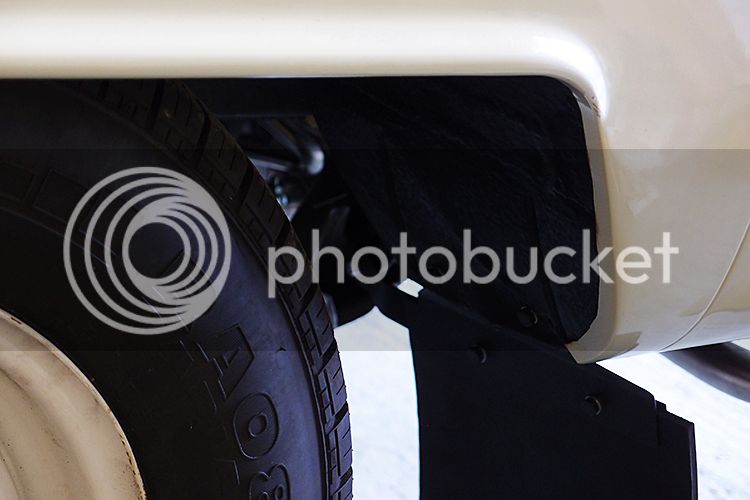
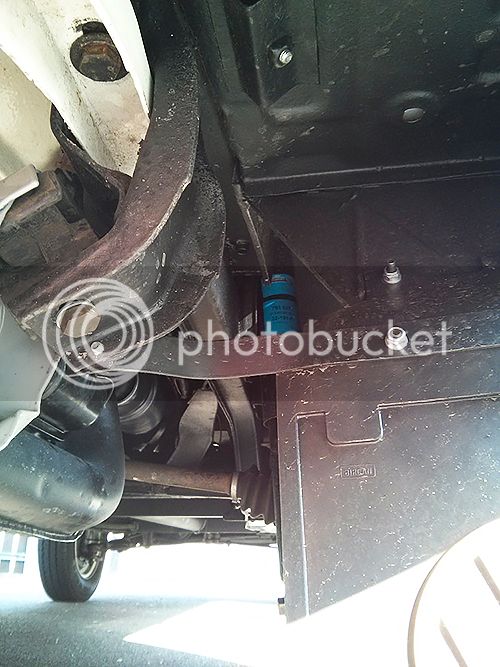
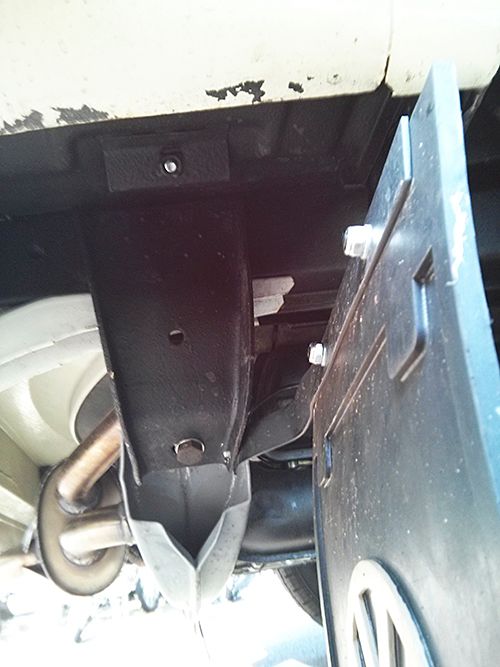
Fitted the mudflaps ordered from a Turkish eBayer. These are the South American made rectangular bus flaps with the off white VW logo. Nice and retro and will hopefully keep the rear corners from rotting in the future.


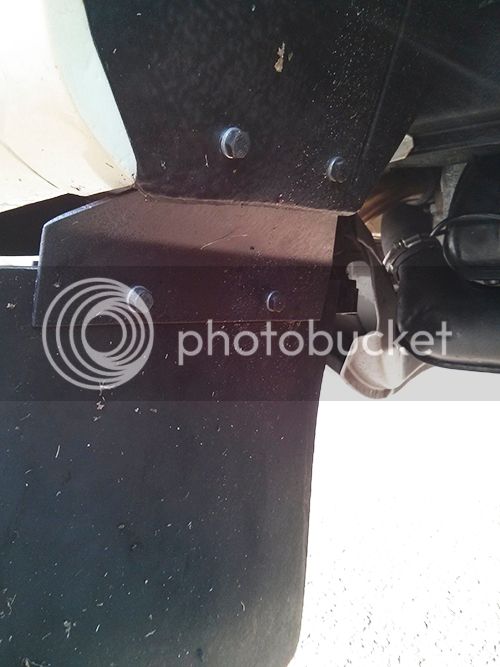
Had to fabricate some brackets but the awkward part was choosing a suitable location to avoid the new oil cooler.


So with her first run out, everything sounded great, the Brazilian steering box is nice and smooth, no clicky turns. Not that I had anything to compare it with, but my mate reckons it was wise upgrade. Despite our best efforts we couldn't get the original horn to work unless I wanted it on continuously, perhaps not.

Next job is the electrics, someone has taken a short cut during the restoration and snipped and crimped the wires rather unprofessionally behind the dash, hopefully the front indicator will work ok, but I have an earthing problem somewhere. On the look out for a new speedo :roll:
 
8)
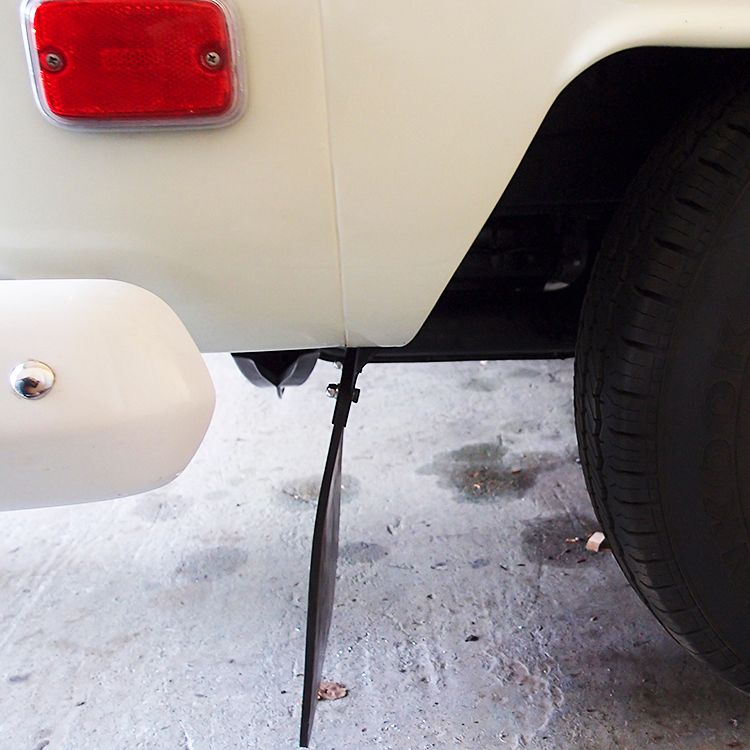
How are mudflaps connected then - just bolted through the edge of the tubs?
 
Yeah bolted on, here is a close up of the right hand side mud flap fitting. The 'Turkish' mudlaps VW logos have turned brown immediately so not that great, might paint the logo, at least they are right shape.


It was a restoration which had no engine, so couldn't drive it beforehand to hear the difference. I put the silent coat in there mainly to stop panel vibration, but it is suitable for the hot and oily environment of engine bays. The holed fire board which you see pictured is the main sound proofing material which is a late bay design and apparently a better blocker of sound than the plain tar board used in earlys.
 
That's interesting about the latebay holey boards. I've used some fibre matting under the tar boards, but I could do with some more silent coat on the panel under the R&R bed. :)

cheers
 

Latest posts

Top