panalvan
Well-known member
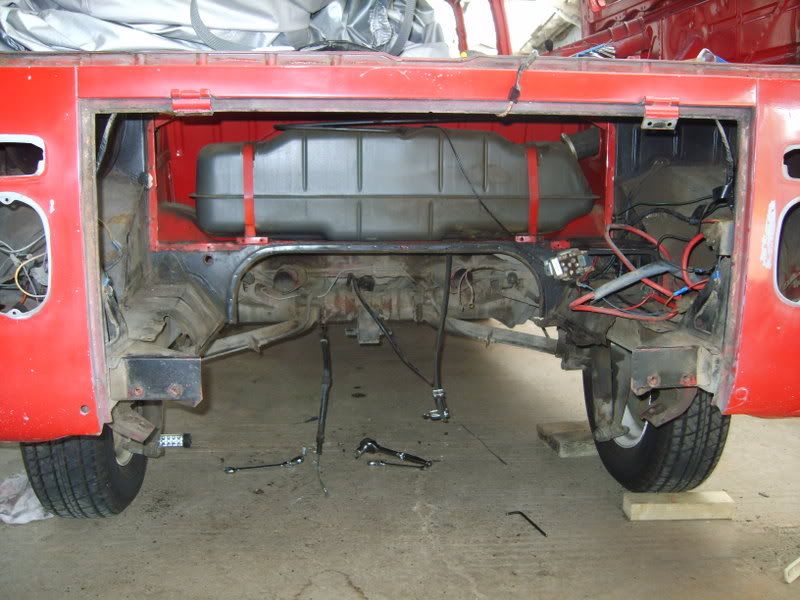
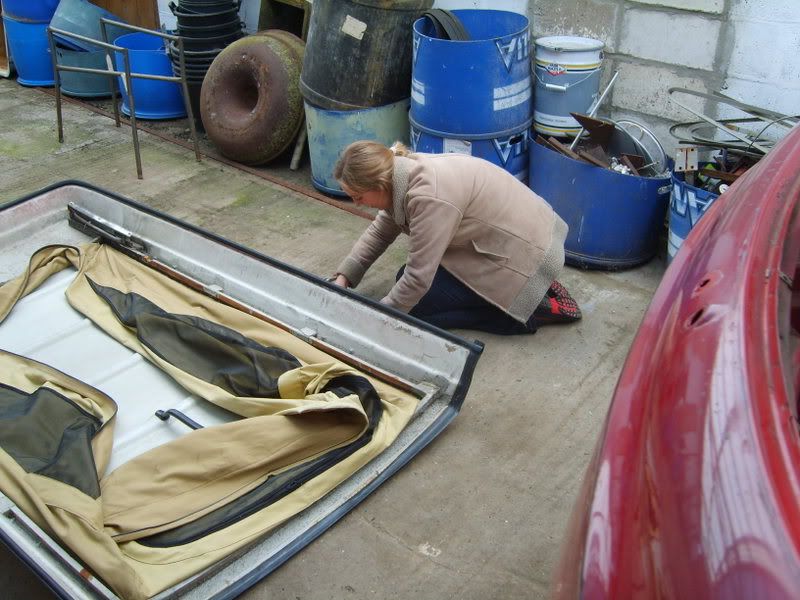
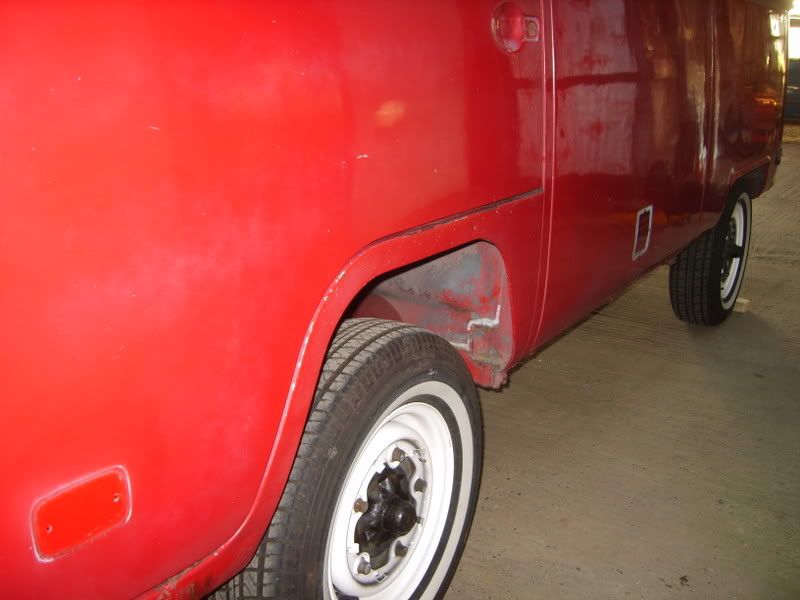
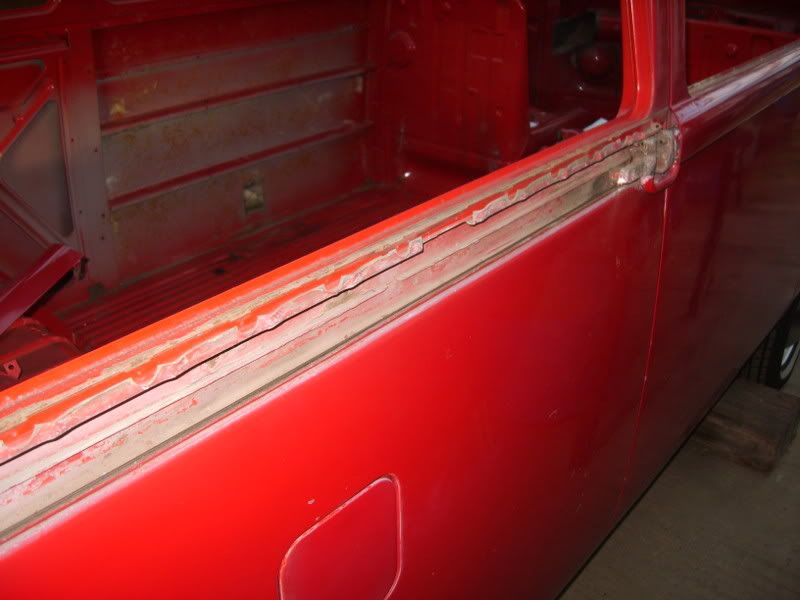
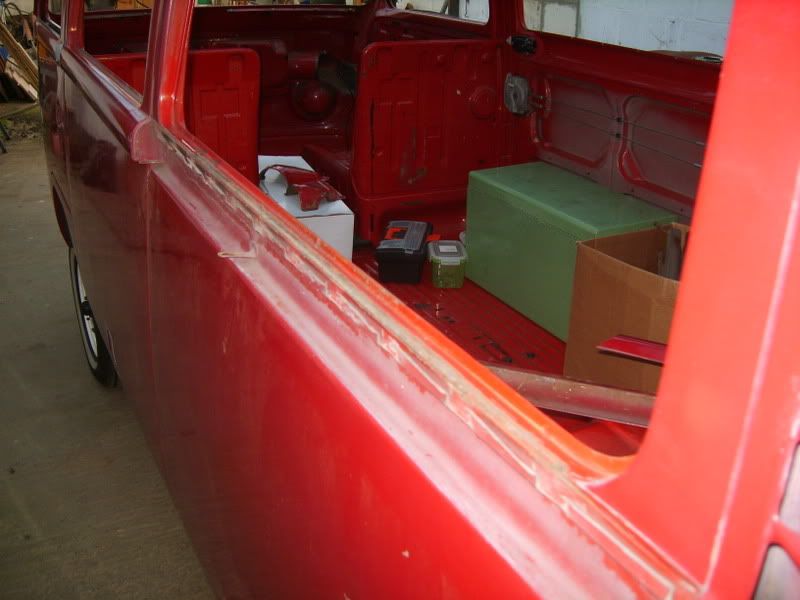
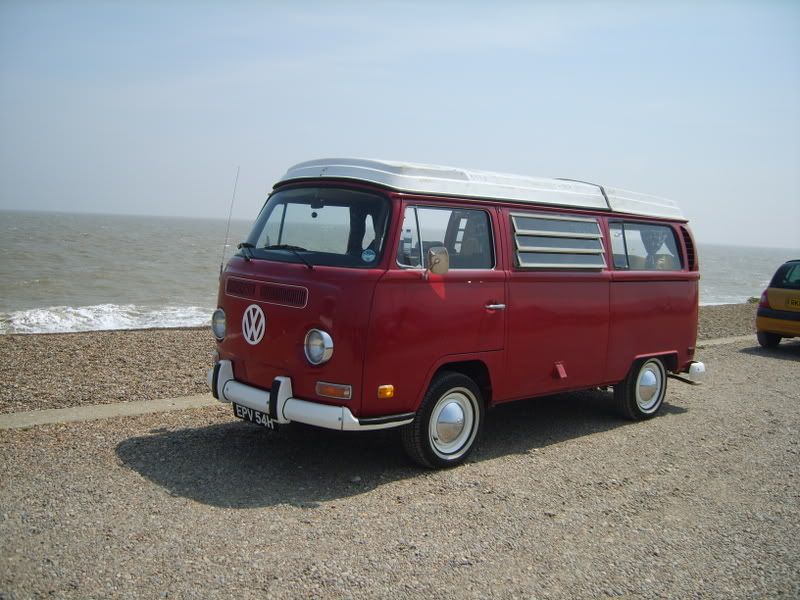
After using the van for nearly ywo years its time to strip it down and give it the resto it deserves.So here we go
As i got it

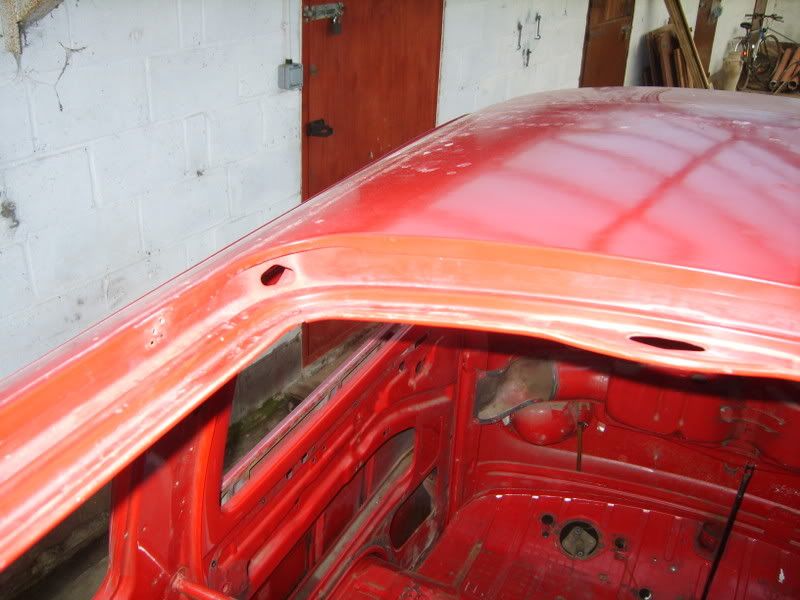
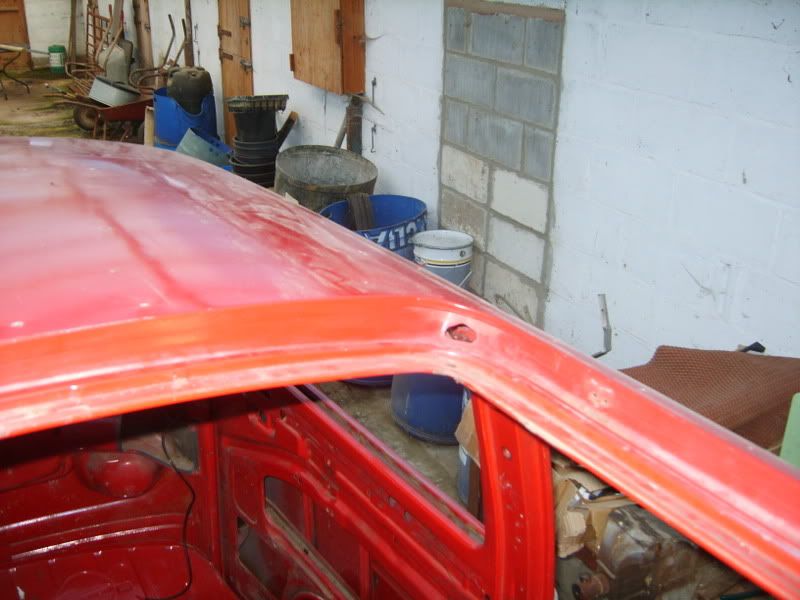
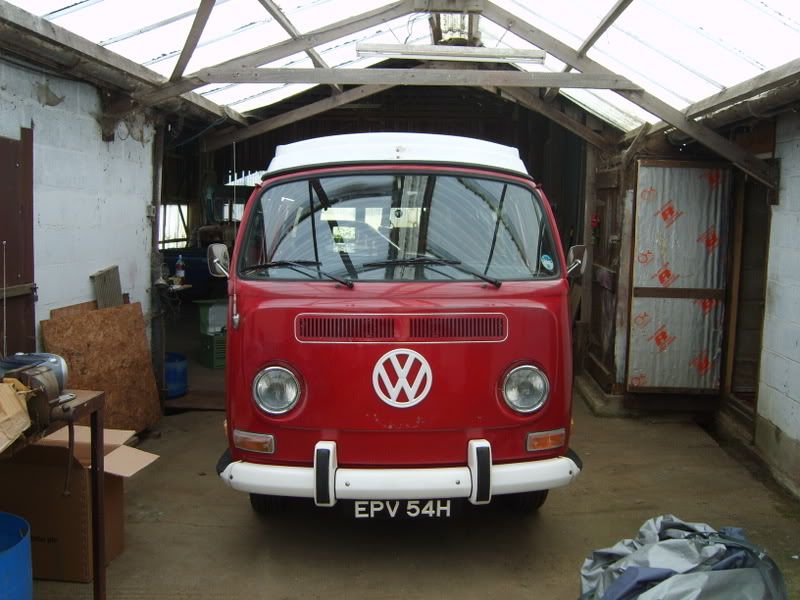
After three holidays and loads of shows how it end up
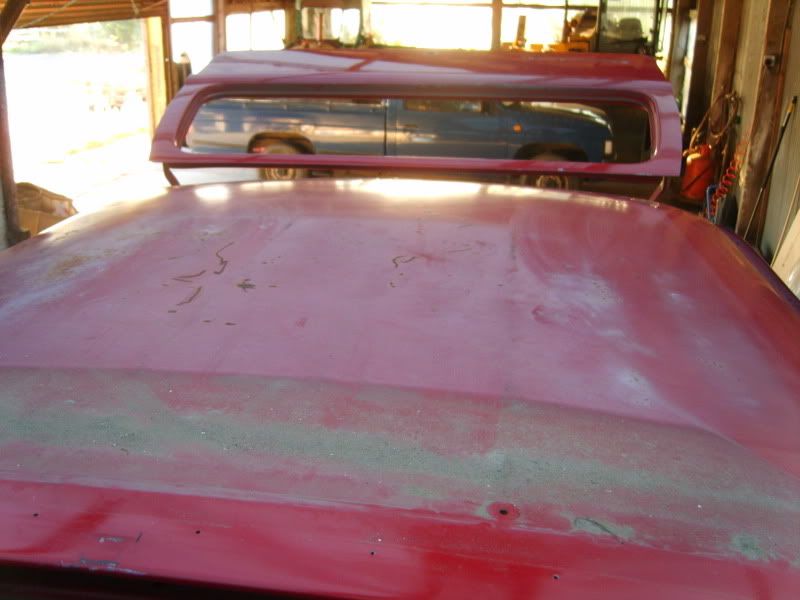
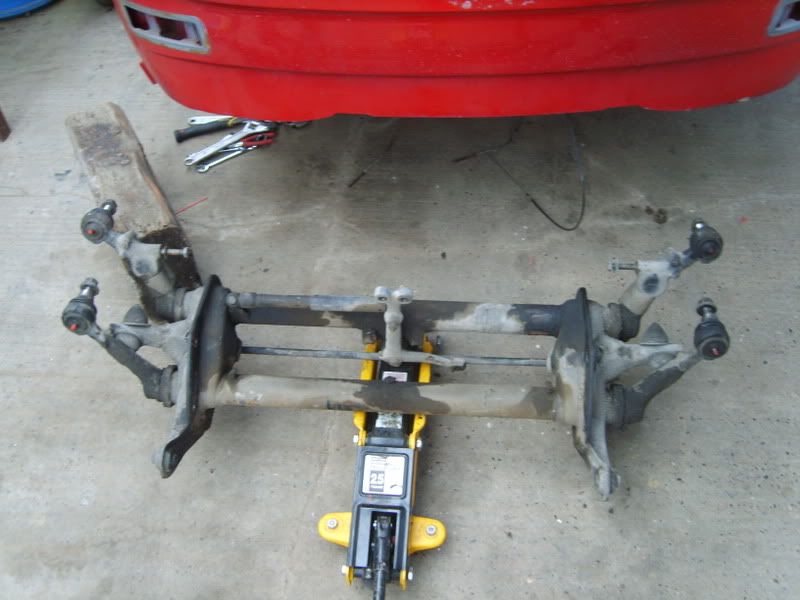
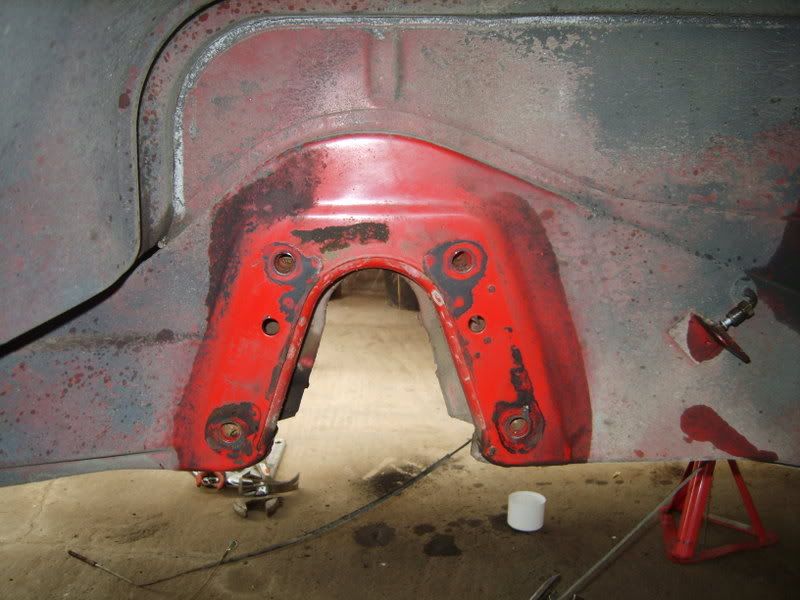
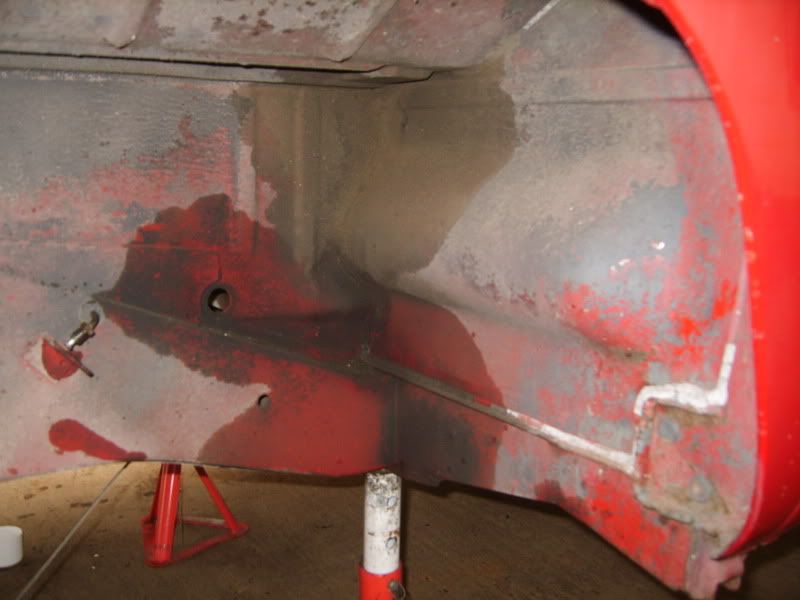
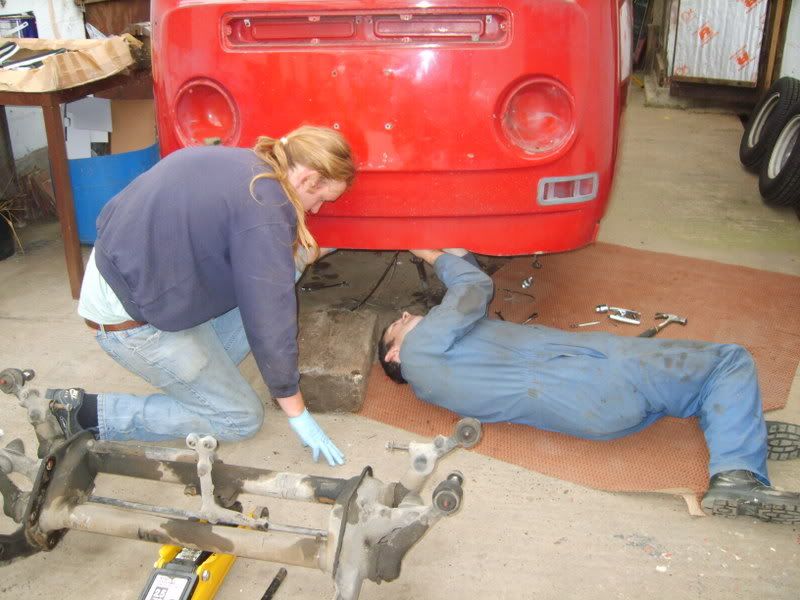
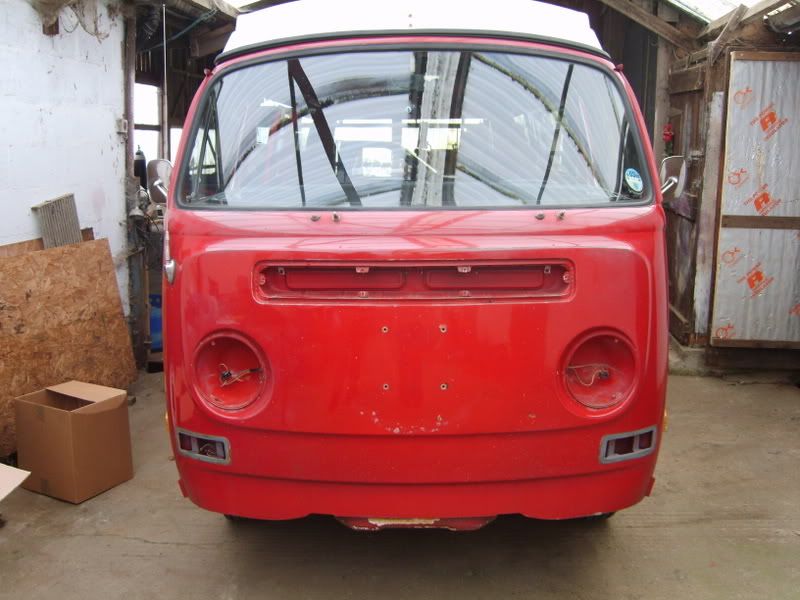
And of this morning
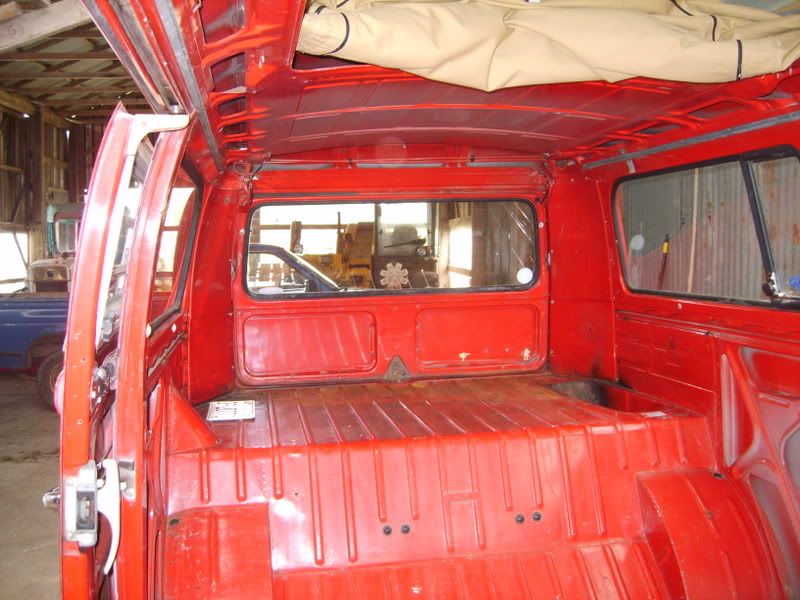


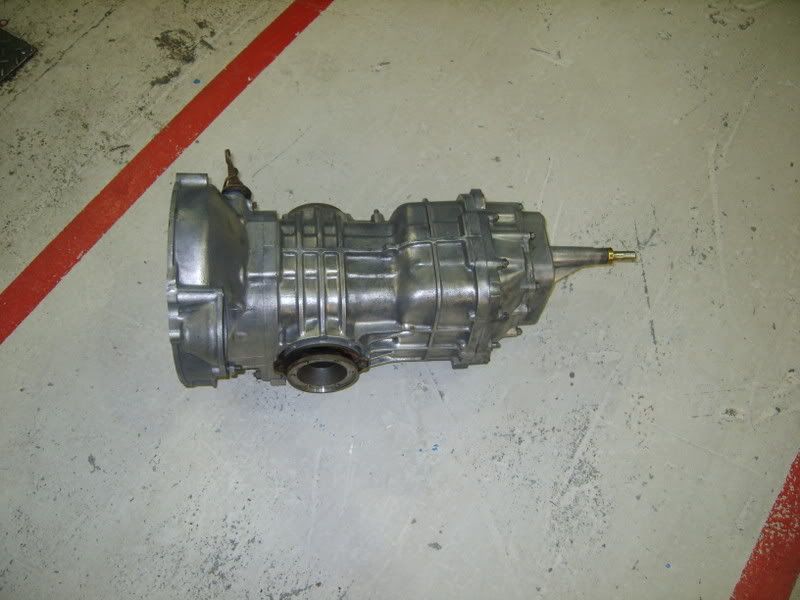
More to come
As i got it
After three holidays and loads of shows how it end up
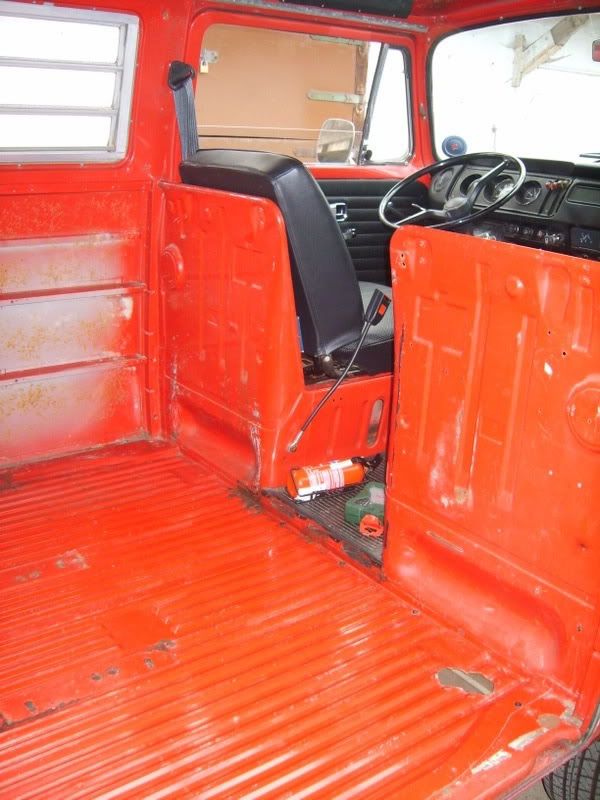
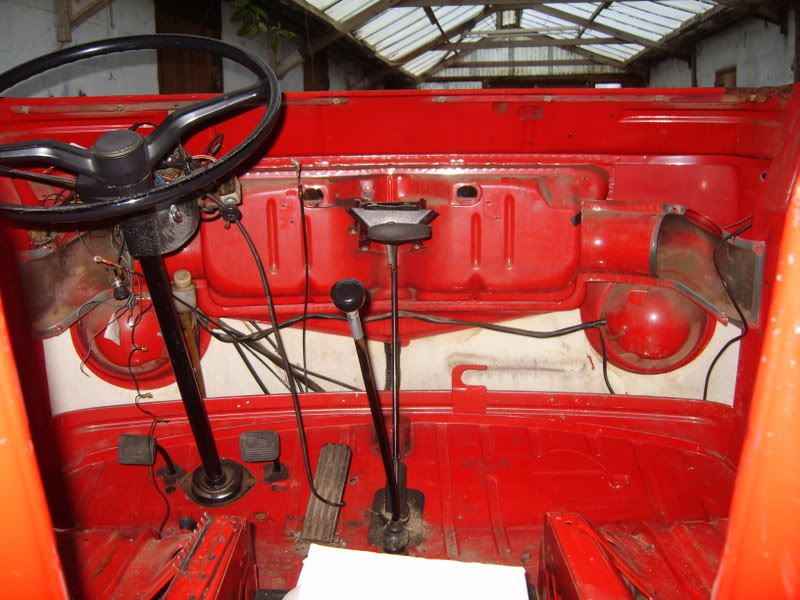
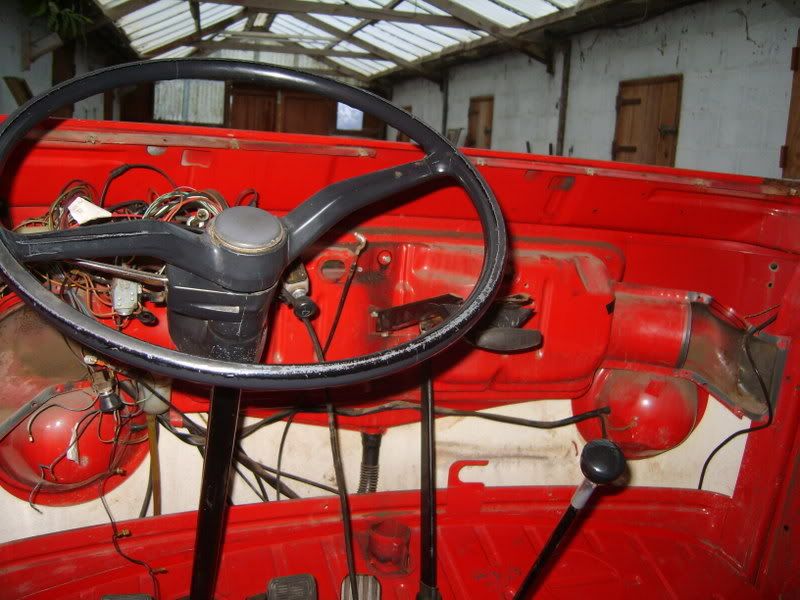
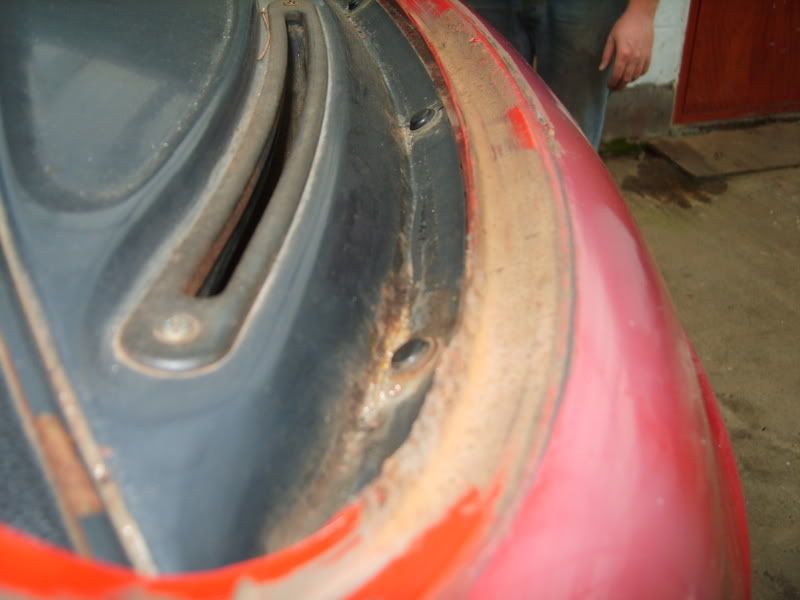
And of this morning
More to come