You are using an out of date browser. It may not display this or other websites correctly.
You should upgrade or use an alternative browser.
You should upgrade or use an alternative browser.
1971 Bay
- Thread starter froggy
- Start date


Help Support Early Bay Forum:
This site may earn a commission from merchant affiliate
links, including eBay, Amazon, and others.
froggy
Well-known member
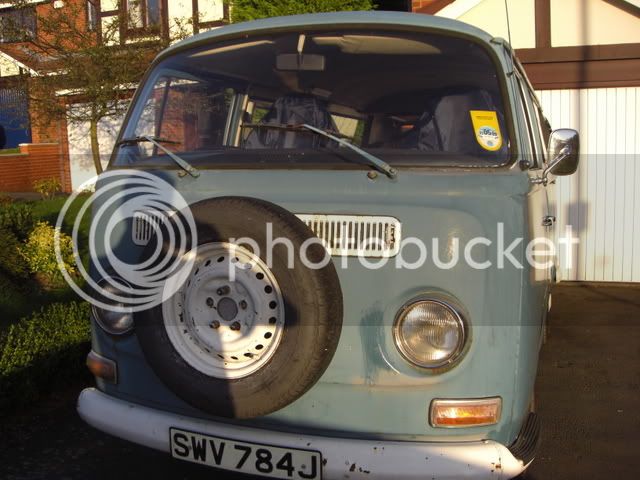
Yeah believe so, the chassis number starts 211.
panic_fan
Well-known member
- Joined
- Sep 19, 2008
- Messages
- 175
- Reaction score
- 3
- Location
- Atlanta GA USA
- Year of Your Van(s)
- 1970
- Van Type
- microbus
froggy said:
Is that the new spot to install fuel filter? Ive always heard behind the firewall....thats BEHIND the firewall!

froggy
Well-known member
:lol: :lol: :lol:
Knightmare trying to route the fuel pipe!
Knightmare trying to route the fuel pipe!
froggy
Well-known member
So i managed to do a job AND remember the camera this time :lol:
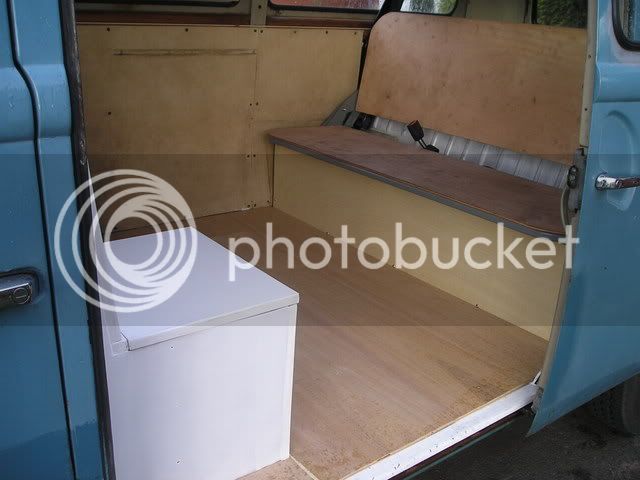
I (read we) decided the interior needs adjusting to suit our needs.
At the moment its fitted with a 3/4 bench bed but as we intend on using it this year i bought a full width R&R so the interior needed to come out.
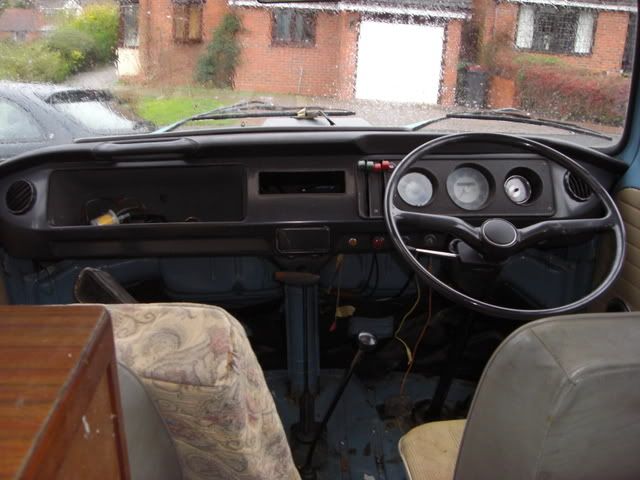
Interior pictures as was
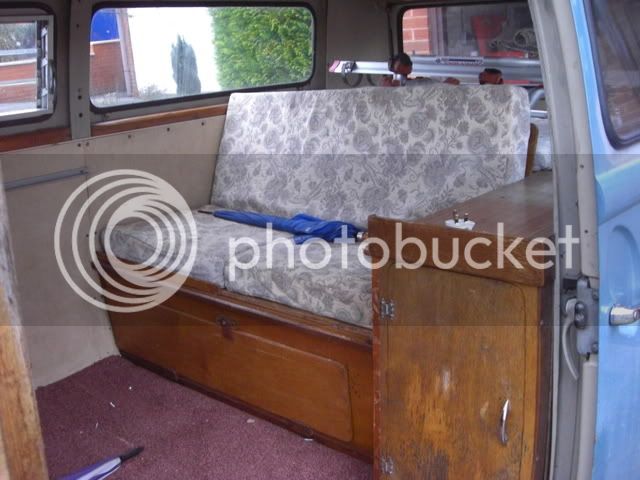
Rear bench seat
Overhead cupboard (table fold up and fits under this)
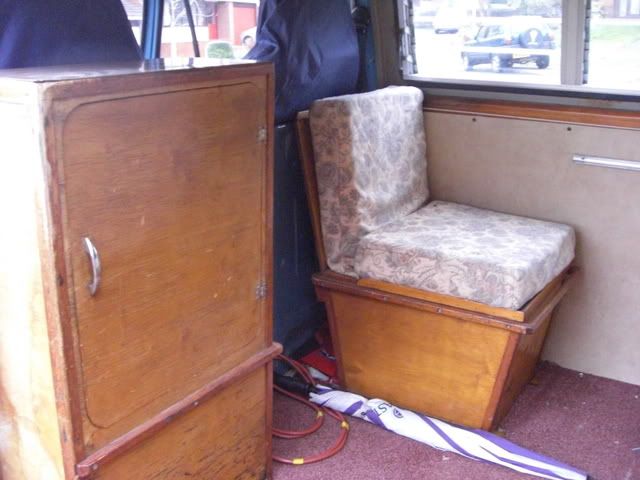
Buddy seat and cupboard
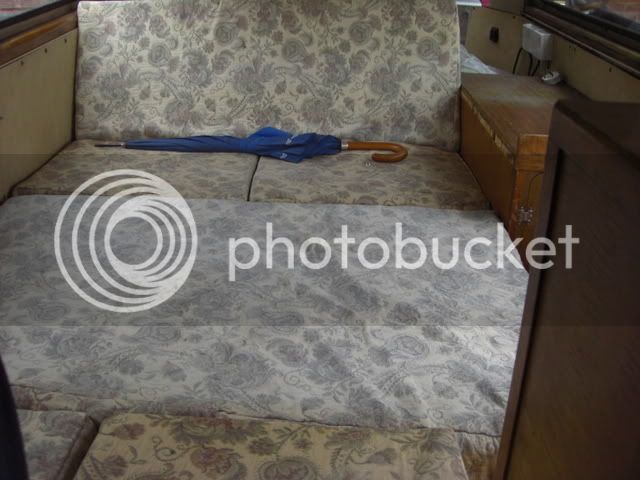
3/4 width bed (not R&R, made by fitting table and other peices between buddy seat/cupboard and rear bench)
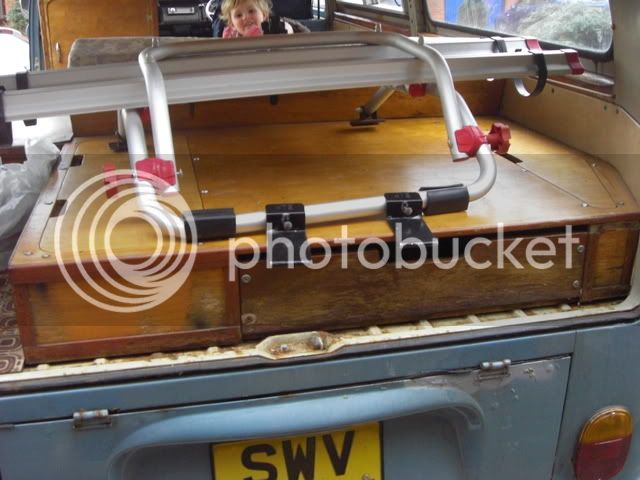
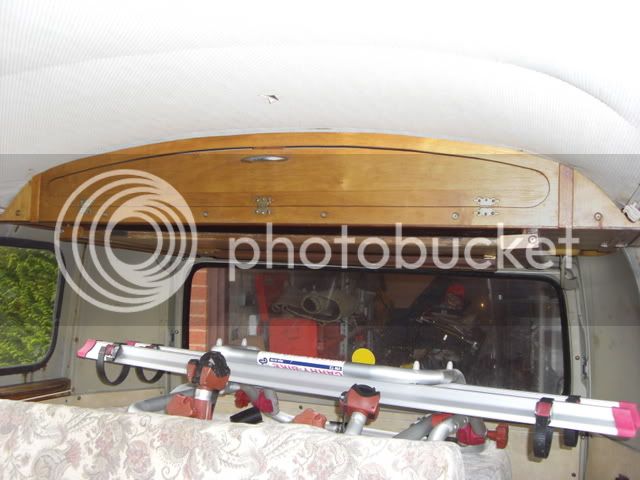
Parcel shelf storage
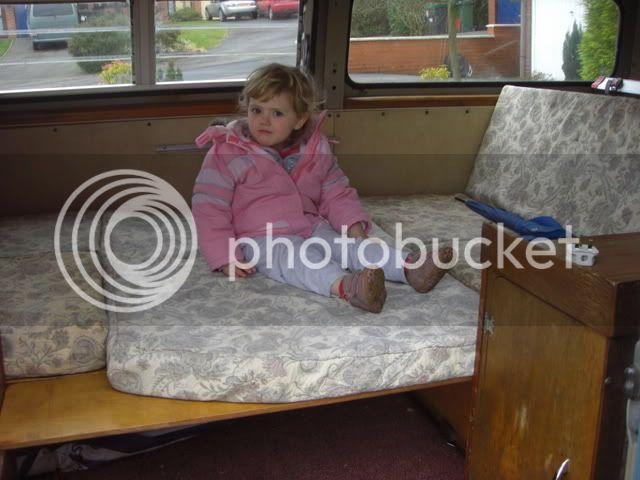
Another picture of the bed (not allowed to work on Rusty without my helper :lol: )
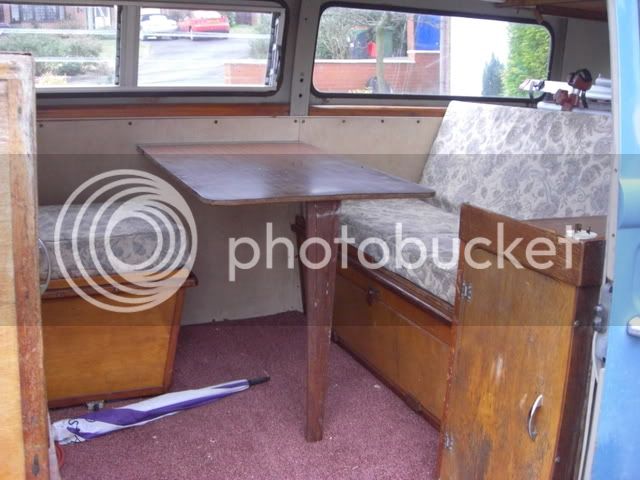
Standard layout
(up for sale see the board)
Took about 1 hour to remove (always easier removing than refitting)
While it was out i Hammerite Red Oxide 'd the floor
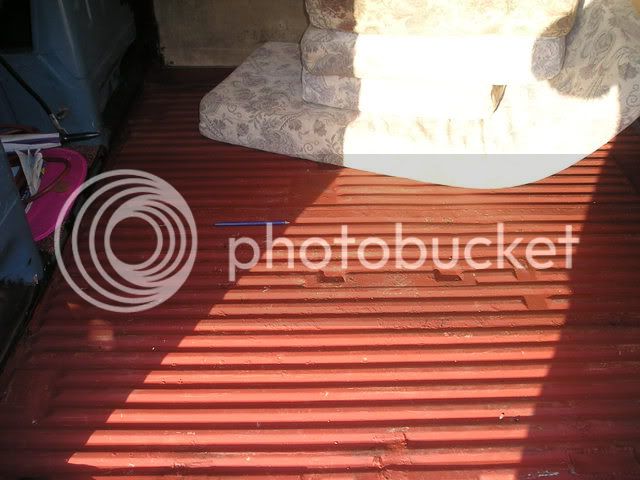
And then loosely fitted the seat in place to see how it fits
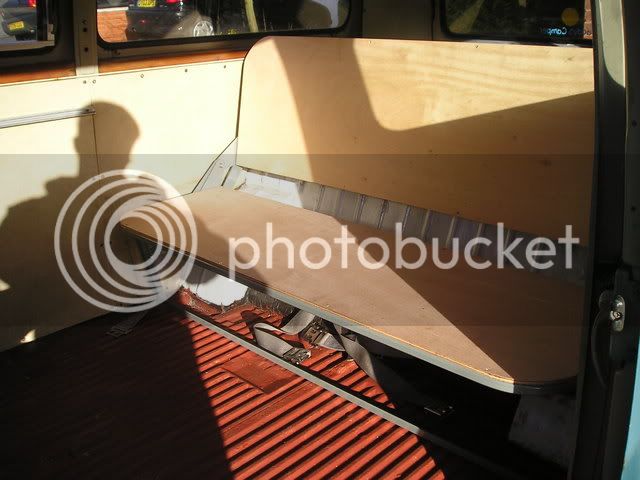
Then opened it out into the bed
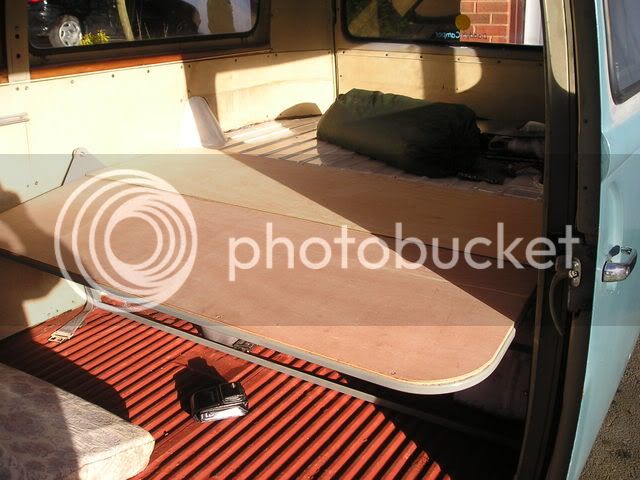
The biggest compliment i got was the wife was impressed 8)
I have since pianted over the red hammerite with white gloss just to tidy things up, makes it look cleaner.
Havent really given much more thought about the rest of the interior as the van is going to Volksmagic on the 3rd Feb to have some rear seat belts fitted either side of the rear seat, my van started life as a panel so Lee needs to weld in some strenghteners then make the brackets to lift the belt to shoulder height, so until this has been done i cant really do much more, although i already have the table ready to be fitted
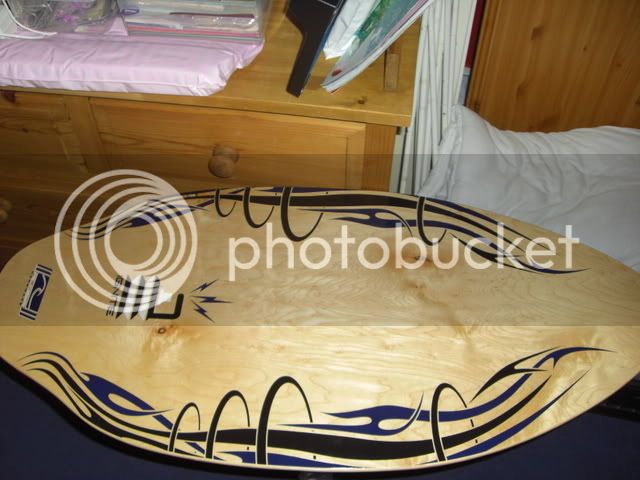
After reading some threads at work the other night (cheers Steve, you know who you are!)
I went shopping, so now i got this to fit aswell
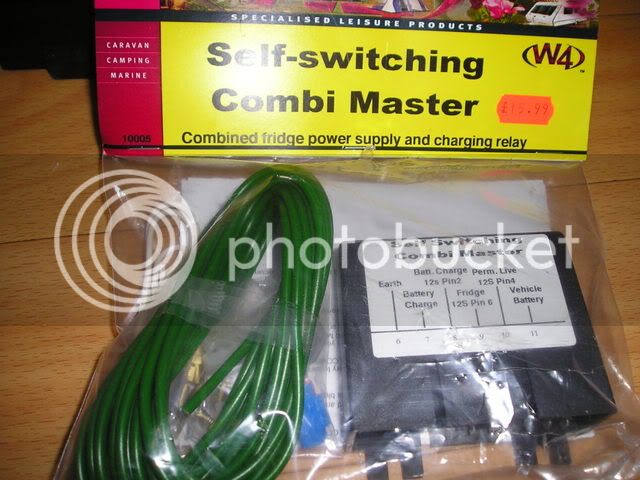
I will try to remember to update after the seat belts have been fitted as i'm sure other panel conversion owners might be interested in the job done
I (read we) decided the interior needs adjusting to suit our needs.
At the moment its fitted with a 3/4 bench bed but as we intend on using it this year i bought a full width R&R so the interior needed to come out.
Interior pictures as was
Rear bench seat
Overhead cupboard (table fold up and fits under this)
Buddy seat and cupboard
3/4 width bed (not R&R, made by fitting table and other peices between buddy seat/cupboard and rear bench)
Parcel shelf storage
Another picture of the bed (not allowed to work on Rusty without my helper :lol: )
Standard layout
(up for sale see the board)
Took about 1 hour to remove (always easier removing than refitting)
While it was out i Hammerite Red Oxide 'd the floor
And then loosely fitted the seat in place to see how it fits
Then opened it out into the bed
The biggest compliment i got was the wife was impressed 8)
I have since pianted over the red hammerite with white gloss just to tidy things up, makes it look cleaner.
Havent really given much more thought about the rest of the interior as the van is going to Volksmagic on the 3rd Feb to have some rear seat belts fitted either side of the rear seat, my van started life as a panel so Lee needs to weld in some strenghteners then make the brackets to lift the belt to shoulder height, so until this has been done i cant really do much more, although i already have the table ready to be fitted
After reading some threads at work the other night (cheers Steve, you know who you are!)
I went shopping, so now i got this to fit aswell
I will try to remember to update after the seat belts have been fitted as i'm sure other panel conversion owners might be interested in the job done

$62.28
$69.99
Revell 07674 VW T1 Camper 1:24 Scale Unbuilt/Unpainted Plastic Model Kit
Amazon.com


$32.43
Airfix Quickbuild Volkswagen Light Blue Camper Van Brick Building Model Kit, Multicolor
Amazon Global Store UK


$9.94
$10.95
Empi 00-4428-B VW Bug, Beetle, Sun Visor Clips, Type 1, 68-79, Black, Pair
MOORE PARTS SOURCE

$10.00
Volkswagen Genuine VW Driver Gear VW Logo Specifications T-Shirt Tee - X-Large - Black
wolframitersqga


$9.37
Empi 4429 Ivory Sun Visor Clips for Vw Bug 1965-1967/ Vw Bus 1968-1979, Pair
MOORE PARTS SOURCE


$25.00
Airfix Quickbuild Volkswagen Camper Van Red Brick Building Plastic Model Kit J6017, Multicolour
Amazon Global Store UK


$7.91
$15.43
Door Panel Clips, for VW Aircooled Door Panels, 50 Pieces, Compatible with Dune Buggy
Appletree Automotive


$45.94
Billet Window Crank, for All Years VW Beetle, Pair, Compatible with Dune Buggy
✅ Dune Buggy Warehouse
ant
Well-known member
some good progress there froggy
Airtime
Well-known member
Yep, good progress! 8)
froggy
Well-known member
Not done much this week due to work and weather but
Now you see it
Now you dont
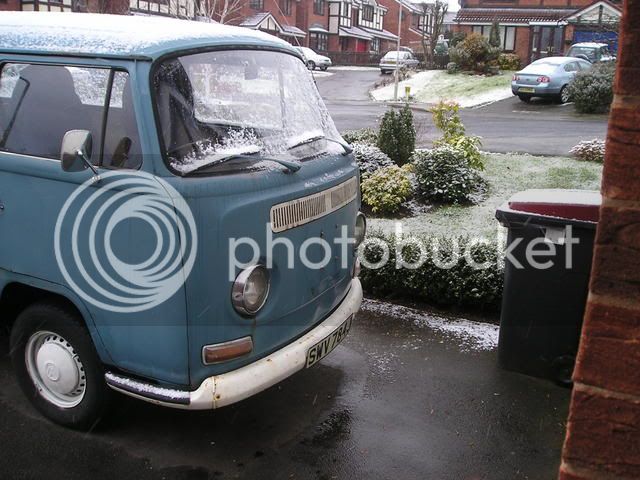
Have just re-fitted the bolts into the captive nuts until i can get the time to get the angle grinder and welder out!
Now you see it
Now you dont
Have just re-fitted the bolts into the captive nuts until i can get the time to get the angle grinder and welder out!
froggy
Well-known member
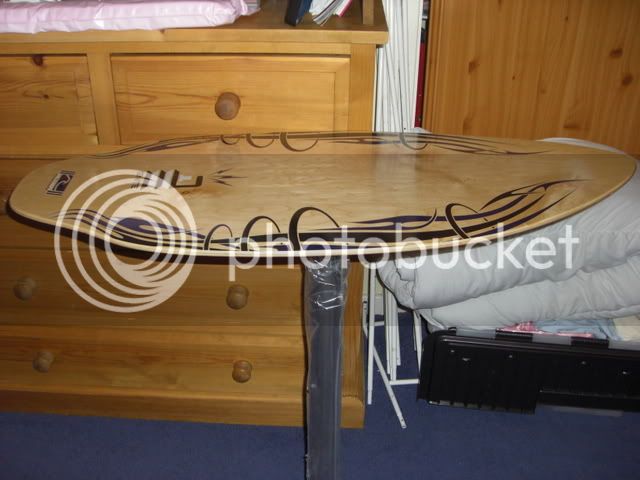
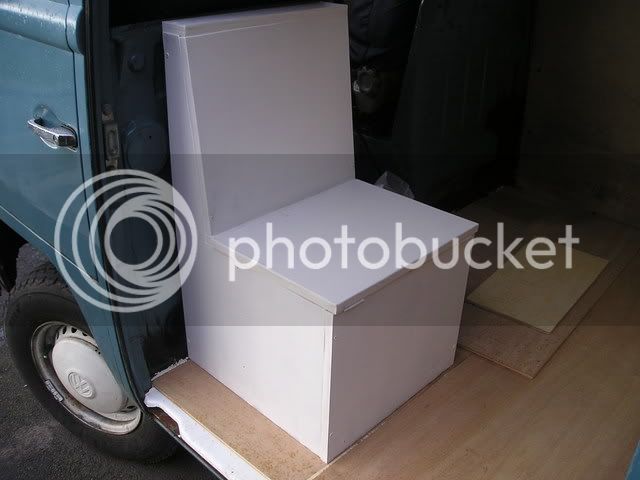
With the van being away this week having the rear seat belts fitted, i've spent to long on here looking at various threads (and starting a few :wink: ) and becuase i've had a few dys off i've been playing, and with thanks to pete nice for some measurements i made this.
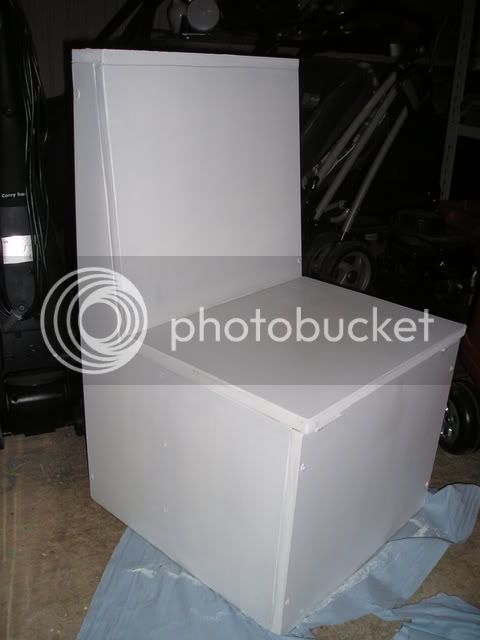
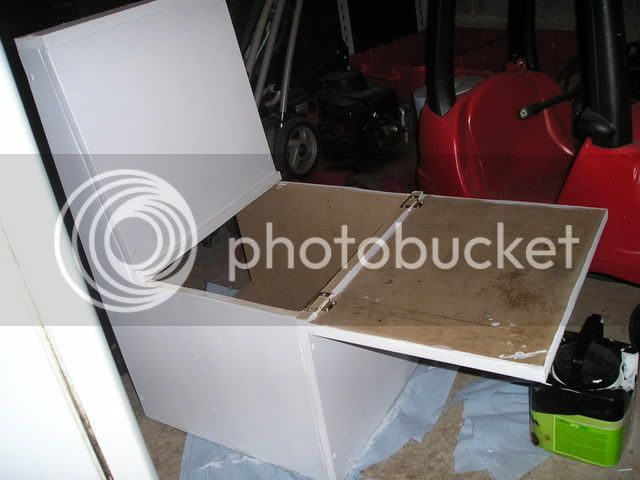
Having sold my interior the van is looking a bit empty and having failed in my attempt to make my own R&R bed i still had enough 18mm MDF lying around, had to adjust 1 or 2 of petes measurements to suit the wood i had left but i think its turned out alright.
Went to Dunelm Mill and bought some 3" blue foam for the cushions (560mmx1000mmx76mm approx) for £12 also got some fabric but not sure if it going to look right so will hold off n this for the time being.
steve92
Well-known member
froggy said:After reading some threads at work the other night (cheers Steve, you know who you are!)
I went shopping, so now i got this to fit aswell
I will try to remember to update after the seat belts have been fitted as i'm sure other panel conversion owners might be interested in the job done
glad to be of service matey! :lol: :lol: :lol: :lol:
dig that table :mrgreen:
froggy
Well-known member
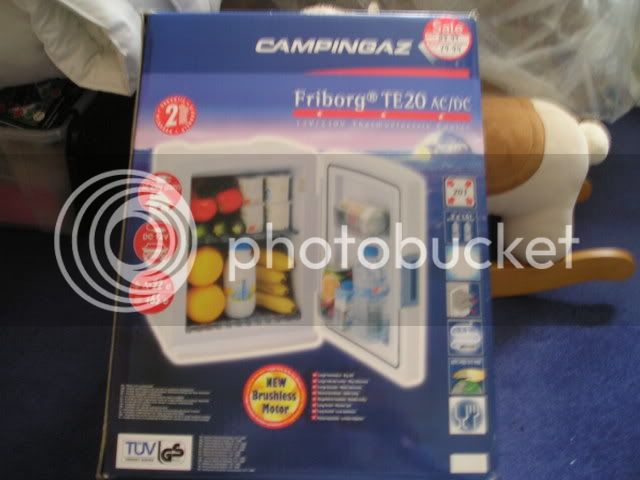
Was out and about this morning getting a few items just in case it snows badly again over the weekend and walked into our local Blacks Outdoor activities shop (http://www.blacks.co.uk).
Just having a mooch around (as you do) and noticed what i consider to be an absolute bargain.
A 2 way cooler (240V & 12V) reduced from 89.99 to 29.99.
So i bought 1, when i get the van back i can now try to build a cabinet around the cooler to hide it but it gives me something that we hadn't really thought about or planned to get but couldn't really not buy it for this price
- Joined
- Apr 2, 2007
- Messages
- 478
- Reaction score
- 26
- Location
- Berkshire
- Year of Your Van(s)
- 1972
- Van Type
- Danbury
Top Bargain... Well done!
froggy
Well-known member
Just picked the van up from Volksmagic after having the rear seat belts fitted.
I'm over the moon with the quality of job Lee has done.
I taken a couple of pictures as i think they will say a lot more than i can type :lol:
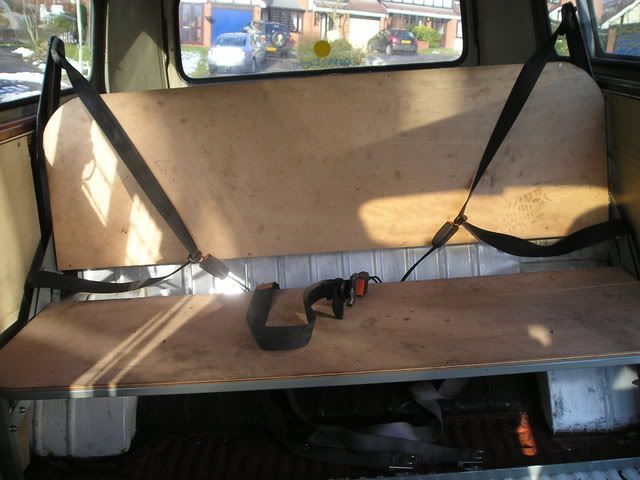
Even had a middle lap seat belt fitted which i didn't expect or ask for 8)
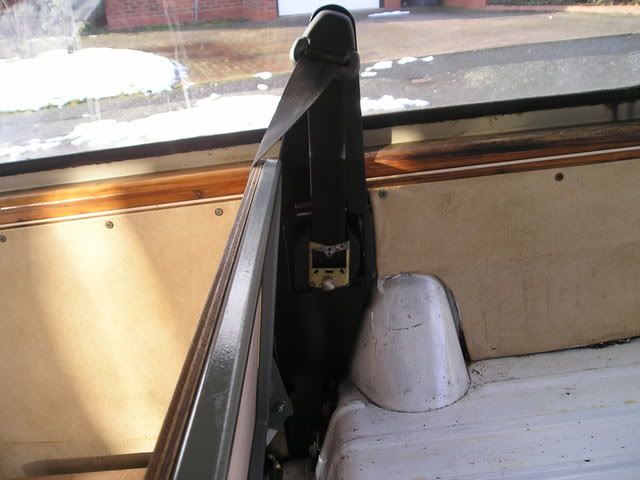
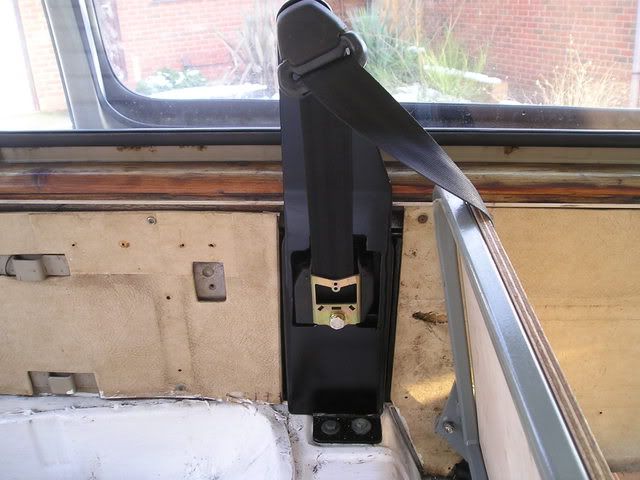
A view of both sides showing the brackets that were made to lift the seat belt to shoulder height for an adult or a childs seat(the main reason for having b3 point belts fitted!)
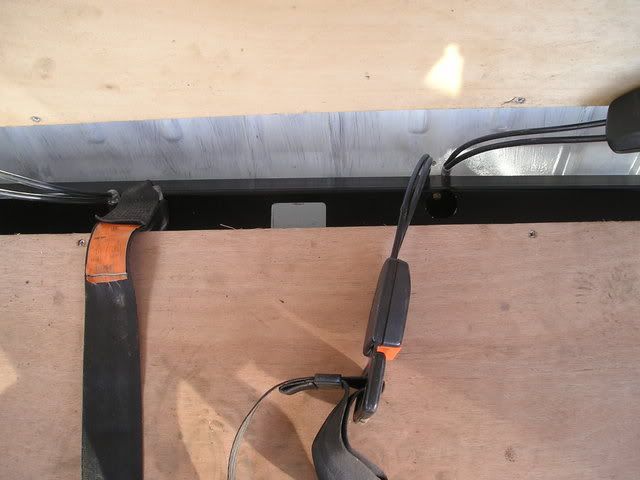
Instead of using long reach belts Lee fitted a brace bar between the wheel arches and mounted the lock parts of the belts to this. Also adds a bit of strength to the van.
As already said i'm over the moon with the fit and finish and even now seeing the way they have been fitted i dont think i could ever of done anything like this or even thought about fitting any this way. Just incase anyone is interested they are Golf MK1 belts
I'm over the moon with the quality of job Lee has done.
I taken a couple of pictures as i think they will say a lot more than i can type :lol:
Even had a middle lap seat belt fitted which i didn't expect or ask for 8)
A view of both sides showing the brackets that were made to lift the seat belt to shoulder height for an adult or a childs seat(the main reason for having b3 point belts fitted!)
Instead of using long reach belts Lee fitted a brace bar between the wheel arches and mounted the lock parts of the belts to this. Also adds a bit of strength to the van.
As already said i'm over the moon with the fit and finish and even now seeing the way they have been fitted i dont think i could ever of done anything like this or even thought about fitting any this way. Just incase anyone is interested they are Golf MK1 belts
froggy
Well-known member
Not really done a fat lot this week due to work but i have finally got the foam for the RnR bed, taken delivery of 25m cream vinyl to cover the foam and hopefully the interior panels, and today i went to the wood yard and got an 8x4 peice of 9mm ply to do the beds kick board and the floor.
Also while i was there i positioned the Buddy seat i made just to see how everything looked and also to see how musc room i had left to play with.
Just need to find someone to cover the bed cushions now!
Also while i was there i positioned the Buddy seat i made just to see how everything looked and also to see how musc room i had left to play with.
Just need to find someone to cover the bed cushions now!
ymfb
Well-known member
- Joined
- Jan 25, 2009
- Messages
- 111
- Reaction score
- 0
froggy said:
Just incase anyone is interested they are Golf MK1 belts
Hi your doing a great job there, were the rear seat belt brackets made specially, if so could I beg borrow steal a sketch/drawing or maybe I could buy some from the person who made yours ?
dubdubz
Well-known member
ymfb said:froggy said:
Just incase anyone is interested they are Golf MK1 belts
Hi your doing a great job there, were the rear seat belt brackets made specially, if so could I beg borrow steal a sketch/drawing or maybe I could buy some from the person who made yours ?
ditto
froggy
Well-known member
The rear seat belt brackets were made by Lee from Volksmagic in Birmingham.
Try emailing him.
http://www.volksmagic.com
For anyone thats ever seen beetle crissis, Lee was the person that fitted the brake set up and the custom dash.
Try emailing him.
http://www.volksmagic.com
For anyone thats ever seen beetle crissis, Lee was the person that fitted the brake set up and the custom dash.
froggy
Well-known member
Had a day off so thought i'd have a play, seems a shame not to :lol: , so after taking delivery of 25m cream vinyl i call a bloke to find out about getting the RnR foam covered and got quoted £175 for the 3 cushions and £25 for the buddy seat cushions, just so happen to be talking to my sister and find out that she has an 'A' level in Textiles. 1 trip to the fabric shop for some needles and thread (also some velcro to stick the cushions to the seats)and i've saved £190 8) Already got the buddy seat cushions back and although its not perfect its a good enough standard for the price :wink: .
Also cut off a bit of vinyl to cover the kick board and fitted some sockets, speakers and 12v outlets, also pre-wired everything up so just need to wire the leisure battery up this weekend and install the 240V hook up and its on to the next job!
Actually remembered to take some pictures so heres the finished kick board
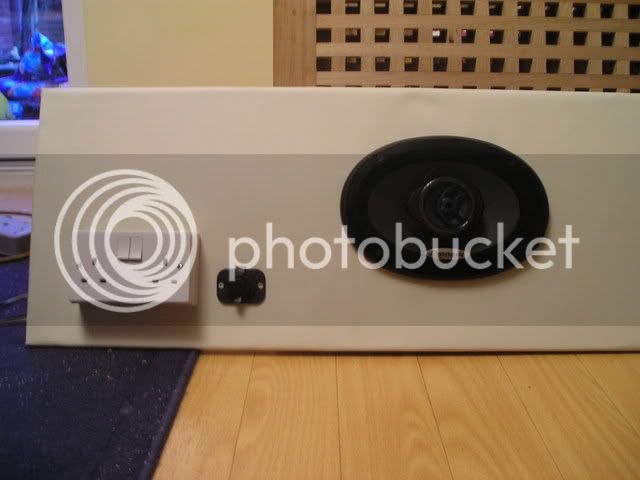
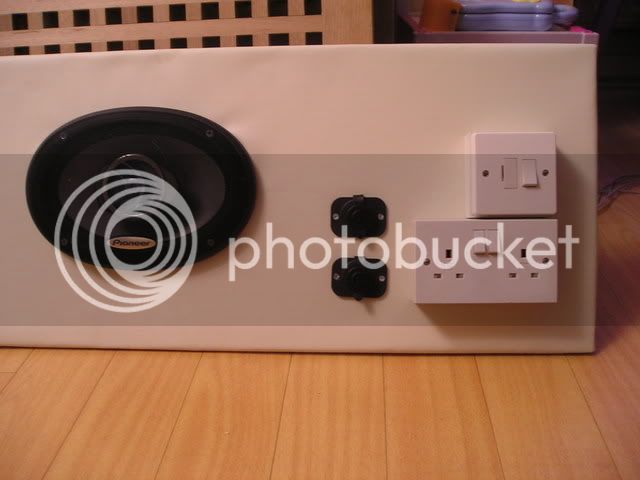
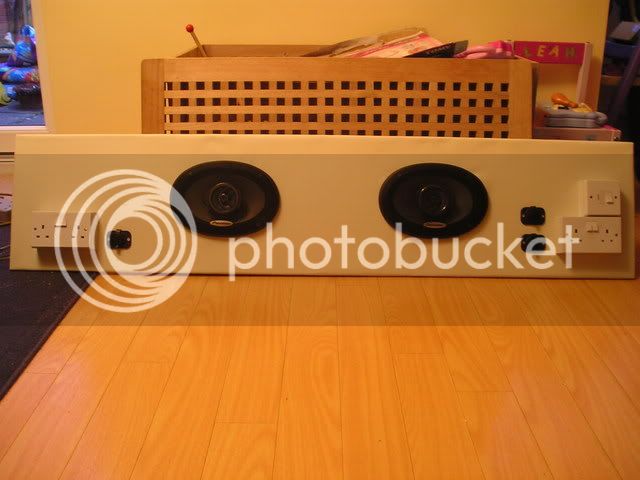
2 x double sockets, 1 x fused spur (this will connect to an in-line RCD and then onto the hook up socket) 3 x 12v outlets (2 wired together in paralell and 1 wired seperatly for the fridge) and then of course the must have 6x9 speakers 8)
Also cut off a bit of vinyl to cover the kick board and fitted some sockets, speakers and 12v outlets, also pre-wired everything up so just need to wire the leisure battery up this weekend and install the 240V hook up and its on to the next job!
Actually remembered to take some pictures so heres the finished kick board
2 x double sockets, 1 x fused spur (this will connect to an in-line RCD and then onto the hook up socket) 3 x 12v outlets (2 wired together in paralell and 1 wired seperatly for the fridge) and then of course the must have 6x9 speakers 8)
froggy
Well-known member
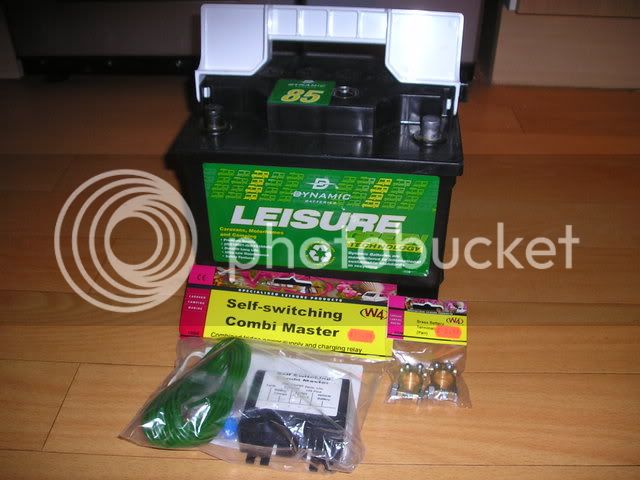
Managed to get the hook up socket fitted and ran the cable to underneath the bed. Also mounted the leisure battery on the spare tray (passenger side of engine bay).
Didn;t take any pics but will hopefully finish it off tomorrow and will take some pics.
Just need to wire the in-line RCD to the fused spur, earth the leisure battery, fit the switch relay unit, connect leisure battery + to the fuse box, connect the 12v sockets to the fuse box, re-wire the stereo to the fuse box, run some speaker cable the full length of the van etc etc, then i can move onto next area of resto!
Hopefully got a mate coming round tomorrow to price up some floor tiles aswell, thinking of going for blue and white but not sure if the white will look odd with the rest of the interior being cream?
Similar threads
Vehicle For Sale
1971 Danbury £14,500
- Replies
- 0
- Views
- 379
Vehicle For Sale
1970 VW early bay deluxe (Cornwall) £18,999
- Replies
- 0
- Views
- 501
- Replies
- 1
- Views
- 463
Latest posts
-

-

-
-
 Parts Wanted Original rear corner Splash panels wanted 1969 bay
- Latest: TheOriginalWazza
-
-

-
