1971 Bay

Early Bay Forum

Help Support Early Bay Forum:

This site may earn a commission from merchant affiliate links, including eBay, Amazon, and others.
Not really done much due to work but thought i'd just update on the pictures
Kick board fitted
p1010032.jpg


Leisure battery and switched relay
P1010033.jpg


Random engine picture showing alternator conversion
P1010034.jpg
 
Finally managed to get some picture updates.

Rev counter fitted
P1010004-2.jpg

P1010005-1.jpg


Various interior pics
P1010006-1.jpg

P1010007.jpg

P1010008.jpg


Then i started playing with the front end, so after removing the wheel mount and filling the holes i got the new compressor out, there was a little bit of paint left in an old can so i added some thinners and starting playing. Decided to colour code the grill aswell just to tidy the front up.
As with most vans that had front mounted wheels the panel is dented slightly but its going to stay that way for a bit as its to close to our holiday (and show season) to worry about it.
P1010002-2.jpg

P1010003-2.jpg


Next jobs are to carryout re-covering the internal panels, and then start with the curtain track!
Still undecided about front seats so hoping for some inspiration from the shows.
 
Well its been a mad few weeks, had to rush to get the interior finished before going to the in-laws last week.
Managed to get it nearly all done, all the panels are covered the interior is secured to the floor, the curtain track is up but didn't get time to hang the curtains which my sister has now finished for me. My mate managed to fit some vinyl / lino flooring and its just about good for bus types. Not sure on the cupboard but it will have to do for now
CIMG0677.jpg

CIMG0678.jpg

CIMG0679.jpg


But the real reason for going to the in-laws was to pay Justyn a visit (wagon works) to finally get the van lowered. About 3.5 inches at the front and 1 spline at the rear. Drove it 200 miles in 2 days since it was lowered (40 miles to the in-laws and 165 miles home)
Anyway enough talking heres the proof :lol:
CIMG0674.jpg

CIMG0675.jpg

CIMG0676.jpg

Need to decide what to do about wheels and tyres combo but for now it will stay on 14's with commercial tyres (185x14).

As soon as the curtains are fitted then were pretty much ready for bus types next week and planning on giving the credit card company some business :lol: ;) ;)
 
Not had chance to do anything since getting back from bus types but the parts have started to arrive.
Think in total we have spent just shy of 4 figures this week on various bits and peices :shock:
Still haven't taken the awning out of the box yet, the headliner kit has arrived though, Just need to sort out a time and date with my mate and hopefully start getting some prep work done for re-spraying it.

My Shopping from the last week(for anyone interested)
Motordome Sleeper Awning
Full headliner kit
Aluminium side step
cab carpet and underseat mats (also walkthrough side panels)
Pressed aluminium number plates (saw everyones van at bustypes had some and felt left out :lol: )
JK 3 bow roof rack
Sliding door repair panels
RHD non sliding door track cover
2 x new sleeping bags
Gas heater
2 x wind up torches (1 lantern and 1 torch)
various stickers

Will try and get some pictures as progress continues
 
Managed to get a few hours yesterday (well all day :D ) to have a play with the van.
1st job was to remove the carb and set up the choke, the choke wasn't even connected :? so sorted this out and reconnected, now appears to be running better 8)
Also changed over the breather to an OG unit (the 1 that runs through the tin wear and breathes under the engine with the other end going to the carb.
Adjusted rear brakes as haven't checked them since MOT last year and as my MOT is due beginning of June thought why not.
Fitted the side step that i bought from Bus types, daughter can now get in and out easier. Had a few issues as the jack mounts seem a little rusty, hopefully will do for now and get through its MOT then added to the winter list of jobs.
Also built and fitted my JK roof rack, its not the best quality of roof rack but it will do for what we want it for, yes a usable roof rack rather than a fashion accessory :lol:
Anyway a few pics
CIMG0688.jpg

CIMG0689.jpg

CIMG0690.jpg

CIMG0691.jpg
 
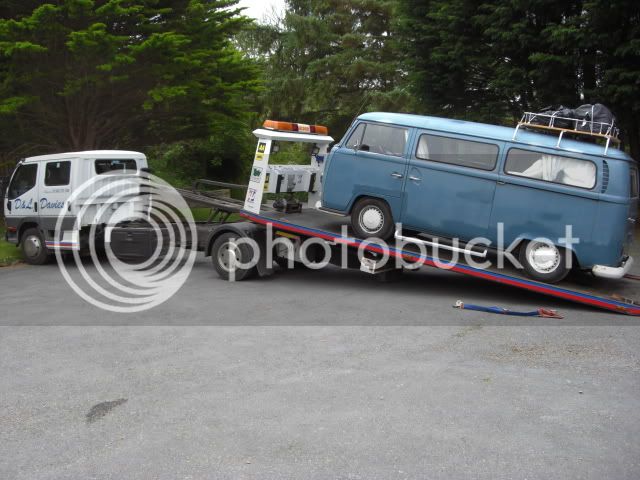
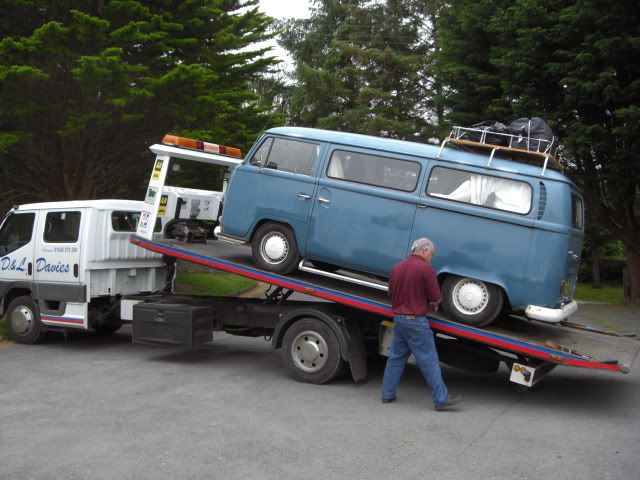
Managed to get the van MOT'd today so thought i'd drop the engine and have a look at the tank.
The wife has been complaining of petrol fumes and as we're going away in it at the end of the month i'd thought i'd have a look.
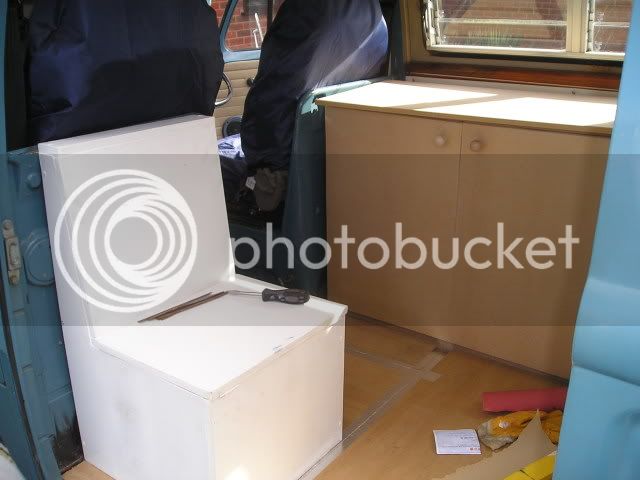
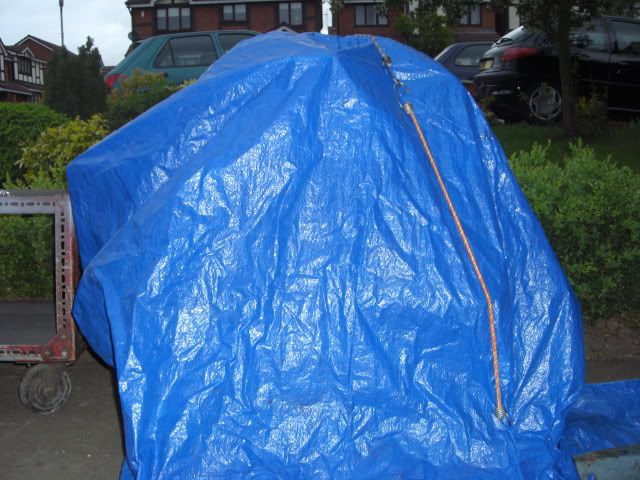
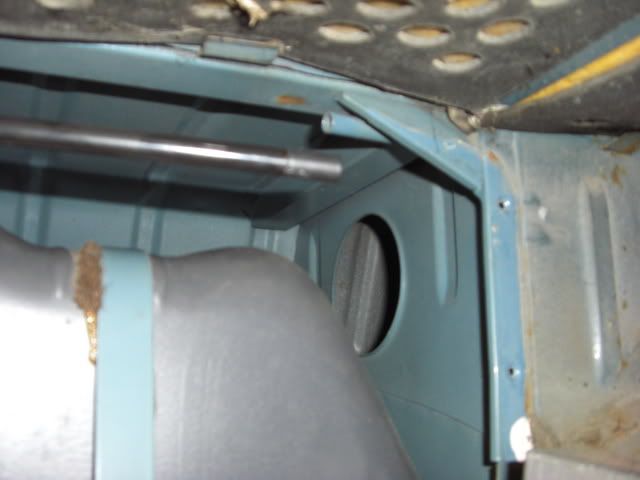
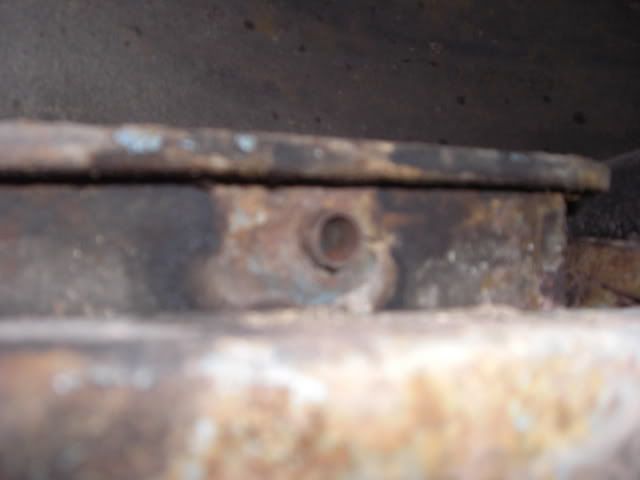
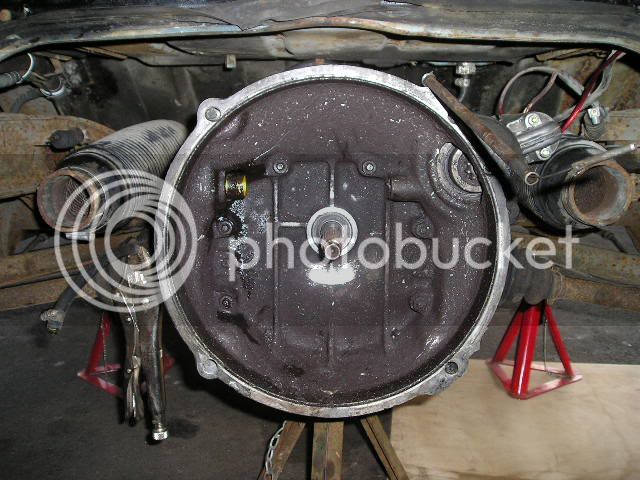
Can you guess whats under here?
CIMG0701.jpg

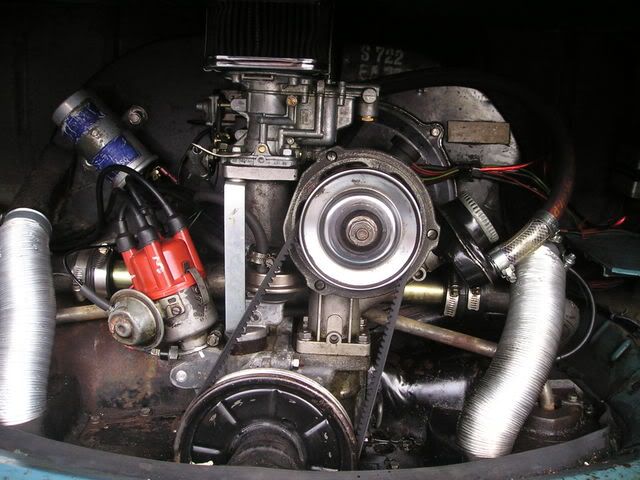
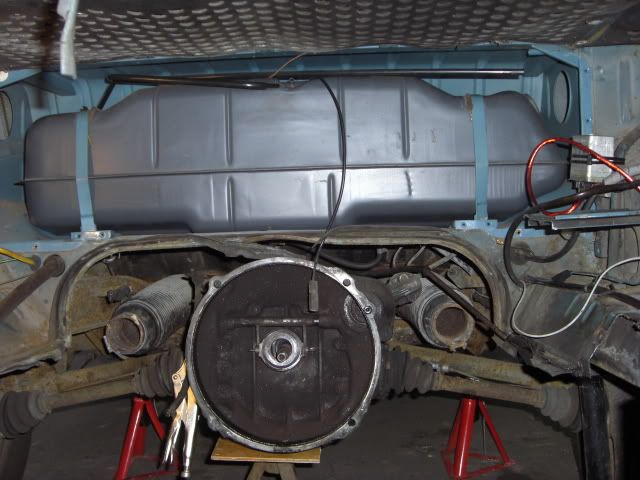
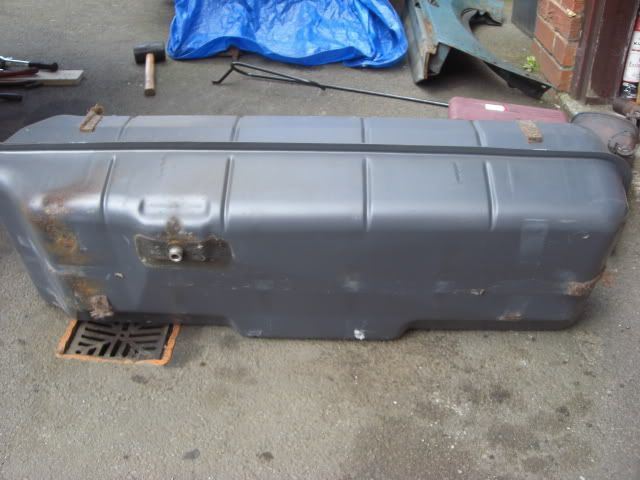
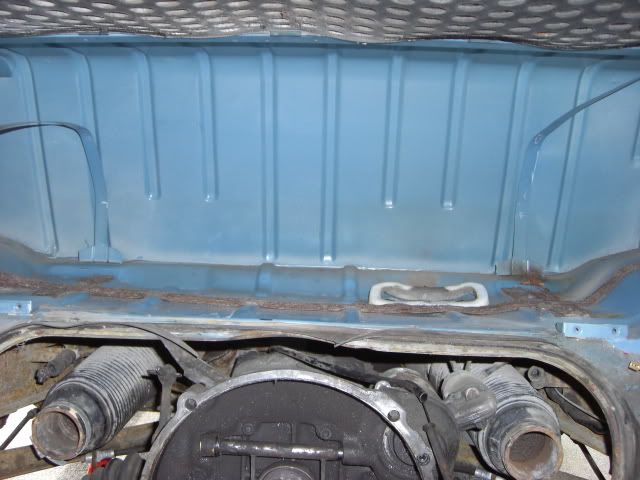
Engine out pics, all looks nice and dry :D
CIMG0700.jpg

CIMG0692.jpg

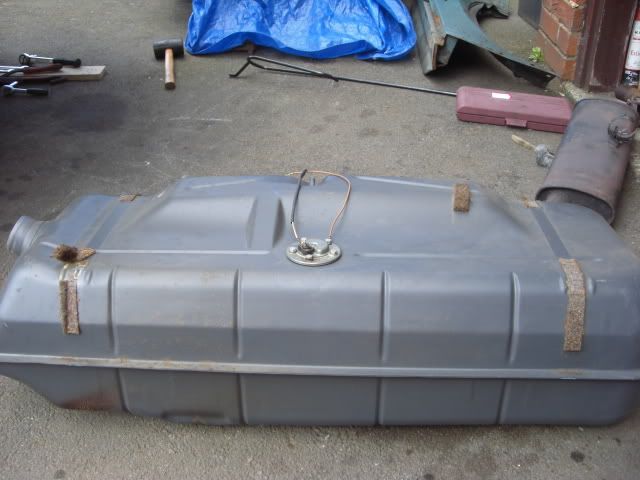
The top of the tank also dry
CIMG0696.jpg

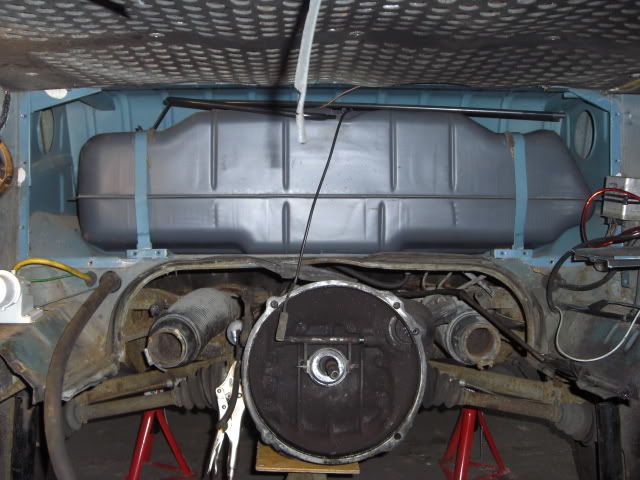
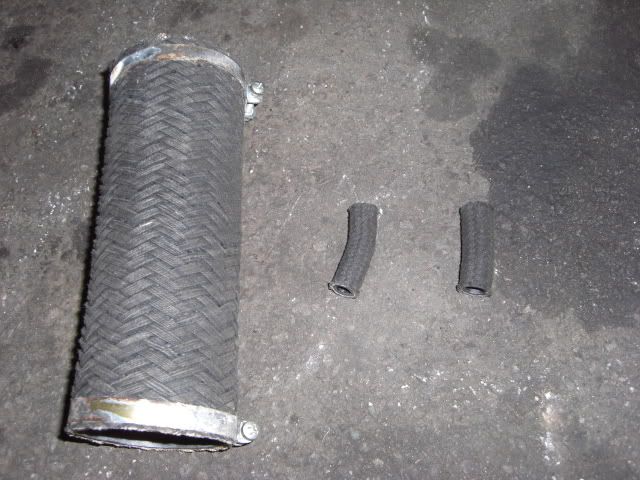
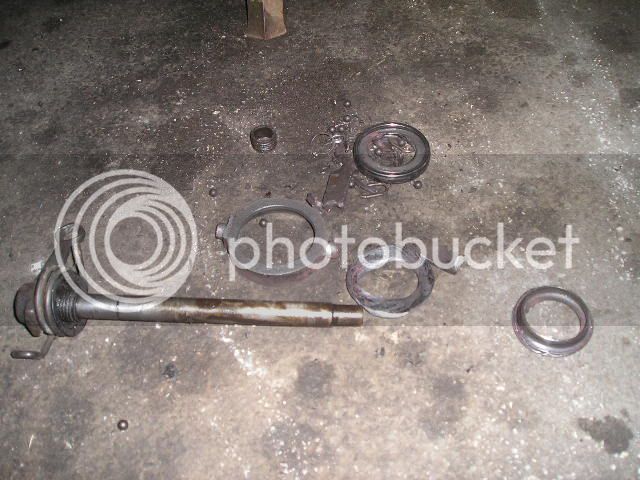
All the hoses removed, none of then look perished :?
CIMG0699.jpg

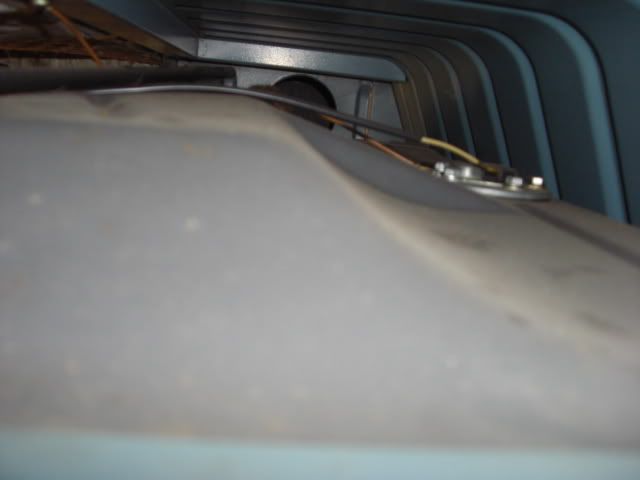
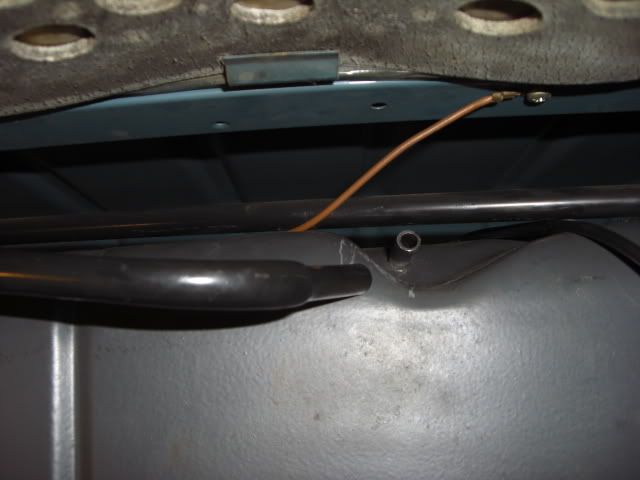
The breather pipe work
CIMG0693.jpg

CIMG0694.jpg

CIMG0697.jpg

CIMG0698.jpg


Not sure on the breather pipework as although its all solid surely it shouldn't just vent to atmosphere, or should it?
Everythings looks good and none of the pipes were split, going to have to drain and remove the tank to check the back of it, make sure no one has drilled into it but i would of expected the floor area to be wet :? .Possibly its the neck of the tank but again until i remove it i;m not sure. i had a good feel ( ;) ) and it felt solid enough but who knows.
Its very puzzling as everything i have read normally points to the hoses perished but.........
Any one got any ideas where the fumes might be coming from? Its not all the time but enough to make the wife question it.
 
I've had the tank completely out today to check behind it in case anything had been drilled through into the tank and........nothing
The tank itself is as good as new so i have bought new hoses from a local hydralic pipework merchant and have fitted it
CIMG0702.jpg

CIMG0703.jpg

CIMG0705.jpg


Unfortunately i decided as i didn't have enough time to fit the engine i would re-route some wires and..............
I've cracked the starter solenoid, the terminal was tight so i used a little bit to much force and cracked all the plastic. the terminal is now off the solenoid but the wires are still attached to it. :shock: :oops:
 
Nice bus Froggy you defiantly caught the bug excuse the pun.

Would replace you engine bay seals while you have the engine out.

Where do the telford crowd meet up would be good to get over and say hello at some point.
 
froggy said:
Not really done much due to work but thought i'd just update on the pictures

Leisure battery and switched relay
P1010033.jpg


froggy, whats that on top of the leisure battery???

it looks like a shunt. Im trying to figure out how to get an amp meter to measure the leisure battery, and im told i need one of those. any ideas???
 
Directly above the battery is an in-line fuse and in the top right hand corneer is the soon to be removed Self switching split charge relay :evil: , going to re-wire it for the more conventional split charge relay. This is why i was attempting to re-route the alternator wire via the starter (to tidy the engine bay up and it was easier with the engine out) before i broke the start solenoid, so for the next few days until the start solenoid is delivered i'm going to re-wire the spilt relay and set the valve clearances.

On a good note, my free tax came through the post Saturday morning 8) :lol: :D , so i now have 13 months MOT and 12 months TAX, time to enjoy (until i decide to break something else :lol: )
 
Well i've finally re-fitted the engine, re-wired the new solenoid for the starter, re-wired the split charge relay, serviced the engine and drove it.............i now have no fuel gauge :( , dont think i left the wires off but it looks like the engine is going to have to come out again. Not going to bother until after our holiday i'll just try and keep an eye on the mileage.
Also managed to rip the door off the interior cupboard i made so need to sort this aswell. The joys of VW ownership.
Felt good to drive it again though inspite of everything and the good news is NO MORE PETROL SMELLS (yet)
 
Well i had the engine out tonight to try and sort the fuel gauge, removed the fire wall and the lead fell off, great easy fix, refitted the wire rebuilt the engine and........still no fuel gauge :evil: so either the crimp on the wire is knackered or the sender unit has gone. Earthed the wire and the gauge reads full so its not the gauge.
Looks like the enginges going to have to come out again :oops:
 
Was going to take the engine out againbut decided to buy a new sender unit and just replace it,so decided to have a play with the interior, never really liked the interior and intend to change it (or maybe swap the van) for a westy (growing family) so anyway decided to rip out the cupboard and have a play.
Also managed to finally fit our skim board table
P1010001-2.jpg

P1010002-3.jpg

P1010003-3.jpg


Still not overly happy but it seems to give us the same storage but now we can use the top of the little cupboard as a seat. Happy with the table and also have a tripod system so the table can be used outside, although we have just bought a fold up table and chairs for in the awning.

Also decided to give into to being different and fitted this
P1010004-3.jpg


Looks a lot better than just being plain, just hope the double sided tape holds out :lol:
 
So we went away in the van for Whitsun and this is the result
CIMG0760.jpg

CIMG0761.jpg

CIMG0762.jpg


An easy way to save fuel :oops:
And the result of this lift
P1010005-2.jpg

P1010006-2.jpg

P1010007-1.jpg

P1010008-1.jpg

Clutch release bearing shaft failed causing the release bearing to come through the clutch spring plate.
1 new clutch release bearing, 1 new spring plate and its back in business
 
Decided i needed to spend some more money :lol: so 1 ebay purchase later and i have a new set of seats
1 fitted
CIMG0811.jpg


1 to go
CIMG0812.jpg


The height difference between these porsche 924 seats and the rover seats i had fitted before is massive. With the Rover seats the wife couldn't press the clutch with the porsche seats she cant wait for the baby to be born so she can have her 1st drive (we've only owned the van for 18 months :lol: so a few more months wont hurt anyone)
 
Been having a little play over the last couple of weeks so thought i'd update.
Started playing around with the wheels as until we decide what wheels we want (swaying towards Centrelines - see adamski's van for the look 8) ) so i nitromors'd the wheels acid etch primered, primered and top coated with an Aluminium silver colour
DSCF1001.jpg

Think there ready for Mr Whitewalls magic (I will be in touch unless i see you at Vanfest ;) )

Also thought i'd see what condition the body was in and start prep'ing for a re-spray, the van has at some point had at least 2 blow overs, the paint came off in strips using a scraper :shock: and the primer under the 1st coat was like chalk! Have also now sanded the rear panel down and both panels now primed (although no pictures of it in primer)
DSCF1002.jpg


It then got me thinking about the bumpers, really like the wheel colour so i had a little play with a corner of the front bumper, no prep work just sprayed straight onto the bumper, still not sure, what do you think?
DSCF1003.jpg


And then because i had the paint, the compressor and the gun in my hand i thought why not, so the wiper arms got a spraying to, again not sure if these would be better either black or white
DSCF1004.jpg

DSCF1005.jpg
 

Latest posts

Top