You are using an out of date browser. It may not display this or other websites correctly.
You should upgrade or use an alternative browser.
You should upgrade or use an alternative browser.
'69 Resto
- Thread starter neil'69
- Start date


Help Support Early Bay Forum:
This site may earn a commission from merchant affiliate
links, including eBay, Amazon, and others.
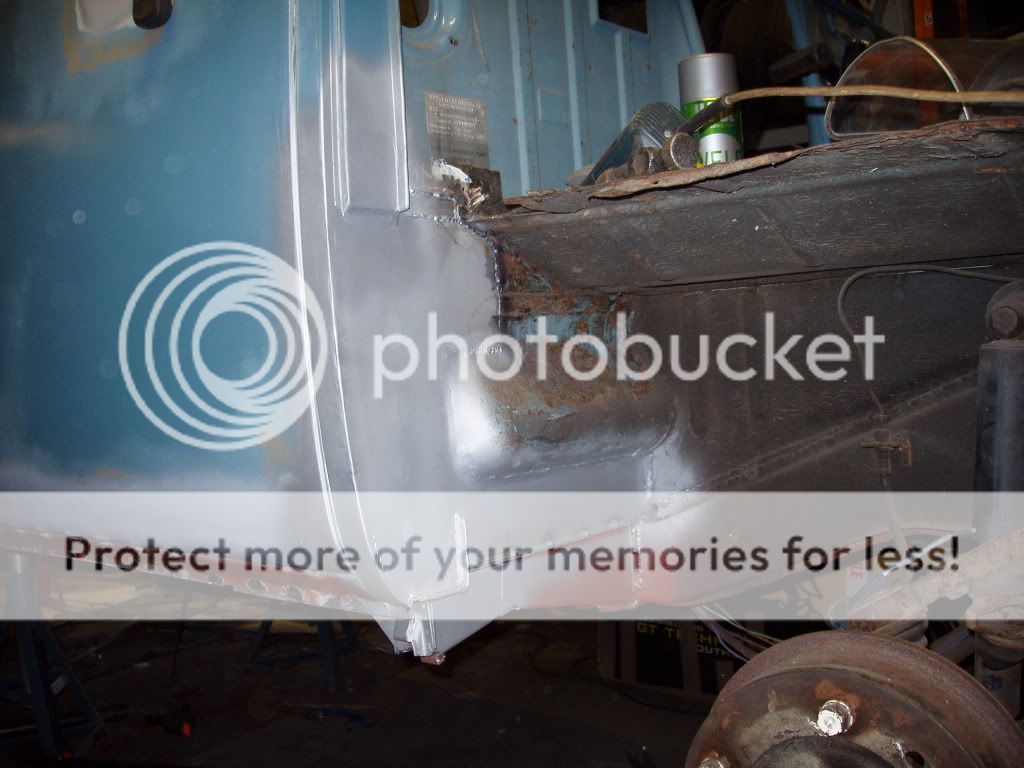
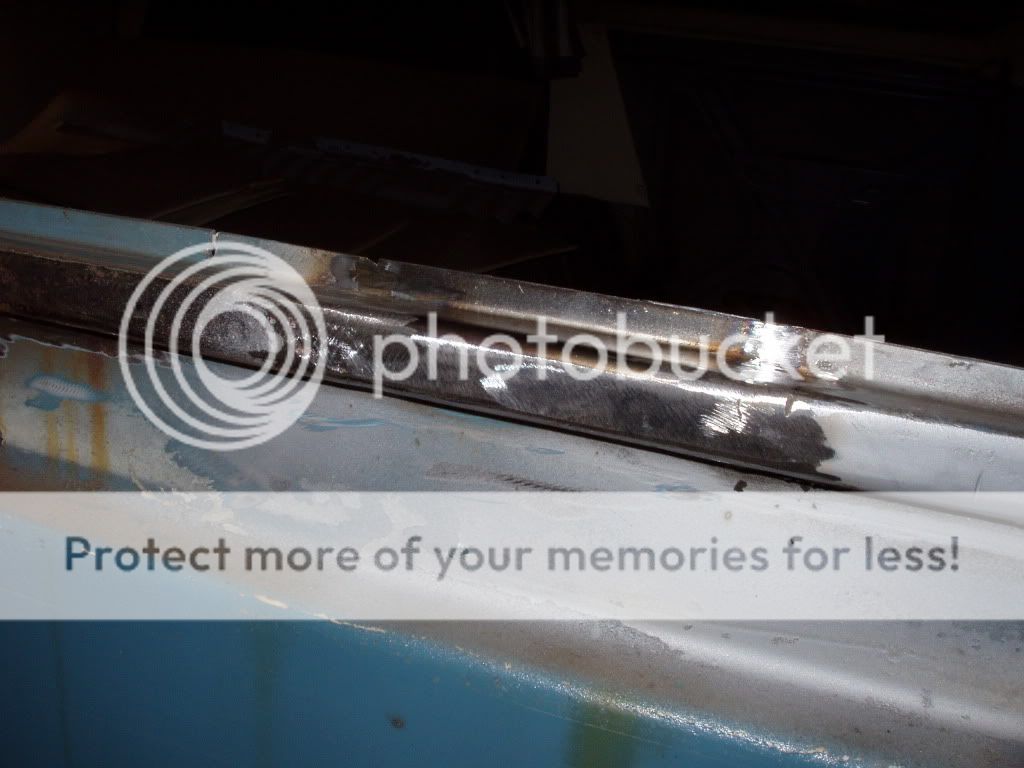
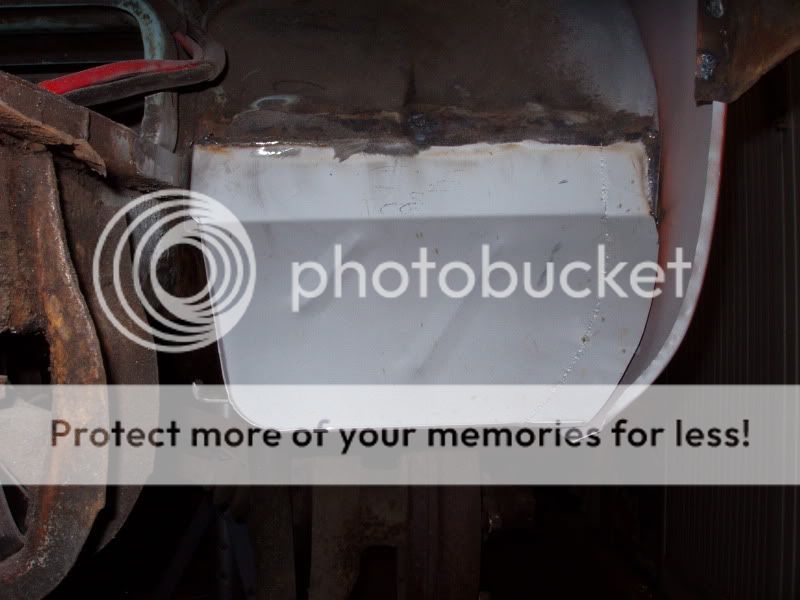
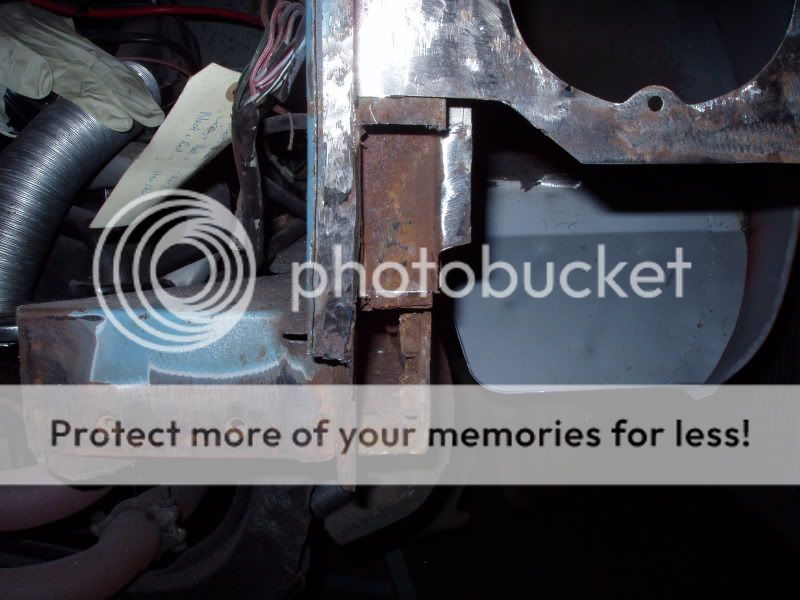
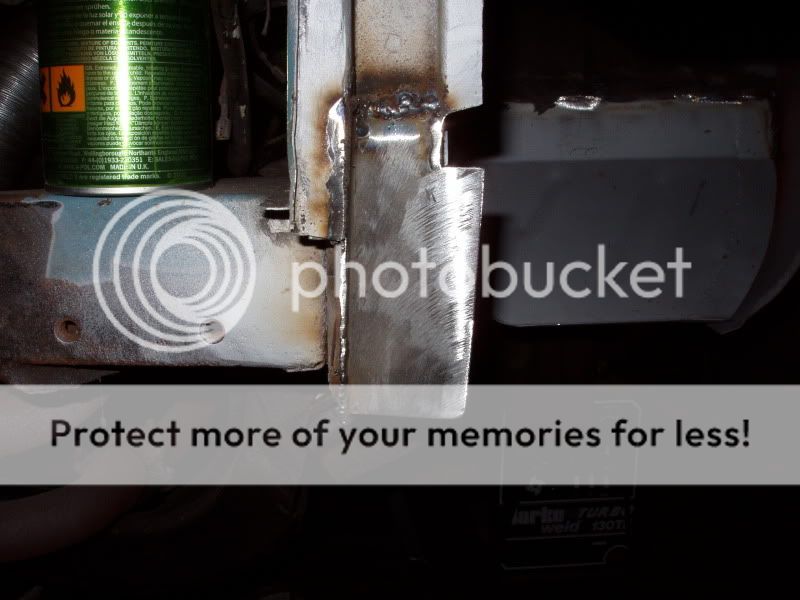
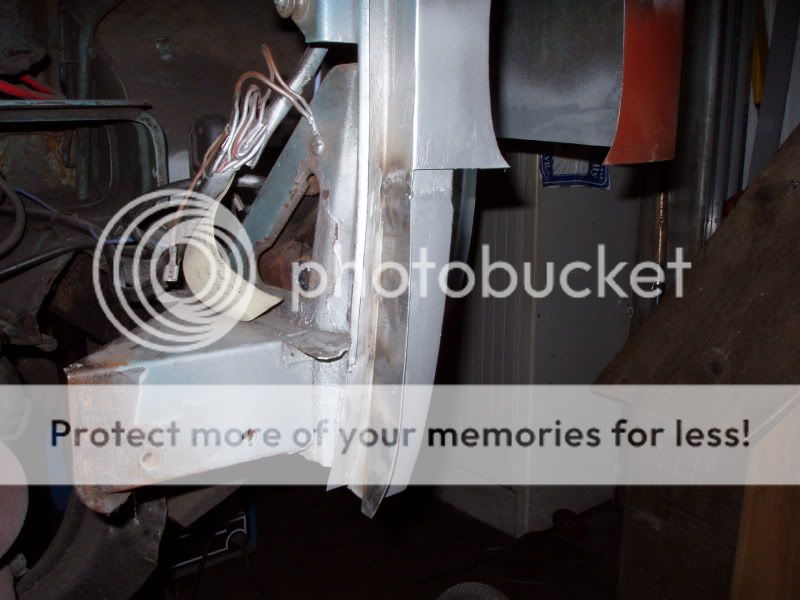
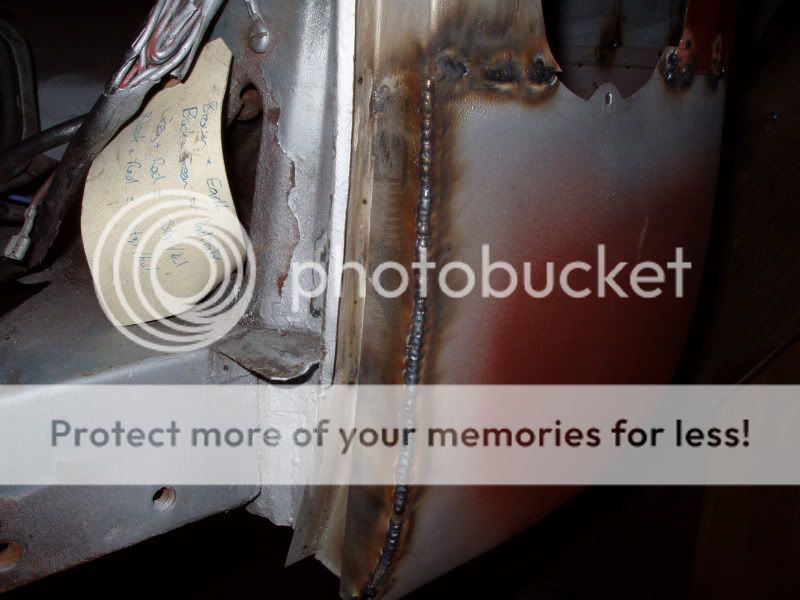
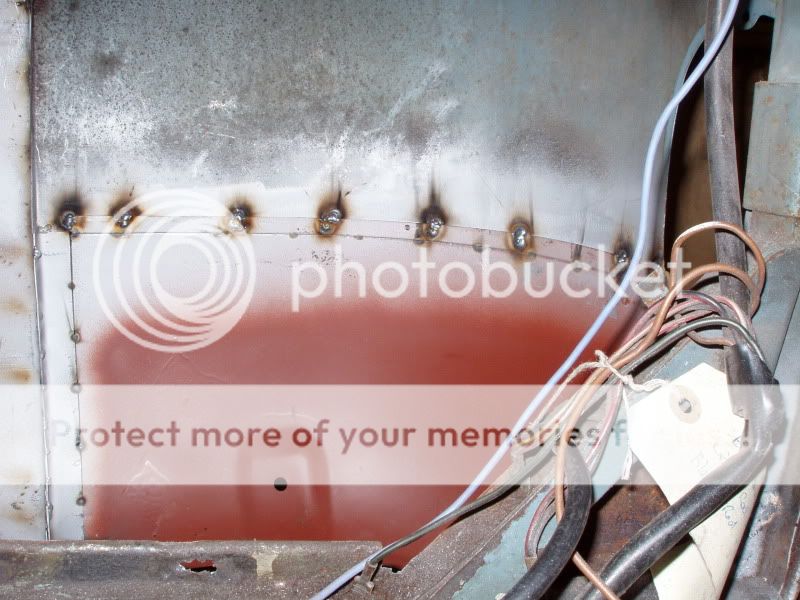
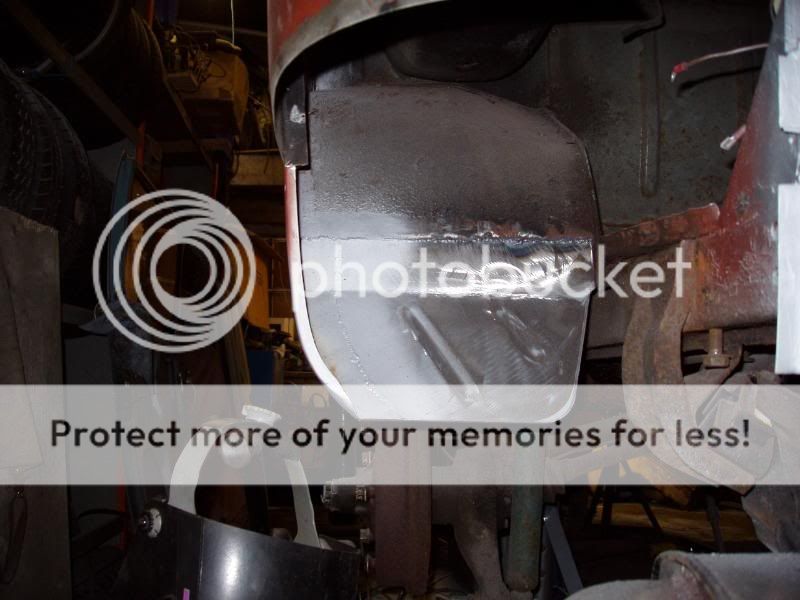
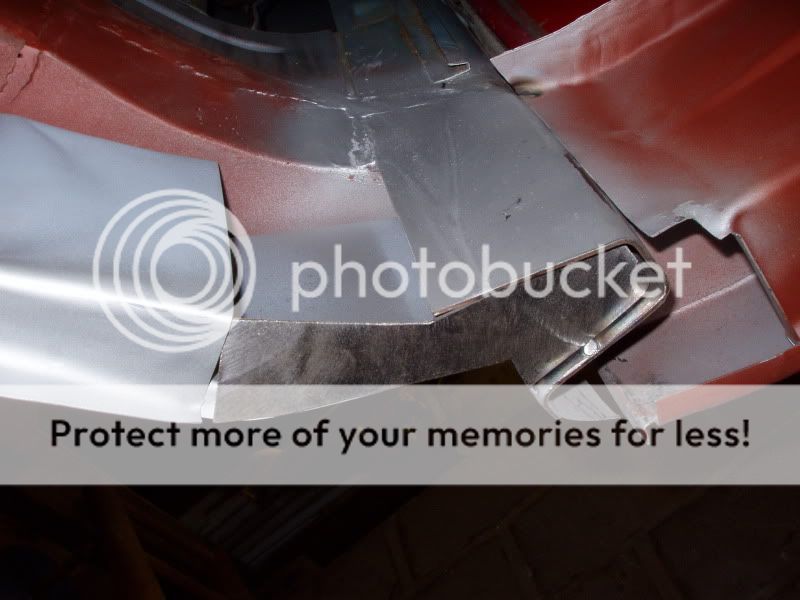
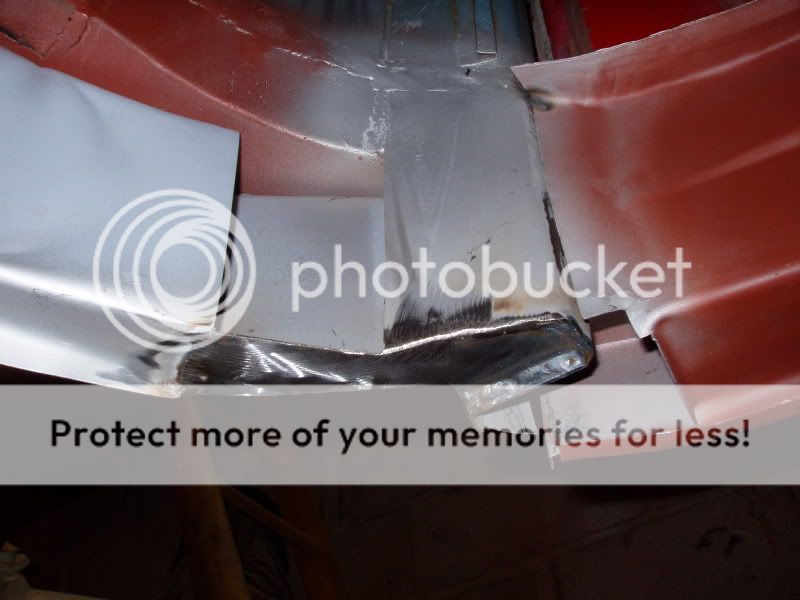
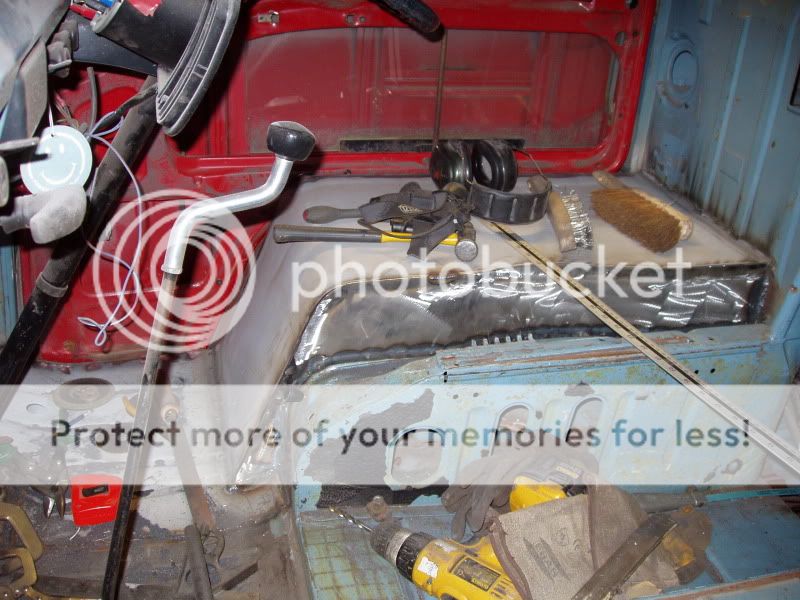
Bulkhead closing plate is now finished and a couple of other small plates added to finish the job properly. Still need to dress some of the welds back.
Hopefully this weekend i can get the new arch fitted to this side.
Hopefully this weekend i can get the new arch fitted to this side.
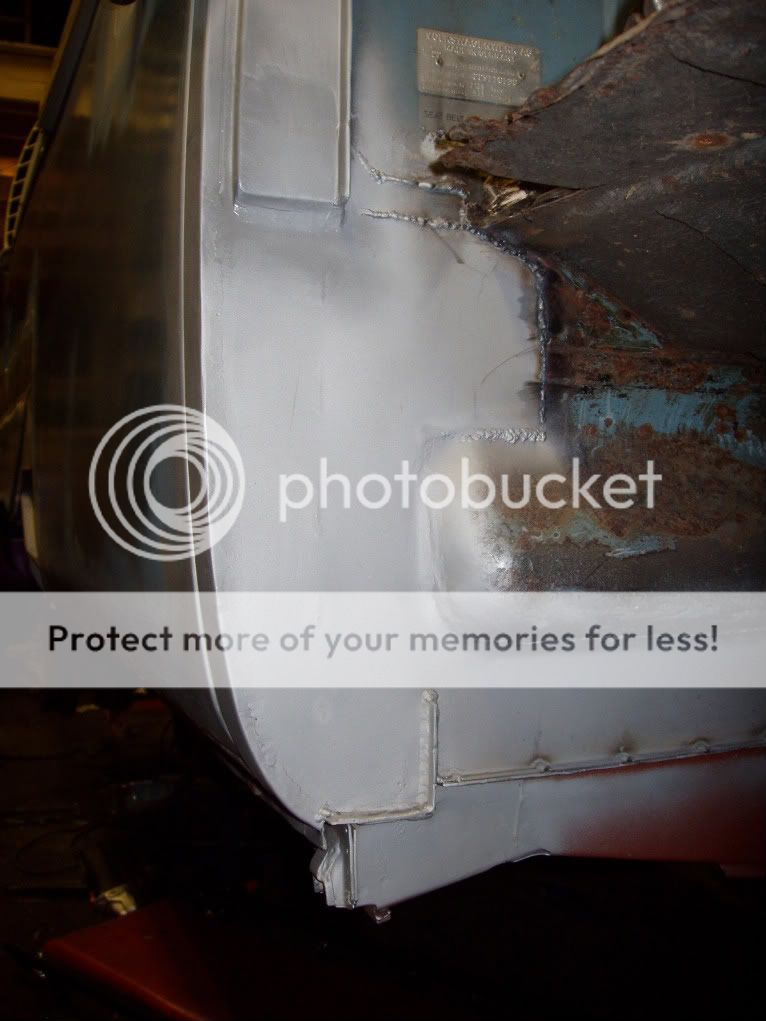
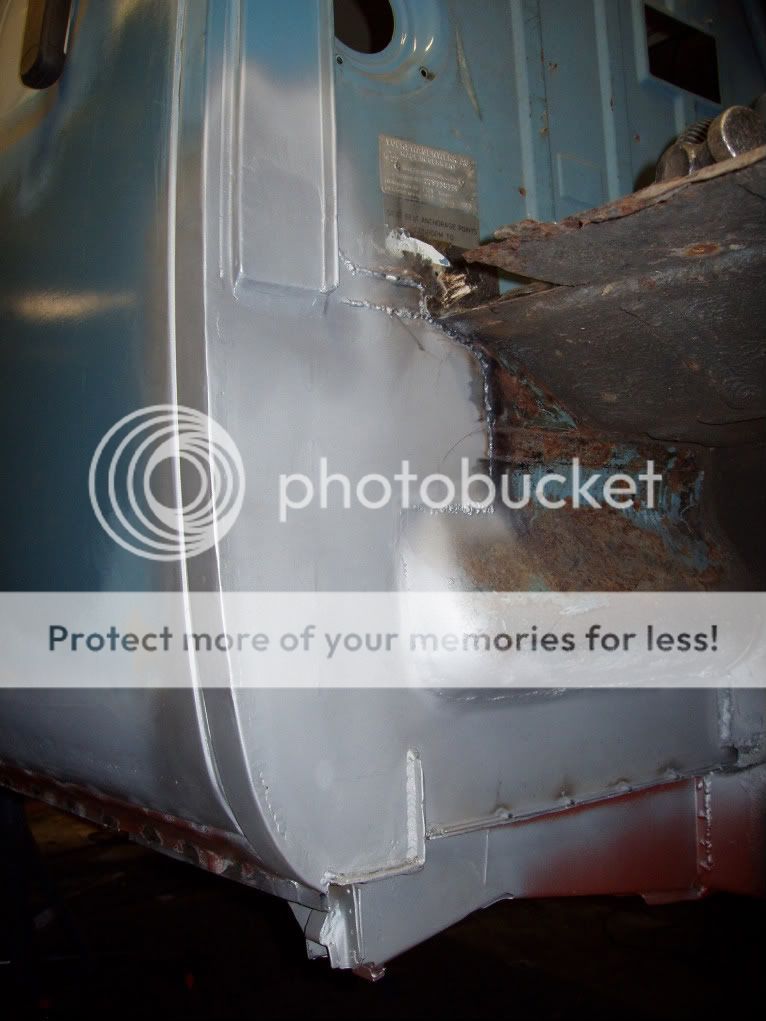
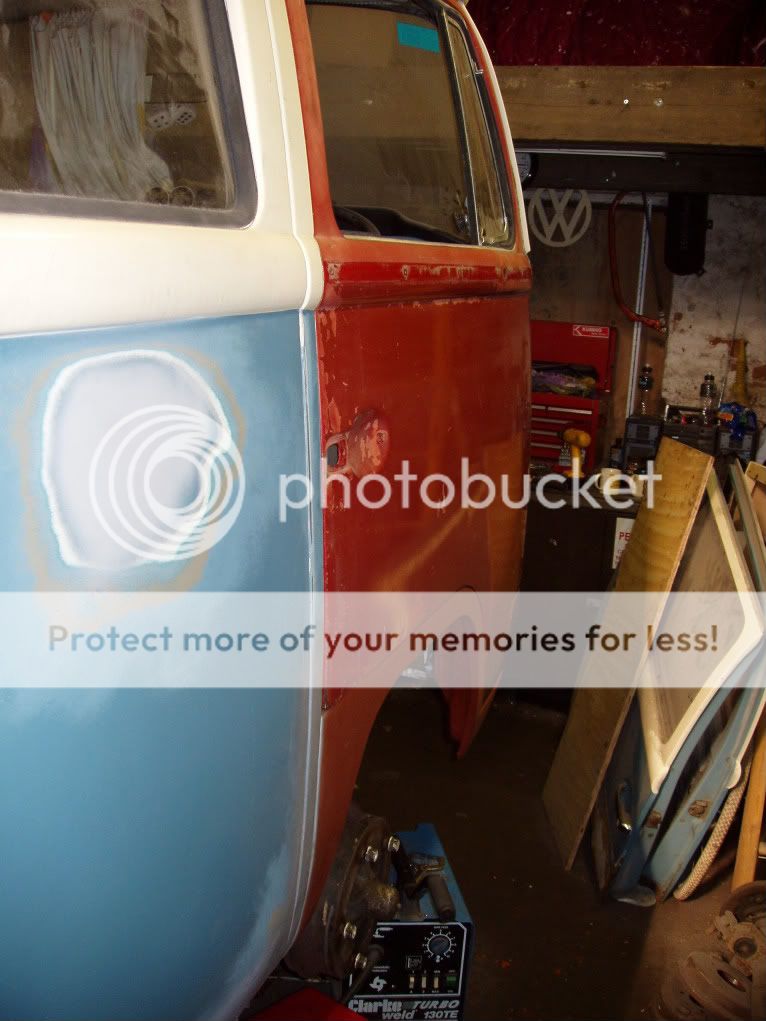
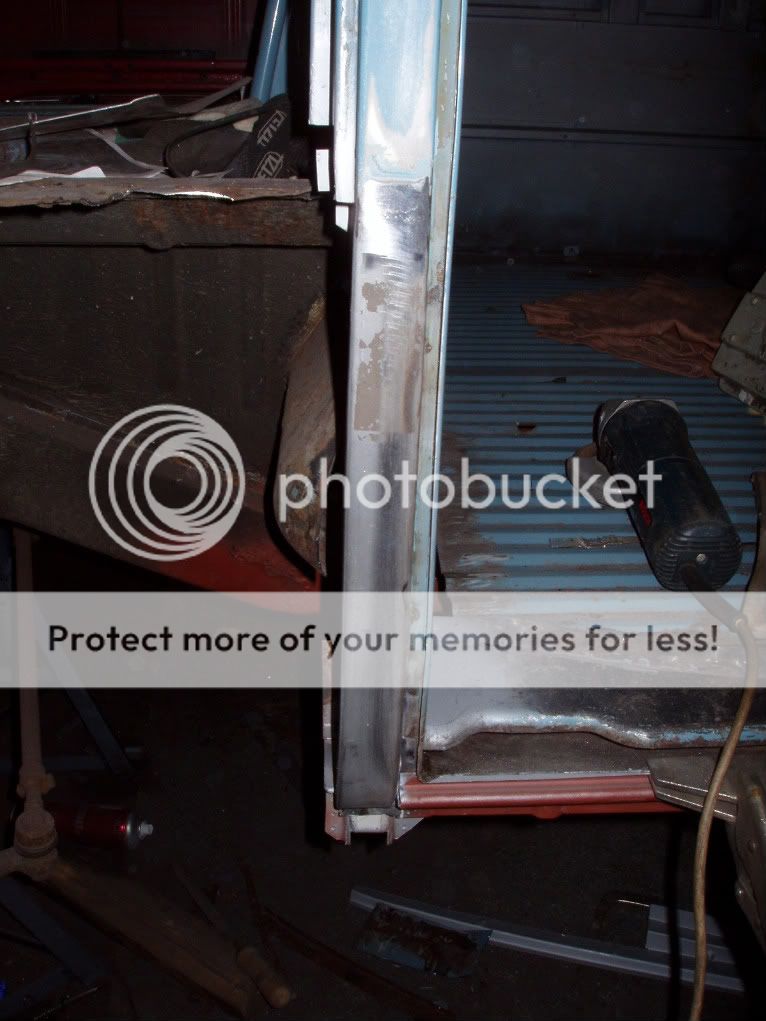
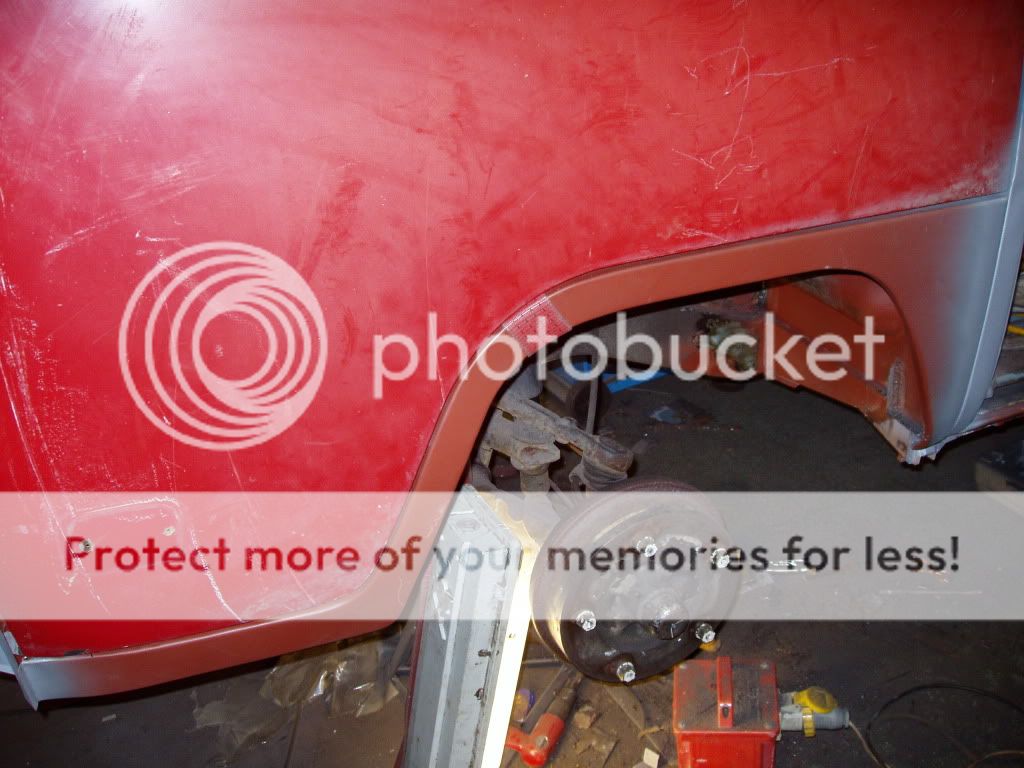
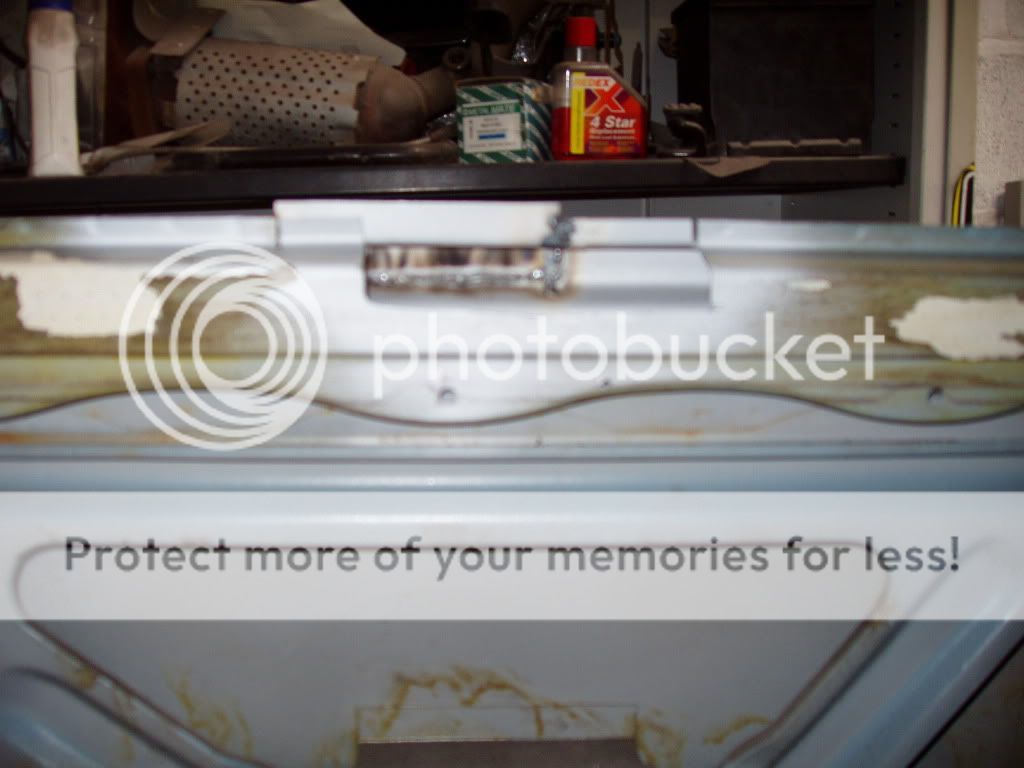
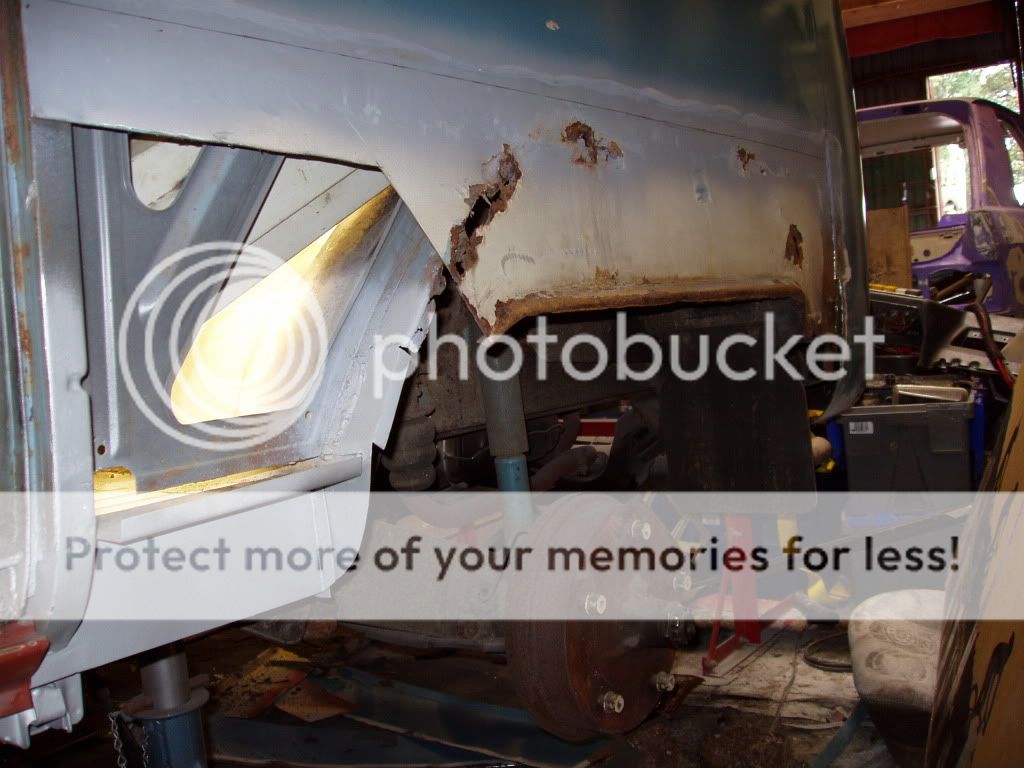
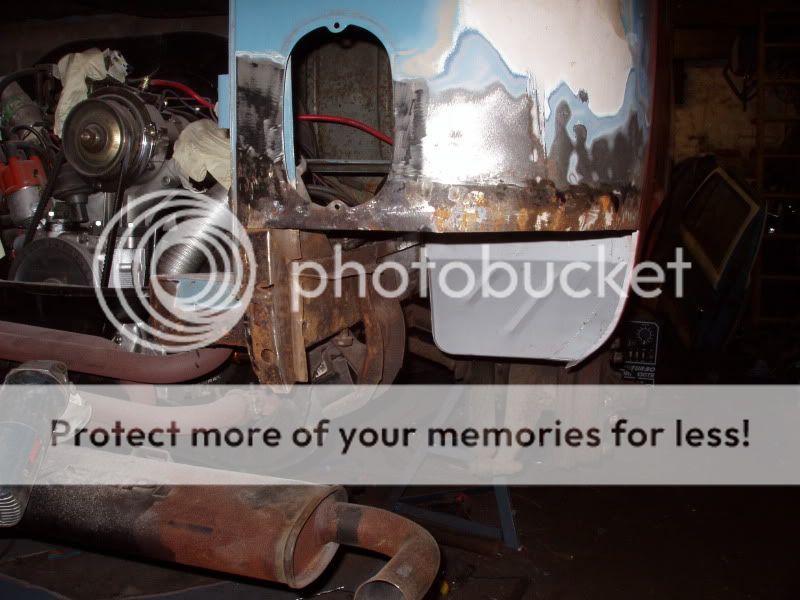
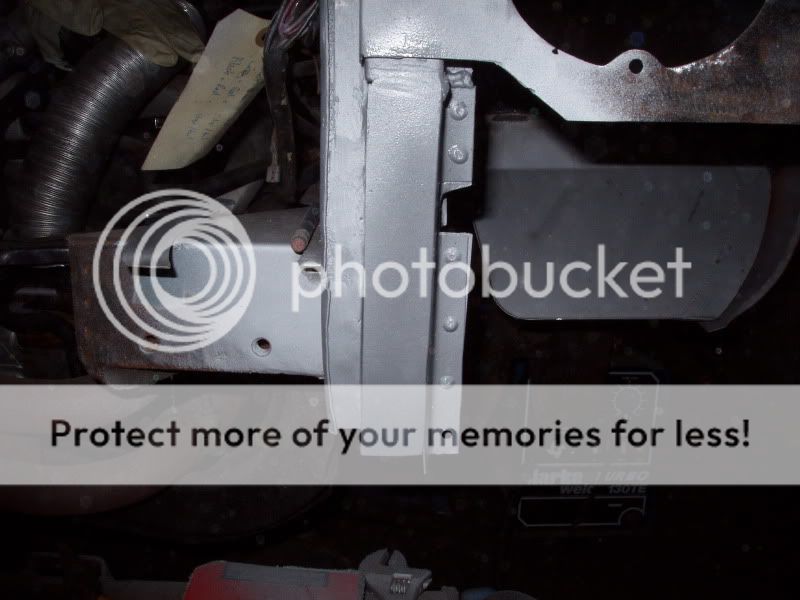
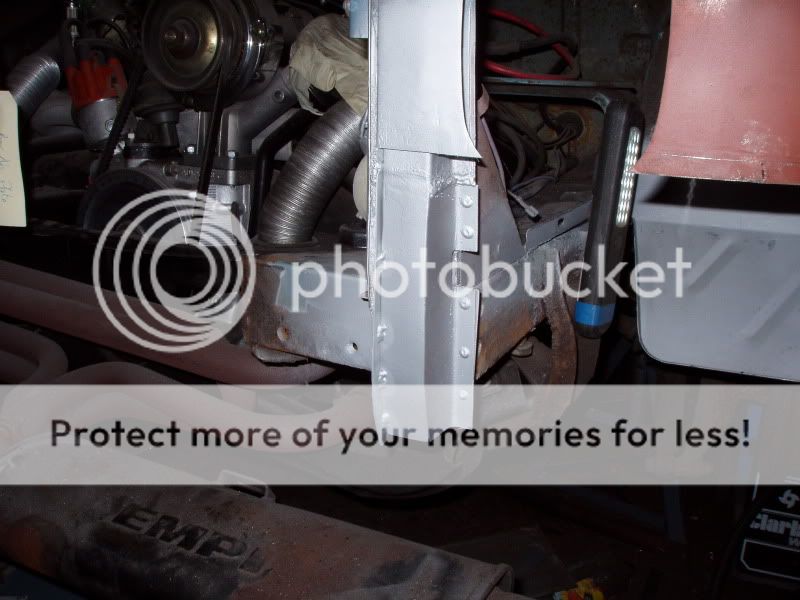
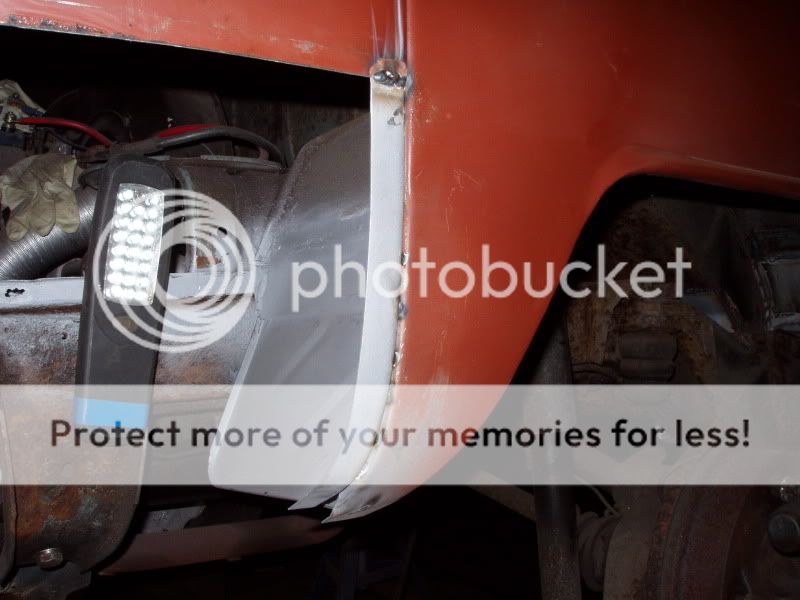
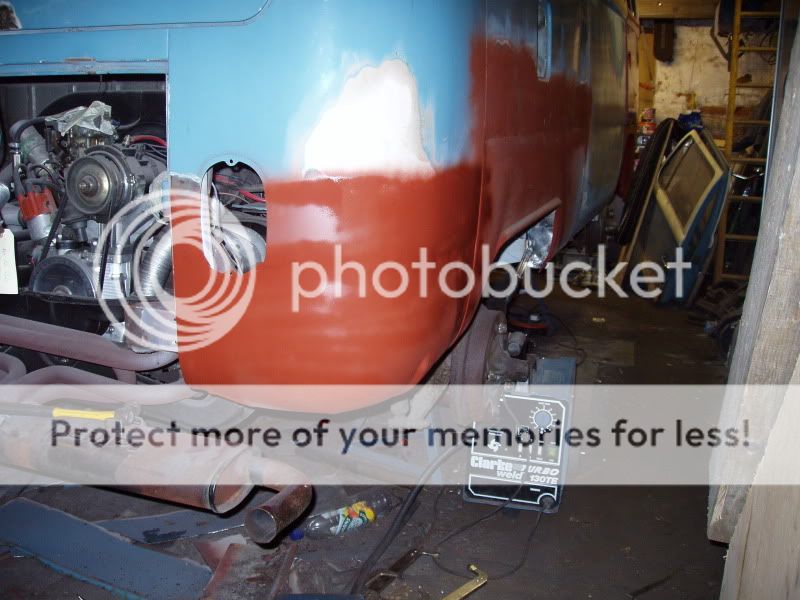
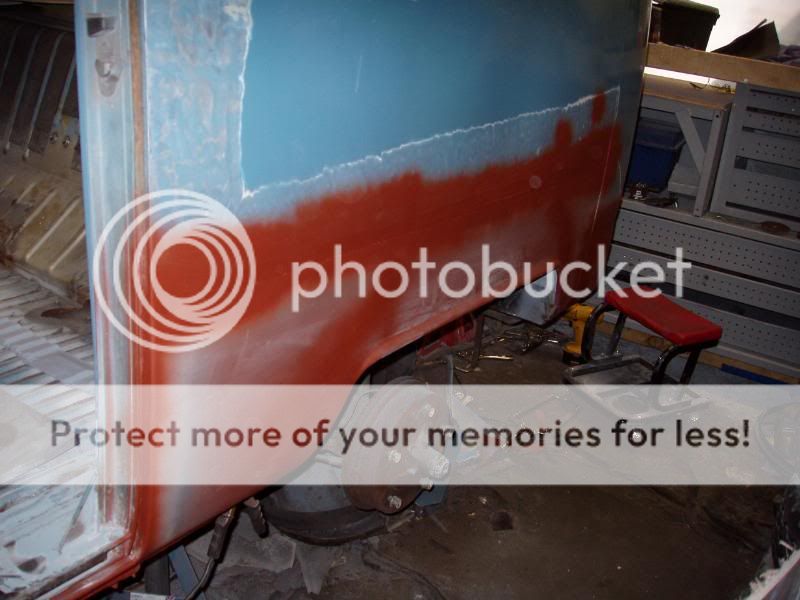
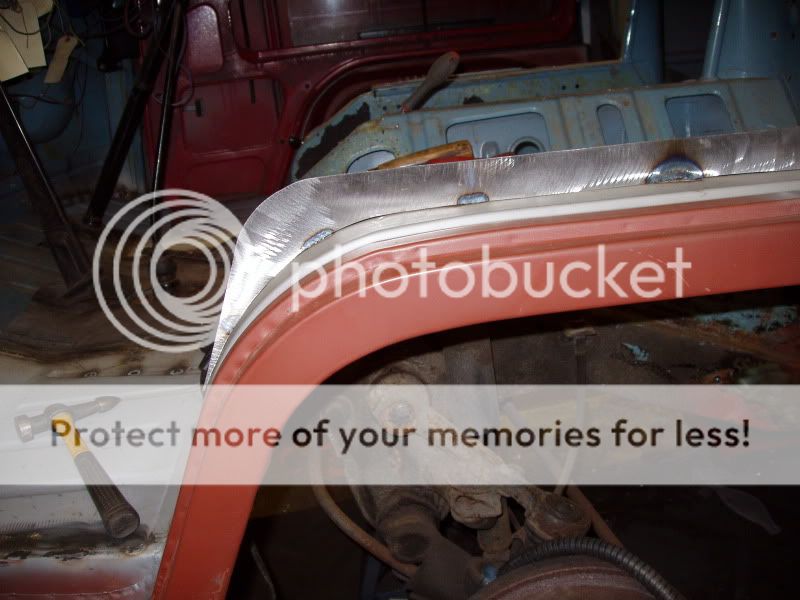
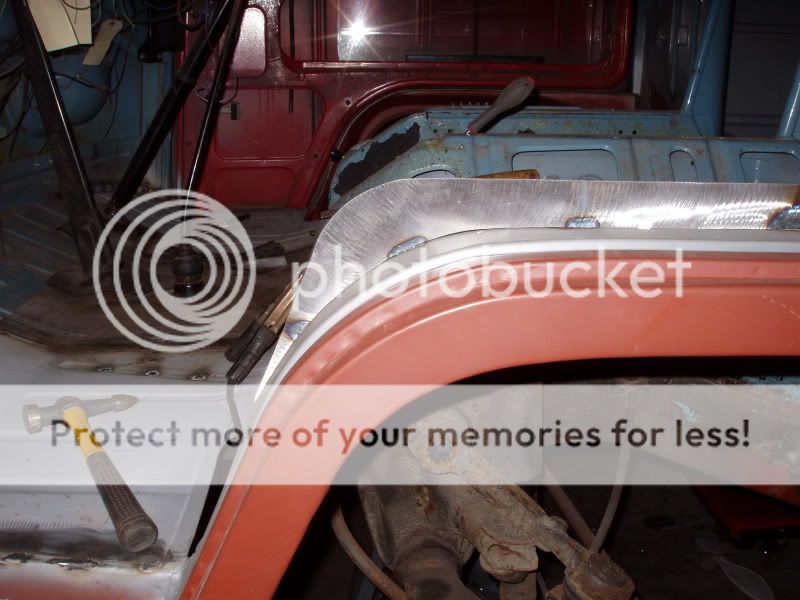
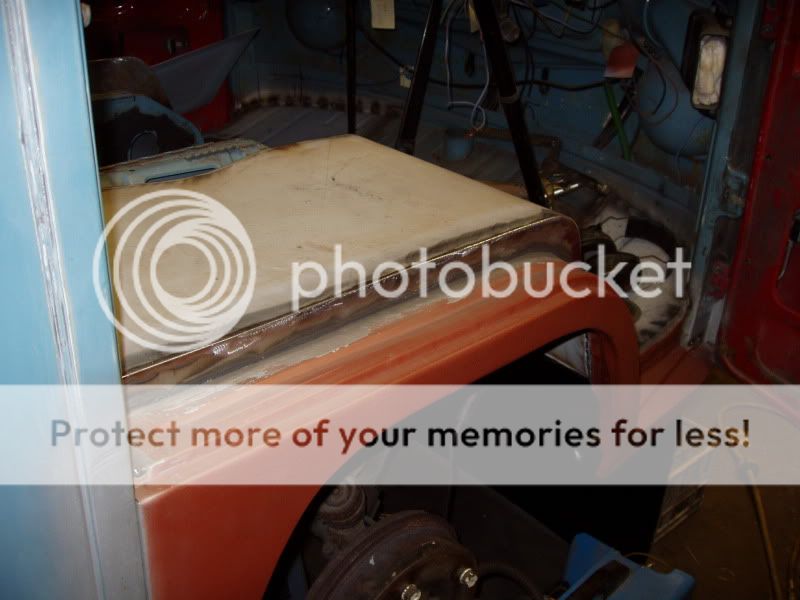
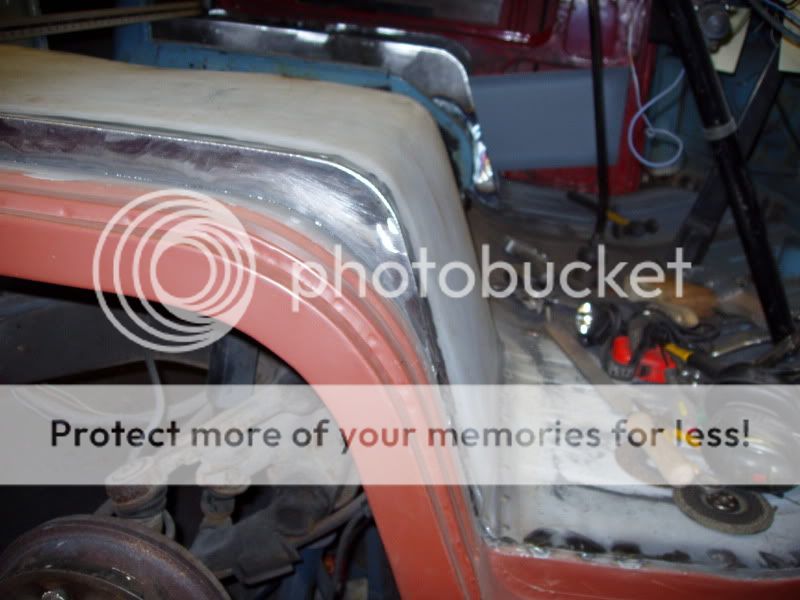
I got the new arch fitted and rust free cali door hung. Took a bit of tweaking but i'm quite happy with the end result, but not perfect.
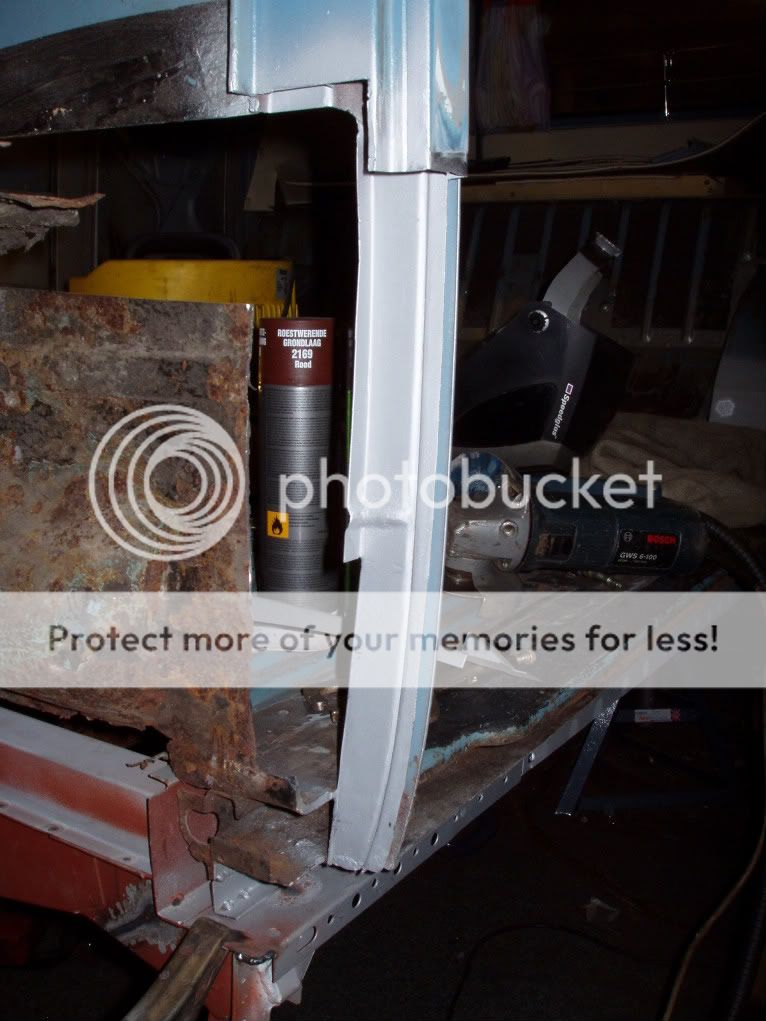
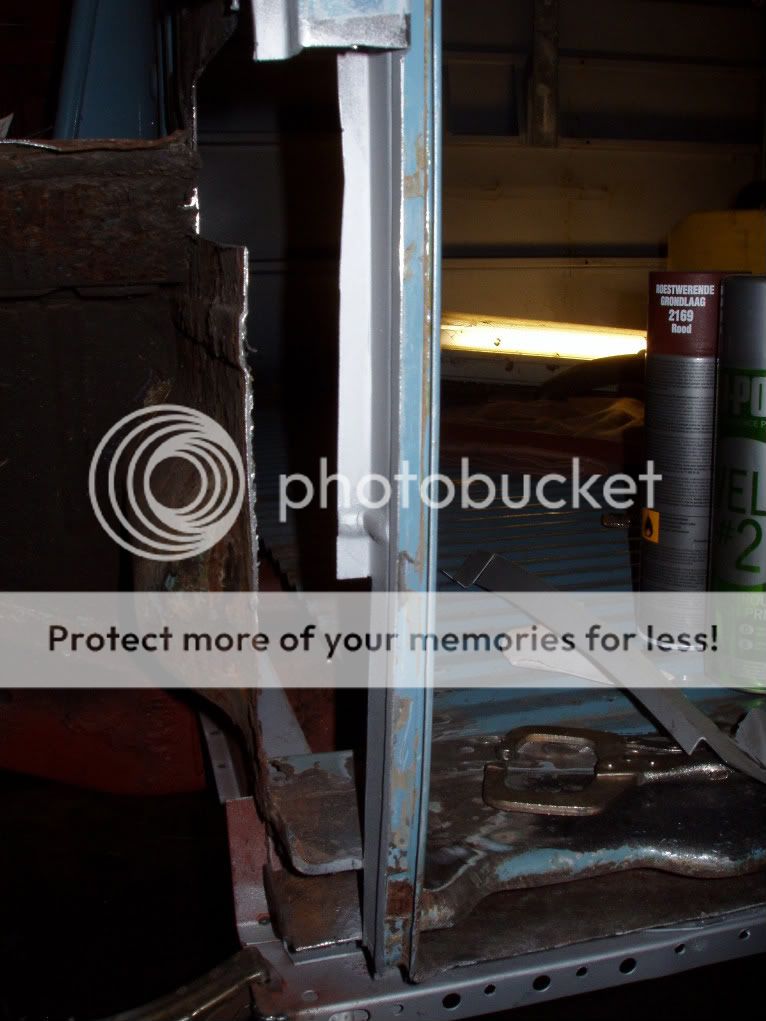
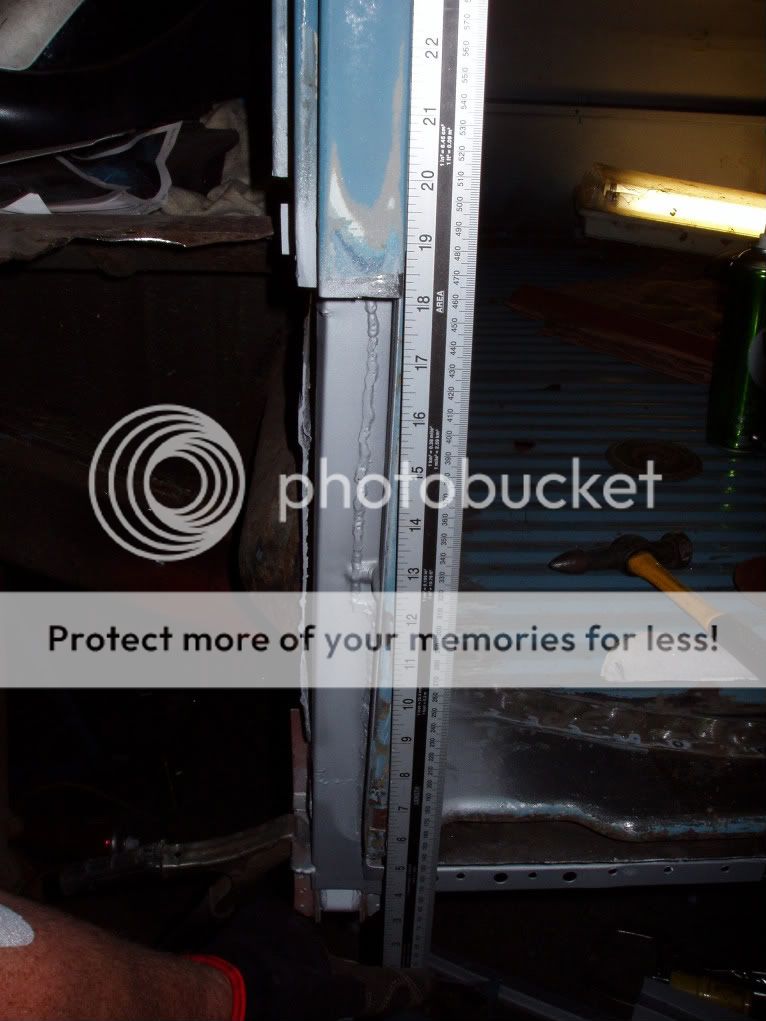
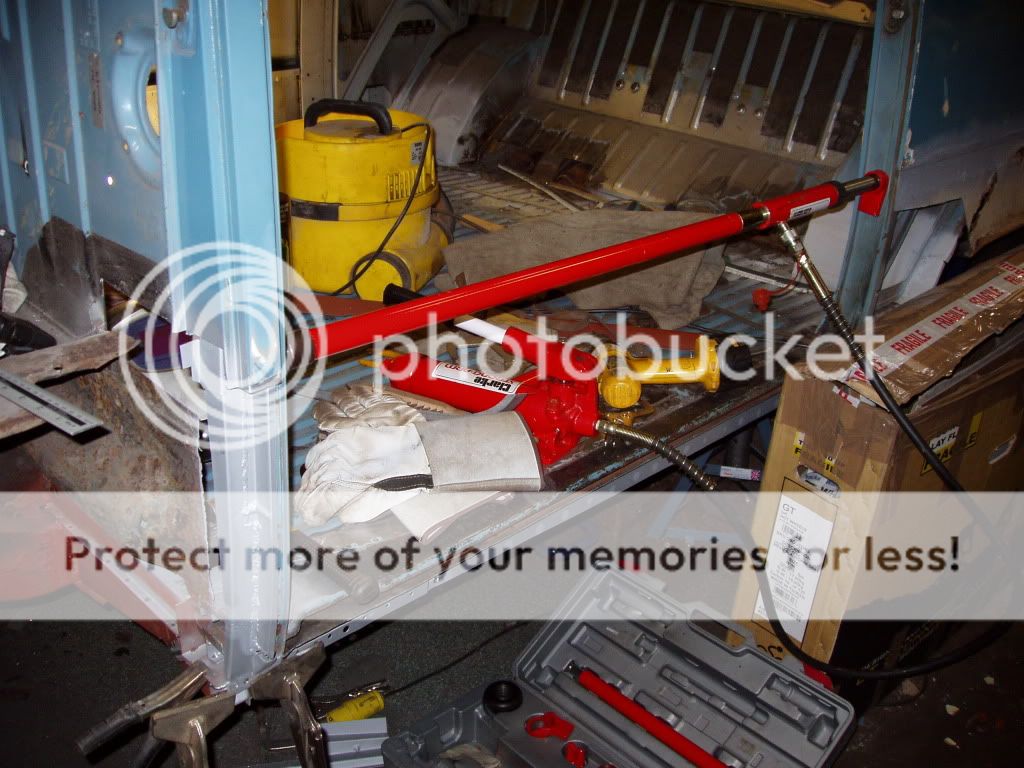
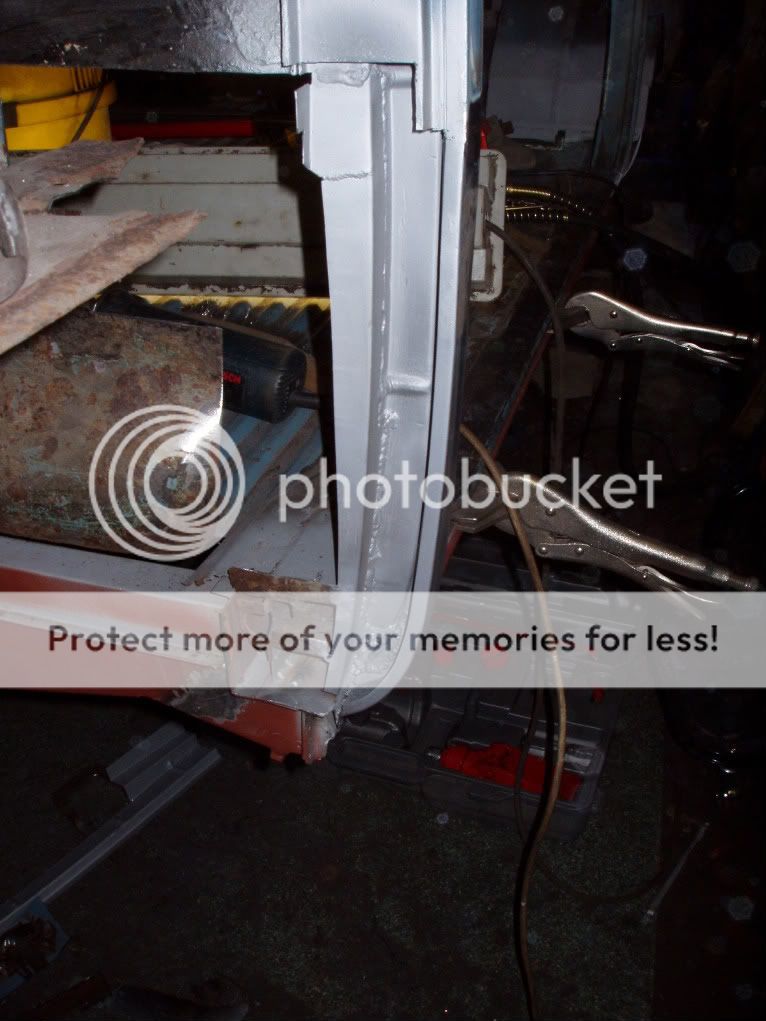
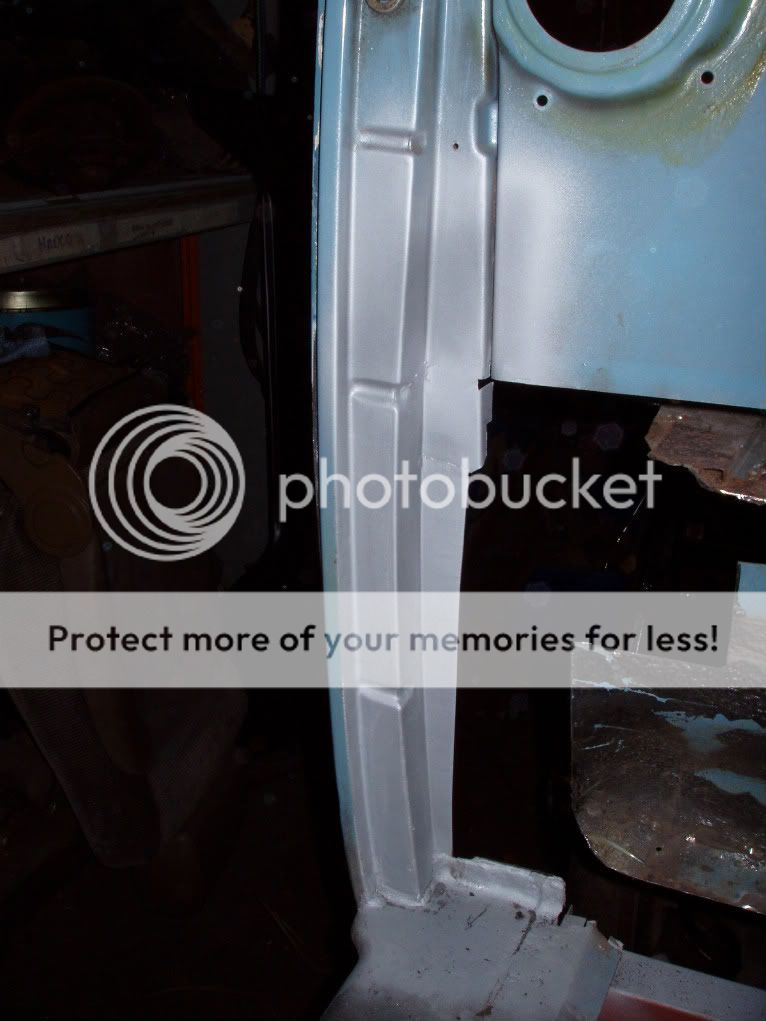
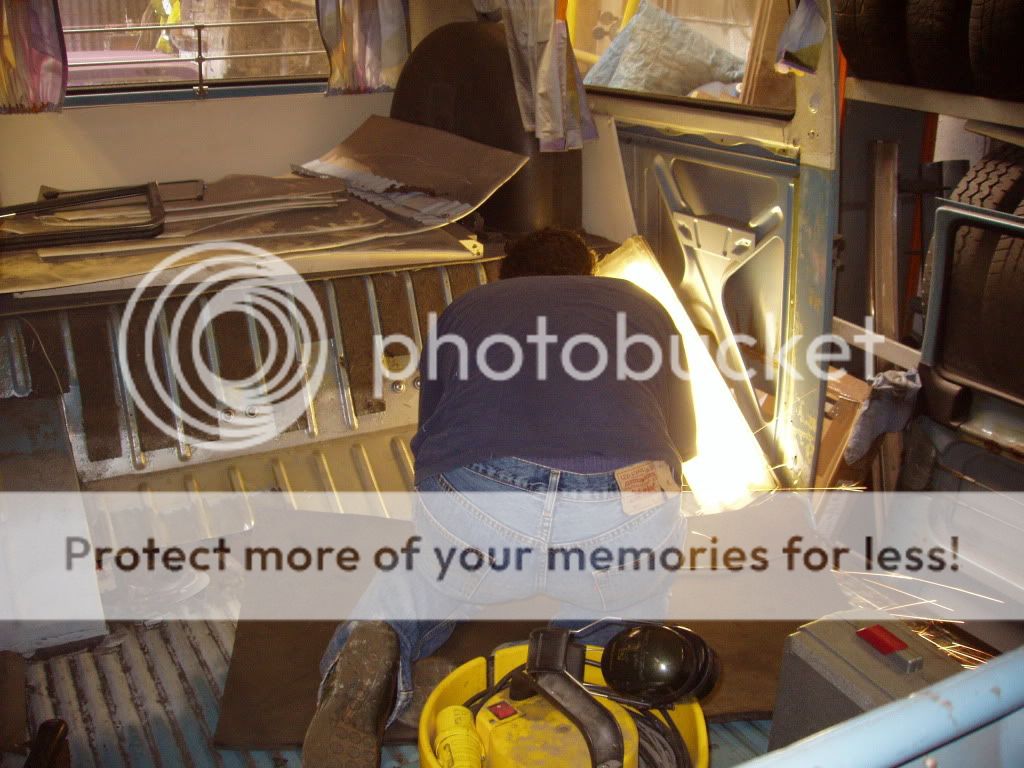
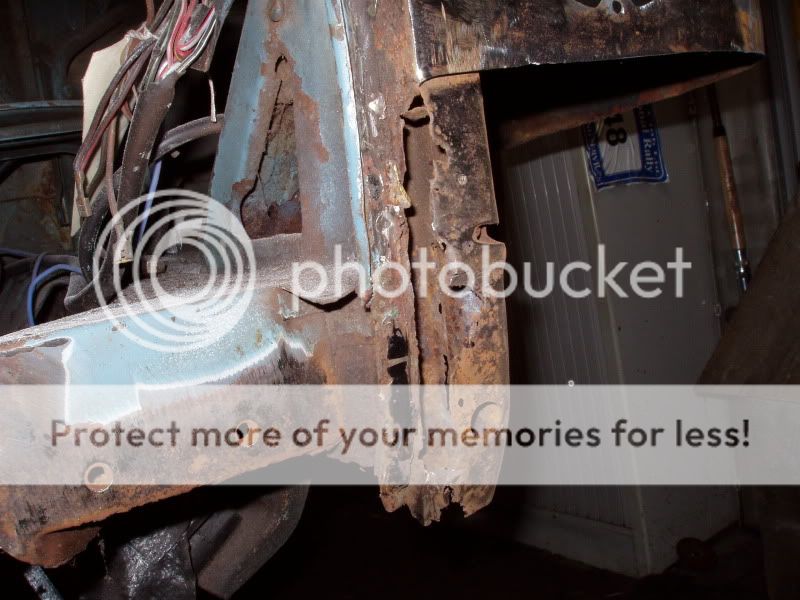
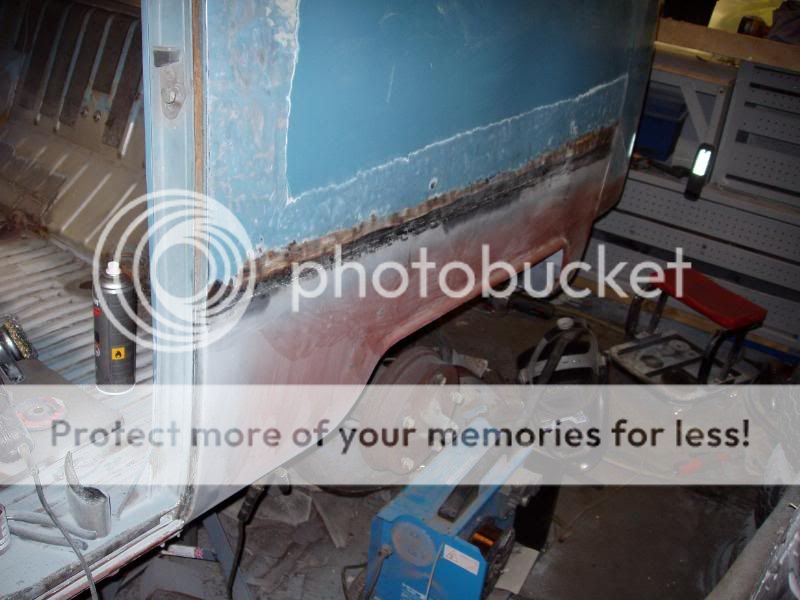
I then got stuck into the n/s B post. I removed enough of the outer B post to replace with a full repair panel as it mostly gone and just what was rotton of the inner post. As i sat looking at the B post it didn't look quite right. As i put a meter rule up against it, it was then obvious it had bowed about 10mm! Out came the body repair press to set it straight and the new panels were welded in!
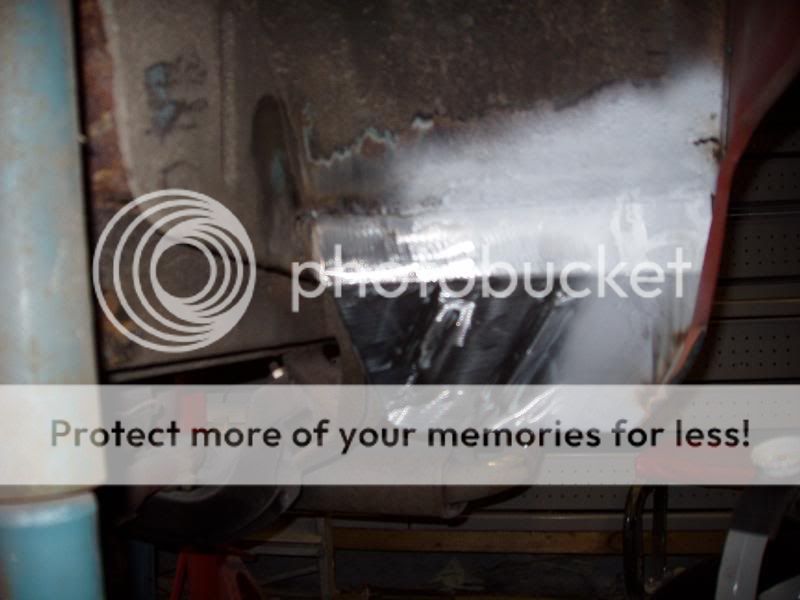
I brought the closing plate and wheel arch into work to shot blast and prime them ready to fit tonight.
I then got stuck into the n/s B post. I removed enough of the outer B post to replace with a full repair panel as it mostly gone and just what was rotton of the inner post. As i sat looking at the B post it didn't look quite right. As i put a meter rule up against it, it was then obvious it had bowed about 10mm! Out came the body repair press to set it straight and the new panels were welded in!
I brought the closing plate and wheel arch into work to shot blast and prime them ready to fit tonight.
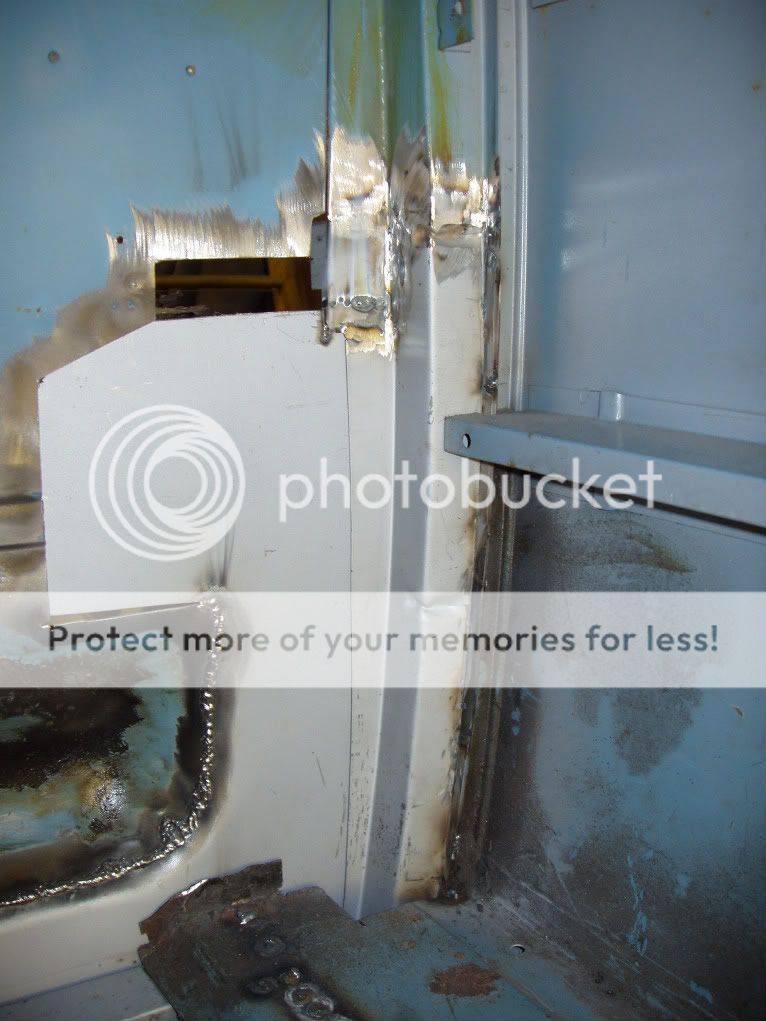
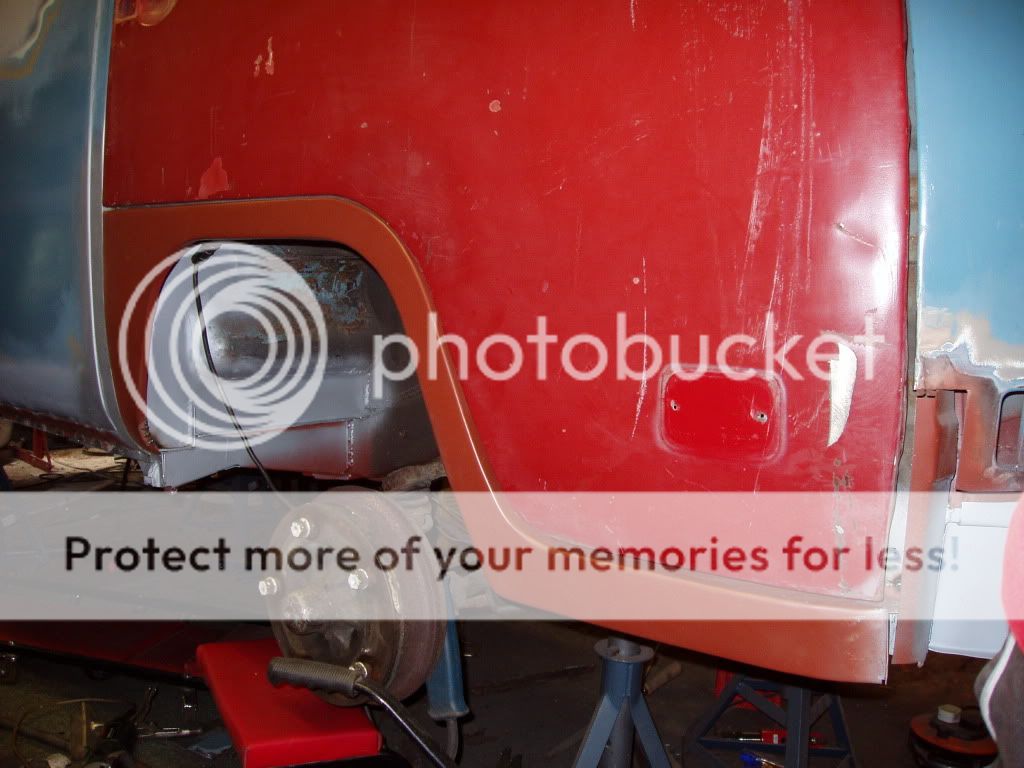
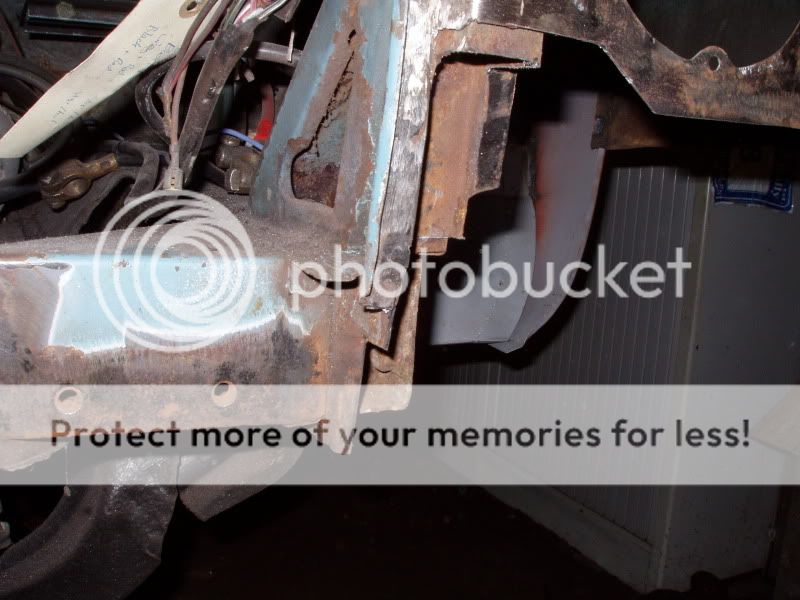
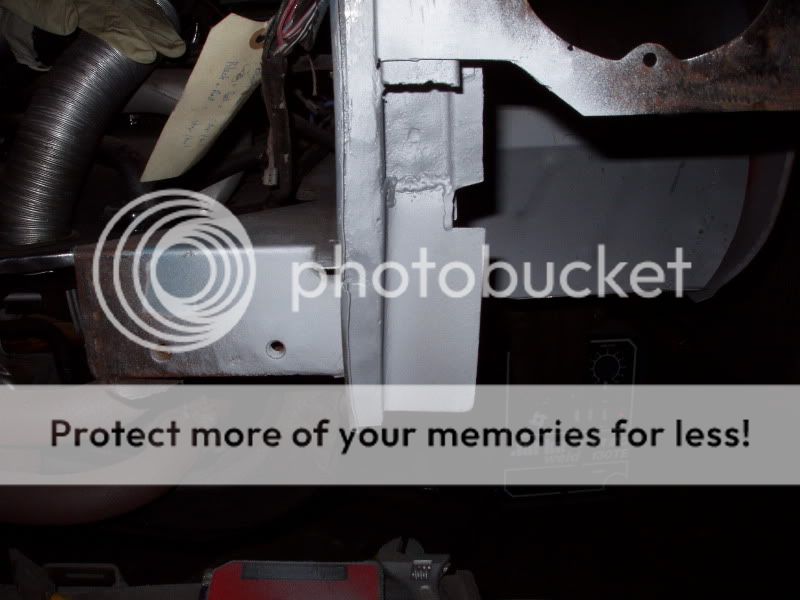
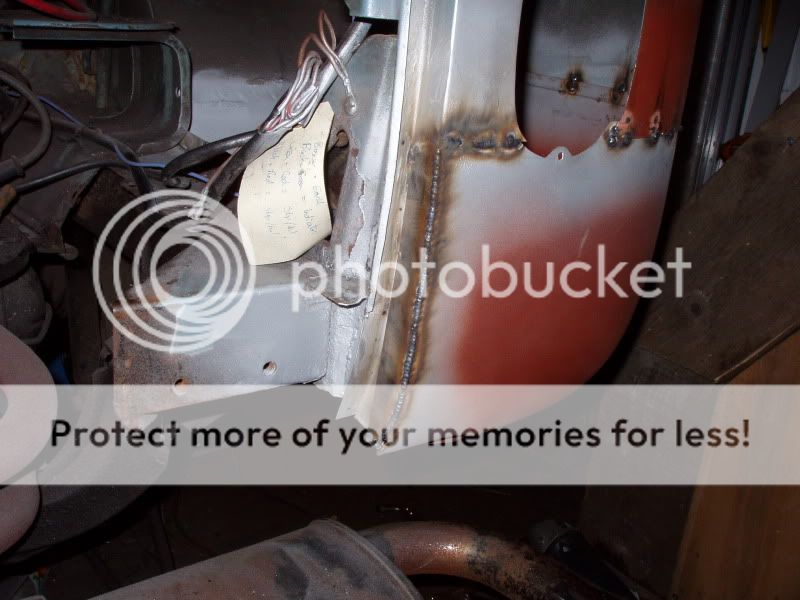
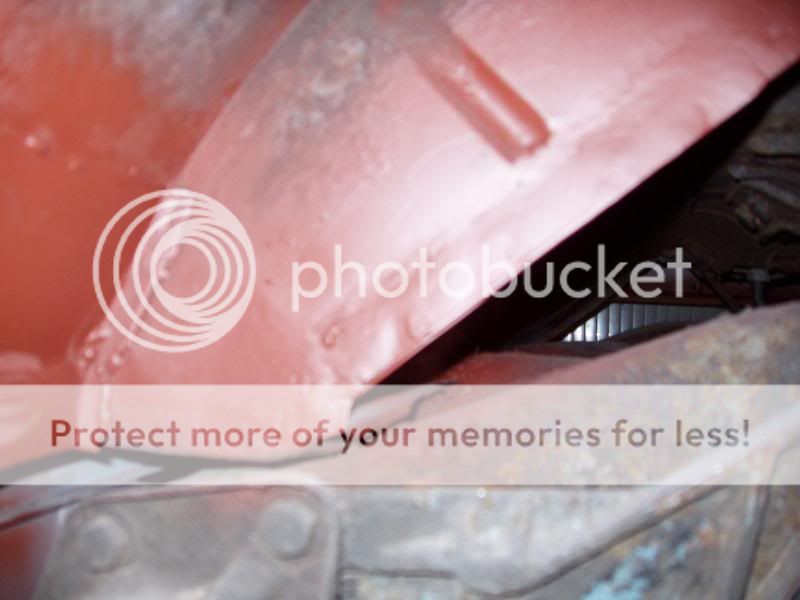
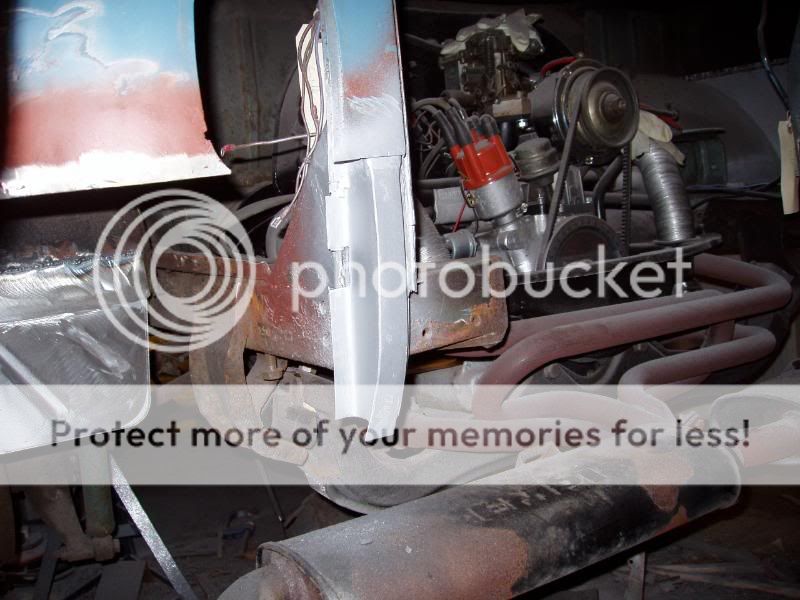
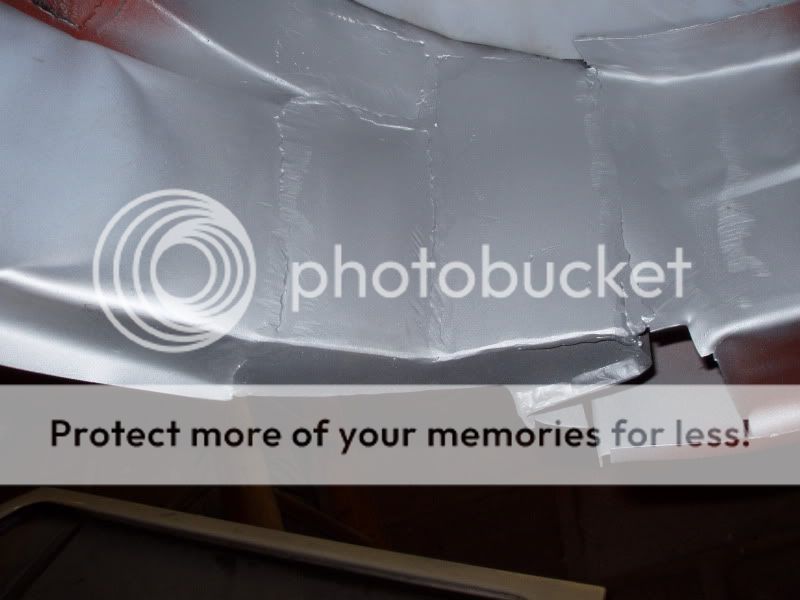
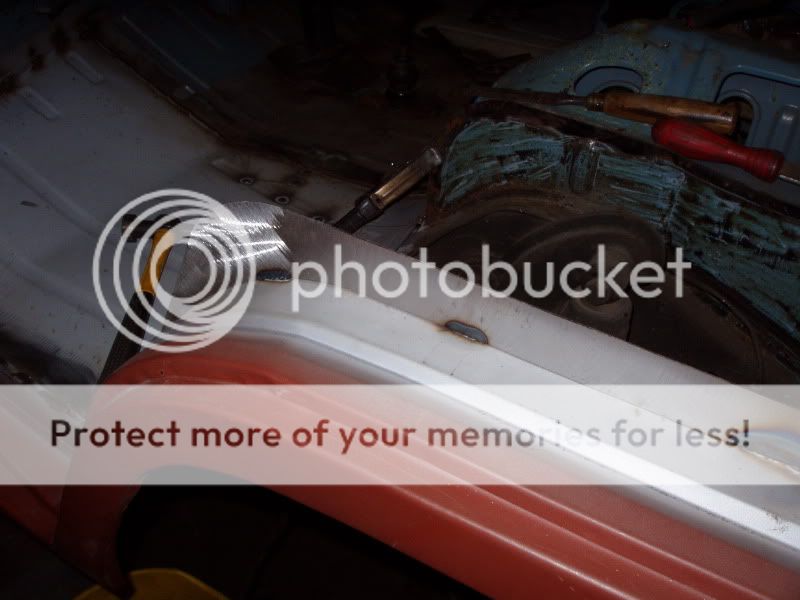
The Closing plate has now been fitted to the n/s inner arch/bulkhead.

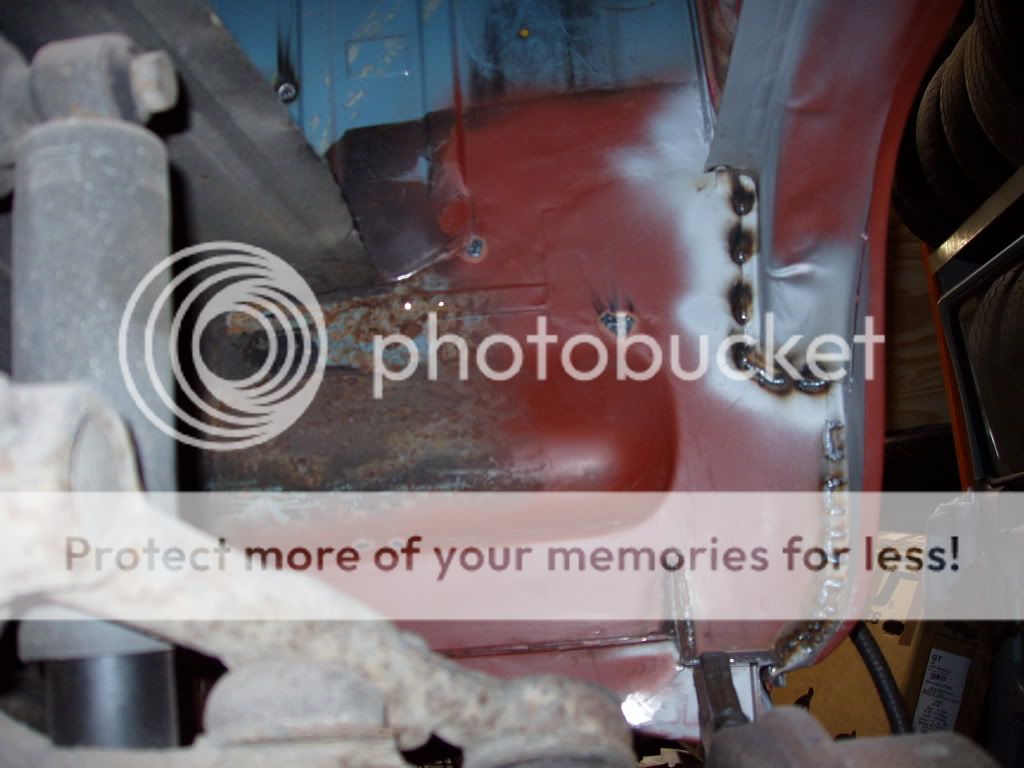
And the front wheel arch and door hung. It's starting to look real again!!
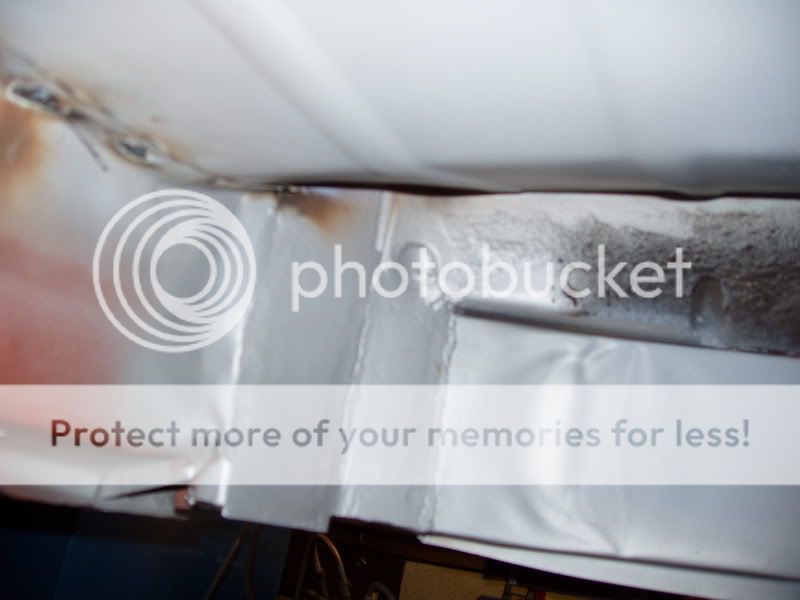
I then made a couple of plates for the rear side window where it had rust under the seal at the opening 1/4 light hinge.
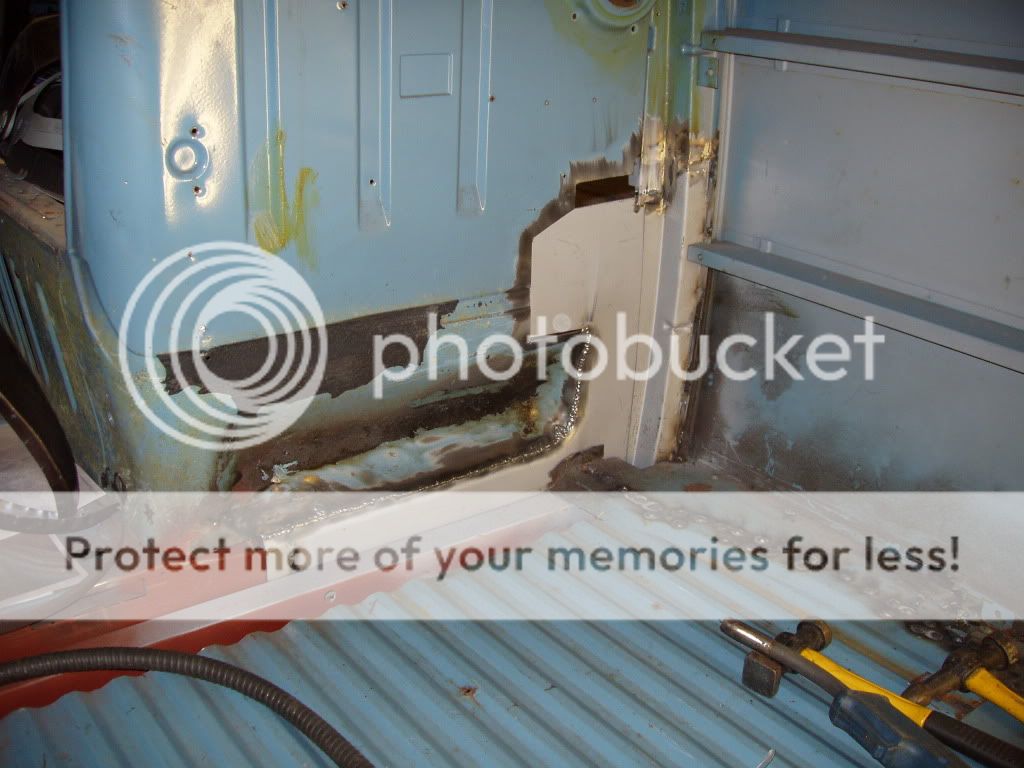
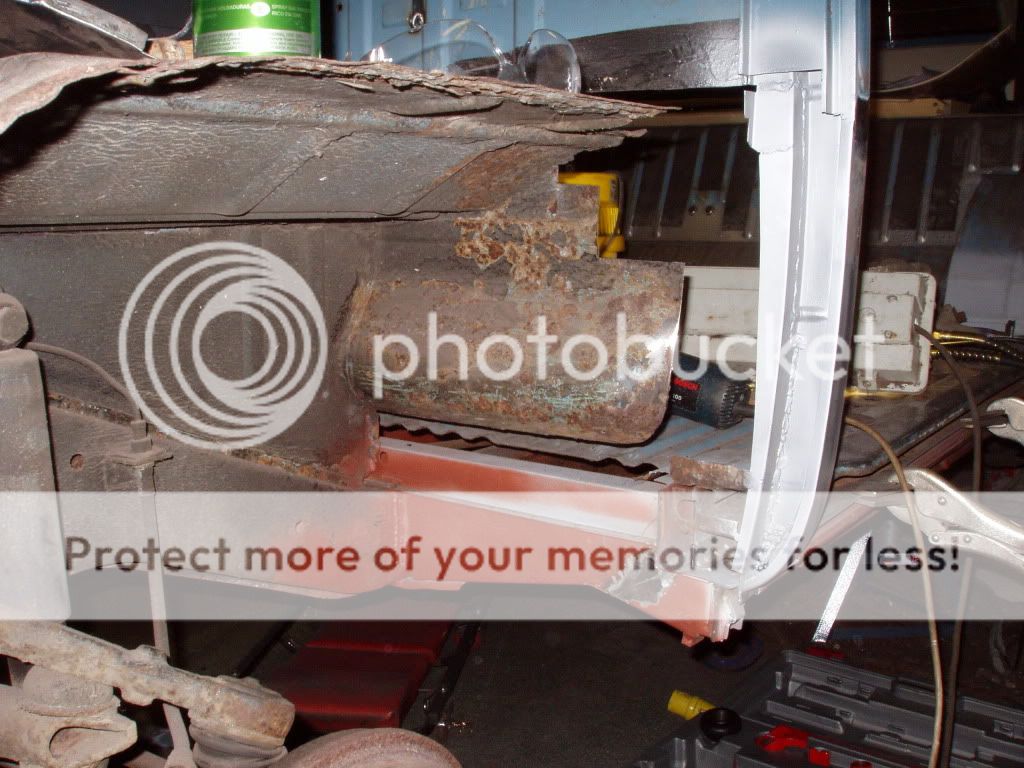
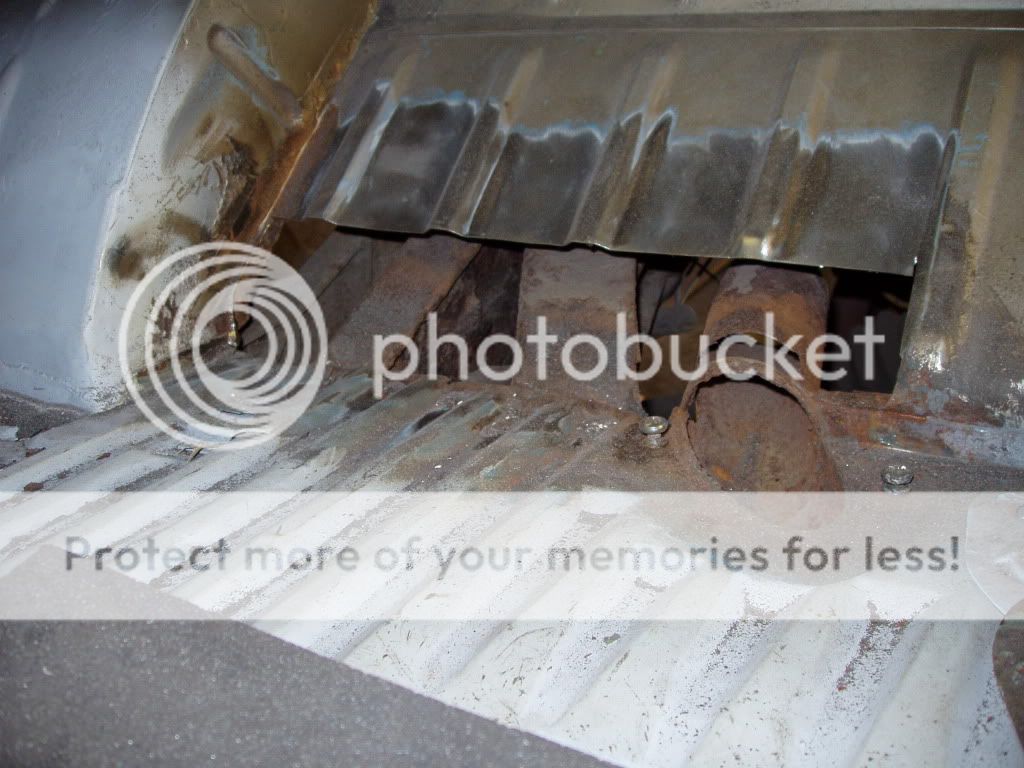
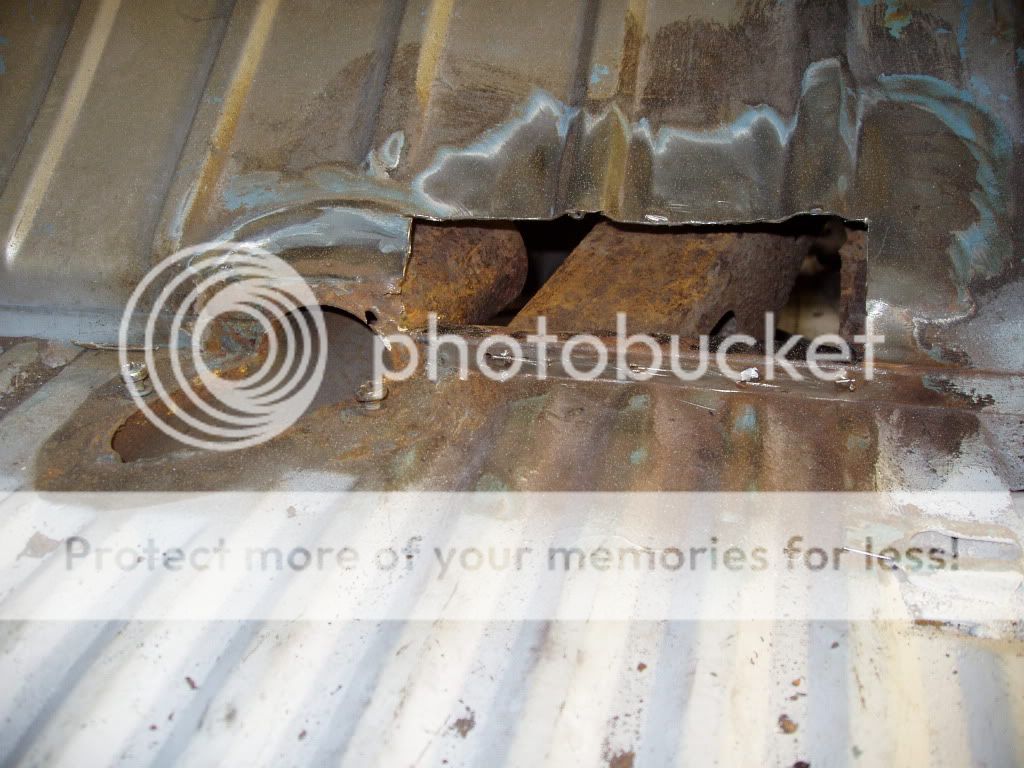
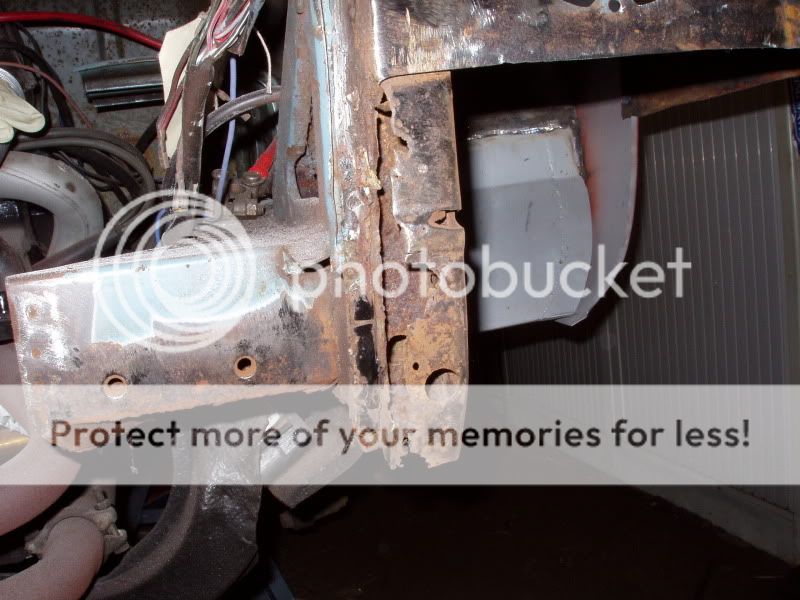
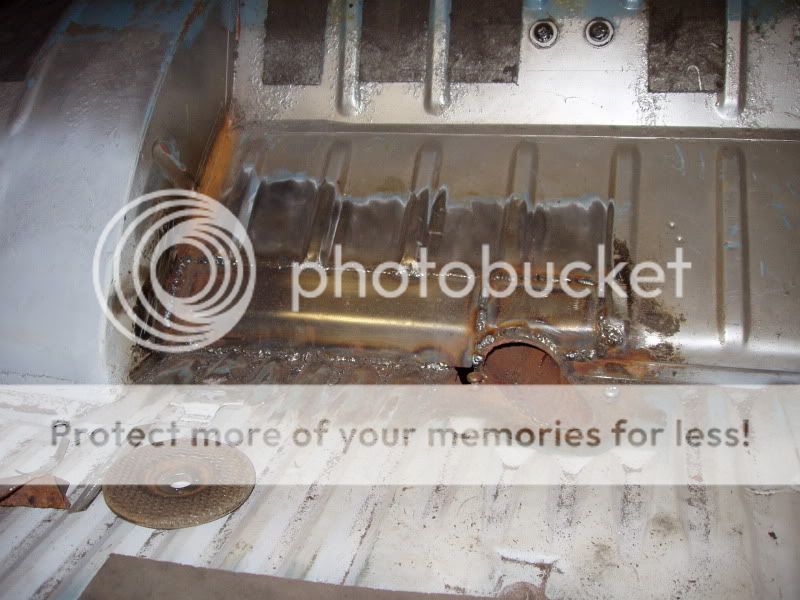
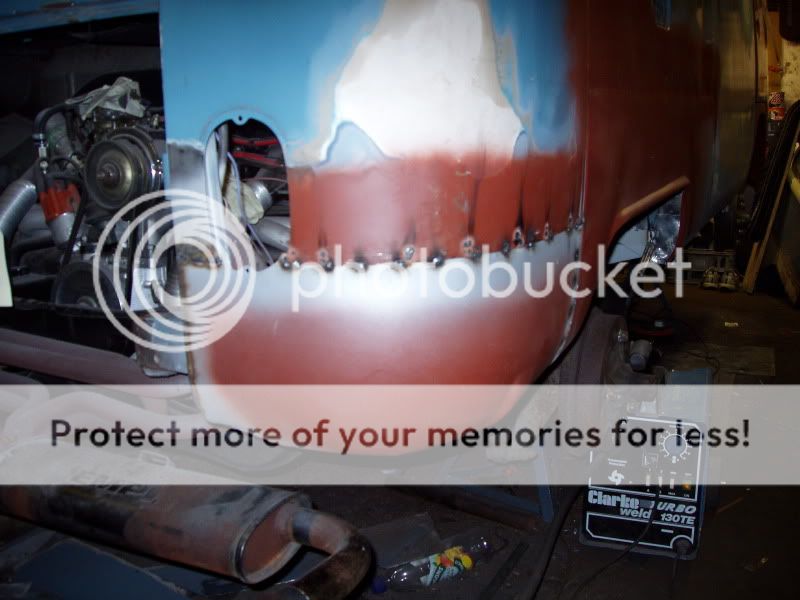
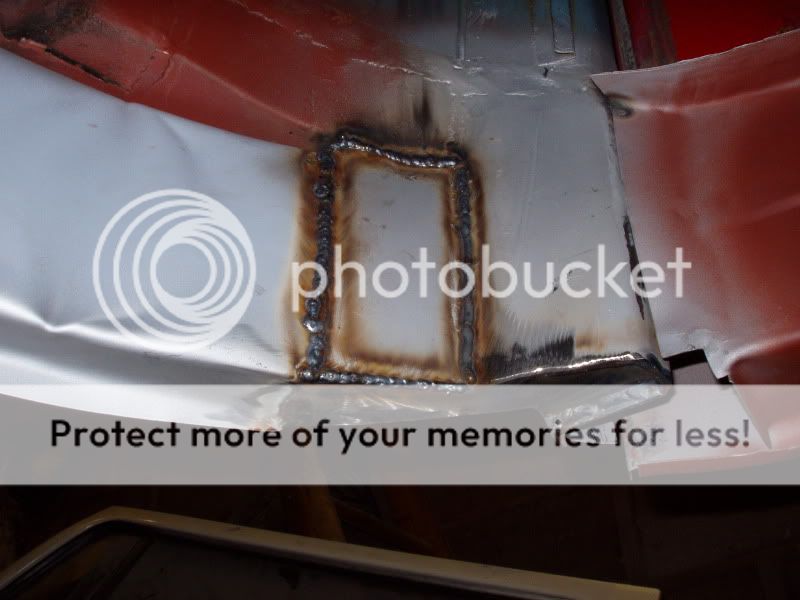
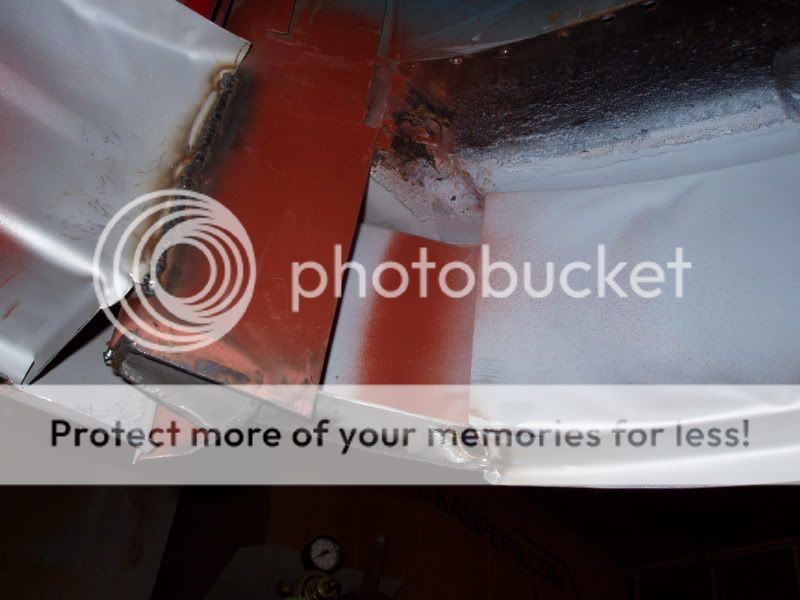
Cut out the rot from around the heater ducts at the rear bulkhead.
I then removed the original rear wheel arch, having already removed the "new" skin by the PO, to check the condition of the wheel tub. Looks fairly good, considering!
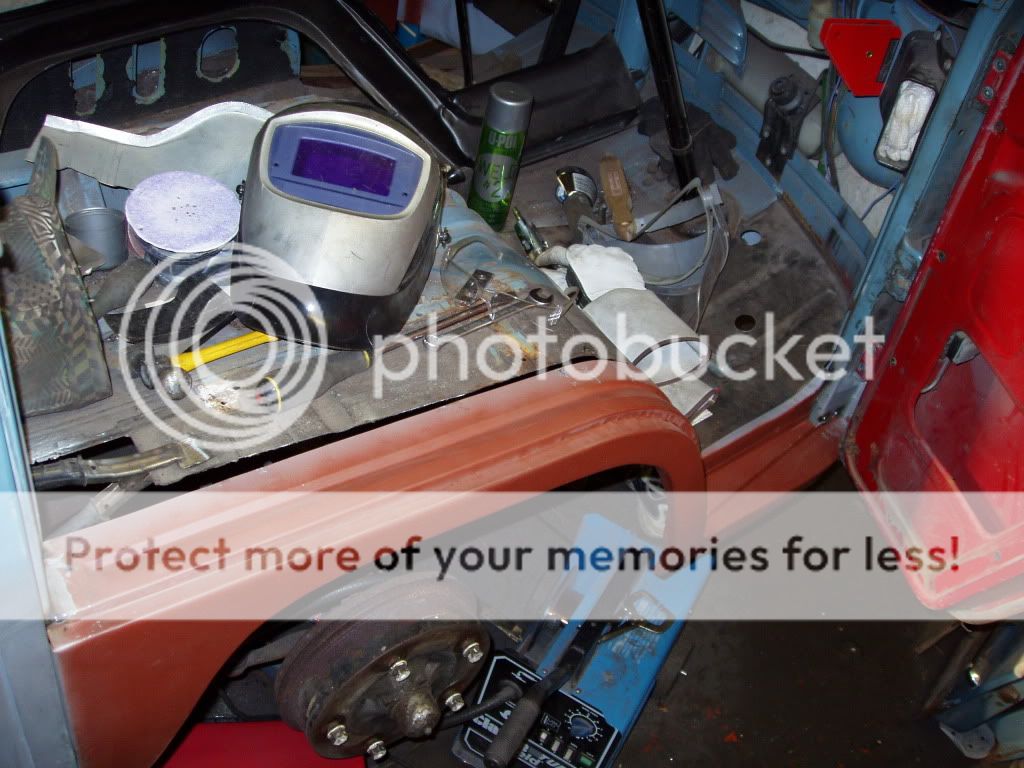
Back to the unit tonight for some more welding!
And the front wheel arch and door hung. It's starting to look real again!!
I then made a couple of plates for the rear side window where it had rust under the seal at the opening 1/4 light hinge.
Cut out the rot from around the heater ducts at the rear bulkhead.
I then removed the original rear wheel arch, having already removed the "new" skin by the PO, to check the condition of the wheel tub. Looks fairly good, considering!
Back to the unit tonight for some more welding!
who?
Well-known member
Hey, that looks like a lot of challenging stuff going on there.
Great work. Gives me more inspiration every time I pop into your thread!
Matt
Great work. Gives me more inspiration every time I pop into your thread!
Matt
Cheers Matt. Defo challenging stuff but loving every minute of it!
I've made and welded in some plates to the rear bulk head around the heater ducts but forgot to take and pictures! Think i got a bit excited with putting the rear wheel arch in!!
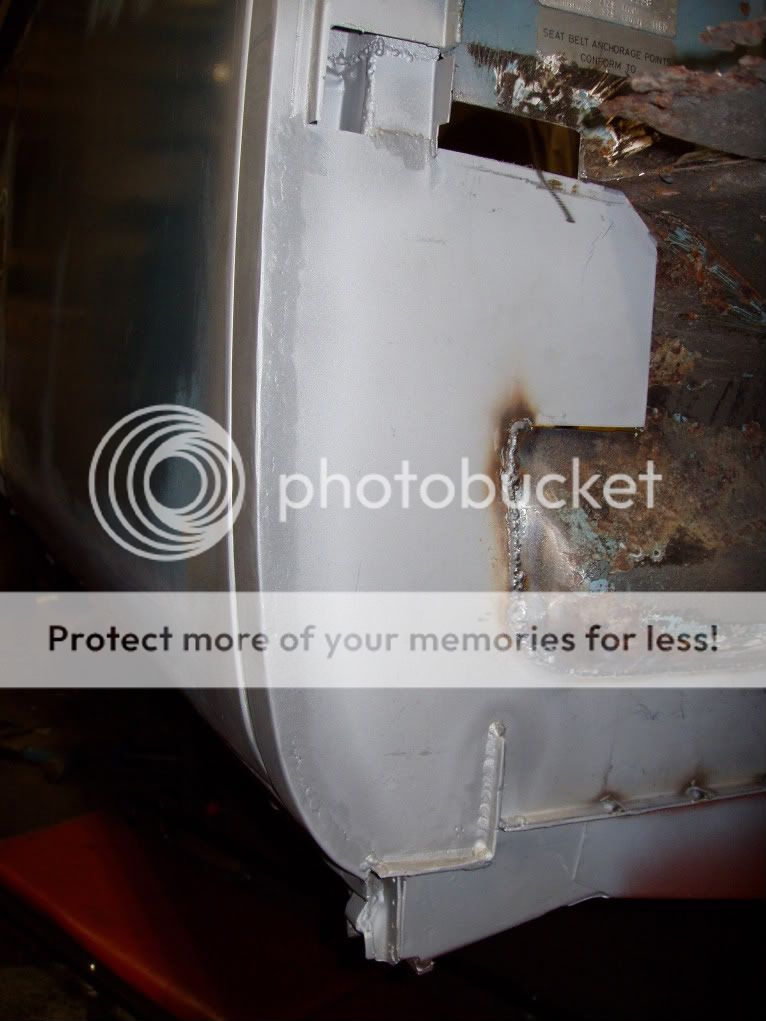
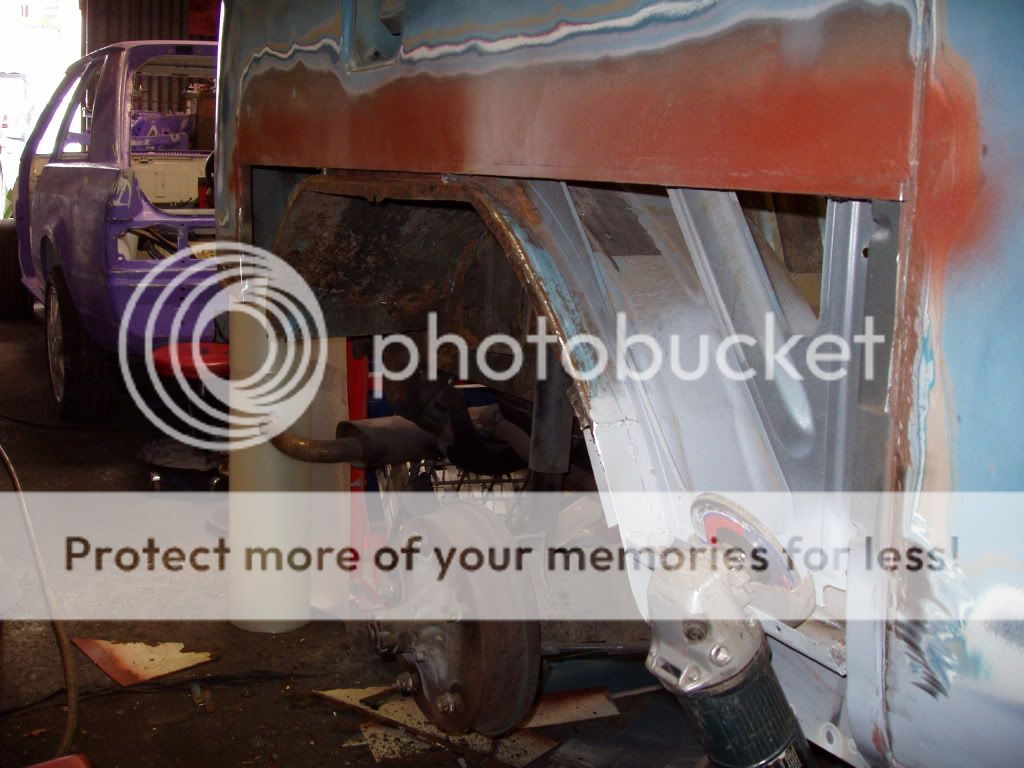
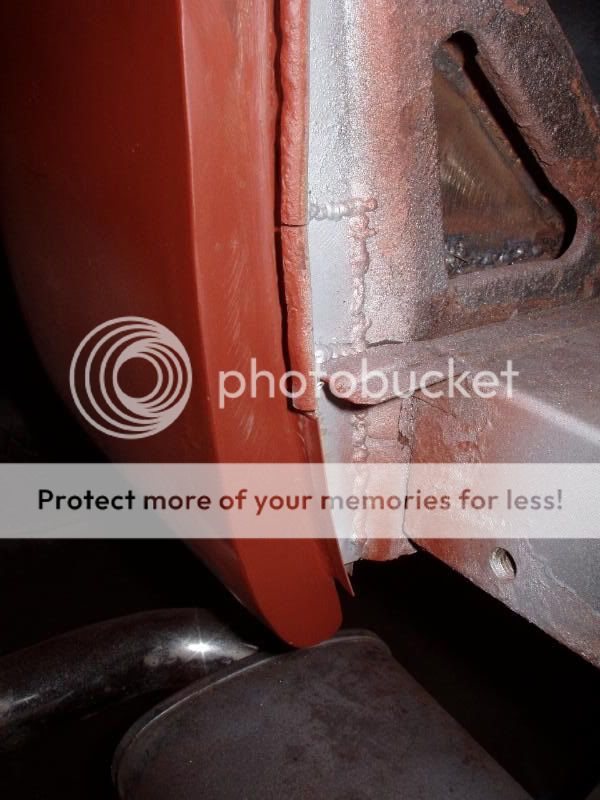
Fitted the rear closing plate to the inner wheel tub.
And the rear wheel arch.
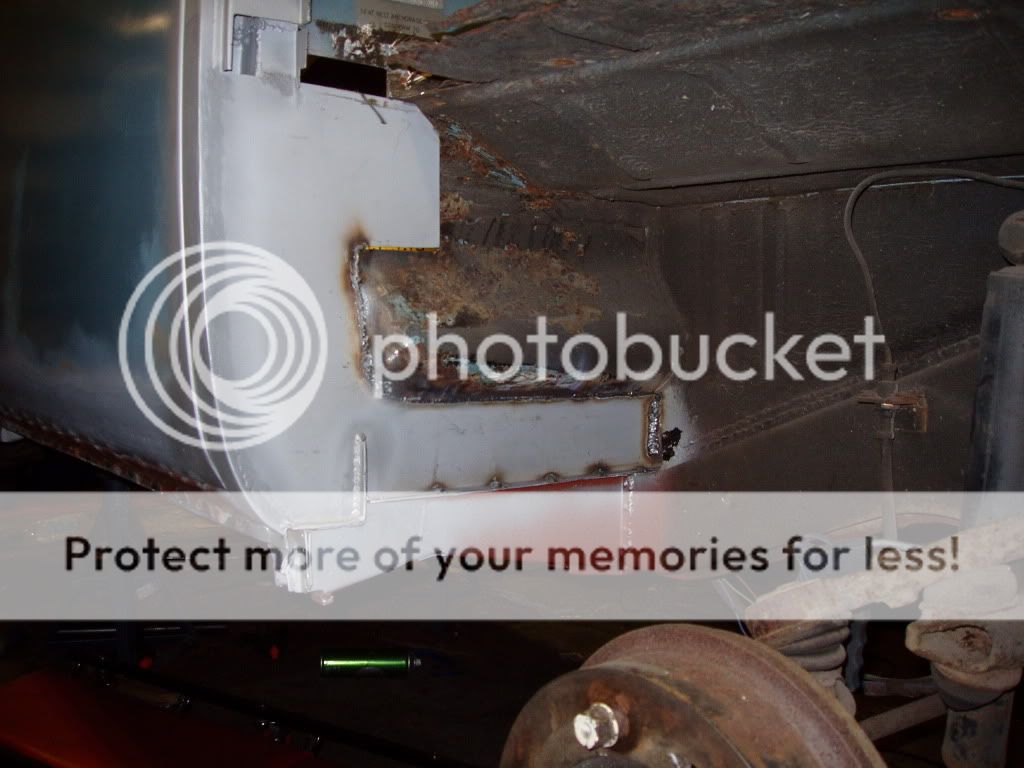
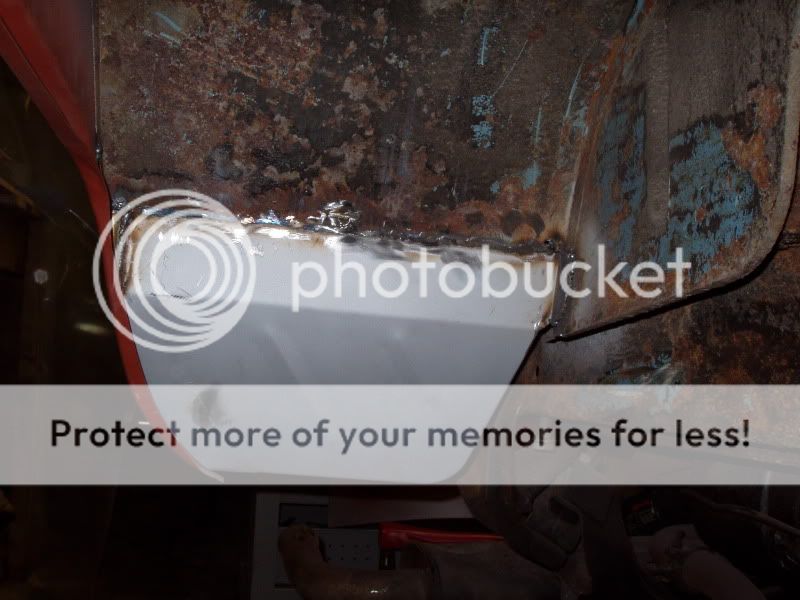
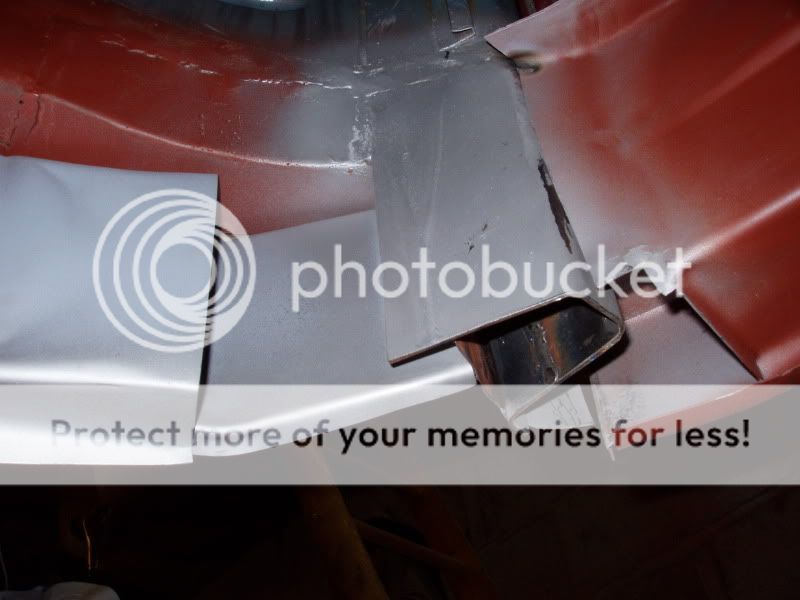
I then repaired the bit of box by the engine lid ready to fit the new rear corner.

I then cut the rear corner panel and joggled the new panel ready to fit tonight.
I've made and welded in some plates to the rear bulk head around the heater ducts but forgot to take and pictures! Think i got a bit excited with putting the rear wheel arch in!!
Fitted the rear closing plate to the inner wheel tub.
And the rear wheel arch.
I then repaired the bit of box by the engine lid ready to fit the new rear corner.
I then cut the rear corner panel and joggled the new panel ready to fit tonight.
- Joined
- Apr 2, 2007
- Messages
- 478
- Reaction score
- 26
- Location
- Berkshire
- Year of Your Van(s)
- 1972
- Van Type
- Danbury
Some great work going on here..... and coming together fast too!
Especially related to your experience with the N/S B-Post bowing out of shape when you repaired the inner and outer parts..... mine did exactly the same when I repaired that part.... had me scratching my head for a while as to why my front door would not shut when I hung it again just to check everything before I welded it up.... good job I did as the centre of the post (where the door striker is) was way out and I had to brace the post across the sliding door opening to force it back into shape... same as you did!
Keep it coming
Cheers Camperdan, It was your thread that i took insperation from and keep returning to for tips. Once i had the n/s B post sorted i then had some issues fitting the passenger door. I had to pull the bottom of the A post from the new jacking point to get door to fit.
Photos of the rear bulk head patched, but not dressed back yet.

And the fitting of the rear corner.

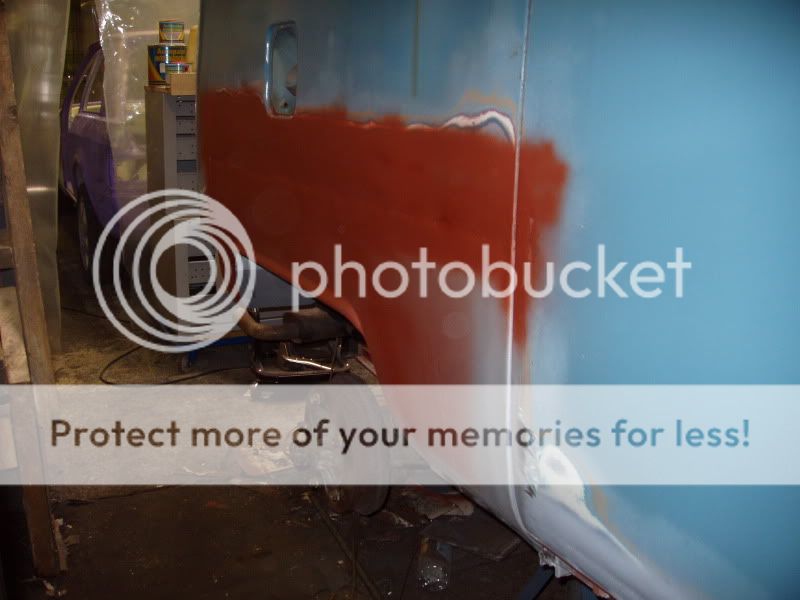
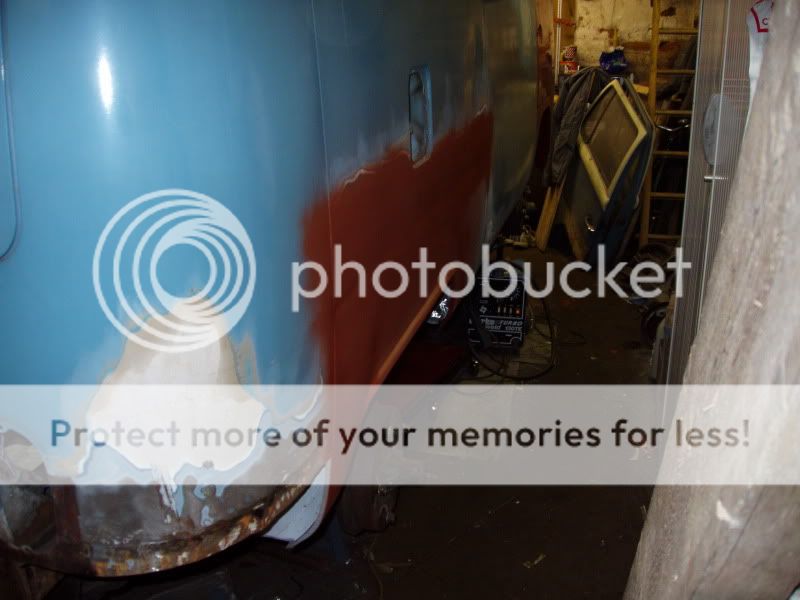
All just primed for protection!
Photos of the rear bulk head patched, but not dressed back yet.
And the fitting of the rear corner.
All just primed for protection!
More progress! I've now fitted the new wheel arch to the n/s rear after a couple of minor repairs to the tub including a new rear closing plate.
I then repaired the box section next to the engine lid as i had done on the other side.
And fitted the rear corner repair.


Battery trays next!!
I then repaired the box section next to the engine lid as i had done on the other side.
And fitted the rear corner repair.
Battery trays next!!
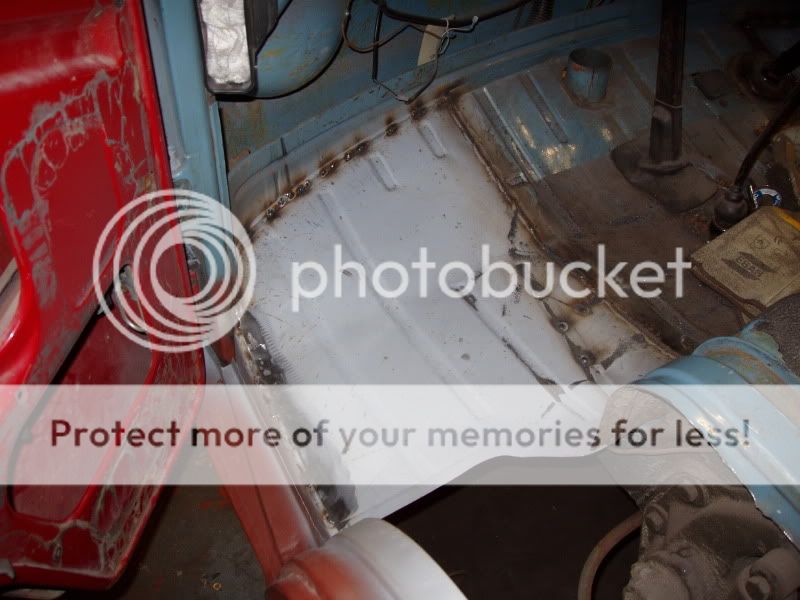
Well i didn't do the battery trays next! Instead i closed in the bottom of the A post's to the inner front panel and fitted the drivers cab floor! Then ran out of gas!!!!
So off to the gas shop on the way home tonight.
So off to the gas shop on the way home tonight.
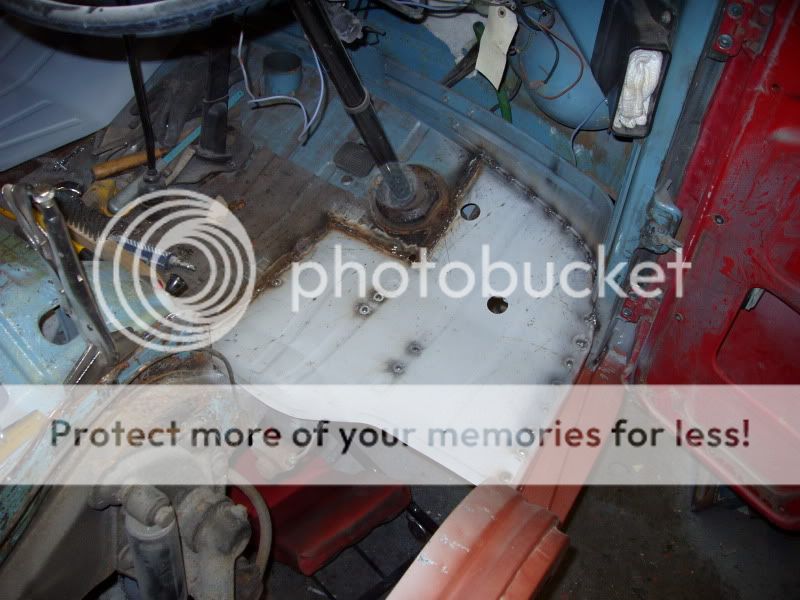
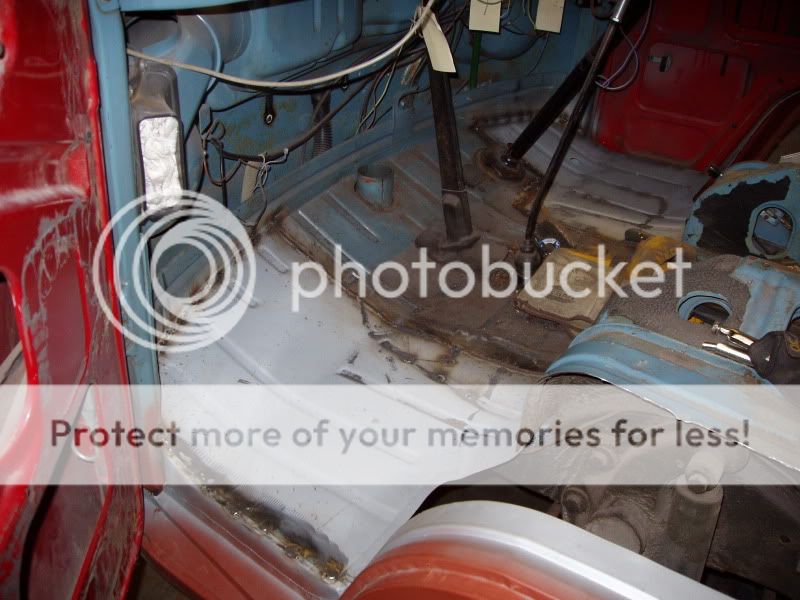
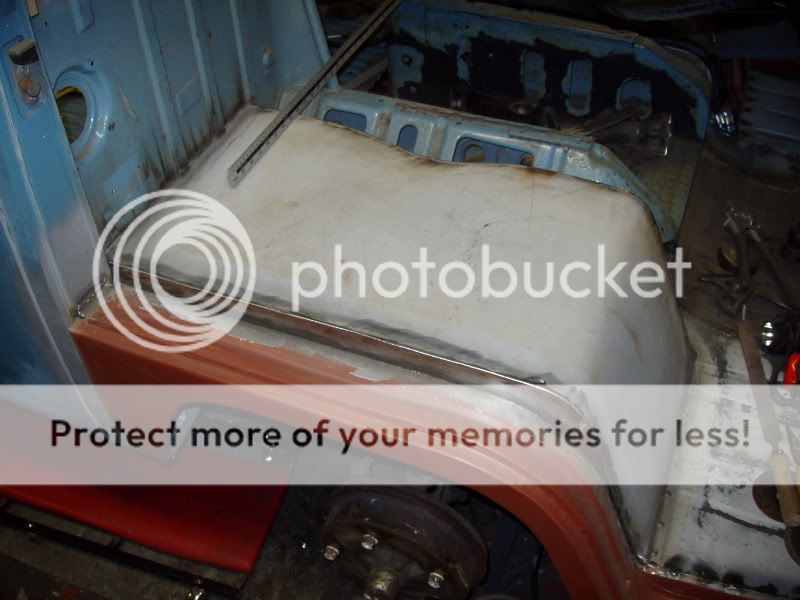
So while i was at the front end i closed in the inner front panel to A post on the n/s and fitted the cab floor section!
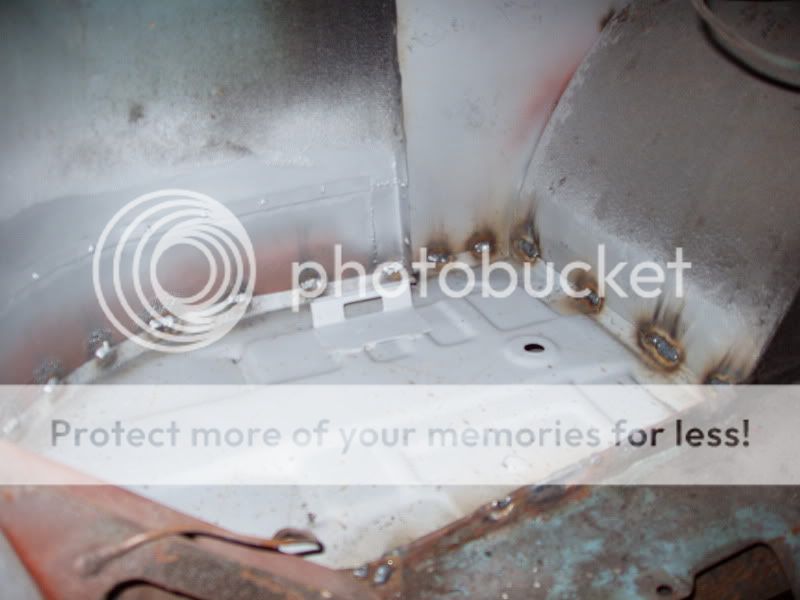
I then got around to fitting the new battery trays. The n/s tray is an inverted o/s one.
O/S
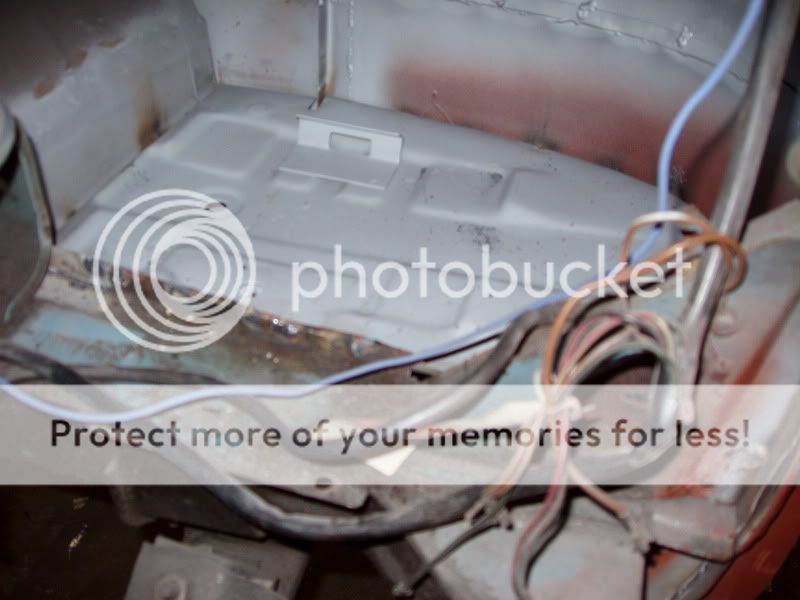
N/S
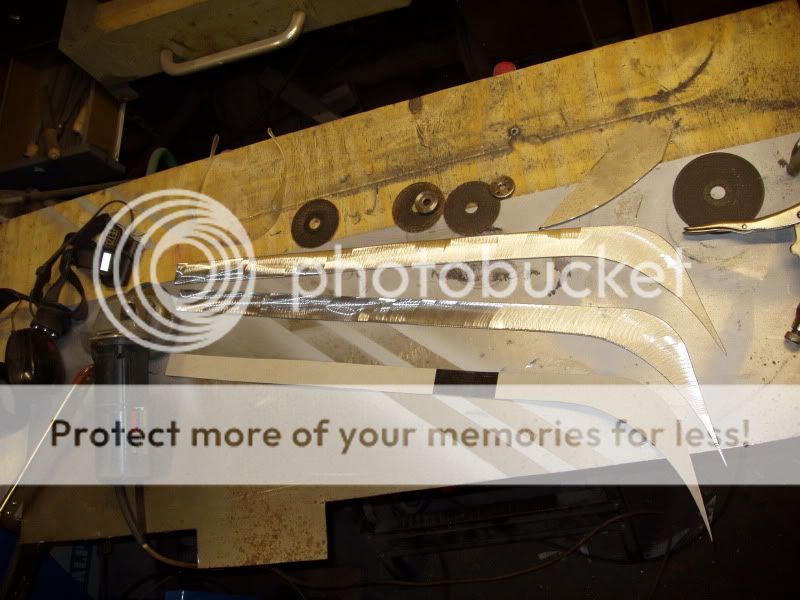
I then started tubbing the front inner wheel arch! Only a mild 30mm.
I then got around to fitting the new battery trays. The n/s tray is an inverted o/s one.
O/S
N/S
I then started tubbing the front inner wheel arch! Only a mild 30mm.
surfbus
Well-known member
What a big pile of work!!! Keep it up! It's worth it..... :mrgreen:
neil'69 said:Cheers easy. It's made with 2mm plate, and is good and strong! I jumped around on it with all of my 16 1/2 stone fine physique :lol: and it's still there!
That Sir is a beauitiful thing!
I like the idea of a bit of tubbage but the tought of my Ballerina like figure and a seat resting on a tub makes me think a little, but that sounds quality and has given me another idea! :mrgreen: Keep up that good work chap 8)
- Joined
- Apr 2, 2007
- Messages
- 478
- Reaction score
- 26
- Location
- Berkshire
- Year of Your Van(s)
- 1972
- Van Type
- Danbury
Nice work!
You gotta luv a Tub!
You gotta luv a Tub!
andys
Well-known member
Fantastic work there fella.
Your a lucky sod haveing a lockup
Your a lucky sod haveing a lockup
Airtime
Well-known member
neil'69 said:I jumped around on it with all of my 16 1/2 stone fine physique :lol: and it's still there!
:mrgreen:
Great work on the van! 8)
Similar threads
Vehicle For Sale
Very rare Oslo edition SO69-01 1969 Early Baywindow £12K Ono
- Replies
- 0
- Views
- 876