Bunty - '71 Tin-Top Sunshine Bus Resto

Early Bay Forum

Help Support Early Bay Forum:

This site may earn a commission from merchant affiliate links, including eBay, Amazon, and others.
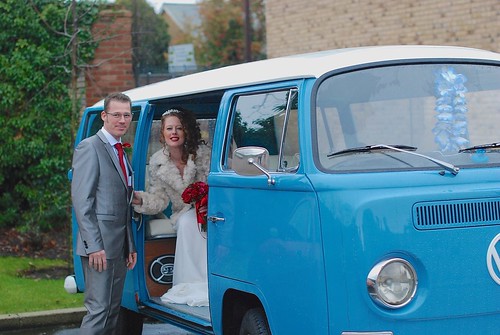
Well. Here I am again with another thread revival. Last year's rivival stalled around October with far too many things going on - including getting married on Christmas Eve. Middi (Dave) from Earlybay.com kindly provided transport for the bride and her brother. Here's a quick pic of Nikki and her brother, Liam, arriving.

9486071859_67c511c8f9.jpg


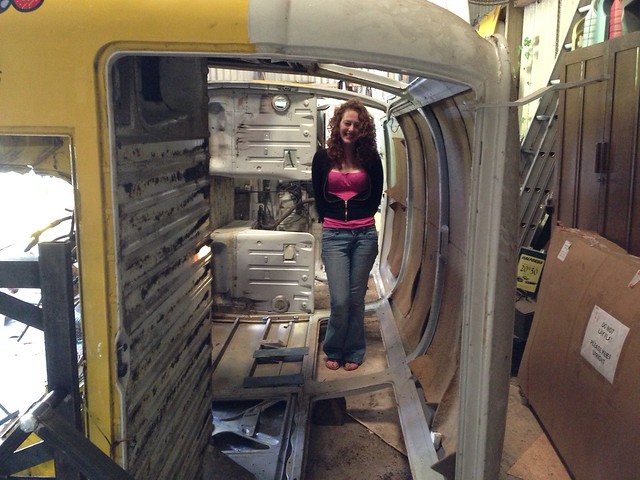
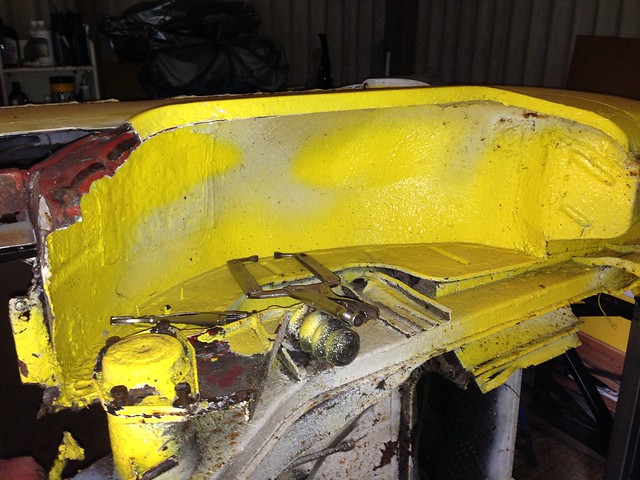
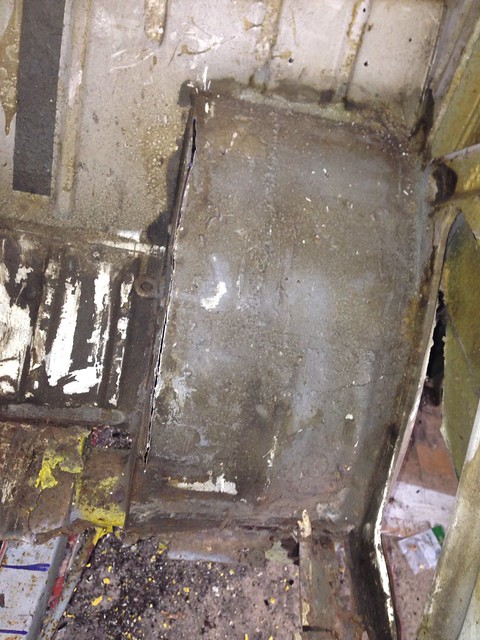
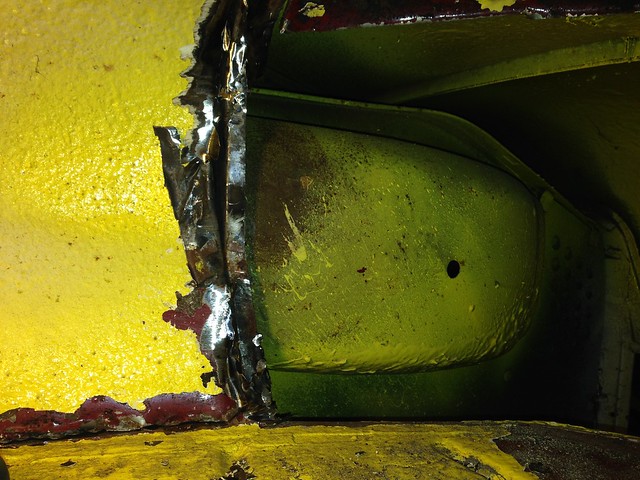
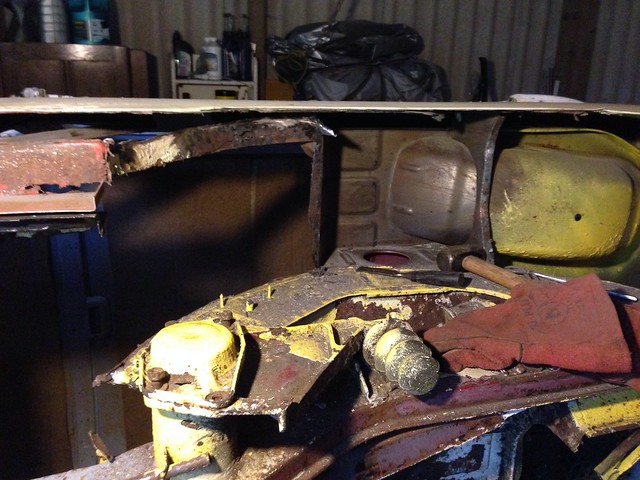
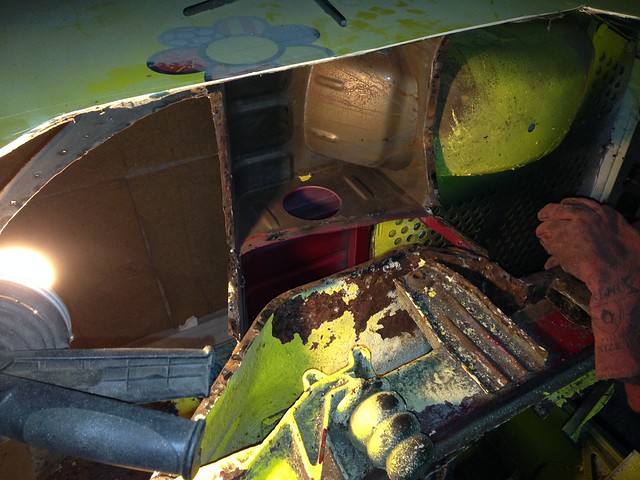
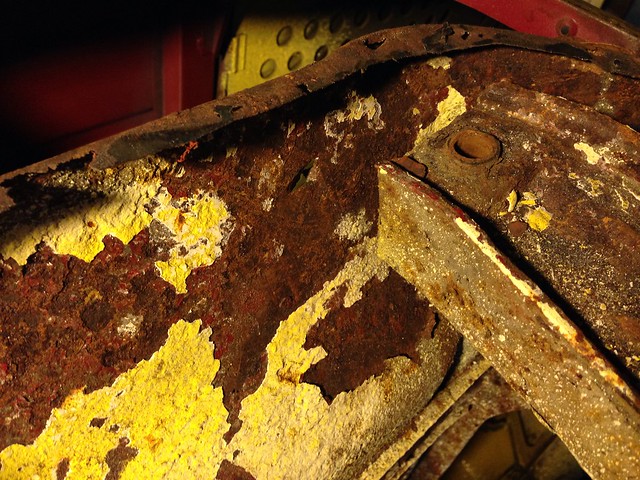
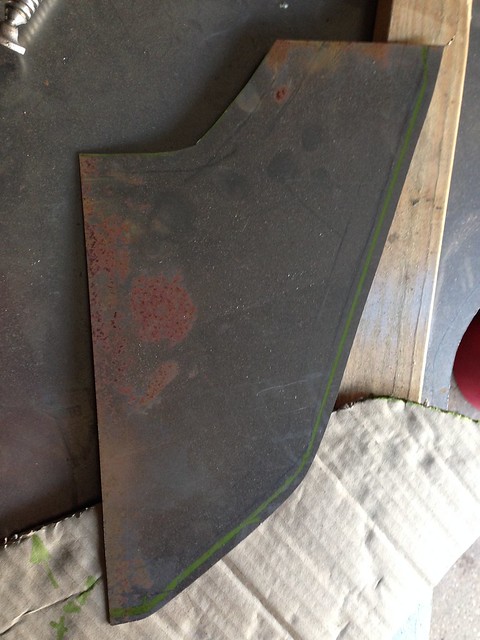
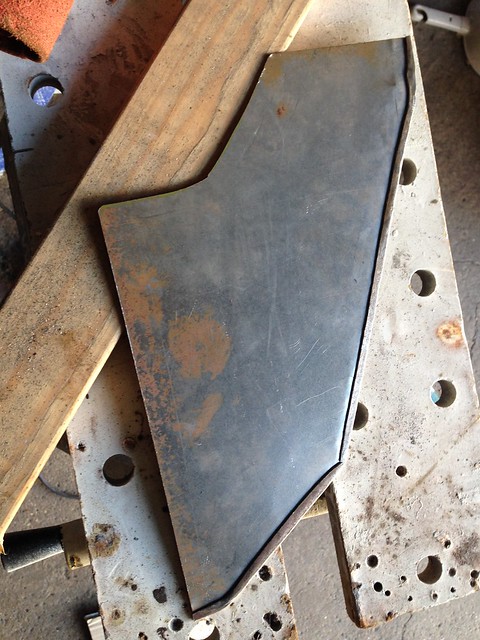
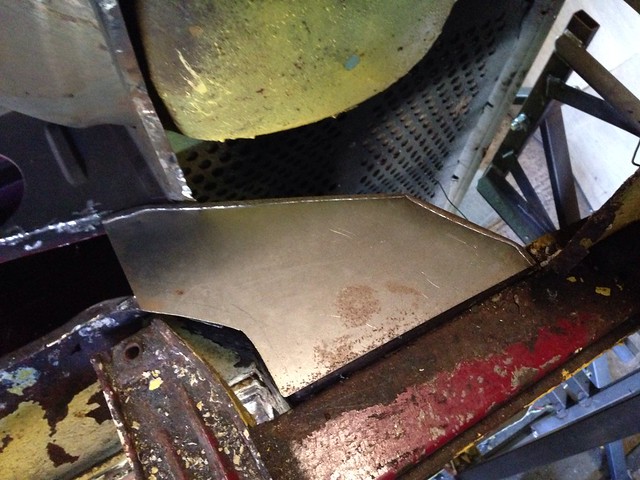
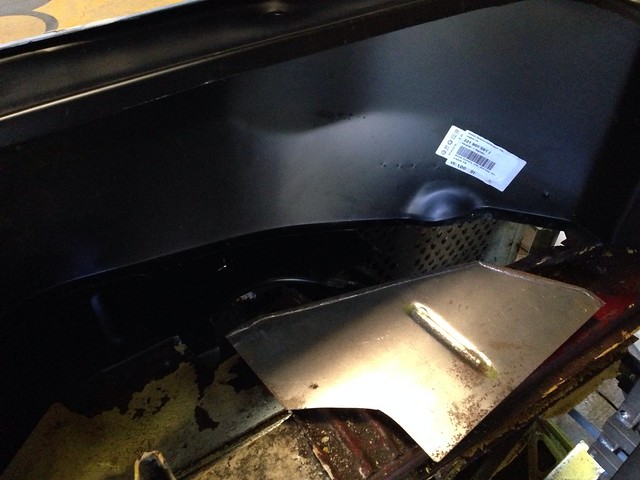
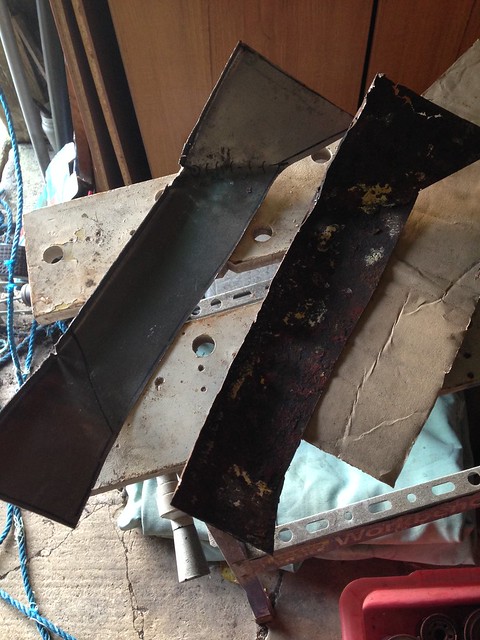
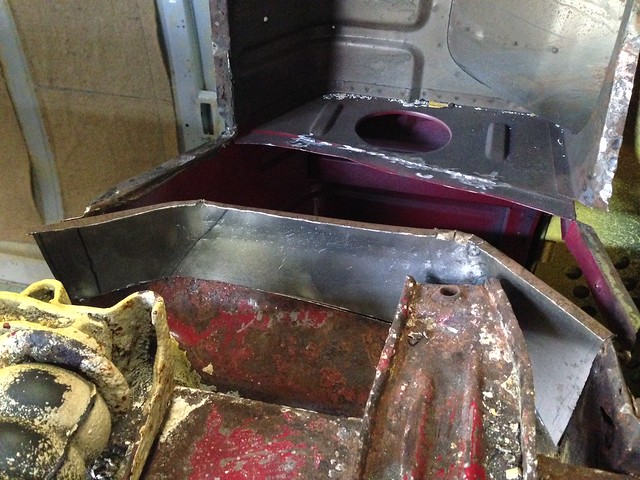
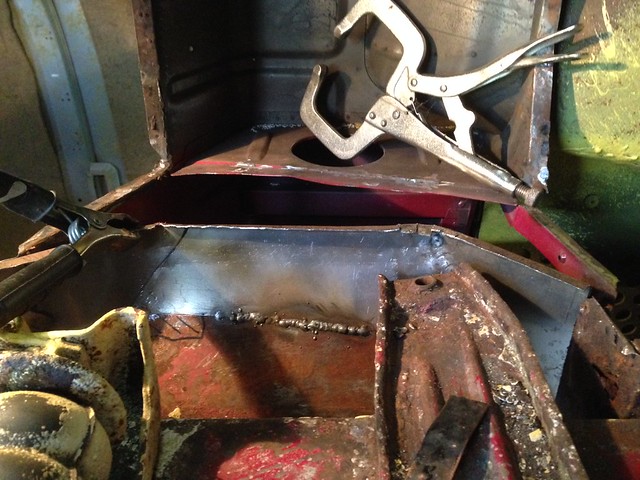
Our wedding present list comprised solely of JK vouchers, so those have been spent on new floor panels, rear brake back plates, n/s rear wheel arch tub and various other panels, and I've now finally resolved to get cracking on the bus again, so we're good to go for another welding frenzy.

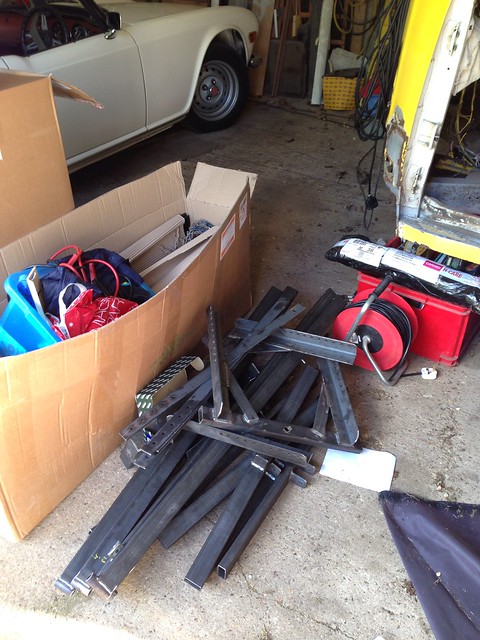
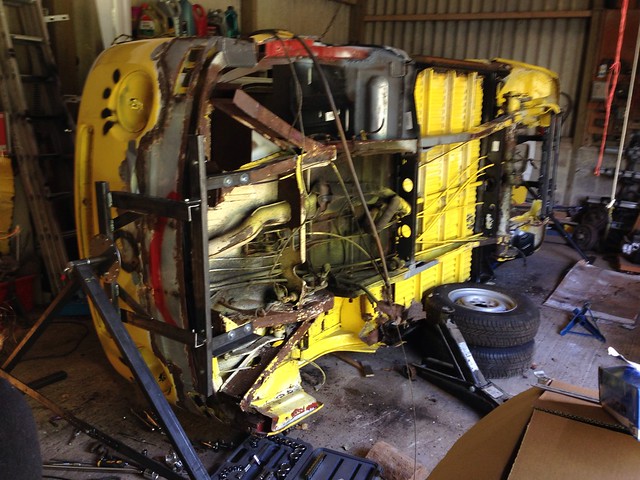
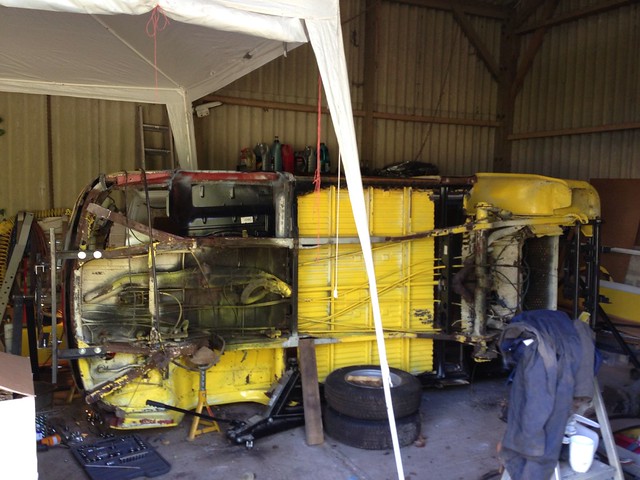
I mentioned in my previous post that I'd bee thinking of buying a roll-over jig. I picked that up a week or so ago, so now faced with the challeng of turning this pile of steel and nuts and bolts...

11147017186_0cf652f539_z.jpg


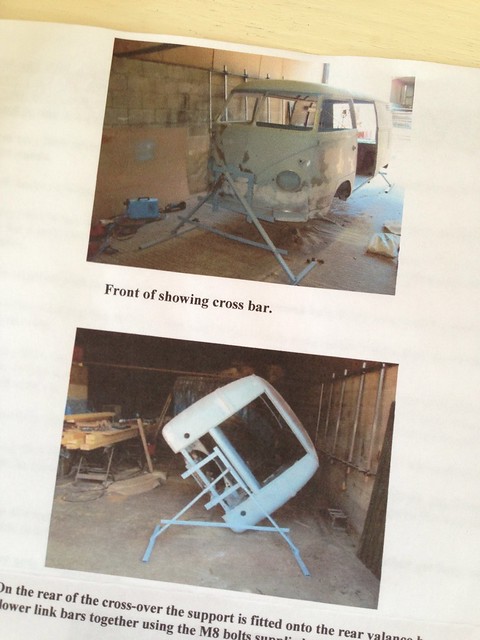
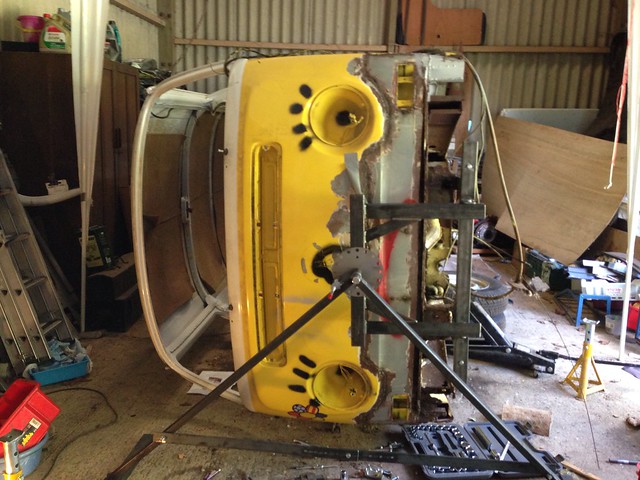
...into something that looks like this:

11147033654_b9936708de_z.jpg


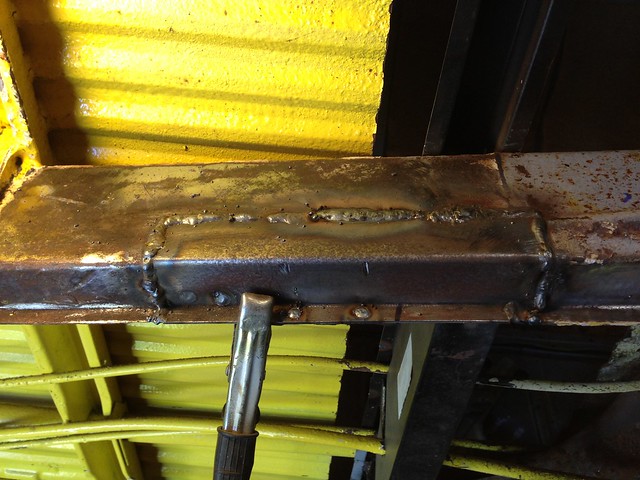
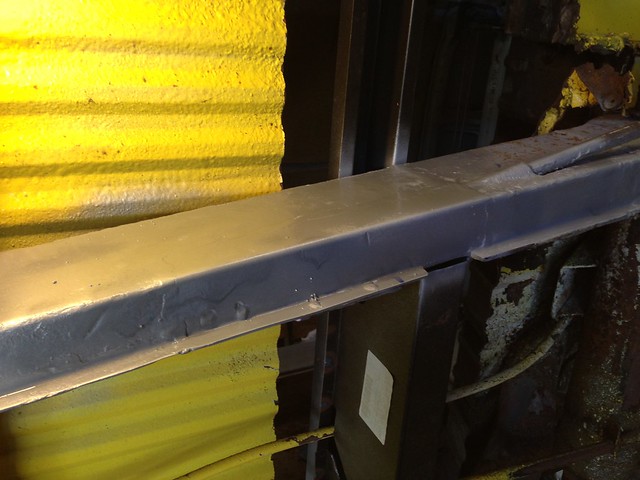
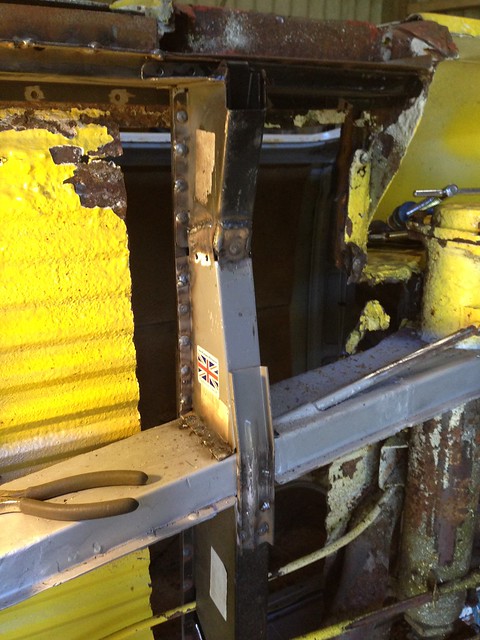
Although the jig looks a bit lightweight, I'm happy that will be OK for rolling the bus over. What I'm not confident about is the way it mounts to the bus - particularly at the back end where it's just designed to use the rear valance bolts. So this weekend I knocked up another bracket that extends round to the engine mounting brackets. Needs a bit of beefing up still with some webs, but it should hold when I roll it over.

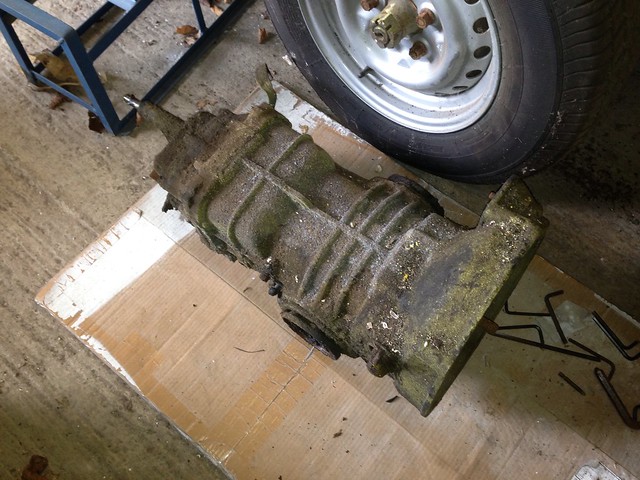
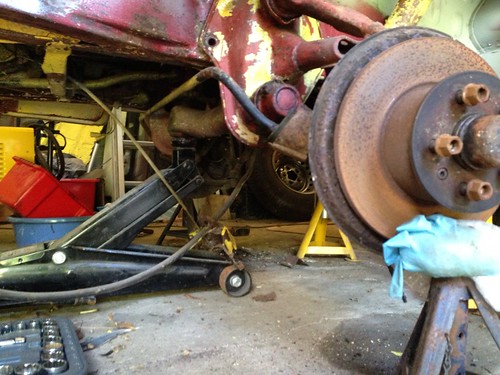
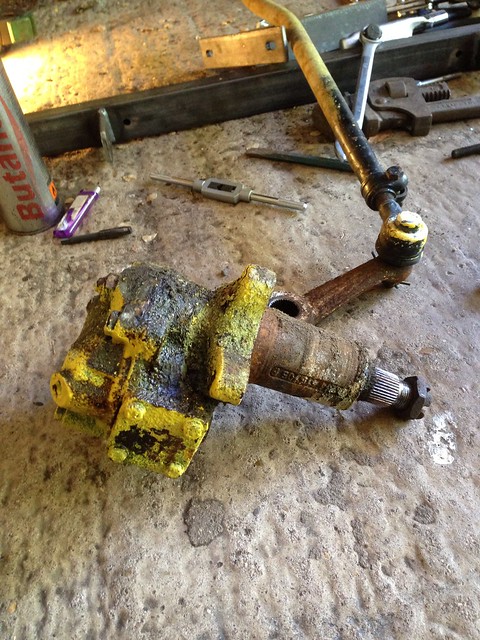
Got the gearbox out which has been suspended from a rope round a block of wood in the engine bay ever since we've had the bus. Crusty on the top and caked in grease underneath. The allen bolts in the CV joints were mostly seized so I had to grind a number of them off.

11147068683_d8a7a42f58_z.jpg


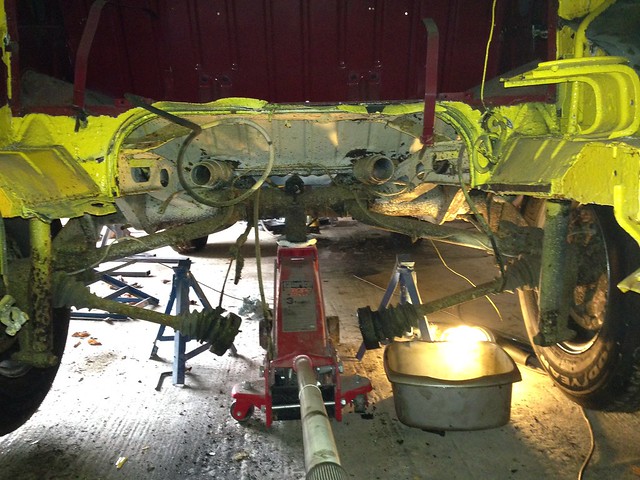
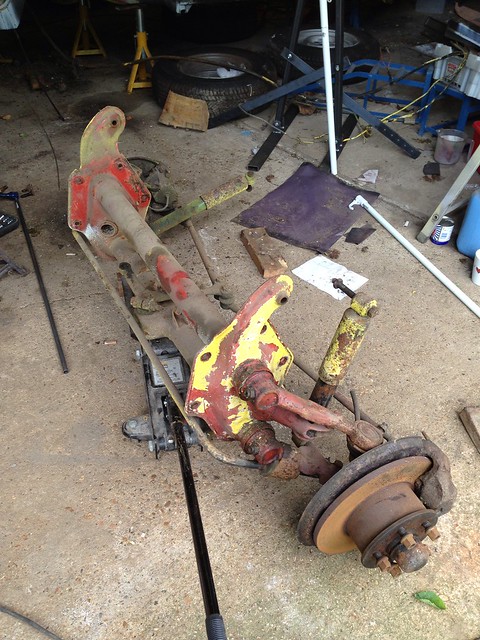
Then jacked up the rear end and onto axle stands ready to strip off the rest of the rear suspension.

11146887485_c98dd8ec50_z.jpg


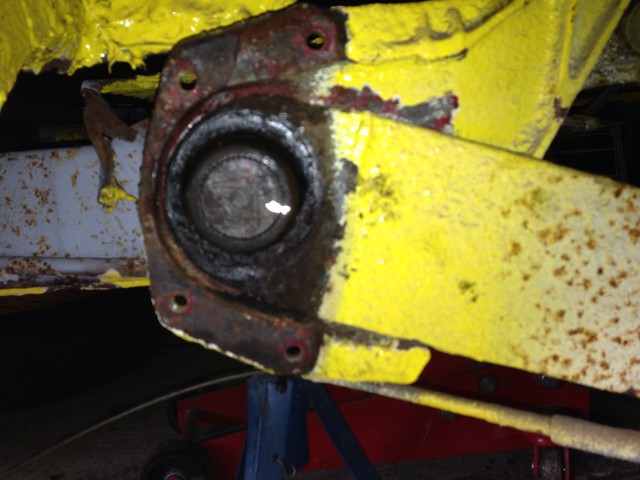
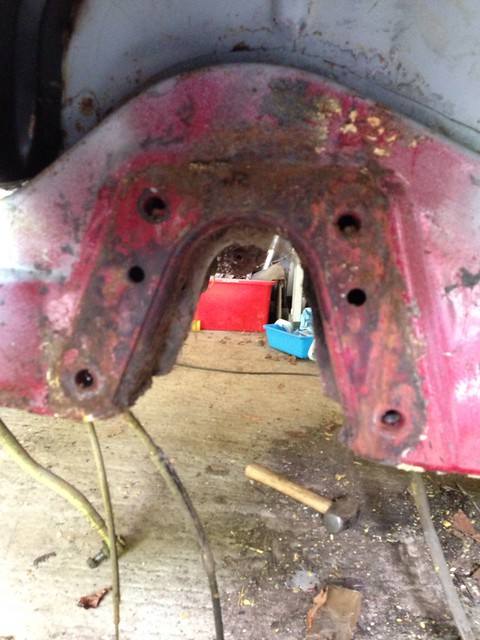
Gave the torsion bar and suspension plate a quick skim with the grinder so I can align it properly when it comes to putting it all back together again:

11147047733_7e84fc5a98_z.jpg


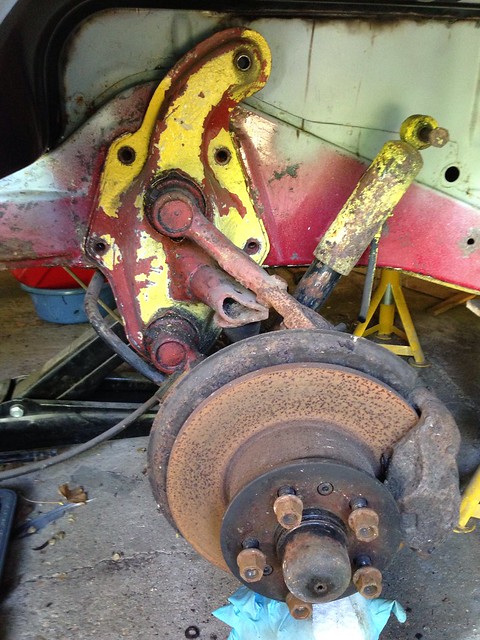
The rest of the day has been spent wrestling with those bloody great bolts holding the swing-arms to the rear hub carrier. Despite cleaning the threads and soaking with penetrating oil they have been very reluctant to budge even with a 3 foot breaker bar. Managed to get the near-side done though, and half way there now with the off-side.

Hopefully next weekend I'll have everything off the rear end and will have dropped the front beam off too. Probably have to beef up the front bracket for the roll-over jig, but if all goes well, Bunty should be enjoying a spit-roast this time next week!
 
ronnie12342003 said:
well done I would take my hat off if I had one 8)

Thanks Ronnie. I appreciate the sentiment anyway! Had a look at your tips on painting.. bookmarked for a later date.


A small update on Operation Spit-Roast... :msn4:

Got the rear end stripped of suspension components. Those 4 swing arm to hub carrier bolts were a pain on the off-side, but after lots of penetrating oil and with a 2.5 ft breaker bar they eventually came off.

Moved on to the front end to get the beam off. With all the various cables and rods that pass between the beam out of the way, I removed the four bolts each side that attach the beam to the chassis. The plan was to simply lower it on the jack and drag it out from under the bus. Unfortunately, despite its weight, the beam defied gravity and stayed where it was.

9536994329_829b4c7b0c_z.jpg


Despite swinging on the hubs, belting it with a copper mallet, and swearing at it, the beam wasn't going anywhere. Had enough and called it a day. I left it for the night with a couple of stands strategically positioned hoping gravity might take it's course in the night.

Unfortunately no change come morning.

9539794142_1746f91e3c.jpg


I attacked the beam with renewed vigour this morning. And with a bloody great hammer and a block of 4x2. Finally it started to budge and I was able to lower it down and drag it sideways clear of the bus. The brake shields are a crumbly mess so I wasn't worried about them getting bent out of shape.

Looks like this is a replacement beam from sometime back. All looks to be solid with no obvious corrosion.

9537012819_407a765269_z.jpg


I was worried about what I'd find under the beam. Fortunately it all looks to be solid. A little surface rust which will clean off.

With the beam off, I was ready to get the bus mounted on the rollover jig.

9537020171_54e404fc84_z.jpg


The jig bolts on the front chassis using the bumper mounts. Sod's law again - the brackets fouled the steering box, so that had to be removed before I could attach them. The arm didn't want to come off, so more mucking about was needed adapting a ball joint separator to fit the joint. It evently came off with quite spectacularly, narrowly missing my head, with a loud bang when I applied a little heat.

9537043621_e6a900b56b_z.jpg


Previous owner had cross-threaded both front bumper mounts, so more fun was had tapping them out to take new bolts. I also opened up the plates that close off the chassis leg ends so I could get a couple of nuts on the bolts to make it a bit more secure.

The jig has a number of holes on the two vertical arms that allow you to adjust it for the correct centre of gravity. Front is set on the very bottom hole, and rear is second from bottom. The sliding door was on initially, but it made the bus want to tip to the passenger side so I took it off.

With everything set-up correctly, she was gently rolled over on her off-side.

9537049727_af5698c352_z.jpg


Looks like quite an undignified position for a bus, but this should hopefully make working on her much more simple. I'm fed up with getting grinding sparks and welding drips in my ears.

9539848442_1d2368184c_z.jpg


Nikki living dangerously here. Not the ideal footwear for the workshop. Health and Safety will be having panic attacks looking at this. Brings new meaning to the term 'walk-through' though!

9537076853_da819aa99f_z.jpg


Nikki isn't very tall. About 5' 3" in her flip-flops. I reckon she'd be able to sleep in one of the bunks across the front seats. More room for me in the double bed at the back! :lol:

I've got new floor panels, plus front and rear wheel tubs to go in so that sickly yellow glow will soon be a dim and distant nightmare.

9539874410_2c672cd103_z.jpg


Looking forward to getting stuck back in to this restoration as I've done very little on it for the last year and a half.

That's it for this update. Going to focus on getting the nearside chassis and rear wheel arch tub sorted over the next few weeks, then flip 180 degrees and get that scabby offside B-post/bulkhead/tub done.
 
An update on progress... Slow going as usual, but starting to get somewhere. I've now sold the TR6 so have a bit more time and space to work on the bus.

More rot found in the n/s chassis rail which needed repairing before I could get the jacking point in.

11146541114_490e3b823e_z.jpg


Welds ground down and a squirt of weld-thru primer.

11146488214_e011d1873f_z.jpg


Then in with the rear jacking point.

11146480874_2b985b51ae_z.jpg
 
Now on to this shoddy wheel tub. It's full of patches, rust, filler, silicone sealant then all caked in stonechip and yellow paint. No point trying to save it so a new tub awaits.

11146428456_7786710151_z.jpg


From the inside. I'd already started splitting it to take it out bit by bit.

11146564473_9dc3717d40_z.jpg


Finding the bulkhead seams - which are pretty solid, but there's a lot of rot that will need repairing before I can get the new arch in.

11140901723_f4b02a73b7_z.jpg


Most of the curved section out, but the flat piece that closes the arch off across the engine bay, fuel tank and rear seating area is also too rotten to save. It wasn't quite so bad on the other side so I was hoping the n/s would be the same.

11140692476_7c10c92869_z.jpg


But had to take it all out. Unfortunately the floor of the fuel tank compartment is also rotten here, which gives me nothing to weld the new tub to... so got to repair that first.

11140573194_26b2f26fdc_z.jpg


11140003755_66b9fc2c29_z.jpg
 
As the new wheel tub is a different profile at the rear compared to the one that's come out, I have to fabricate a new plate to go in where it closes off the engine bay and part-way into the fuel tank compartment. Started by cutting out the shape using the old rotten piece as a guide.

11159044276_eee3b77b08_z.jpg


Then folded the seam over
11159175883_eb97bc408b_z.jpg


Checked for size and fit
11159139203_2739a82084_z.jpg


Cut out the rear section of the new tub, tickled a strengthening rib into the repair piece
11159123563_bfa0cb22e5_z.jpg


And that's about as far as I could go with the tub until the rest of the pieces it ties into have been repaired.
 
And today I've set about tackling the rotten fuel tank compartment floor. Not an easy piece to fabricate due to the various curves, but I cut out the rotten part and used that as a guide to cut out and shape a new piece.
11273894353_5e7f1750a9_z.jpg


Checked for fit, which to my surprise wasnt too bad
11273888913_0298ce28b8_z.jpg


Started welding it in. Not an easy bit to get to due to the shock mount and the fact that the bracket for the roll-over jig makes it awkward to get at from inside the engine bay.
11273772555_c047e2da08_z.jpg


Still a way to go with this section, but it hopefully won't be too much longer and the rear tub will be in to match the one I've already got in on the o/s. Now the bus is on the jig though I have noticed more rot in the fuel tank compartment floor on the o/s so that will need doing too.

I keep looking at this bus and realise just how much further I still have to go....

:roll:
 
Again - great fabrication of the new parts :)

Hate it when you think you have found all the rot then up pops more :evil:

Keep up the good work dude 8)
 
Wow, just read this whole thread. The joys of UK busses eh ?!
Superb work , well done !
 
Thanks for the feedback guys. It helps keep my enthusiasm going.

Squirt - just had a look at your thread and I see your bus is called Fannie. Seeing as ours has the first 3 letters of the reg 'UNT', we were tempted to call it something along those lines but thought 'Bunty' was the cleaner option. So far it's lived up to option 1 though, and has proved to be a right Fannie to restore!
 
This thread is awesome as this is exactly what I'm doing with my bus at the min, an seeing the way your doing things gives me the help an motivation needed!1 thing I'd like to ask is was the bus ok on the jig without the front x member an floor in? Was the strength still in the bus for it to be rolled on its side? My front x member an floor an arch on n/s are out an I want to put it on the jig just wondered if it would be ok??
Cheers Jay
 
Apollo1977 said:
This thread is awesome as this is exactly what I'm doing with my bus at the min, an seeing the way your doing things gives me the help an motivation needed!1 thing I'd like to ask is was the bus ok on the jig without the front x member an floor in? Was the strength still in the bus for it to be rolled on its side? My front x member an floor an arch on n/s are out an I want to put it on the jig just wondered if it would be ok??
Cheers Jay

Hi Jay,

When you say crossmember, which part do you mean? The piece behind the front bumper? I think as long as you have both front jacking points in and they're solid, you should be ok to roll the bus. If in doubt though, you could weld a few lengths of angle iron in to brace the body... say an 'X' across the n/s door aperture, and n/s A-post to o/s chassis rail, and o/s A-post to n/s chassis rail. I'm trying to find a picture to draw on what I mean but without luck at the moment....
 
Darrencambs said:
Thanks for the feedback guys. It helps keep my enthusiasm going.

Squirt - just had a look at your thread and I see your bus is called Fannie. Seeing as ours has the first 3 letters of the reg 'UNT', we were tempted to call it something along those lines but thought 'Bunty' was the cleaner option. So far it's lived up to option 1 though, and has scored proved to be a right Fannie to restore!

:lol: :lol:

ah, no "Fannie" is someone else's bus, we laughed about their names because mines called "squirt" (after squirting 5L of oil over the mrs car following me on the 8hr, 200 mile drive home from buying him) .
You gotta love 'em eh ! :D

Keep at it mate, will be great when its all finished.
 
Yes mate the x member behind the bumper/ front panel!? I'm about to replace all the 4 front chassis members from the y pieces forward, so think il do them first an weld in the x member an wing before putting on the jig? Lol, just in case :D
 
Hi all. It's been a while.

Very little (almost zero) progress made over the last 3 years. Just don't get time these days, and planning to move home in the next few months - so the bus is reluctantly going up for sale.

What's done is what you see, other than the o/s wheel arch has been cut out and I've started to remove the tub in that corner.

I've been out in the barn today freeing-off the brakes and getting the rear hubs and beam back on. She'll be back on her wheels and off the spit next weekend, so can be pushed onto a trailer.

I'll be selling with all the new panels and parts I've bought. Been so long since I've worked on the project it's hard to remember what I have, but it must run into £1,000's.

Will be sad to see her go but I have to be realistic and admit that I'm just not going to have time to work on her.

If anyone is interested in taking this project on then give me a shout. Will put and ad up on the forum and probably ebay in the next week or two when I've totted up all I've got and come up with a price (will be selling everything together - van, rollover-jig, new parts and panels).
 
Very regretfully put Bunty up on eBay today.

Listing number 232276029030.

Hope she goes to a good home.

I've set a realistic reserve, and if she doesn't go I'll find a way to keep her and finish the project.
 

Latest posts

Top