Ay up fellas. Thought it's time to share my project with everyone.The start of the story. For about a year, every day to work I drove past a house with a rusty looking camper on the drive. Time went on and nothing seemed to change with it untill six months ago I spotted it on our beloved auction site. I parted with some pound notes and ended up with it on the driveway. Lets have a look at what, or what I did'nt get for my money.
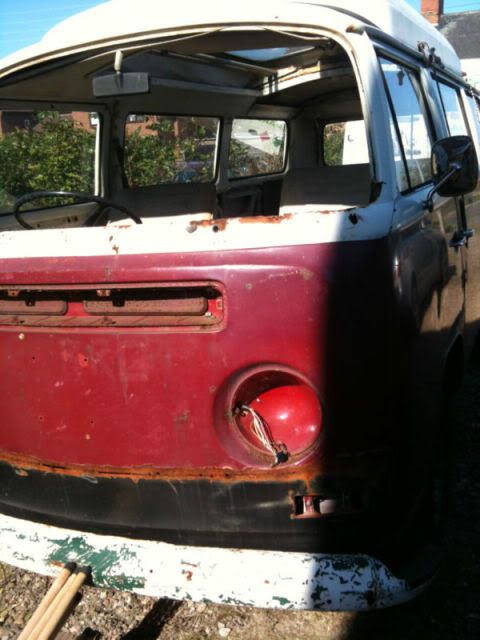
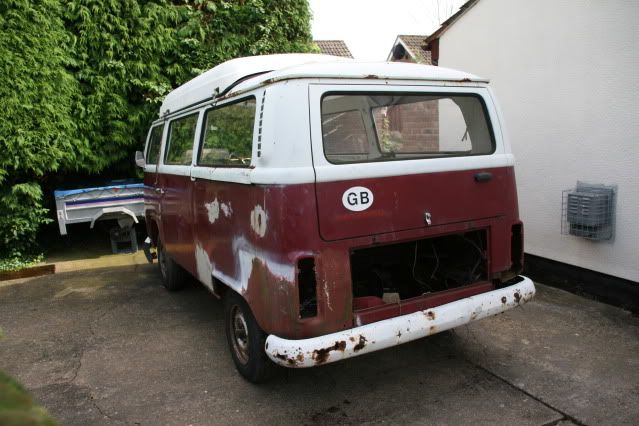
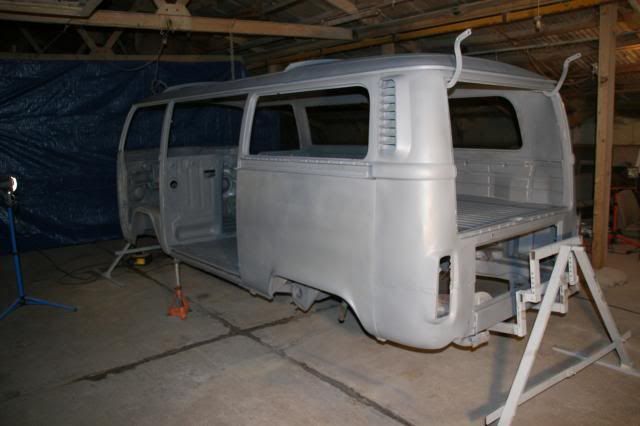
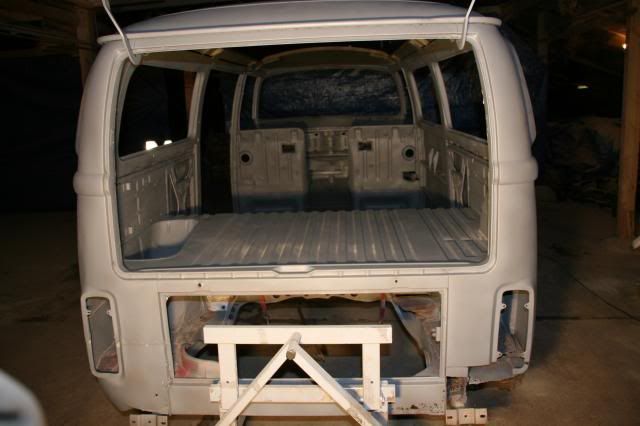
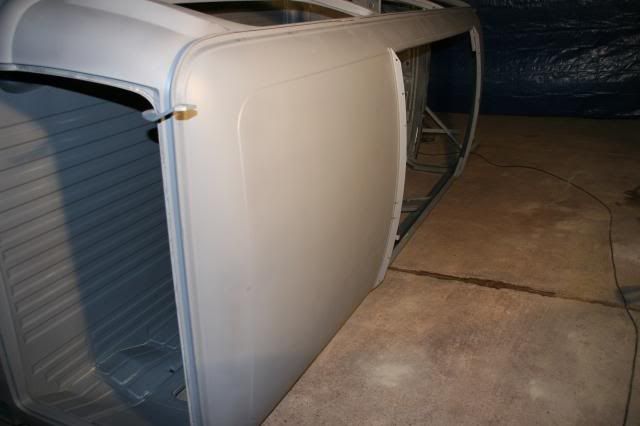
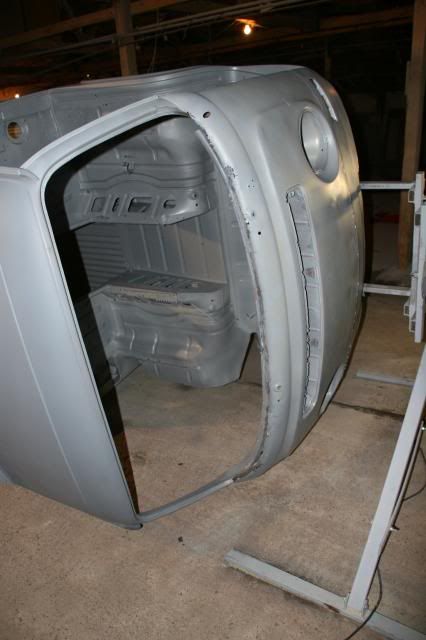
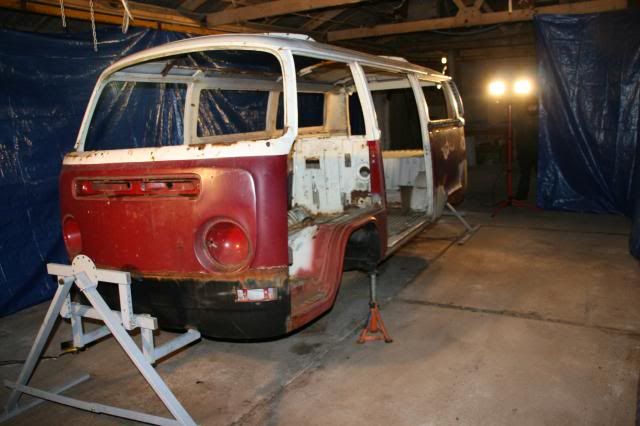
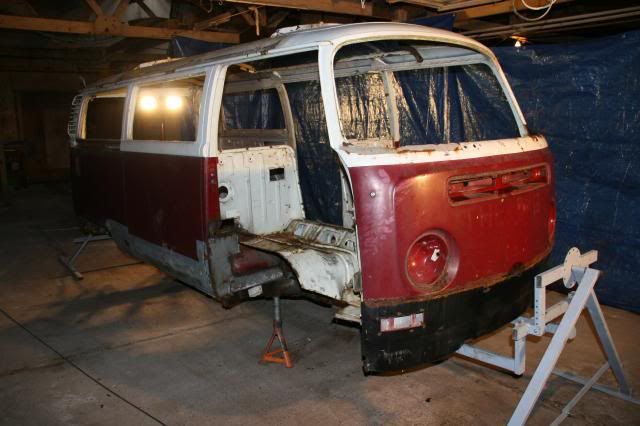
Two weeks ago I said enough was enough and took the camper to the "bat cave" and the strip down began. Friday was D-day for the old girl. The sand blaster was on route relieve her of all the sh#t and corruption inside and out. Some pics of her before the blasting session.
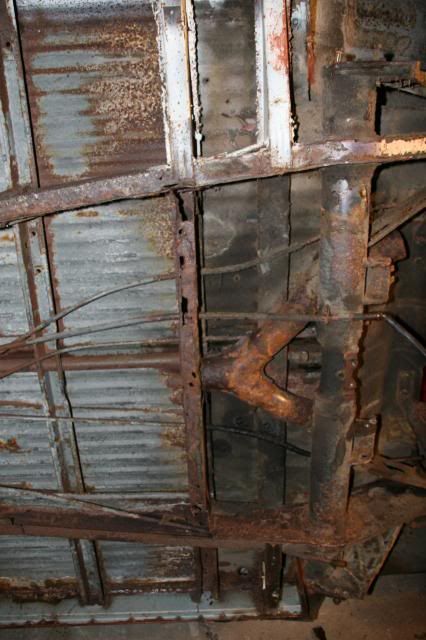

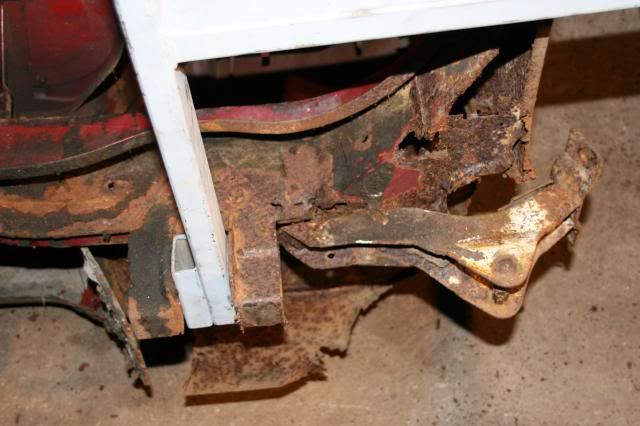
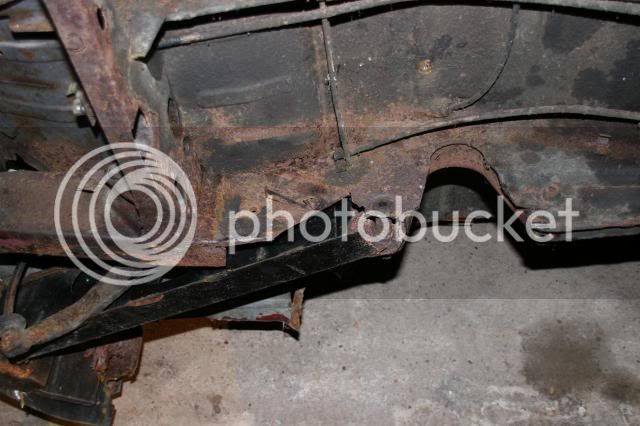
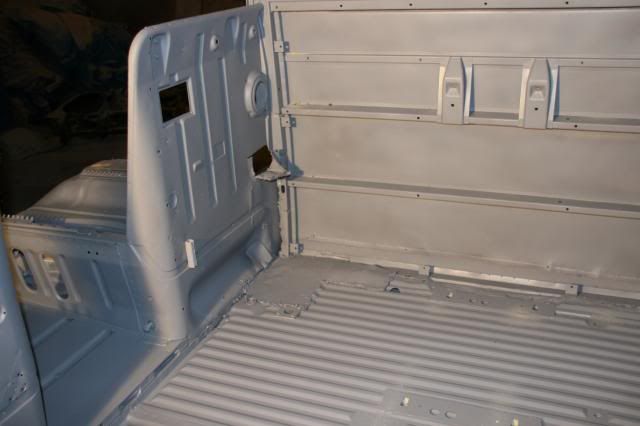
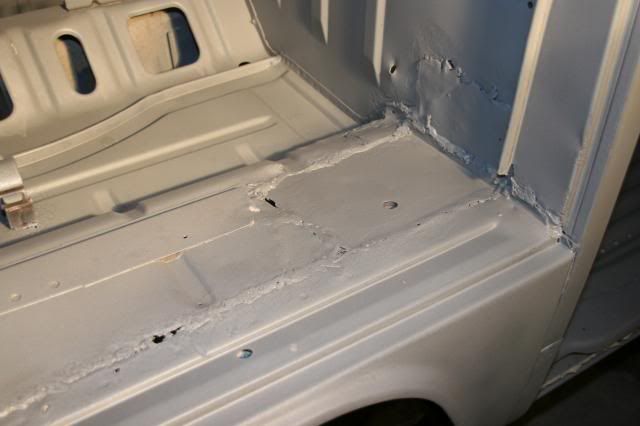
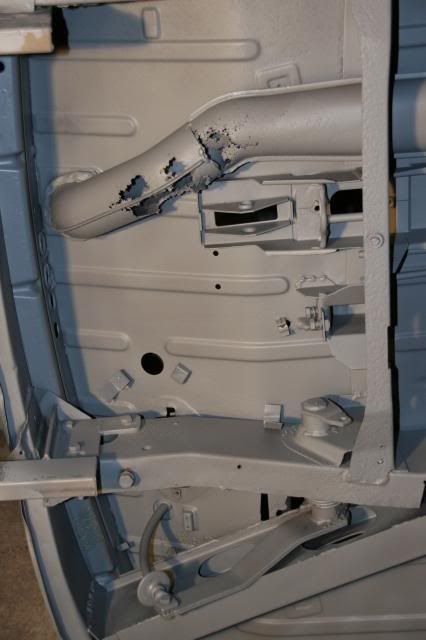
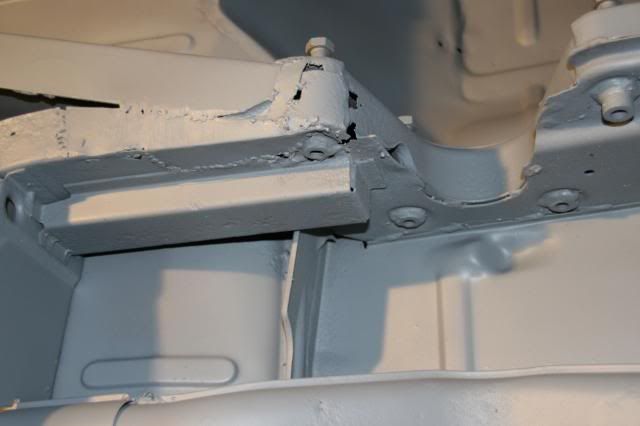
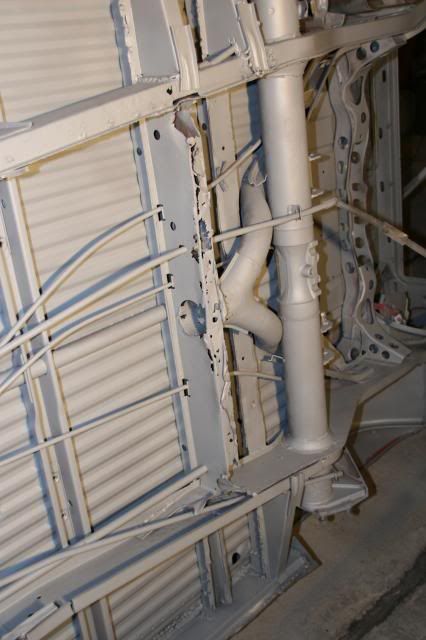
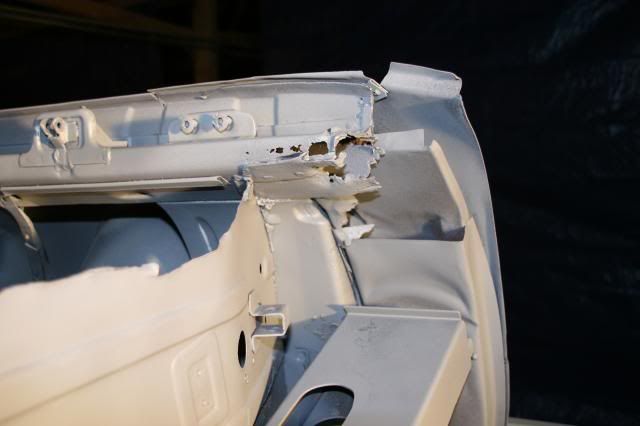
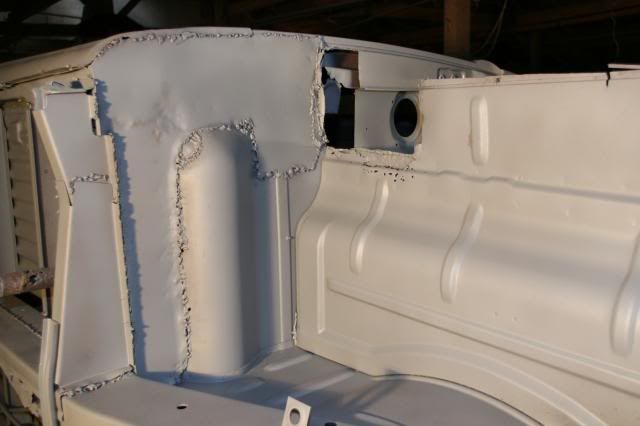
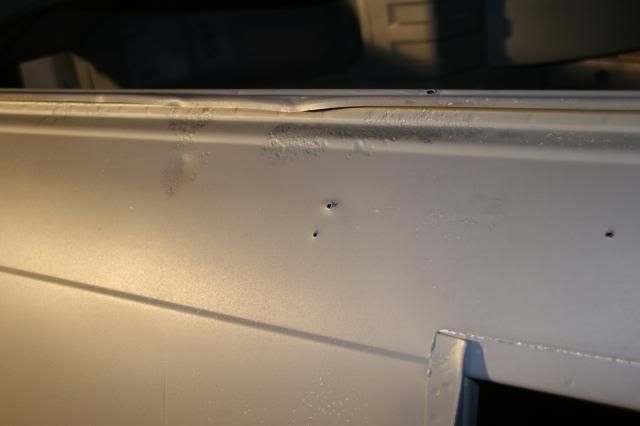
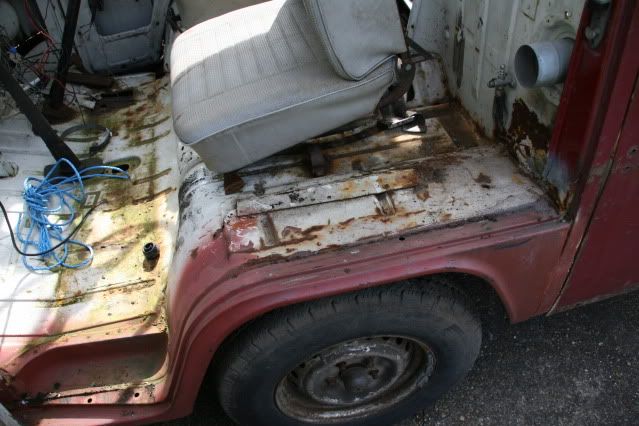
Whoever attempted to do some repairs in a previous life realy should'nt have bothered. All thay have done is butcher it and some of the welding is lets say, absolute crap for ease. I'll post some pics up after blasting and it in a quick coat of primer. Revealing some nice holes.
Two weeks ago I said enough was enough and took the camper to the "bat cave" and the strip down began. Friday was D-day for the old girl. The sand blaster was on route relieve her of all the sh#t and corruption inside and out. Some pics of her before the blasting session.
Whoever attempted to do some repairs in a previous life realy should'nt have bothered. All thay have done is butcher it and some of the welding is lets say, absolute crap for ease. I'll post some pics up after blasting and it in a quick coat of primer. Revealing some nice holes.