Crossover Dormobile long hall resto

Early Bay Forum

Help Support Early Bay Forum:

This site may earn a commission from merchant affiliate links, including eBay, Amazon, and others.

DormyDave

Member
Joined
Aug 10, 2012
Messages
5
Reaction score
0
Ay up fellas. Thought it's time to share my project with everyone.The start of the story. For about a year, every day to work I drove past a house with a rusty looking camper on the drive. Time went on and nothing seemed to change with it untill six months ago I spotted it on our beloved auction site. I parted with some pound notes and ended up with it on the driveway. Lets have a look at what, or what I did'nt get for my money.
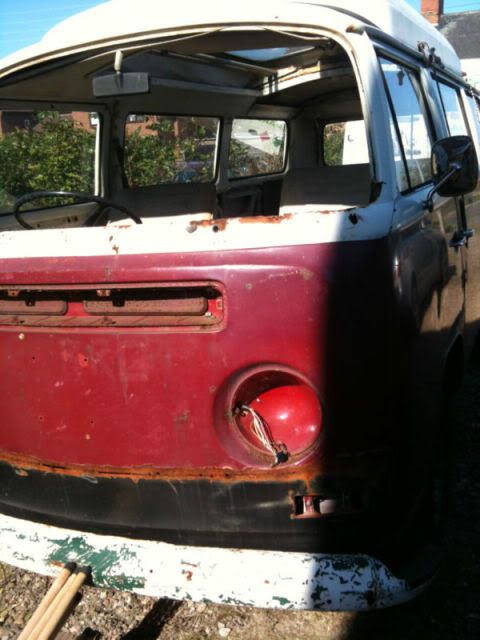
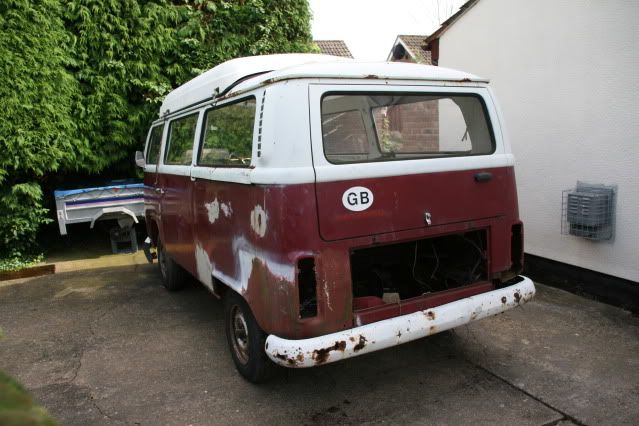
CopyofKGrHqJHJBIE-eqSiEkjBPv9k01gqQ60_3.jpg

CopyofIMG_1513.jpg

IMG_1526.jpg


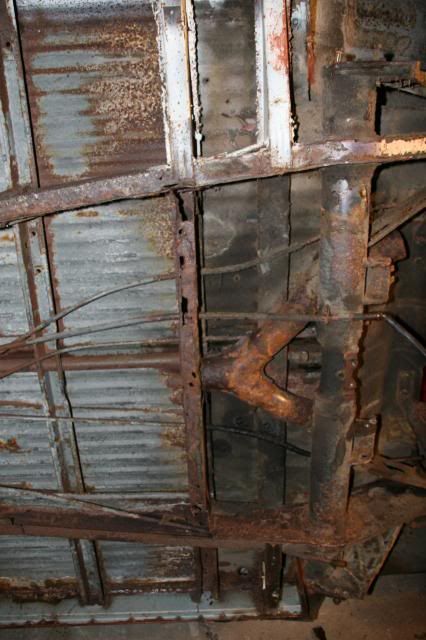
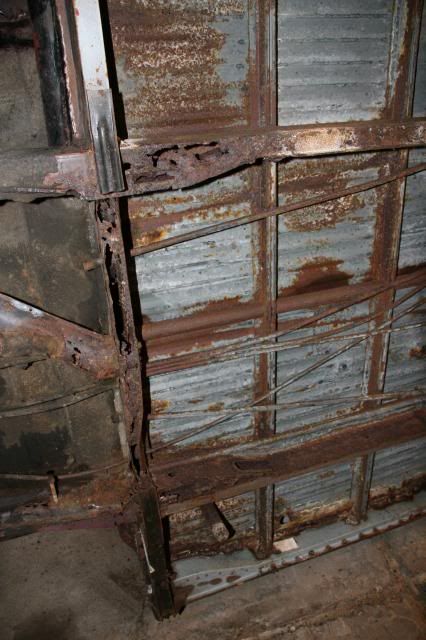
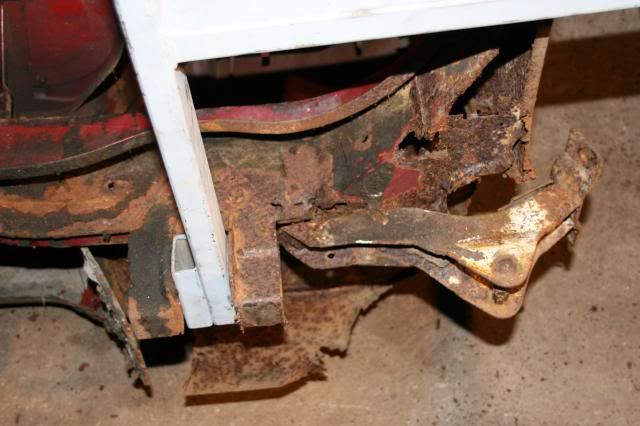
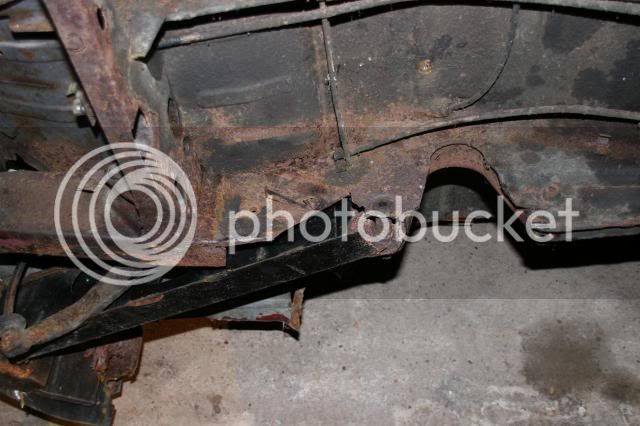
Two weeks ago I said enough was enough and took the camper to the "bat cave" and the strip down began. Friday was D-day for the old girl. The sand blaster was on route relieve her of all the sh#t and corruption inside and out. Some pics of her before the blasting session.

campershell004.jpg

campershell003.jpg

campershell016.jpg

campershell017.jpg

campershell014.jpg

campershell018.jpg


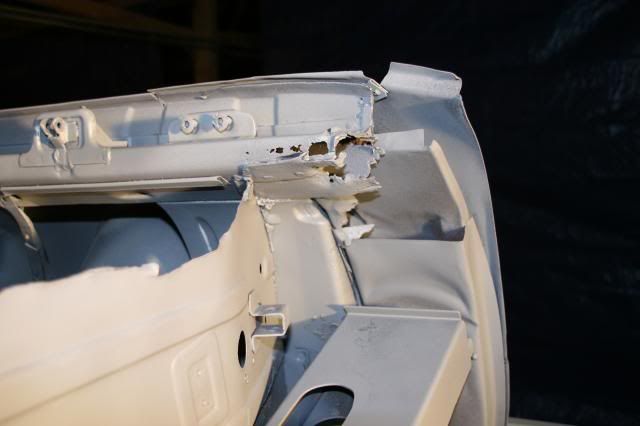
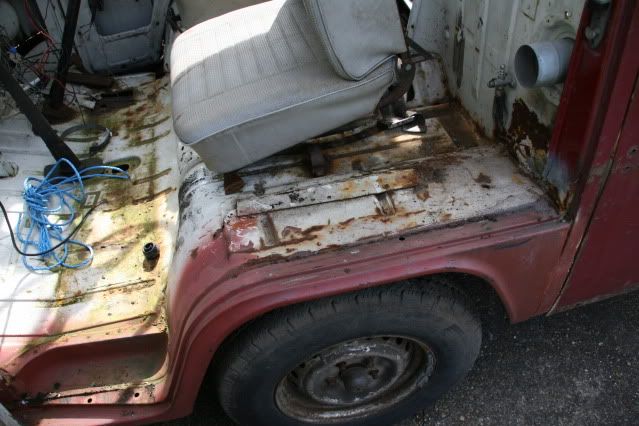
Whoever attempted to do some repairs in a previous life realy should'nt have bothered. All thay have done is butcher it and some of the welding is lets say, absolute crap for ease. I'll post some pics up after blasting and it in a quick coat of primer. Revealing some nice holes.
 
DormyDave said:
Ay up fellas. Thought it's time to share my project with everyone.The start of the story. For about a year, every day to work I drove past a house with a rusty looking camper on the drive. Time went on and nothing seemed to change with it untill six months ago I spotted it on our beloved auction site. I parted with some pound notes and ended up with it on the driveway. Lets have a look at what, or what I did'nt get for my money.
CopyofKGrHqJHJBIE-eqSiEkjBPv9k01gqQ60_3.jpg

CopyofIMG_1513.jpg

IMG_1526.jpg


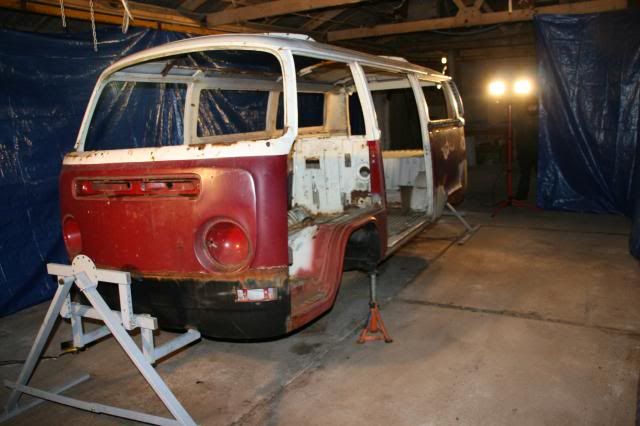
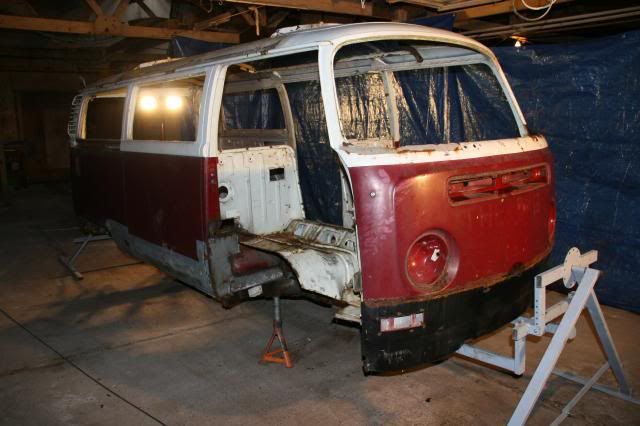
Two weeks ago I said enough was enough and took the camper to the "bat cave" and the strip down began. Friday was D-day for the old girl. The sand blaster was on route relieve her of all the sh#t and corruption inside and out. Some pics of her before the blasting session.
campershell004.jpg

campershell003.jpg

campershell016.jpg

campershell017.jpg

campershell014.jpg

campershell018.jpg


Whoever attempted to do some repairs in a previous life realy should'nt have bothered. All thay have done is butcher it and some of the welding is lets say, absolute crap for ease. I'll post some pics up after blasting and it in a quick coat of primer. Revealing some nice holes.
im guessing its going to be a bit lighter after blasting , brave man
 
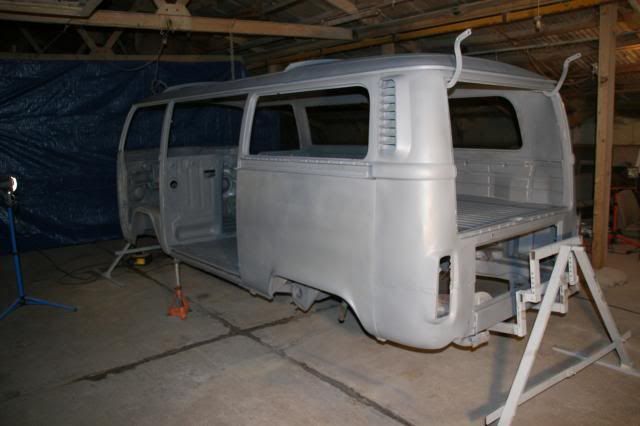
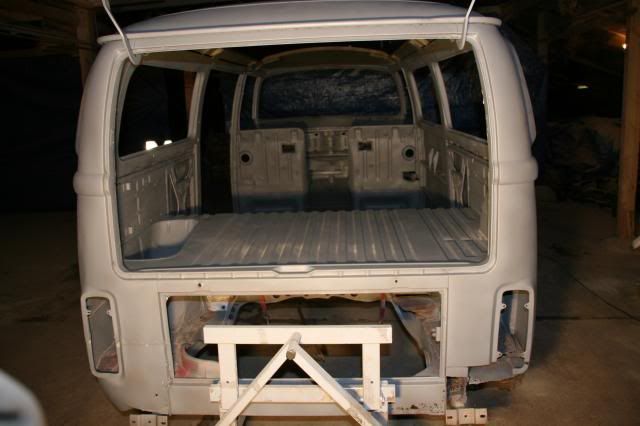
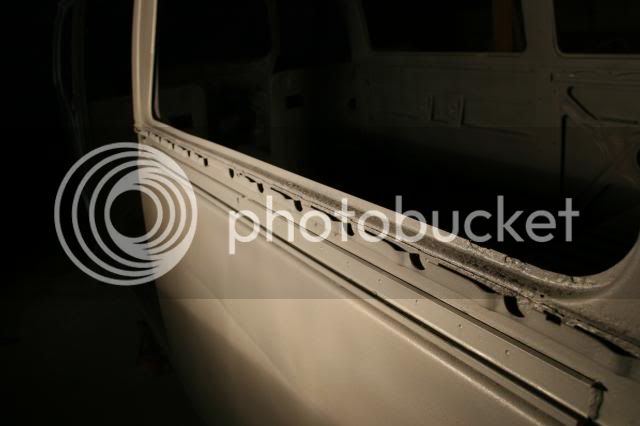
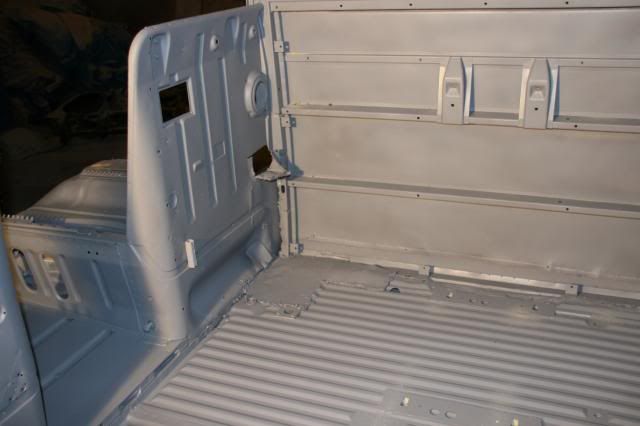
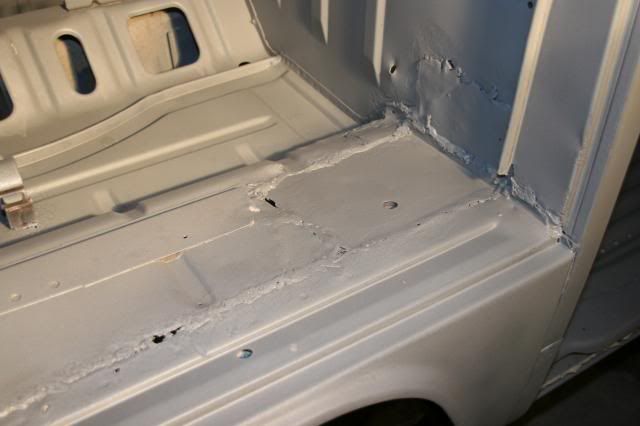
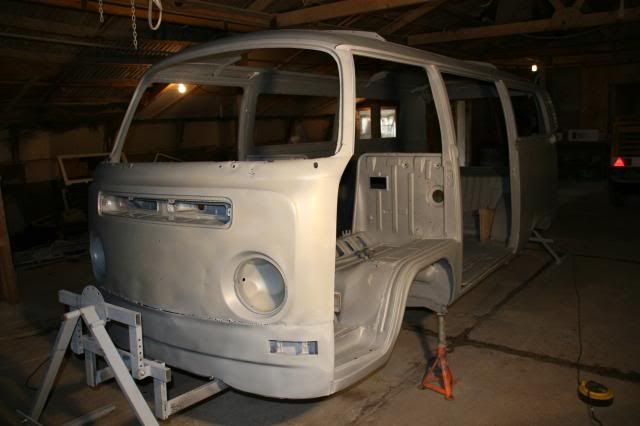
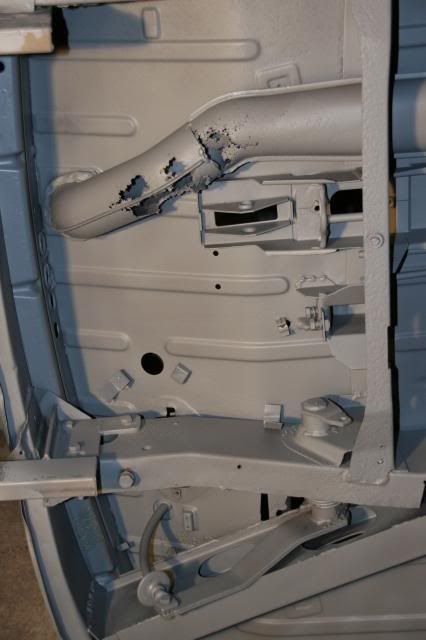
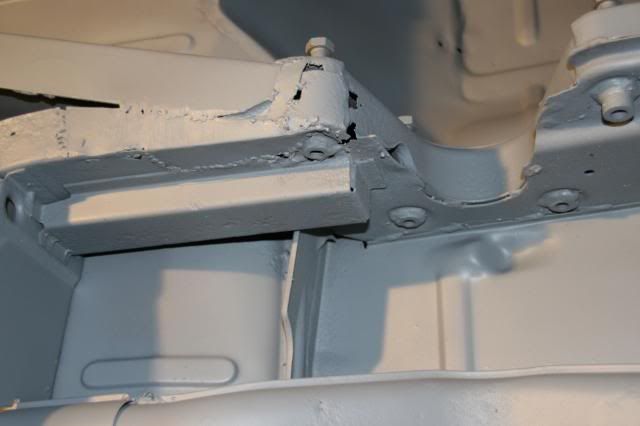
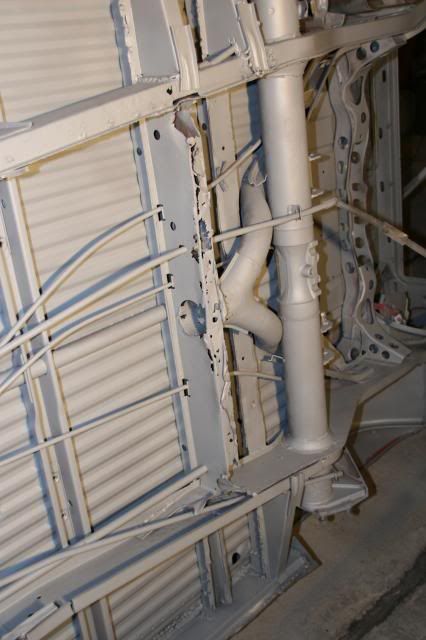
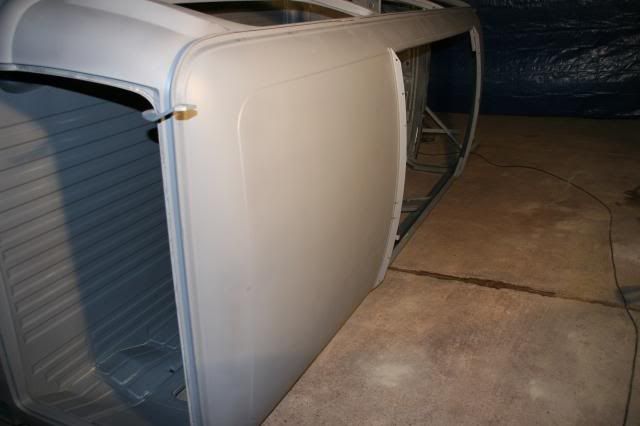
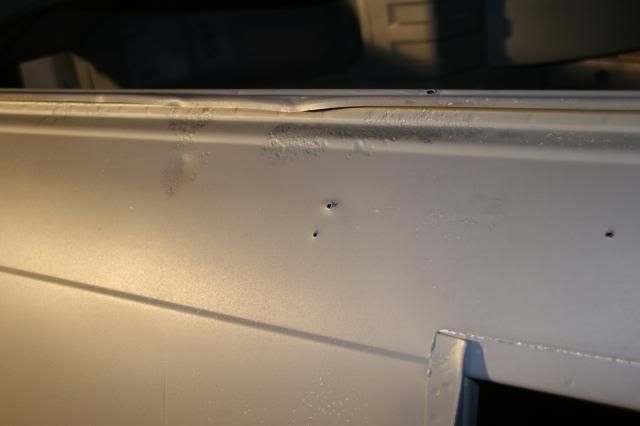
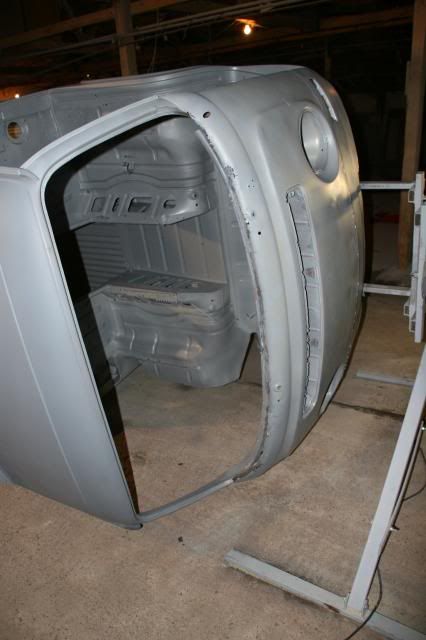
Had my camera on me today. Some pics of the van after blasting and in a coat of zinc. Pretty pleased how it come up.

campershell2001.jpg

campershell2005.jpg

campershell2006.jpg

campershell2007.jpg

campershell2010.jpg

campershell2014.jpg

campershell2015.jpg

campershell2017.jpg


Most of the work is on the chassis, the usual places. Very happy with the floor and sides. couple of patches on the roof but nothing serious.

campershell2019.jpg

campershell2028.jpg

campershell2026.jpg

campershell2023.jpg

campershell2024.jpg

campershell2025.jpg


Hopefully should be buying some new metal for her very soon so I can get cracked on. Take my busmans holiday and do a spot of welding.
 
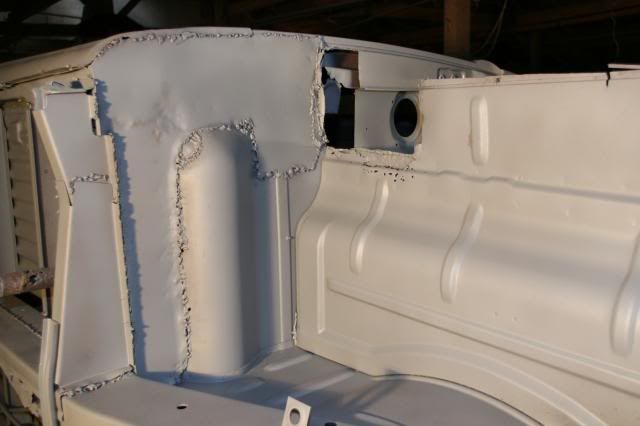
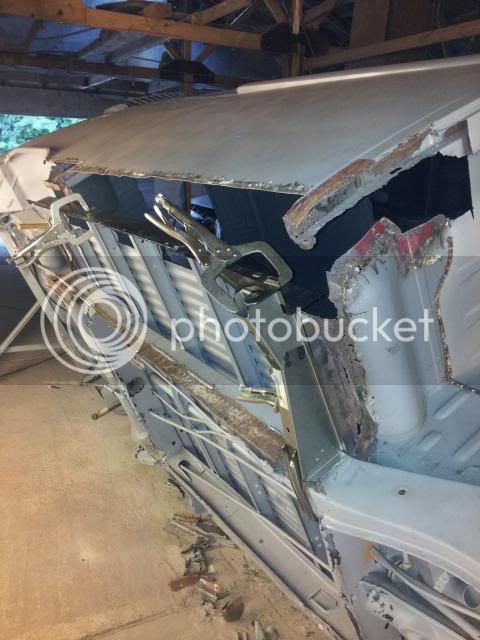
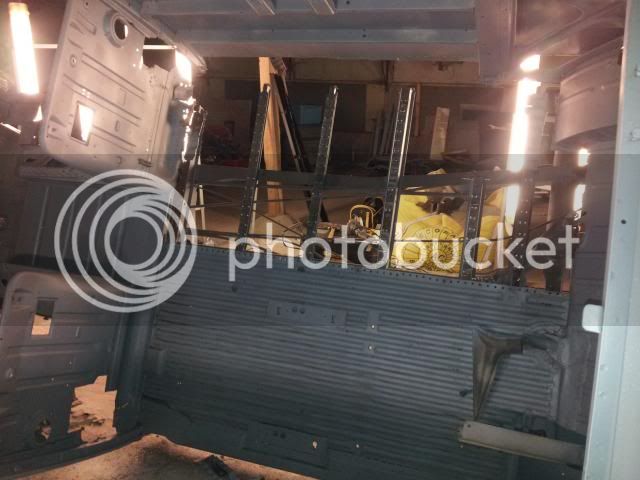
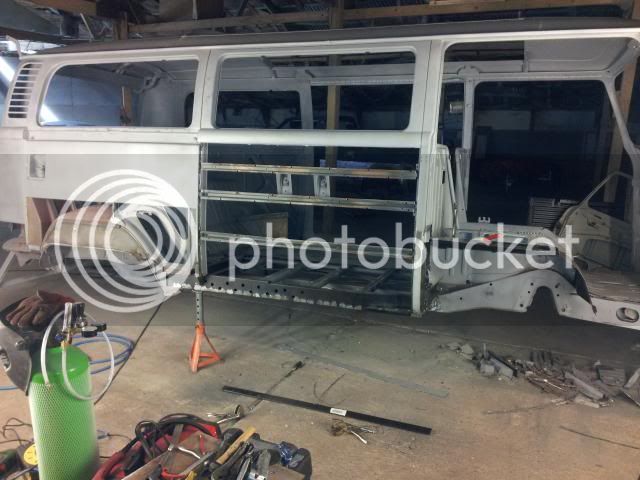
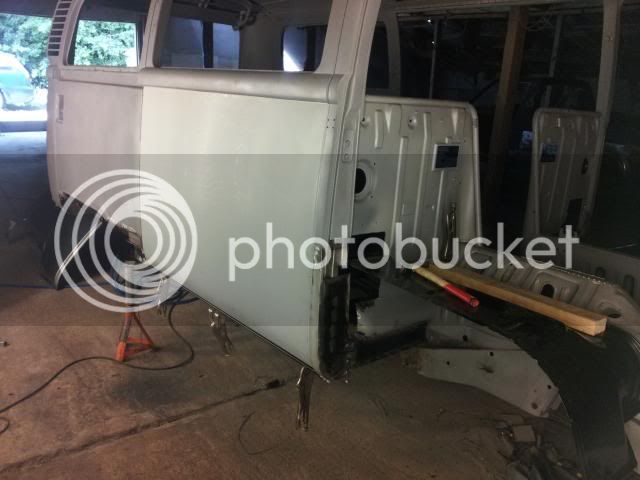
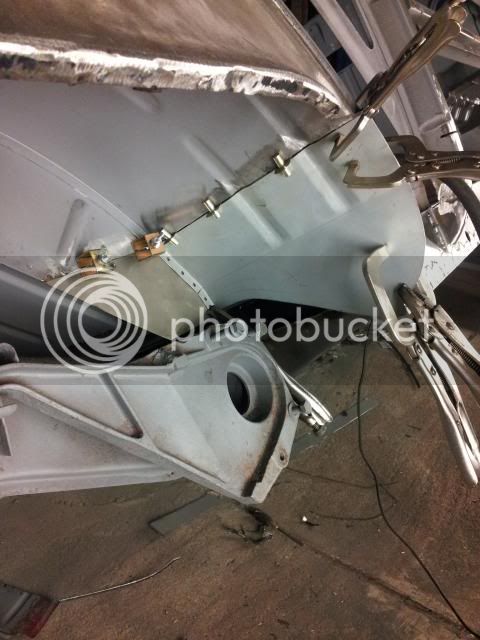
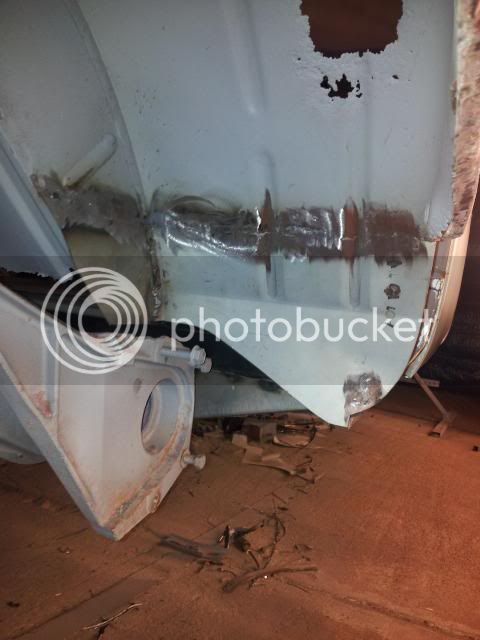
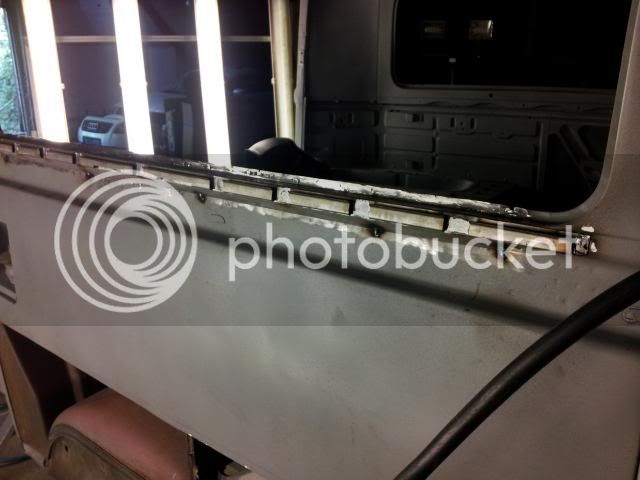
After saving up my hard earned pennies for one or two panels for the old bus, it's time for the fun to begin. Had the week off to grind and weld away. This is the progress so far


Plenty more to do. Would be quicker to chop rust out than chopping the bodge job panels thats been stuck on.
 
Wished I had a place like that, nice one great job so far, looking forward to more instalments
 

Latest posts

Top