dubscum
Well-known member
cool, getting there now. looking good mate!

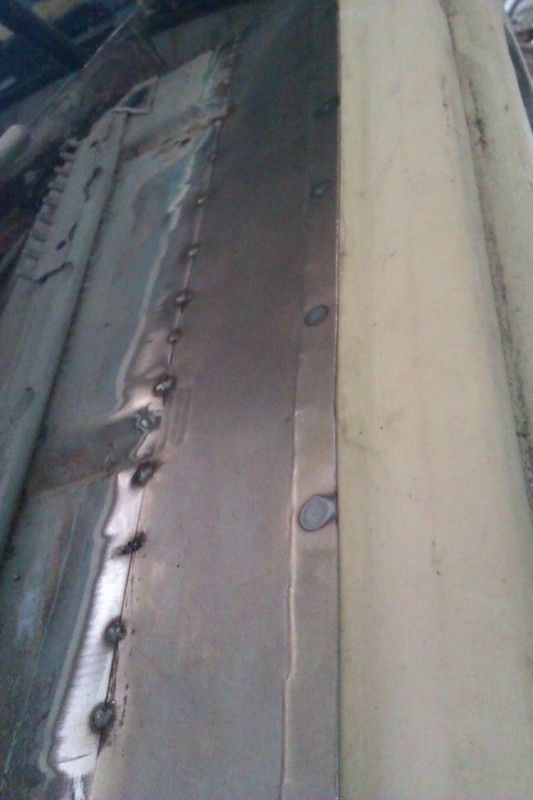
cunning plan said:And you know he is good when he is fabricating stuff like this for fun :character0036: :
:mrgreen:
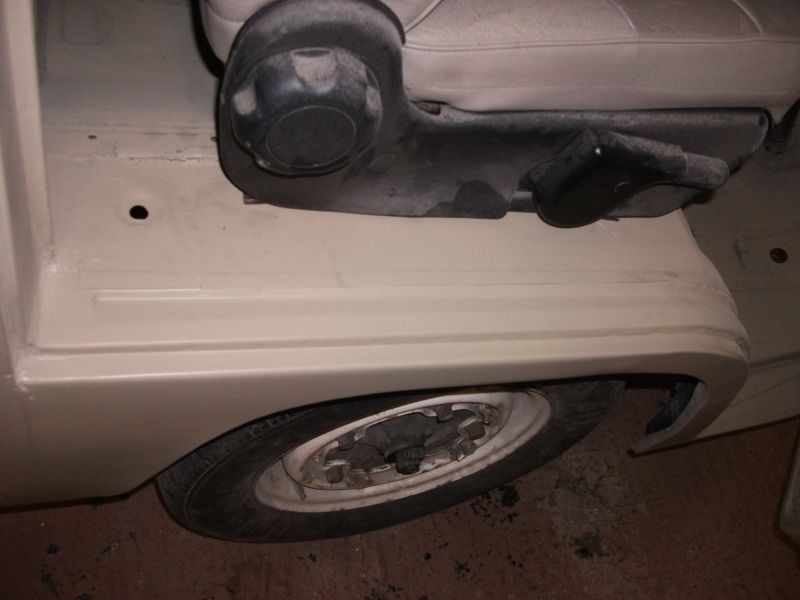
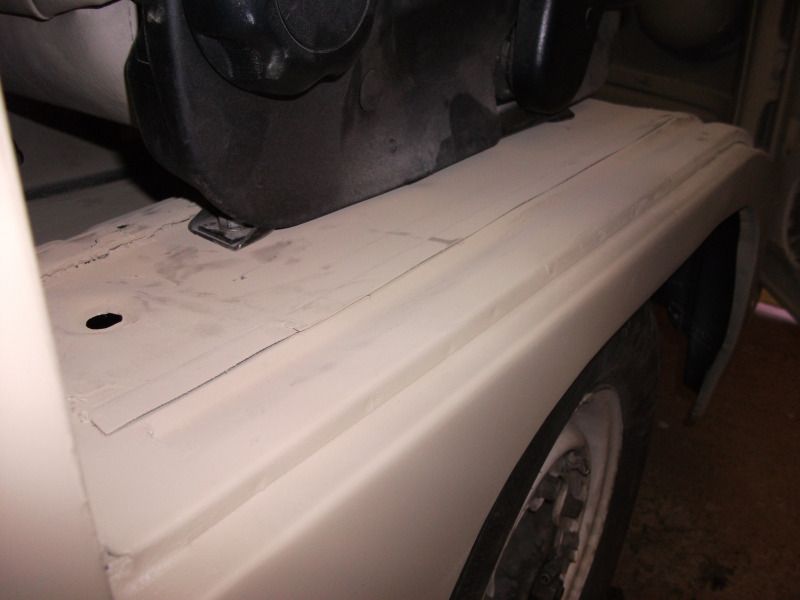
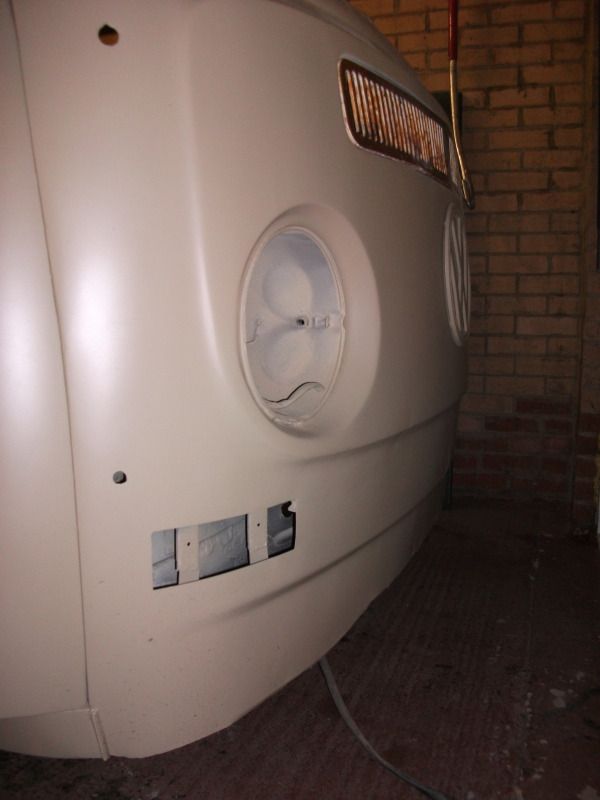
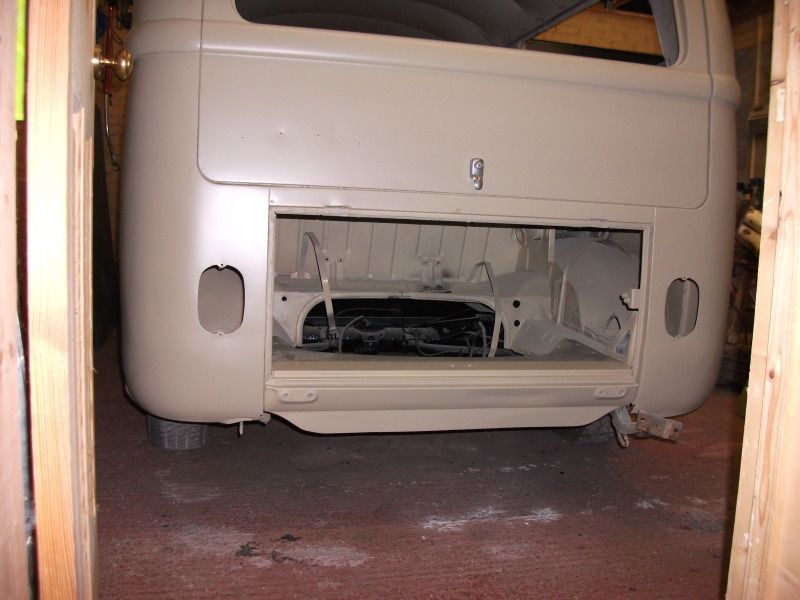
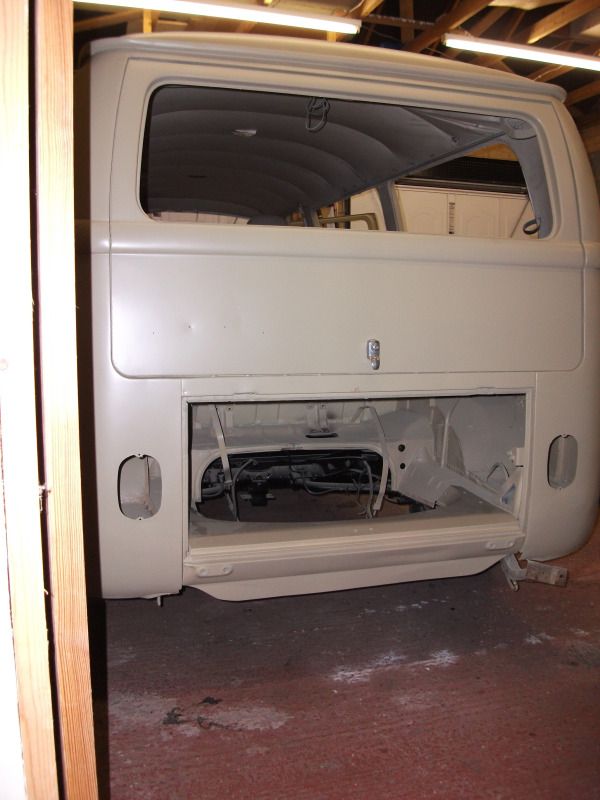
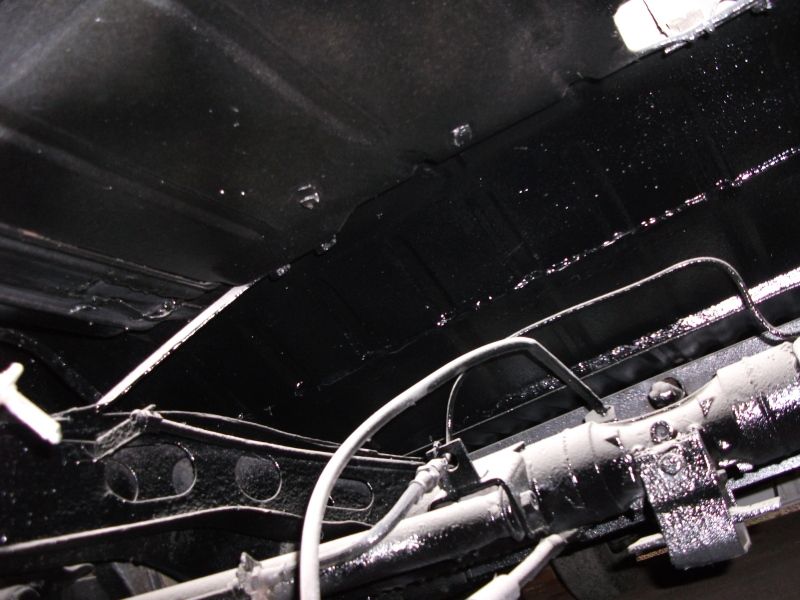
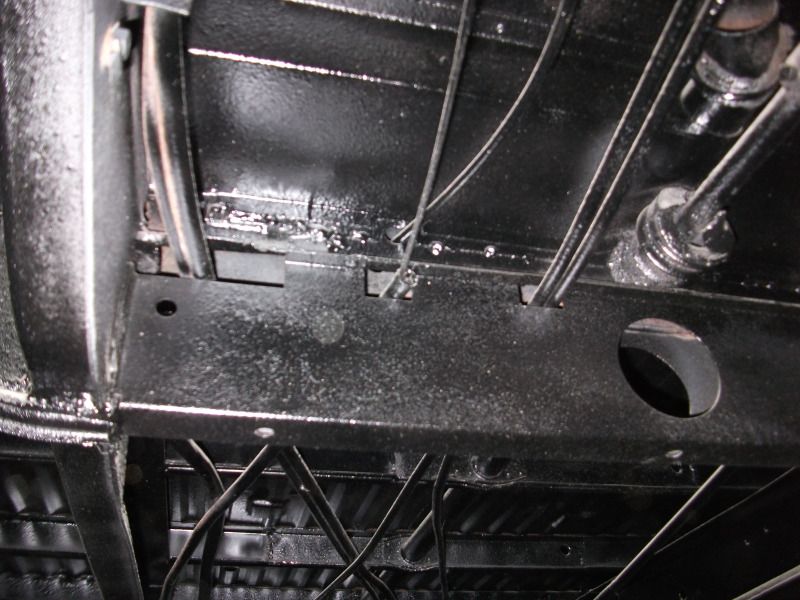
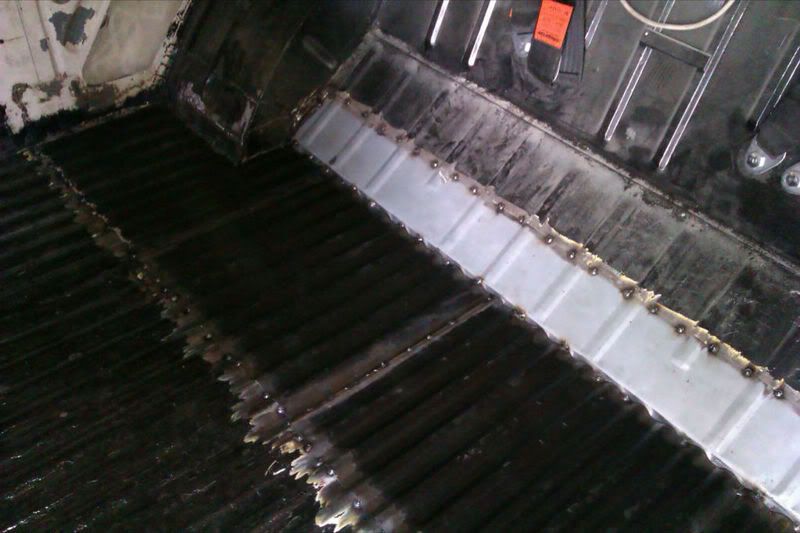
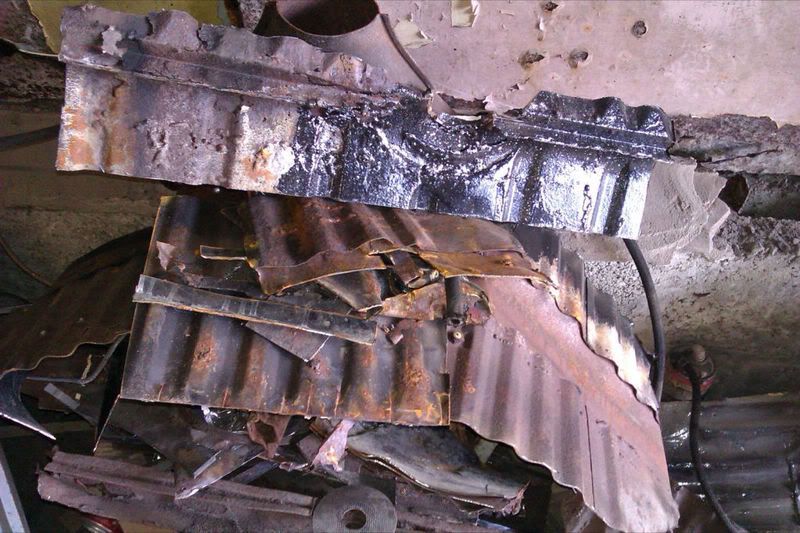
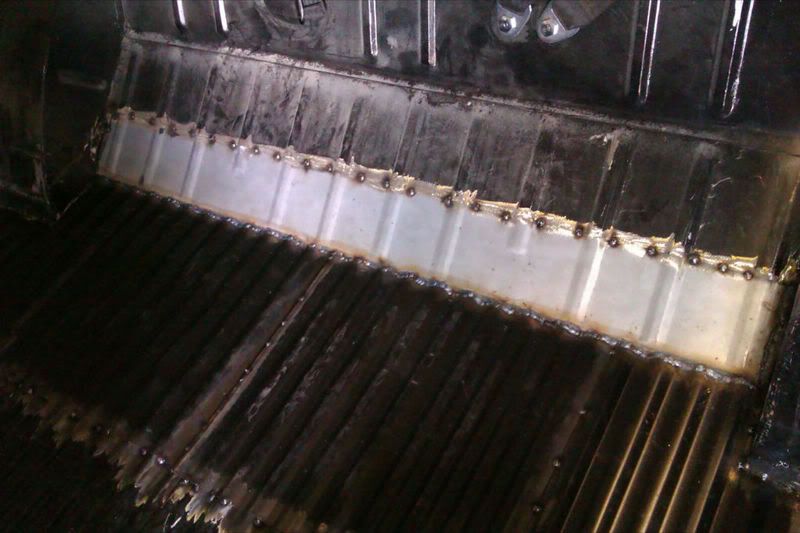
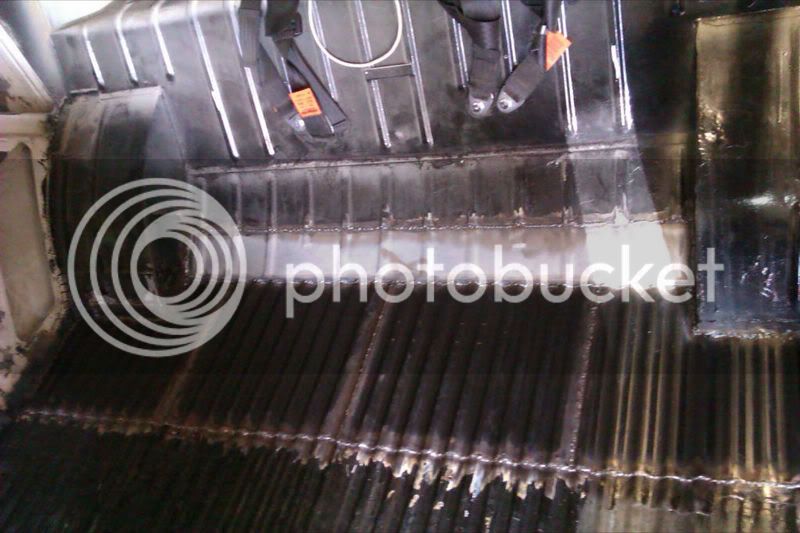
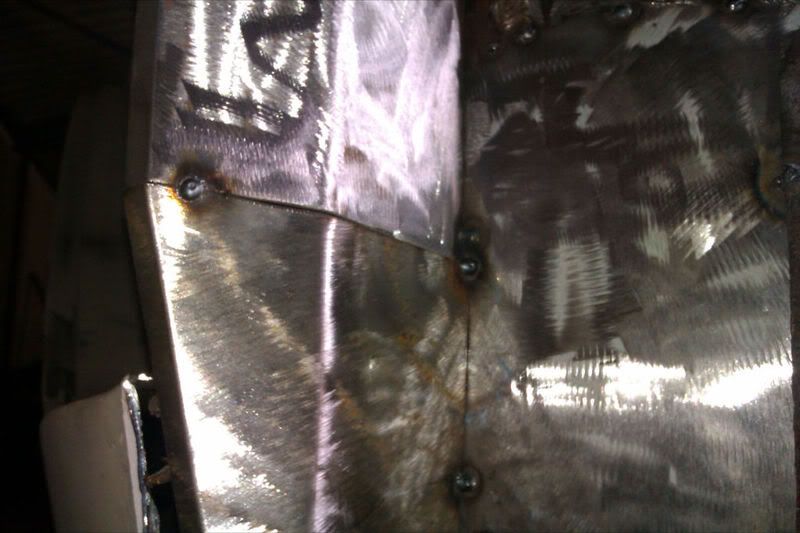
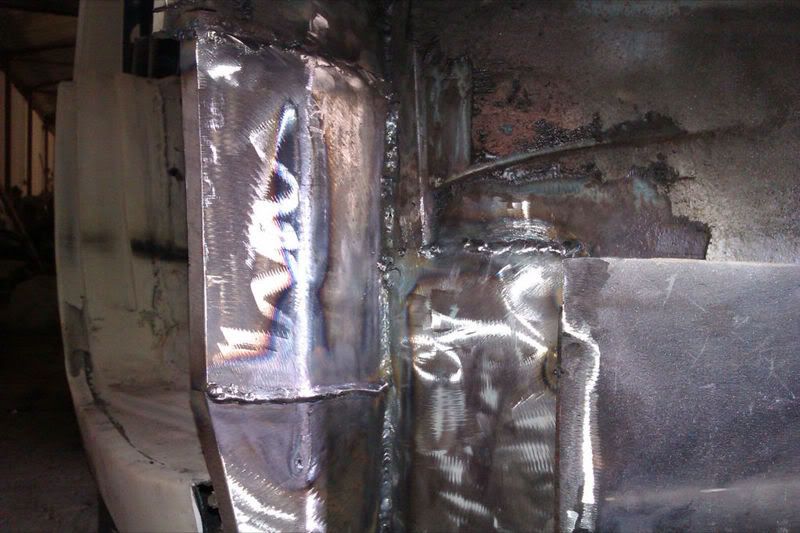
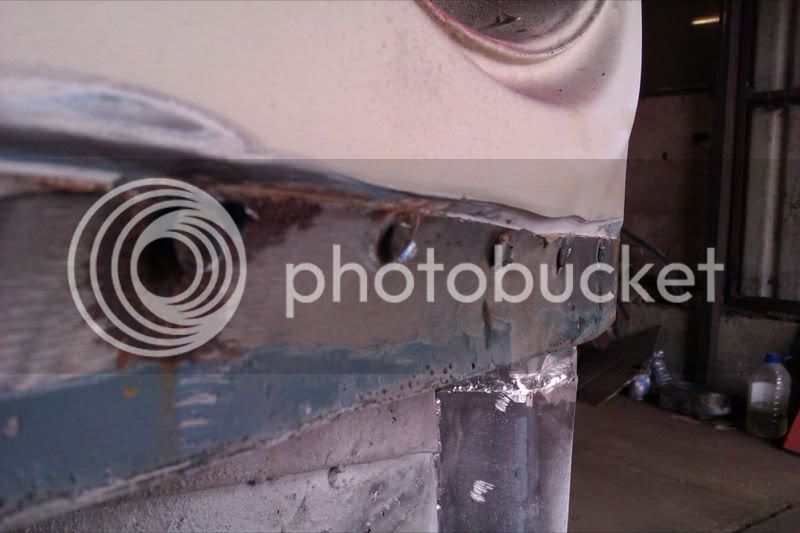
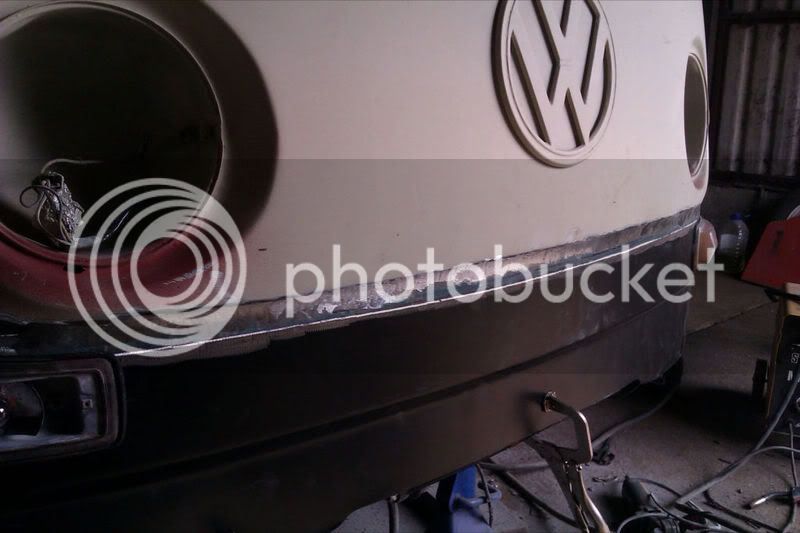
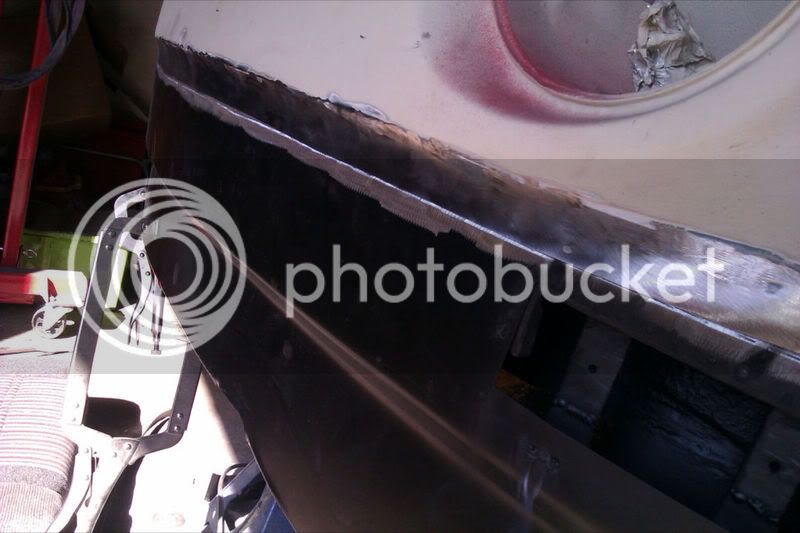
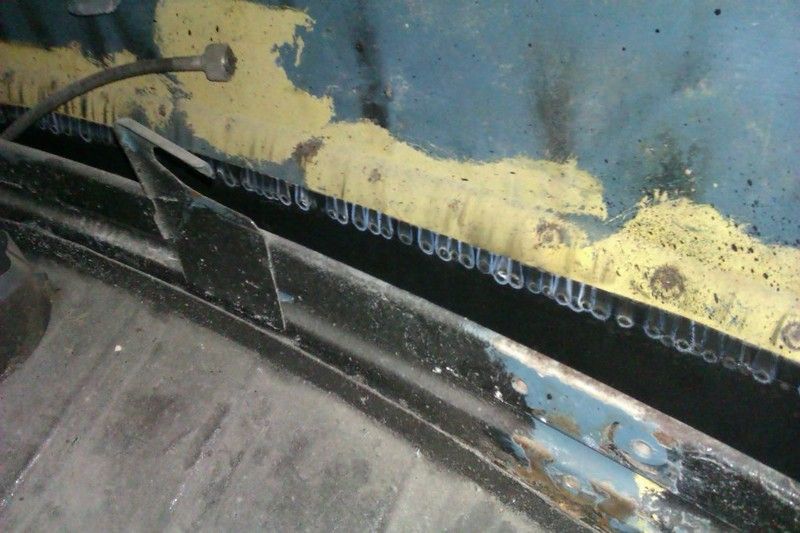
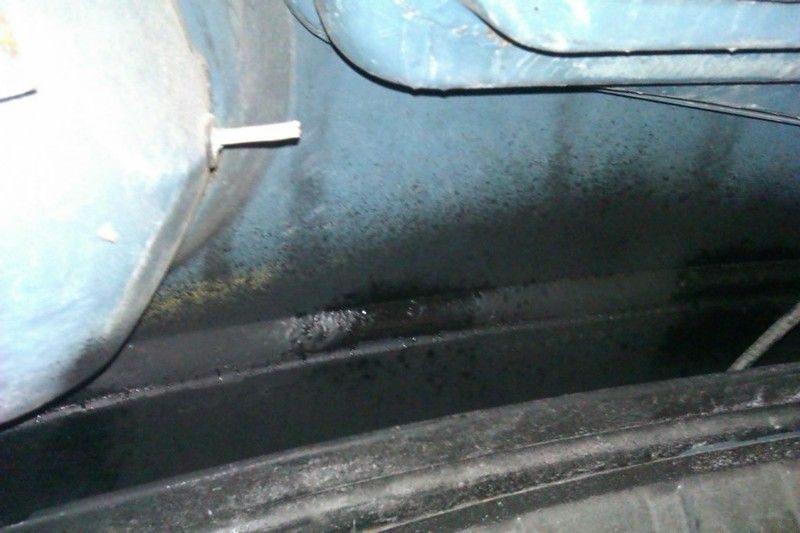
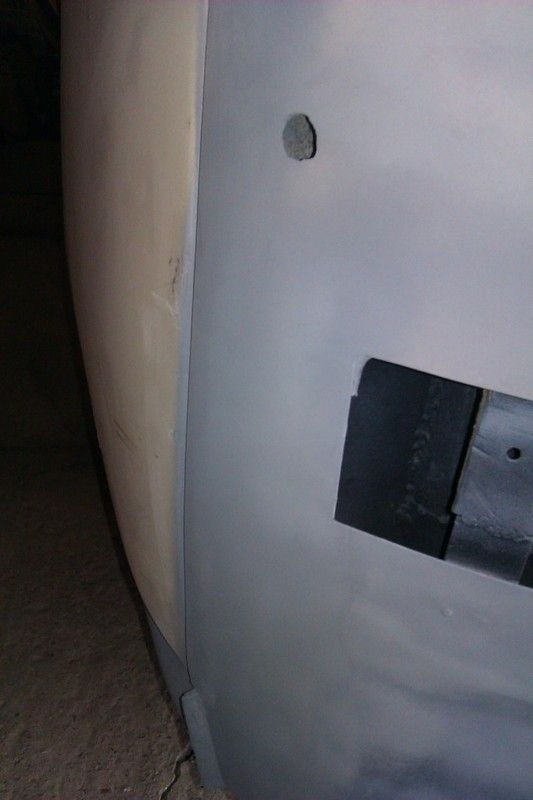
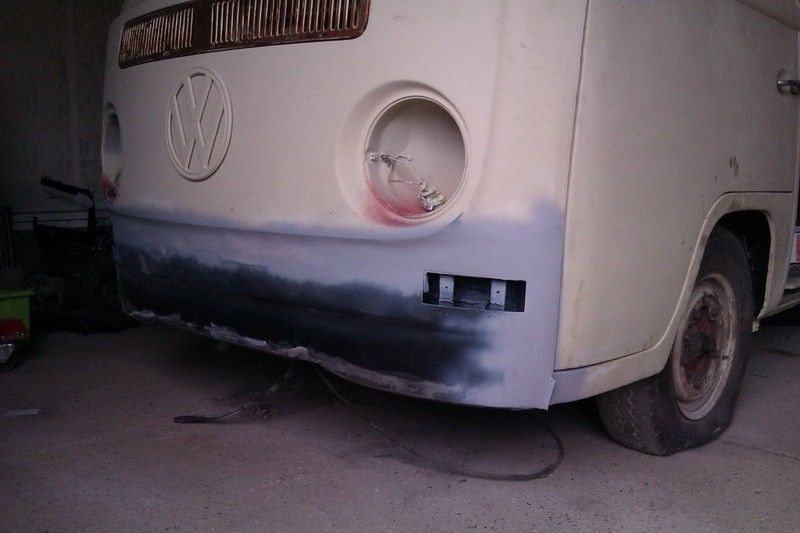
Next is the front chin area, front tubs then flip back over for chassis coating - then we are done with that part of the restoration! :mrgreen:


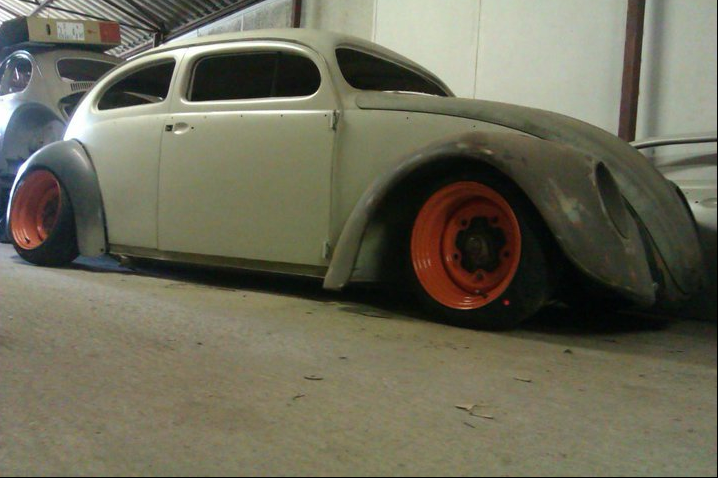
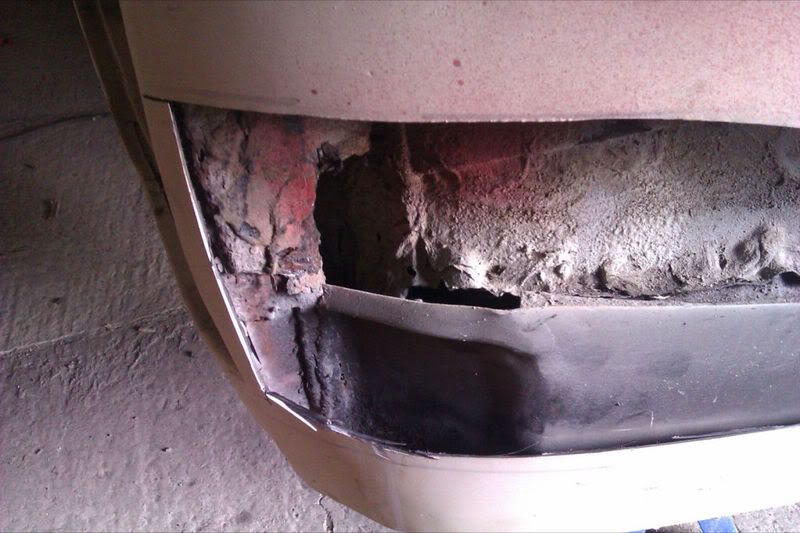
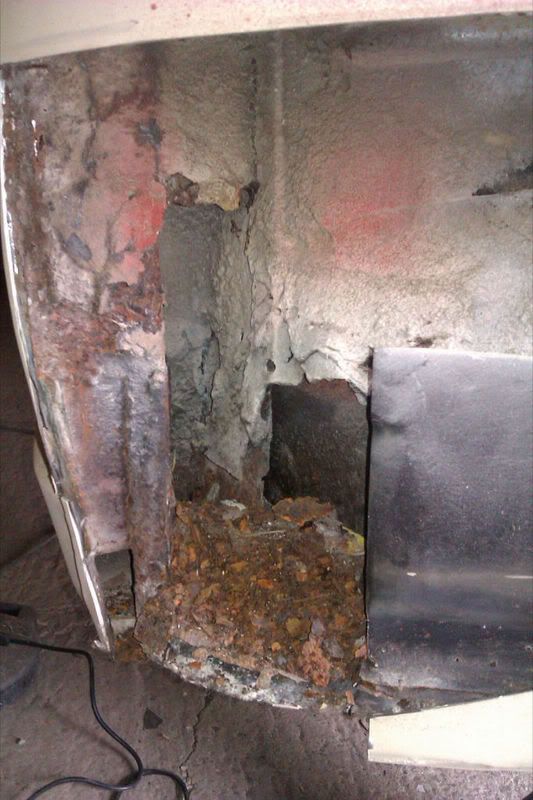
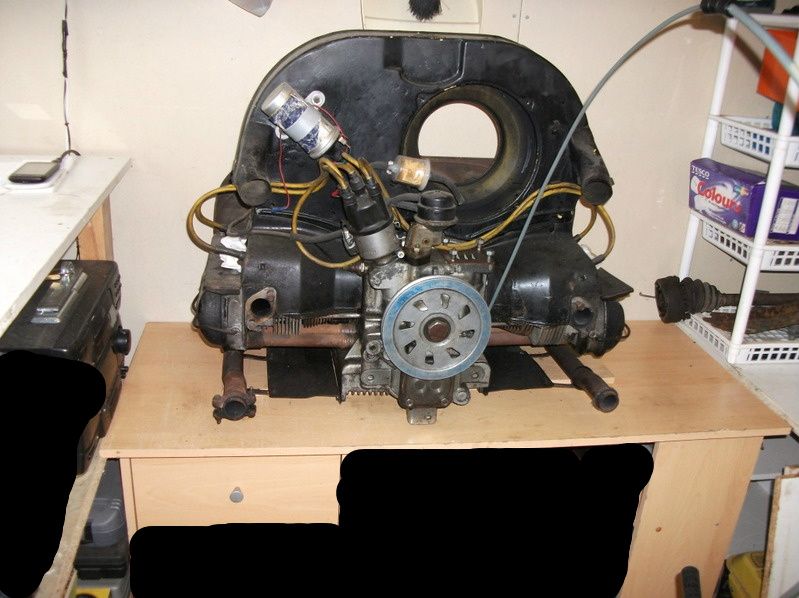
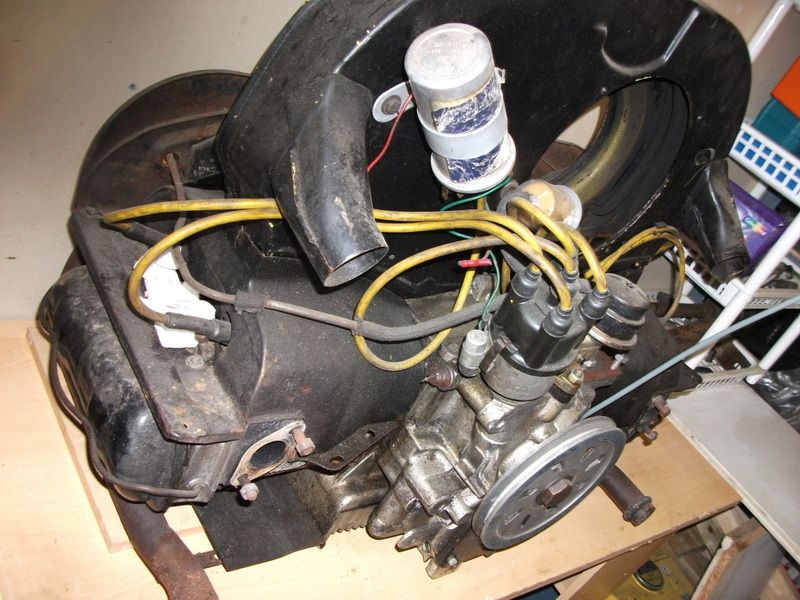
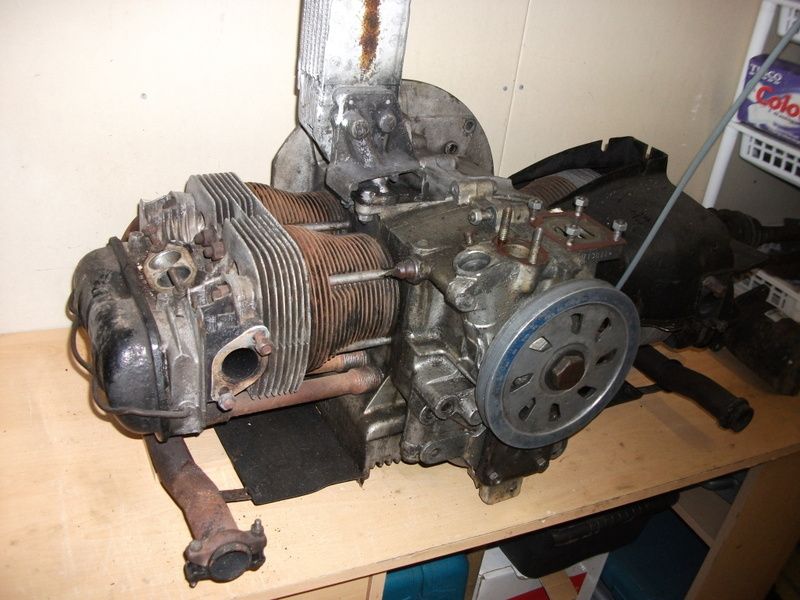
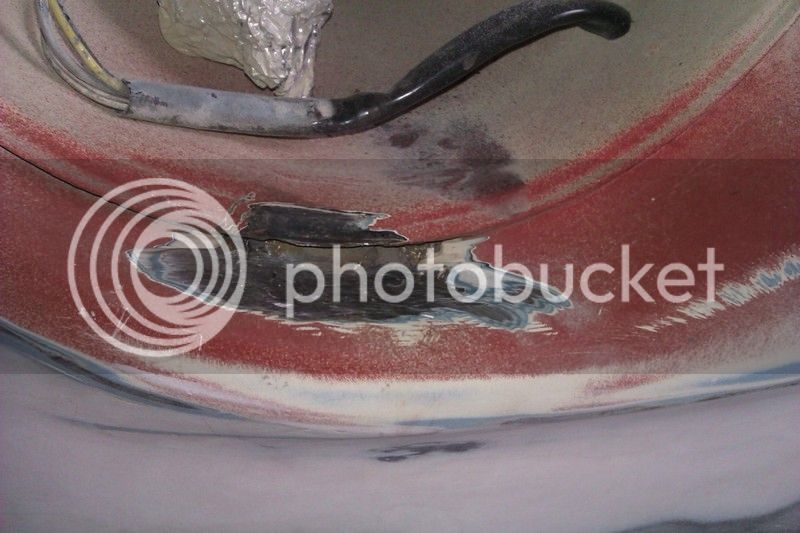
I don't do Bugs anymore, but **** me I'd this mofo :shock: :mrgreen:cunning plan said:
:mrgreen:


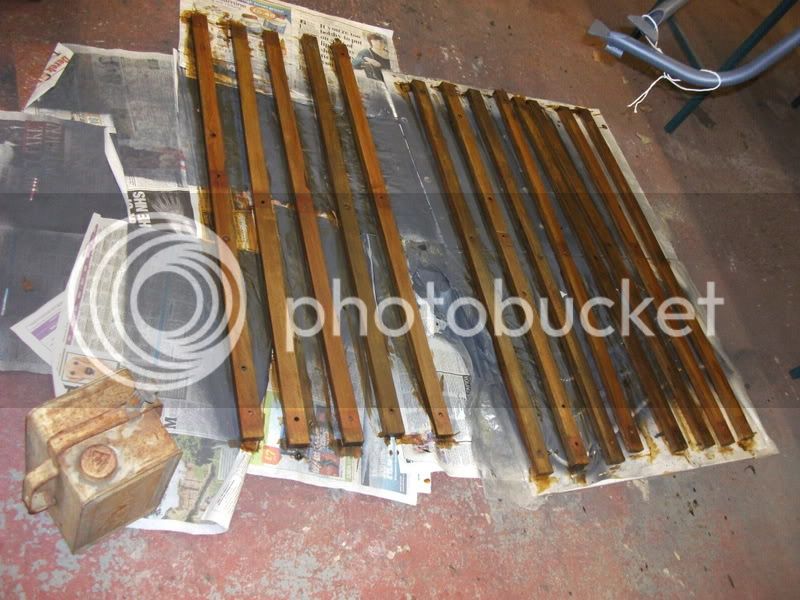
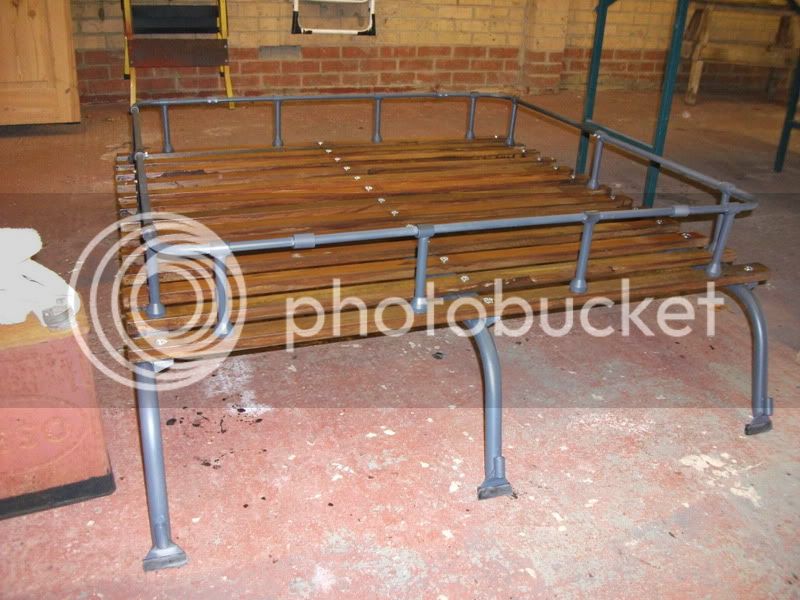
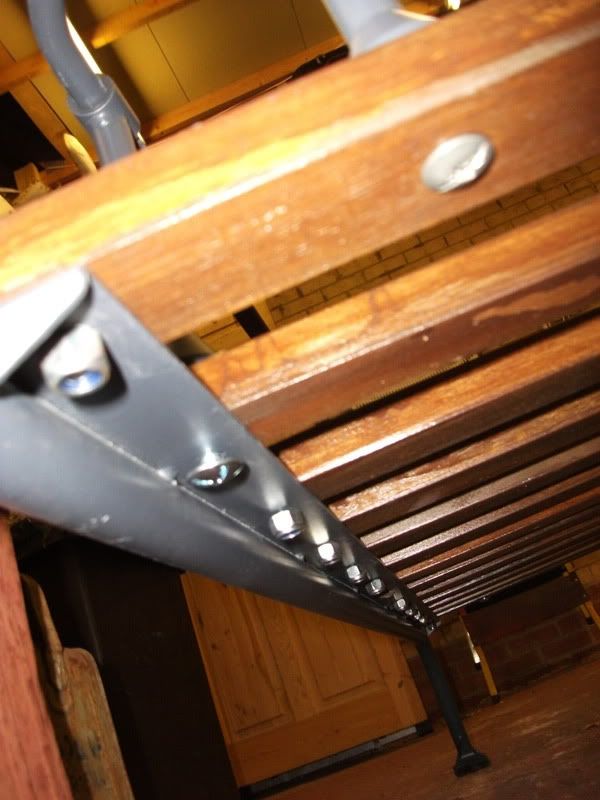
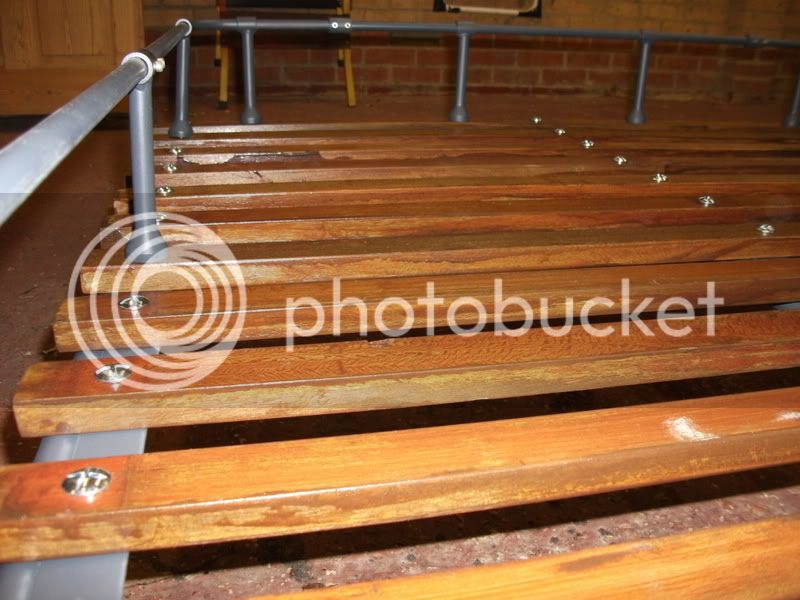
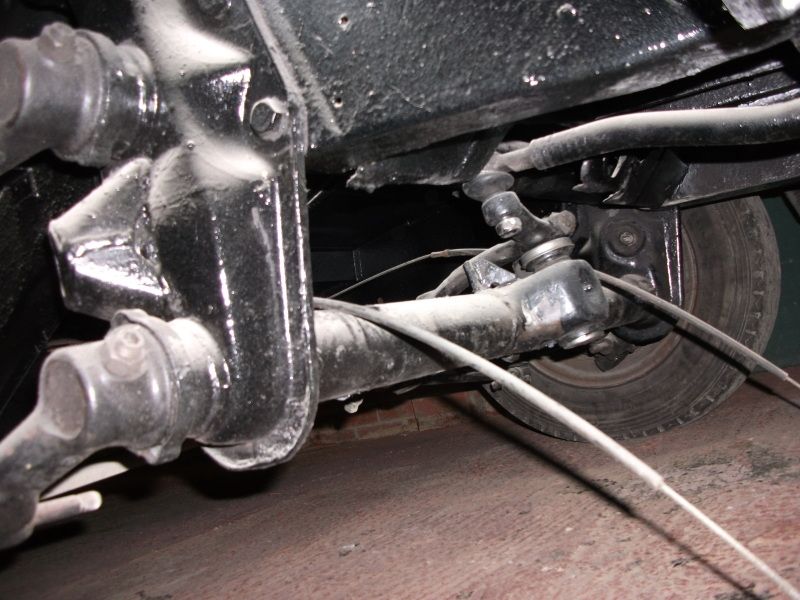
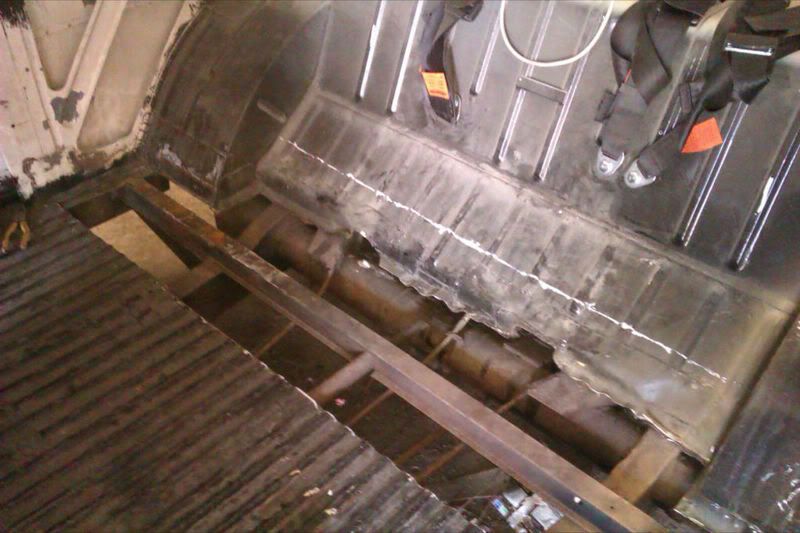
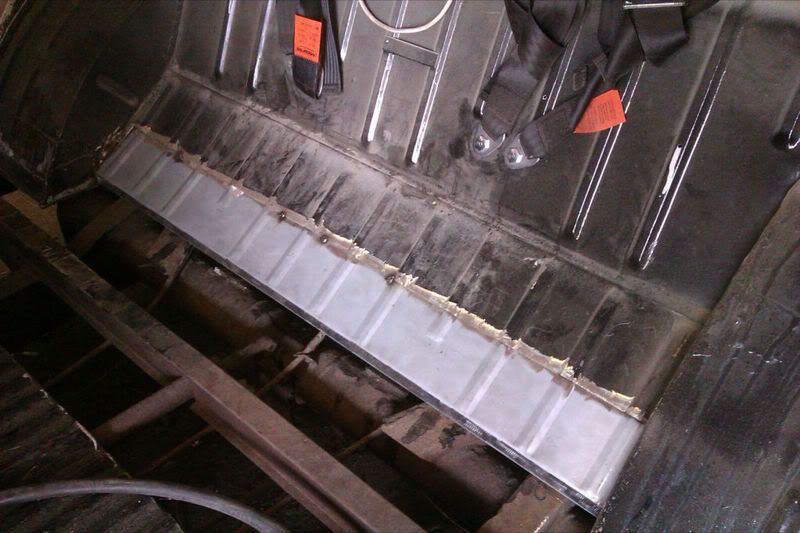
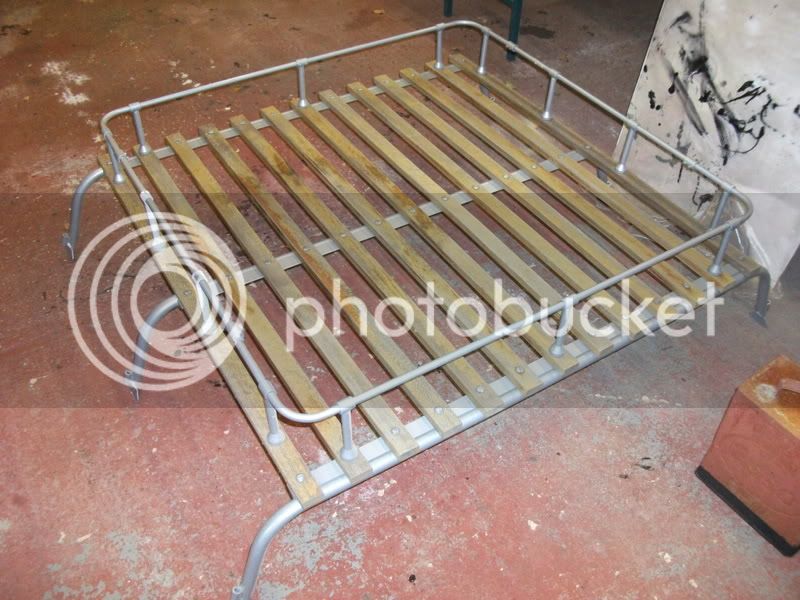
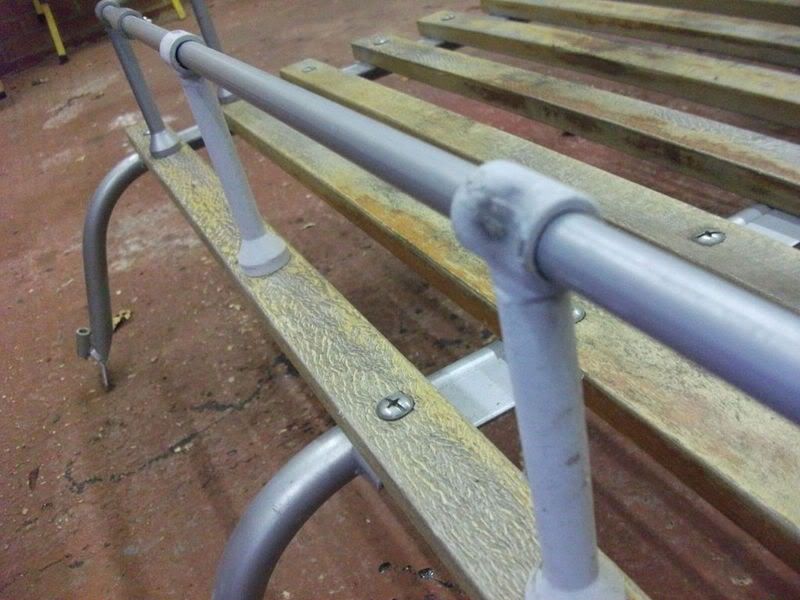
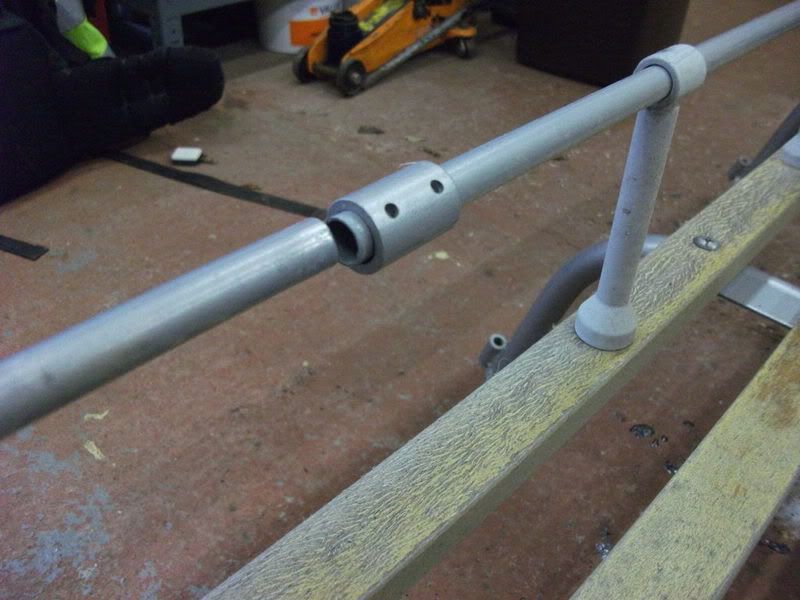
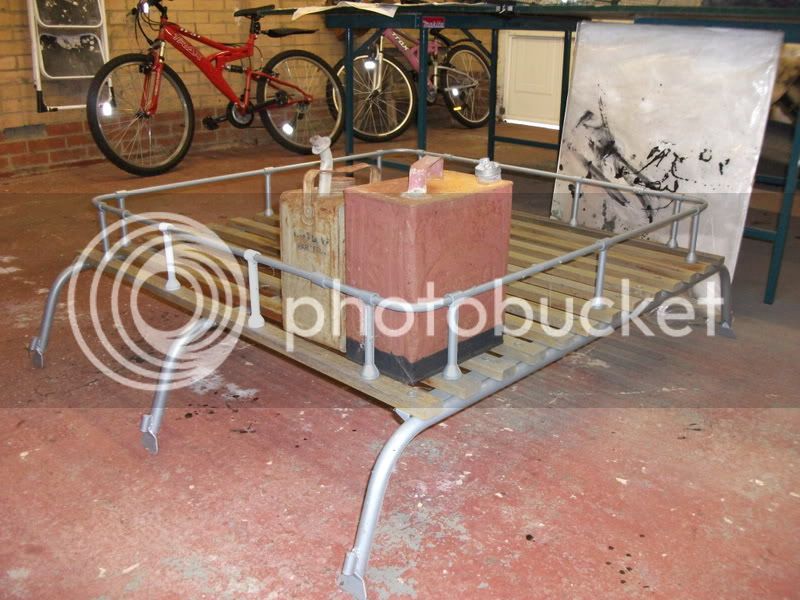
gninnam said:Great work on the rack - looks very professional

Slammed said:Jason is a talented guy, eh? 8)

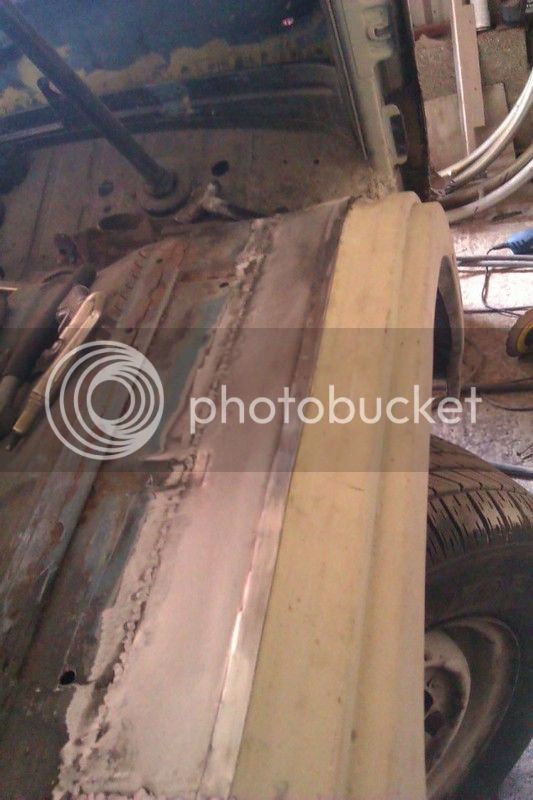
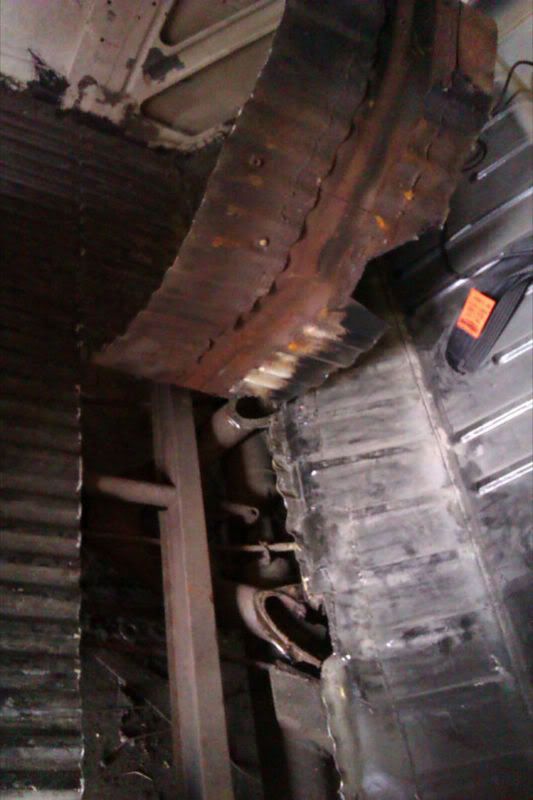
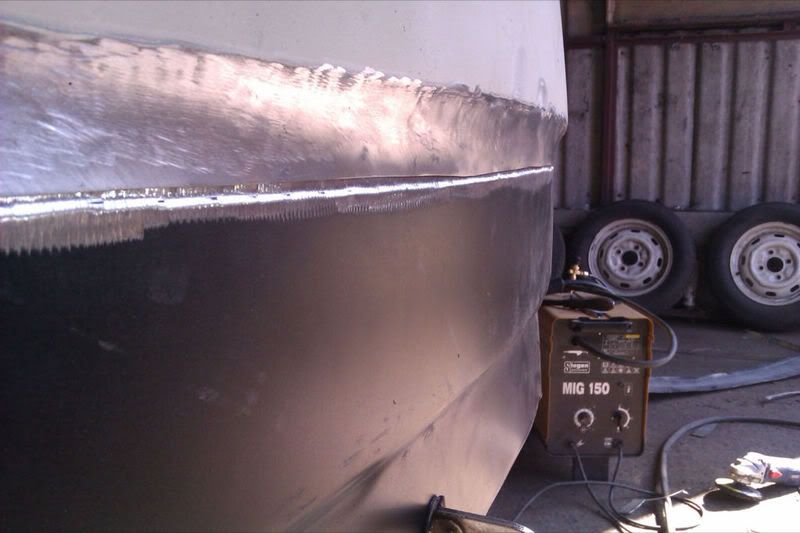
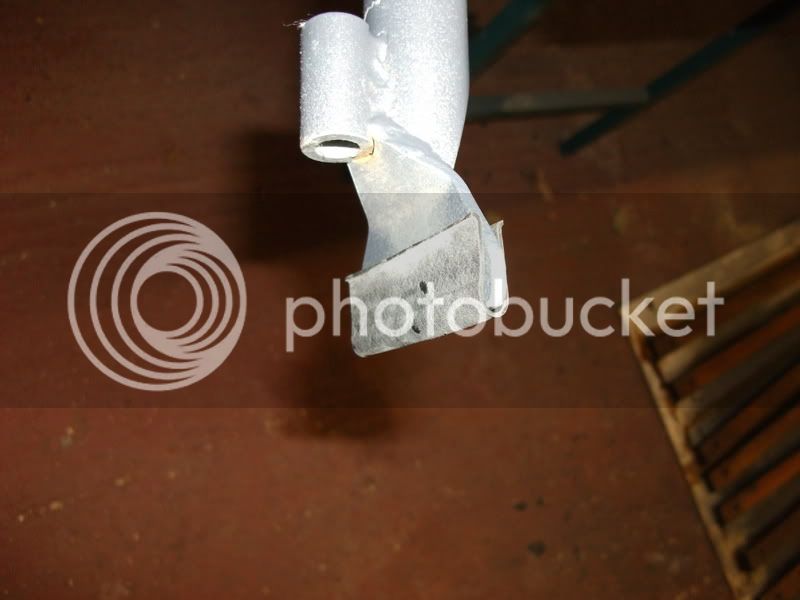
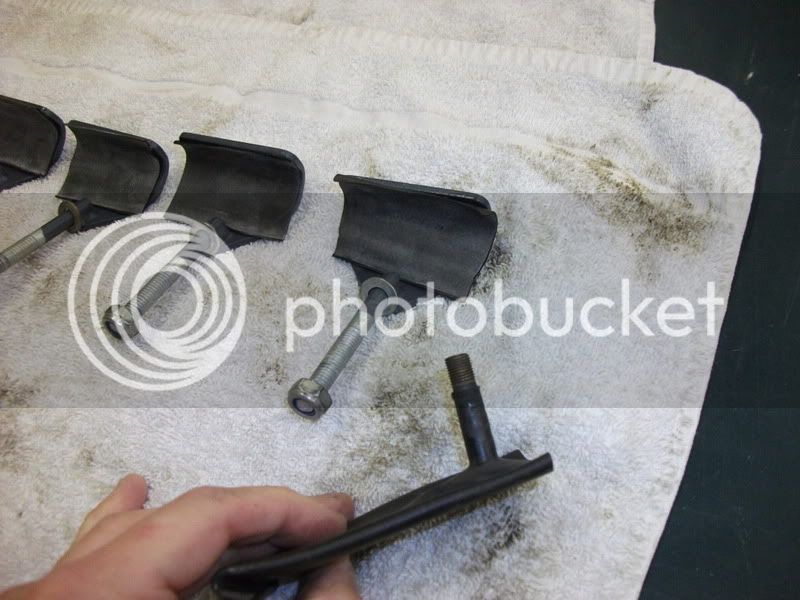
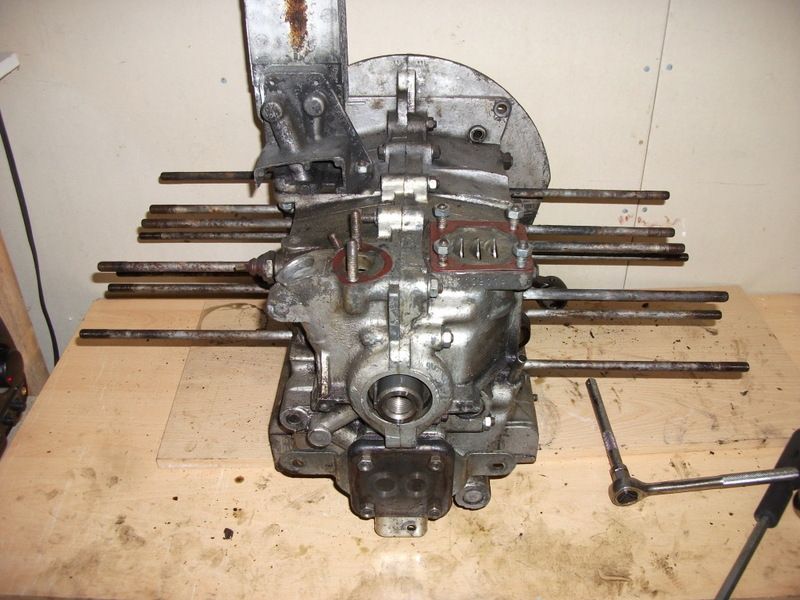
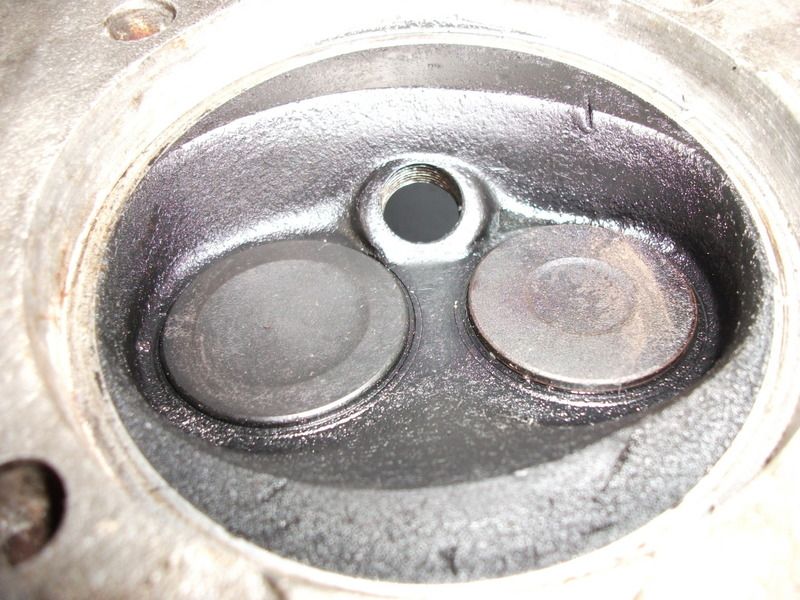
cunning plan said:Yup, and here comes some more tallent:
cunning plan said:Dubs and Classics might have a new toy to play with for the last time we need to roll my bus, so keep watching :msn4: