Cunning Bus Project

Early Bay Forum

Help Support Early Bay Forum:

This site may earn a commission from merchant affiliate links, including eBay, Amazon, and others.
Good to see progress updates on this.

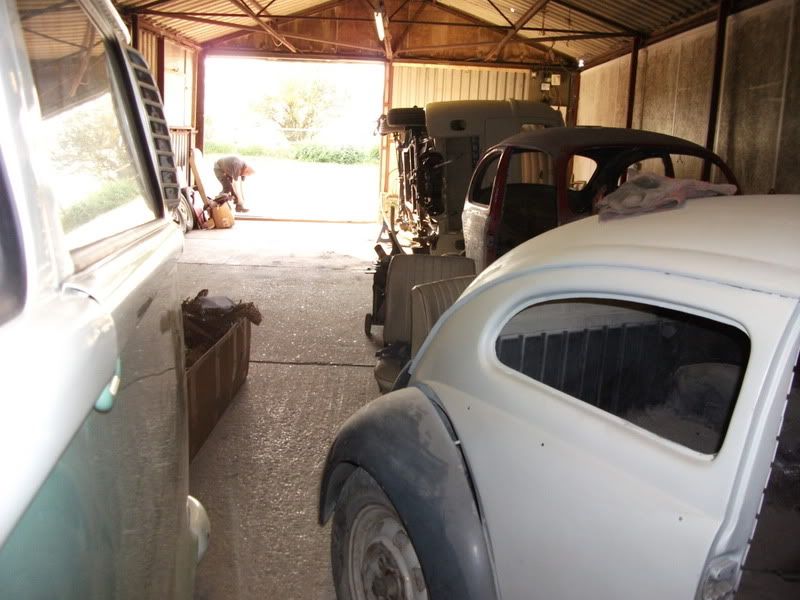
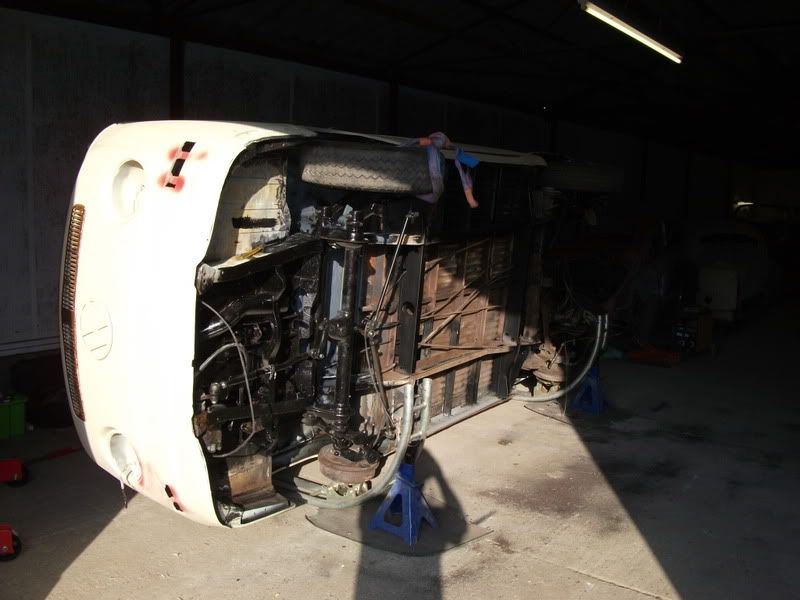
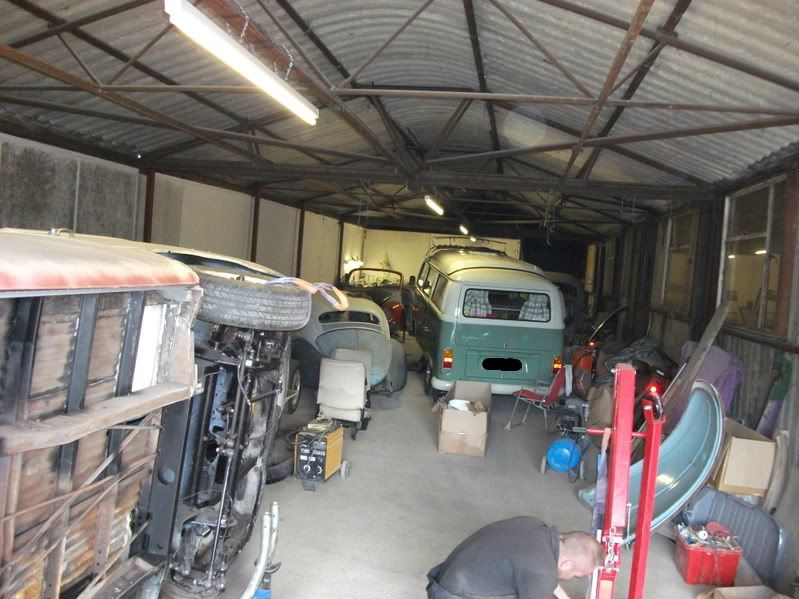
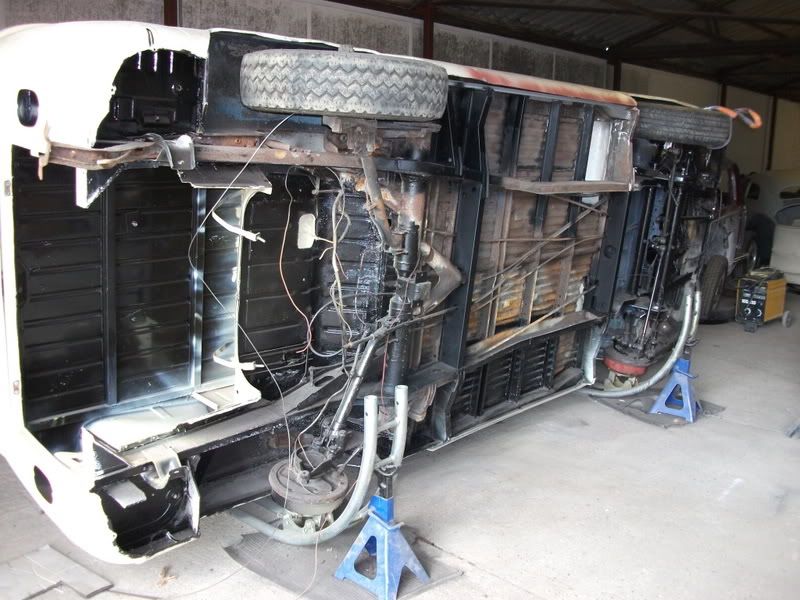
I don't suppose you know how much space was required to roll the bus using the rollers? I've got a shed load of welding work to do on the chassis of mine, but I'm not sure how much space I need to roll it and whether I will be able to do it in my garage or not!

Cheers.
 
Cheers!

About this much space *makes gesture with arms*.. :lol:

I didn't take an exact measurement and I guess it would be different depending on what rollers you use and if your bus is lowered / by how much etc, but it is about how high the bus is, plus a little bit.

Some excellent pictures here from Angus who rolled his bus in two car parking bays which act as a good visual reference point:

http://forum.earlybay.com/viewtopic.php?f=4&t=19124" onclick="window.open(this.href);return false;
:mrgreen:
 
Update from Jason:

Jason said:
I can foresee a problem in that the inner sill thats up in the air at the moment has been welded on too far away from the chassis, hence all them extra bits that have been welded to it at the end of the top hats etc. (if you look at pic 1777, where the top hat ends is where the inner sill should be) This appears to have been done to bridge the gap that would have been there. I will look into this further and see what our options are and get back to you.

DSCN1777.jpg


DSCN1783.jpg


DSCN1784.jpg
 
Bad news about the cills :shock:

Probably will need some major work on it :(
 
Jason is hammering along with the bus. :character0036:

It is starting to look straight and solid now 8)

DSCN1993.jpg


You can see a section of flat floor at the top closest to the sill instead of the corrigated metal. This was a previous repair which was solid, but needed tidying. Jason gave me the choice of whipping it all out and putting the corrigated stuff in or save a little bit of time and tidy it all up - which is what I chose to do, so Jason has progressed with that. OK it won't be 100% original, but it is looking 100% more solid than it did.

DSCN1992.jpg


DSCN1989.jpg


DSCN1985.jpg


This is what you get for owning a UK bus. Stuff has been bodged on top of bodges, which means you end up with inaccurate spacing :| . Big gap here on the rear-arch corner. Jason is going to have a bit of work to get this back to how it should be.

DSCN1983.jpg


DSCN1979.jpg


DSCN1976.jpg


DSCN1968.jpg


DSCN1961.jpg


DSCN1958.jpg


DSCN1914.jpg


DSCN1907.jpg


DSCN1906.jpg


DSCN1903.jpg


Jason is also going to protect the entire chassis and his work with a couple of coats of Schutz which I am real excited about (sad I know :roll: :lol: ), but this will mean the bus gets excellent chassis protection which also looks good and is more like the protection a modern car chassis gets. :mrgreen:

Take a look at this Beetle chassis restored by Dubs and Classics and painted with Schutz (not the shiney bit, the rougher bit on the bulk-head is Schutz). 8)

222273_184747064907122_105873916127771_402475_4391790_n.jpg


Front 'chin' section, front arches, floor tubs and passenger side sills left to do.
 
Cracking on nice 8) and I had the same with my PO's work with the fixes on top of fixes - makes it difficult and end up cutting a lot more than you would like to :(
 
Played with the stickers on the rear window. Helps to get the motivation up :mrgreen:

DSCF0157.jpg


Went back to Dubs and Classics to flip the bus over to do the other side of welding.

DSCF0165.jpg


DSCF0164.jpg


DSCF0163.jpg


The workshop is getting quite full now! 8) A nice cross-over was in there, unusual colour, but it worked really nicely.

DSCF0162.jpg


DSCF0161.jpg


DSCF0160.jpg
 
Cleaned up some parts whilst waiting for the bus welding. All have been soaked in vinegar for a while

DSCF0158-1.jpg


DSCF0159.jpg


DSCF0169.jpg


A quick brush with the wire-wheel - ready for some paint. 8)

DSCF0170.jpg


Started modifying one of the indicators for an idea to put the side-light in a section of it (partitioned off from the indicator itself).

DSCF0166.jpg


Also added another new sticker :mrgreen:

DSCF0168.jpg
 
Had a quick play with modifying the indicators to accept a side-light as well.

DSCF0172.jpg


DSCF0171.jpg


Think I will just take the orange reflector out completely and run a orange bulb for the indicator.

DSCF0173.jpg


Now I know the idea works, I will get another set of indicators to make the fixing holes neater and I will have the second set of bulb holders and connectors.
 
Not much happening, I have just been working on 'inexpensive' tasks to do. So, lots of cleaning and wire-wheeling getting parts ready to paint.

DSCF0174.jpg


DSCF0177.jpg


I also straightened out the bumpers ready to either paint or run ratty - I haven't decided yet.

IMAG0187.jpg


IMAG0188.jpg


IMAG0189.jpg


IMAG0190.jpg


IMAG0191.jpg


IMAG0193.jpg


IMAG0194.jpg


IMAG0206.jpg
 
just gone all through your thread some nice work, liked the work around the torsion tube, i think i'm going to find something similar so was good to see how you did it, tidy.

I think i'm going to face the same issue as you with the bodged up positioning of the inner sill. Any advice on how you get the inner sill in the right position? I've been pondering it every time I walk past my van how i'm going to get the top hats the correct length
 
Cheers guys.

They are really both questions for Jason who is doing the welding restoration work. I will see if I can get his attention to post an answer on here for you. :msn4:
 
Blue nose - the top hats and "H" sections want to be about 723mm out from the side of the gear selector rod tube. (give or take a couple of mm). I use that as a datum point as its a fairly safe bet that it is still in the same place as it was when it left the factory.

obviously the inner sill just butts up to the ends, and if you still have the original floor then you will drill the spot welds out from inside the van so it will be clear where it all sits.


Nick - yes it is a joy being able to stand up and weld, although I am starting to miss the sizzling noise of spatter in the ears.. :lol: :lol:


Craig - Now going to do your paperwork bud, I will email it over in a minute ;)
 
dubs and classics said:
Craig - Now going to do your paperwork bud, I will email it over in a minute ;)

Got it the other day - cheers :mrgreen:

Did a bit of preparation ready to spray paint the parts getting spray painted (just the 'totem pole' and the dash vents, everything else is getting some harder wearing stuff :msn4: ).

Everything coated in Metal Ready.

DSCF0178.jpg


DSCF0179.jpg


Why does everything look good in red oxide / primer :angeldevil:

DSCF0181.jpg
 

Latest posts

Top