

cunning plan said:Parts drop!
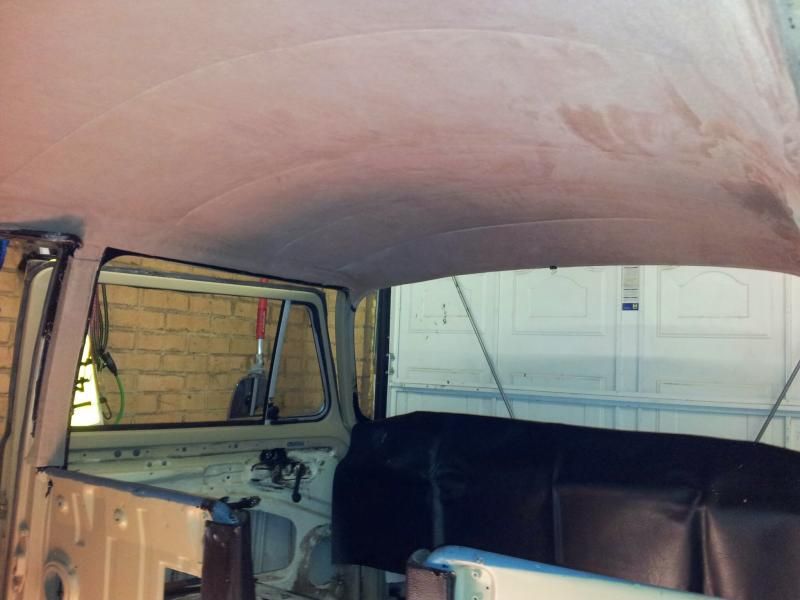
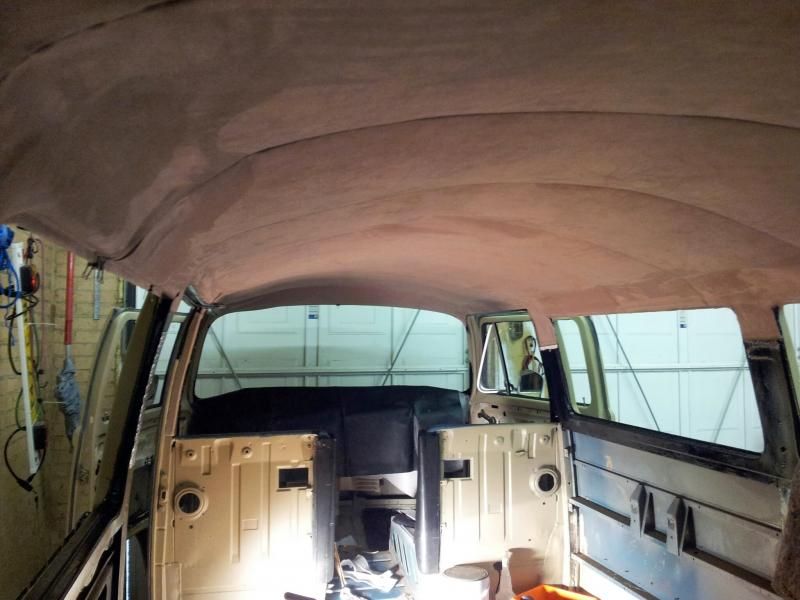
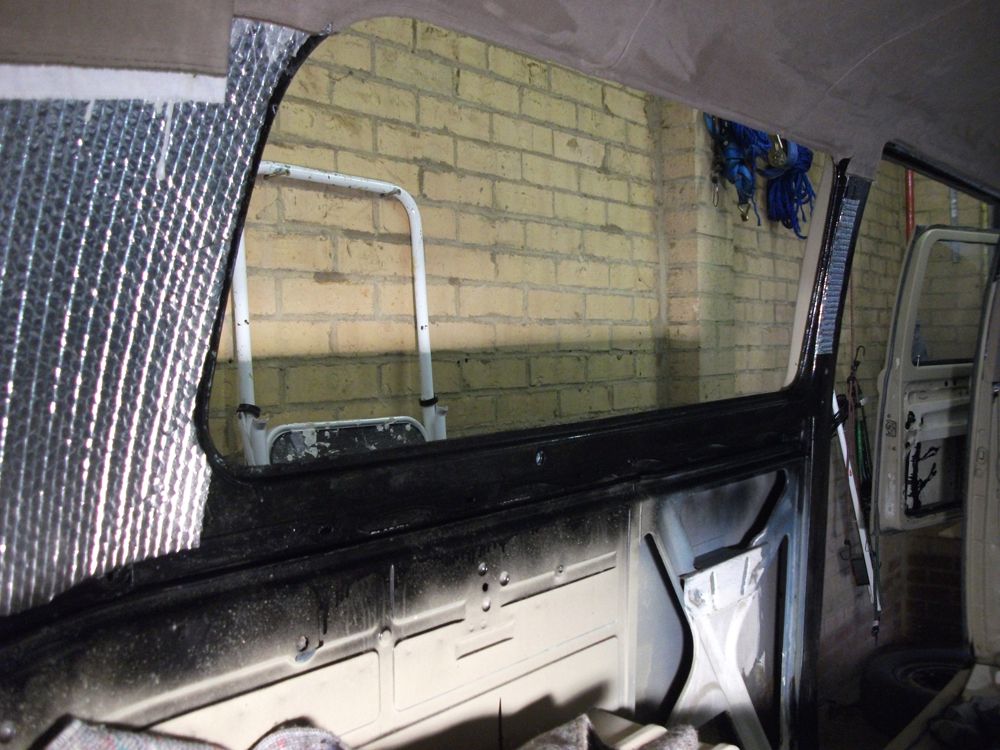
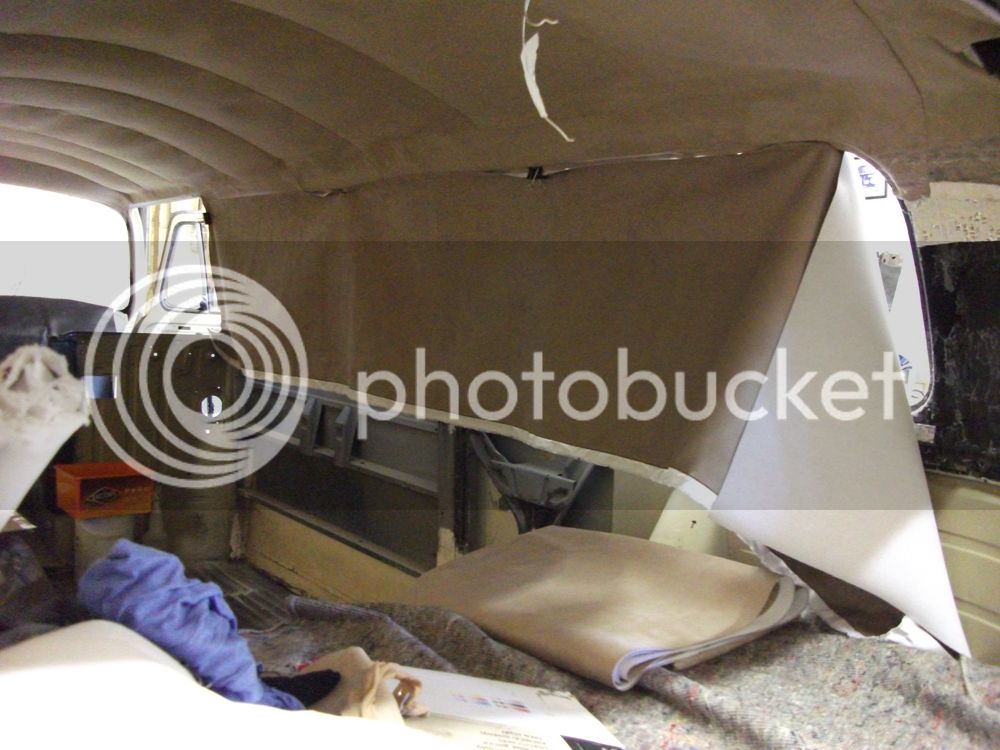
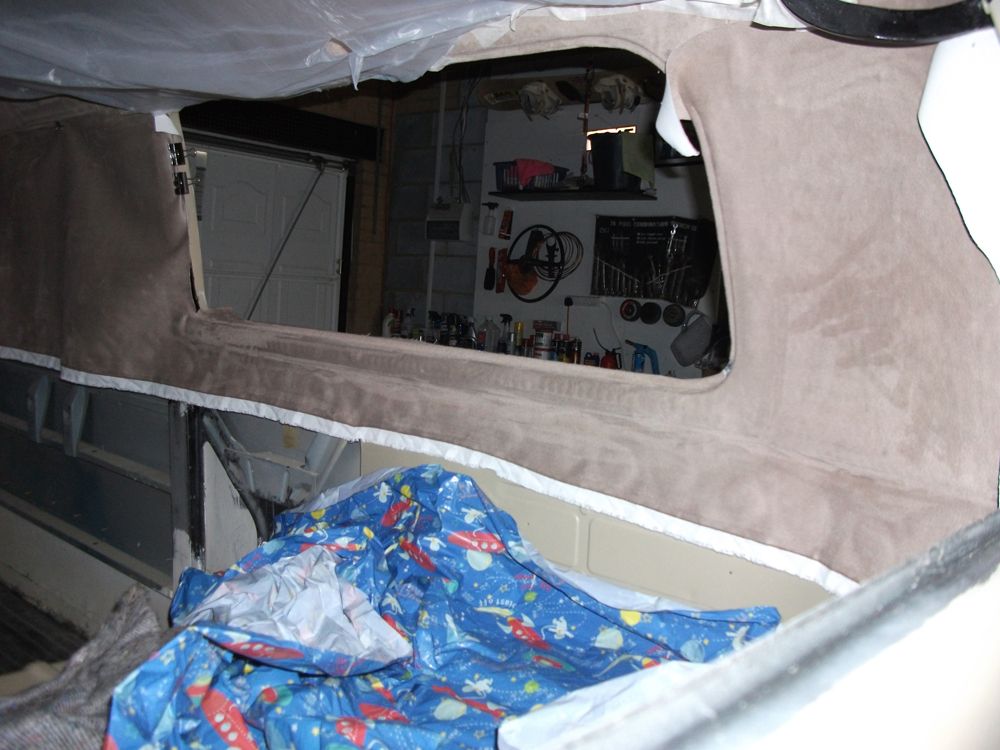
The custom-made headlining arrived from MegaVanMats too, but I didn't take a picture of it. :roll:
BOOM!
cunning plan said:Parts drop!
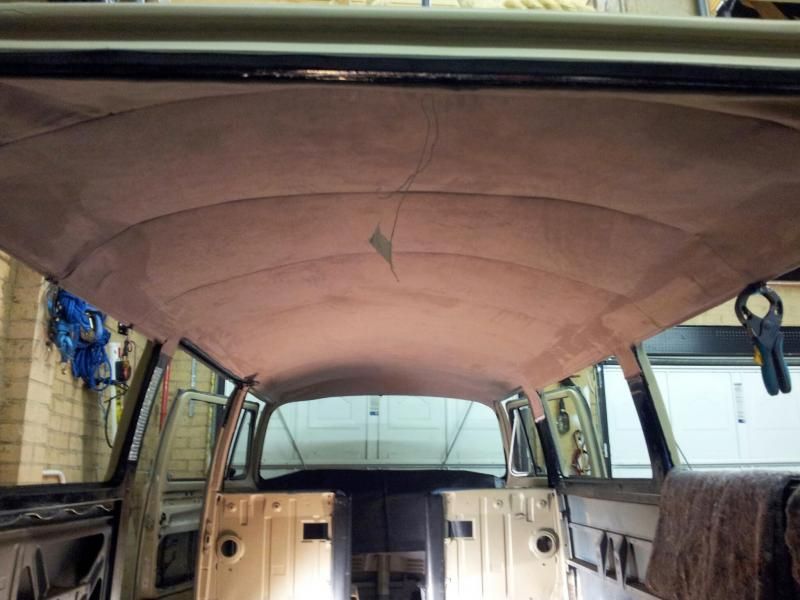
The custom-made headlining arrived from MegaVanMats too, but I didn't take a picture of it. :roll:
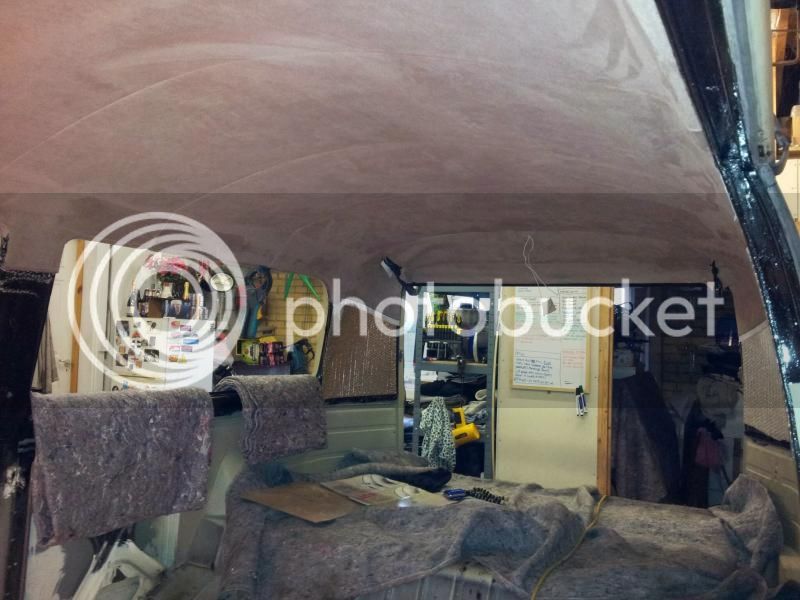
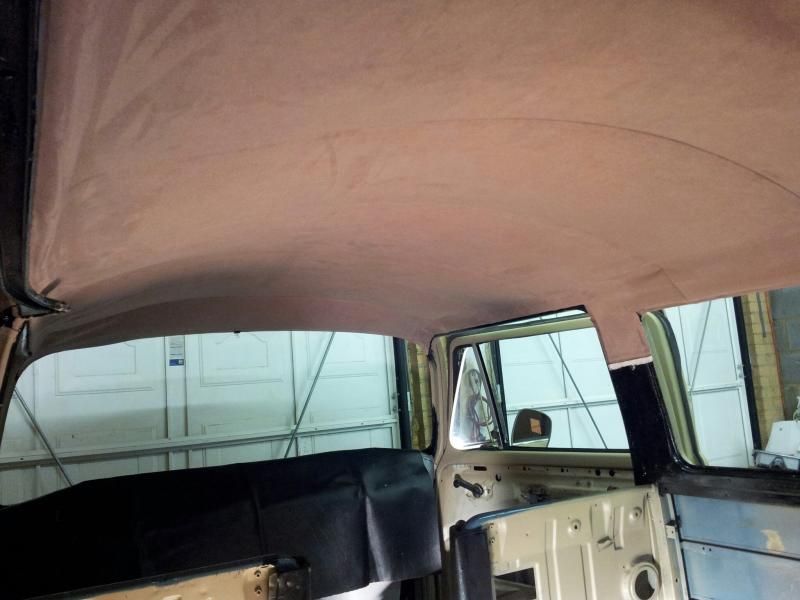
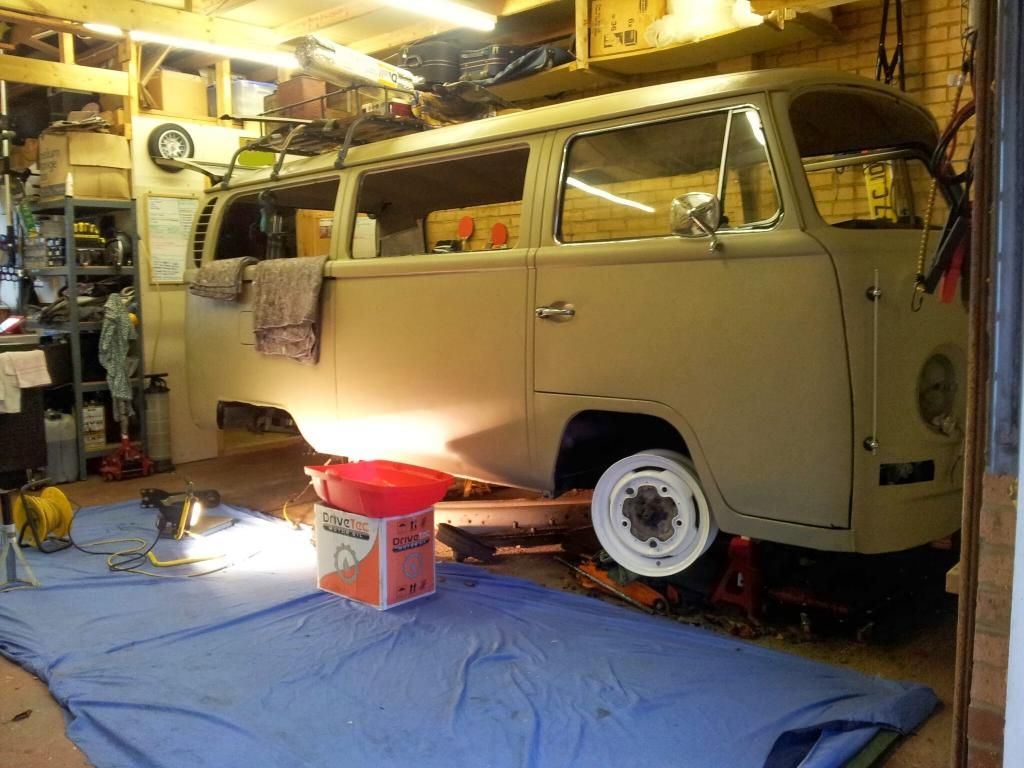
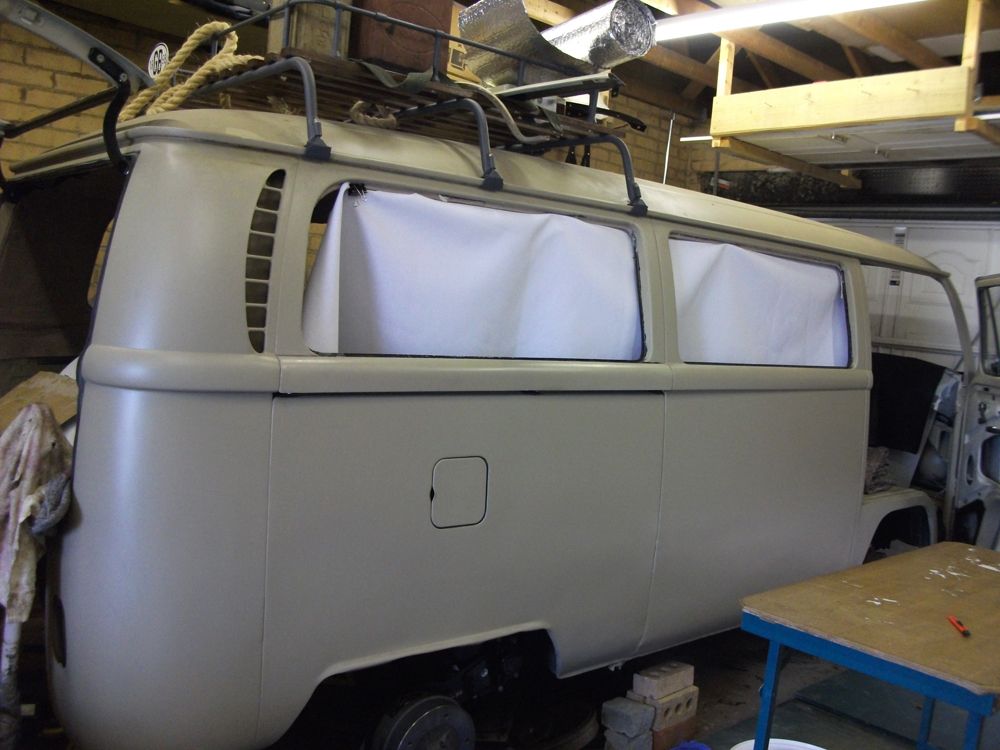
cunning plan said:A snap shot of the build so far:
cunning plan said:But I WILL have my toggle switches!!!!! :evil:
 )
)
 )
)As aogrady says probably grit in the idle circuit 'cos mine did it replaced the carb runs fine all I need to find out is how to clean grit out of the fekkin idle circuit!cunning plan said:hmm, been playing with it and it just will not idle... Anyone got anymore ideas of what to try or is it a compressionless engine that needs to be rebult?
:?:
subheatadey said:As aogrady says probably grit in the idle circuit 'cos mine did it replaced the carb runs fine all I need to find out is how to clean grit out of the fekkin idle circuit!cunning plan said:hmm, been playing with it and it just will not idle... Anyone got anymore ideas of what to try or is it a compressionless engine that needs to be rebult?
:?:
Buss69 said:Top work buddy, looking good 8) .
Wish I'd done something to mine, no chance
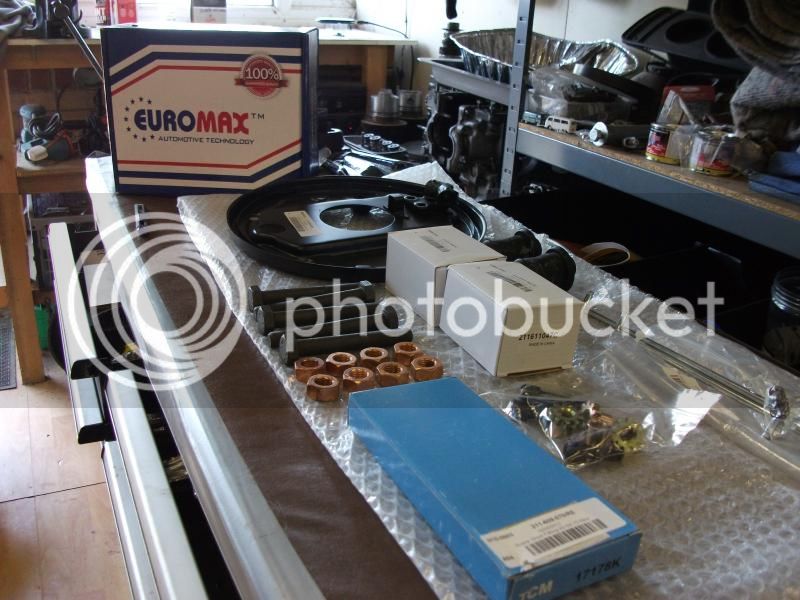
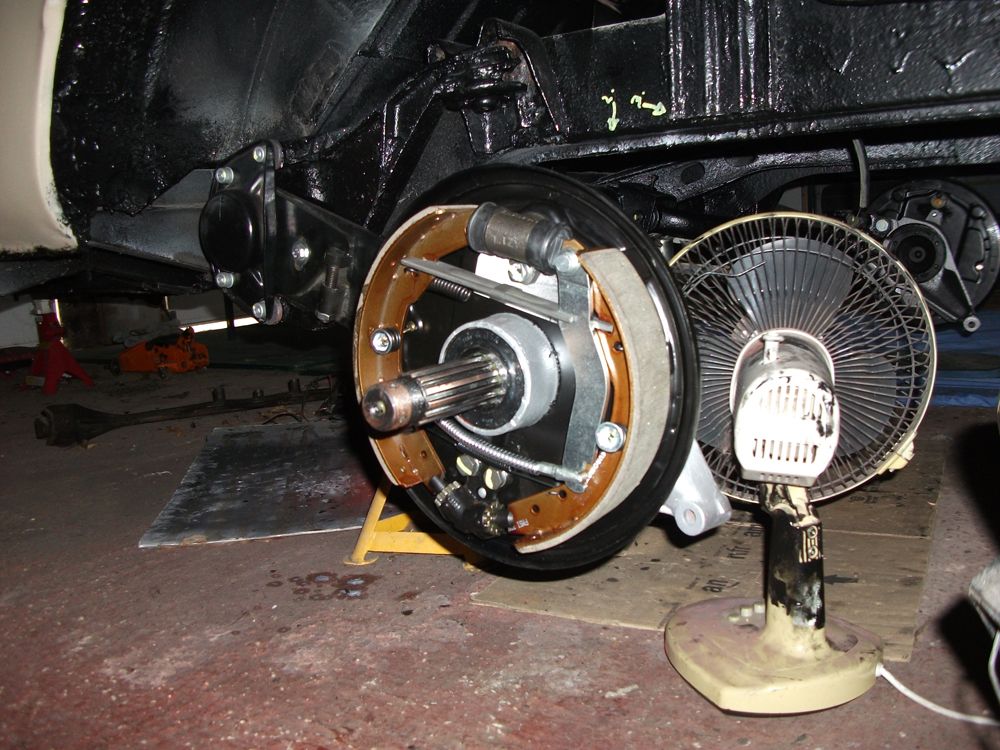
cunning plan said: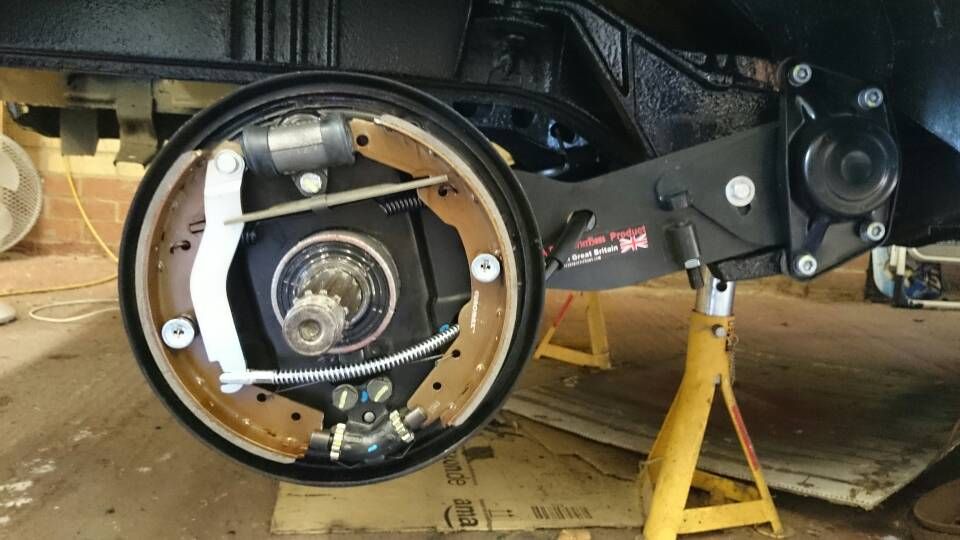
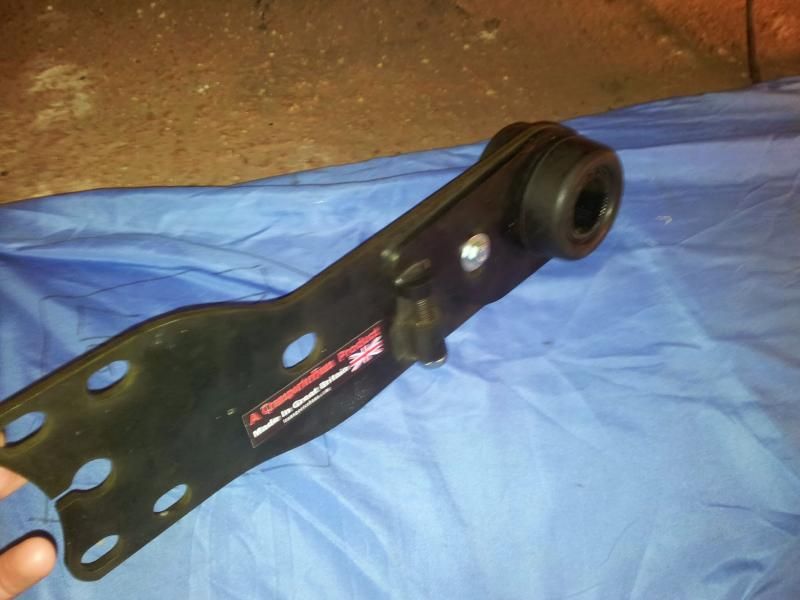
Shiny new stuff!
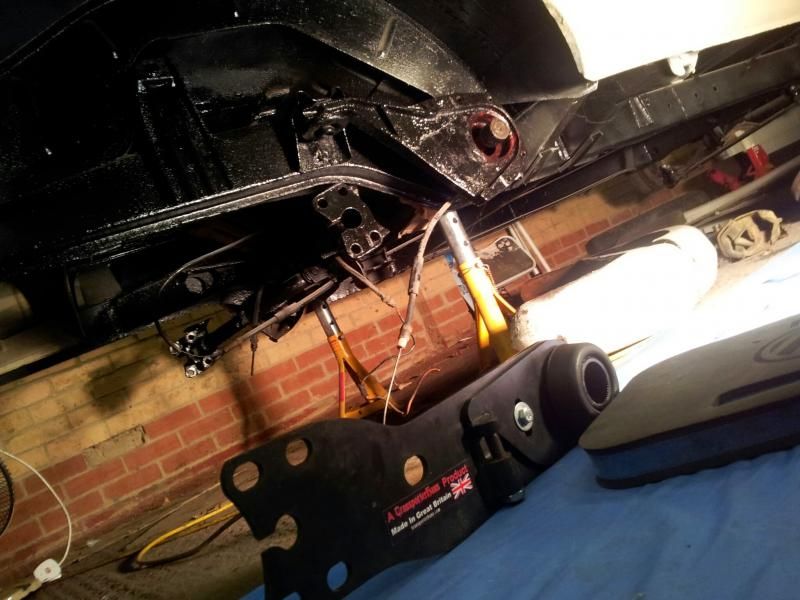
So, here we have LateBay backing plates (as you cannot buy EarlyBay backing plates) with standard EarlyBay '68>'70 cylinders, shoes, hand-brake cable and arm and the fitting kit. However, the shoes have been modified to allow them to sit in the angled adjusters.
aogrady said:Hi
Interested in this, i need new backing plates! So I use late bay plates and adjusters, and then just grind the shoes to fit? Seems simple enough, any thing else I need?
Great way by the way!
Cheers,
Alistair

 arty0021:


