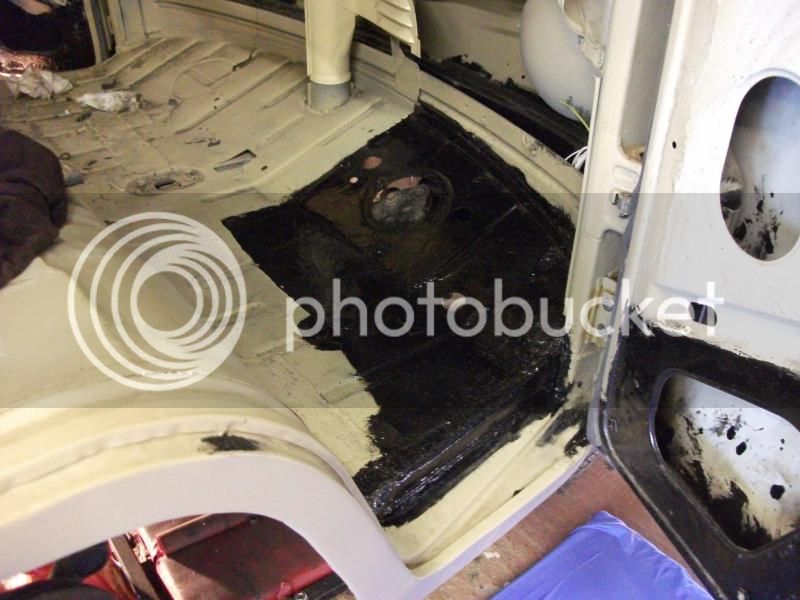
Liking the floor layout idea. Run the build down the right hand side if you are following the original route. The reasoning behind this is because the loom gets much longer at the back due to the nearside lighting. First thing is to run a small cable and route it exactly where you want the new loom to go. Accurately mark and note where there are breakouts, such as reverse light switch, brake light switch and starter etc. Its really worth spending time on this process. I think the key is to make sure your routing is sound. I used a lot of cable ties to hold the cable in place, it's really annoying when the cable moves, when done, cut and dispose (don't leave used ones on the floor, they hurt like hell when you get one in the back or the palm of the hand :? )
Other things to consider. Are you going to re-use the OG fuse box? Are you going to locate it in the original place? All things to think about when planning the initial route.
Other things to consider. Are you going to re-use the OG fuse box? Are you going to locate it in the original place? All things to think about when planning the initial route.
 arty0021: