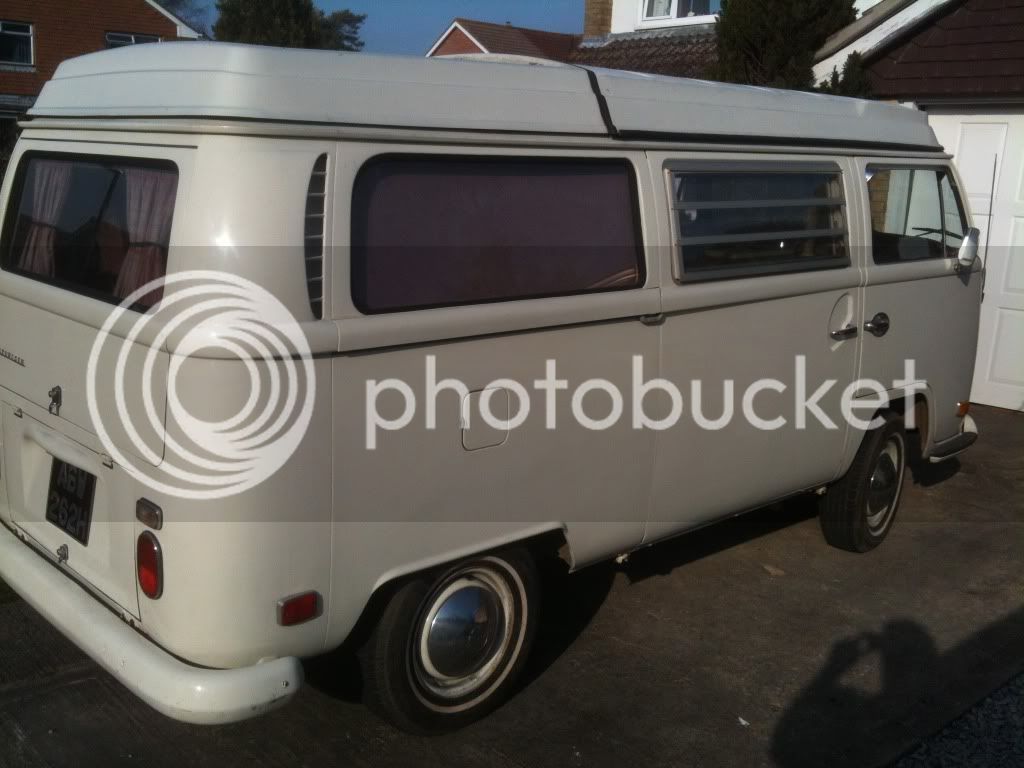
Thought it was time to record 'Daisy's' (named by kids) new life in Oxfordshire following her long trip from New Mexico, US, last summer. After months of dreaming and trawling through EarlyBay (and thelatebay) i got in touch with John aka theovalguy in Texas, US. We spotted an advert on 'The Samba' and John worked his magic on the seller and a few months later she was on the way over here. Here are a few recent photos of her, sitting on the drive......
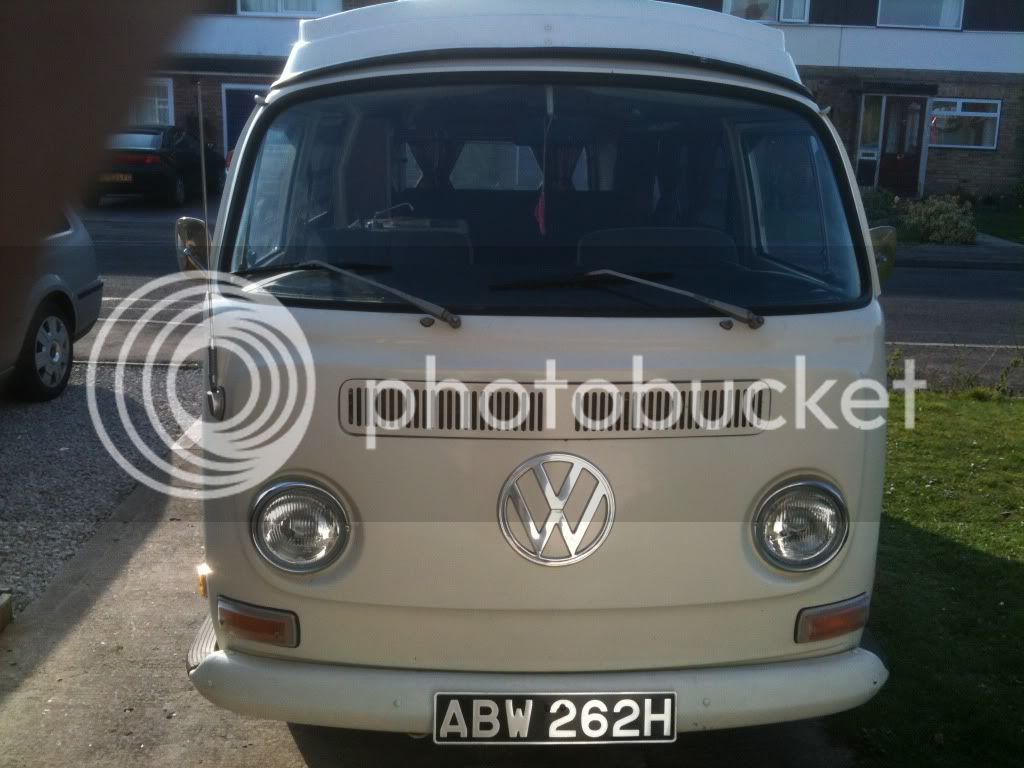
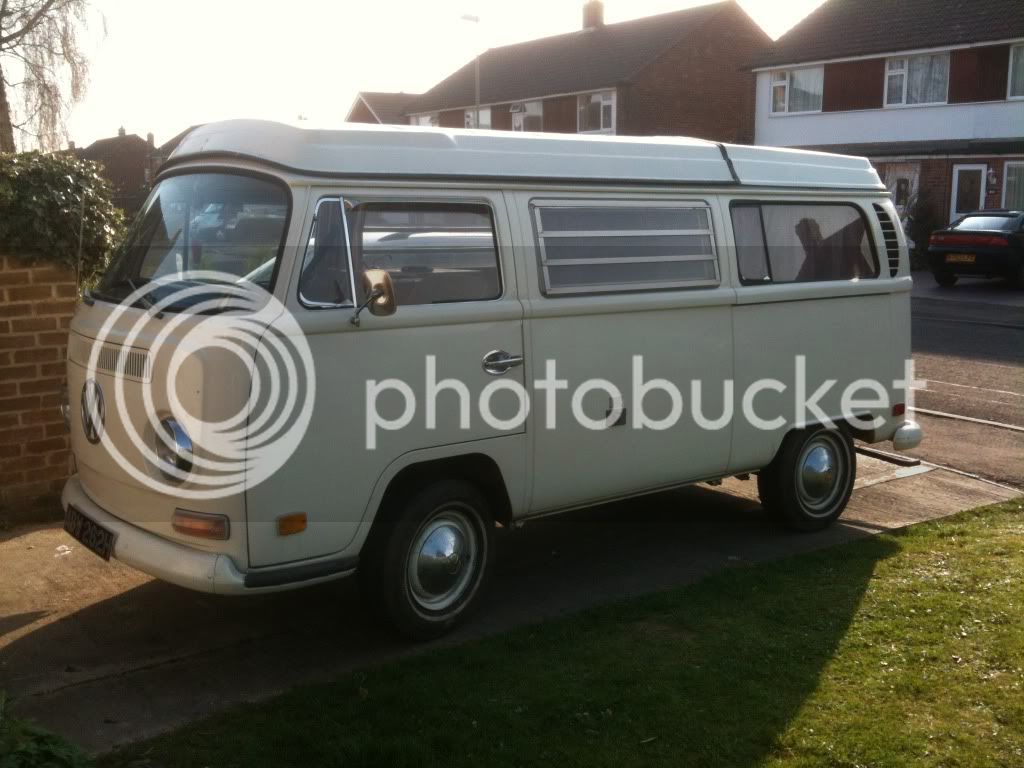
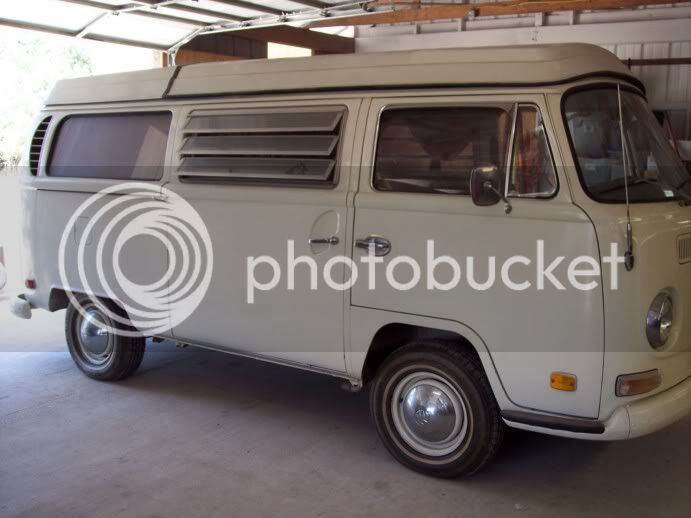
As you can see, on the face of it she looked in good nick. She is completely solid underneath, which was my main criteria, as well as having a fairly recent blow-over, up top. Some shots of her in New Mexico prior to purchase:
We also got an original awning (still haven't opened yet), mostquito net and front cab bunk which was a nice bonus.
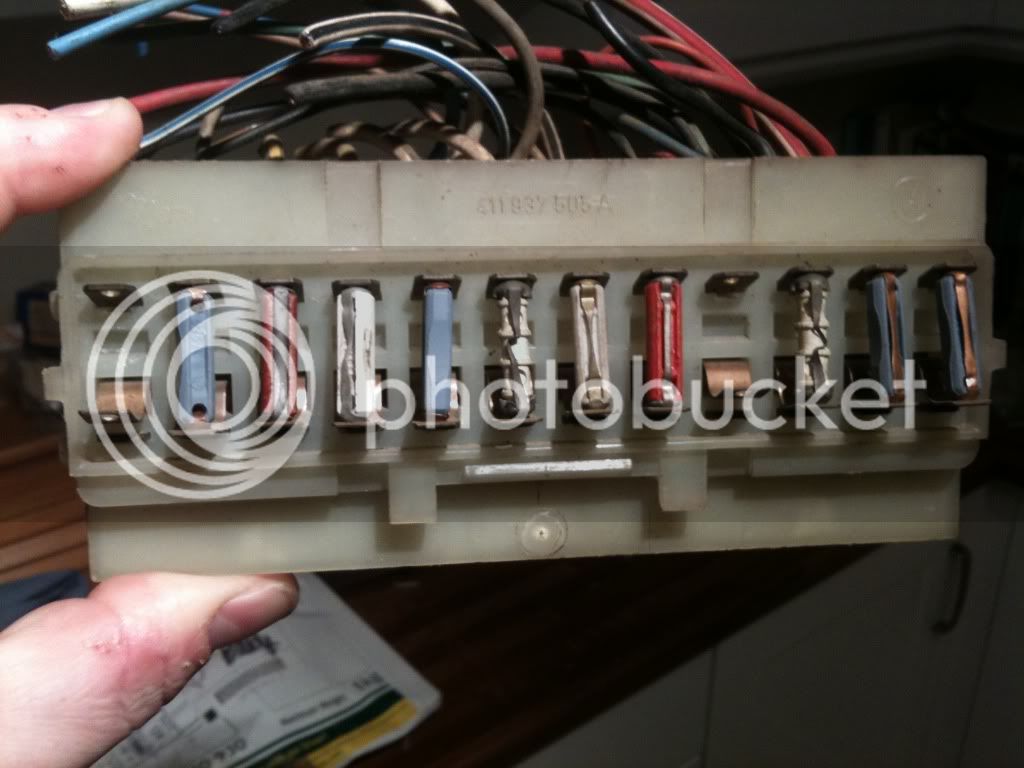
After a few days, I started to have a go at things myself. I repalced the fusebox, as the old bakerlite one has cracked all the way down the middle.....here is the new one.
I also dropped the engine (with a view to sorting the engine out) and also to get at the fuel tank, that i knew was full of crud.
After getting the fuel tank out, i inspected the tank and saw about half an inch of dried treacle (fuel) that has obviously been sitting there a while. So after finding a relatively gunk-free second-hand one, i treated it to a POR-15 kit from Frosts. This was a 3-step clean, strip and seal system and the results were better than expected.
I also swapped the lights/indicators over from US spec to UK for the MoT keeping the original US spec rear lenses instu and sacraficing any reverse lights.
However, although she ran, it soon became apparent that she needed a new engine and gearbox, as well as suspension and brake work.
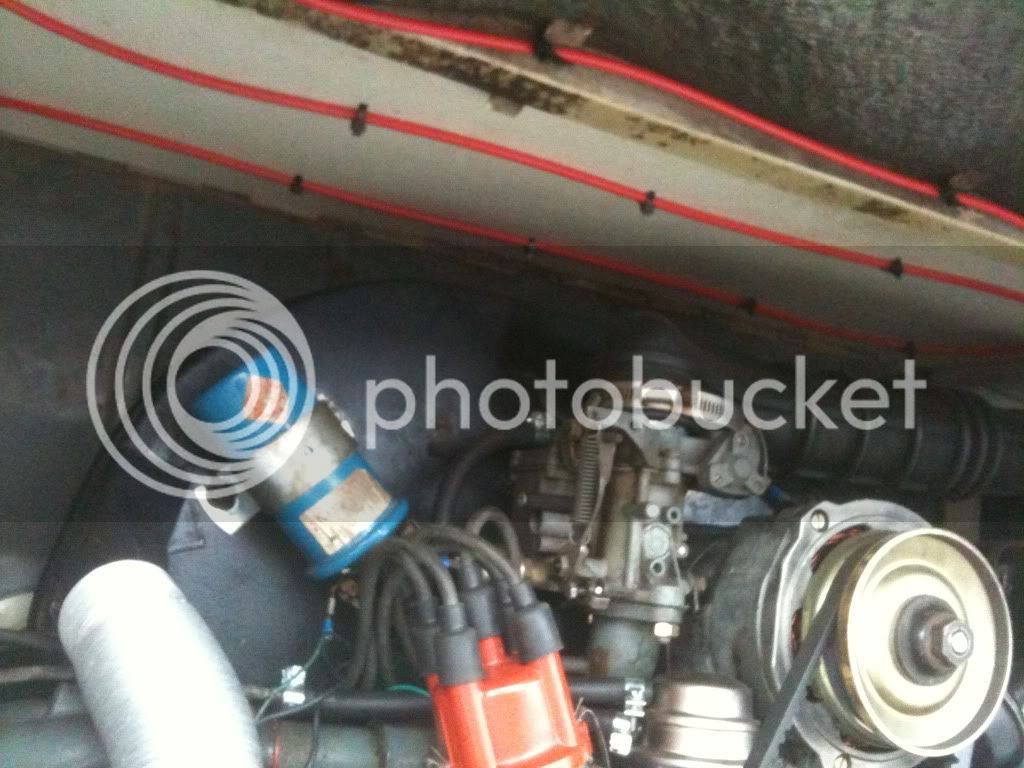
This was carried-out by a local garage and was then sent to Pete Williams aka 'Pete Nice' in Surrey for a newish engine (new factory unit that had only covered 700 miles) and a second-hand gearbox. He also carried-out various bits to her including another solex carb, cutting an inspection hatch for the fuel sender, new fuel sender, alternator conversion, new clutch and starter motor.
So, having her land in early Oct, it took until late March (no fault of Pete's) before she was MoT'd, registered and in a fit state for me to be able to drive her back from Guildford on her first trip home....an interesting trip to say the least, with little fuel, no map and first experince of driving a van. :shock:
Although we didn't have any service history or the like with the van we did find amonst other things two of these in the back....

Haha, who needs stamped service books when you have these to tell you a bit about the previous uses :lol:
Other things included, a old toy car, a old hair comb, ring pulls, pens, etc.
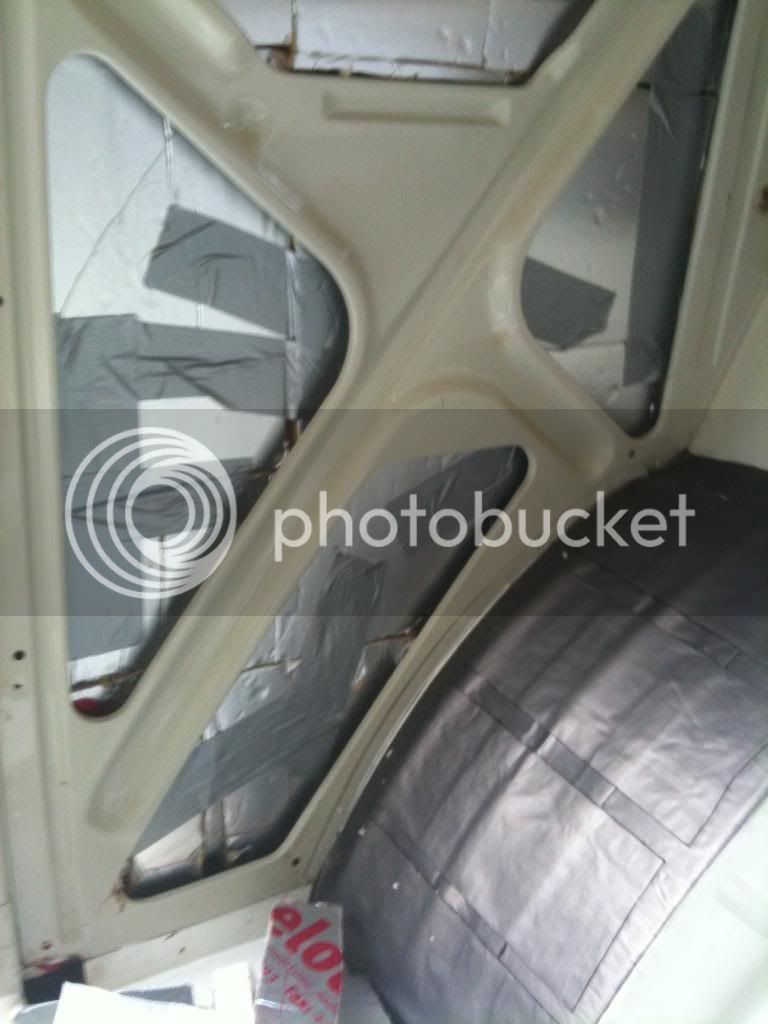
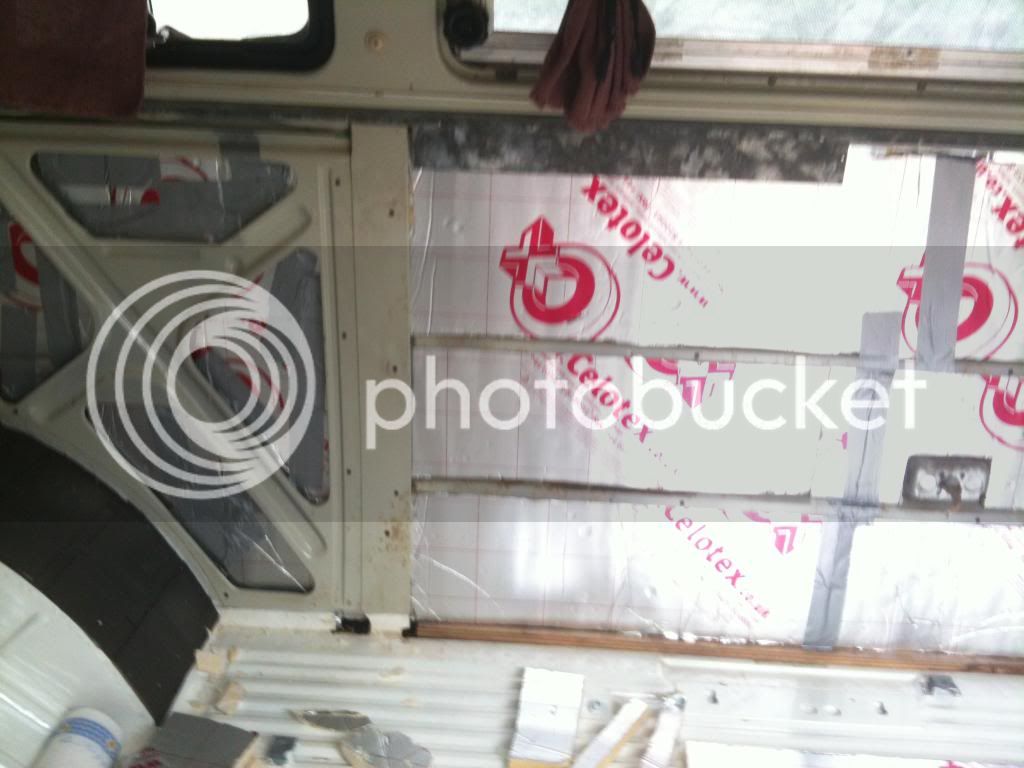
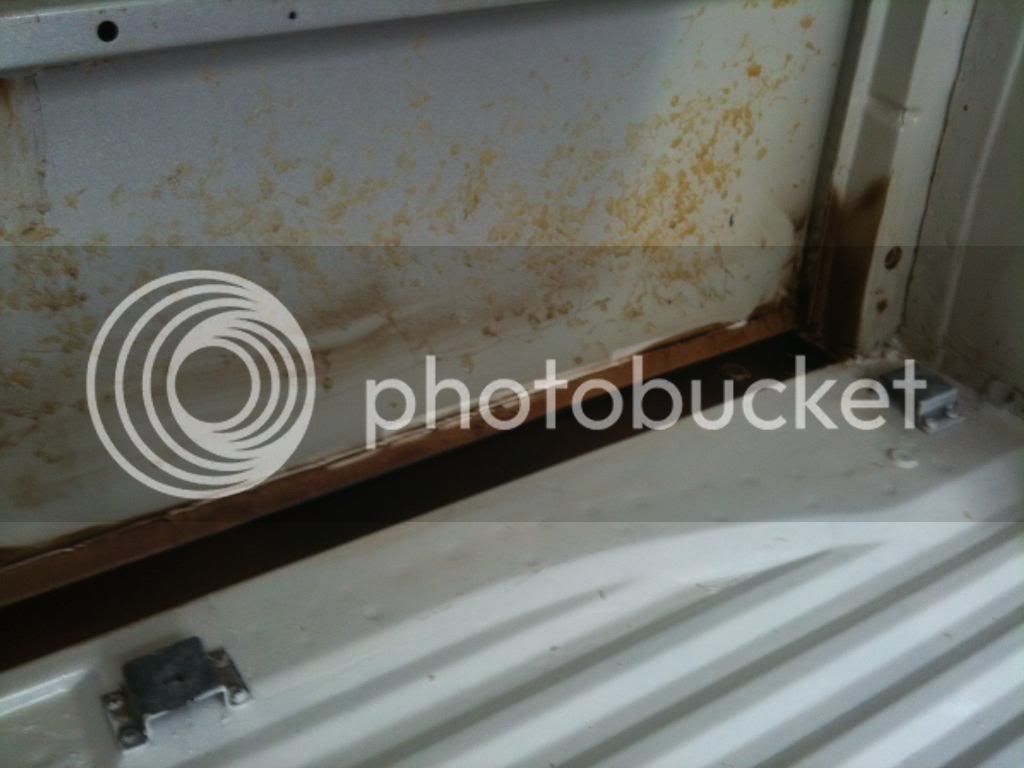
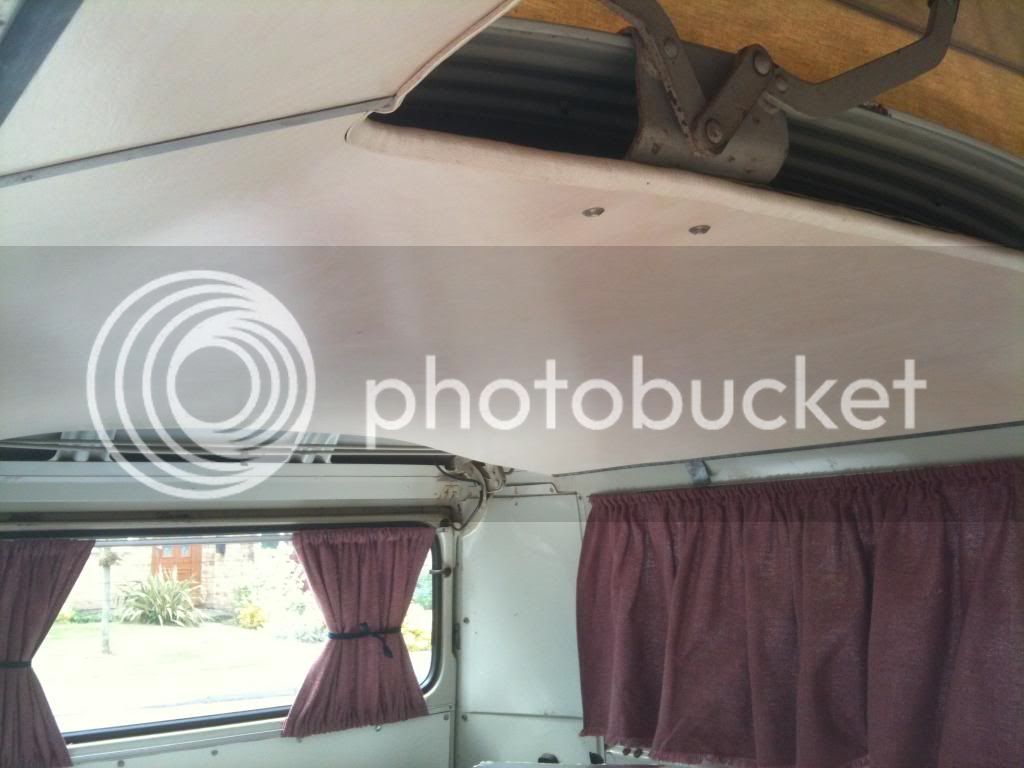
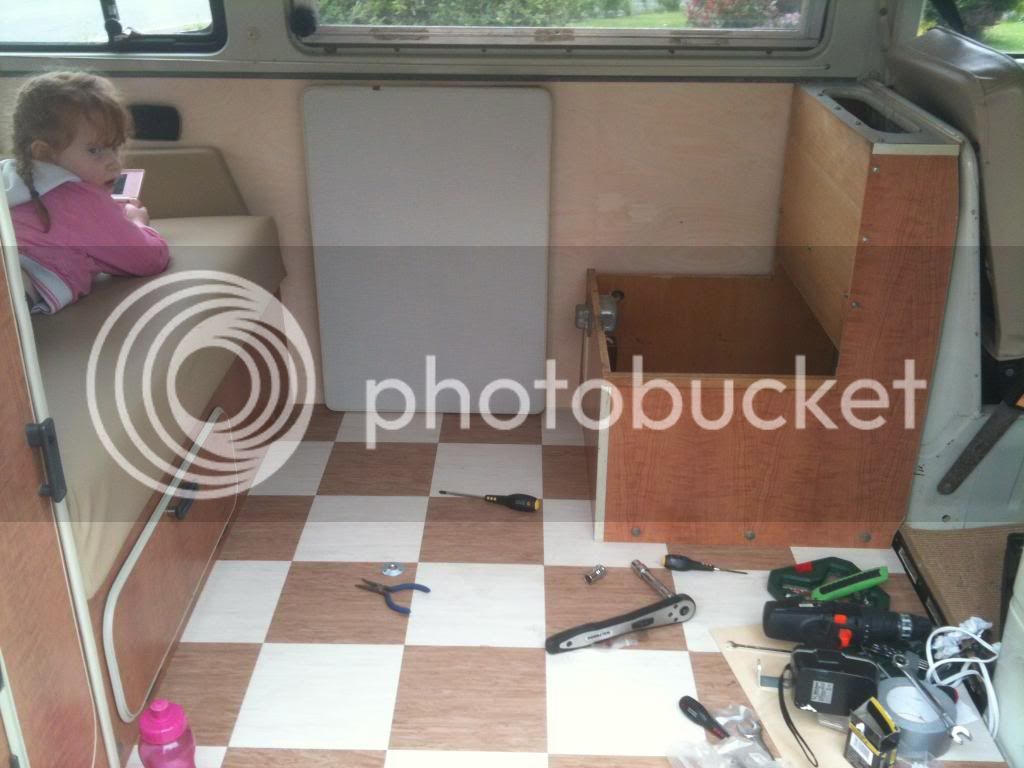
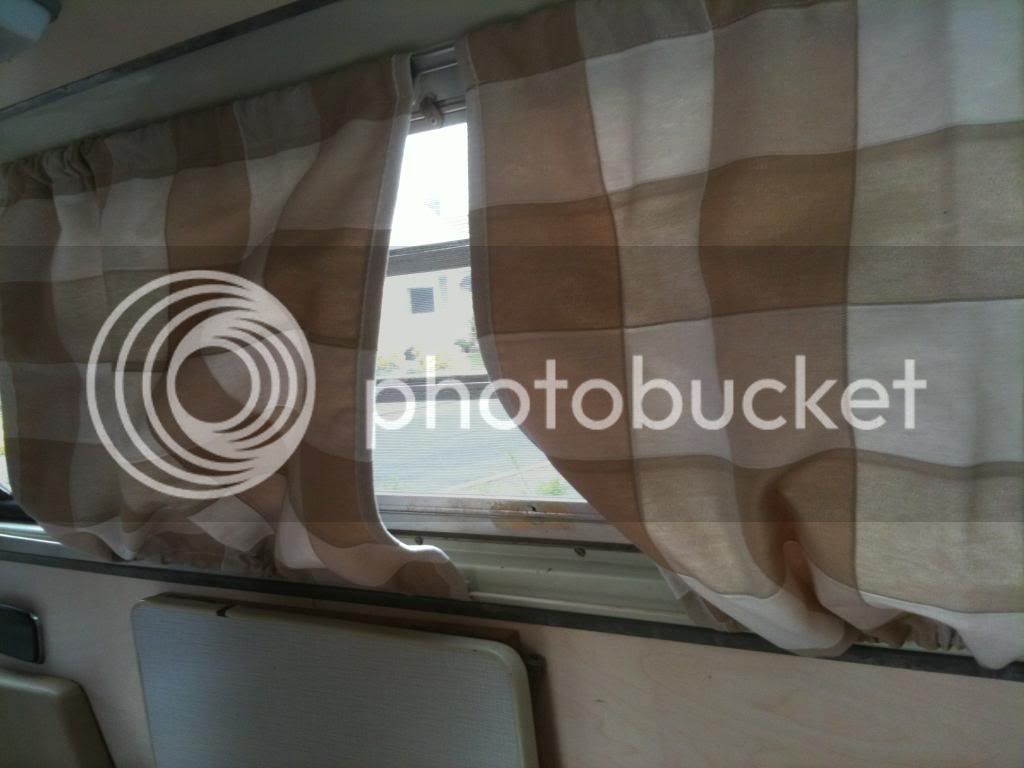
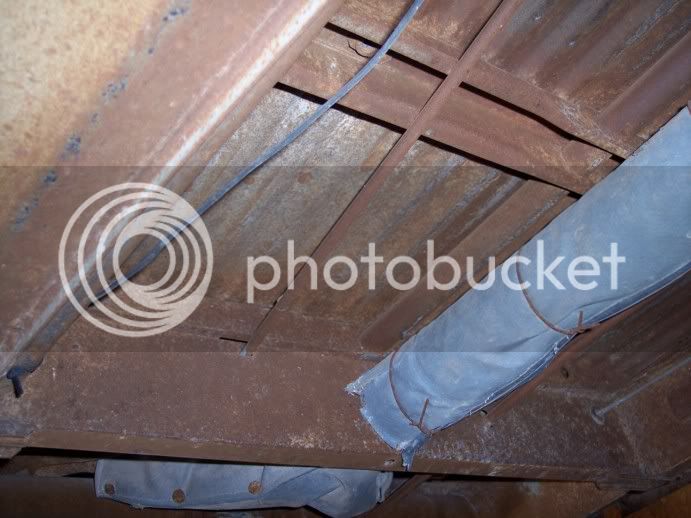
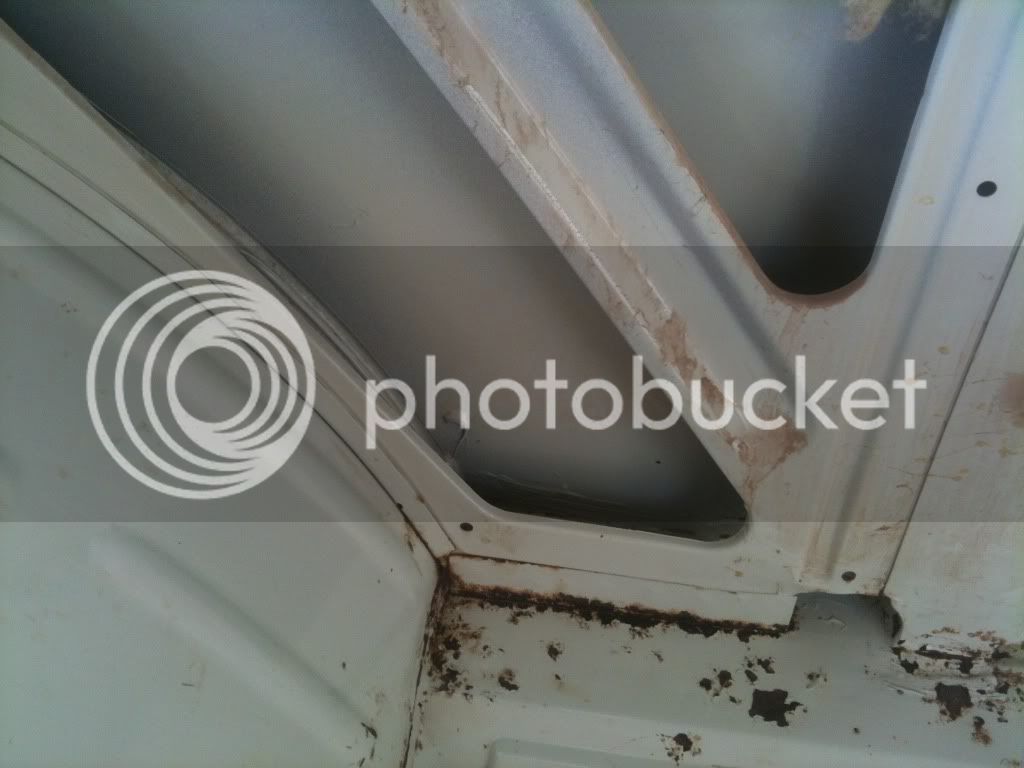
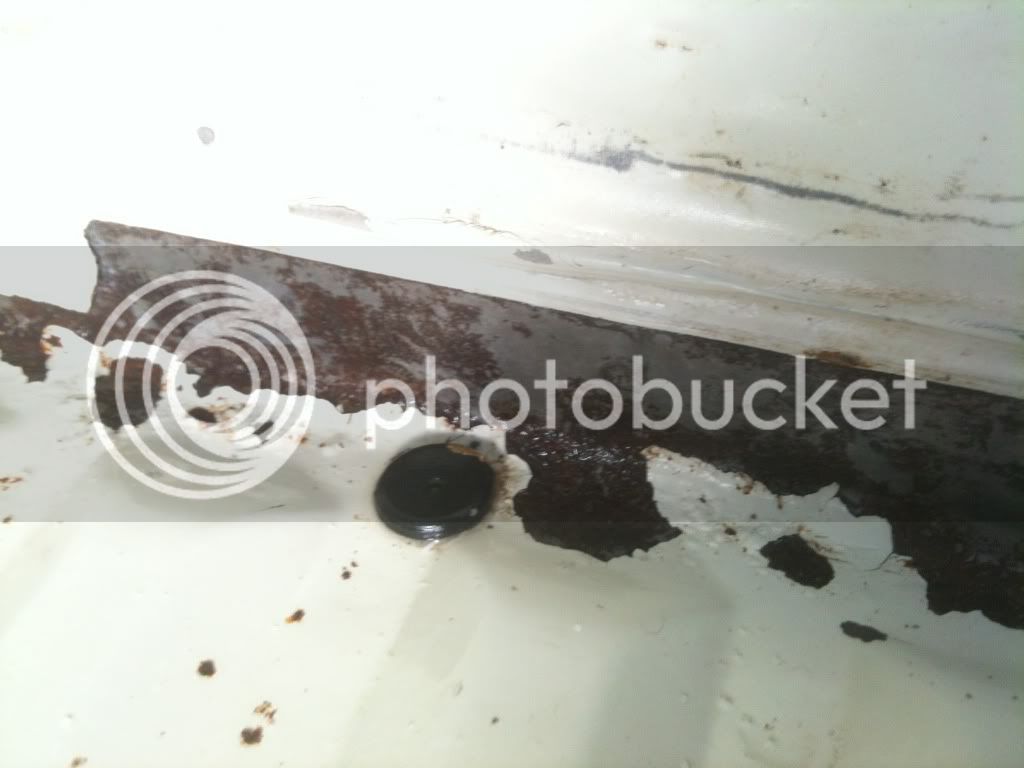
Once she was back, and after a 200-mile trouble-free round trip to Volksworld, i started tinkering. First job was to strip the interior to fit new cushions/curtains. Once out i thought i would also replace the interior side ply panels as these were stained and cracked, so ended up stripping all the interior out. This is what it was like underneath the floor and wall panels.
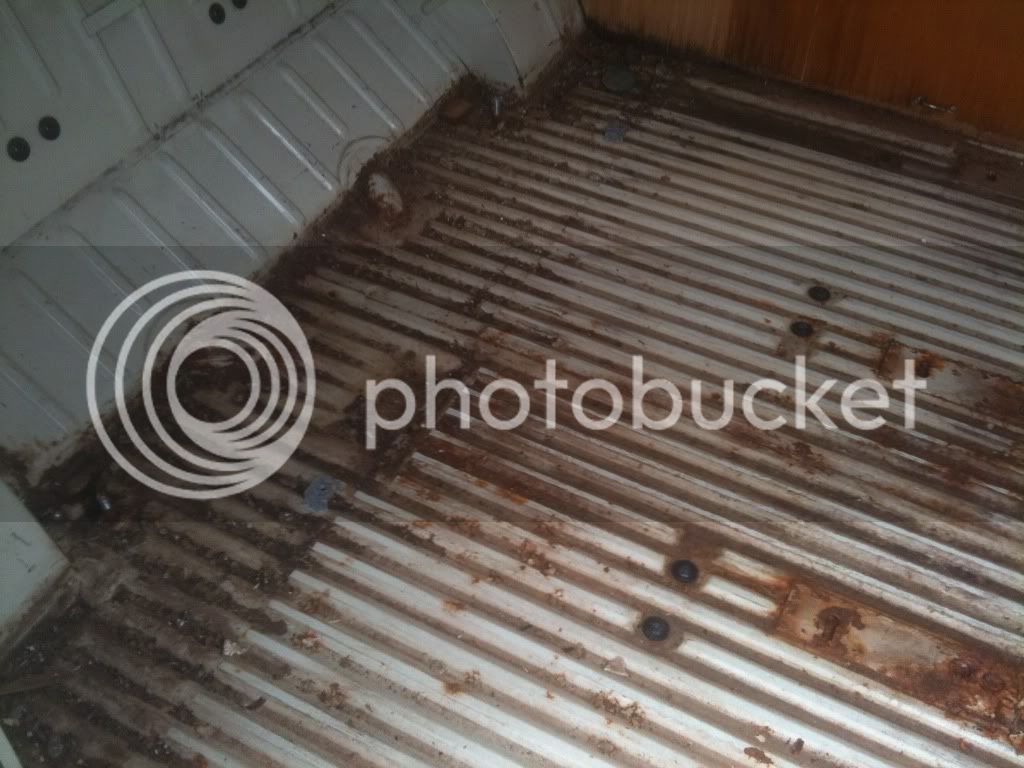
I was happy as it was just surface rust and solid as a rock, as the underside was. After a good clean it looked like this:
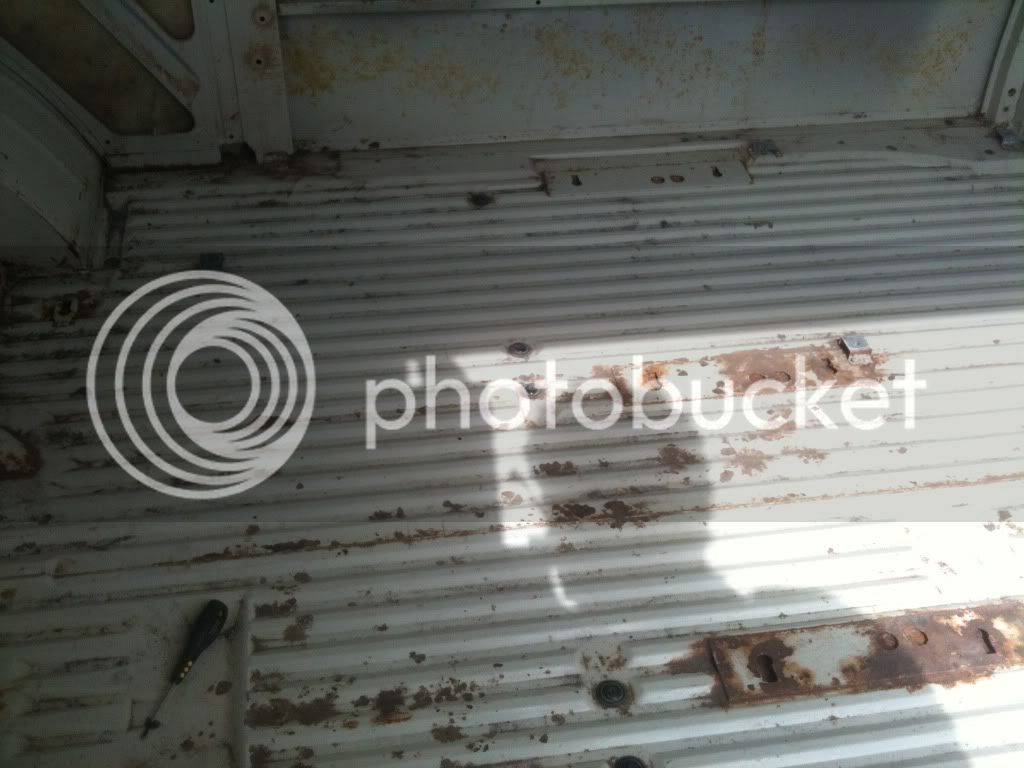
with the worst rust being around the seat mountings.
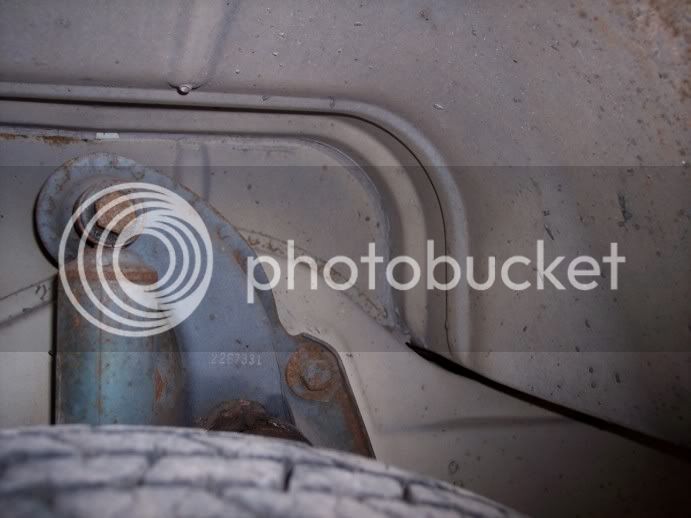
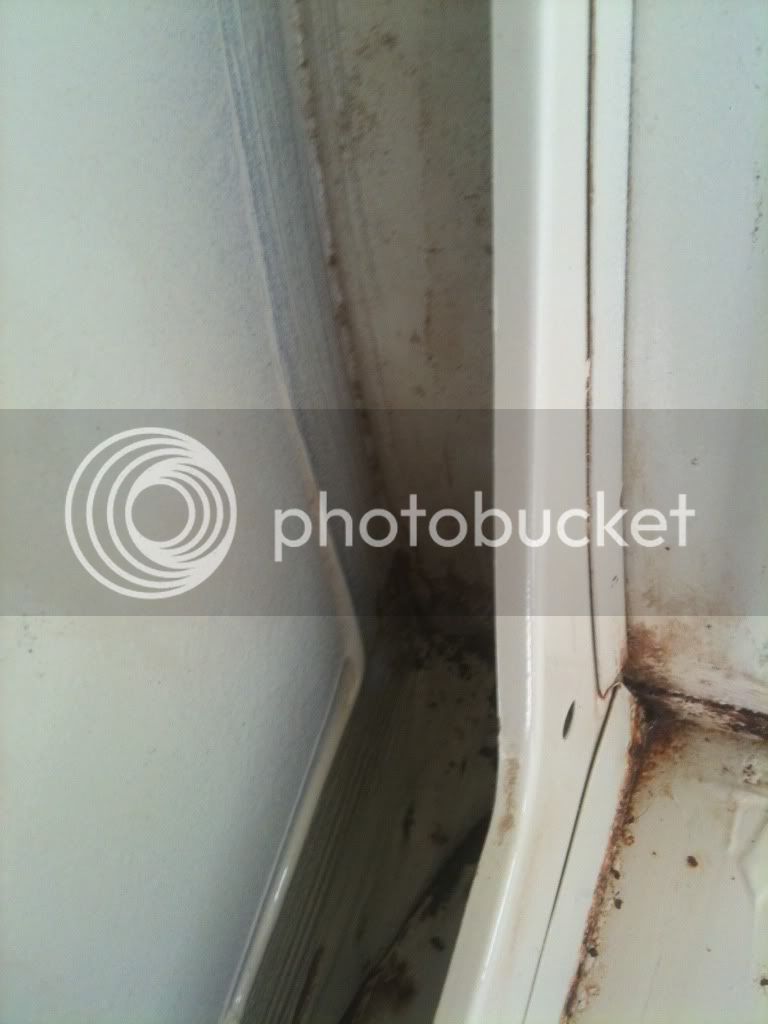
While it was all out, i took shots of the cavities, etc. Looked good to me with zero rust:
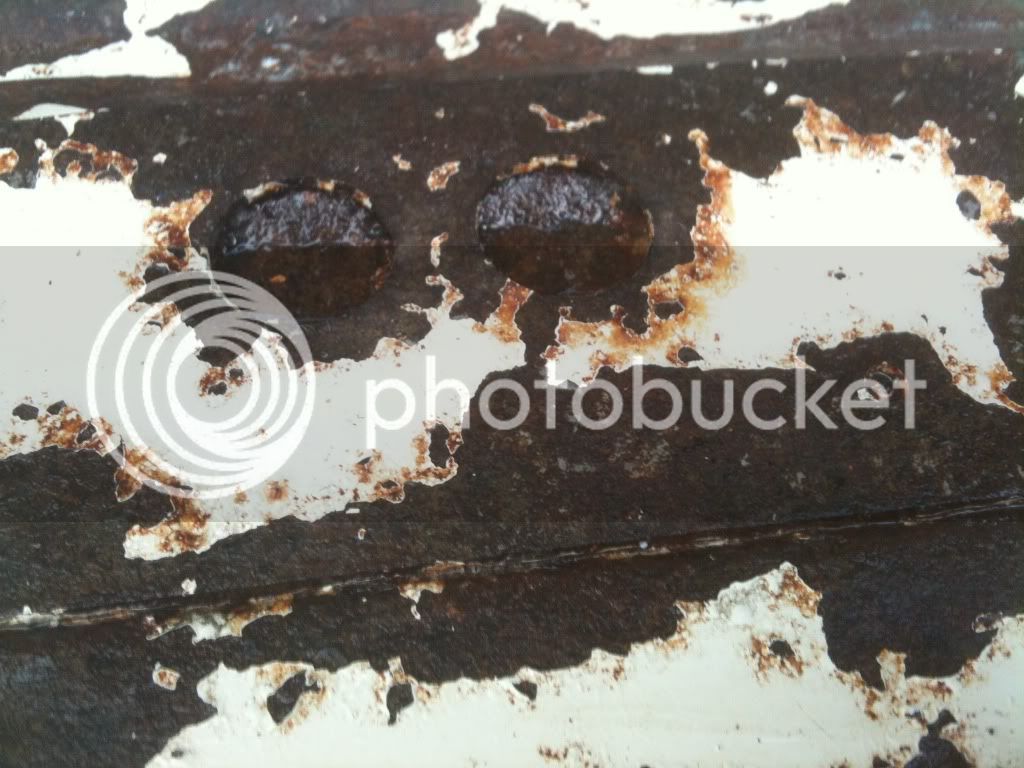
I looked into various rust products and finally chose KBS Frame kit, with a clean solution, primer and sealer in off-white (although it is still very white). After using the prep products, i was starting to worry that it hadn't worked. It was better in some areas than others:
good.......
not so good......
and 3 topcosts of the sealer, this is what it looked like.....
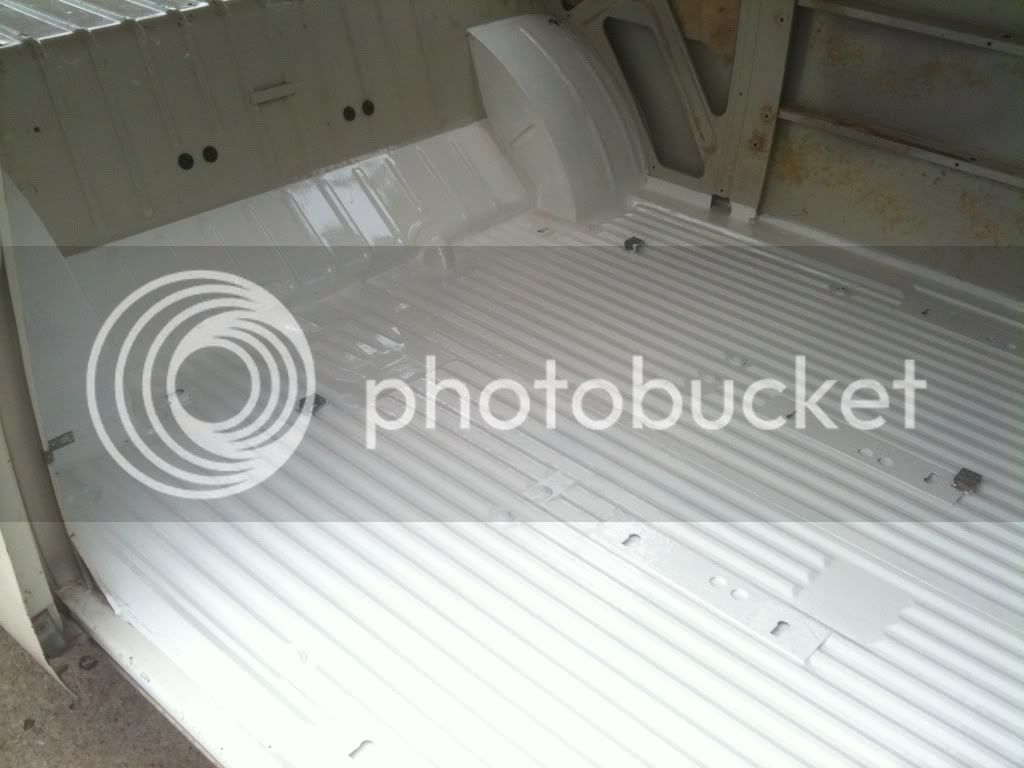
I am happy with the finish. I took my time rollering on the first two coats giving them a thin coat each. By the third coat i was brushing it on quite liberaly. Although i still bear the paint stains on my hands that will not come off. Top Tip: Remove any stains spillages asap and definately before it dries. I did get it off my hands and assumed that the rest would come off when i finished - It didn't!
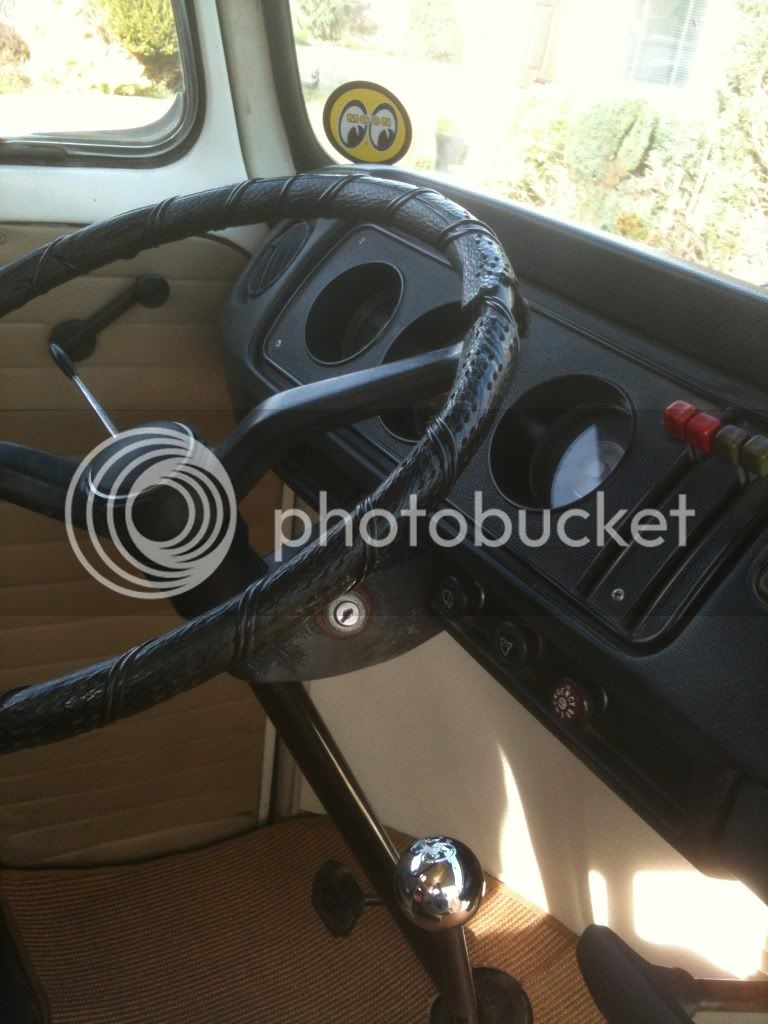
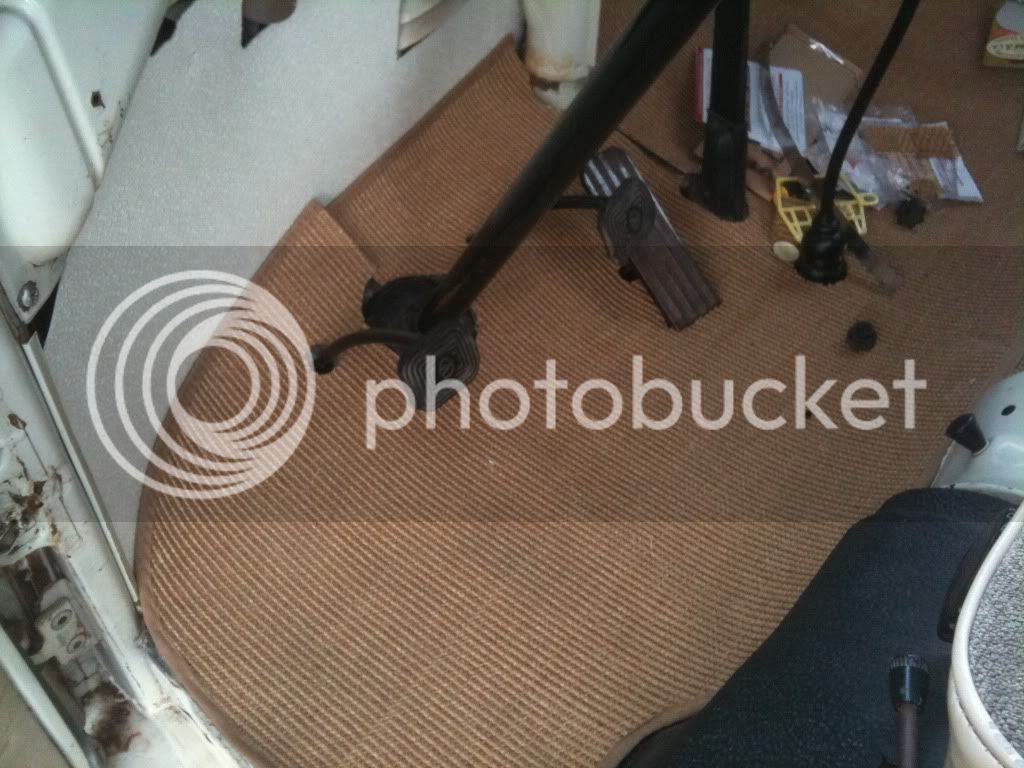
In the meantime, i have also added a new shiny gear knob (mooneyes) my mate bought me, a cab mat, and a new Retrosound stereo, although not connected yet.
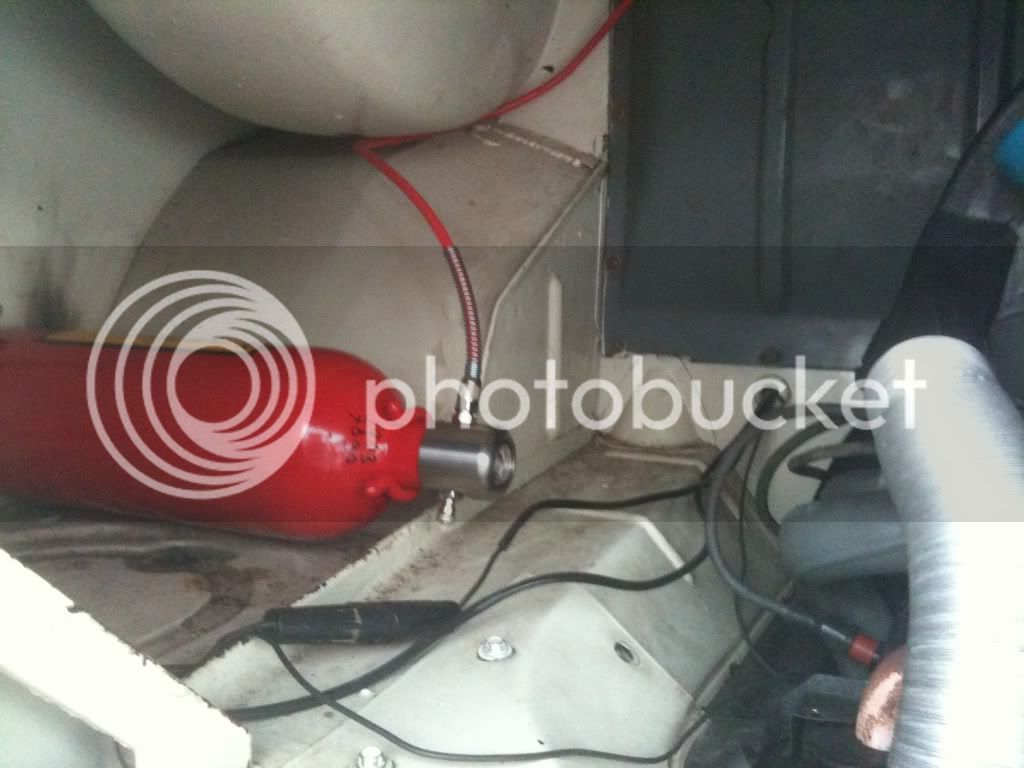
I had also purchased a Firetec system before she arrived which i have since fitted. Never can be too carfeul!
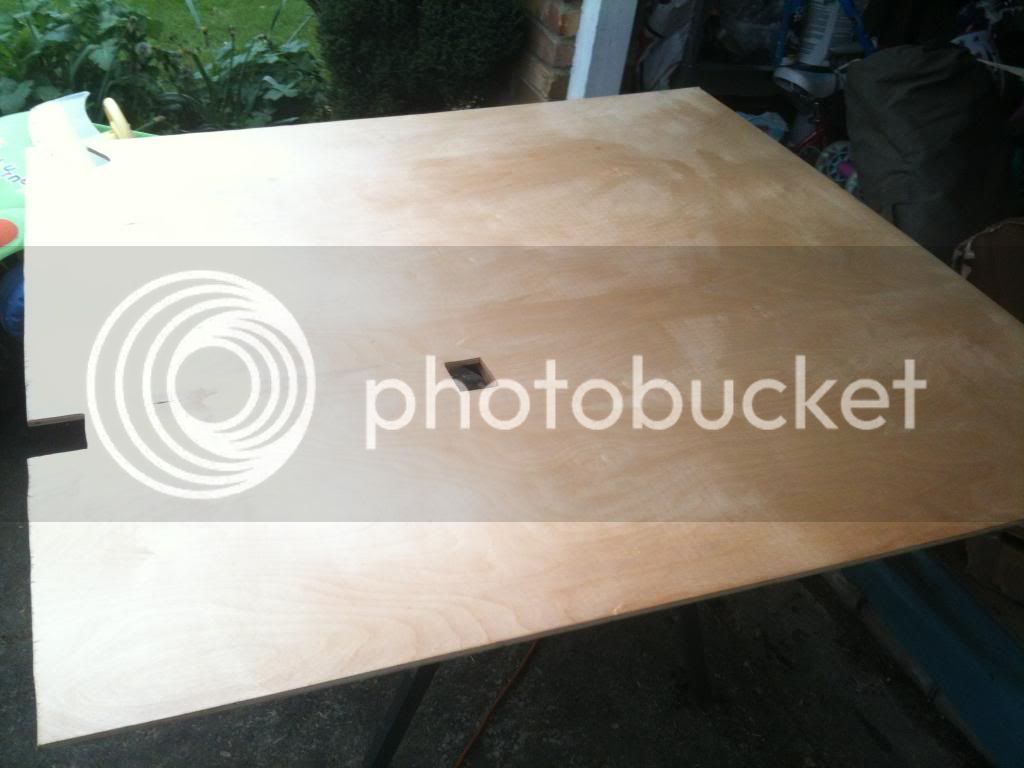
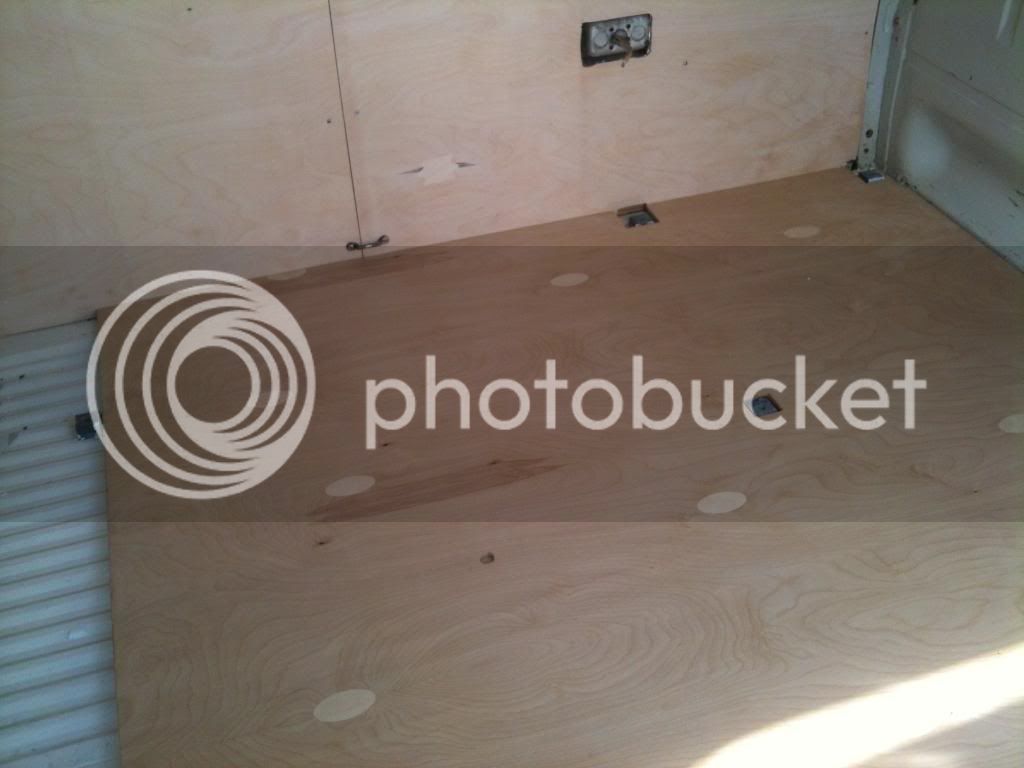
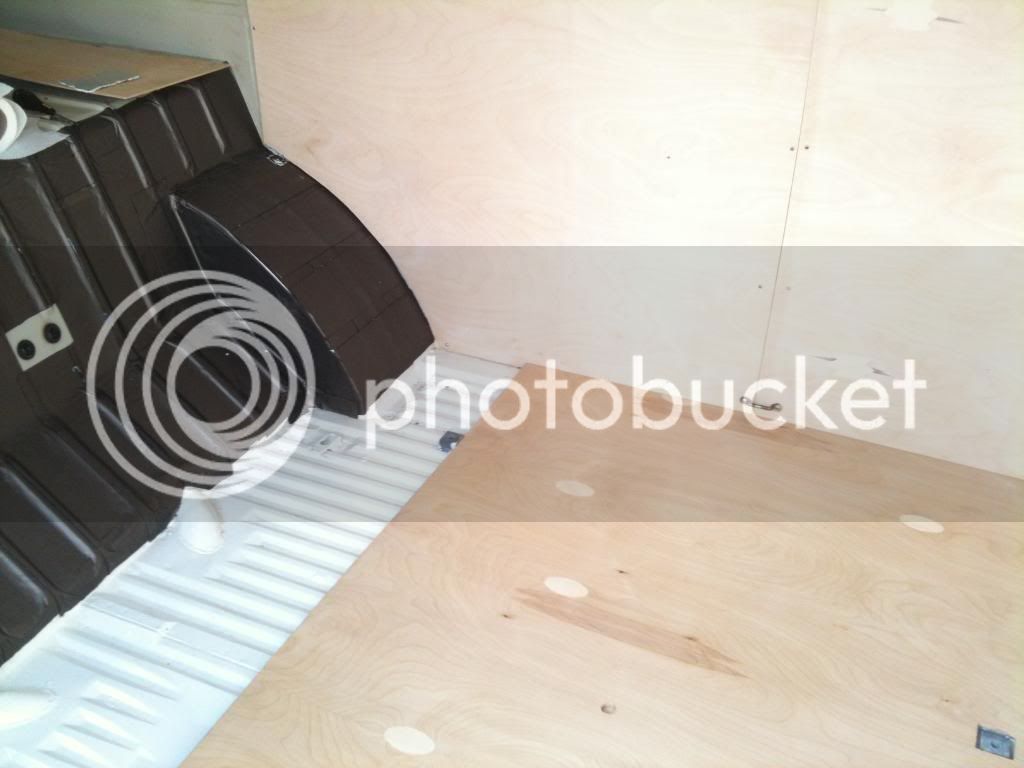
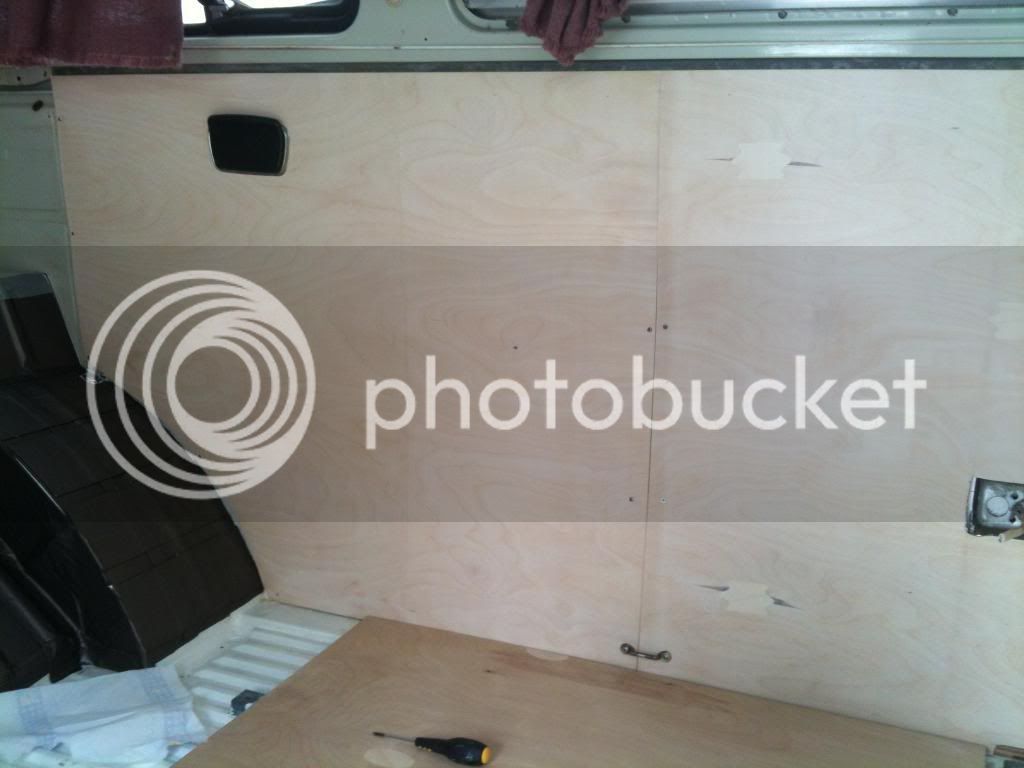
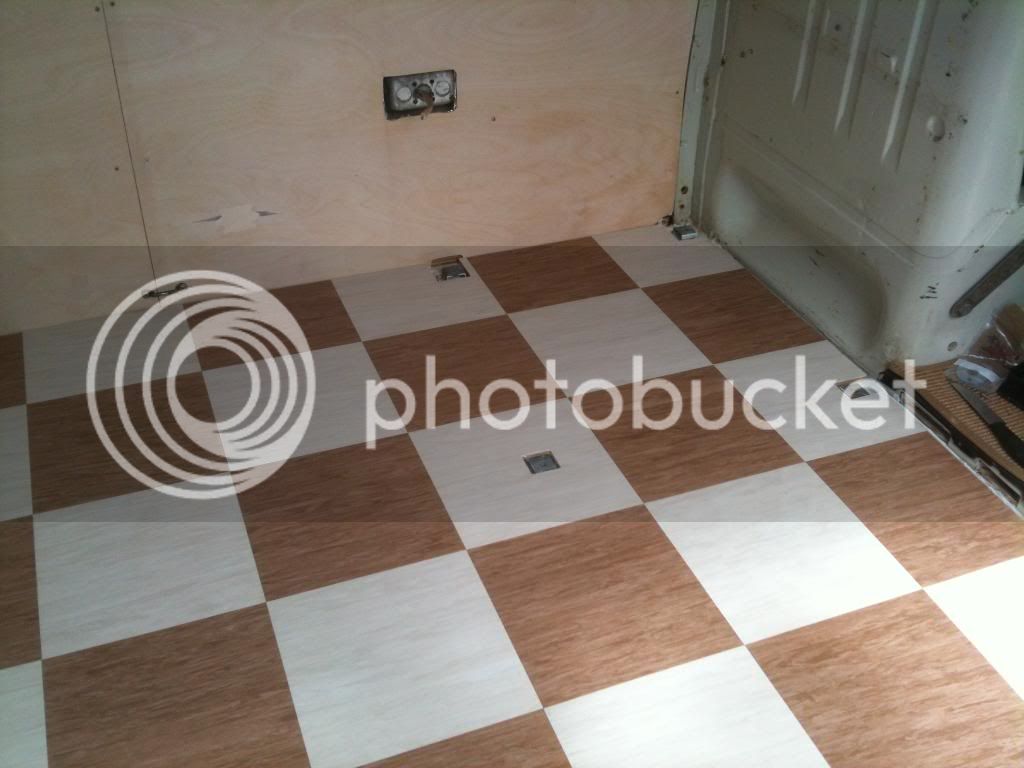
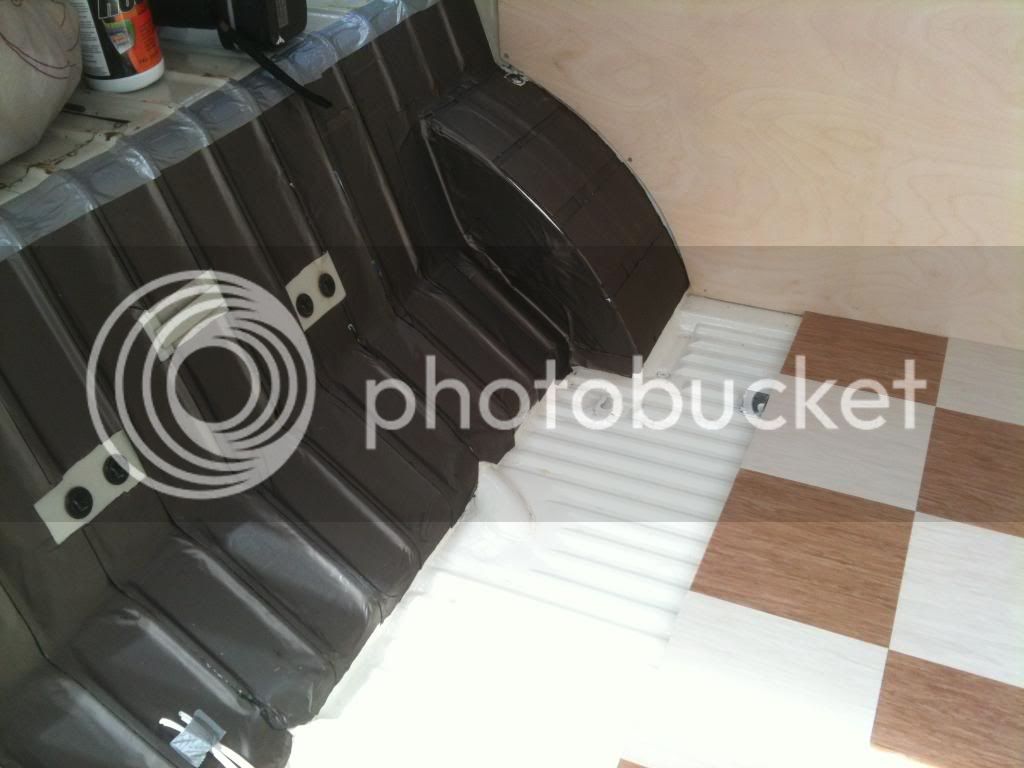
Next jobs are new ply flooring, with conduit for speakers, wires, etc, insulation, sound proofing, continental bed, security system, over-riders, lowering, wheels, seat belts, etc, etc.
As you can see, on the face of it she looked in good nick. She is completely solid underneath, which was my main criteria, as well as having a fairly recent blow-over, up top. Some shots of her in New Mexico prior to purchase:
We also got an original awning (still haven't opened yet), mostquito net and front cab bunk which was a nice bonus.
After a few days, I started to have a go at things myself. I repalced the fusebox, as the old bakerlite one has cracked all the way down the middle.....here is the new one.
I also dropped the engine (with a view to sorting the engine out) and also to get at the fuel tank, that i knew was full of crud.
After getting the fuel tank out, i inspected the tank and saw about half an inch of dried treacle (fuel) that has obviously been sitting there a while. So after finding a relatively gunk-free second-hand one, i treated it to a POR-15 kit from Frosts. This was a 3-step clean, strip and seal system and the results were better than expected.
I also swapped the lights/indicators over from US spec to UK for the MoT keeping the original US spec rear lenses instu and sacraficing any reverse lights.
However, although she ran, it soon became apparent that she needed a new engine and gearbox, as well as suspension and brake work.
This was carried-out by a local garage and was then sent to Pete Williams aka 'Pete Nice' in Surrey for a newish engine (new factory unit that had only covered 700 miles) and a second-hand gearbox. He also carried-out various bits to her including another solex carb, cutting an inspection hatch for the fuel sender, new fuel sender, alternator conversion, new clutch and starter motor.
So, having her land in early Oct, it took until late March (no fault of Pete's) before she was MoT'd, registered and in a fit state for me to be able to drive her back from Guildford on her first trip home....an interesting trip to say the least, with little fuel, no map and first experince of driving a van. :shock:
Although we didn't have any service history or the like with the van we did find amonst other things two of these in the back....
Haha, who needs stamped service books when you have these to tell you a bit about the previous uses :lol:
Other things included, a old toy car, a old hair comb, ring pulls, pens, etc.
Once she was back, and after a 200-mile trouble-free round trip to Volksworld, i started tinkering. First job was to strip the interior to fit new cushions/curtains. Once out i thought i would also replace the interior side ply panels as these were stained and cracked, so ended up stripping all the interior out. This is what it was like underneath the floor and wall panels.
I was happy as it was just surface rust and solid as a rock, as the underside was. After a good clean it looked like this:
with the worst rust being around the seat mountings.
While it was all out, i took shots of the cavities, etc. Looked good to me with zero rust:
I looked into various rust products and finally chose KBS Frame kit, with a clean solution, primer and sealer in off-white (although it is still very white). After using the prep products, i was starting to worry that it hadn't worked. It was better in some areas than others:
good.......
not so good......
and 3 topcosts of the sealer, this is what it looked like.....
I am happy with the finish. I took my time rollering on the first two coats giving them a thin coat each. By the third coat i was brushing it on quite liberaly. Although i still bear the paint stains on my hands that will not come off. Top Tip: Remove any stains spillages asap and definately before it dries. I did get it off my hands and assumed that the rest would come off when i finished - It didn't!
In the meantime, i have also added a new shiny gear knob (mooneyes) my mate bought me, a cab mat, and a new Retrosound stereo, although not connected yet.
I had also purchased a Firetec system before she arrived which i have since fitted. Never can be too carfeul!
Next jobs are new ply flooring, with conduit for speakers, wires, etc, insulation, sound proofing, continental bed, security system, over-riders, lowering, wheels, seat belts, etc, etc.