Thanks Andy, that would be great. I don't seem to have those battens, only at the driver's seat end.
I have these small right-angled fixings with curved ends - 9 in total I think. I can figure out where 6 of them go:
x2 in the wardrobe
x2 rear storage section
x2 in the side cabinet.
But am not sure of the rest. Trying to see if I can find marks on the wood.
Here's a rundown so far of what I'd like to know apologies for the length! :shock:
1
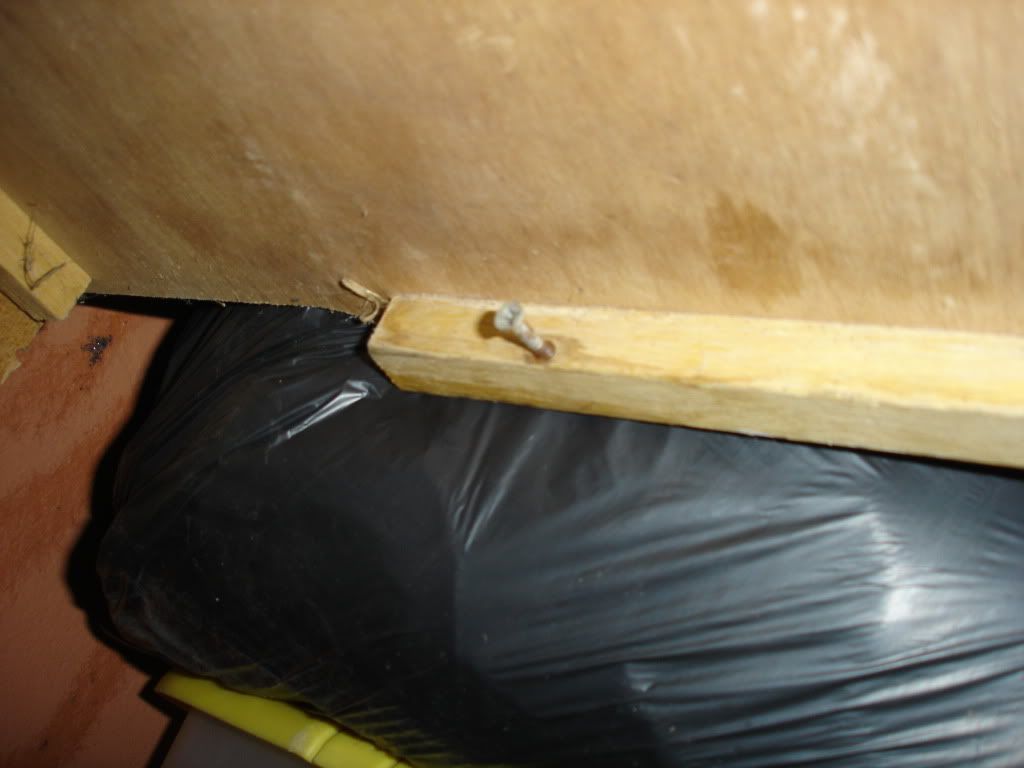
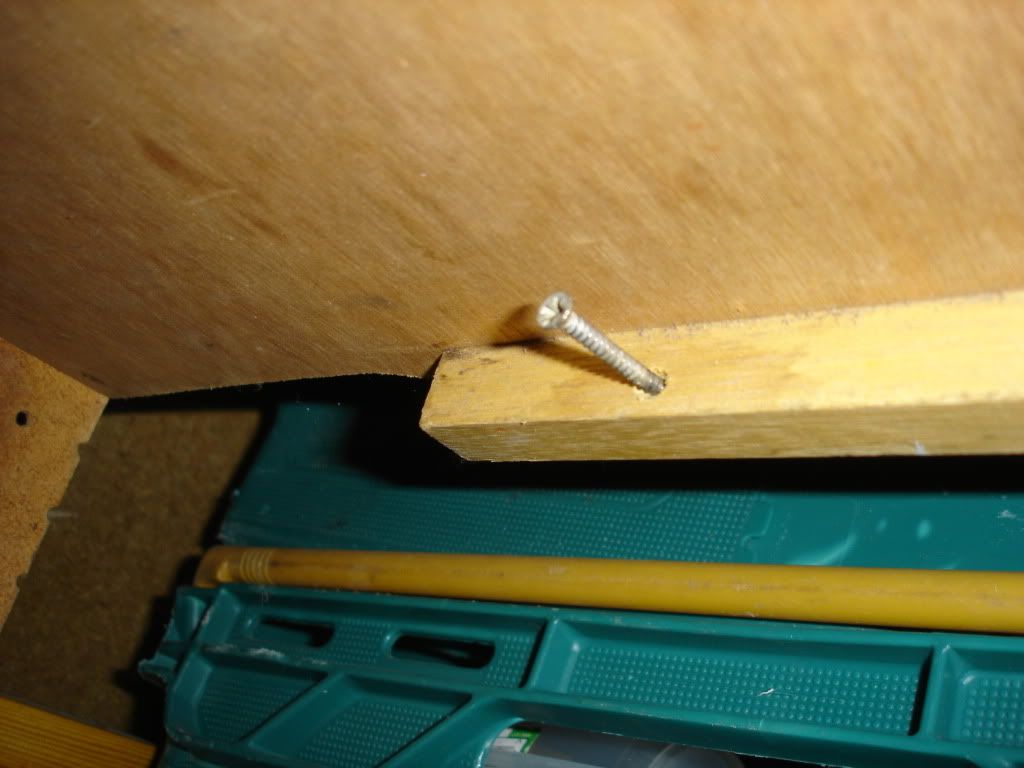
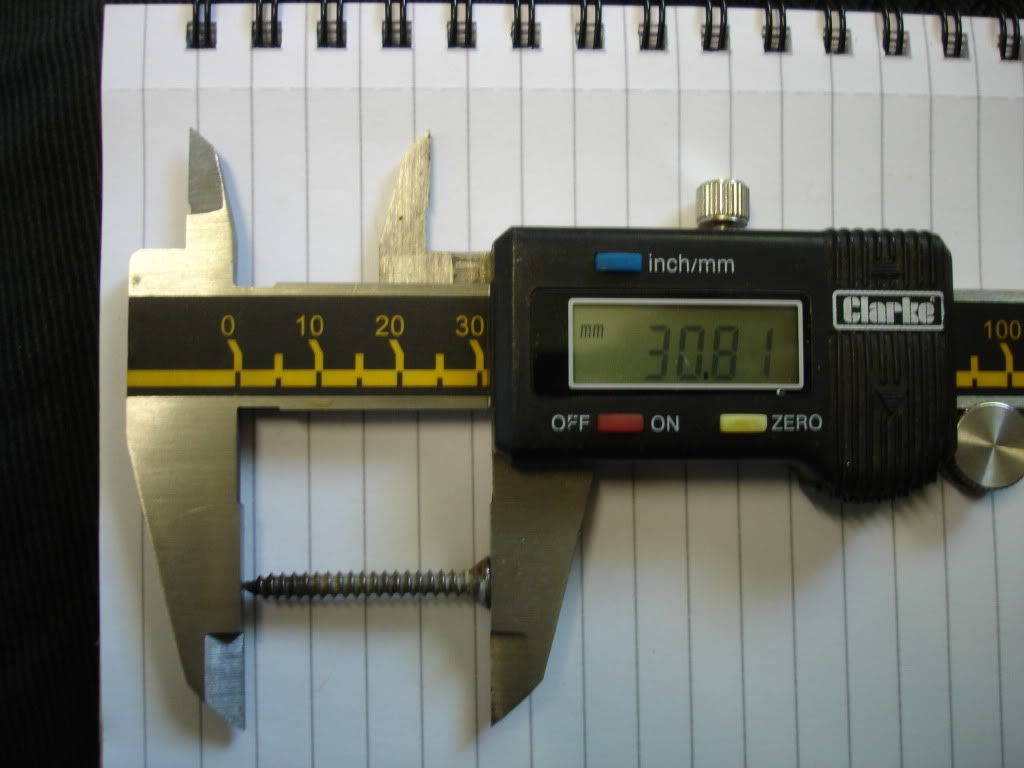
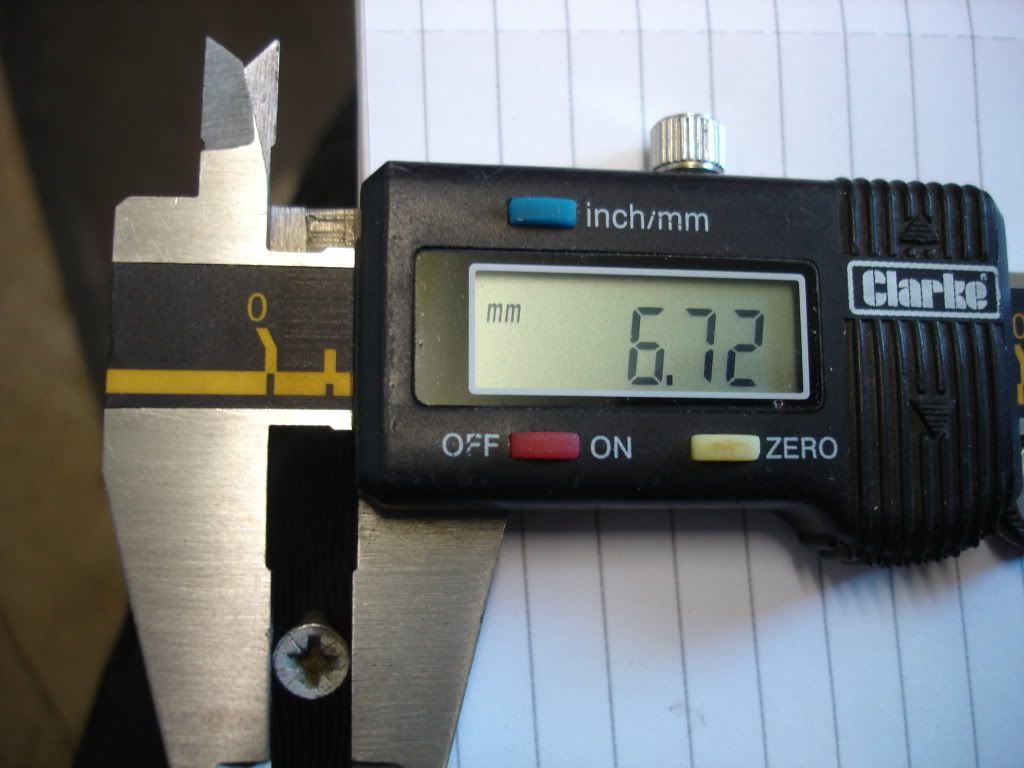
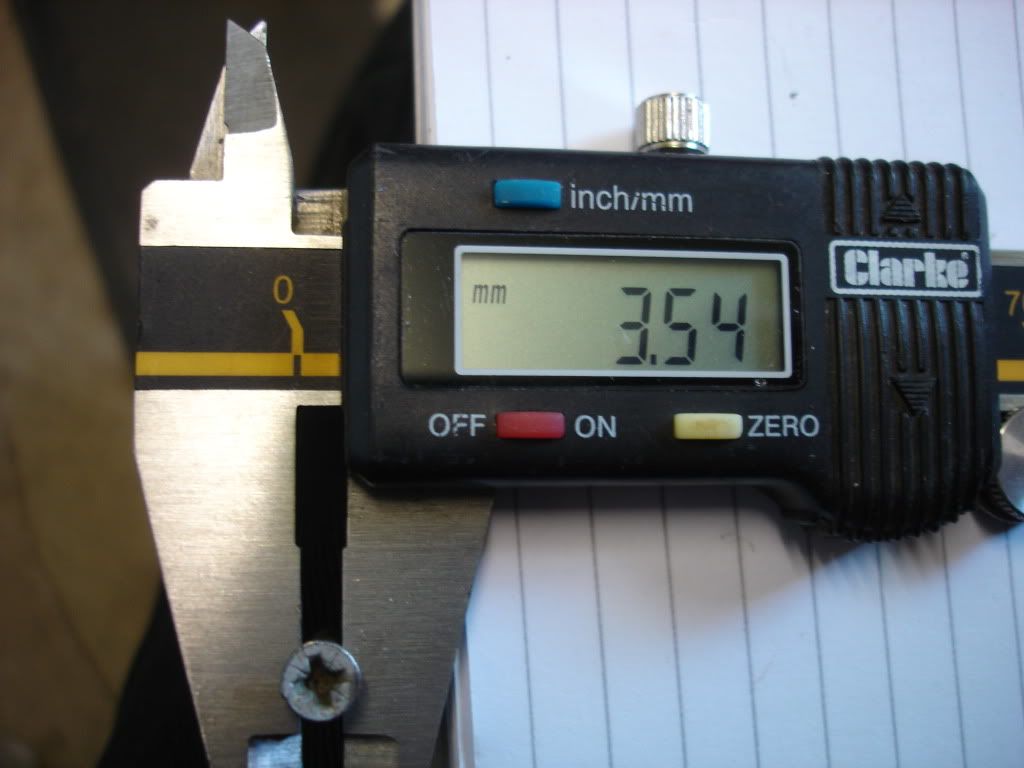
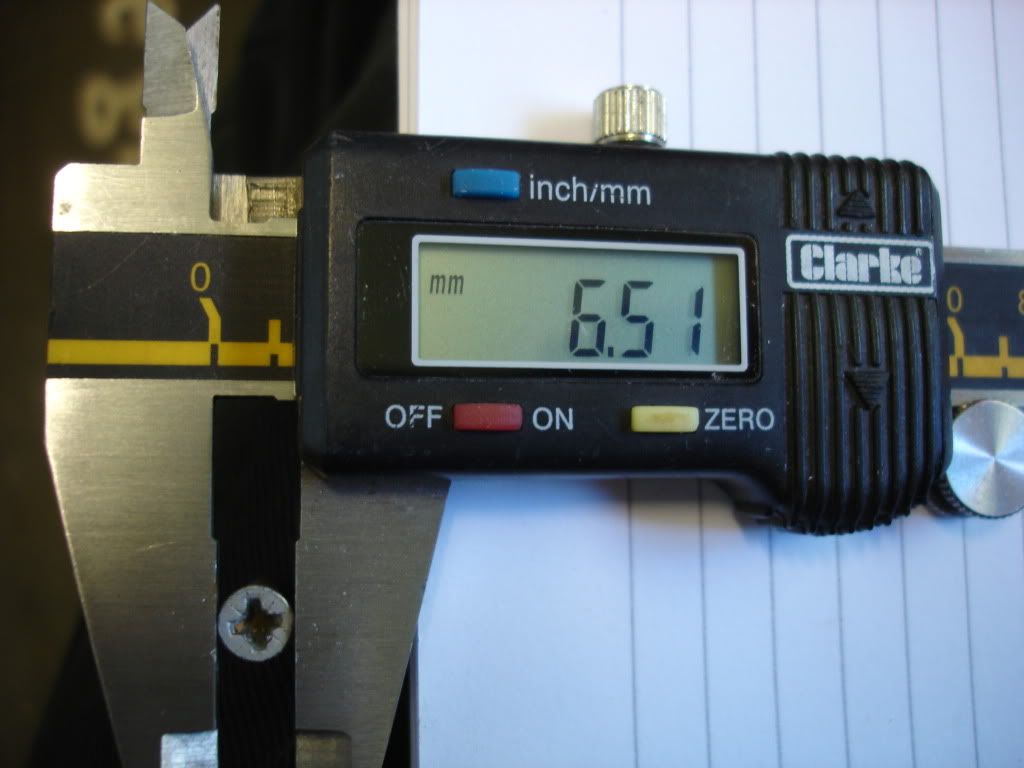
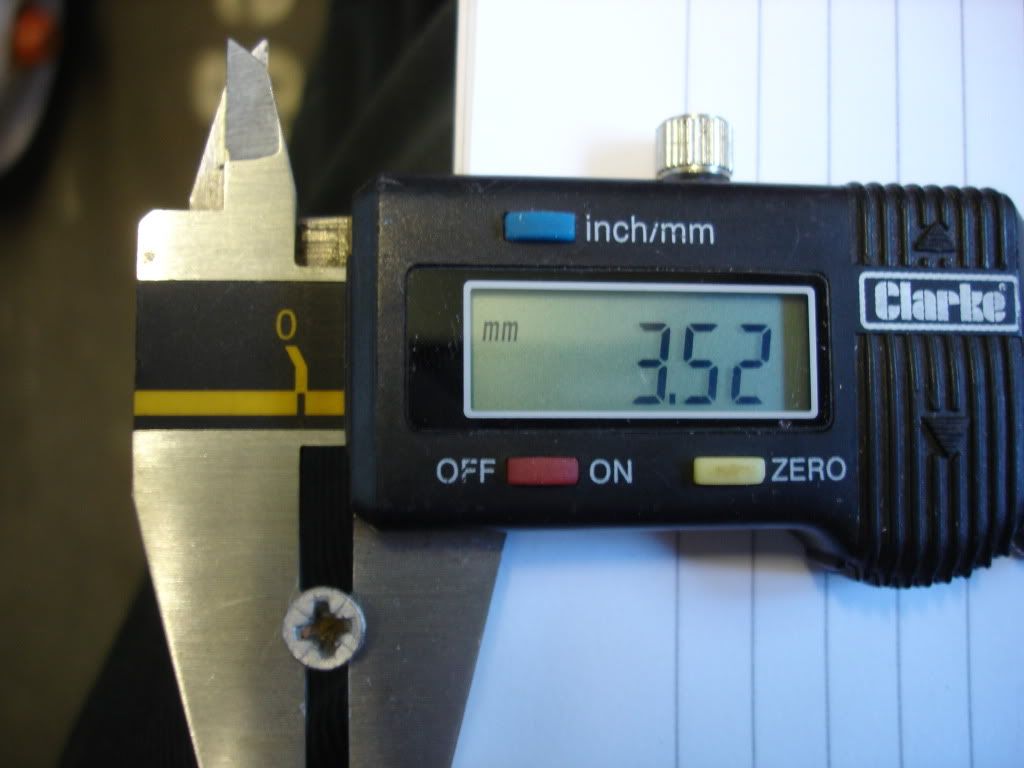
I have the metal part that attaches here that holds the table. Going to screw it in. There are some holes which line up with where the kick plate fits so more screws there - any idea what size these ones are?
2
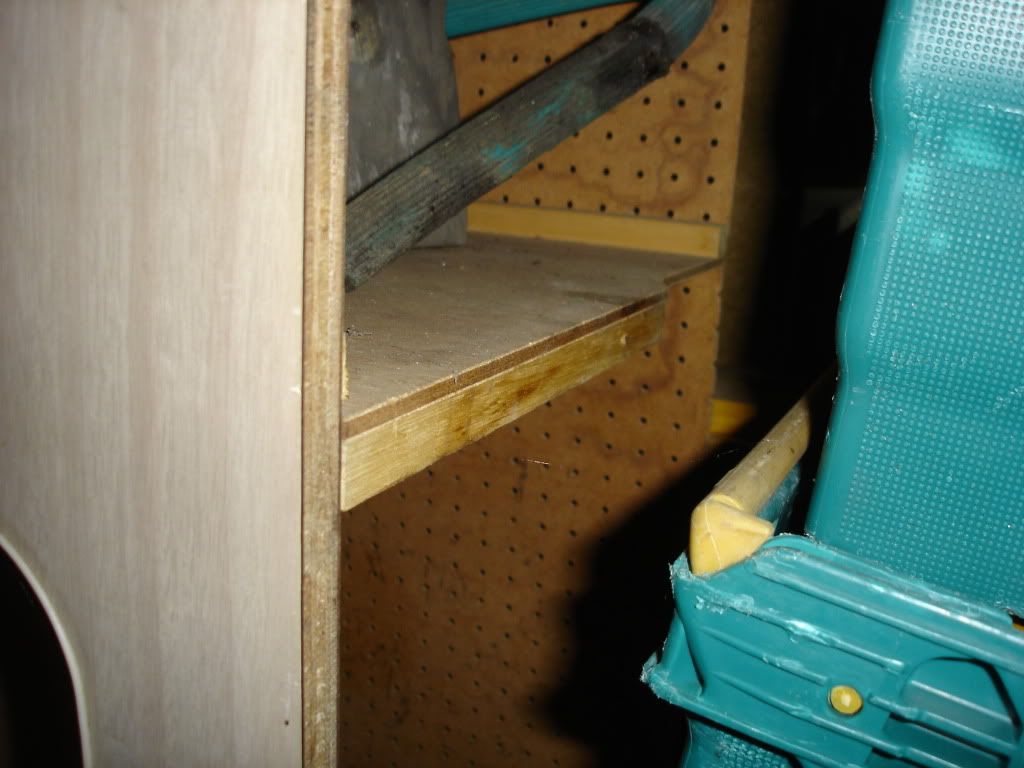
This is the inside of the large cupboard on the side unit looking towards the rear. I'm not sure what these screw holes are for that are visible near the vertical trim?
3
One of the angled fixings goes on this section toward the right:
and another one goes in the thinner middle cupboard and attaches to the floor:
Are there any more??
4
There are a couple of screws that fix the rear storage to the side unit:
Are there any more??
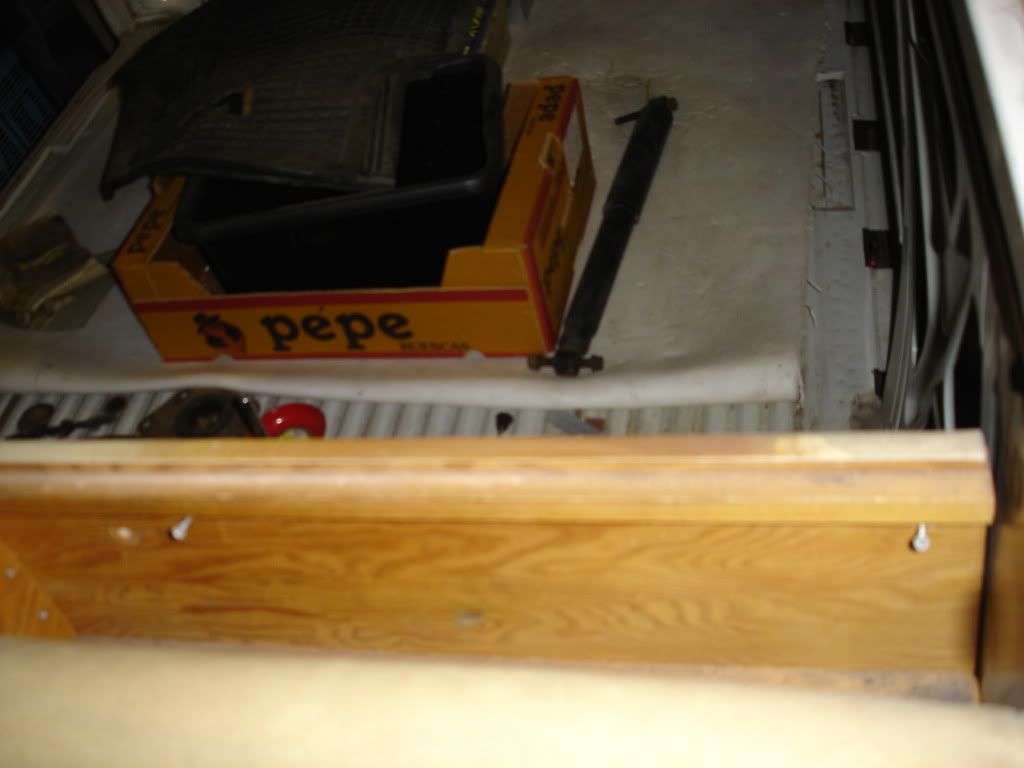
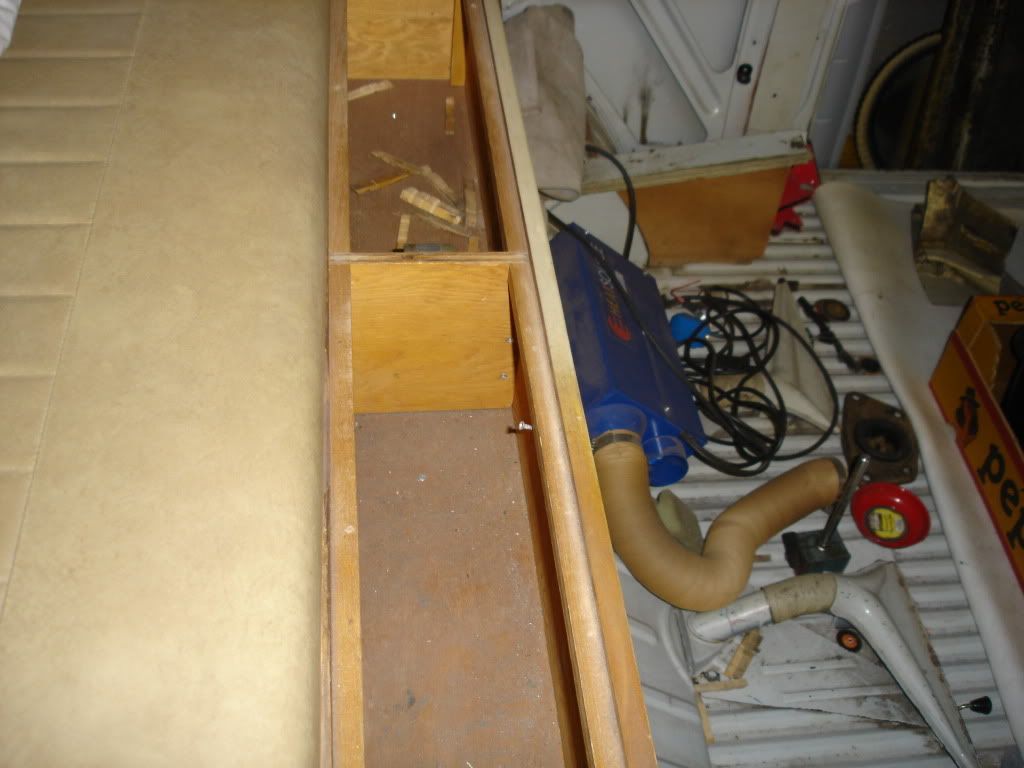
5
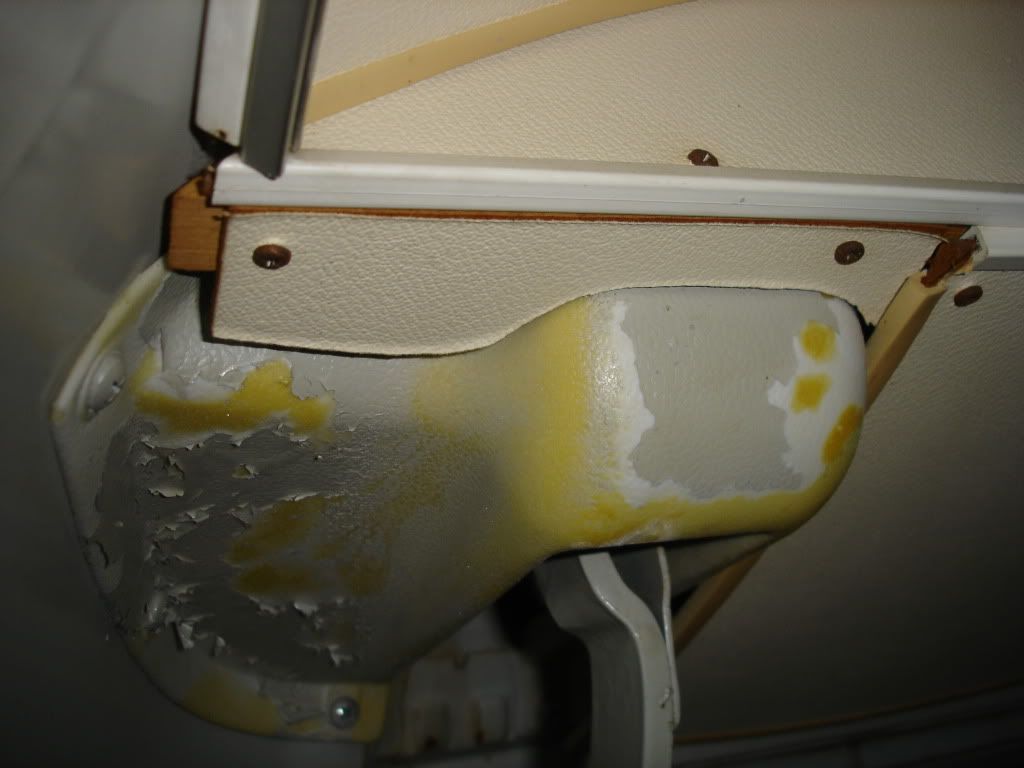
I have a bit of a gap between where the rear section goes across and the body slopes down to the floor. It's not particularly clear here but I guess it's an inch or two
Is that normal?
6
Where do these go? I think they fit on a inner vertical section on the pillar between the cab and cargo area. They are about 2 ft long bits of rigid fabric in a U section/ profile
7
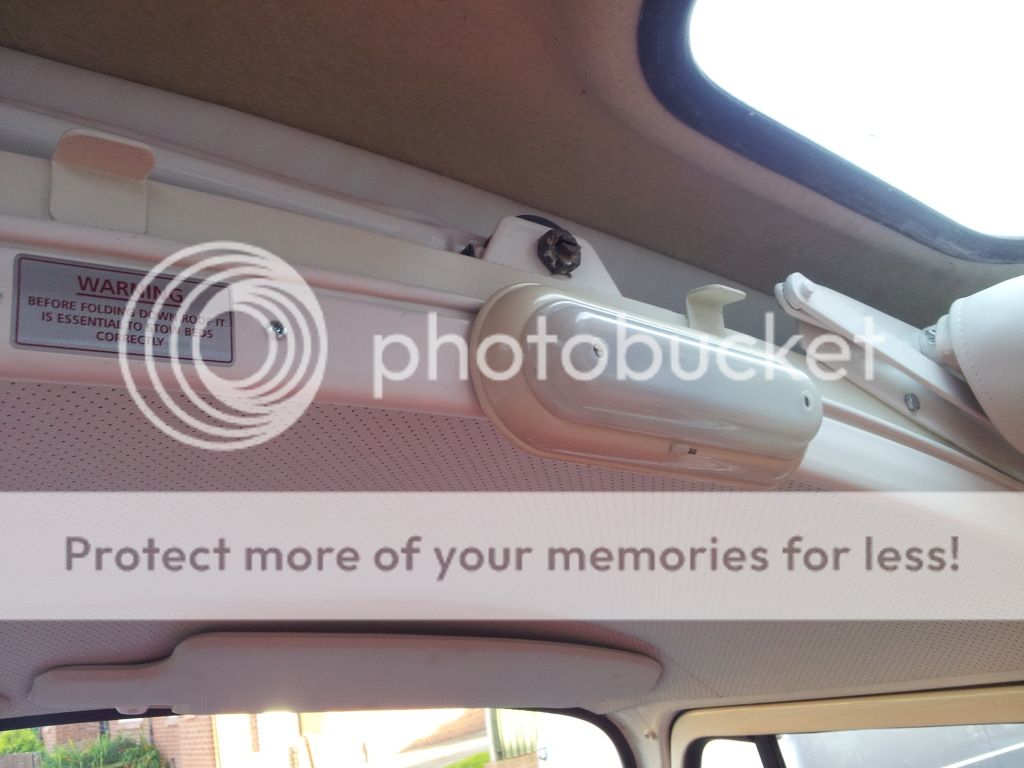
And these? Floppy bits of plastic about 4 ft long. Think part of the roof?
8
And these?
9
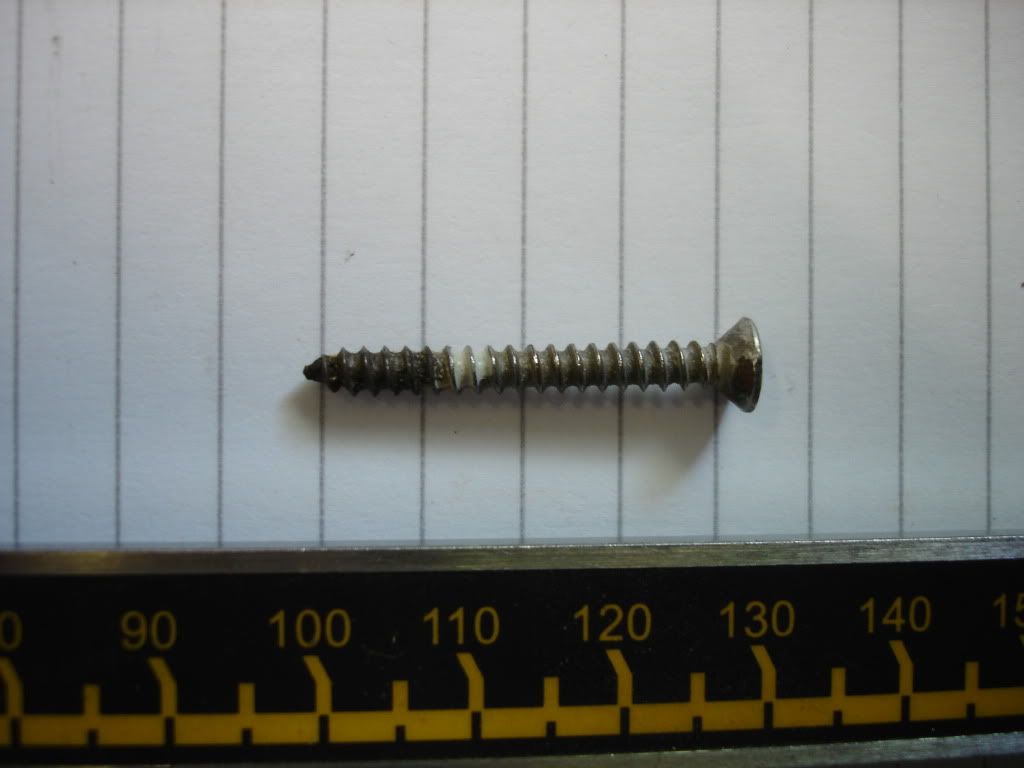
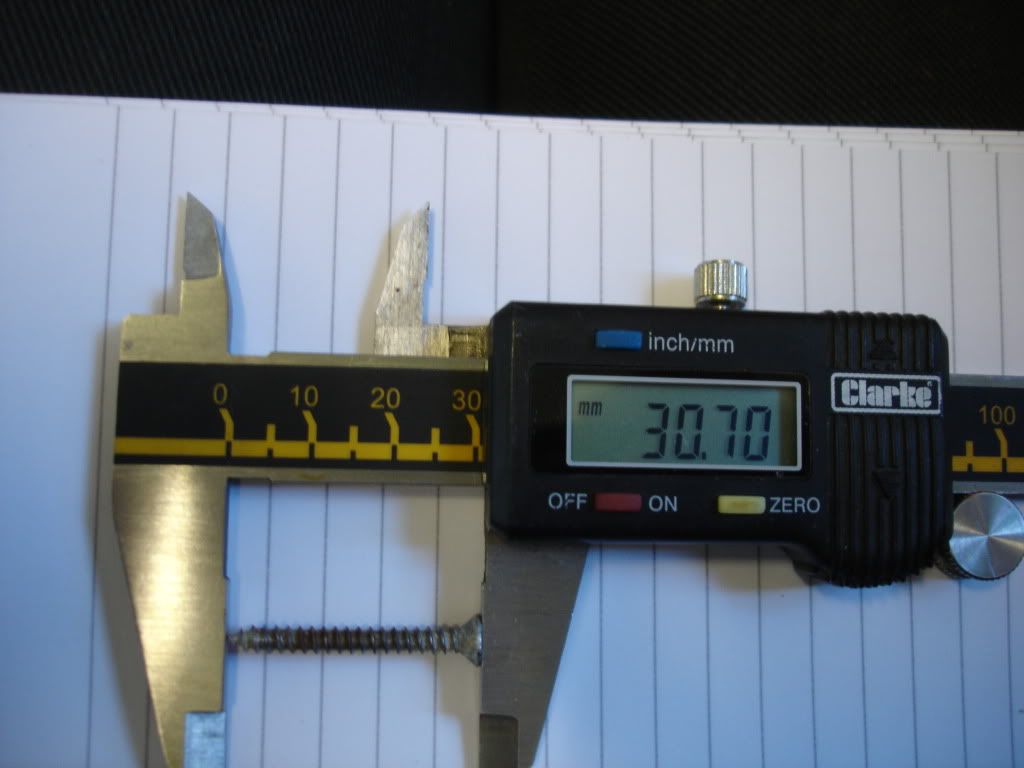
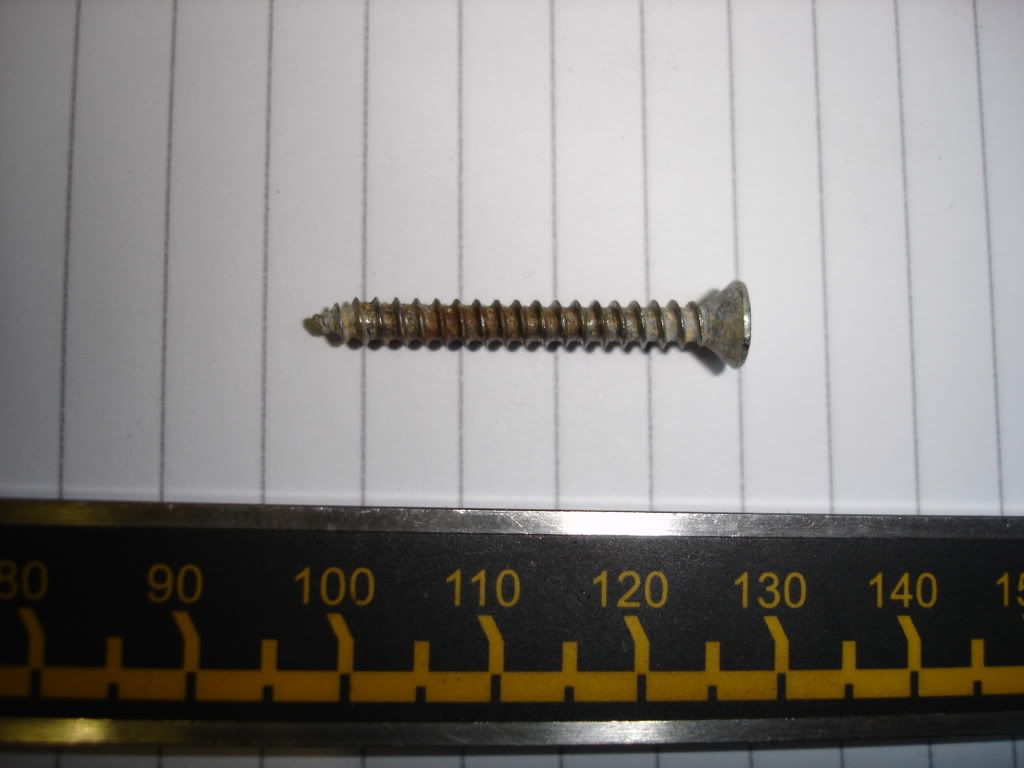
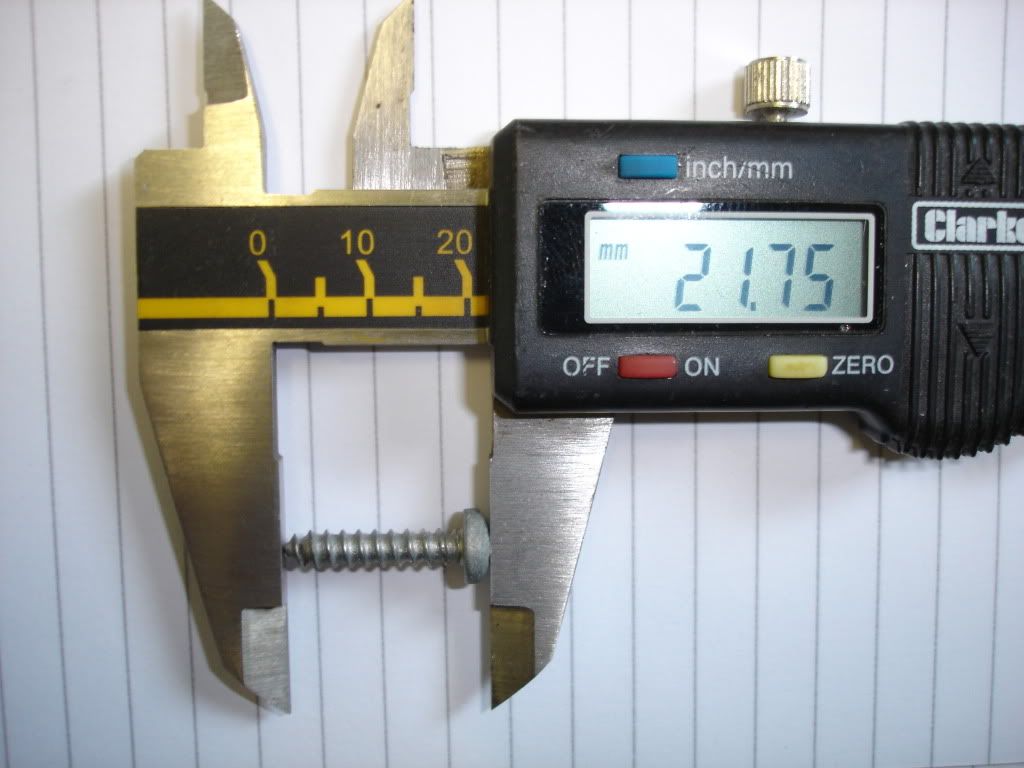
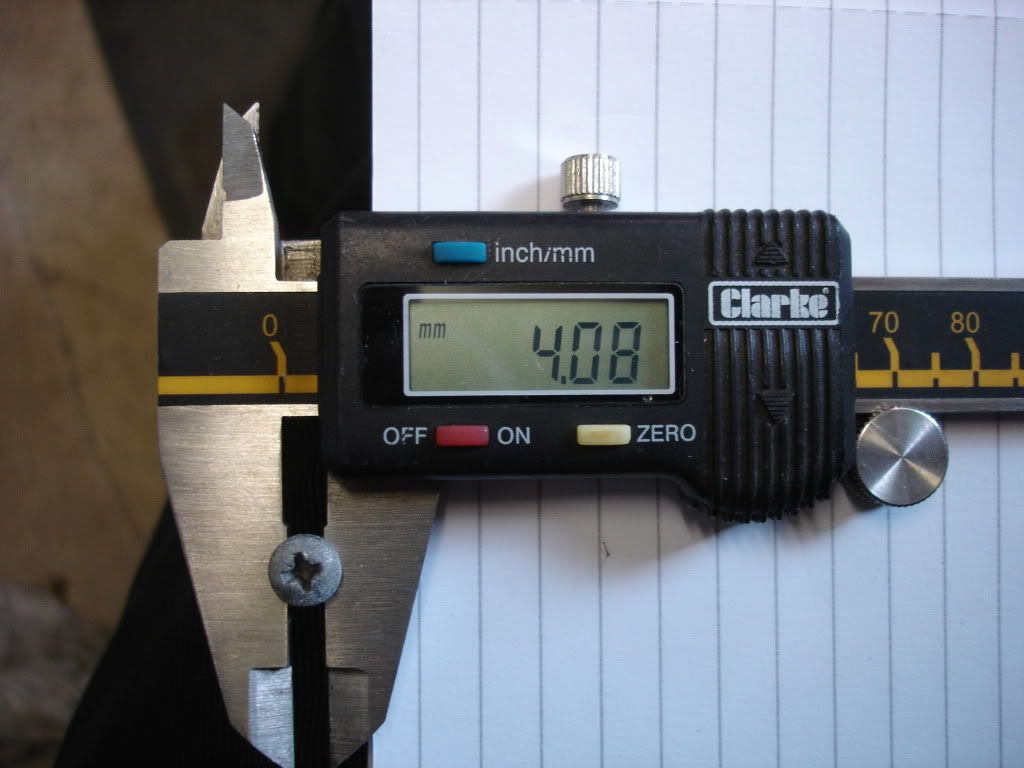
I think these are child bunk support that attach to the cab/ cargo pillar. If so what size screw?
10
And finally (phew!) what are these for? possibly gas canister and spare wheel?
If you've got this far, well done & many thanks for reading and if anyone can help I'd be very grateful
Cheers


")