

- Joined
- May 22, 2009
- Messages
- 519
- Reaction score
- 2
gninam, just looked at your site, looks good, great to see the work being done well.
Mags
Mags
Mags said:gninam, just looked at your site, looks good, great to see the work being done well.
Mags


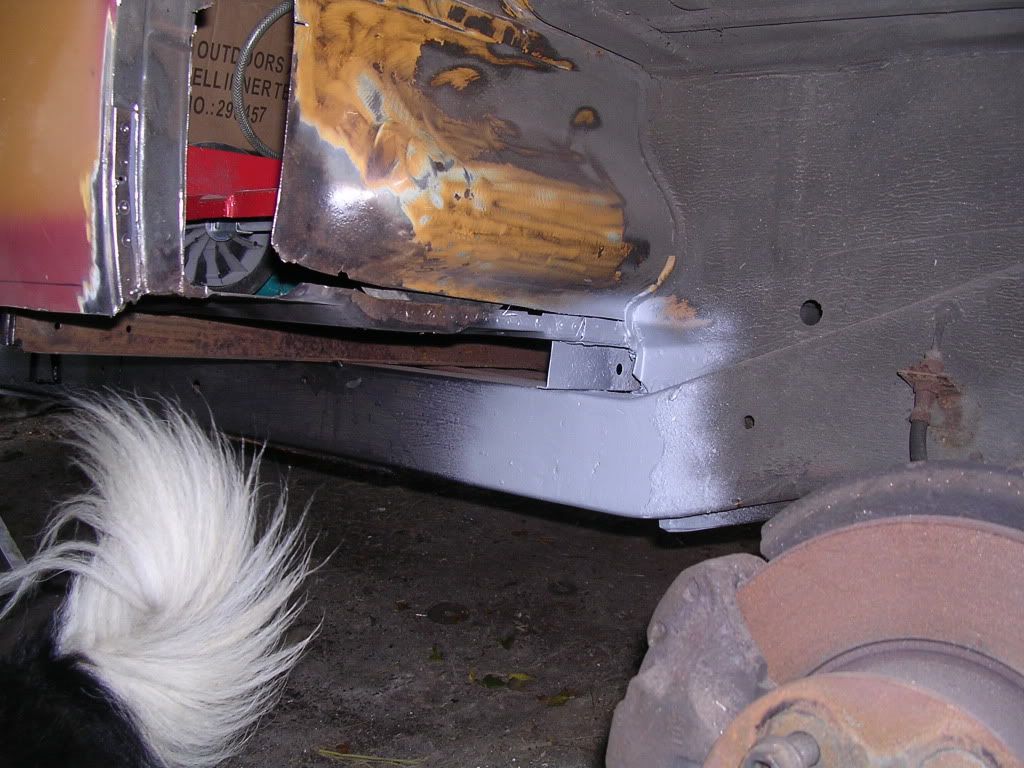

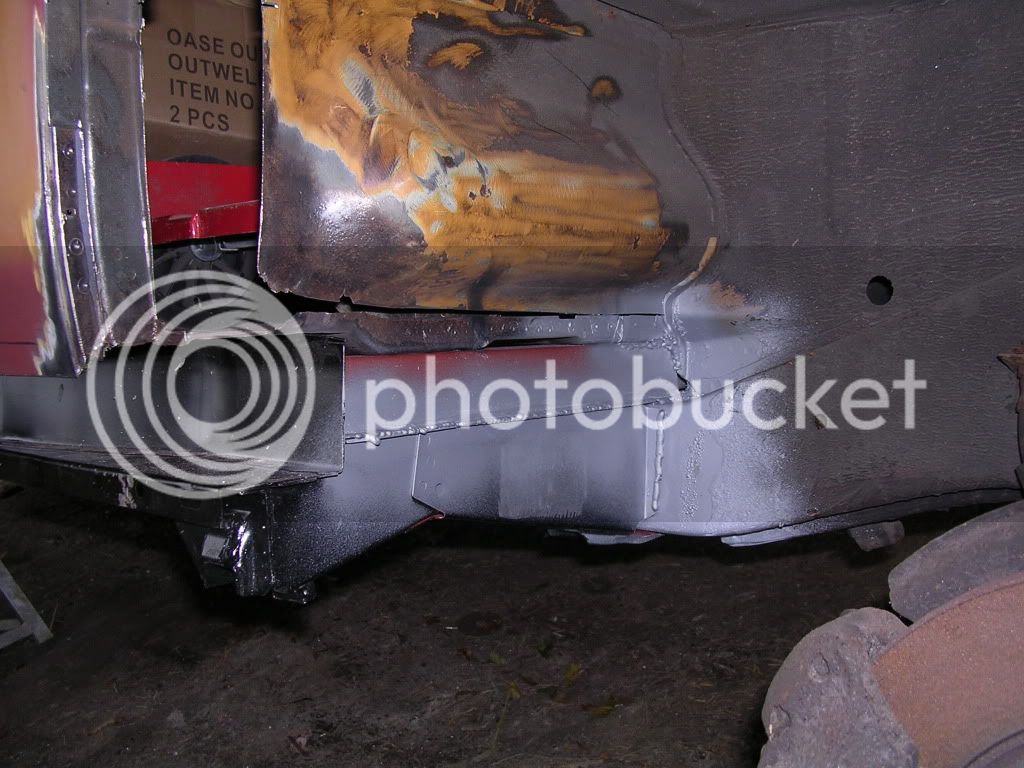
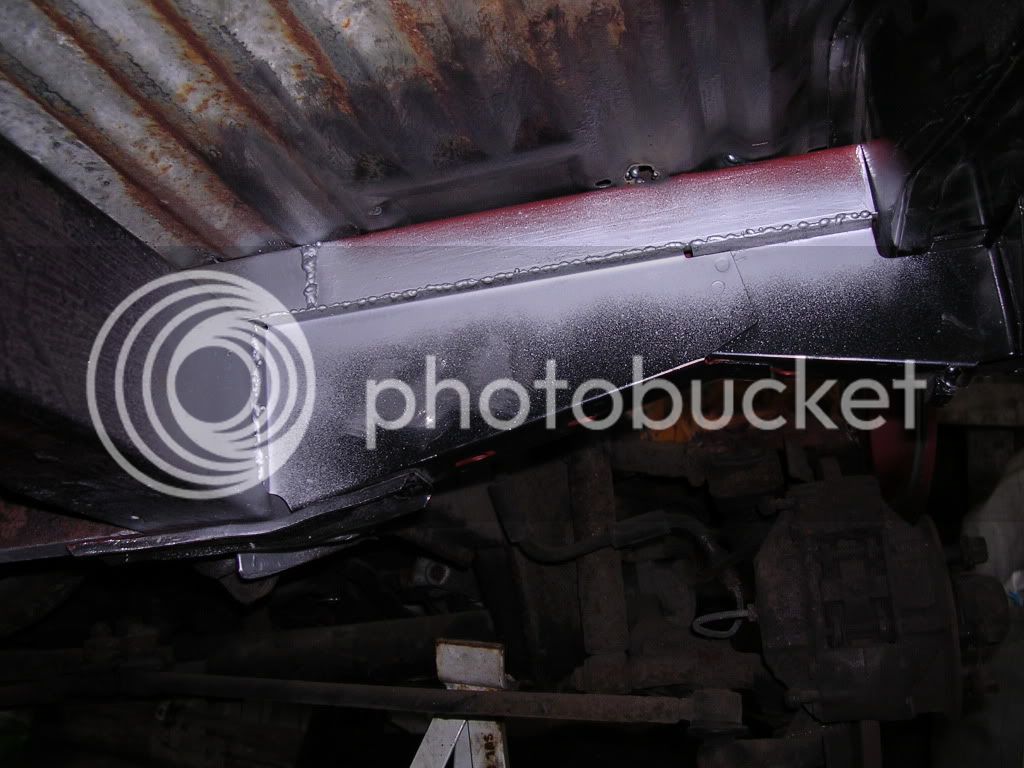
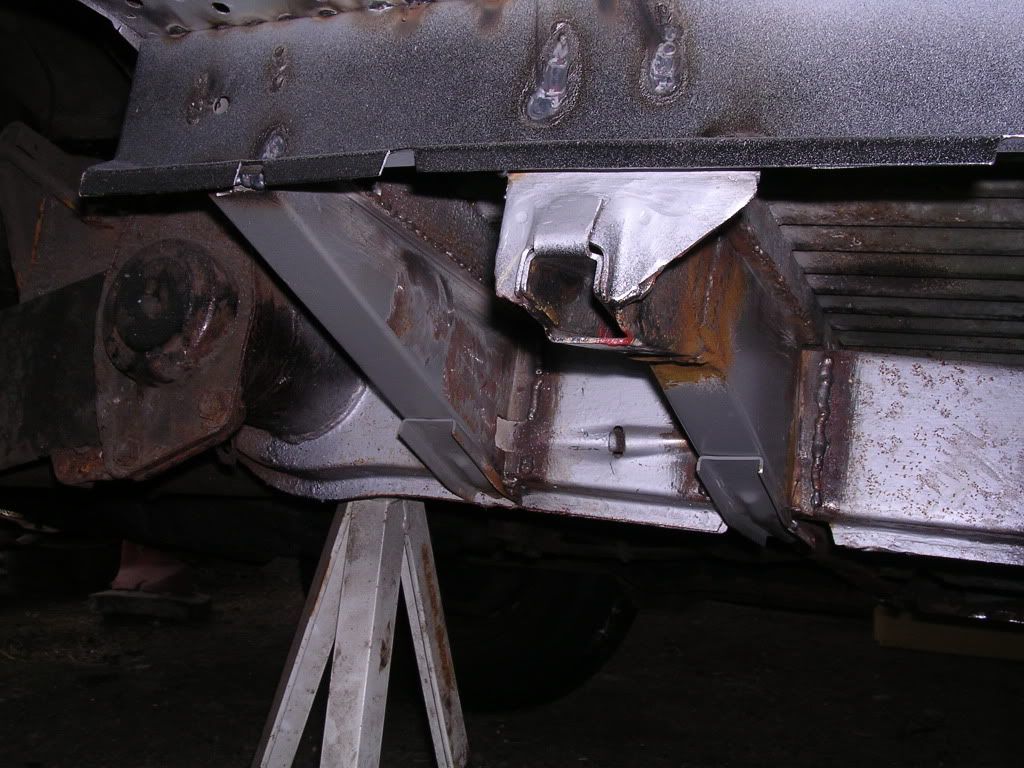
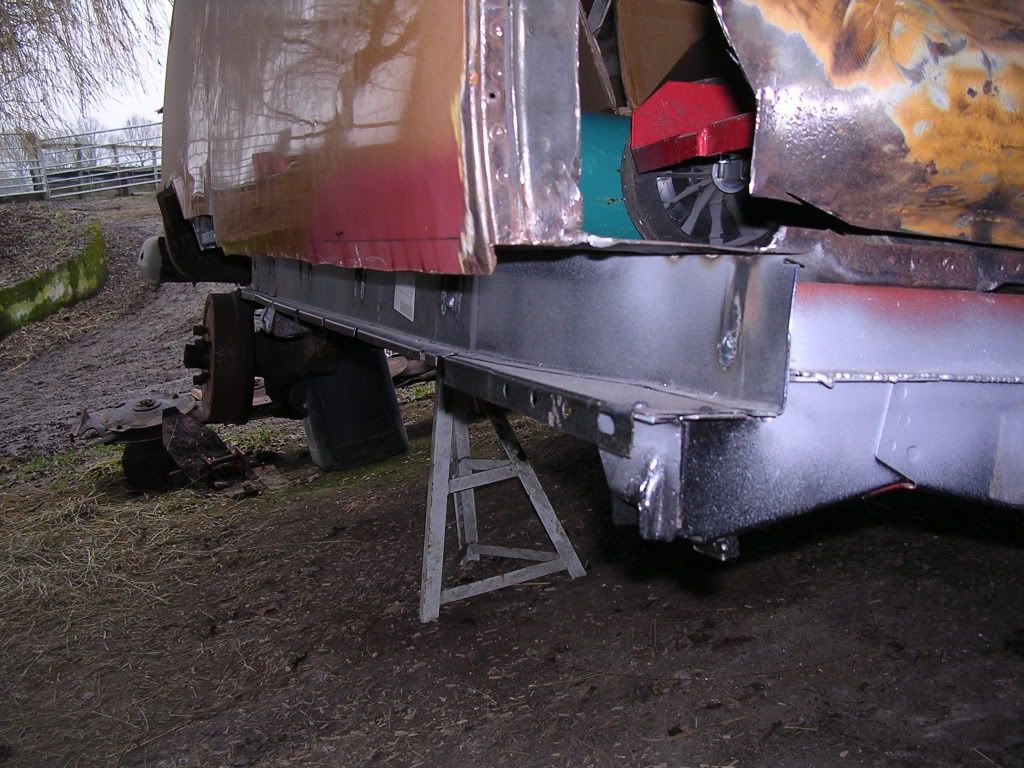
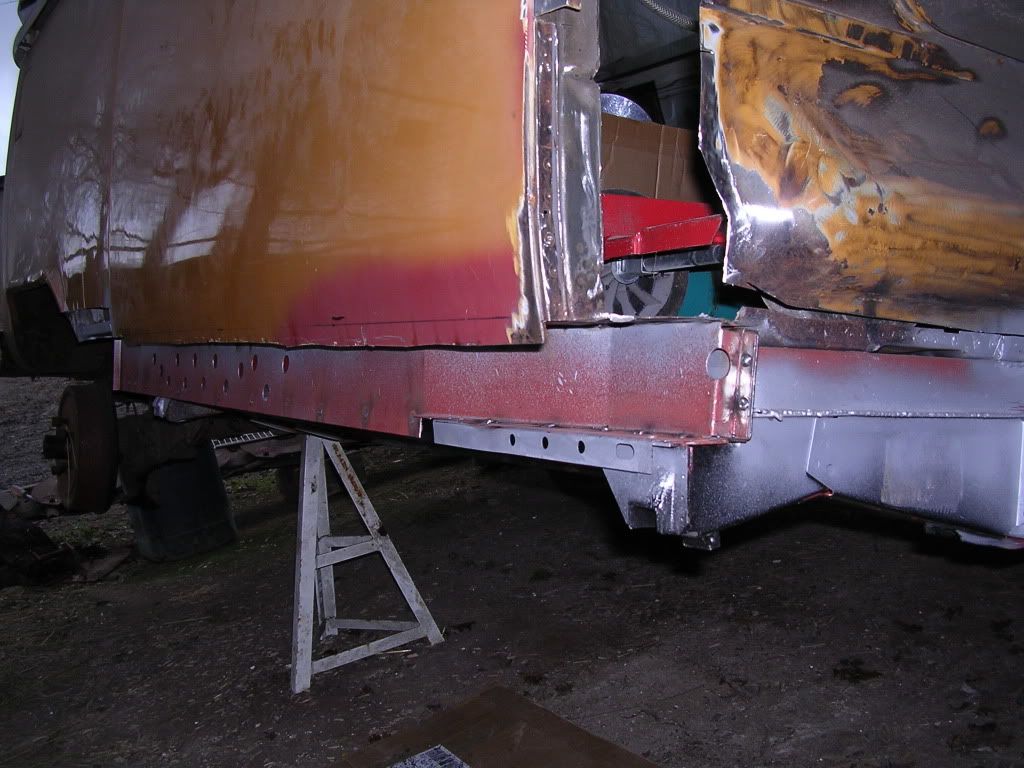
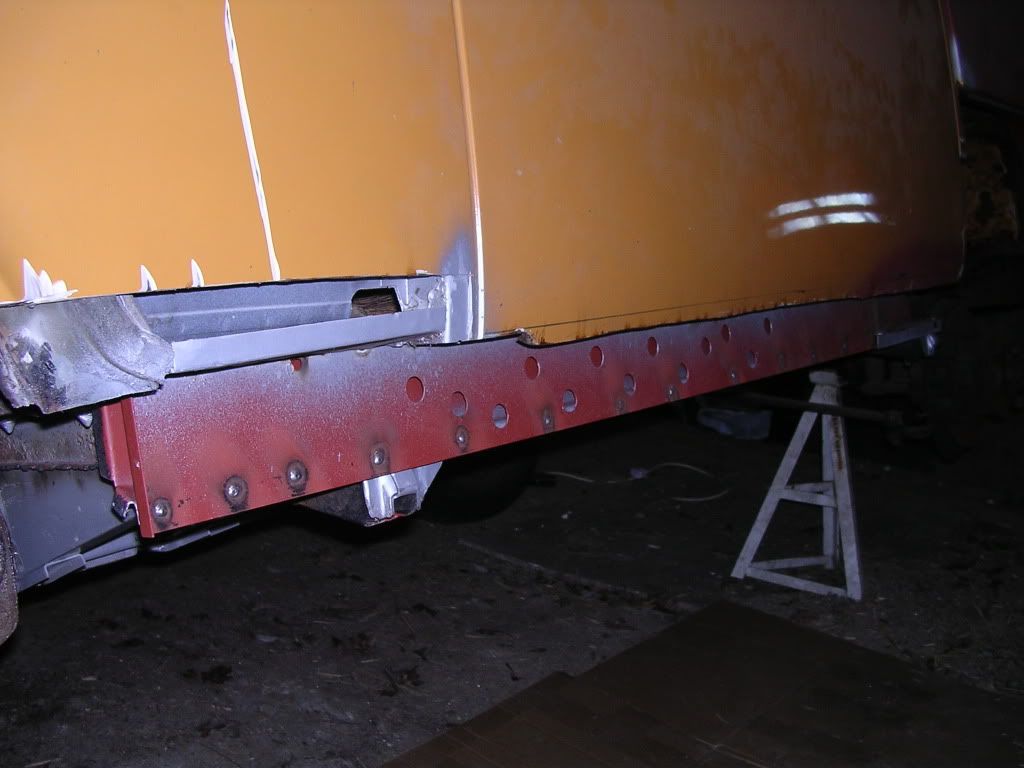
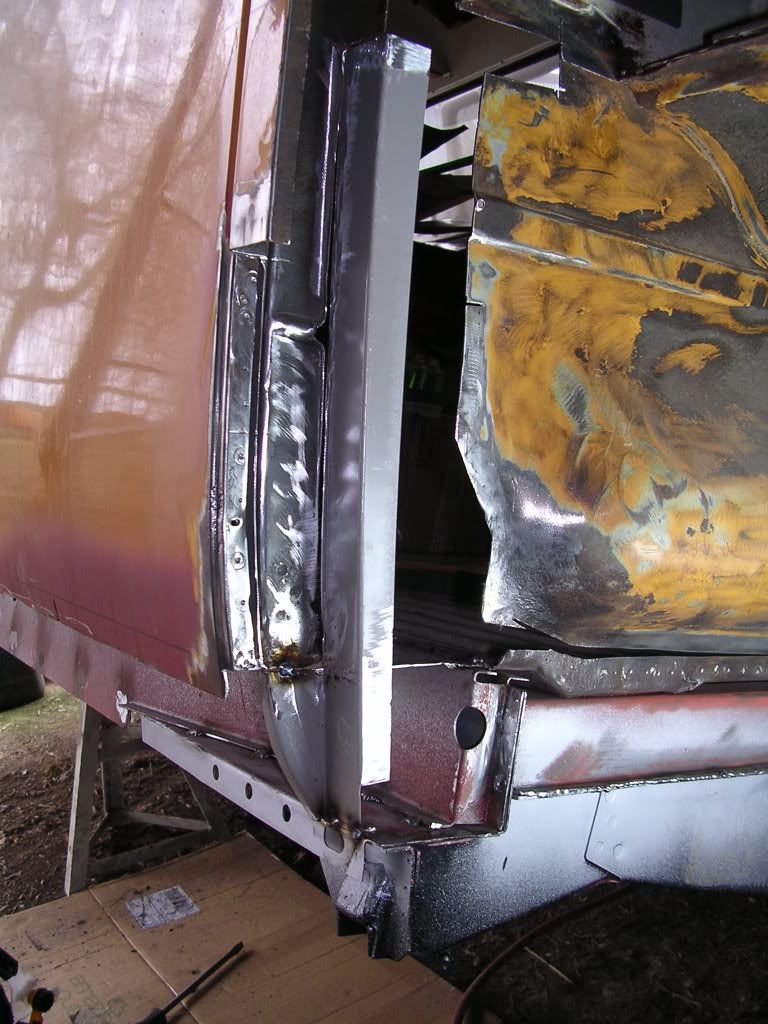

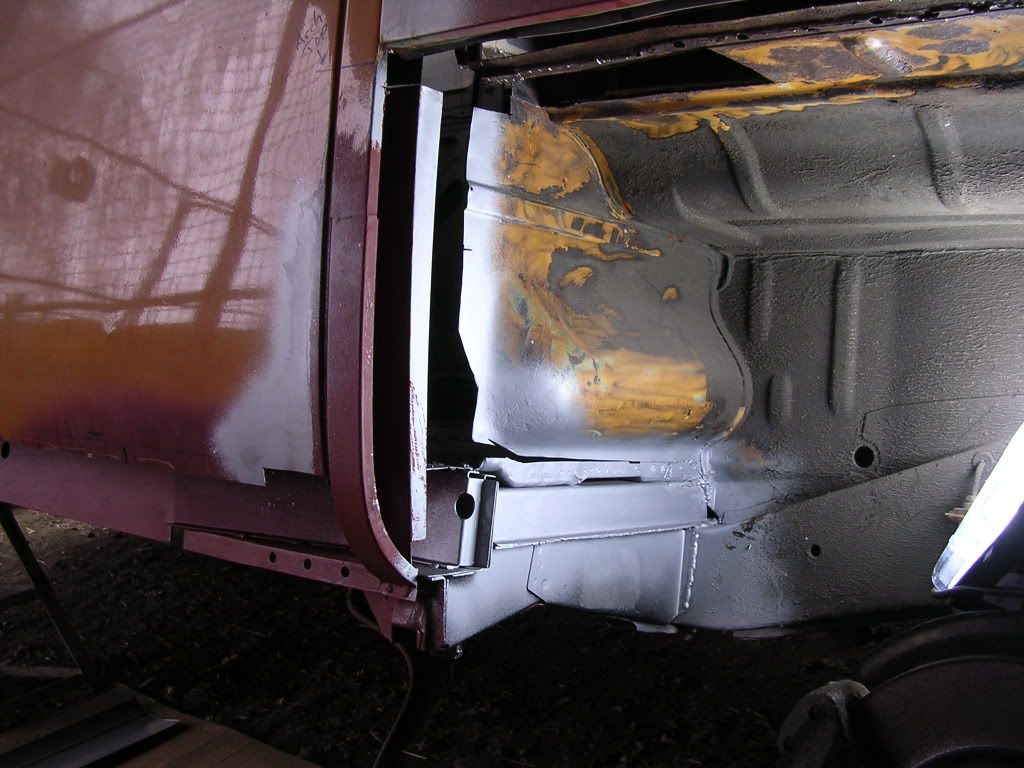
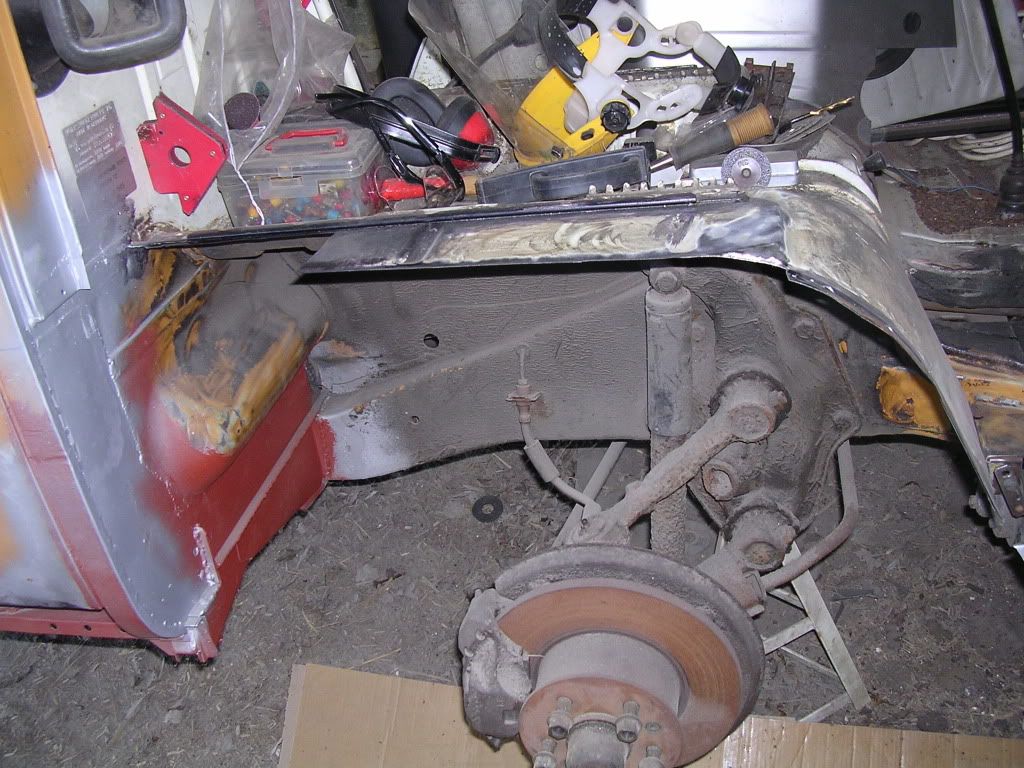
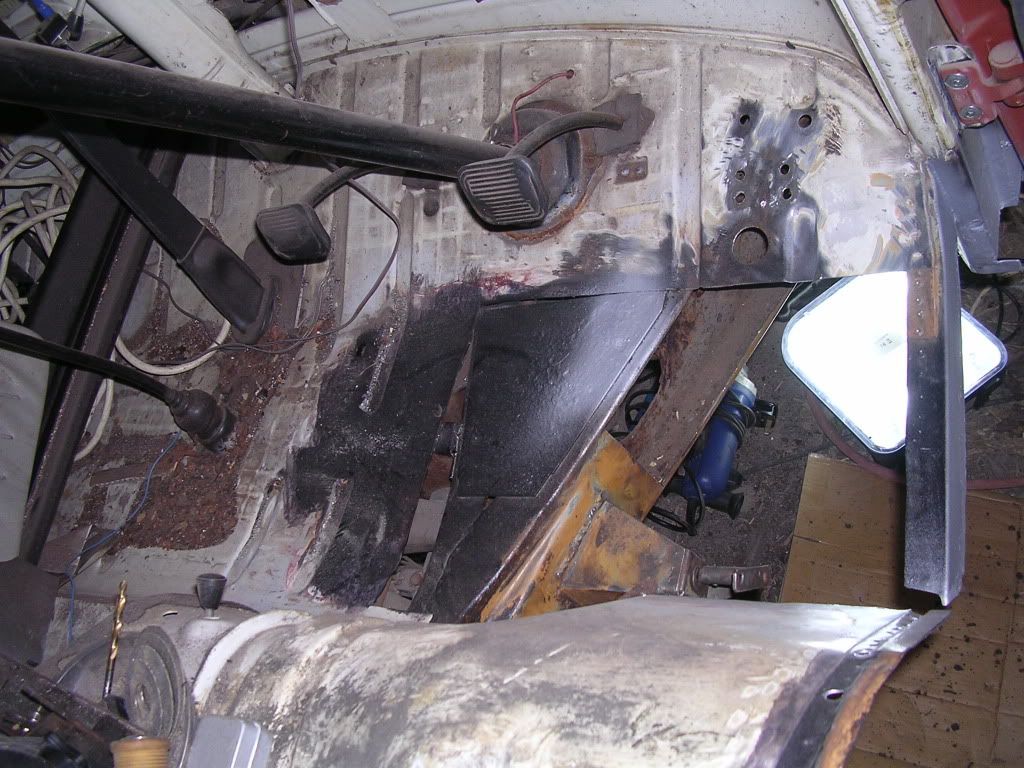
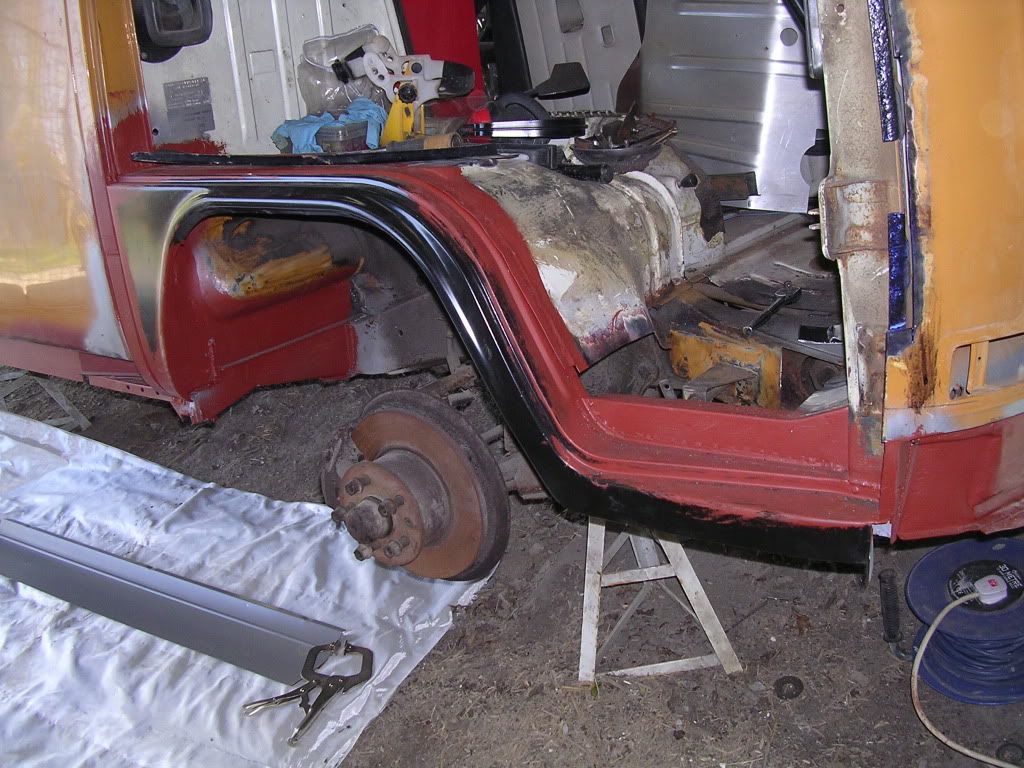
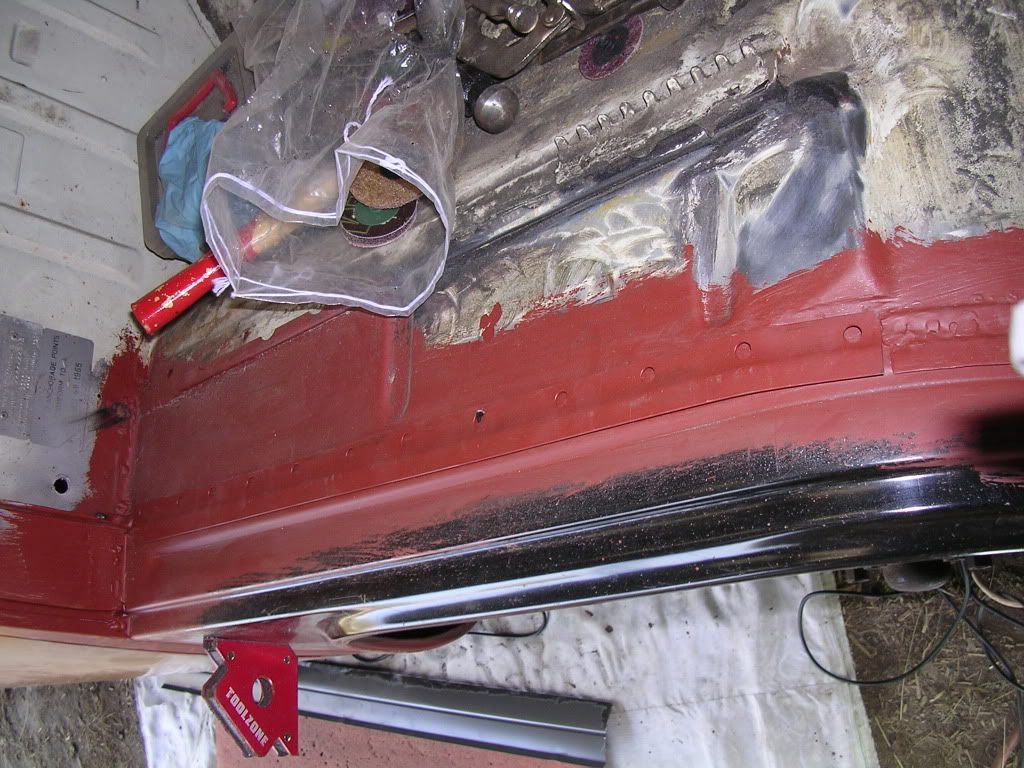
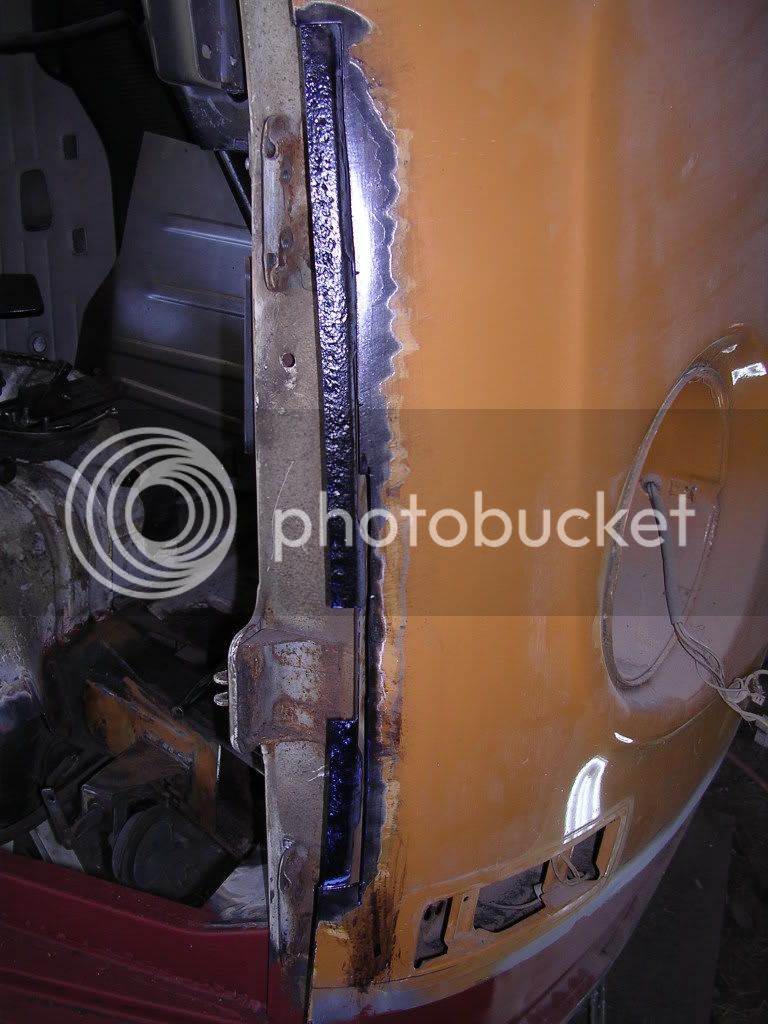
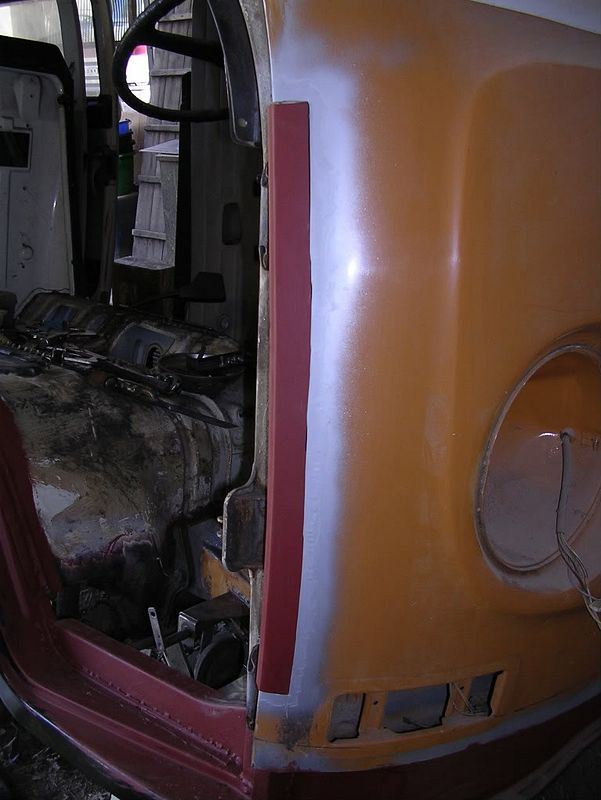
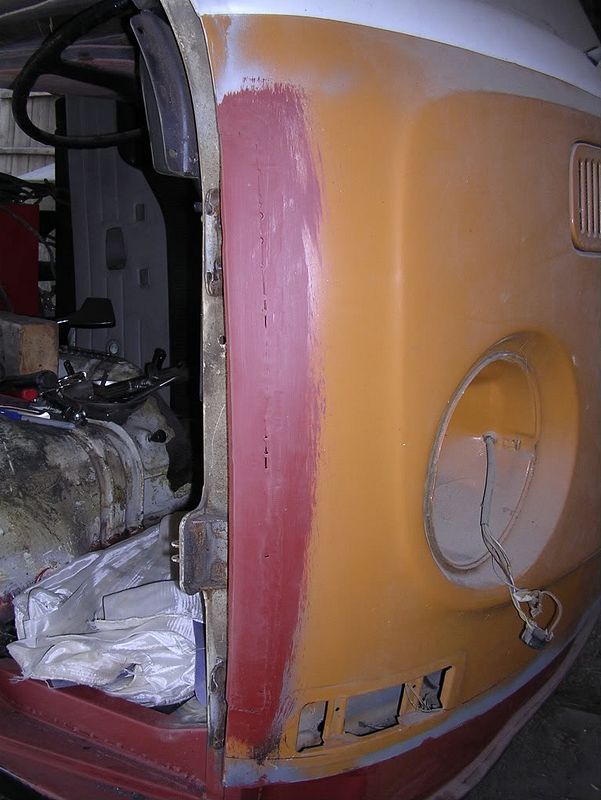
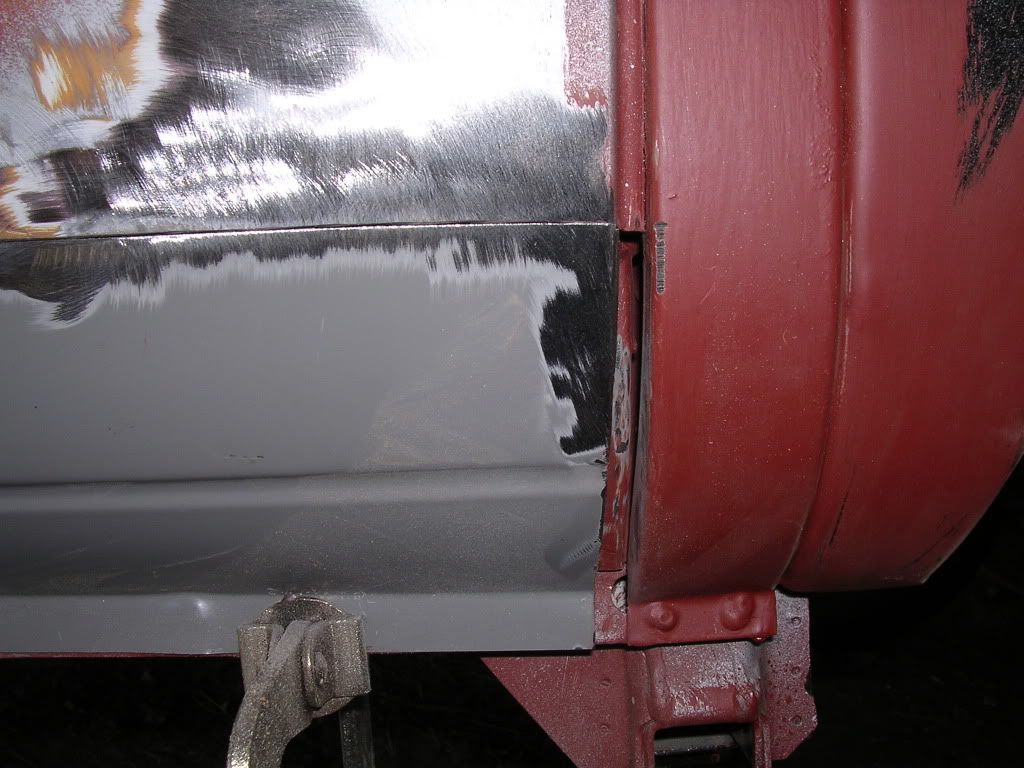
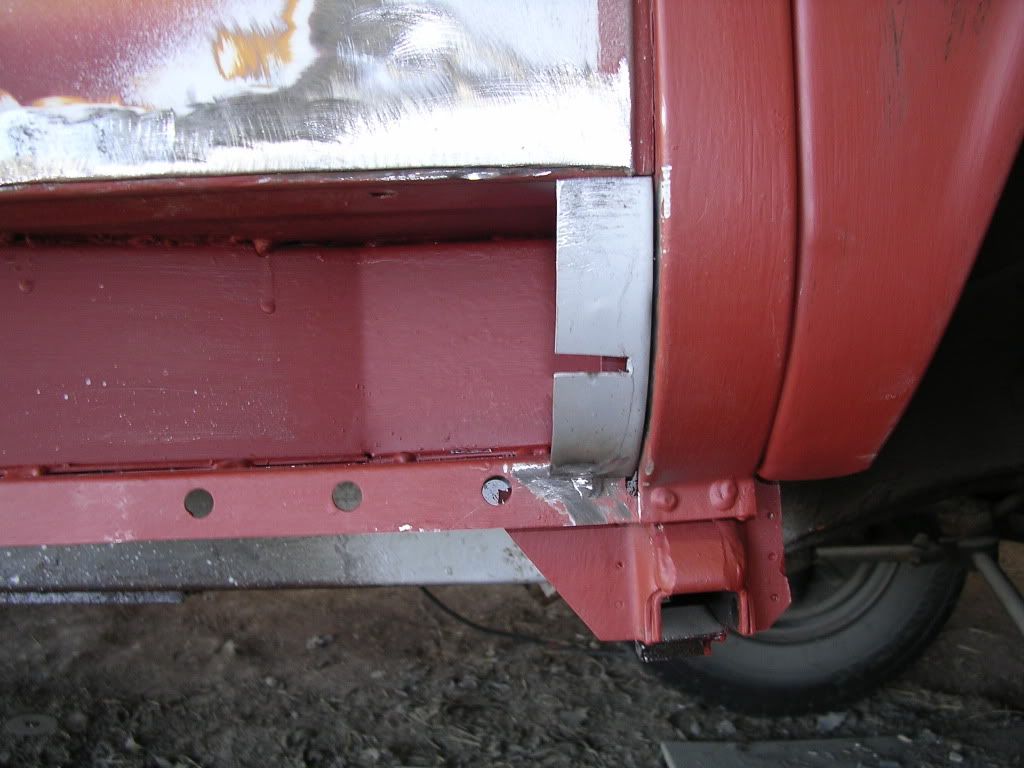
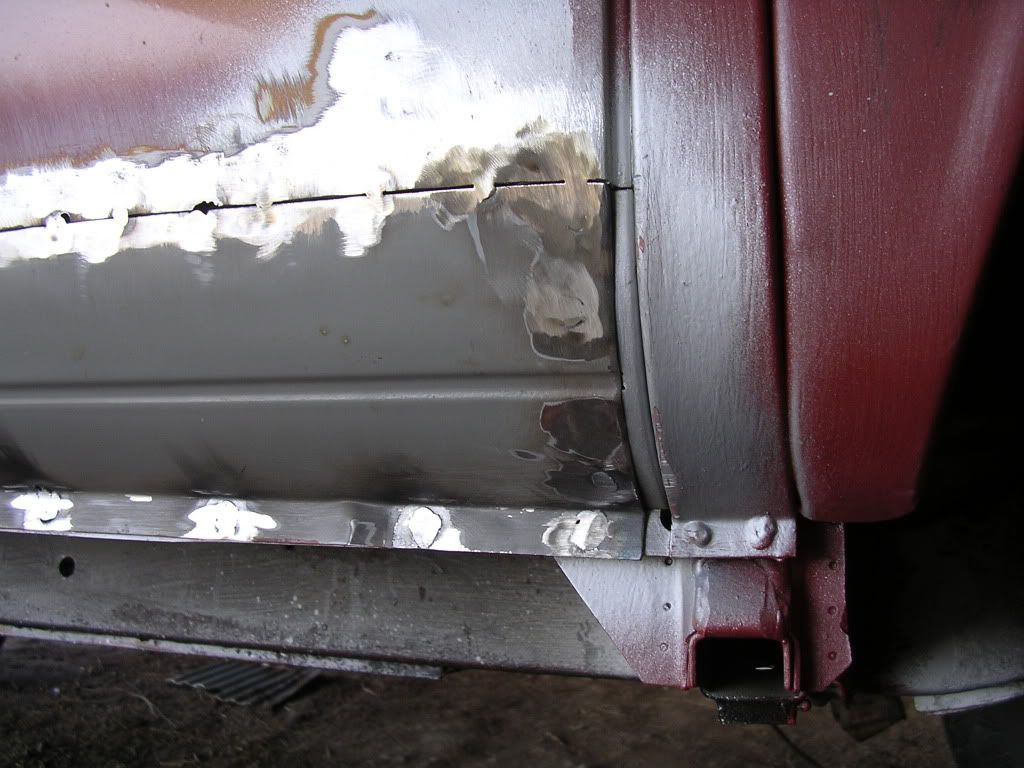


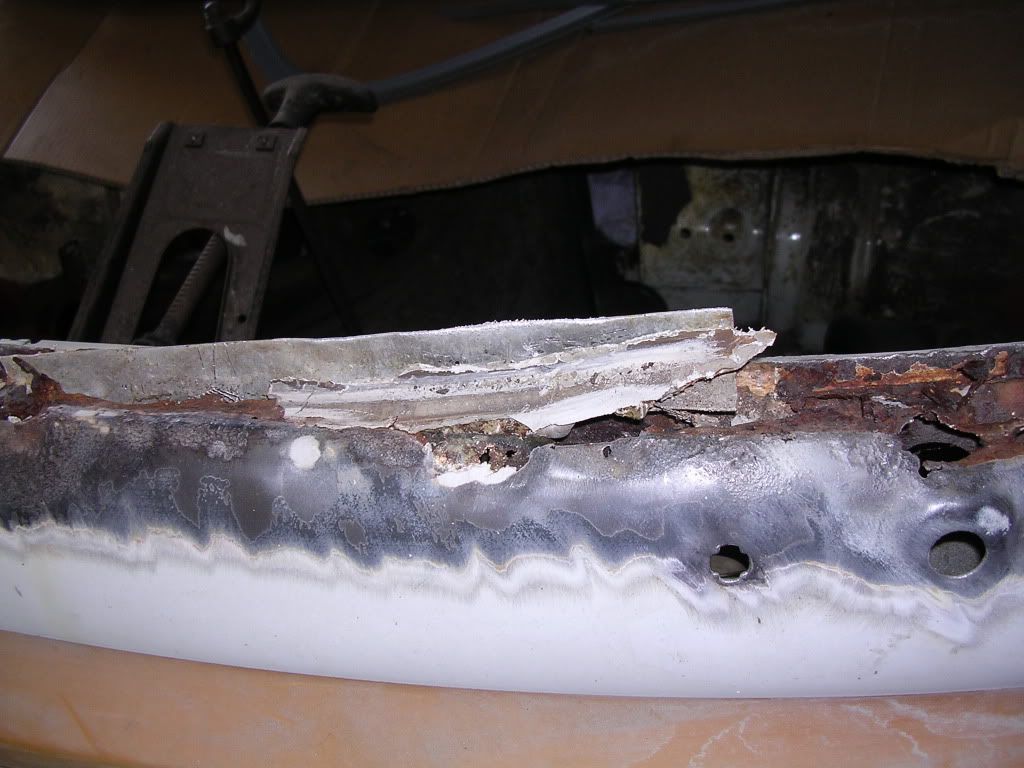
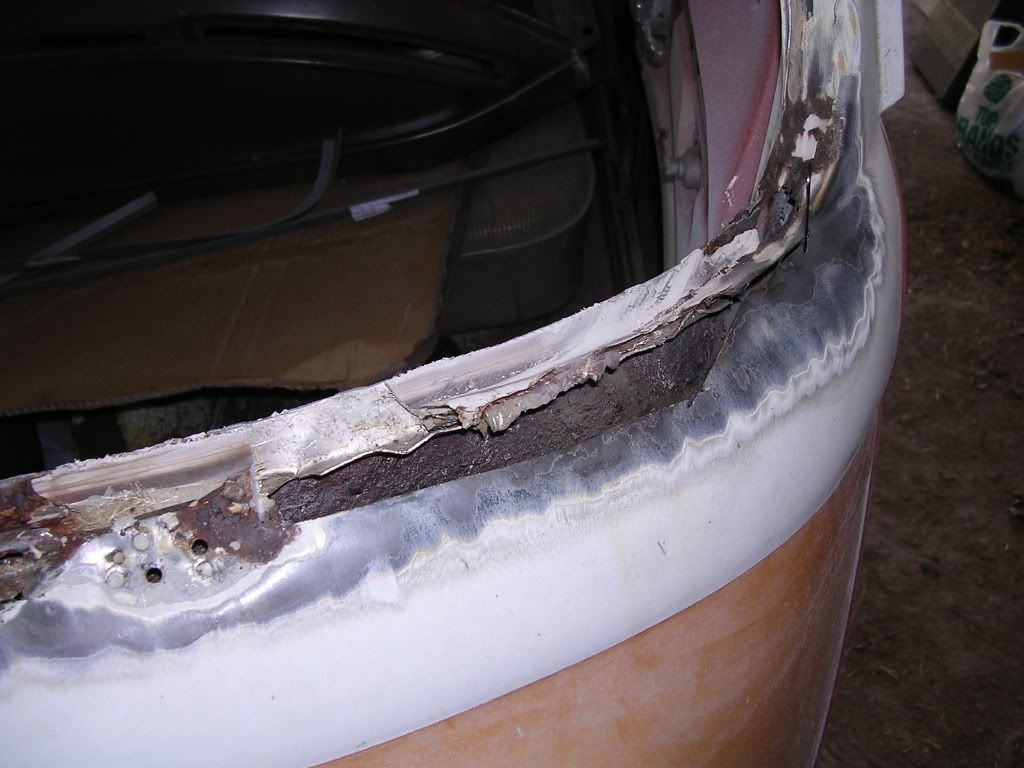
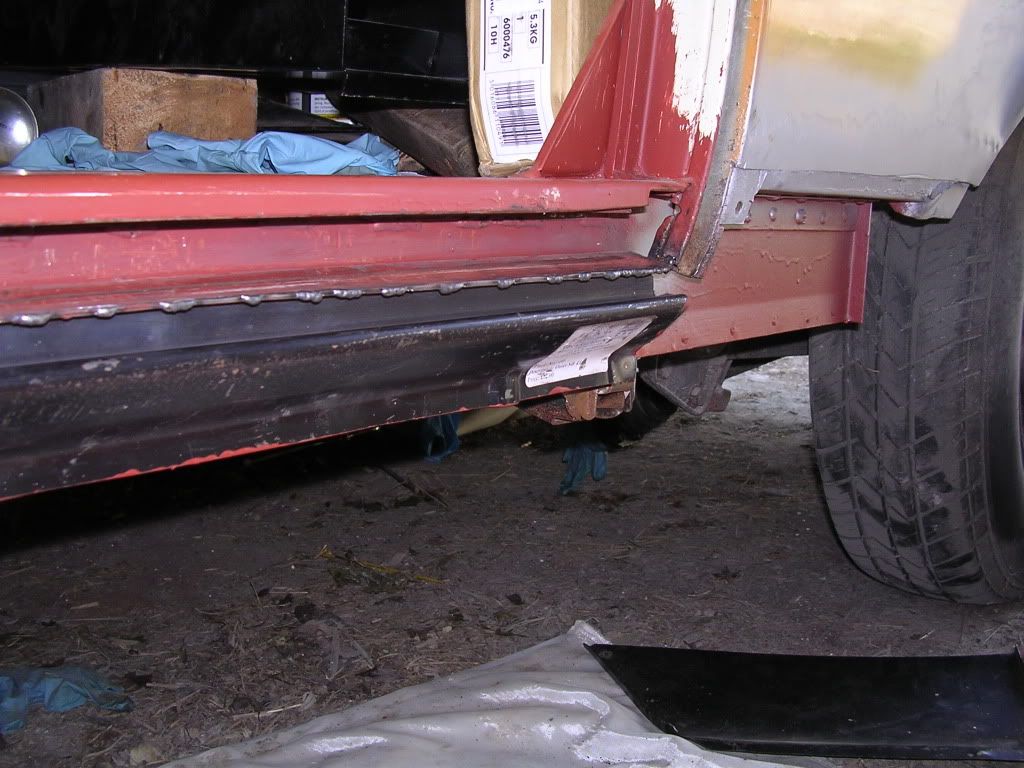
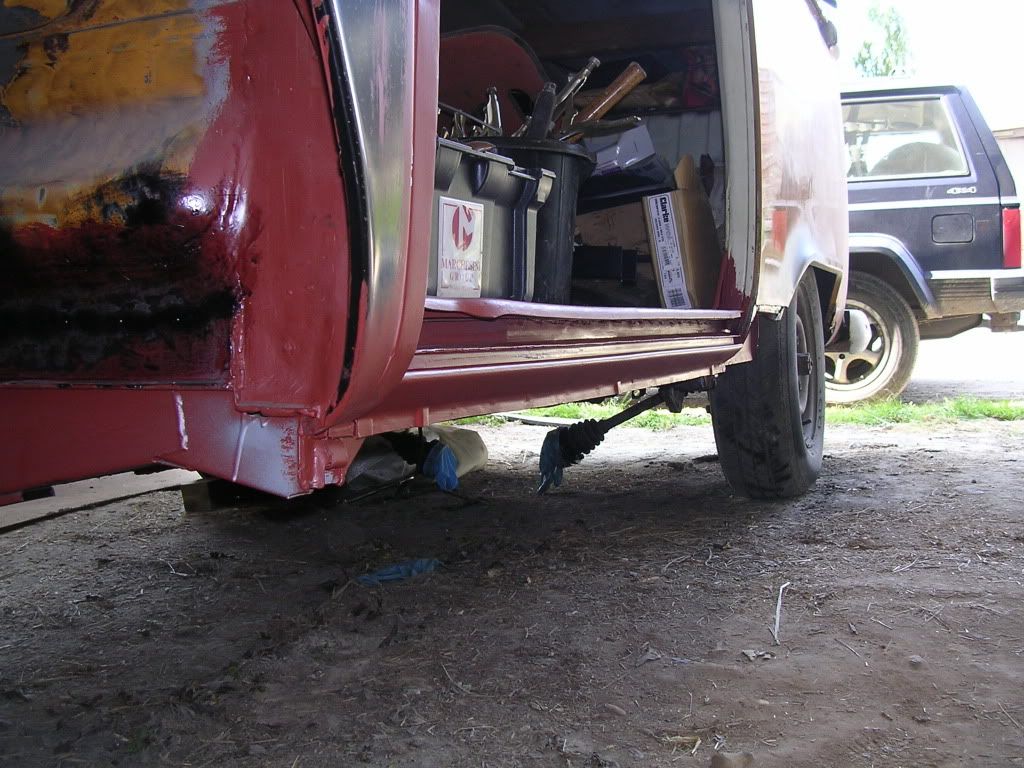
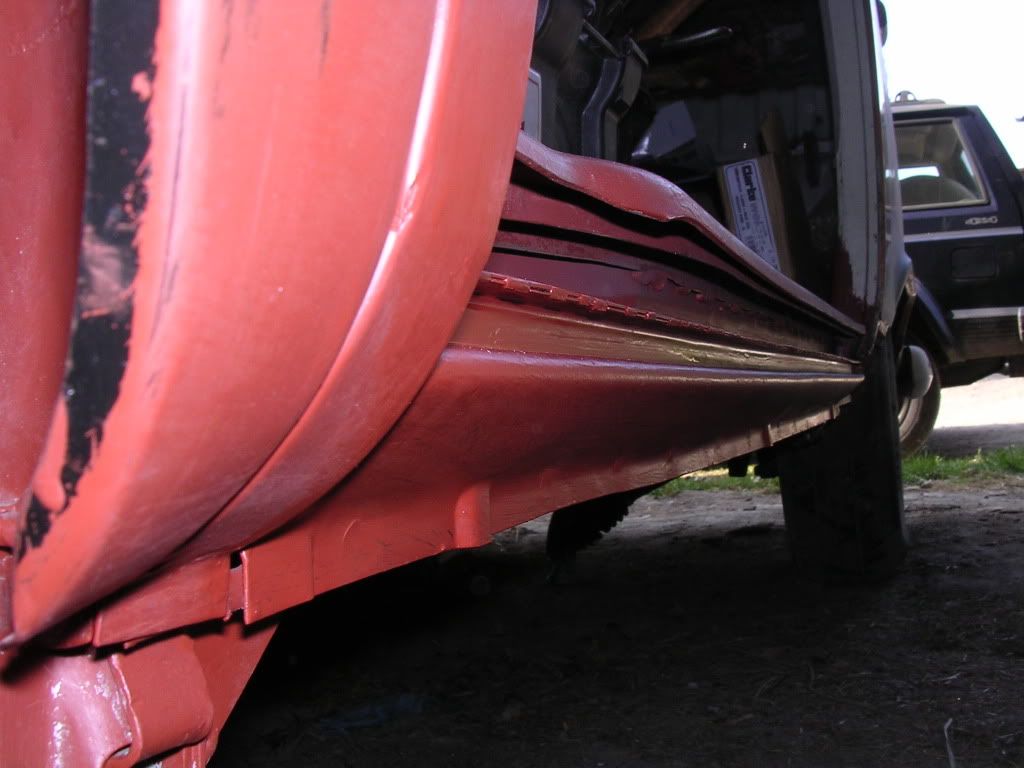
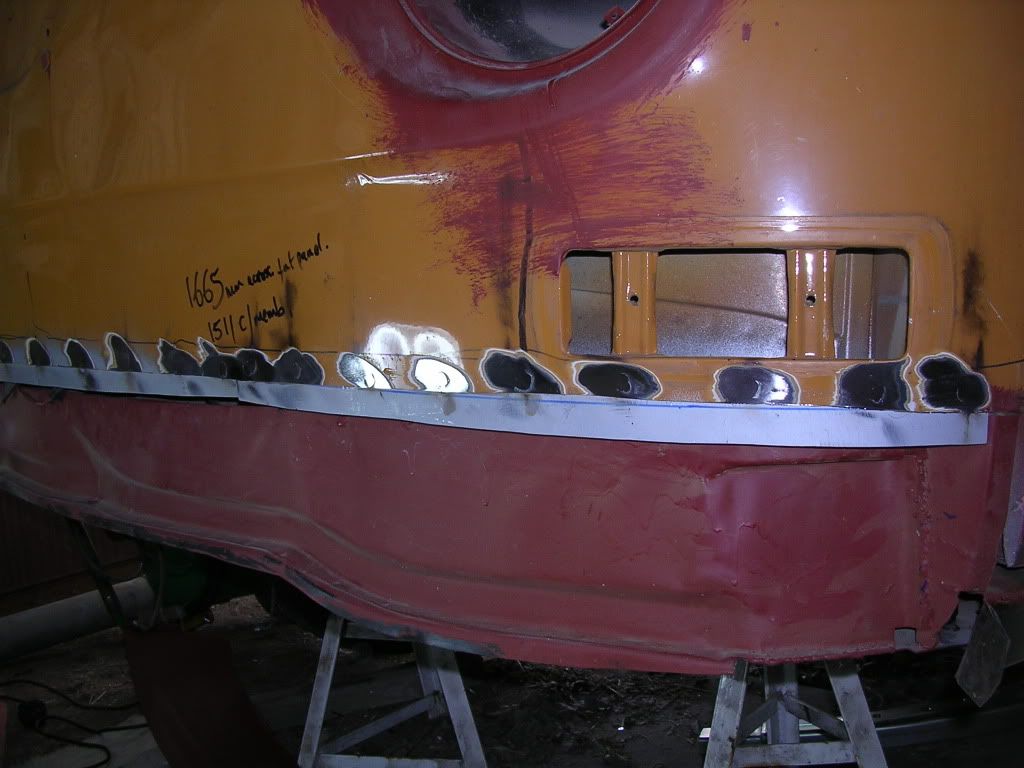
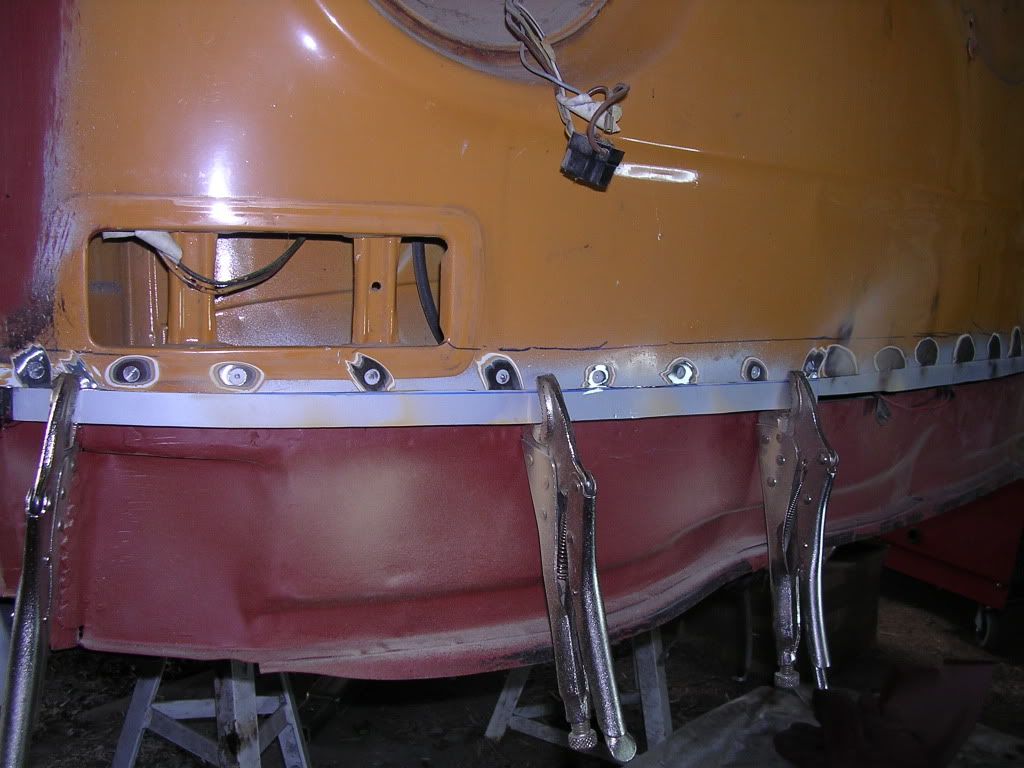
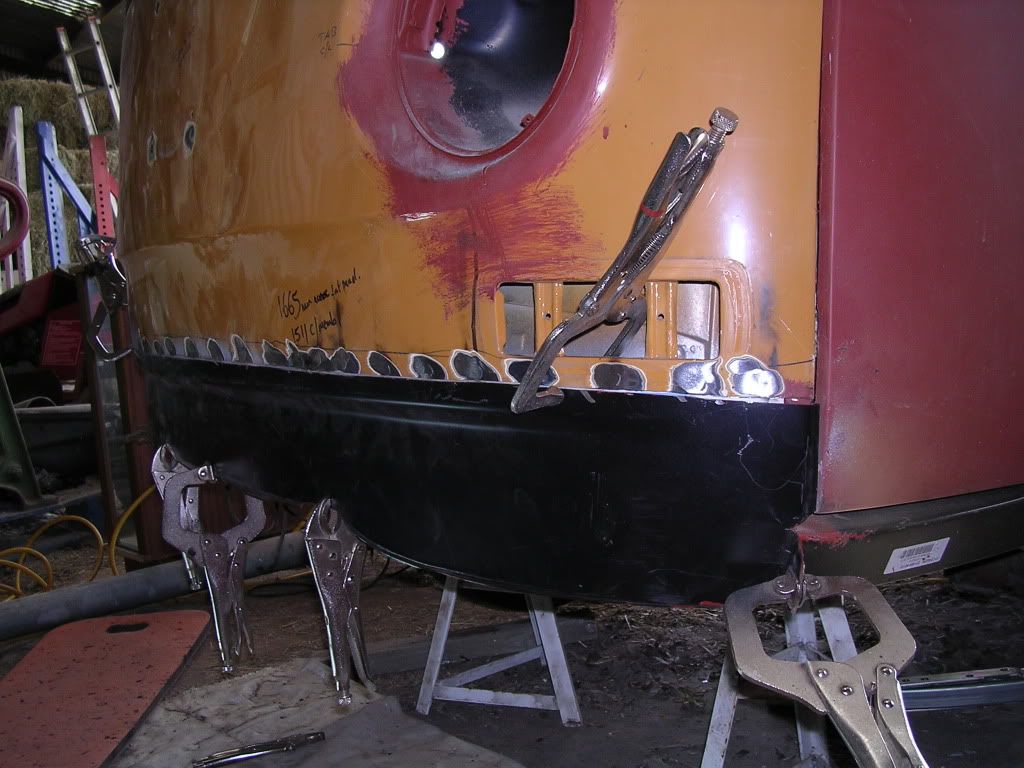
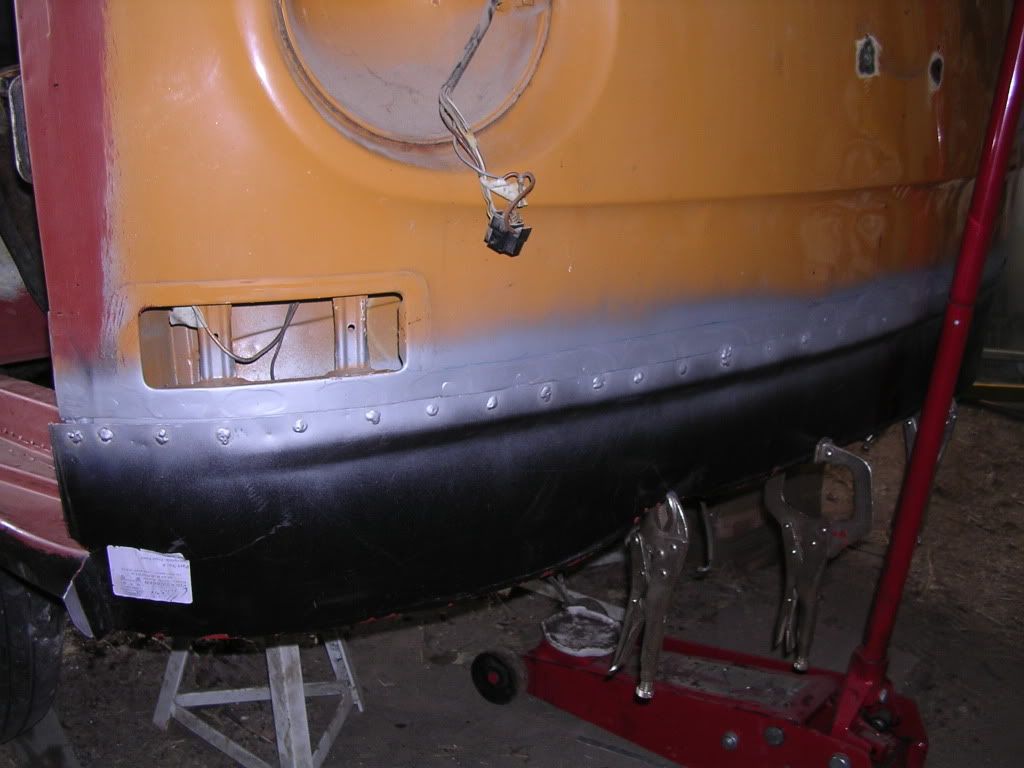
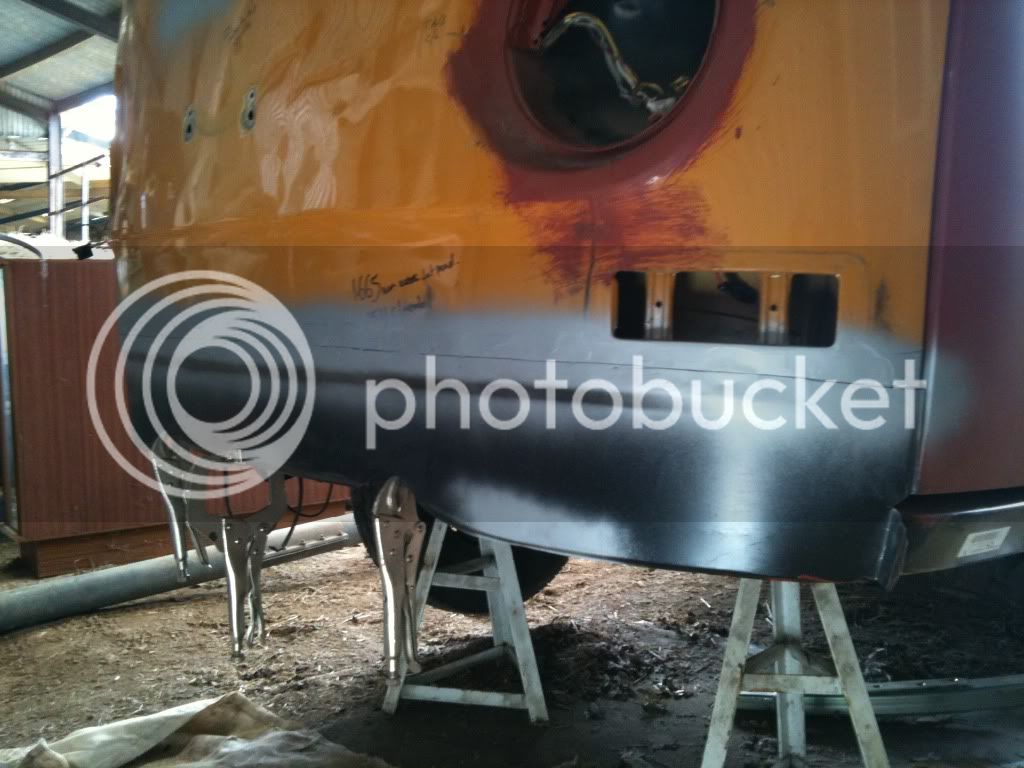
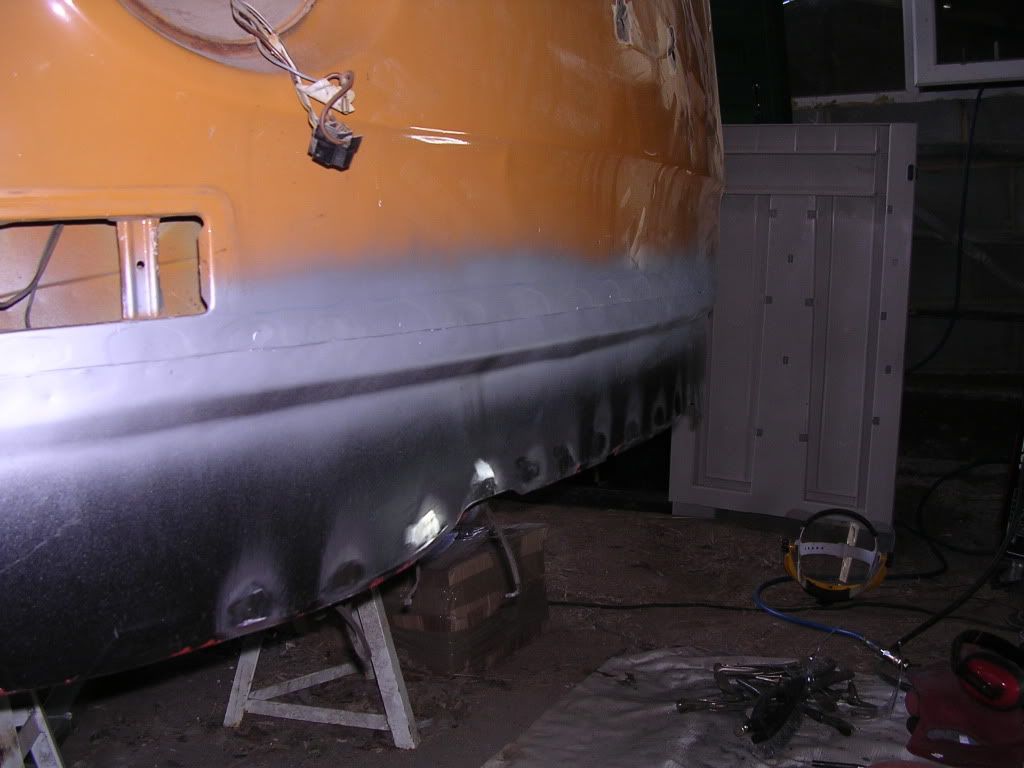
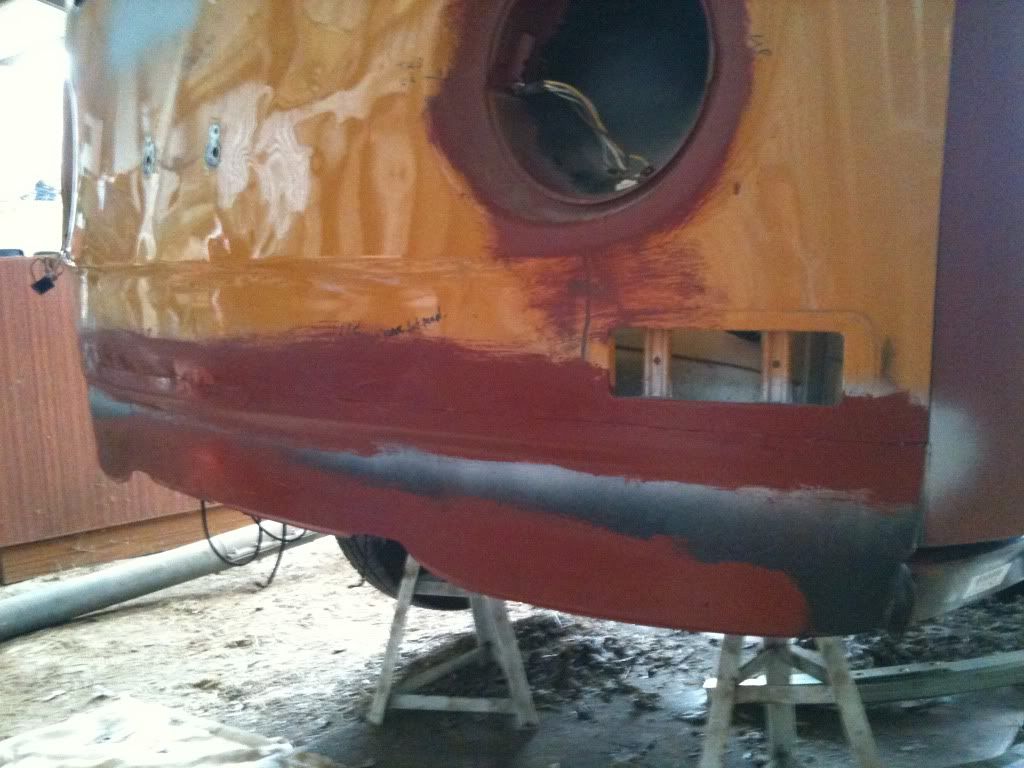
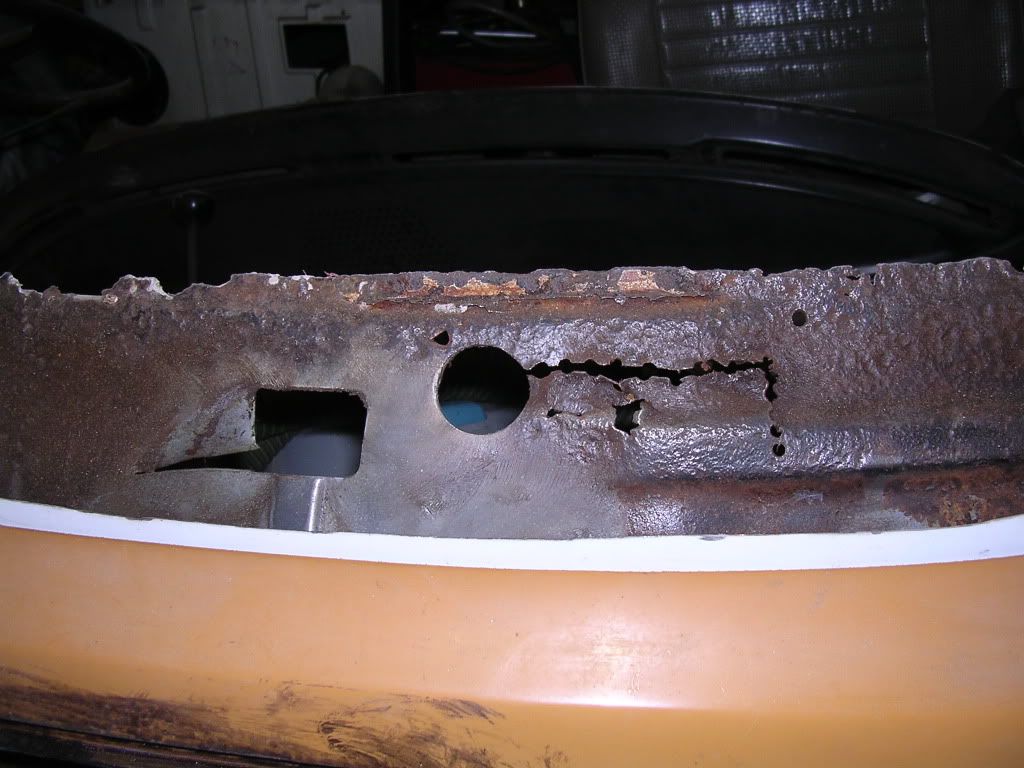
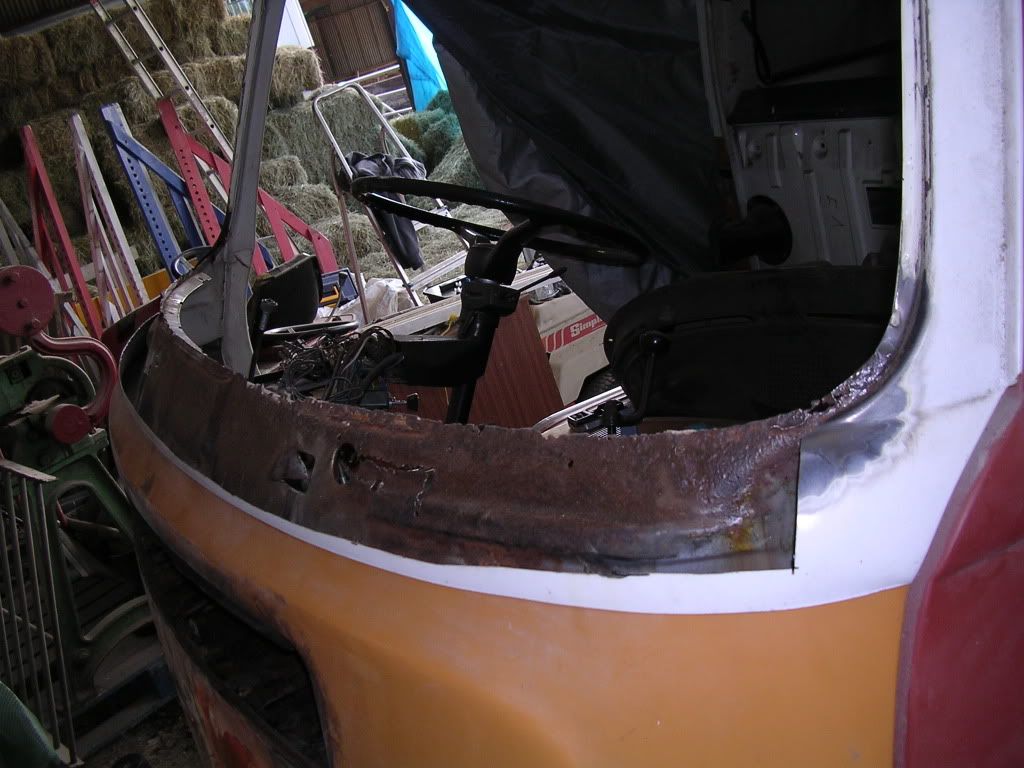
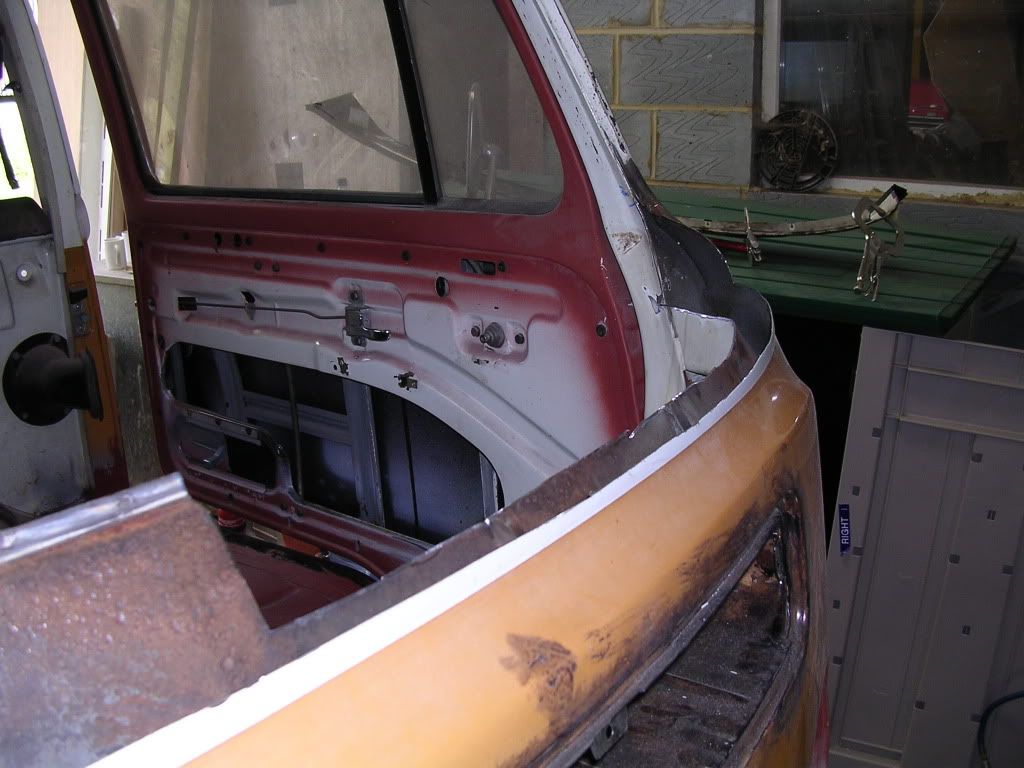
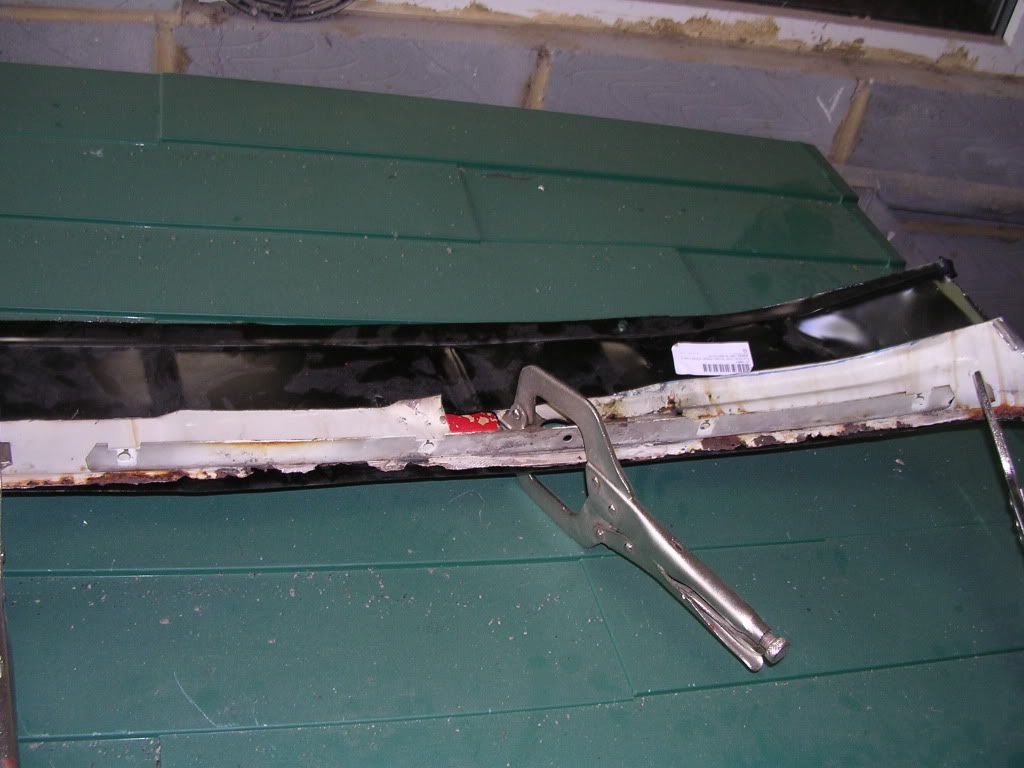
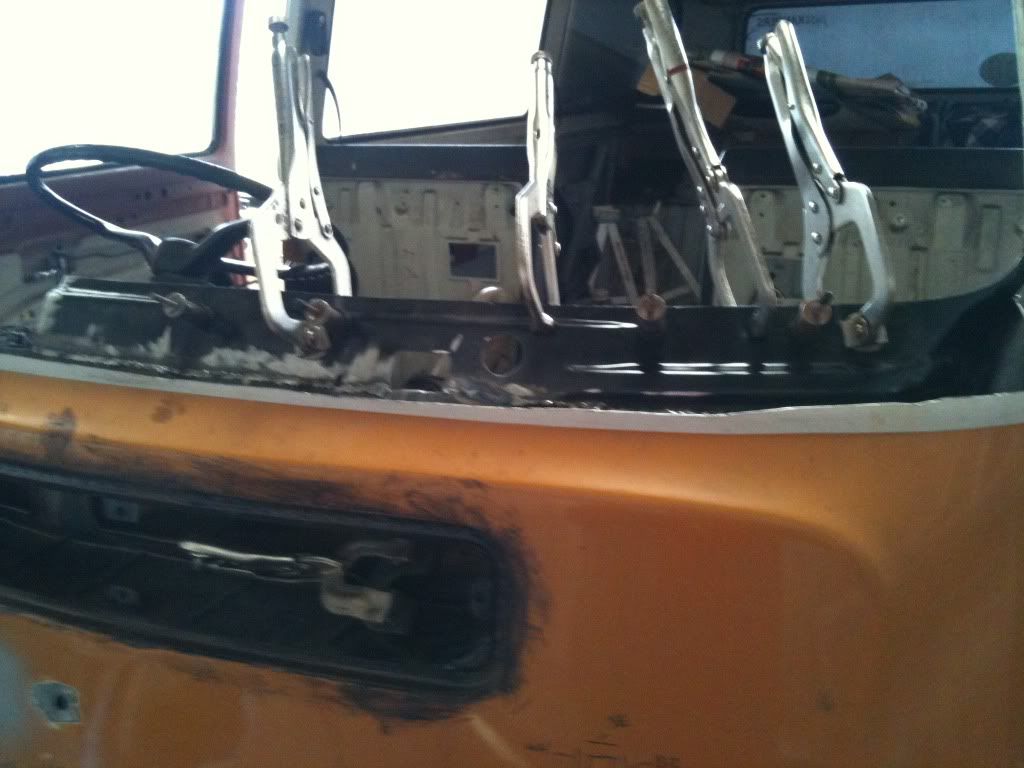
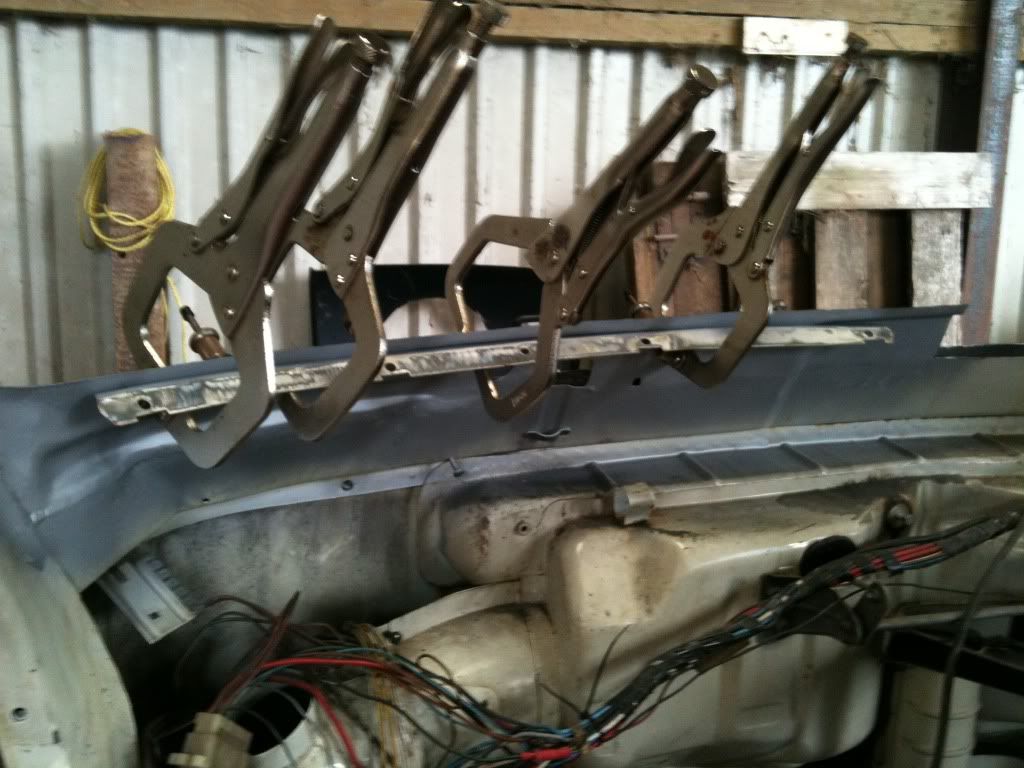
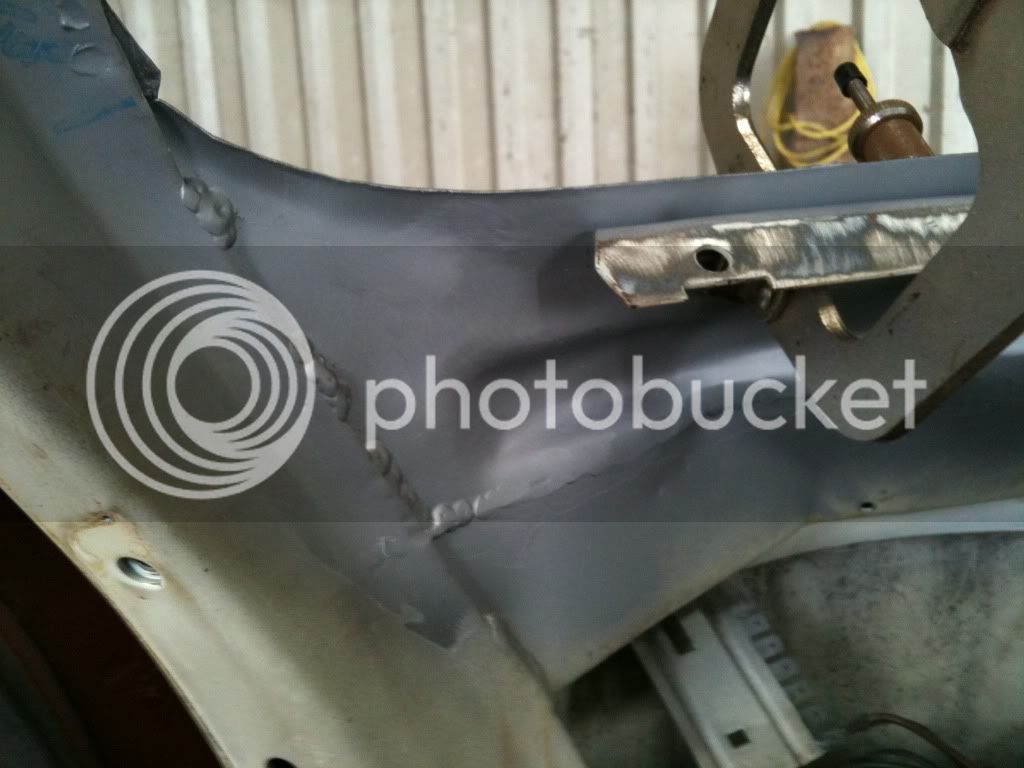
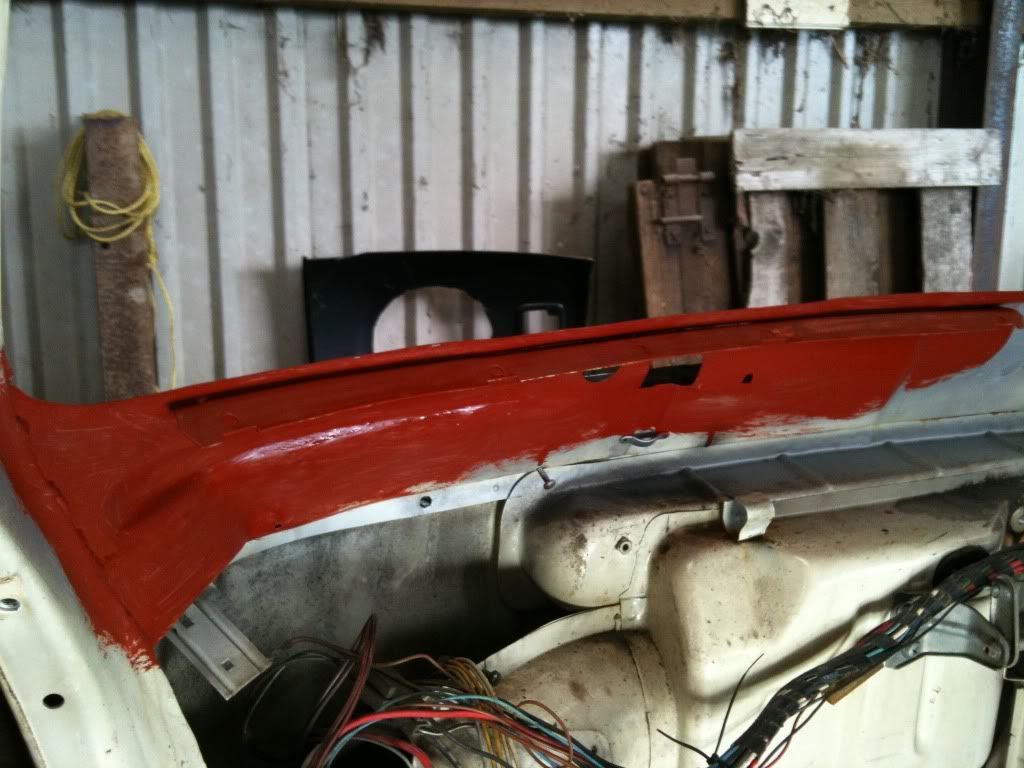
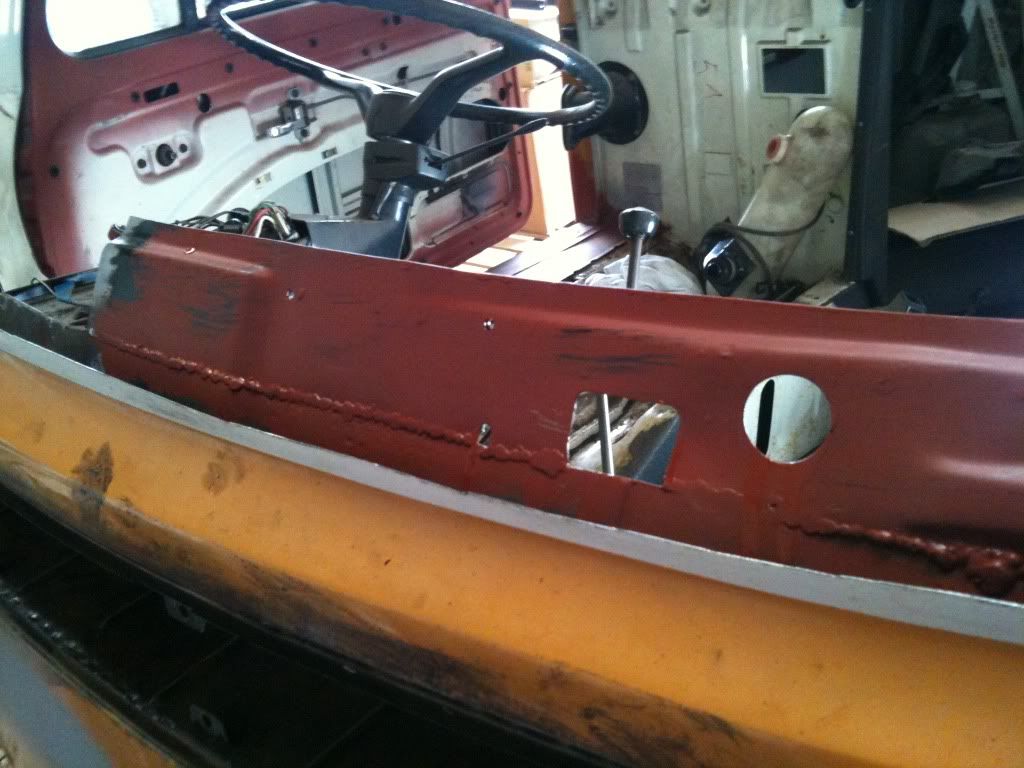
Hi Rob, No, I'm not going to seam weld it, just plenty of plugs welds. I don't think its a problem unless anyone can tell me otherwise?Rob b said:I'm liking all the work your doin dude just a couple of questions I wanted to ask
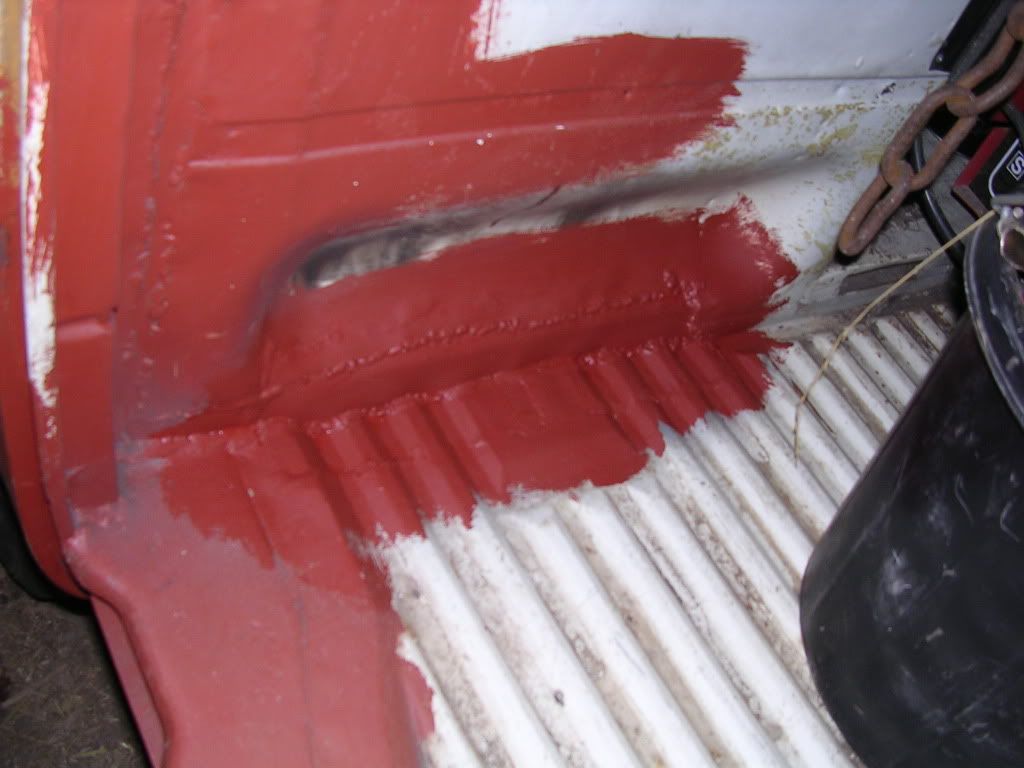
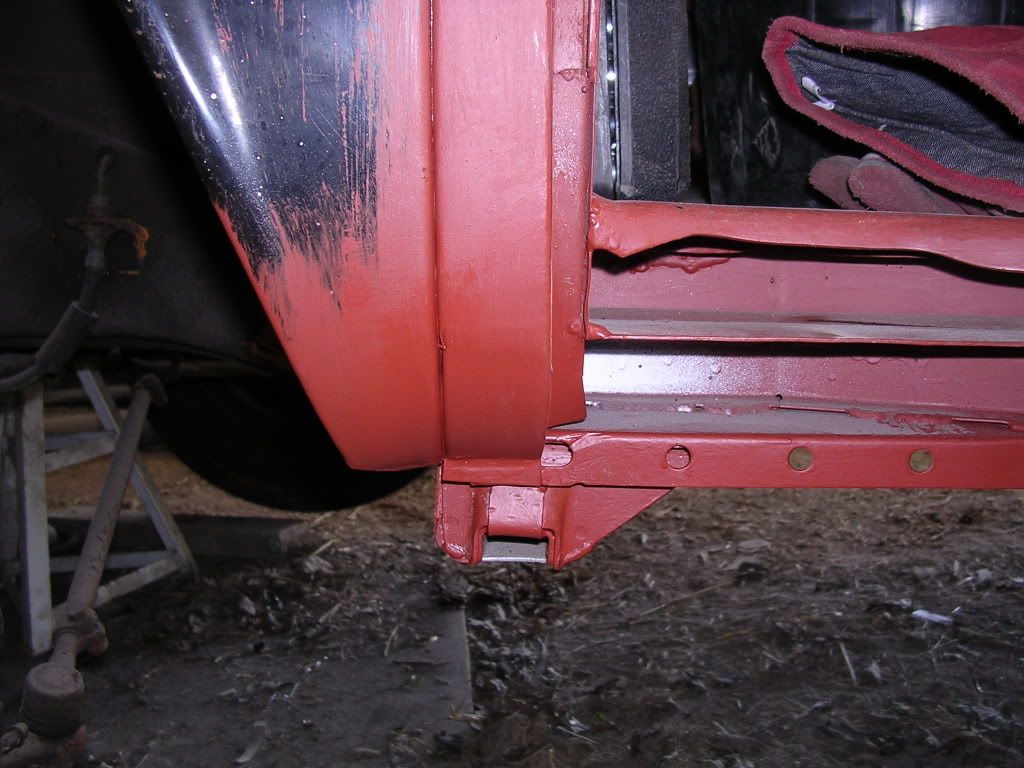
Are you goin to seam weld that lower front panel repair section? An were you have tacked the sections that are normally spot welded have you cut a v in one of the lip then welded it
Cheers rob
Rob b said:Yo man the problem you will come across if you dont seam weld them is when you fill over them a line will appear after time because of the panel flexing an the 2nd thing I was on about was where you have done the sill it looks like you just welded the edge of the seam an didn't plug it or v it
Other then that the work you have done looks spot on
This is what I do for a living so you dont just think I'm a key board warrior
http://www.butlinclassiccars.co.uk/" onclick="window.open(this.href);return false;
Rob


