First attempt at Crossover Resto

Early Bay Forum

Help Support Early Bay Forum:

This site may earn a commission from merchant affiliate links, including eBay, Amazon, and others.
good work fella ,ime doing my buss outside on the drive and its barnicles :lol: ,took my screen out the other day and found the same as yours so looks like i will have to buy a whole front clip just to cut lower repair panel out :( .i must update my build .been takeing pics so will do when i have time ,keep up the good work . :D
 
Making short work of it now Mags... That is going to be a nice tight bus when you're done mate.
 
Cheers, I'm really aiming to get to paint for early summer this year so I can focus on the engine sitting in the garage and the rotten tinware, desperately miss the old girl and going camping her, its just not the same in the car and tent.
Goal is to be back on the road for next year.
 
Can't believe how long its been since updating this thread, shame on me!
Anyway, didn't get to the old girl a lot through the summer but I have been making progress. Thanks to a dodgy camera I think I've missed taking lots of pics but at least I've got enough to show progress.
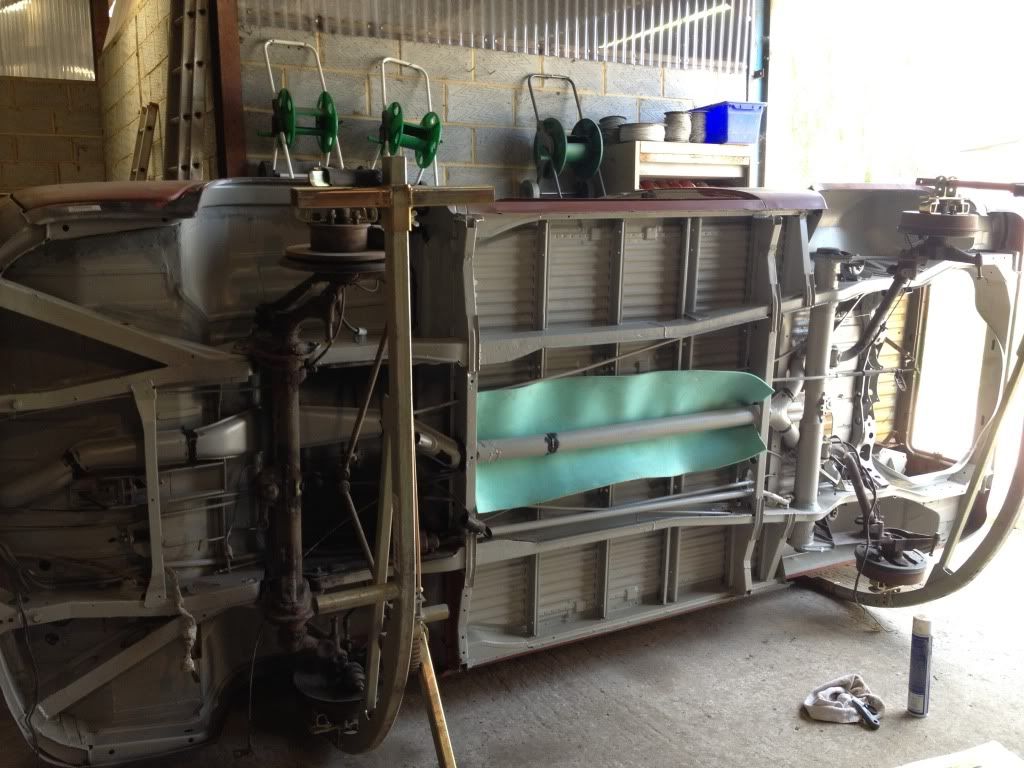
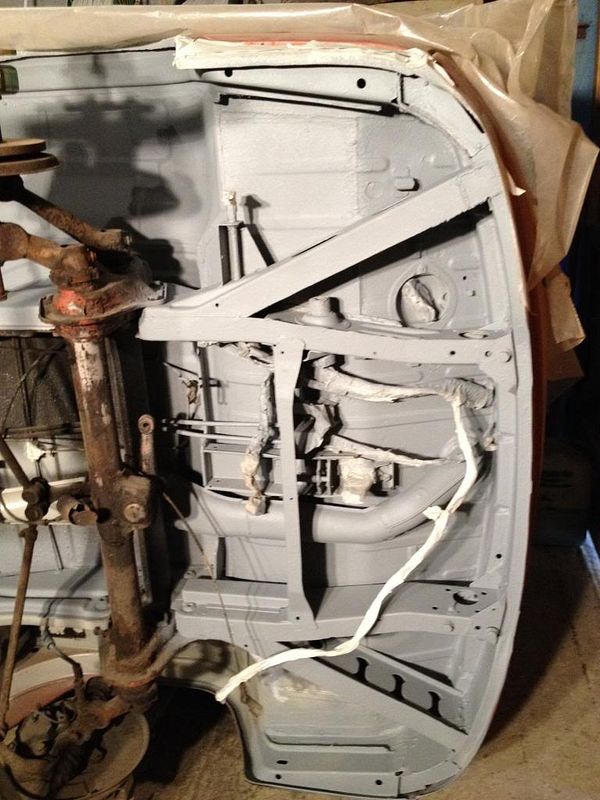
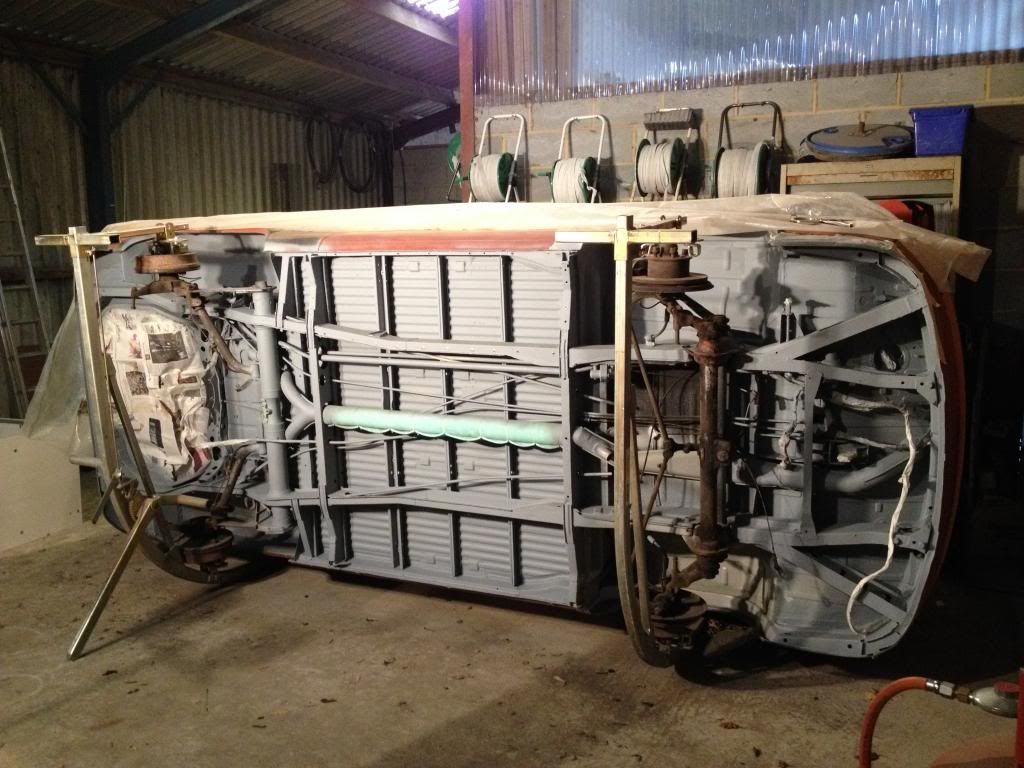
I pained the entire underside in epoxy encapsulating paint after the blasting.
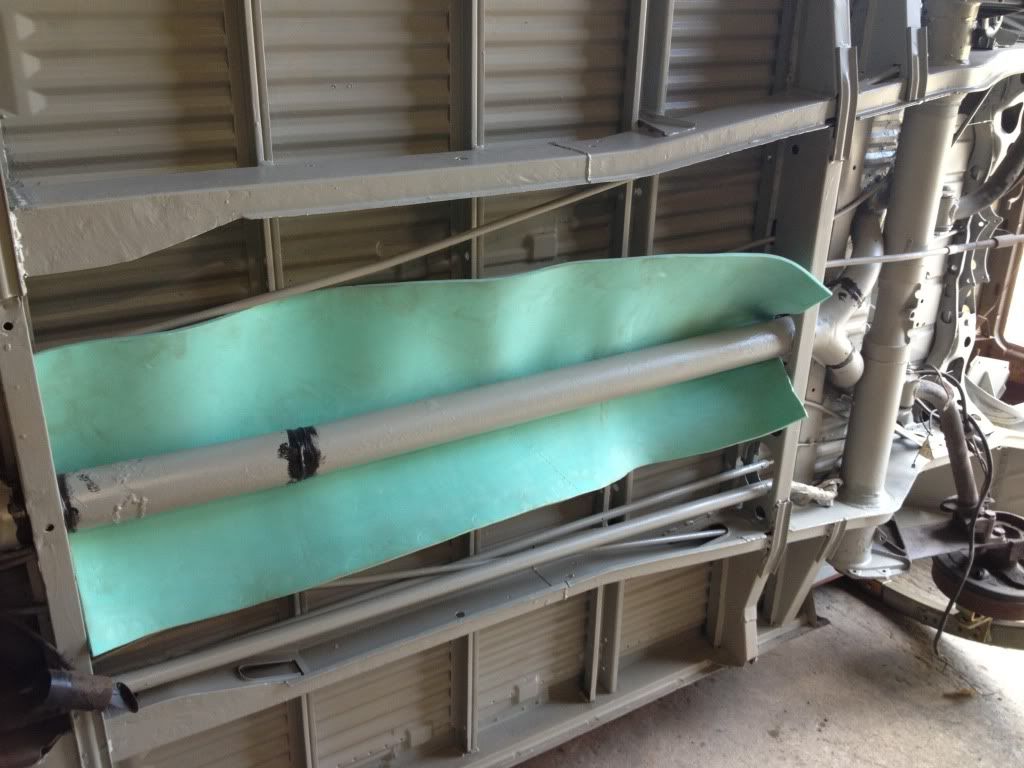
Then sealed all the joints with Tigerseal. I wanted to put the 3 chassis pans back so started to insulate the heater pipe before its covered up again.
397D5D0A-5AAC-4117-88E1-AFB1725B95CD-784-000001A49E49A700_zps1e0bb5a0.jpg


77EF24C6-1B09-4314-B693-80649CD9E838-784-000001A4ACC5F123_zps8a958fda.jpg

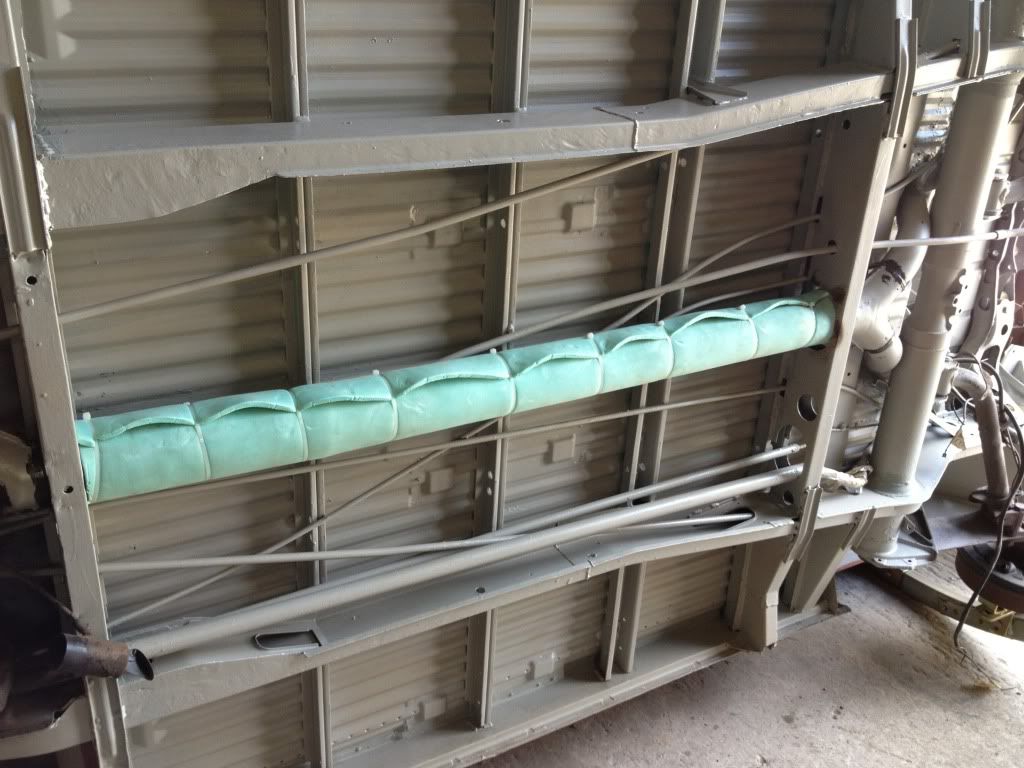
Then cable tied the insulation up after a squirt of dynawax,
CD2A5C60-1108-401D-B64B-D6F2CCEFDC23-784-000001A4B6AB89CC_zpsf736a8cd.jpg

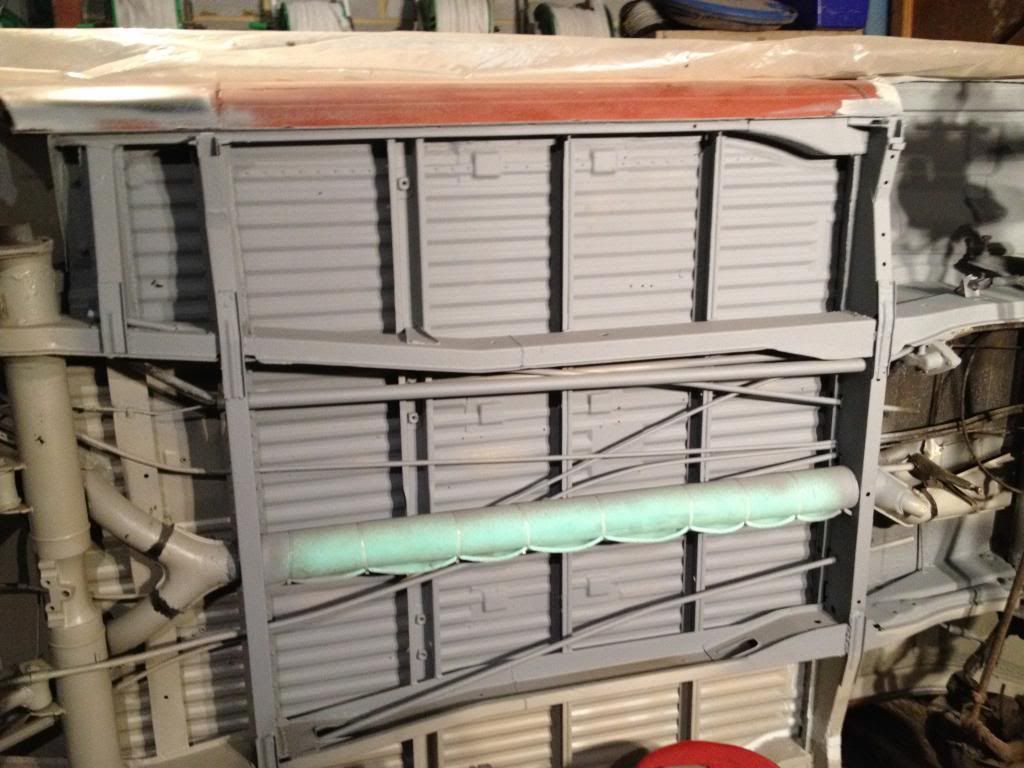
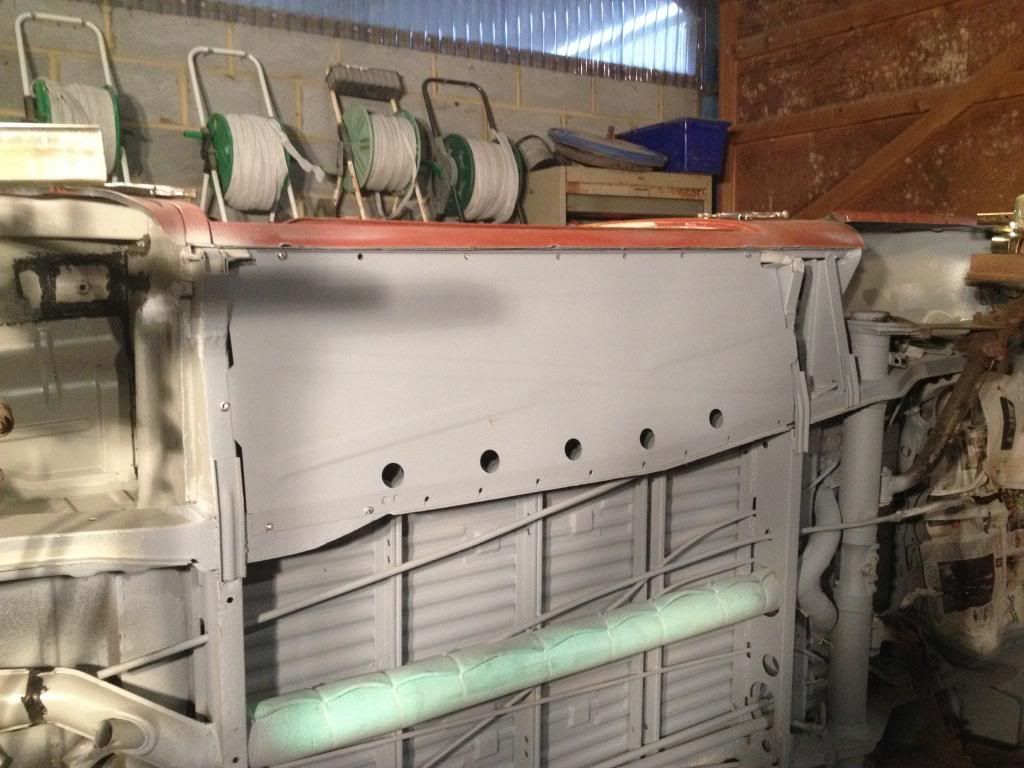
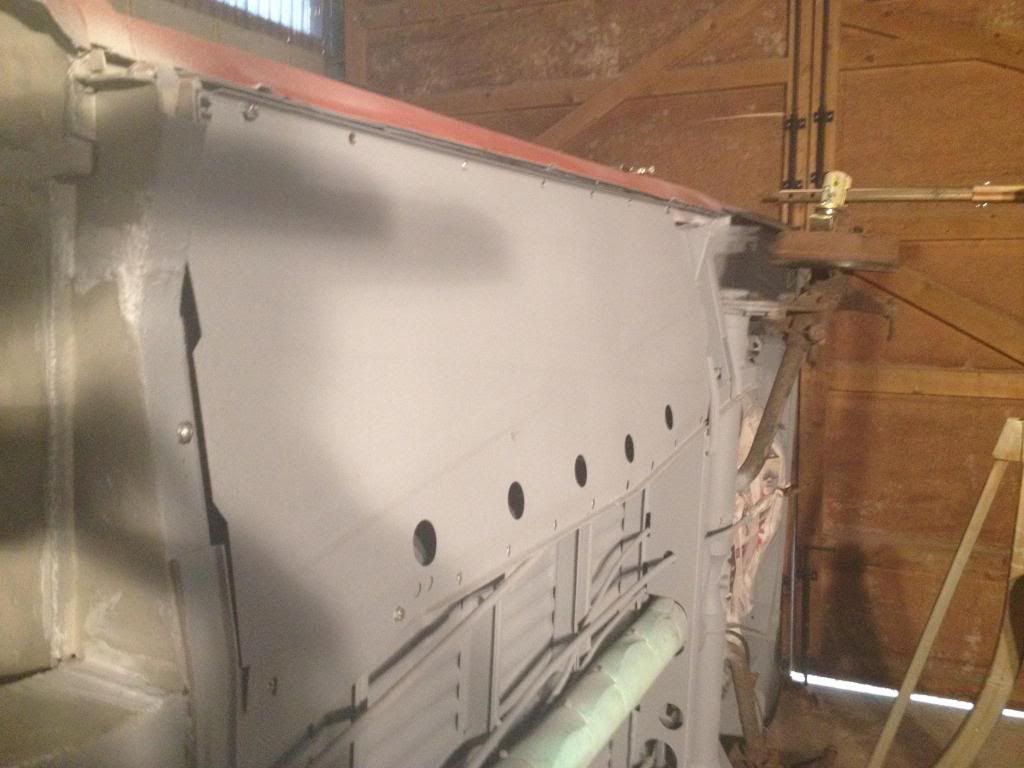
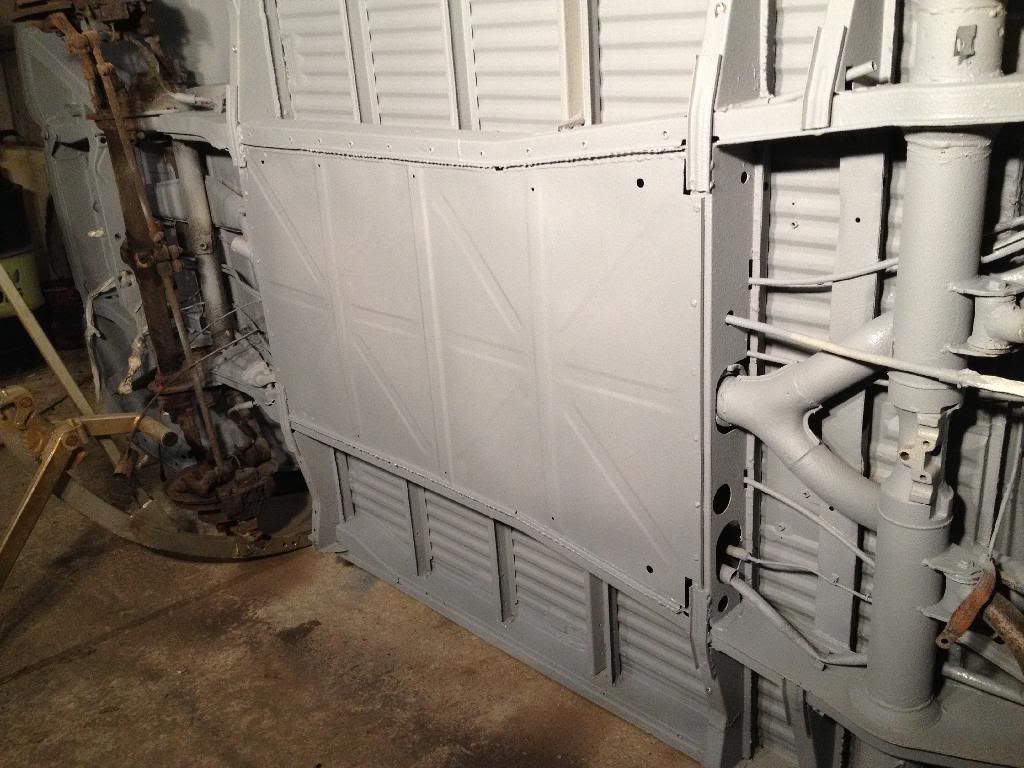
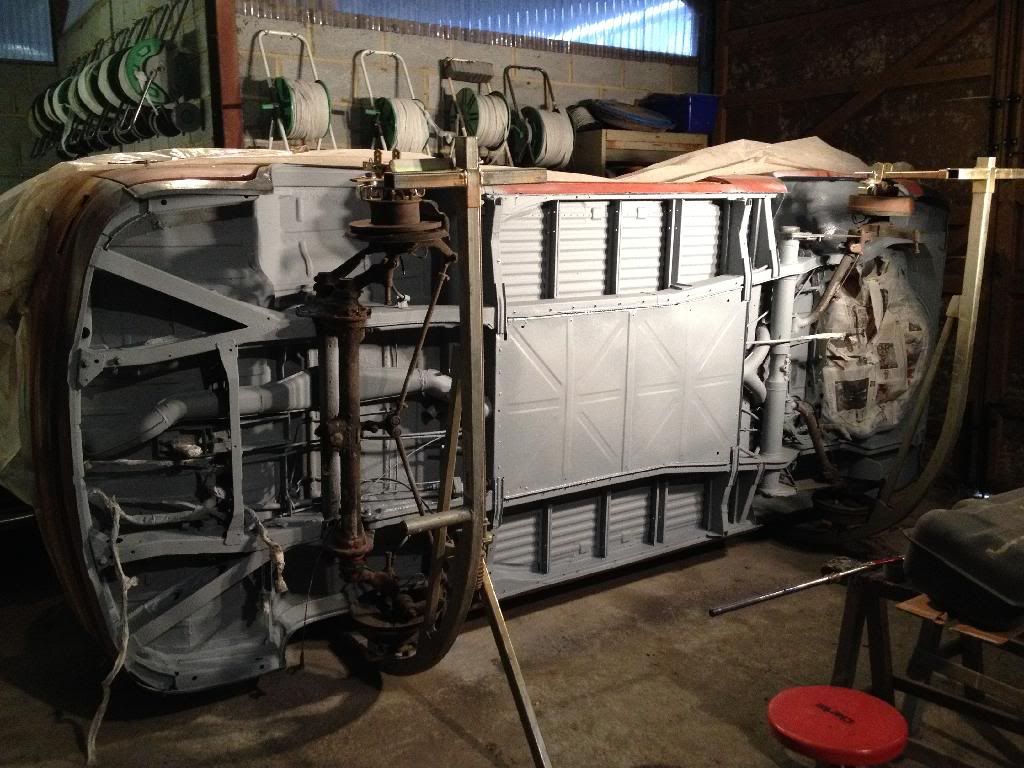
Now I've started to apply stonechip to protect everything
Picture038_zpsfa877cf0.jpg

Picture040_zpsf6dfeafb.jpg

Picture041_zps91532b0b.jpg

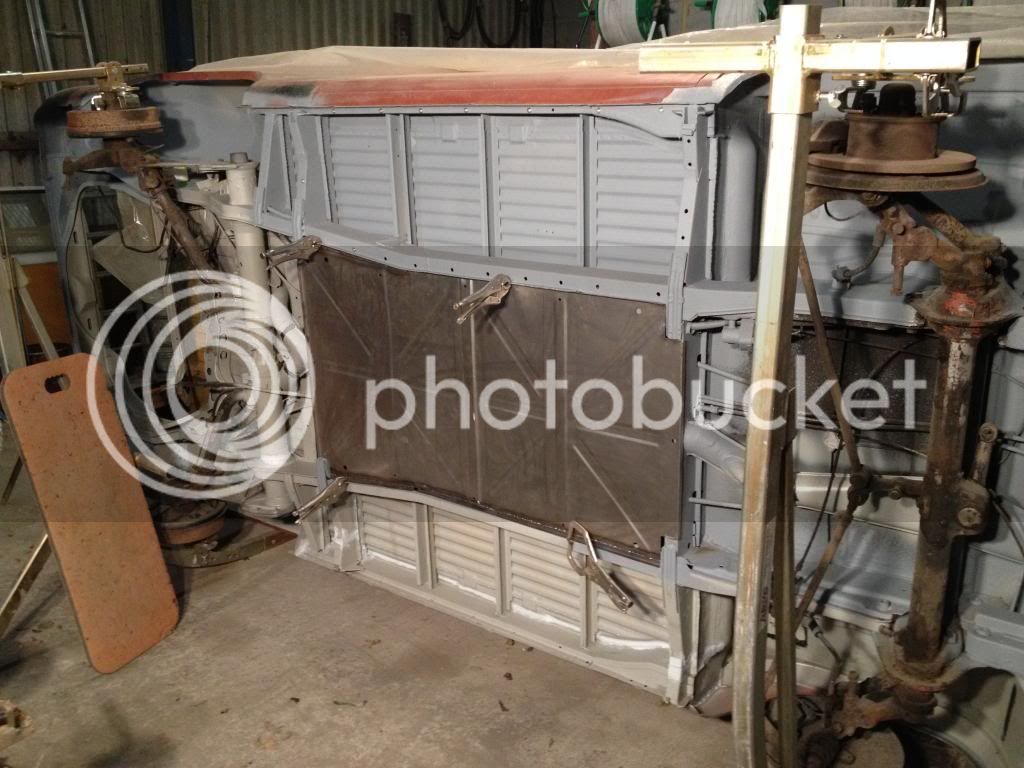
And this weekend I was getting the belly pans to fit, the centre one is a terrible fit, but its been sliced and rewelded to fit now
Picture043_zps940f552f.jpg

Picture042_zpsace18d5a.jpg


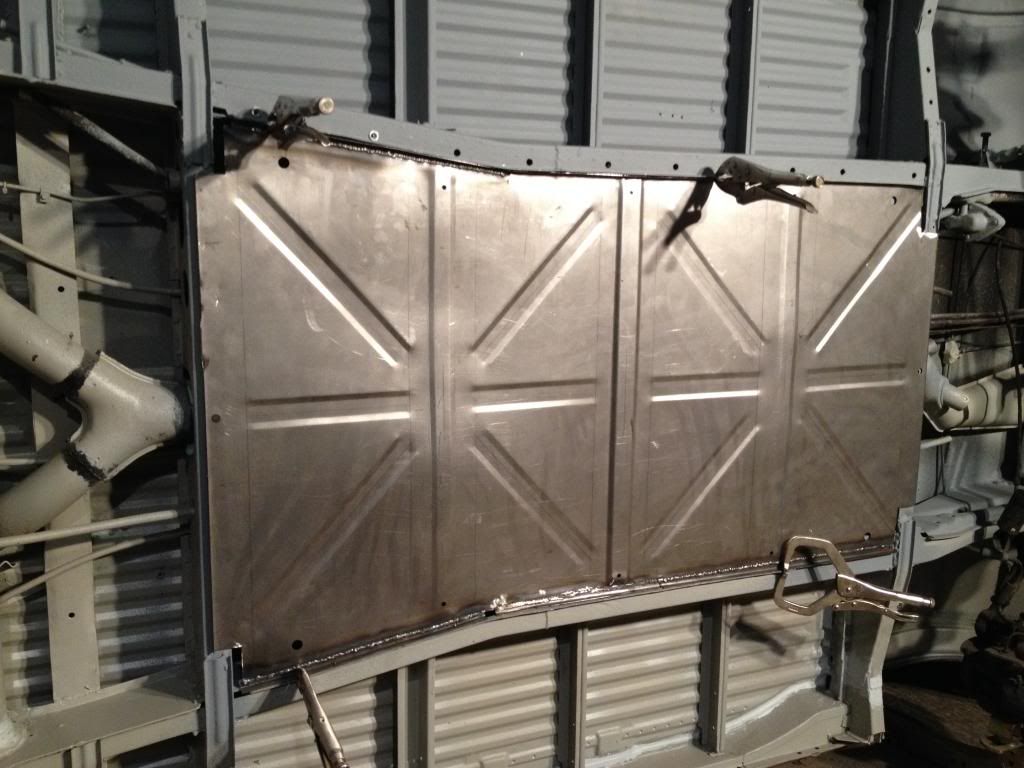
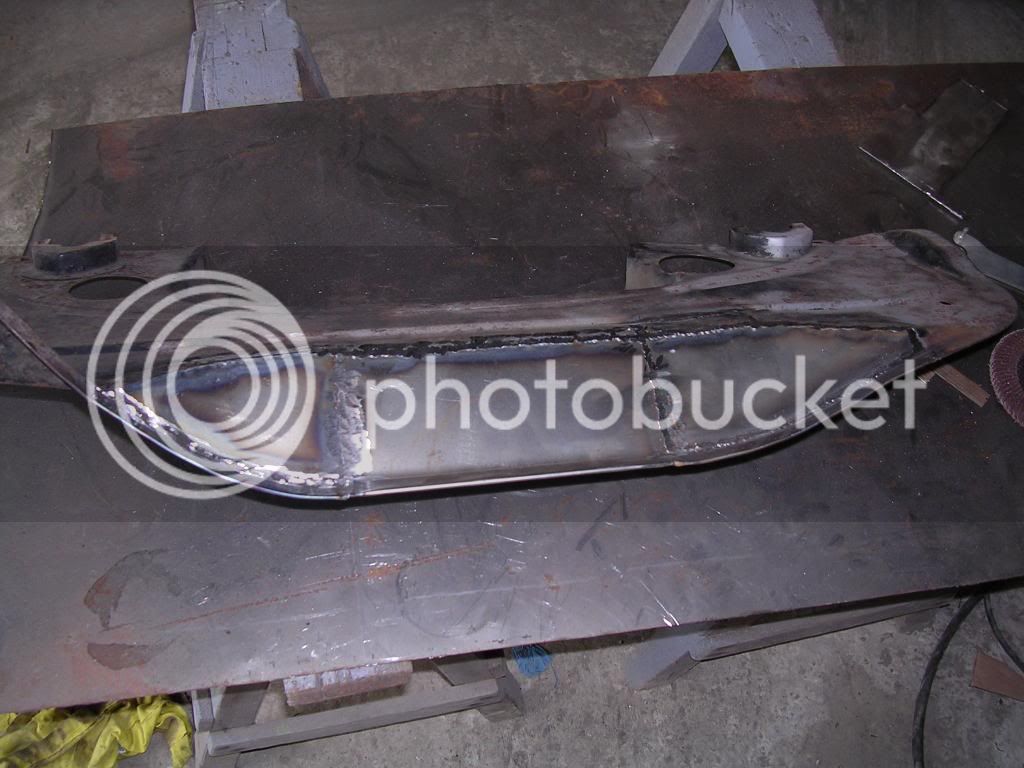
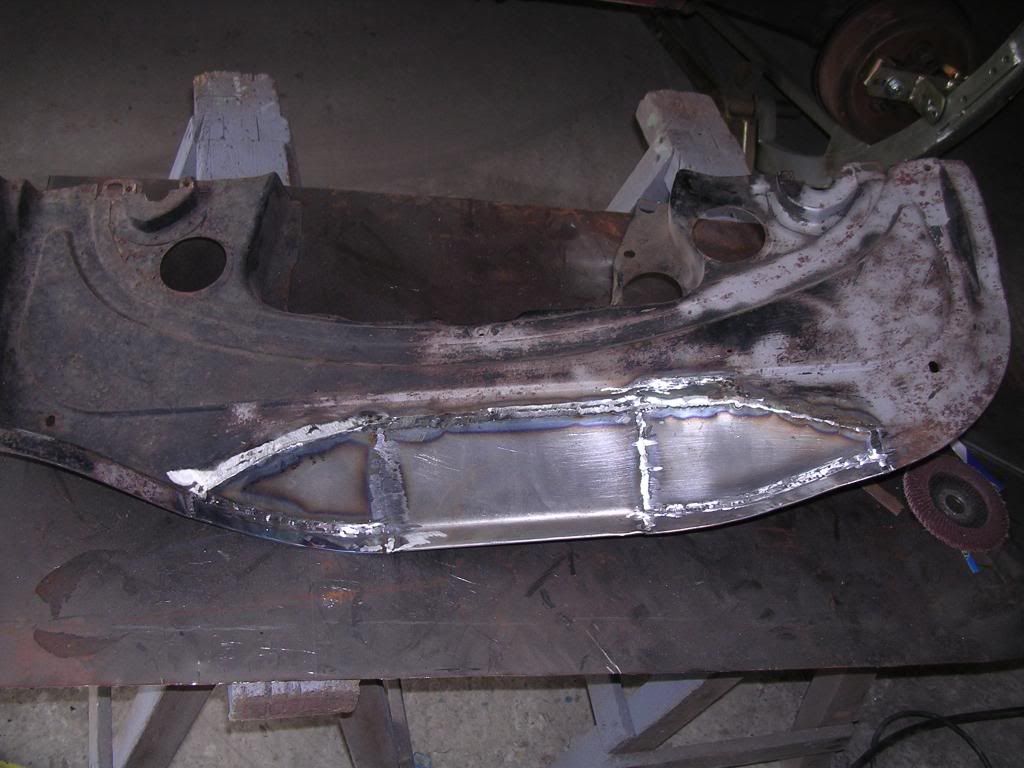
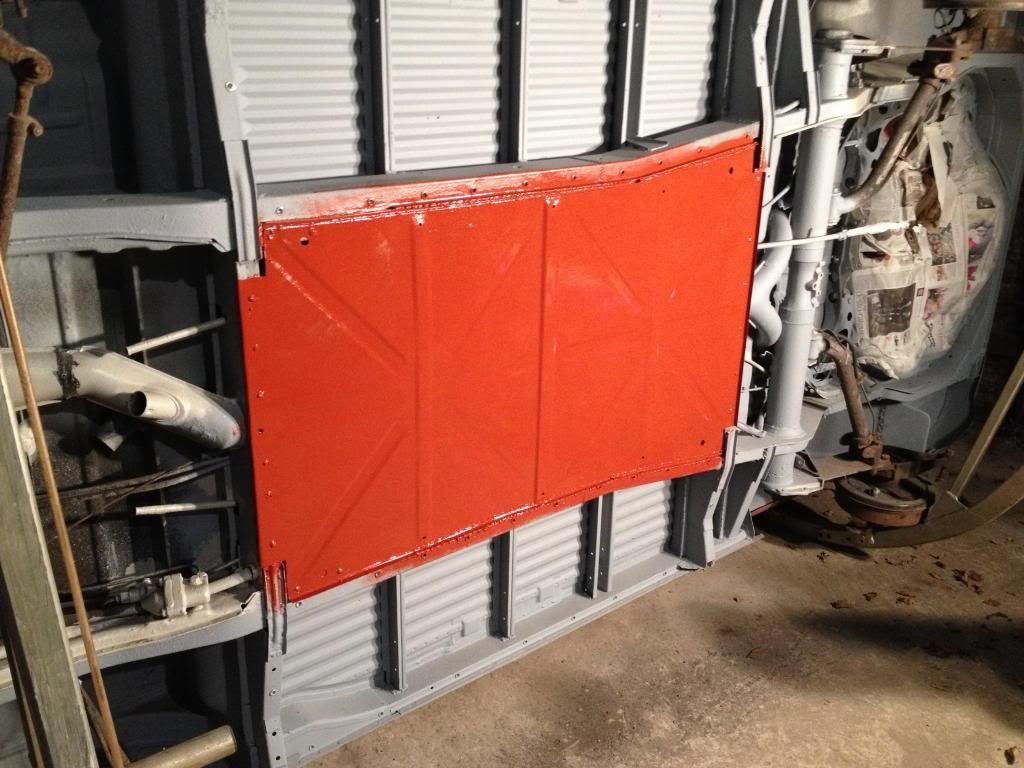
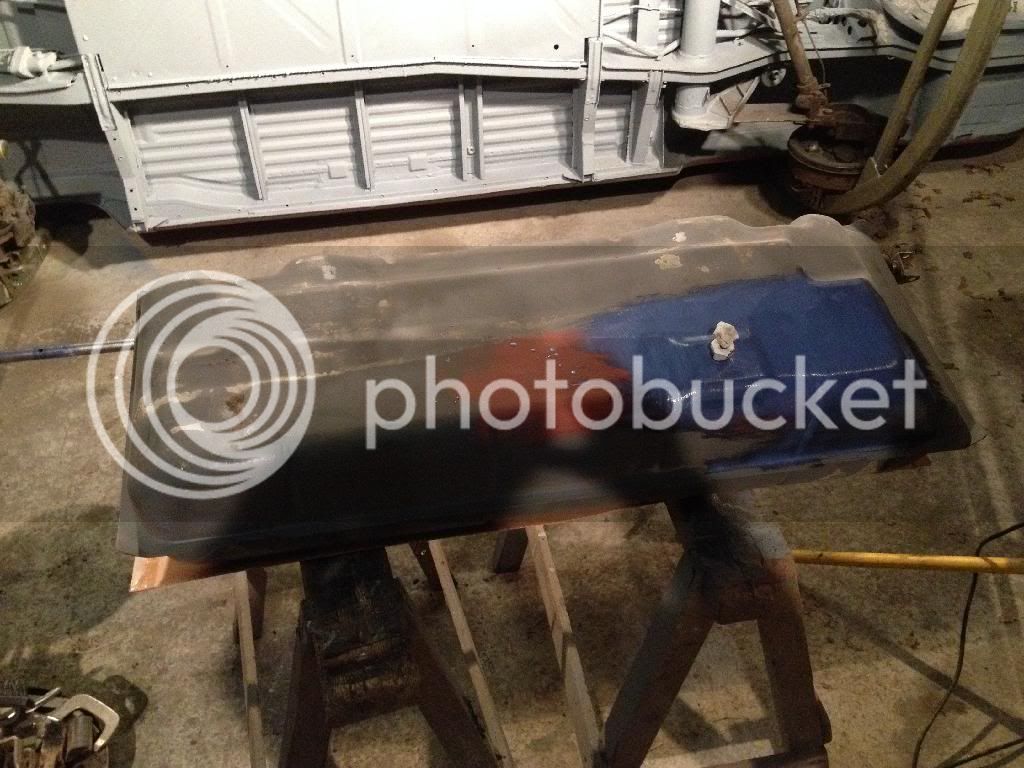
Also I had a go at repairing the hard to find rear tin that crossers with 1600's have, it doesn't look pretty but I've managed to keep the right dimensions and shape. I need to blast it and clean it up more now.
DSCN4877_zps67327192.jpg

DSCN4876_zps8ae3c407.jpg

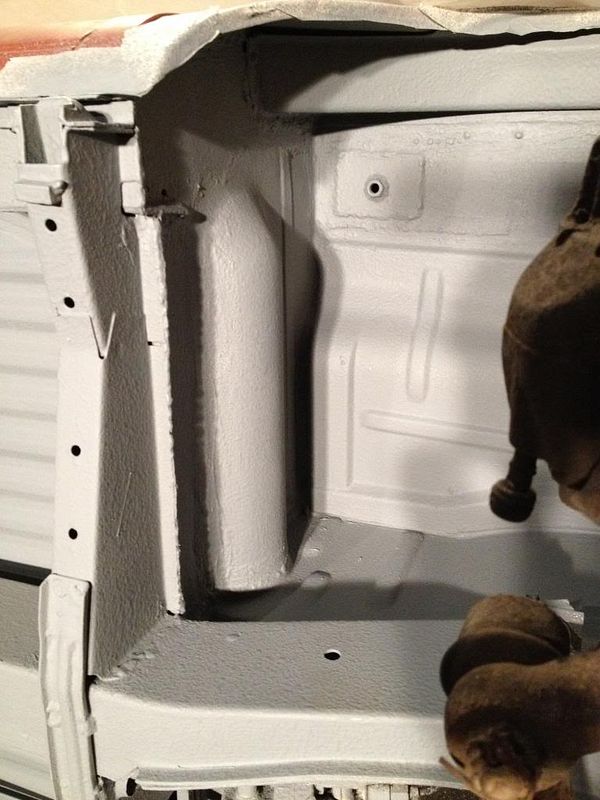
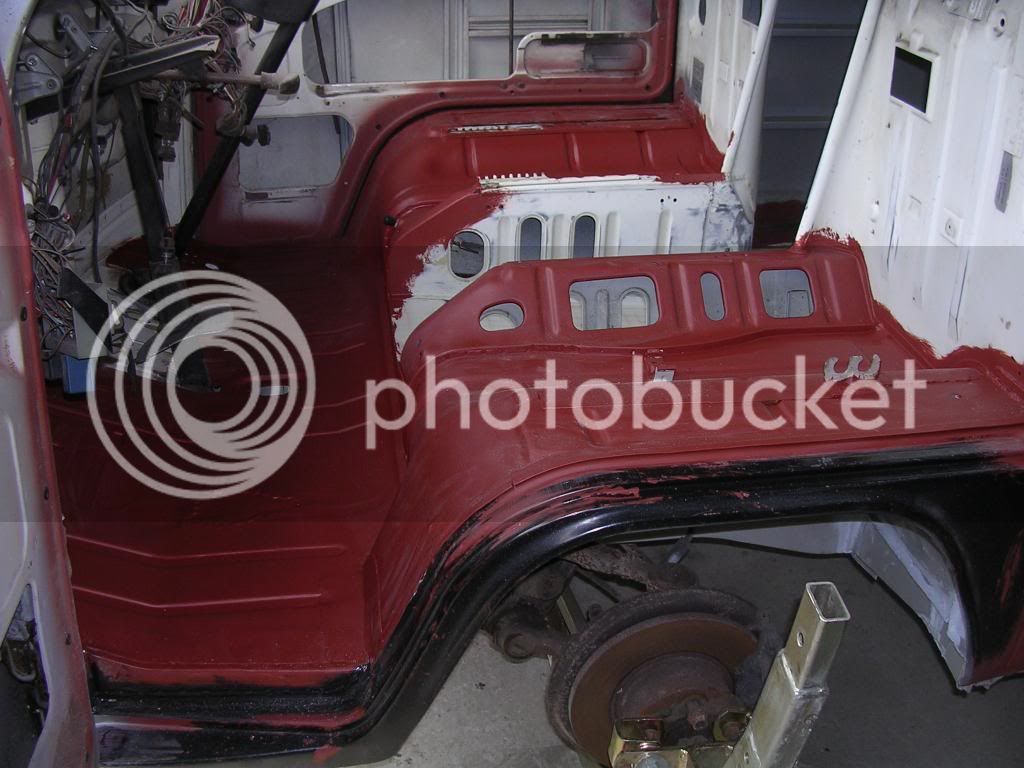
I've also been cleaning up the cab floor and seats and giving them a quick lick of primer for protection
DSCN4878_zpsd9e30866.jpg


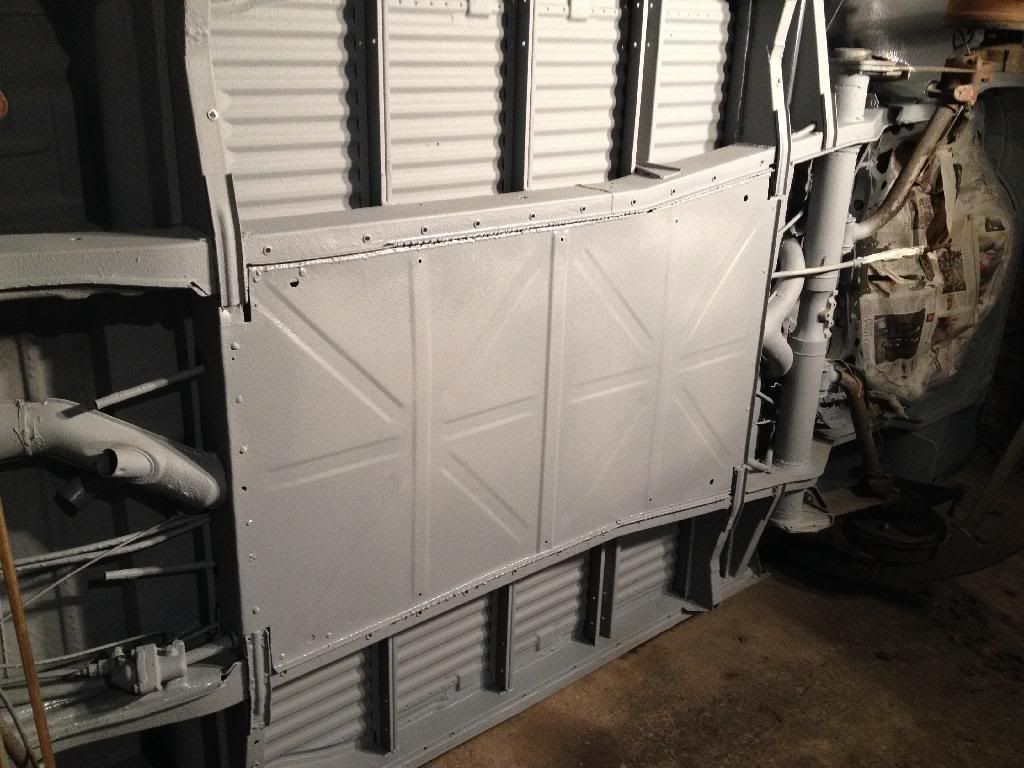
I really need to get an old camera, my phone doesn't take good pics. more pics to follow in a week or so as this weekend I fitted rivnuts for one of the side chassis pans and started to paint the center bellypan prior to welding it on.
I've also almost finished the stone chip on the entire underneath, its really helping with motivation to see some fresh paint and things looking nice again. I'm 3 years into this now, 4 if I include when I first started on the cab doors! I really miss my bus :(
 
Glad to see that you haven't left it during the last few months and now looking good 8)
Are you welding the pans on then or using screws/bolts?
 
Hi gninnam, I'm welding the centre one on and using rivnuts to hold on the side ones. I'm thinking of putting a thin rubber seal under the side pans before bolting them on to avoid any chafing due to movement. I plan to keep the old girl covered in wax underneath but I'm trying to be belt and braces!
 
Mags said:
Hi gninnam, I'm welding the centre one on and using rivnuts to hold on the side ones. I'm thinking of putting a thin rubber seal under the side pans before bolting them on to avoid any chafing due to movement. I plan to keep the old girl covered in wax underneath but I'm trying to be belt and braces!

OK and good luck :D
 
Handy when you can tip them - makes it a lot easier.
Bottom halve looking nice - are you putting the centre pan on as well??
 
gninnam said:
Handy when you can tip them - makes it a lot easier.
Bottom halve looking nice - are you putting the centre pan on as well??

Yep, if you look higher up you can see the trial fit. I've now painted the inner side of it and will probably weld it on next week.
 
Mags said:
gninnam said:
Handy when you can tip them - makes it a lot easier.
Bottom halve looking nice - are you putting the centre pan on as well??

Yep, if you look higher up you can see the trial fit. I've now painted the inner side of it and will probably weld it on next week.
Doh. Just saw that :oops:
 
Hi great thread on your build read it twice similar build to my crossover !
Couple questions that may help me what insulation did you use on the heating pipe underneath ? (Looks spot on) and which supplier did you get your outer & centre belly pans from ??

Keep up the good work ! I'm still on my drive doing mine Sooooooo fricken cold !

Cheers Adi
 
budbay6 said:
Hi great thread on your build read it twice similar build to my crossover !
Couple questions that may help me what insulation did you use on the heating pipe underneath ? (Looks spot on) and which supplier did you get your outer & centre belly pans from ??

Keep up the good work ! I'm still on my drive doing mine Sooooooo fricken cold !

Cheers Adi
Hi Adi, The insulation is just camping mats from EBay. I think there have been a few discussions on here about the cheapest closed cell foam and these are the answer.
The belly pans are all from Custom and Commercial. The side ones were a good fit with only some very minor trimming required but the middle one was hopeless, it's not wide enough. It's a bit if a long story but I ended up cutting and widening to fit as it seemed to be the only choice available. I hope to be welding it on next weekend.
I feel for you trying to do this on a driveway, my neighbours would have killed me by now!


Sent from my iPhone using Tapatalk
 
Are the outer belly pans bolted on? Was thinking about fitting some to mine ready for when i fit my new westy roof.
 
Yes, outer pans are being bolted on.
Slow progress yet again. I struggle to find time, but anyway, after painting the inside of the centre pan I got it welded on and gave it a lick of zinc primer.
Picture052_zps4252a87c.jpg

Hopefully next weekend I'll get the final coat of stonechip on and be finished with the underside.
 
Got the remaining stonechip on underneath now, also managed to blast the pedal cover that goes underneath and give it a lick of rust converter. Cleaned up the fuel tank a little ready for a lick of paint too.
I started to clean up the gearshift linkage. Need to give this a lick of paint too.
2D183AE1-9BC2-472E-9178-401A27D50E5A_zpsyxxkpqqo.jpg

CB25B6C9-E6C9-4104-9FFF-2D031A1015C0_zpslf9tkhye.jpg

3F1449E6-BA66-4130-BA6D-35E8727DE815_zpsr7t1tet4.jpg

E4ABF34E-EEAD-4BBA-B17C-6A61A02F8564_zpsj8asdyie.jpg
 

Latest posts

Top