First attempt at Crossover Resto

Early Bay Forum

Help Support Early Bay Forum:

This site may earn a commission from merchant affiliate links, including eBay, Amazon, and others.
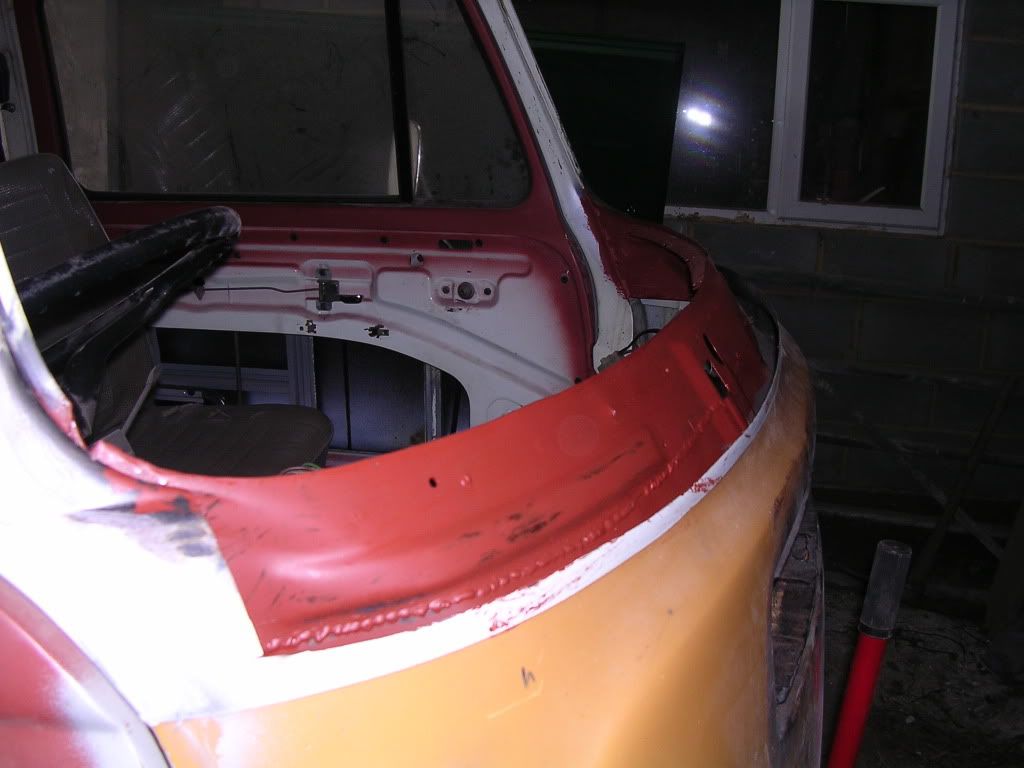
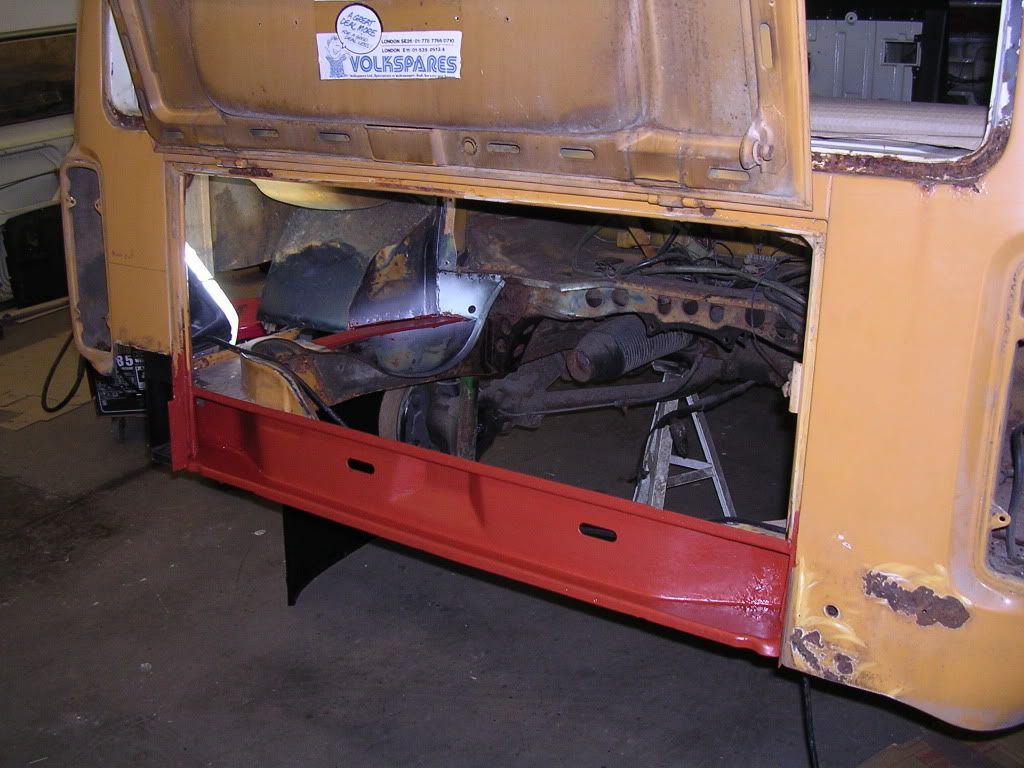
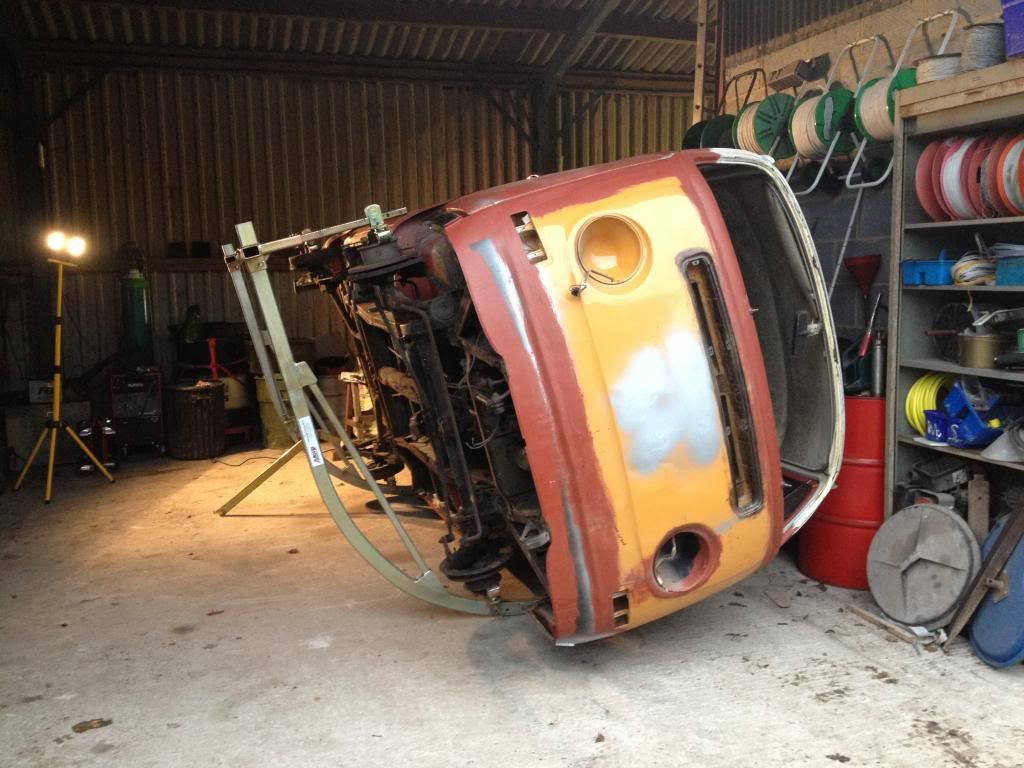
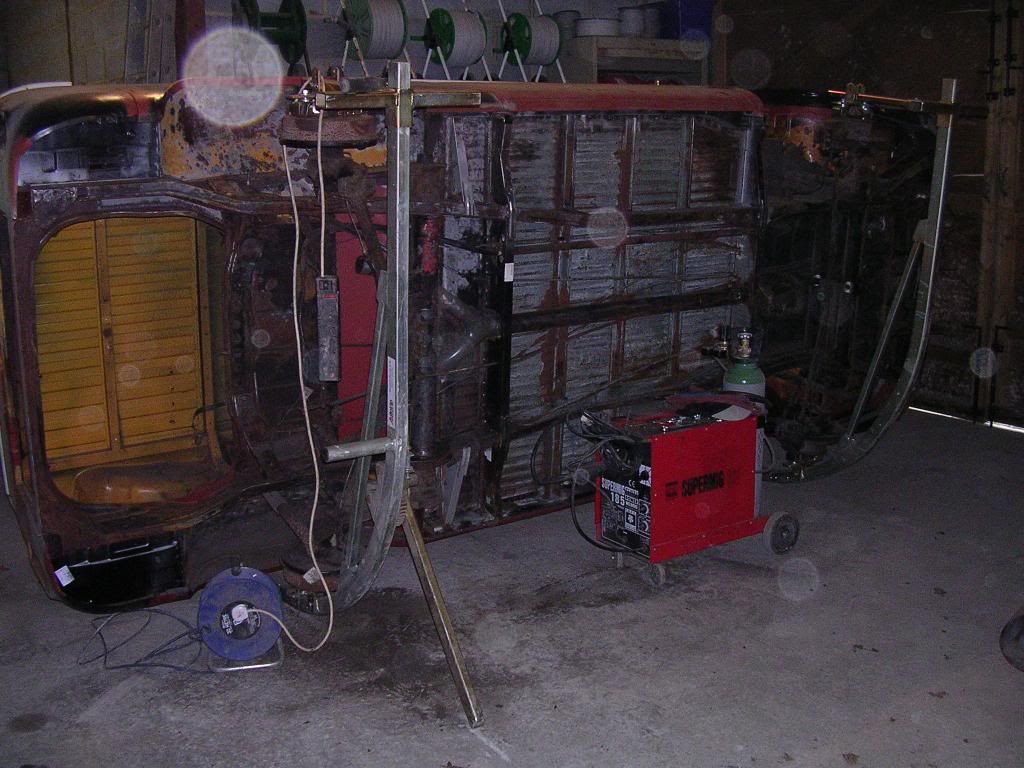
Nice progress your making there, it's always nice to be in the dry when doing stuff like this :)

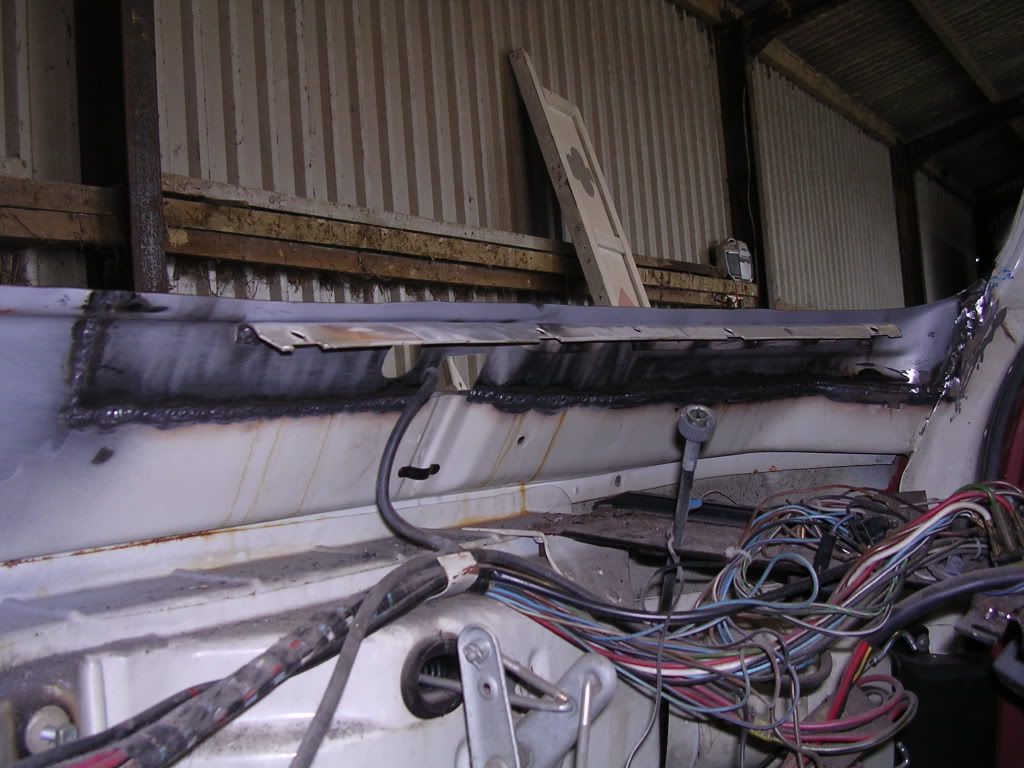
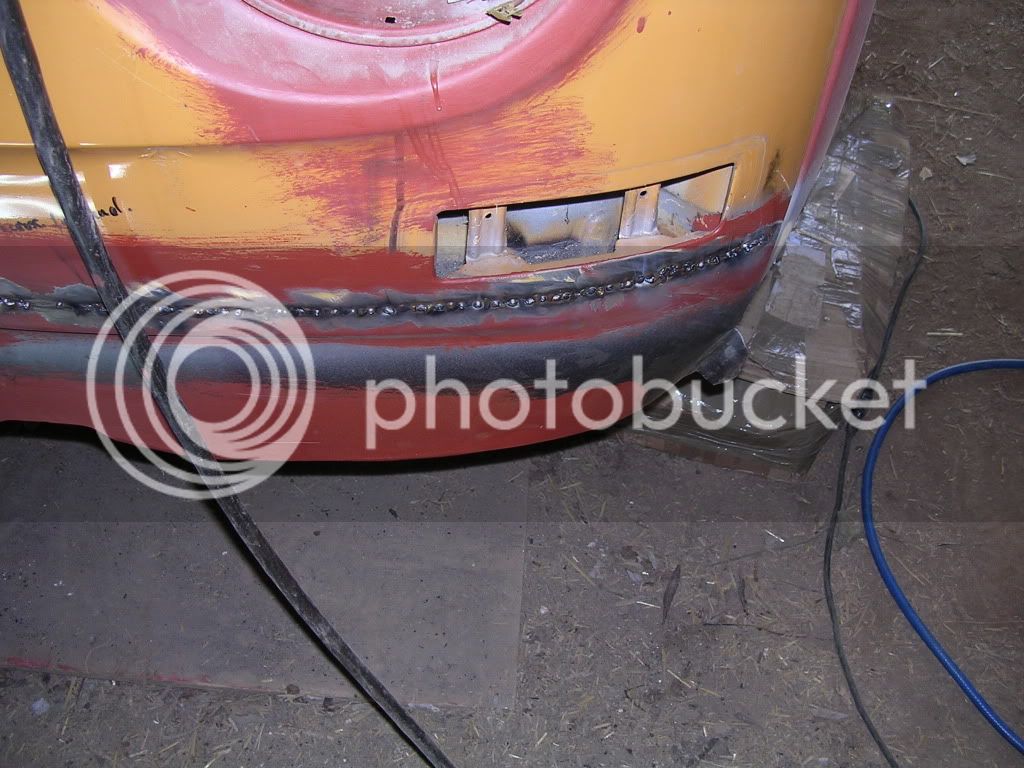
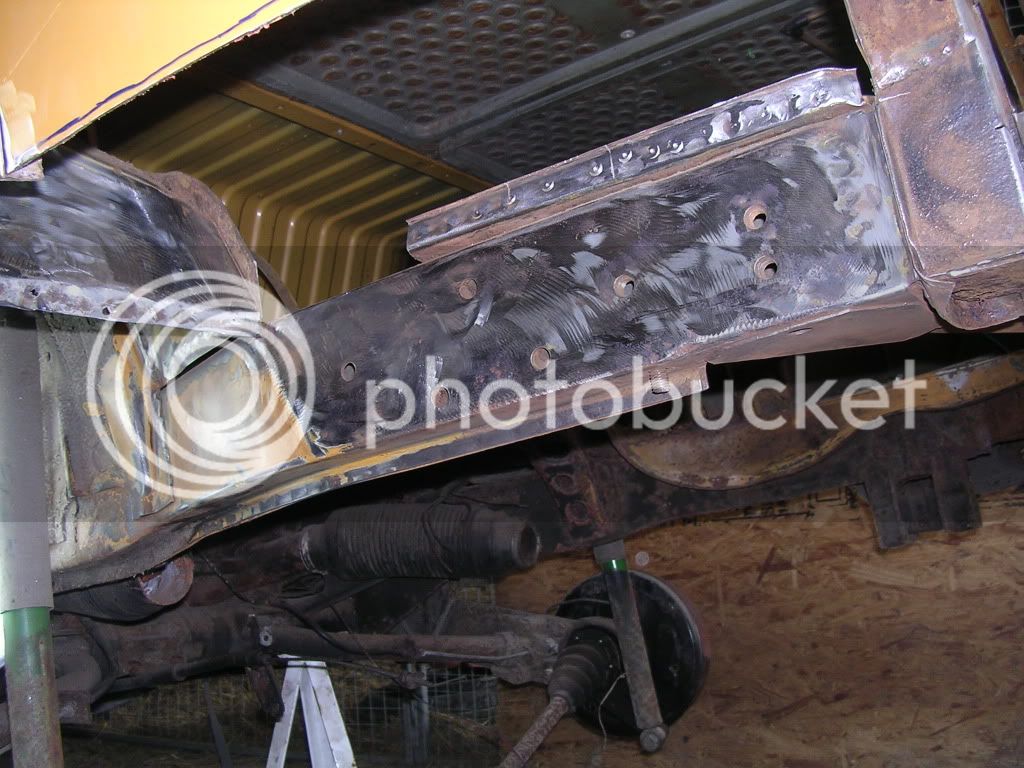
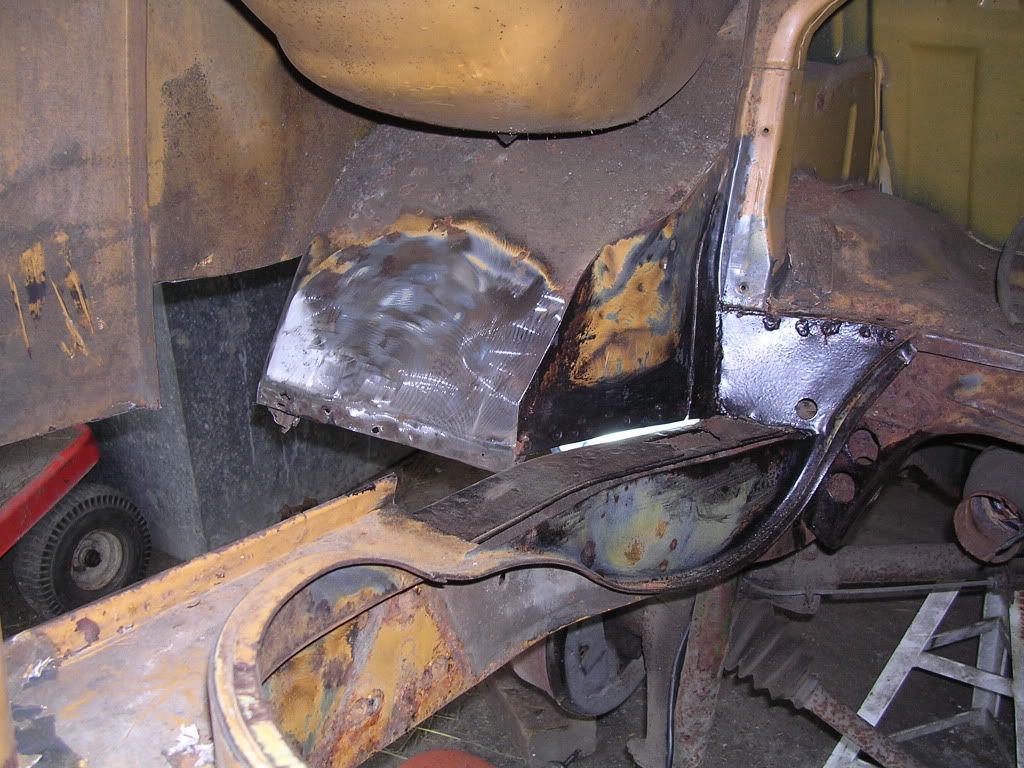
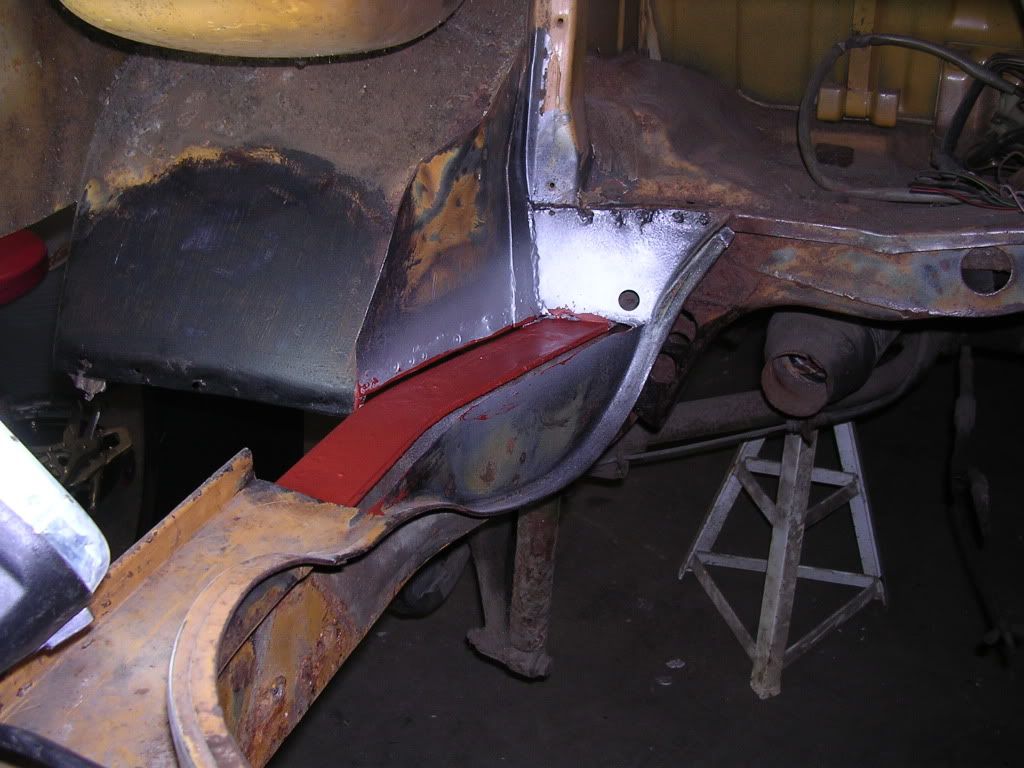
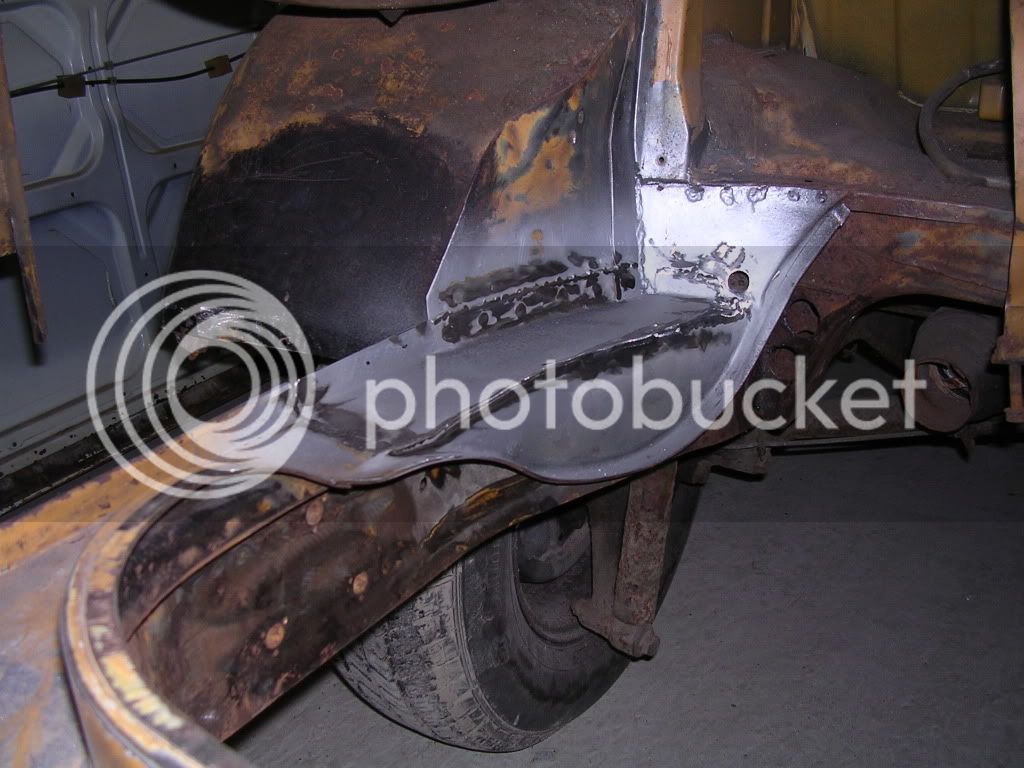
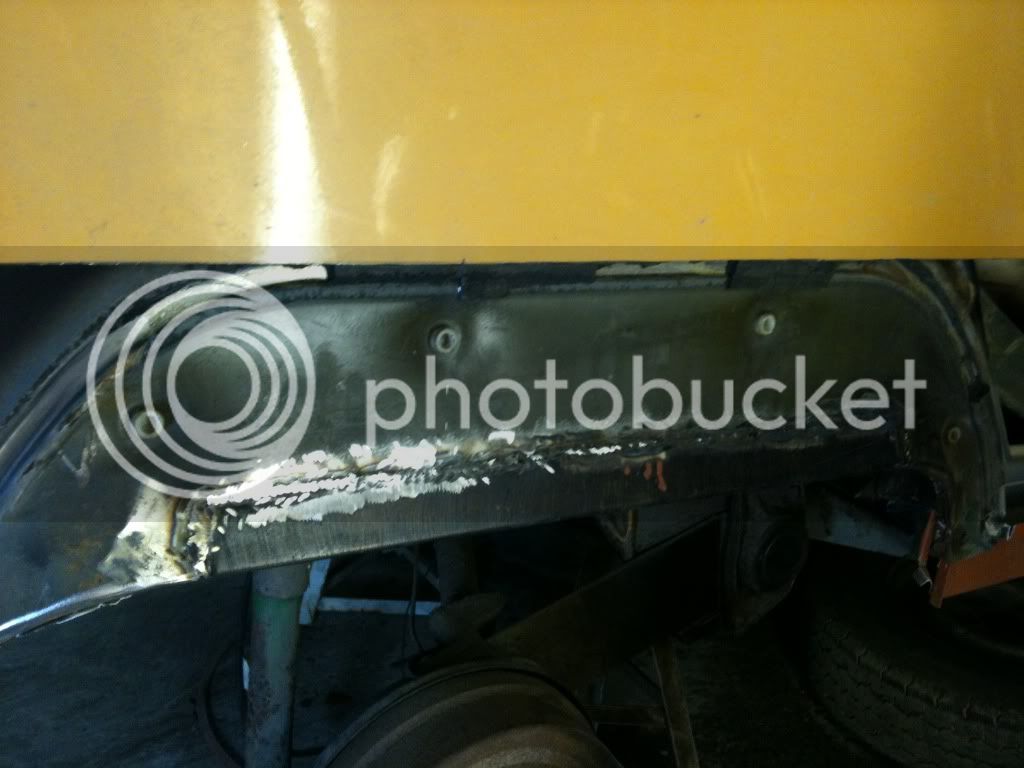
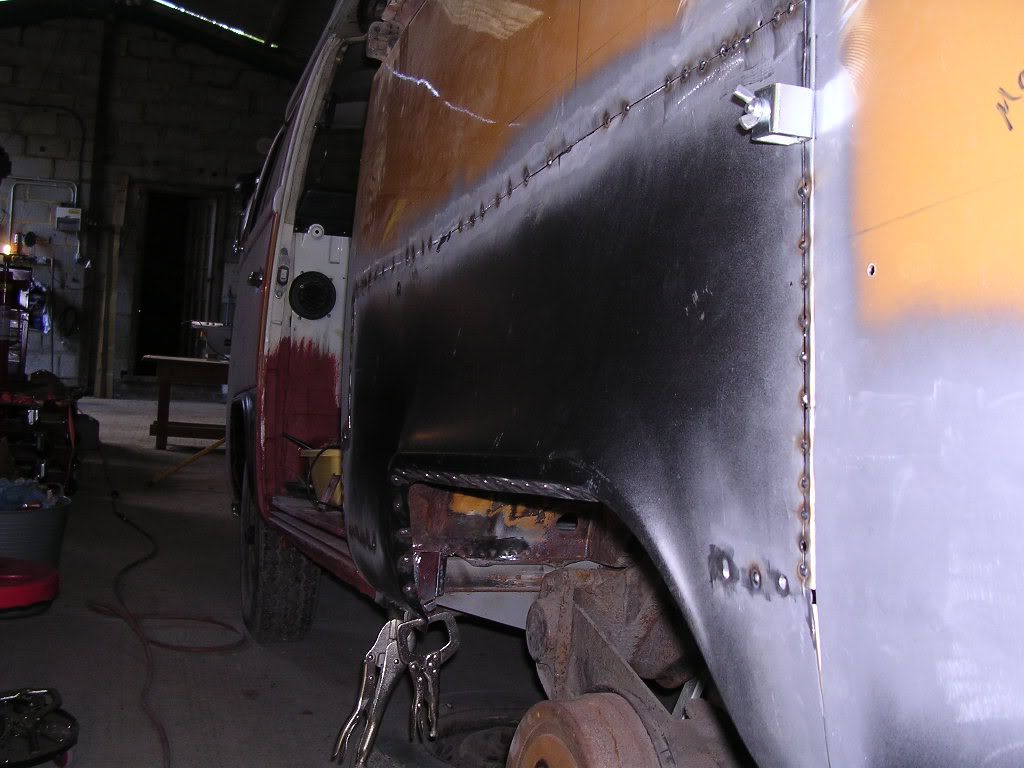
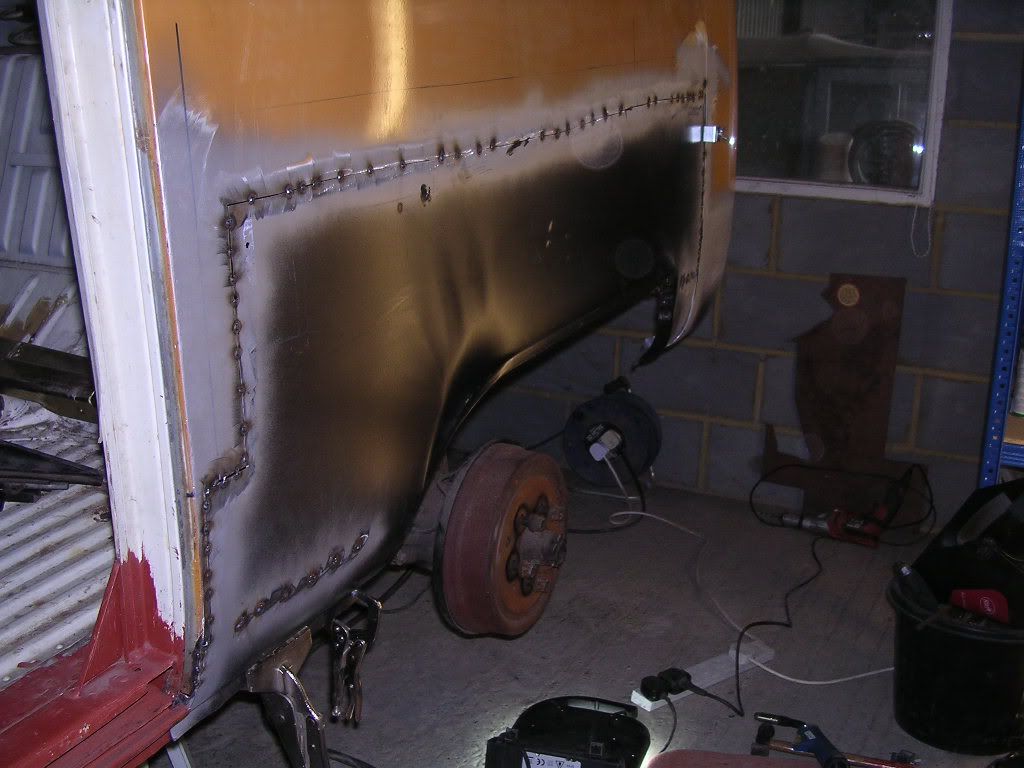
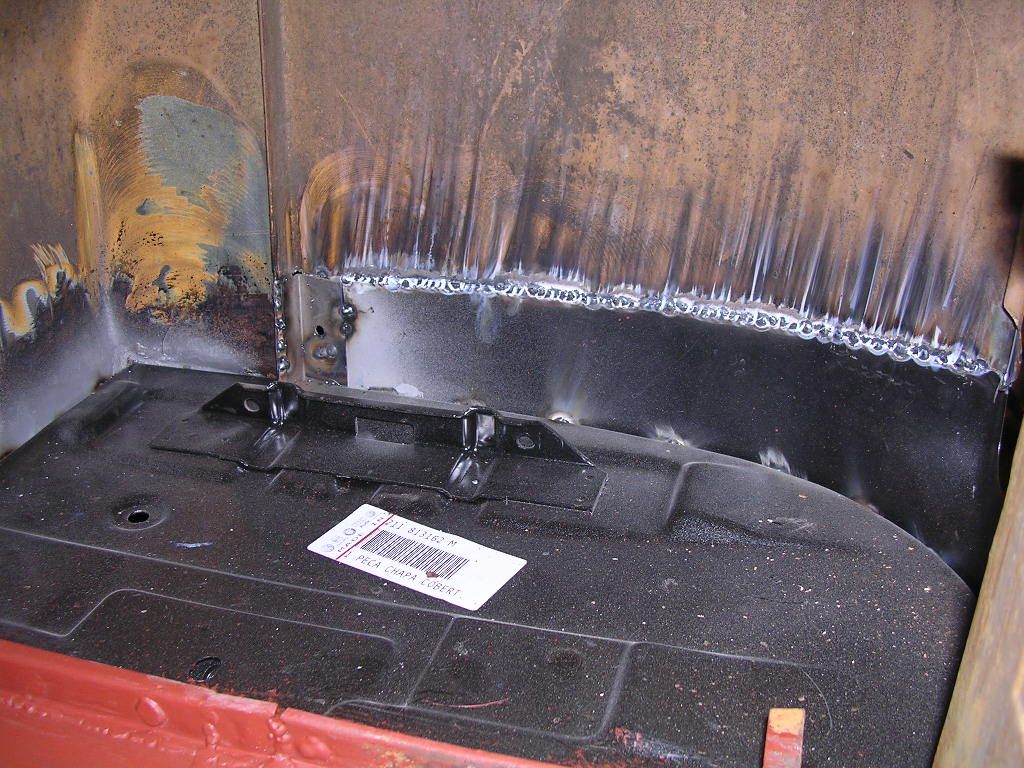
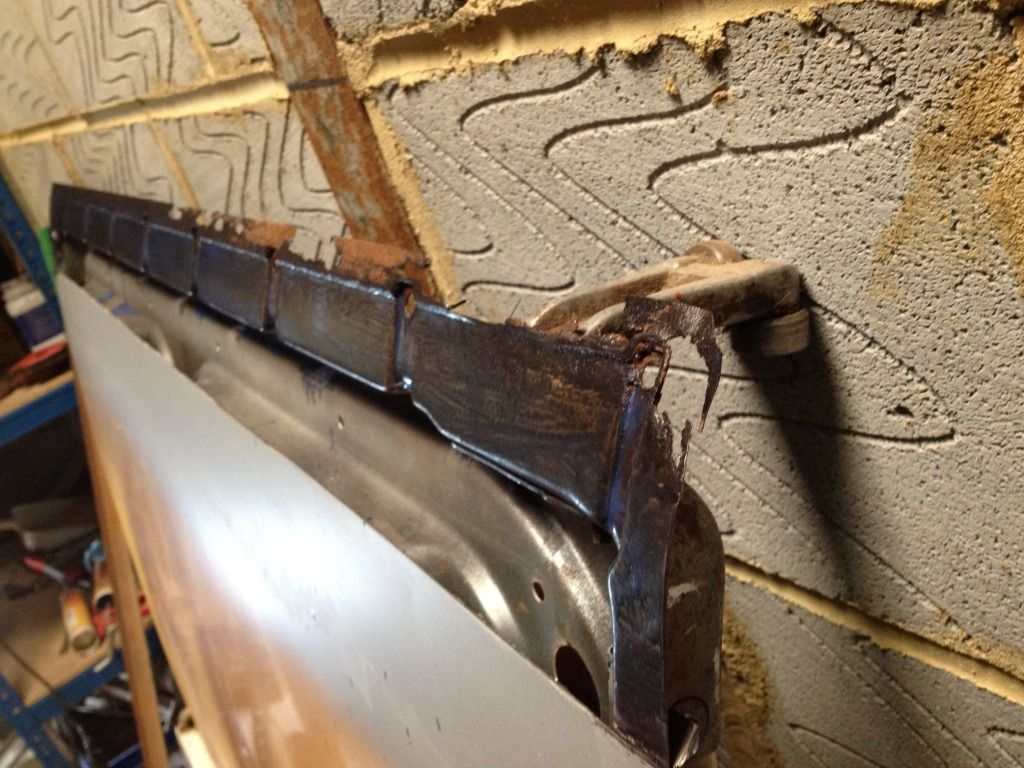
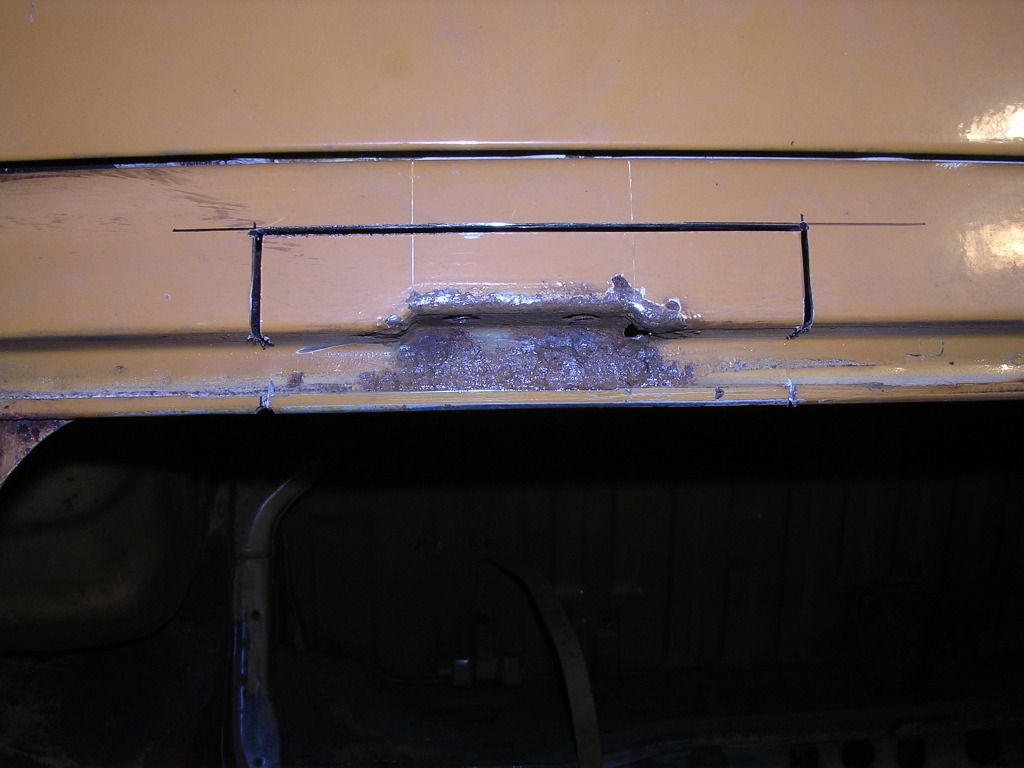
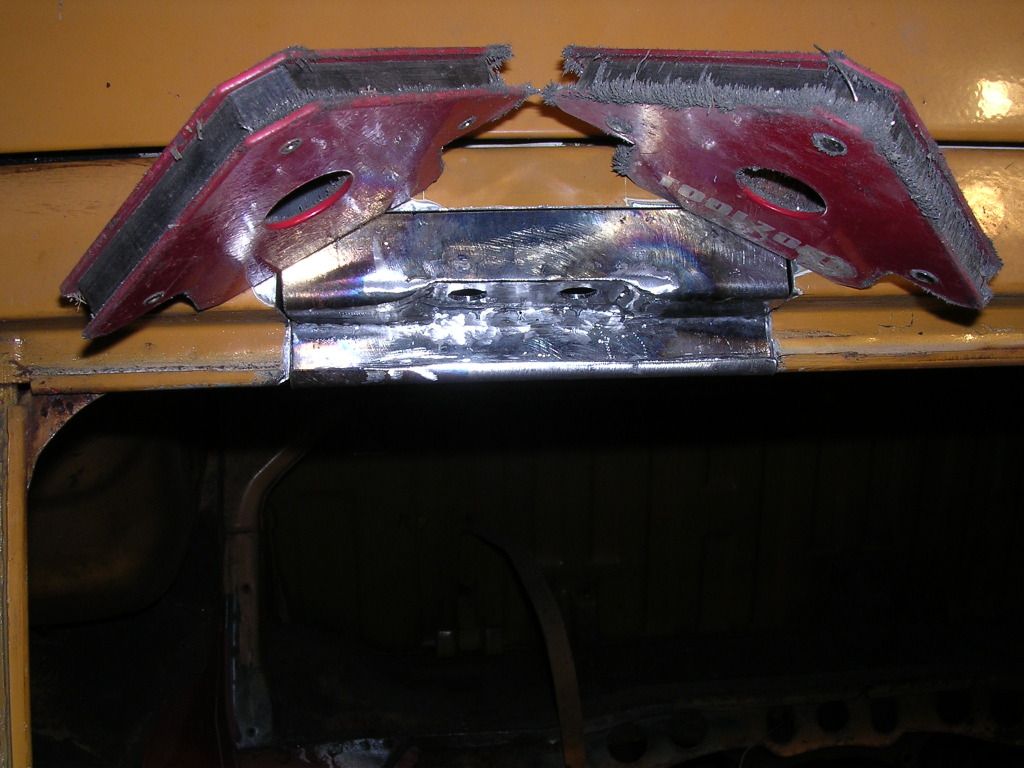
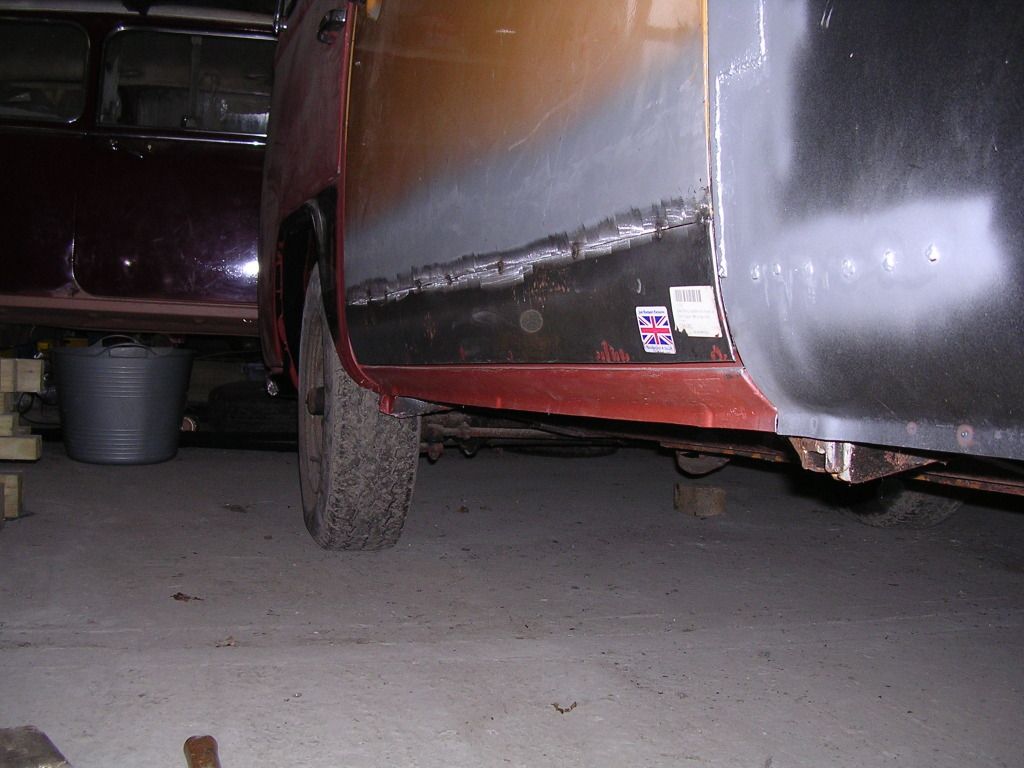
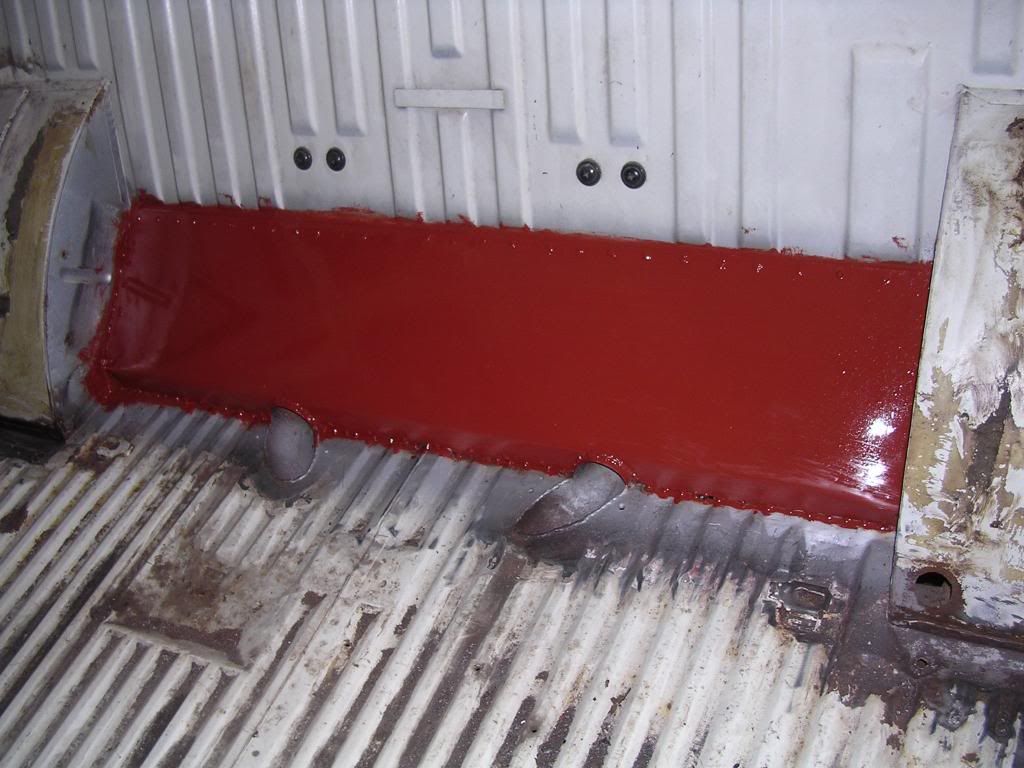
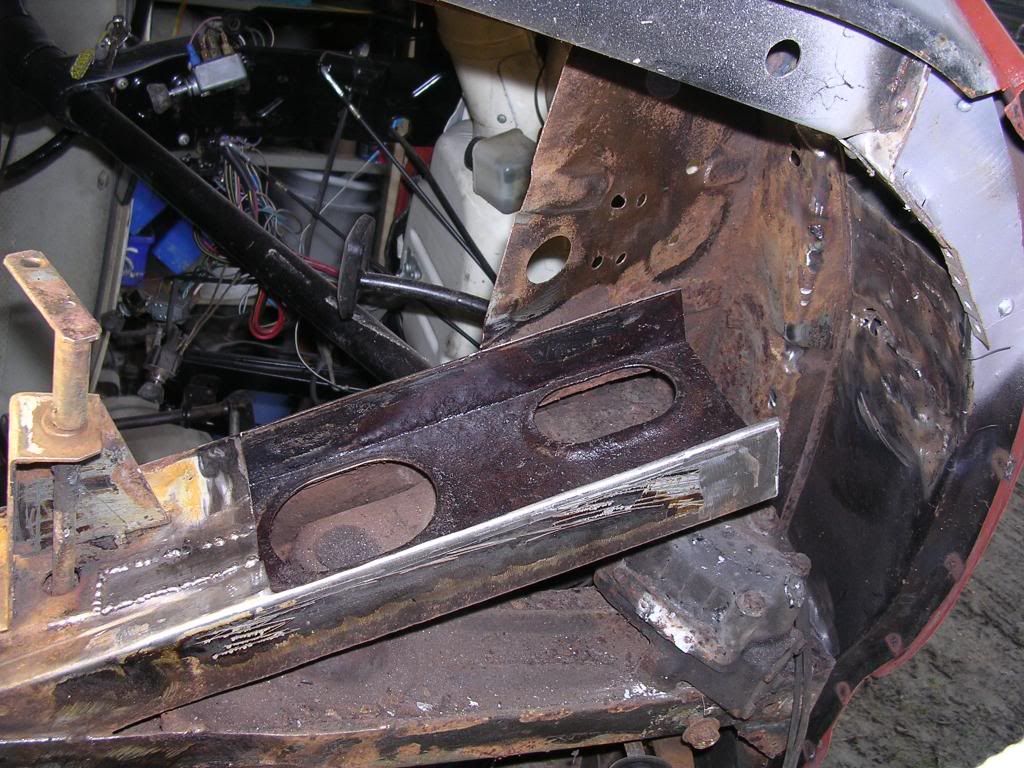
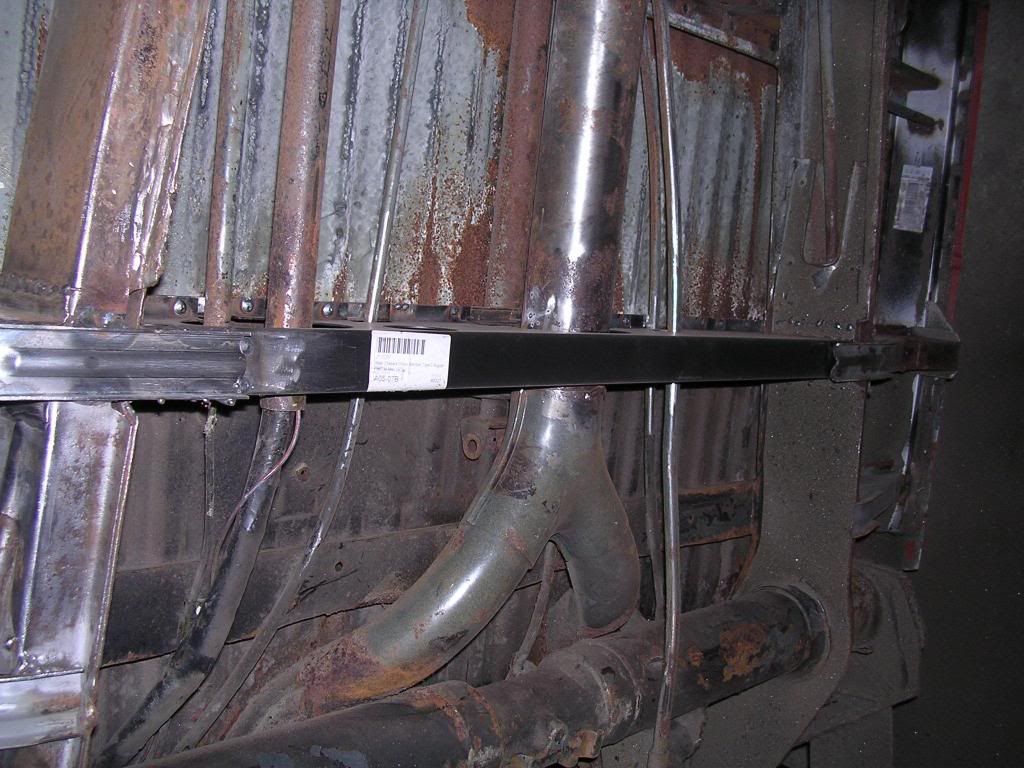
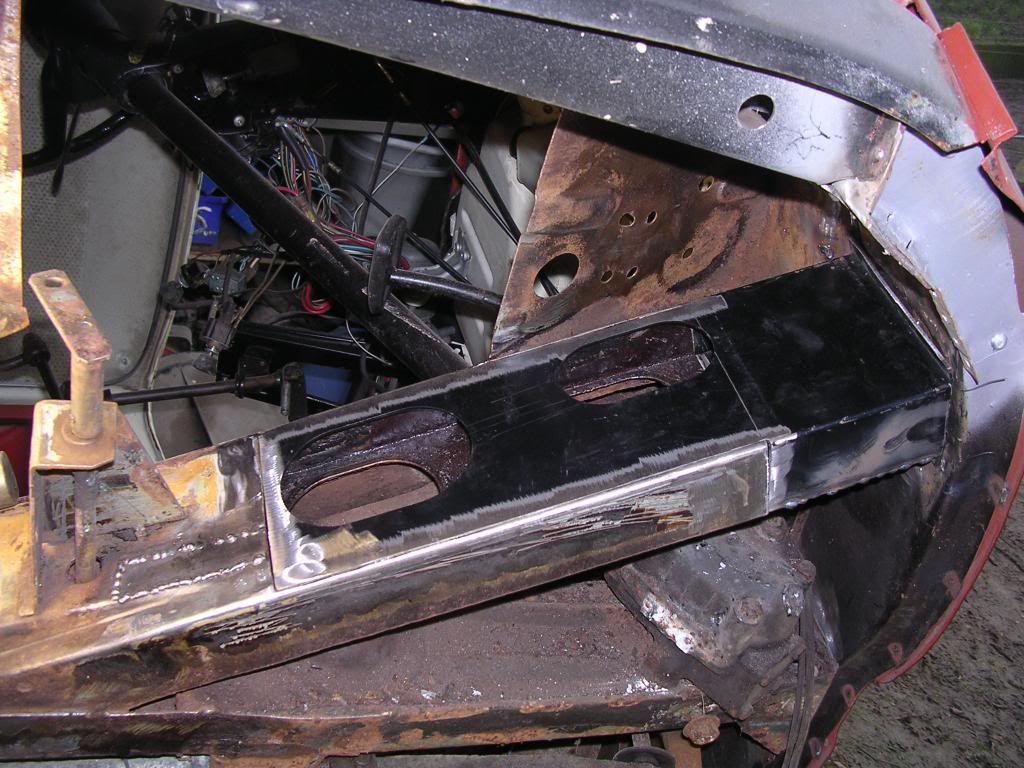
I was going to mention the seam welding too, I'd do as Nugsy suggests and weld it with a series of spot welds, but allow the panel to cool between welds. Start with a spot every 6 inches and slowly work your way across the gaps, it's very boring doing this, but the result is much better.

:)
 
Yep, I'll probably take that approach as I've done on the dash inner panel, I'm more likely to blow through or warp the panel if I try to seam weld it!
 
Quick progress update, only spent a few hours on the bus this week due to man flu :( but finished off the other side of the inner dash. This time I swapped the dash mounting bracket across before welding the panel back on which made it much easier to weld.
I just hope I've got the measurements good as I don't want a leaky screen or to find the hole is too small for the glass now!

DSCN4710.jpg

DSCN4712.jpg

DSCN4715.jpg

DSCN4716.jpg

DSCN4718.jpg


Also got the front lower seam welded after the previous comments.
DSCN4713.jpg


Got a top front panel repair section on order so hopefully the next update will be this going on.

Got some questions on joing the fornt panel but I'll post a seperate thread on this.

Mags
 
I can't believe how long it is since I last posted on this, long overdue some updates.
After Aug/sept last year I didn't touch the bus until about March this year due to bereavements in the family, Since then I've made some progress, moved workshop and then moved back again due to noise problems, but at least I'm now indoors and don't have to pack away and lock up after every day which helps a lot.

So after finishing the front panel bulge inner, I messed up the bulge itself, more to come on that later. I switched to the rear and the engine bay.
Keep forgetting the camera so the images jump around. Rear valance and corner exploration:
DSCN4750.jpg

DSCN4751.jpg

DSCN4752.jpg

All bad, some off its comes, clean up and keep what I can.
DSCN4756.jpg

Engine bay near side
DSCN4757.jpg

DSCN4759.jpg

DSCN4760.jpg

DSCN4761.jpg

DSCN4762.jpg

DSCN4770.jpg

Cutting rear corner, arch, battery tray to size:
DSCN4766.jpg

DSCN4772.jpg

DSCN4773.jpg

Corner on:
DSCN4776.jpg

Offside was much worse, had to chop out a lot at the end of the chassis: (phone pic's hence poor quality)
Picture020.jpg

Picture021.jpg

Repaired the inner top of the chassis leg:
Picture022.jpg

and finally the offside inner arch, ready for a new arch:
Picture024.jpg

Next up, fitting the arches and O/S corner....
 
Coming on a treat Mags! I look forward to hearing the saga of the changing workshops; will mail you offline.
 
Update this week:
Offside chassis repair painted ready for new panel on top. Inner arch repaired ready for the oil bath stand to go back on.
DSCN4785.jpg


Tacking the nearside rear arch on
DSCN4787.jpg

DSCN4788.jpg
 
Is there any point in putting the oil bath stand back on? I mean you're only going to cut it in half when you fit the twin carbs... ;o)
 
Hi mags great tread by the way looking forward to the pic's on lower front panel, i'm about to start on the front of mine if you check out my tread would like to know what part of the bulge panel you think wasn't right?, can you tell me what stuff your using on the back looks like rust proofing solution ( looks blue in your pics).
Keep up the good work and the pic's thanks :D
 
Your doing ok I'm sure you'll sort that front panel out looking at the rest of the work you've done so far. ;) Seen your technical thread.
 
Hi, sorry for the slow reply, works busy so not been on the forum much lately.
The blue stuff is this:
http://www.bilthamber.com/corrosion-treatments/hydrate-80" onclick="window.open(this.href);return false;
It did well in some Classic car mag tests a while ago.

I did the lower front panel some time ago, take a look earlier in the thread, the bit Porkpie is referring to is the upper front panel, the bulge. I made a right pigs ear of it and need to sort it out. But I'm going finish the rear off first and go back to it later.
Unfortunately I won't be touching the bus for at least another 4 weeks now due to other commitments at home and work, back on it again in Mid July. However, I can see the light at the end of the tunnel now, I'm only another couple of days from finishing the rear end and then its back to the front panel before I flip it on its side and clean up underneath, I may be on the road next year after all!

Mags
 
Long overdue an update again, what with holidays and stuff I haven’t been getting down to the bus as much as I would like but the advantage of not posting every update is it does actually look like I’m making progress LOL!

So after repairing the chassis leg I have repaired the inner wheel tub to the engine bay
DSCN4795.jpg


Then got the battery tray in
DSCN4796.jpg


And the offside corner
DSCN4797.jpg


Next the offside rear wing readied for fitting
Picture025.jpg

Picture029.jpg


And tacked on

Picture031.jpg


Also with the help of Zcat7 from here hacked the bottom off the sliding door and cut the repro panel to match (not shown) The inner door was better than I was expecting, so thankfully I can repair the inner panel instead of using one of the horrible pattern repairs that is pretty shocking

Picture027.jpg

Picture028.jpg


Lastly, prepping the panel below the engine lid before welding on
DSCN4800.jpg


Welded on with a quick squirt of primer until I go back to finish off
DSCN4801.jpg


I’m starting to see the light at the end of the tunnel now....
 
Great job, just read through the whole thread, keep up the good work 8)
 
Next update

Cleaned up all the welds on the valance panel
DSCN4804.jpg


and the same on the offside rear arch
DSCN4805.jpg


repaired the bottom of the sliding door, rubbish picture, its upside own, the dark stuff is rust converter before I paint it and then stick the new lower repair section on
DSCN4806.jpg


Then yesterday, I spent almost the entire day making a replacement for the poxy engine lid hinge mounting. The screws has seized, I tried to weld a bolt onto them to remove them but they weren't having it, as it was holed I had no choice but to cut out
DSCN4807.jpg


It took me the best part of the day to make the replacement
DSCN4809.jpg


But I'm quite proud of how it turned out!
DSCN4808.jpg


Just need to nock up the little plate the screws go into and something to locate it inside the box section now.

Mags
 
Progress update.

Got the new hinge piece on and tidied up
DSCN4813.jpg


and made up a little patch up for the corner of the tailgate surround.
DSCN4817.jpg


Tacked the new bottom onto the sliding door and tested it before committing to welding all round. Not sure what the experts would say, but given that I’ve replaced all the jacking points, inner/middle and outer sills and the bottom of the slider I’m quite pleased with the gaps and the fit. A little fettle by an expert and a skim of filler I reckon it will look fine.

DSCN4812.jpg

DSCN4811.jpg


So off its comes, seam welded and back on to check again.
DSCN4816.jpg

DSCN4823.jpg

DSCN4822.jpg


On another thread I had a whinge that I’d messed up repairing the nearside edge of the front panel where the ariel had allowed water to run down it and again at the bottom where the lower front section wrapped around. The only solution was to cut both pieces out and try again, this went much better and I now have a nice matching curve for the full length of the edge and I finished of the joint where the front panel meets the step of the wing. It’s not easy to see as I slapped some rust converter on it until I get back next week to clean it up and a coat of zinc oxide and get the door back on to see how the gap looks.
I also need to tackle the front bulge that I screwed up, will probably be attempting this soon.
DSCN4820.jpg

DSCN4818.jpg


I’m actually starting to see the light at the end of the tunnel now!
 
Nice job Mags! The sliding door looks a treat I reckon and the boot hinge recesses turned out great. I bet it will start to come together quickly, now that you are actually starting to bolt things back on again :)
 
Long long overdue an update on progress.
The panel between the rear arches was shot, cut out and replaced.
DSCN4826_zpsf6ed8d78.jpg

DSCN4825_zps5a5404fc.jpg

DSCN4829_zps97a3ed68.jpg


Got the old girl on her side now thanks to a VIP roller, great bit of kit.
Picture_zps6f3885b5.jpg

DSCN4834_zps79bf35e7.jpg

Needed to replace part of the front chassis leg
DSCN4830_zps3be0d01e.jpg

DSCN4831_zps4b429529.jpg


Also, the rear crossmember
DSCN4837_zpsd8e5a871.jpg

DSCN4838_zpsd07f8475.jpg

DSCN4835_zps99051a52.jpg


Now the front chassis is done I can replace the drivers floor
DSCN4840_zps93f5824a.jpg


Replaced a missing captive nut in the rear chassis leg that the bumper iron bolts to
DSCN4844_zps2ca90d6e.jpg


Made up new seatbelt mountings from 3mm steel
Front
DSCN4846_zps4ce8c8d5.jpg

Oops, didn't take a pic of the rear one, had to re-do this as the orig mount had been cut out.

Bought myself a media blaster, jesus they are messy but great results, got to try and clean up all the underside and get some epoxy encapsulating paint on
DSCN4833_zpsd95805fe.jpg

DSCN4841_zpsb3f2340a.jpg

DSCN4843_zps356478ce.jpg

DSCN4845_zps4fbdfd85.jpg


Well chuffed with the blaster, leaves a great finish and finally getting some paint on really helps with motivation!
More blasting and painting for next few weeks I expect, hope it warms up though, not liking doing this in a freezing barn.
 

Latest posts

Top