First attempt at Crossover Resto

Early Bay Forum

Help Support Early Bay Forum:

This site may earn a commission from merchant affiliate links, including eBay, Amazon, and others.
Thanks gents, yep I'm very chuffed, I didn't expect to end up with the beautiful bus I have now. Having said that I wouldn't do it this way again,!
 
Since getting the old girl back on the road I've been useless at taking photo's on the remaining work and posting updates on here, so time for an update with what photo's I did remember to take.

For the flooring I decided to stick with the way Danbury did it, a thin (8mm) floor that brings the centre section of the floor level with the outside and then the sliding seats screw down into this.
So, using the old floor (minus a bit that rotted away) as the template I cut a single piece from Ply.
20150405_113853_zpsnp6p05ma.jpg

20150405_114348_zps5ned9lmb.jpg

20150411_112248_zpsgl5mxouj.jpg


I've fitted a fusebox for the feed from the leisure battery (not yet fitted) in the way the PO had done. It feeds up to the front panel so I can run the interior lights and the stereo and a couple of USB sockets for Phone chargers.
20150411_112301_zpseno2rocp.jpg


Trying to keep the retro stock look I bought a Retrosounds stereo with all black bezel and knobs, looks nice and factory IMHO. It plays MP3's from a usb stick which is great.
20150411_112310_zpszhw4erwf.jpg


I was dead set on a complete set of the Sisal style mats for the whole interior but after looking at loads of buses at Volksworld I noticed these don't seem to wear too well and the missus and I didn't like the way they fray where cut around the steering controls etc.
There were plenty of buses still running the OG rubber mats and we agreed we liked the look and decided to stick with this. I still have my OG RHD rubber cab mat, its not in perfect condition but with a good clean up it will go back in.
So, I fitted stock rubber wheel tub covers:
20150419_140906_zpsl8tijyzz.jpg

20150419_140922_zpsjsuuvley.jpg


I also managed to pickup a really nice rear bumper from a fellow EB'er as I was having problems with my OG one being a complete mess and a new one I bought needed fettling to fit.
20150419_140945_zps5mp36g2j.jpg

Makes the VS exhaust nice and discreet
20150419_140952_zpsqgetppum.jpg


So attention turns to getting some lino down and the OG Danbury interior back in. It really needs a sand and varnish and some TLC but that is going to have to be a job for next year now. I'm going to get a sisal rug made up to fit the shape in the rear as I don't like the cold lino floor and I'm gutted we didn't like the sisal cab mats.
I bought a lovely s/steel floor finishing strip but it has a big kick-up for the raised flooring on most buses that doesn't work for mine, not decided what to do about it now as it would have covered most of the edge of the floor that rolls down right up to the section where the door pulls in, hiding and protecting where peoples feet will scuff the paint, need to find an alternative I think.
20150419_141009_zpsumw1b2mm.jpg


A week ago I went up to Spalding in Lincolnshire to have the whole underside undersealed and cavity waxed at Rustbuster. No pics yet but they did a lovely job, the only problem being anything I need to do under the bus is a nasty sticky job now!

Lastly, a couple of shots of the finished (I think) exterior when I was getting some mileage on her at the weekend. I'm very chuffed she really looks brand new.
20150419_154819_zpsvmehqbnk.jpg

20150419_154833_zpsyej22zht.jpg
 
Not much to report on this weekend but I recovered the two panels that go either side of the back of the bus with a plain black vinyl, they came up very nicely. I need to make a new boot/hatch panel and do the same and decide what to do with the panel above the engine as I've just chucked the OG one in for now.
20150426_144852_zpsstl458lm.jpg

20150426_144844_zpsttsrbz5t.jpg
 
Not updated this for a while, still got a few jobs to be done but managed to get away at the last bank holiday down to Pevensey for 3 nights, first time camping in the bus in over 5 years and it was all good, camp site was really quiet when we turned up and no drama's using the new awning I bought at Volksworld. I love being able to park by the beach and just look out to sea, brilliant.
20150522_143420_zpsx5oni4vt.jpg

20150522_143830_zpshvs943dz.jpg

20150523_120816_zpshprz3iav.jpg

20150524_141725_zpsz5mceetl.jpg


Back to getting on with a few jobs now, fitted new rear lights and lenses
20150607_140118_zpsl6lpsrgx.jpg


Fitted the leisure battery and split charger
20150607_140129_zpsysw7fdrd.jpg


Got a problem with the split charger to sort out and then next week finish the wiring in the cab to allow me to switch from the main battery to the leisure battery and control the stereo without the ignition.
 
Finished up the Leisure battery install and the wiring to the cab.
I wanted to install a dual USB port for charging, a cig lighter for anything else and run these plus the lighting from the leisure battery. I also wanted to be able to switch the stereo on without turning the ignition on but have the stereo switch on/off from the ignition and also run the stereo from the leisure battery.
So I decided to put a couple of switches in the glovebox, one switches the power that goes to the fusebox I installed between the leisure and main battery so that everything can run from the main battery if needed, the 2nd switch allows me to override the ignition so I can run the stereo without the key in the ignition.
Tried to make the wiring all nice and tidy etc, took me flippin' ages!
20150614_120311_zpssciau49b.jpg

20150614_120306_zps5s35imyn.jpg


The cardboard glovebox liner already had a hole in the corner from when I first bought the bus and I fitted a stereo in the glovebox, in retrospect not a great idea but at least its useful!
I bought a mounting pod for the usb/ciggy lighter and a panel for the switched and screwed it all together so all you see now is the following:
20150614_123906_zpse5urmpuj.jpg


I'm well chuffed with the result, nice and clean and unless you open the glovebox totally hidden.
The wiring at the bottom of the pic is all tidied up and once the kick panel is back on you can't see anything.
 
Mags... bloody beautiful effort mate... love it.
Did you do anything with the rear heater outlets/channels under the back seat?
Would love to see some pics if you have on what?
Cheers Matty
 
shaven said:
Mags... bloody beautiful effort mate... love it.
Did you do anything with the rear heater outlets/channels under the back seat?
Would love to see some pics if you have on what?
Cheers Matty

Hi Matty, Thanks. All I have done at the moment is put the part back on that bolts to the cargo floor leaving the round outlet exposed and covered this in duct tape to block it up. I used sealant on this piece too to try and prevent leaks as before my resto anything I kept under the seat used to get hot air blowing on it all the time.
I'm more interested in getting the heat up front for defrosting than in the back.
I really need to get a few more pics uploaded with what I've been doing since the last post.
 
Mags said:
shaven said:
Mags... bloody beautiful effort mate... love it.
Did you do anything with the rear heater outlets/channels under the back seat?
Would love to see some pics if you have on what?
Cheers Matty

Hi Matty, Thanks. All I have done at the moment is put the part back on that bolts to the cargo floor leaving the round outlet exposed and covered this in duct tape to block it up. I used sealant on this piece too to try and prevent leaks as before my resto anything I kept under the seat used to get hot air blowing on it all the time.
I'm more interested in getting the heat up front for defrosting than in the back.
I really need to get a few more pics uploaded with what I've been doing since the last post.

pics yes please :p
 
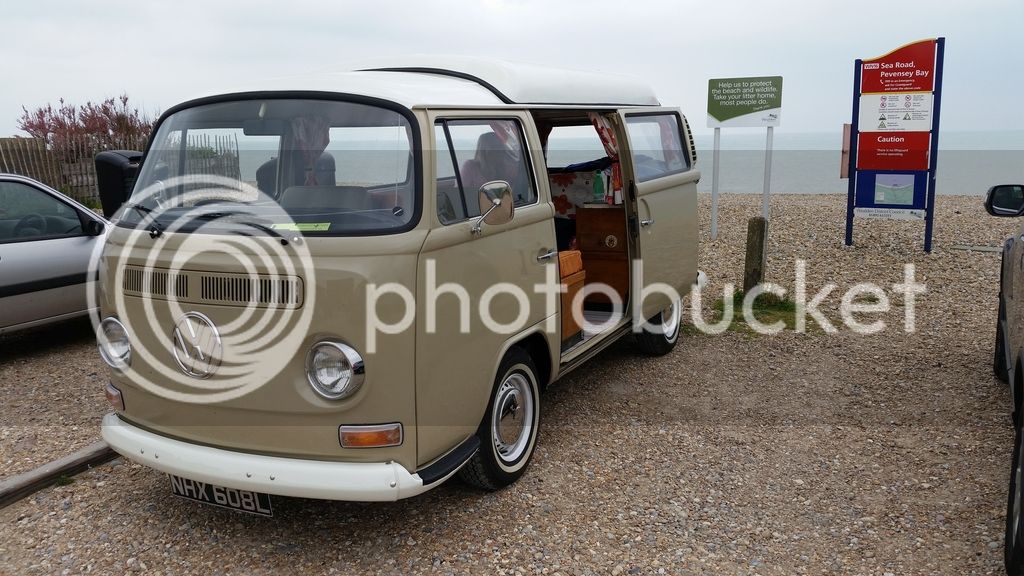
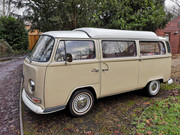
Thought I should get the last update of the year in as its been months since I posted any progress.
Back in July/Aug we went on a 2 week trip to Cornwall, just as the weather turned to s***. On the A30 a large bird of some sort flew right out of the hedgerow as I was passing at about 50mph and bounced off the passenger side just above the headlamp, it made quite a bang and when I pulled over to inspect I was gutted to find cracked paint and a couple of very small dents just near the A post, great start to the holiday!
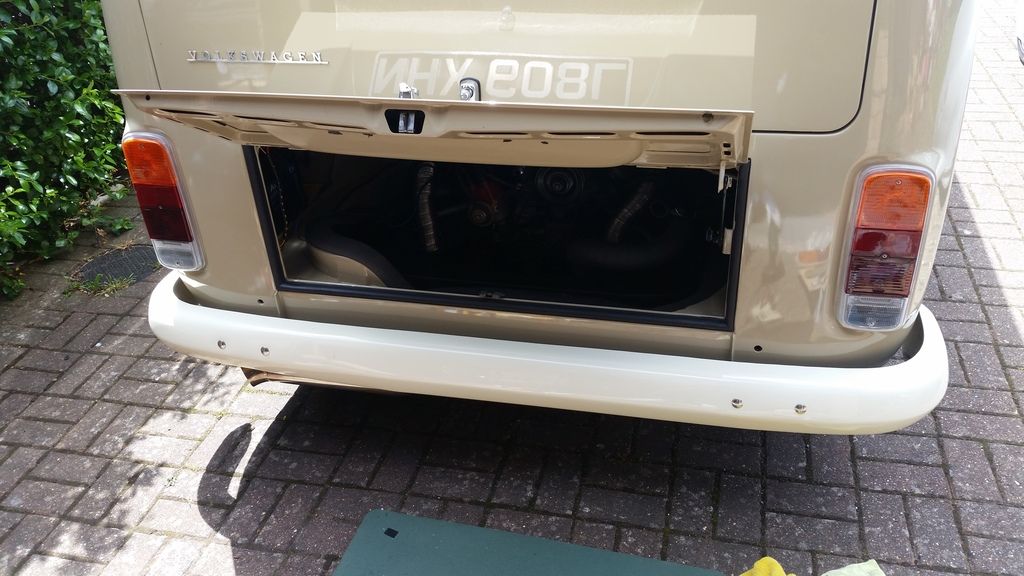
As we pulled into the campsite she was running a bit rough but this just turned out to be a loose nut on the exhaust as I had stupidly used nylocs on the exhaust which meant the nylon separated from the nut when hot, D'oh!
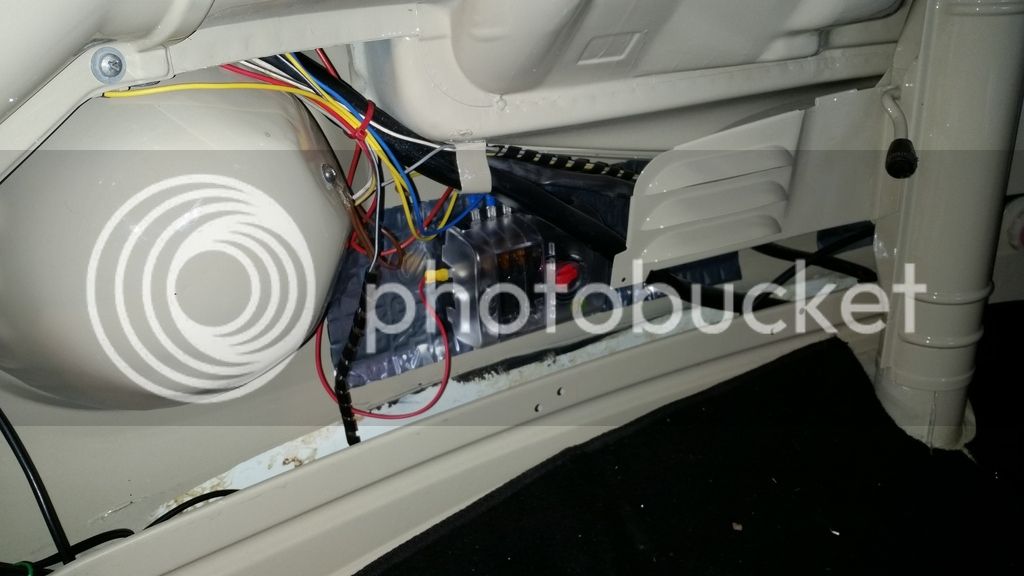
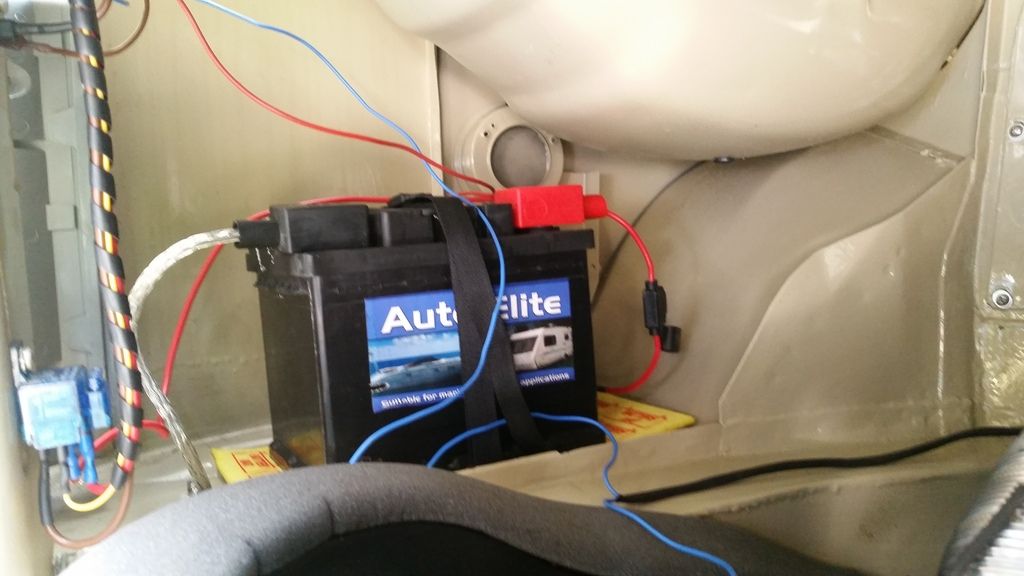
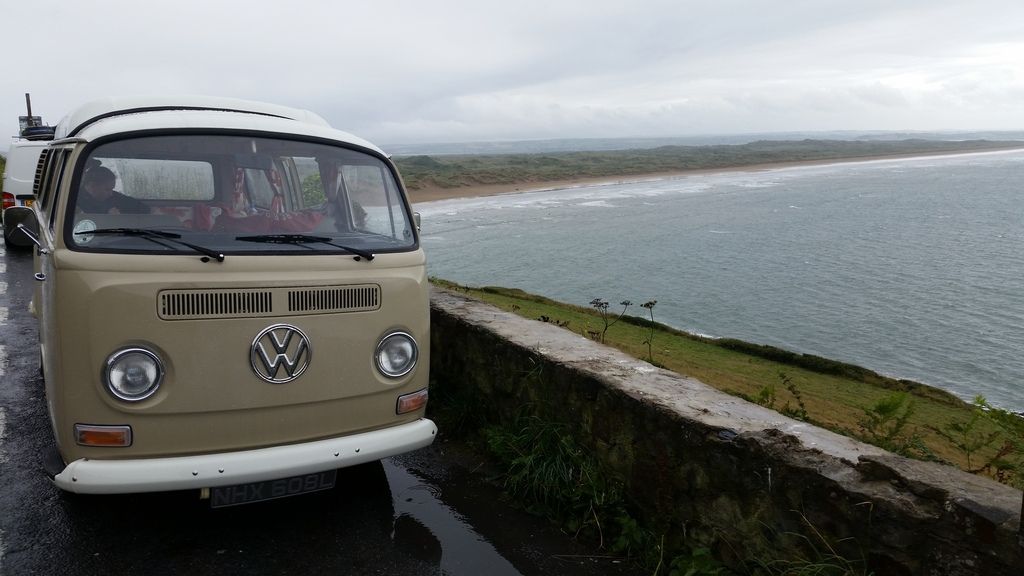
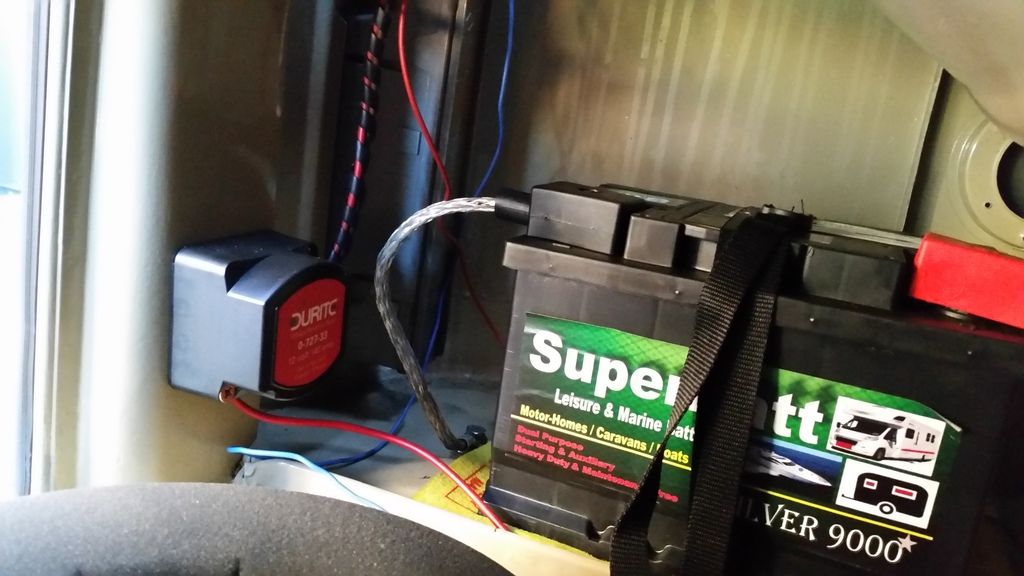
We spent a week in Falmouth along with some family and were pretty lucky with weather, it wasn't great but we avoided most of the rain. We then drove all the way up the atlantic highway to Croyde in the hammering rain and that was the rest of our time camping, gale force winds and pi**ing rain! Thankfully the old girl did us proud and didn't miss a beat other than a blown fuse on the split charge relay which I now know is because I hadn't wired it up correctly and have now ditched it in favour of a voltage sensing relay, much neater.
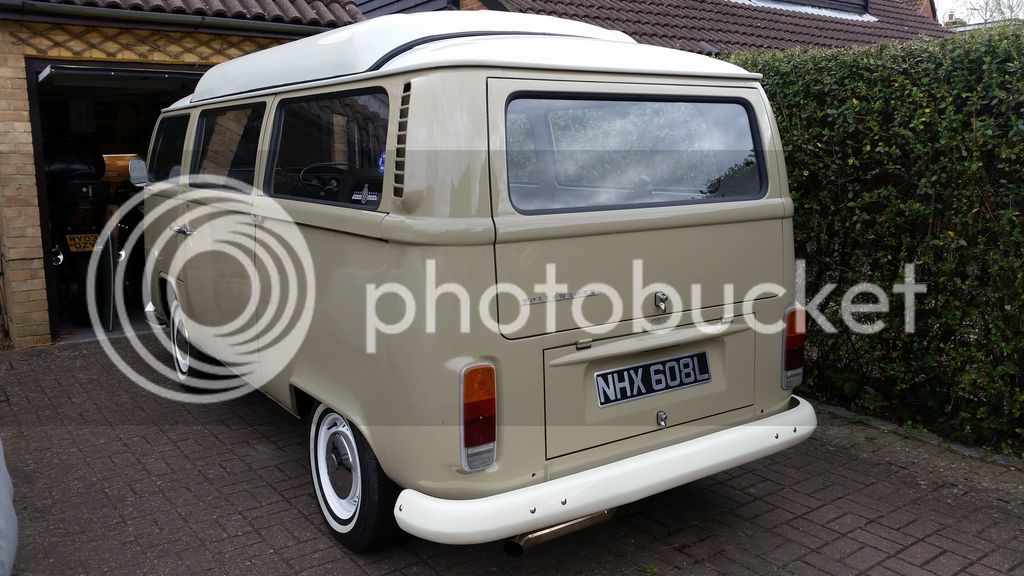
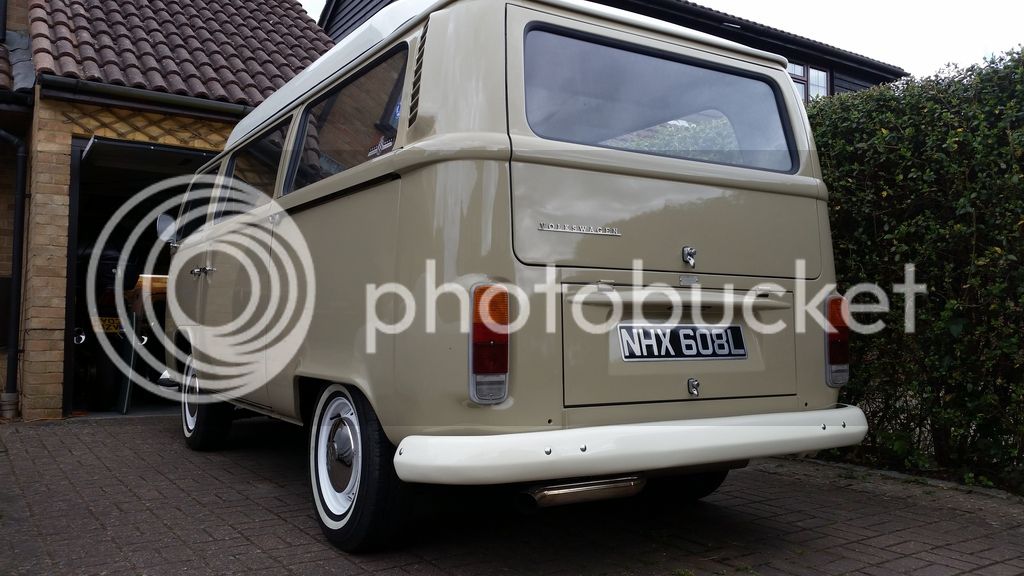
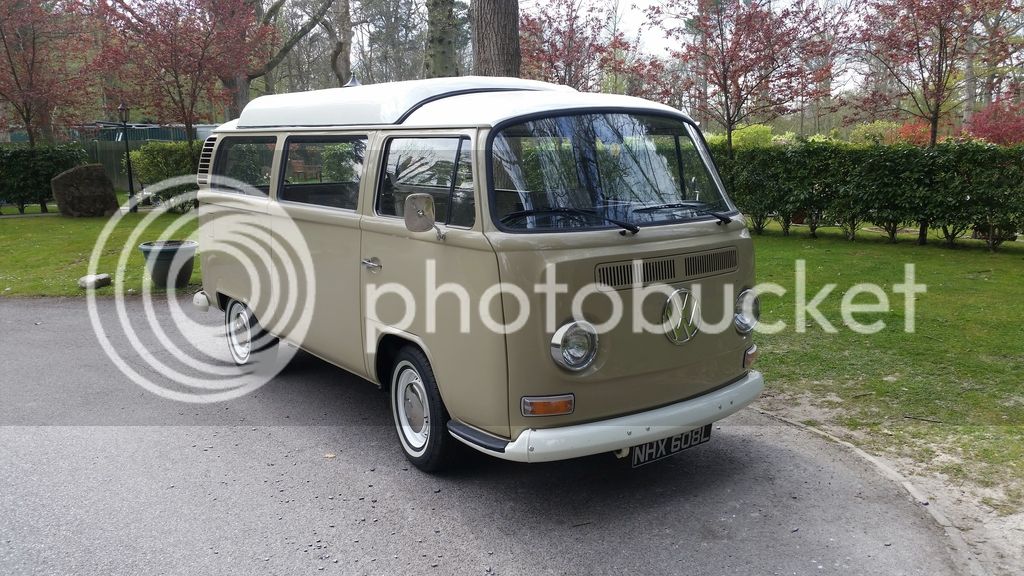
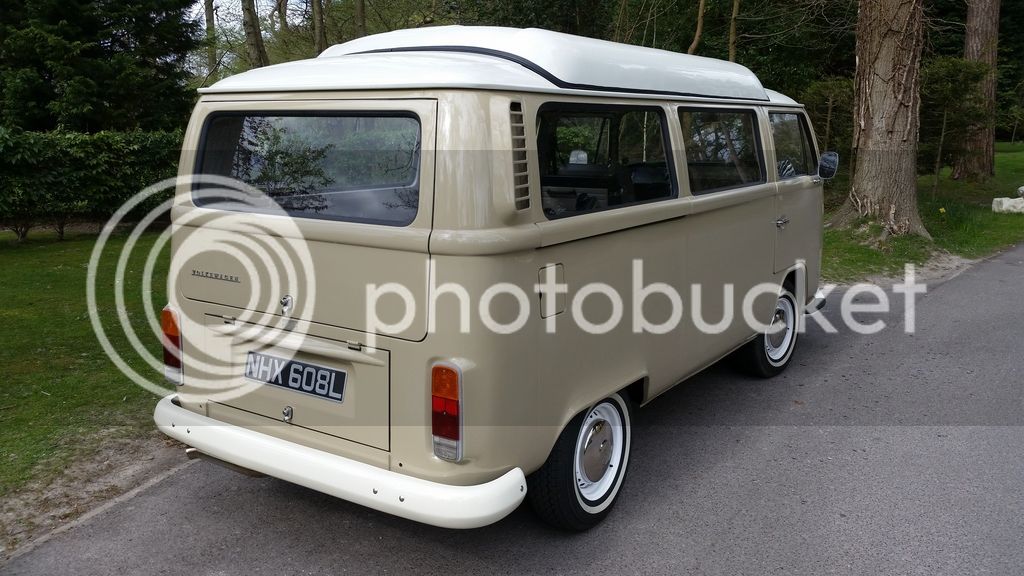
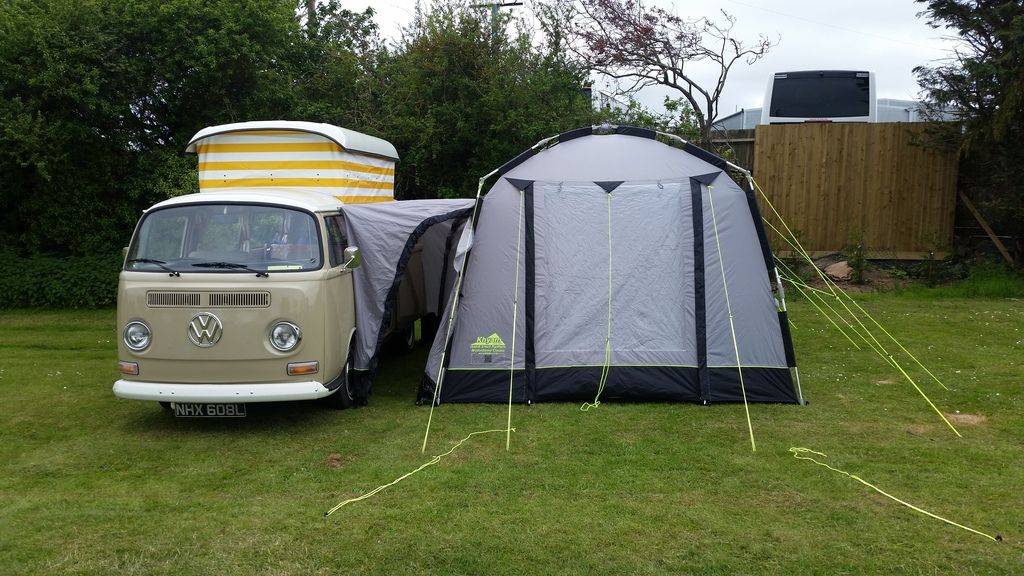
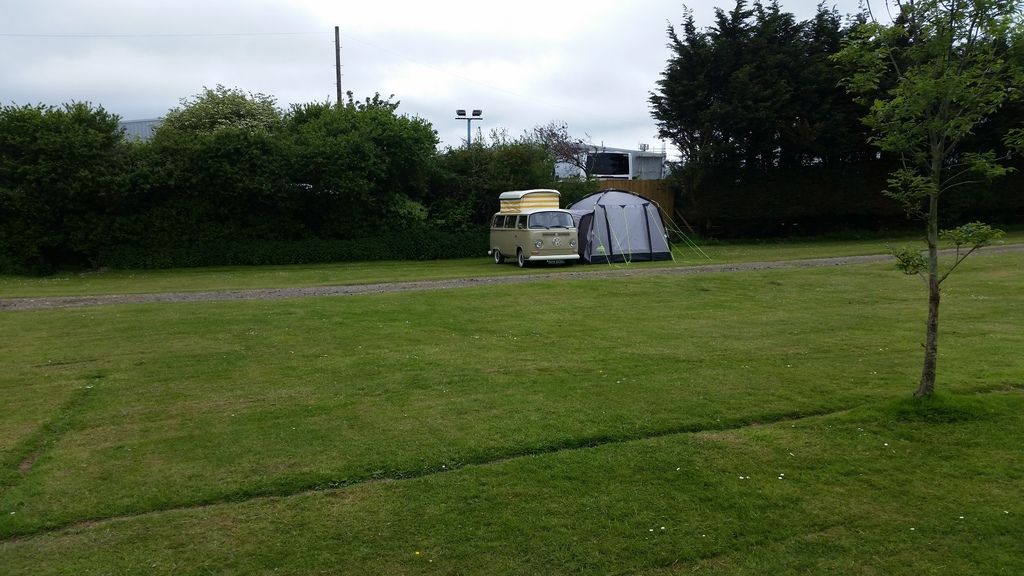
So, quick pic in the rain on the road to Croyde overlooking Saunton sands:
20150726_133020_zpswalxbopu.jpg


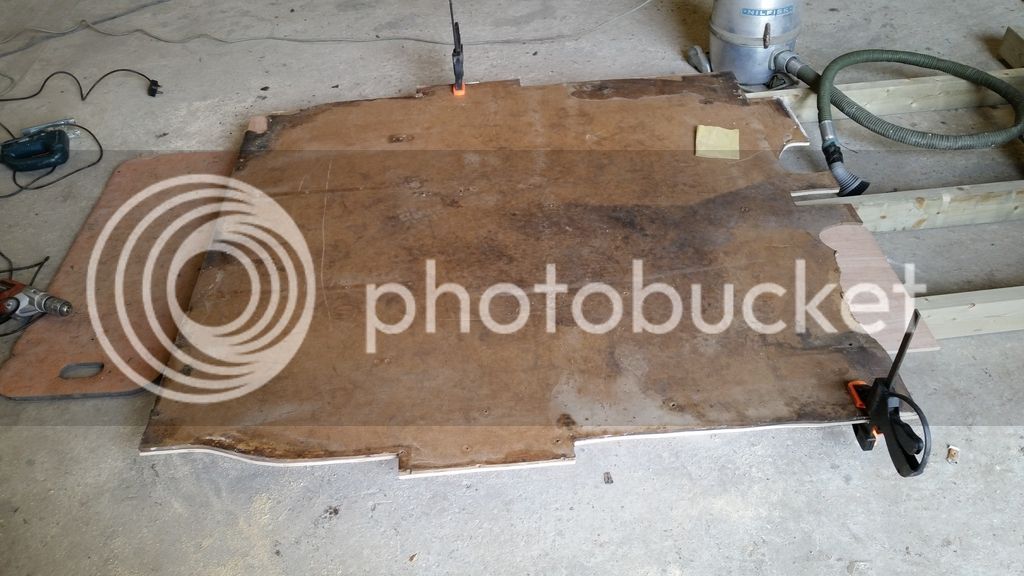
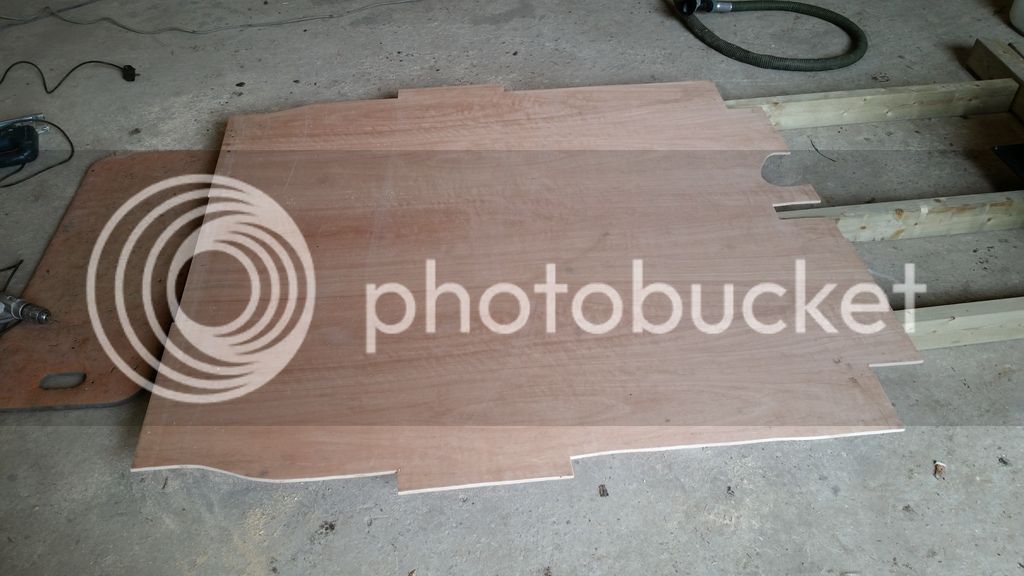
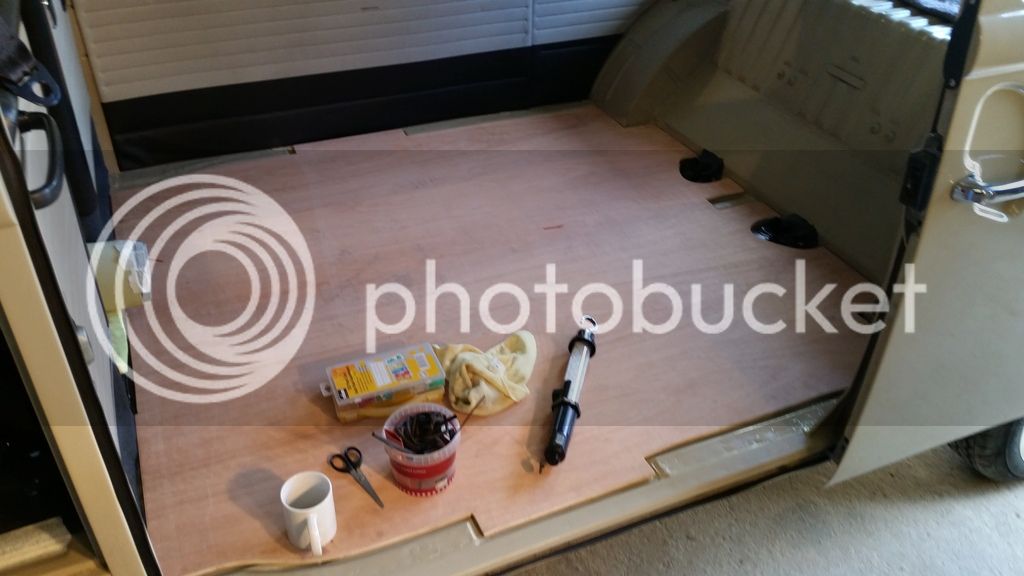
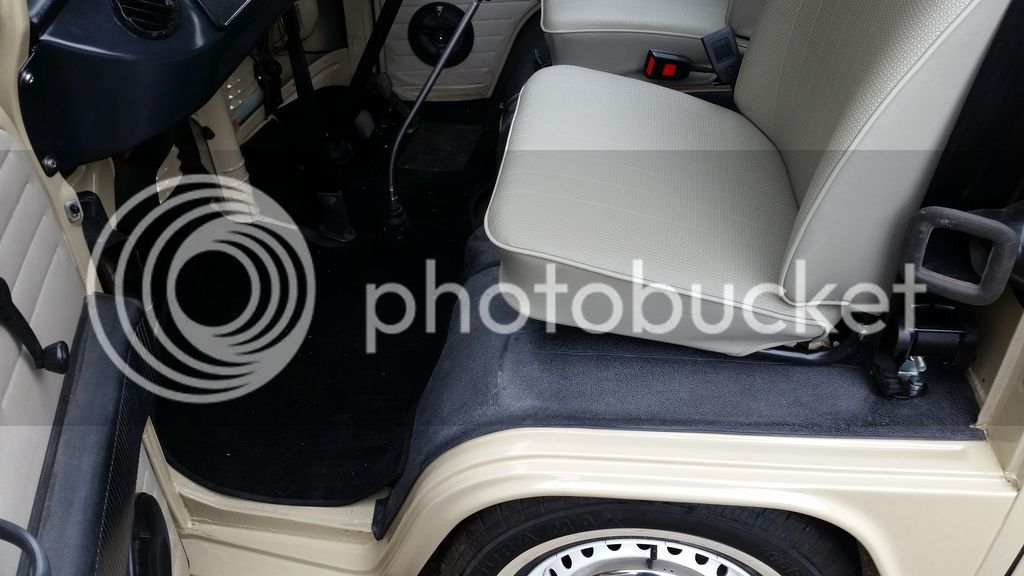
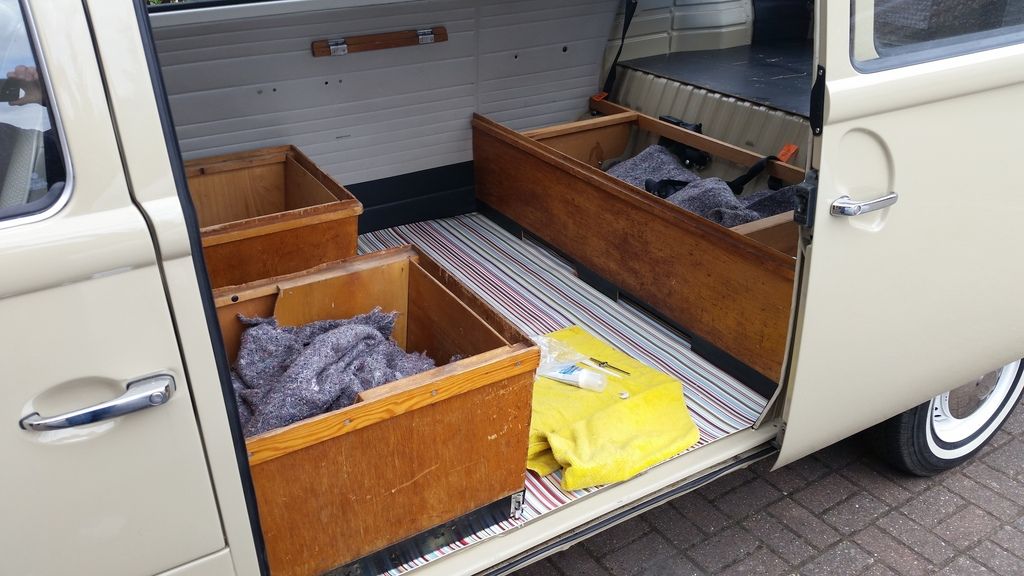
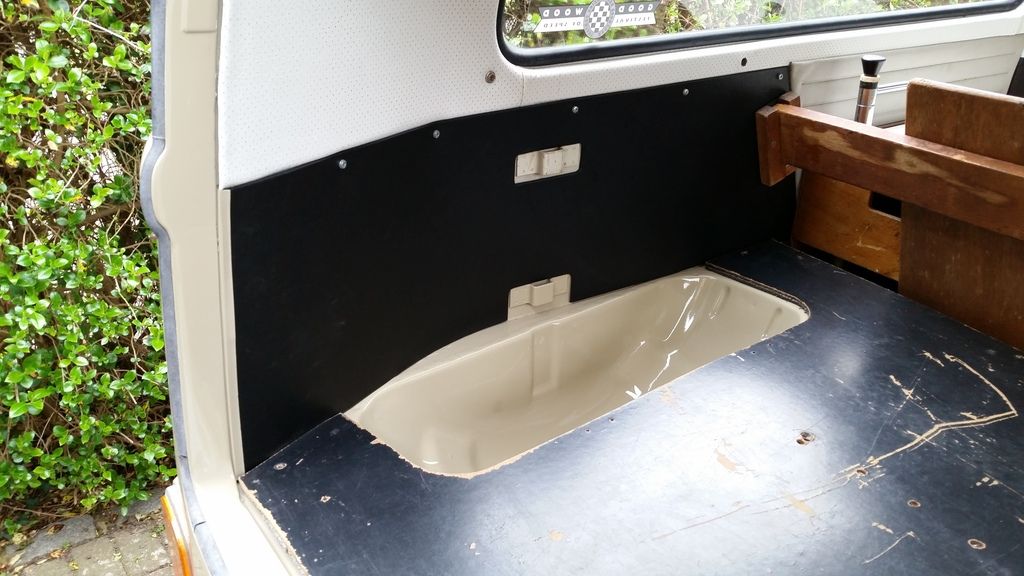
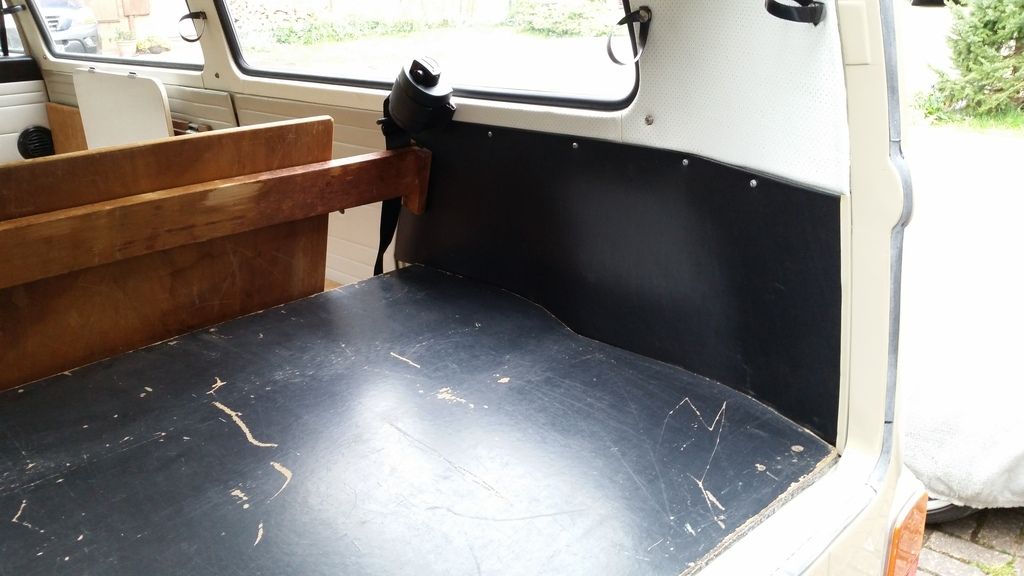
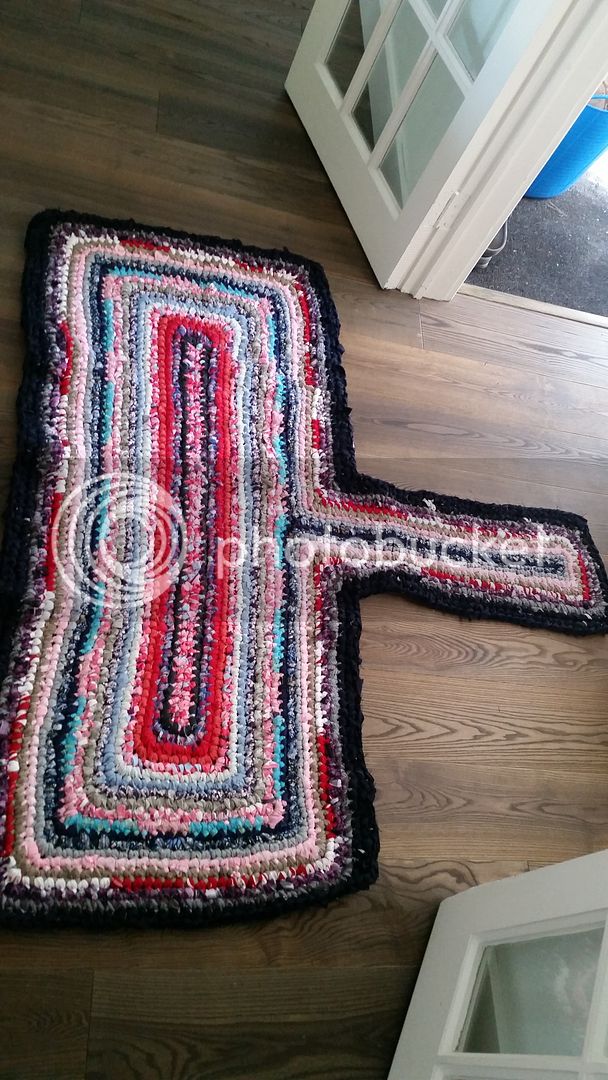
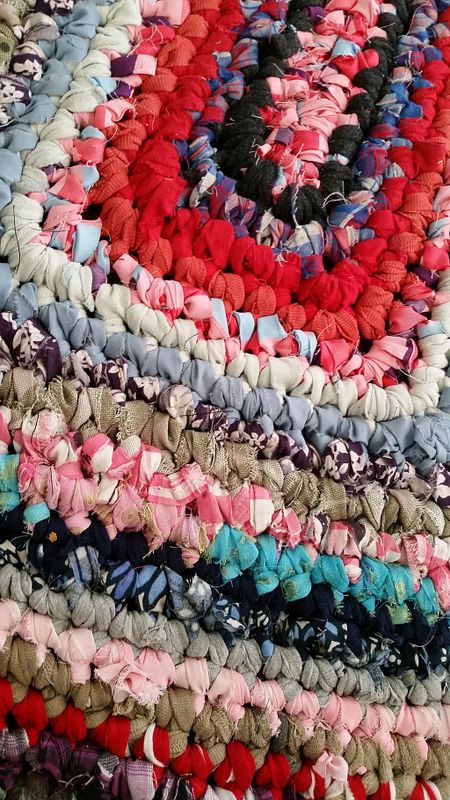
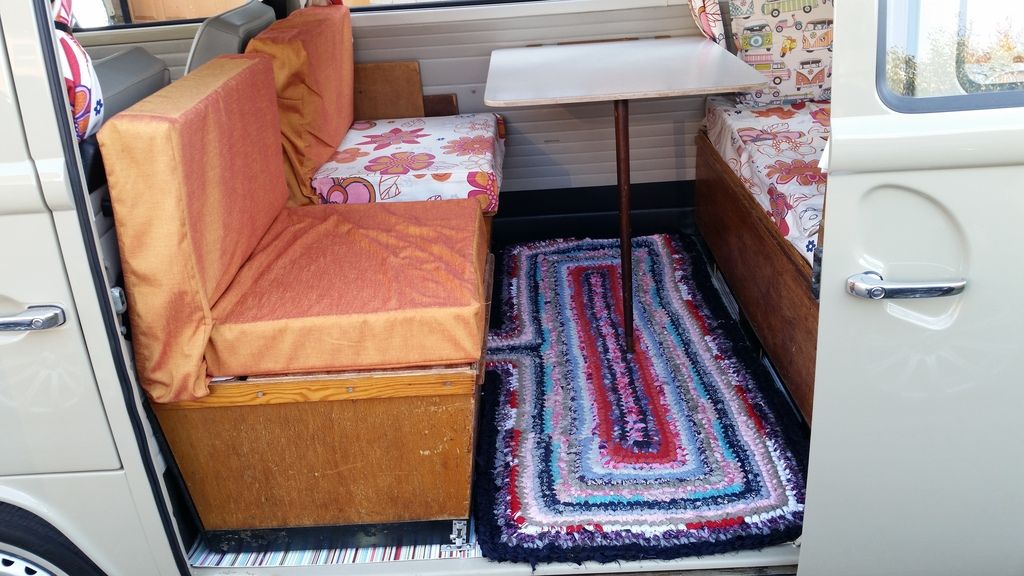
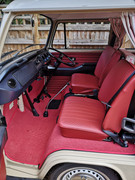
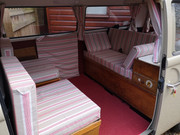
When I laid the flooring I wasn't really happy, I copied the standard Danbury method as I wasn't sure if anything else would cause me problems with the buddy seats and bed lining up but it didn't matter in the end. I chucked down some cheap vinyl but I don't like the cold floor and wanted a rug to cover it up. We know someone that makes rugs and stuff from recycled clothing, we gave her a huge bag of old clothes we didn't want and she cuts these into strips and weaves them into a rug, the exact shape of the bus floor to go around the buddy seats.
I love the rug, the colours are a bit of an assualt on the eyes, especially with our old interior back in at the moment but hopefully in 2016 I will change at least the fabric on the seats and curtains.
Rug on the floor in our house and then how it fits in the bus.
20150710_165300_zpsbhdj6ymt.jpg

20150710_165308_zpssfte56hf.jpg

20150920_170336_zpsjbbygxu0.jpg


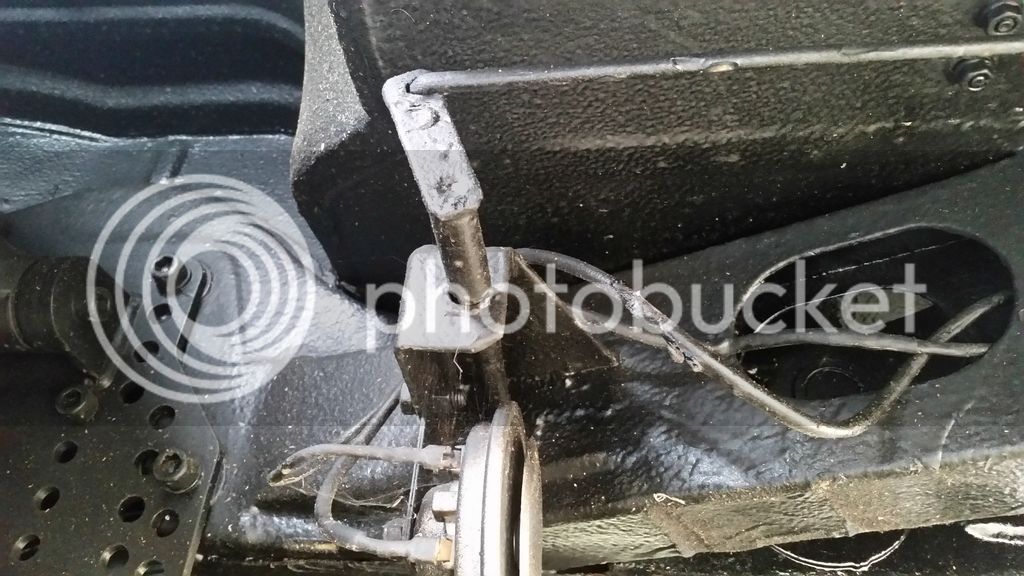
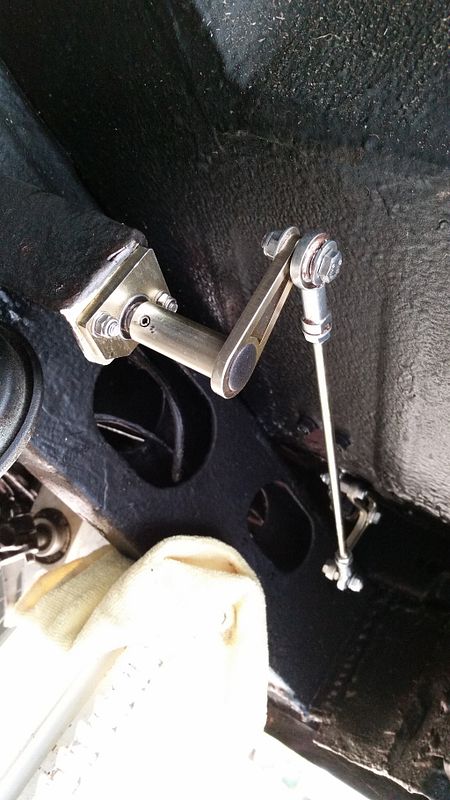
I bought one of Butty's brilliant throttle kits to replace the knackered mechanism on the bus, now that Butty has a plate that bolts onto the area that wears the most this has made an amazing transformation of the throttle effort and action, its so much smoother and gets full range without problems.
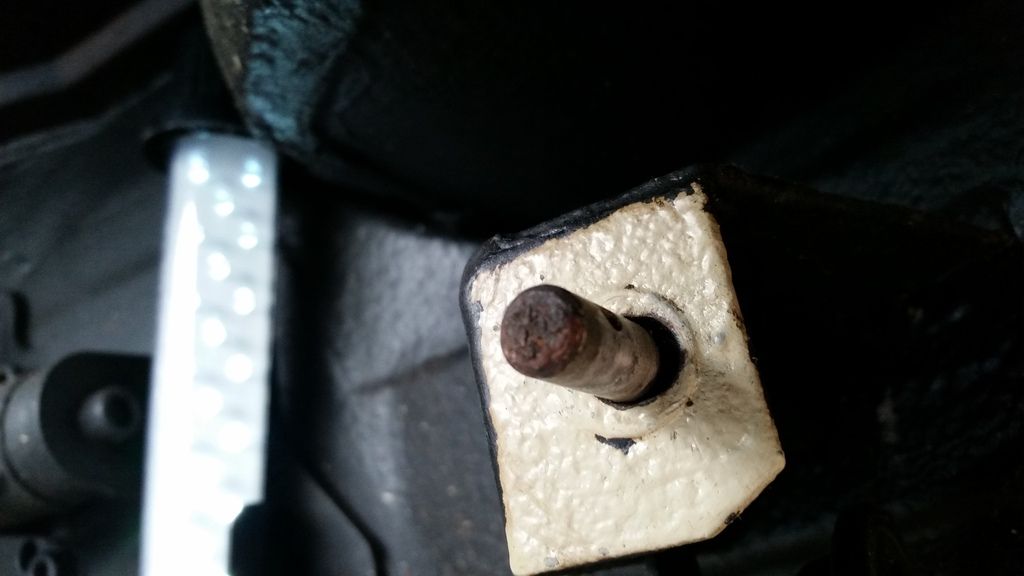
Before: You can just see the amount of wear to the left of the shaft
20150905_093932_zpse5u32qcu.jpg

More obvious here:
20150905_101511_zpsxs0ieymp.jpg

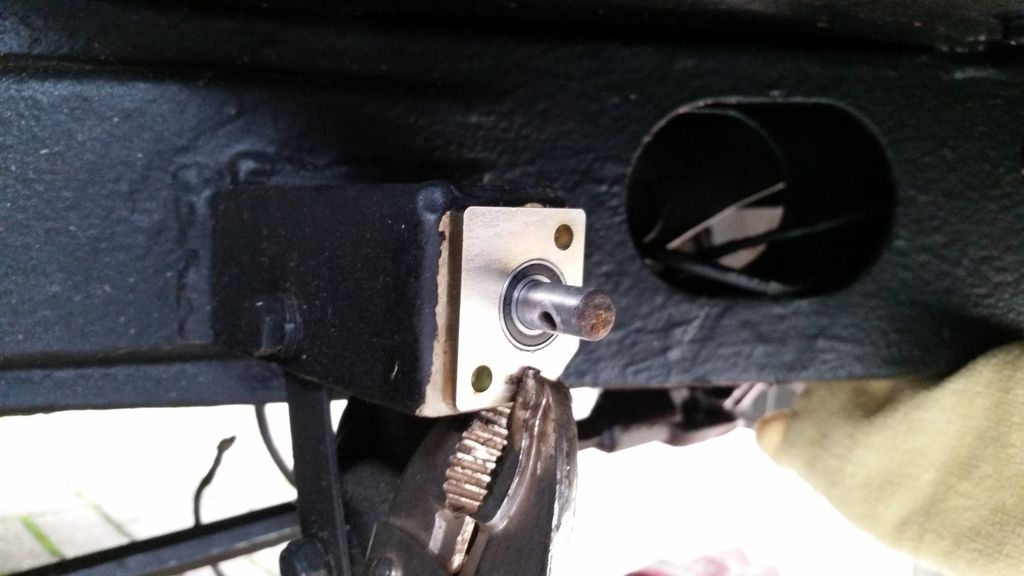
Lining up the new plate with bearing for drilling:
20150905_102012_zpskeqiq4xe.jpg

Drilled and bolted up:
20150905_115555_zpszlvdadwb.jpg

With the rest of the kit in place:
20150905_115947_zpsjx6rrysu.jpg

20150905_120020_zpsemzdzcdi.jpg

I highly recommend this kit to anyone, well worth the money.

Lastly I swapped the old Red9 bevel box to the new style one they provide now, needed a little fettle of the chassis to get properly fitted well without any binding of the column but it has sorted the slop I had in the steering and it steers lovely now.
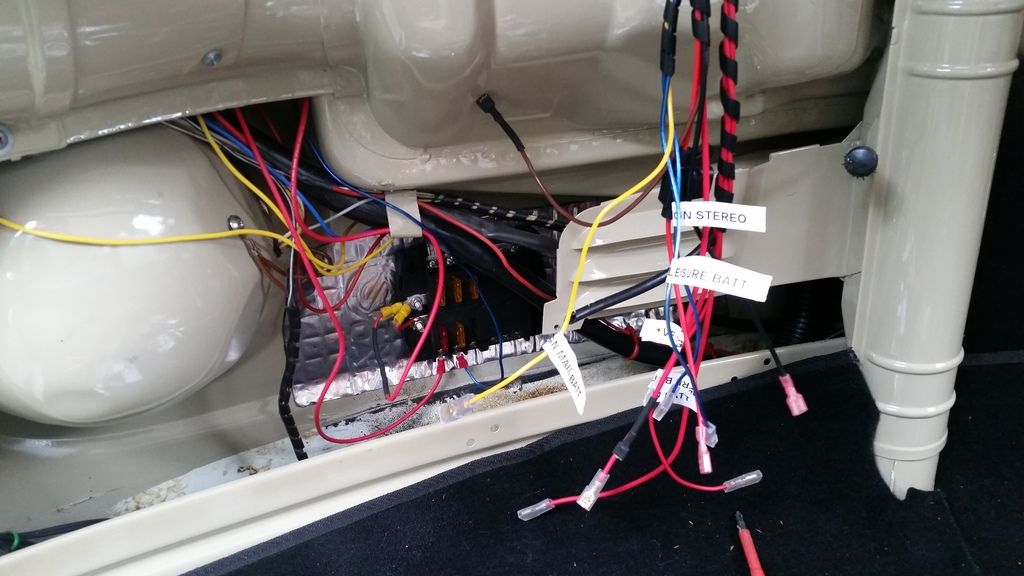
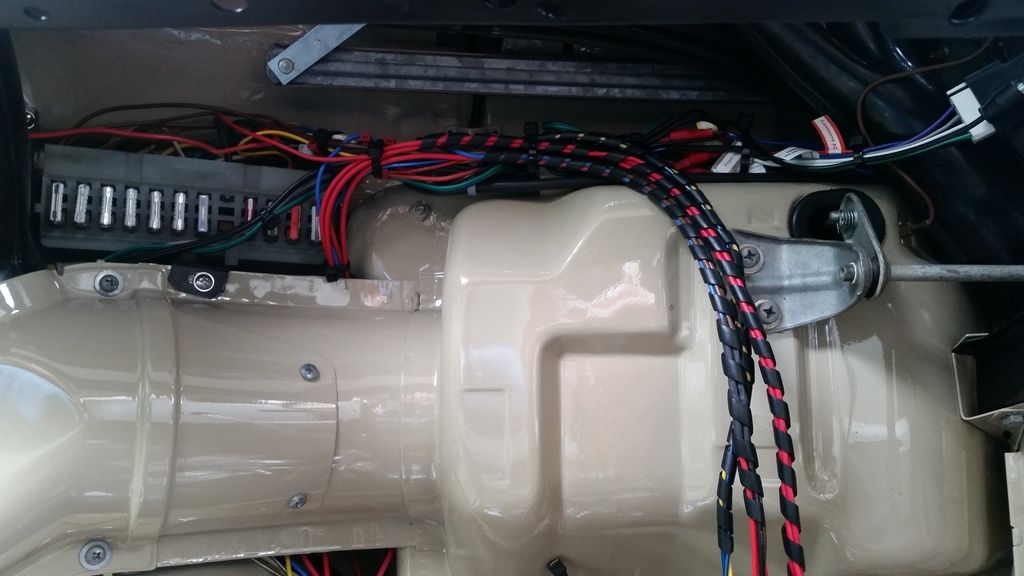
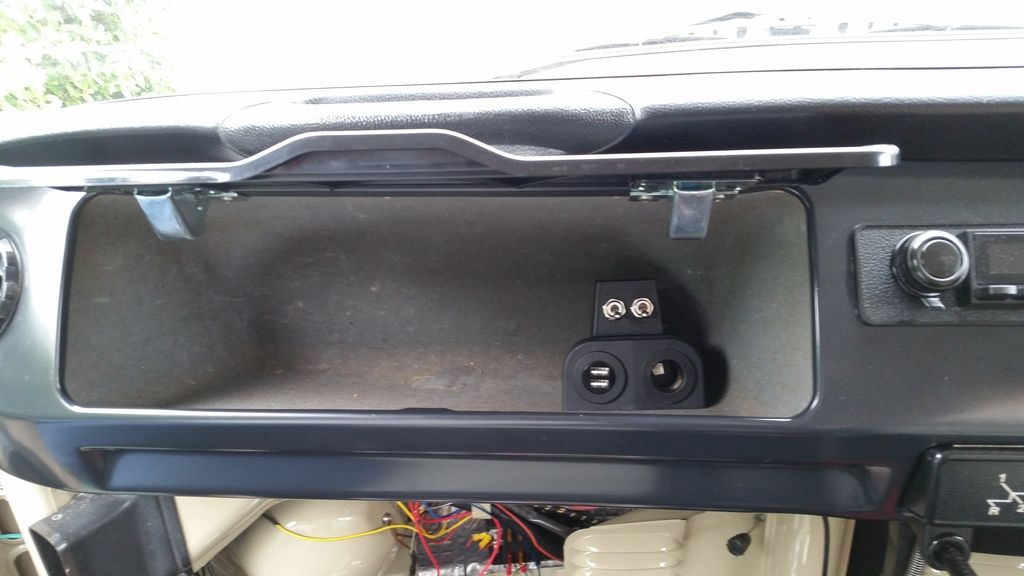
As I mentioned earlier, turns out I hadn't wired up the split charge relay correctly, I read that voltage sensing relays are preferred these days and neater to fit so ditched the old s/c relay and fitted one of these instead, much neater:
20151231_112218_zpss2q2osan.jpg


That's me done for this year, Happy New Year to you all, hope you have a great 2016!
 
Absolutely sterling work. That butty's bit linkage looks like a cracking bit of engineering.

I've got the LHD one which admittedly is much less complicated but no less effective. It makes the pedal actually feel like a pedal rather than a notchy mess!
 
Superb.
Love the colour, love the rug! :worship:

You should be very proud. As has also been said 'and it's a crossover, YAY!'
 
I can't believe I haven't posted on this thread since 2015!
Thankfully the old girl is still going strong and I've been trying to make sure she gets a run every few weeks and get some camping trips in the better weather. After moving house a couple of years ago and work going bezerk I've struggled to find the time but earlier in 2019 I made sure I finally got to update the interior as the fabric and panels were tired. Today is the first time I've also noticed what Photobucket have done so I need to work out if I can transfer all my photo's somewhere else and keep these links working.
So I changed the whole panel set and seat covers to red to better contrast with the exterior and bought a lovely Sisal carpet set from Madmatz to match. I've replaced the old tired foam in the seats/bed and bought a load of fabric which my wife transformed into new curtains and seat covers. I'm really pleased with the results, it looks fabulous, lets see if uploading the pics straight to EB works whilst I sort out Photobucket!


Latest posts

Top