Frankies 71 dormi Resto new pix

Early Bay Forum

Help Support Early Bay Forum:

This site may earn a commission from merchant affiliate links, including eBay, Amazon, and others.
Nice work and some great fabrication too!

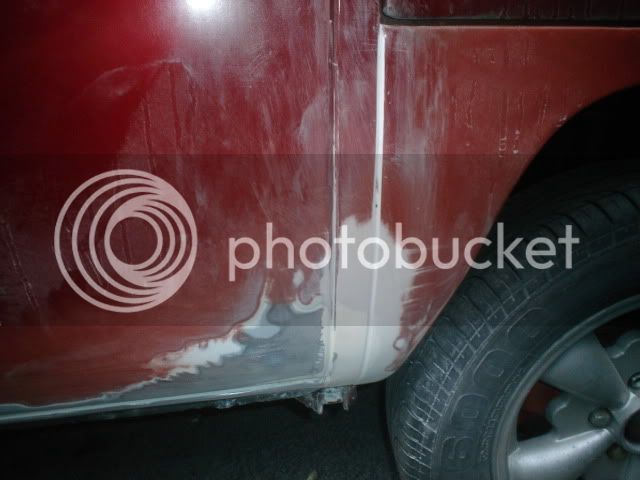
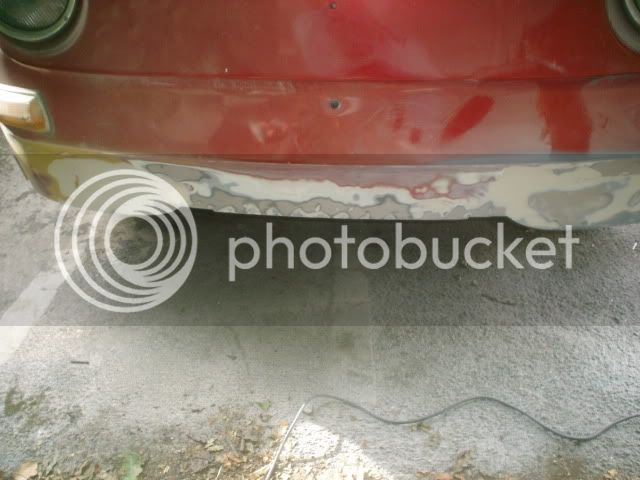
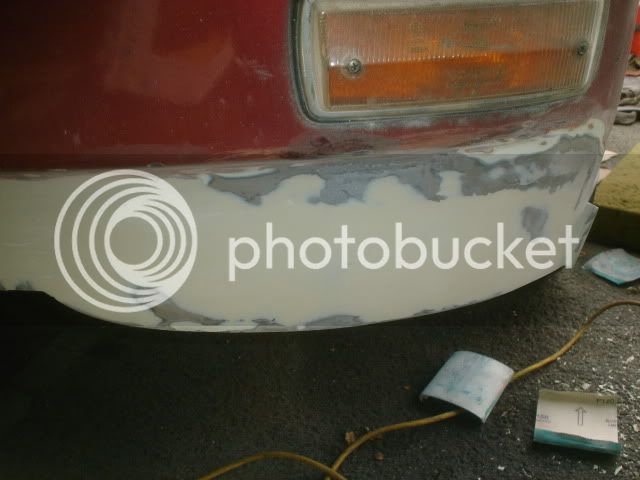
Ref your question regarding advice or pictures for the nearside B post and inner wheel well..... I've repaired this same area on my van..... now don't get me wrong - I'm no expert (far from it :roll: ) and therefore couldn't promise that what I've done is correct :?: ..... however your welcome to take a look at what I did, and if it helps you at all then great... but I'll leave you to make up your own mind ;)

Nearside B post repair starts from about half way down page:
http://forum.earlybay.com/viewtopic.php?f=2&t=1421&start=60" onclick="window.open(this.href);return false;
& then from the top of page:
http://forum.earlybay.com/viewtopic.php?f=2&t=1421&start=80" onclick="window.open(this.href);return false;

Dan
 
20 ft tarp some times in lidl or aldi. cheap, also got some cheap diamond disc from aldi, as from ur pics looks like a job well done, keep up the good work, it will be a gr8 van when you finished,
:D
Gadget Boy said:
Frankie try 1mm cutting discs they are bout a quid on ebay . they are thinner an cut through the metal faster with less drag . Also get a 20ft tarp mate the blue ones are about 20 quid from your local tool shop etc and with sum market trader clips and sum wooden poles clipped off the van they can make a great improvised tent . therefore letting you work in the rain too . SAFETY GEAR decent welding gloves are great for welding and using the grinder with . Im talking about gloves that come right up to your elbows almost . Did you know that when a angle grinder is running it takes just 14 seconds with out ear defenders before the noise starts to damage your ears ?? :shock: :shock: Im sure an angle grinder is about 112 decibels too.

Gadget ;)
 
Hi its been a while but has anyone got any detailed pix of a lower inner front repair cheers Frankie.
 
great work frankie, im doing all the same bits and also outside in a carpark, Im few months behind you so this is all a font of information for me!


good luck mate!
 
started again on the van .photos are mixed up sorry.
sealed with upol.
vwcamperproject024.jpg

ground back
vwcamperproject022.jpg

better look
vwcamperproject020.jpg

welded in
vwcamperproject019.jpg

repair patch shaped.
vwcamperproject018.jpg

Going here after i cut most of the brown away.
vwcamperproject017.jpg
 
thanks to everyone who has taken an intrest and thanks for the positive comments more pix to follow.
inner front done
vwcamperproject014.jpg

outercill done
vwcamperproject005.jpg


thanks Frankie.
 
rebuilt the brake caliper with a seal kit from coolair and some copper pipes from ebay .

vwcamperproject025.jpg


vwcamperproject026.jpg


vwcamperproject028.jpg

from this
[img]http://i422.photobucket.com/albums/pp304/frankiy/DSC02917.jpg

to this
vwcamperproject027.jpg
 
Filled and primed the nearside arch today.
vwcamperproject029.jpg

cut the line in with a small broken file.
vwcamperproject031.jpg
 
I used a meter long steel rule as a straight edge and scribed a deep line then just kept going up and down till it formed a small v shape job done :D Frankie.
 
cheers Andy never give up just take long breaks, weather has been kind recently that helps Frankie
 

Latest posts

Top