


Max Power
Well-known member
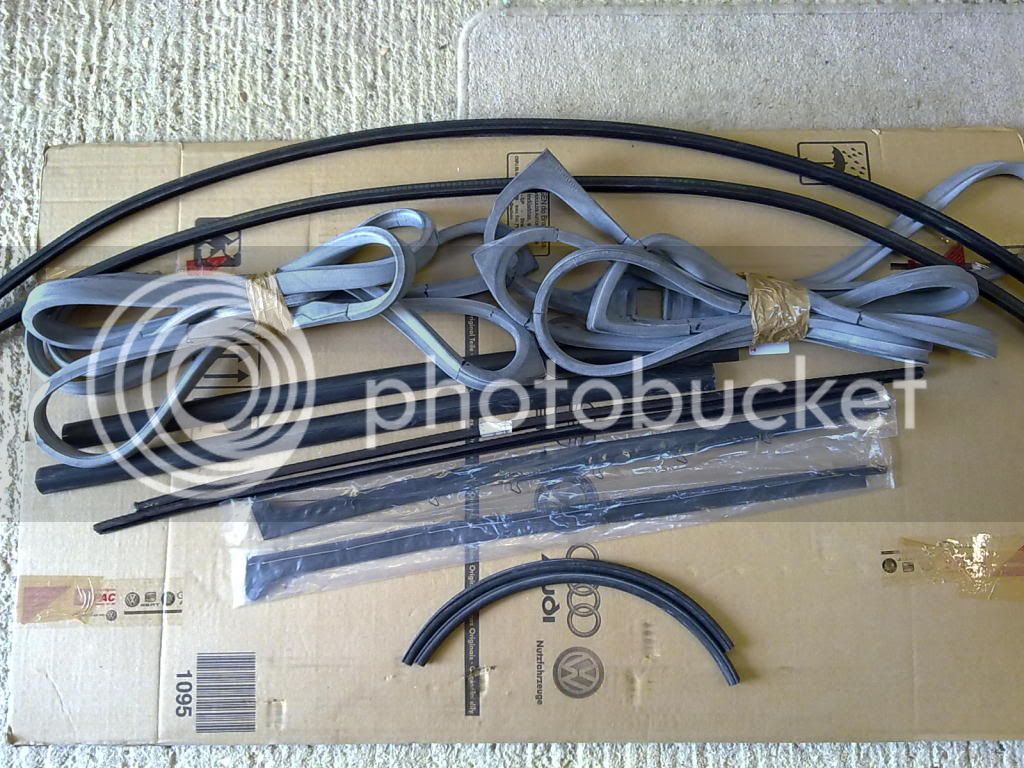
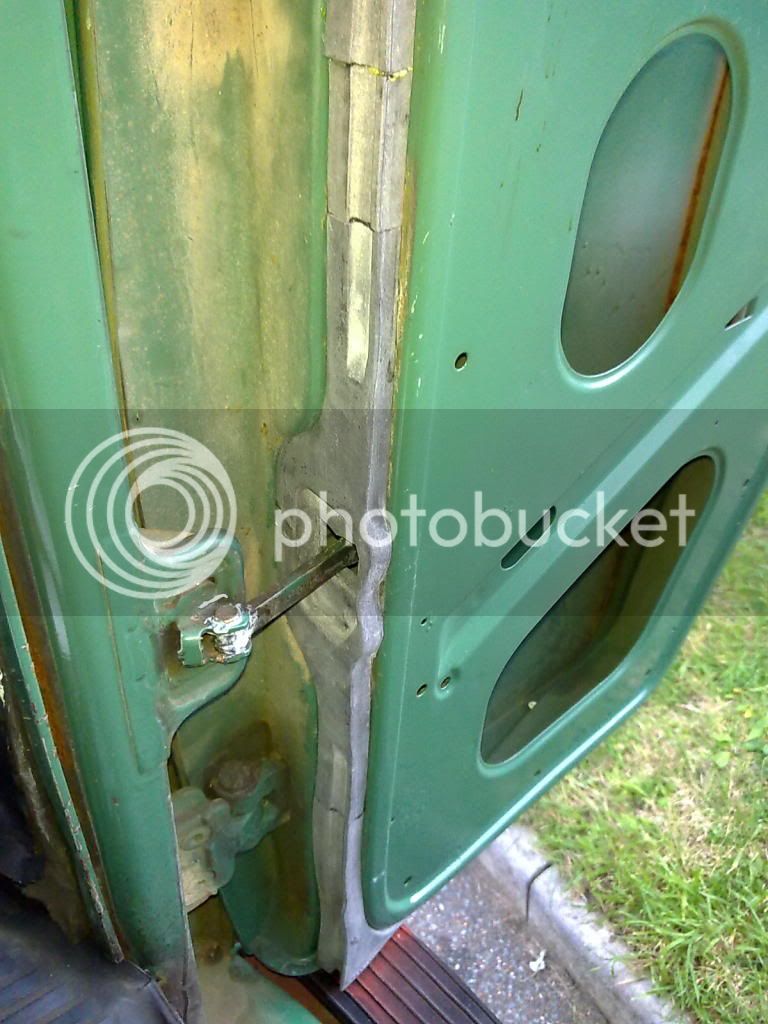
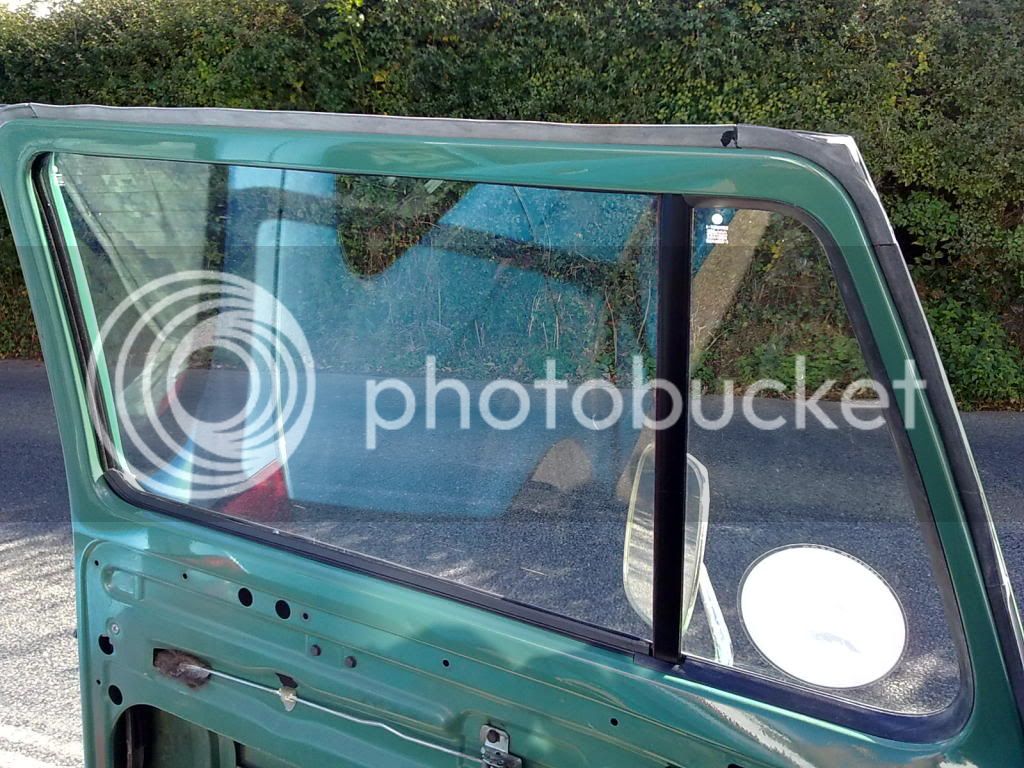
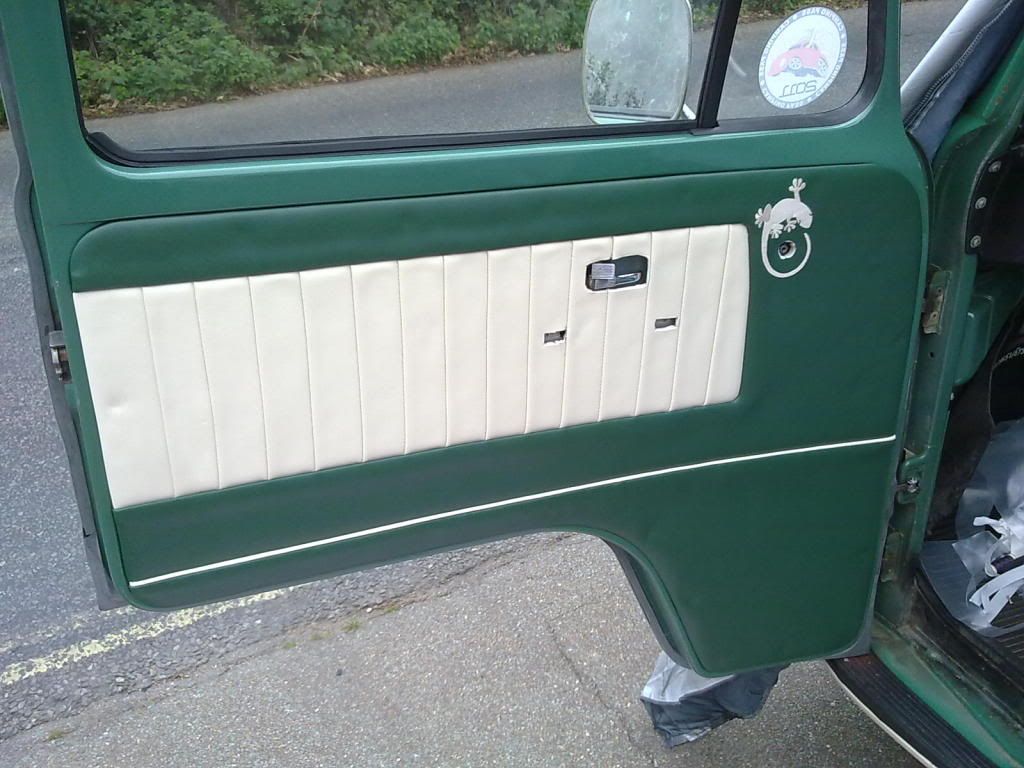
I contacted c&c via the website to ask about the chrome strip,they said it was a dull finish but for £20 a pair they would add the shiny chrome ones instead.
creationblue said:Top work!
Thanks for the info about the chrome surrounds, i noticed they were all a dull finish when i was lookin at Vanfest. Looks like Ill go for the C&C kit too
Cheers
Just
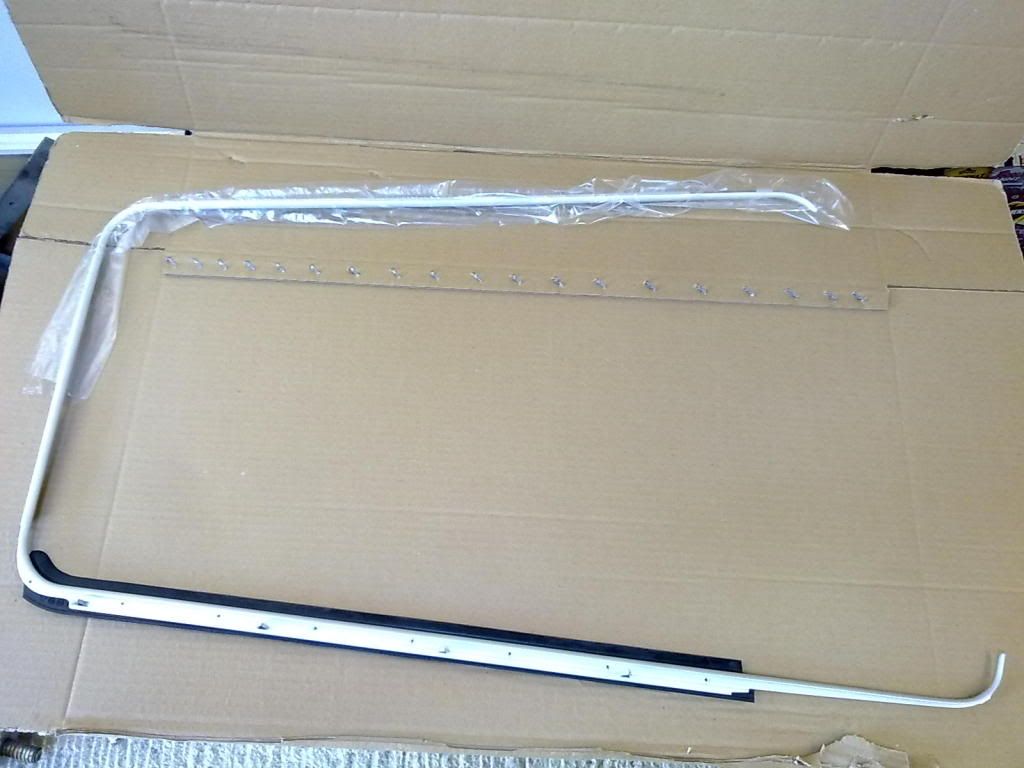
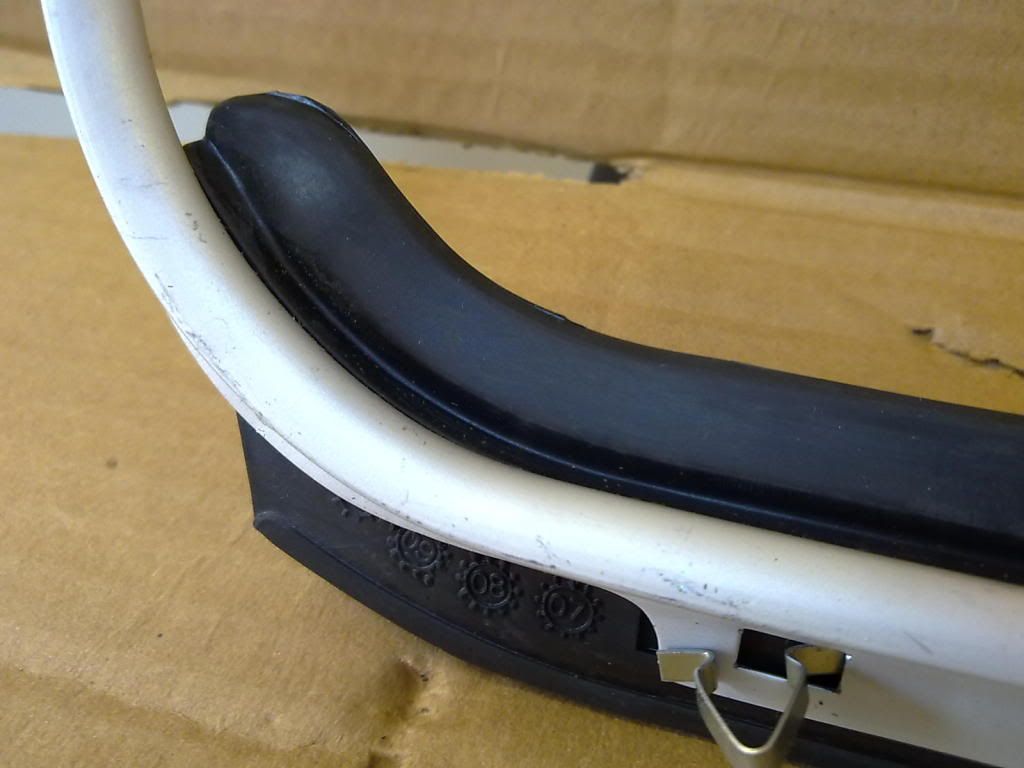
 arty0046:
raveboy said:I would gag on a donkey to get hold of one of these
Cheers
Raver


 arty0046:
 arty0046:
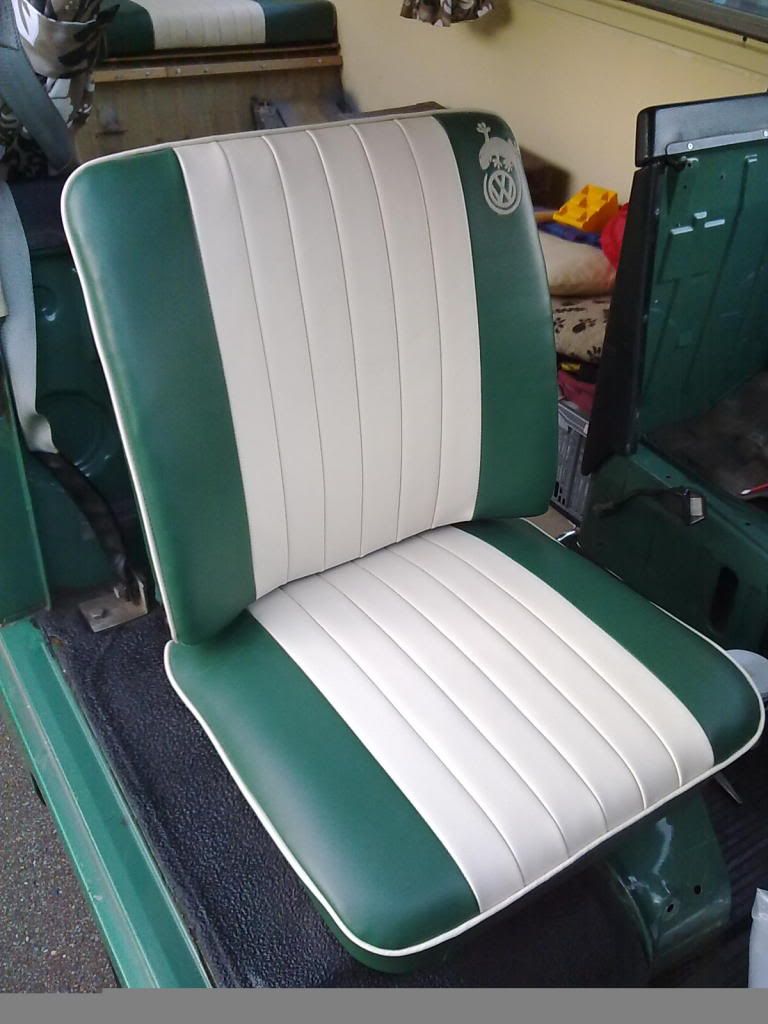
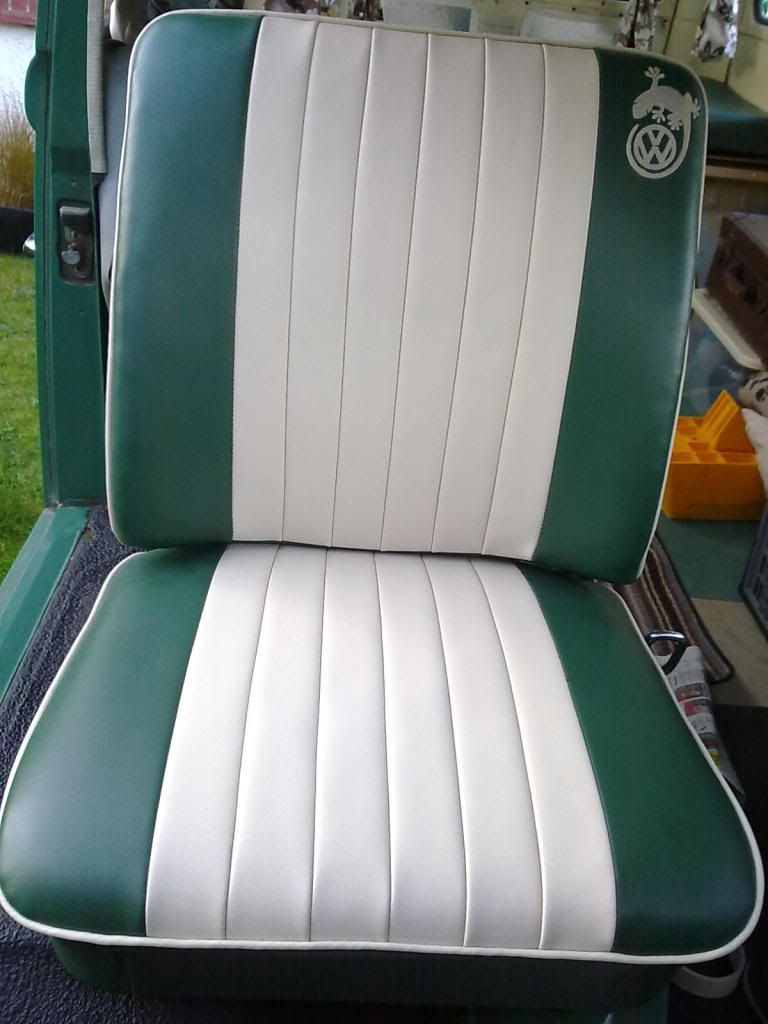
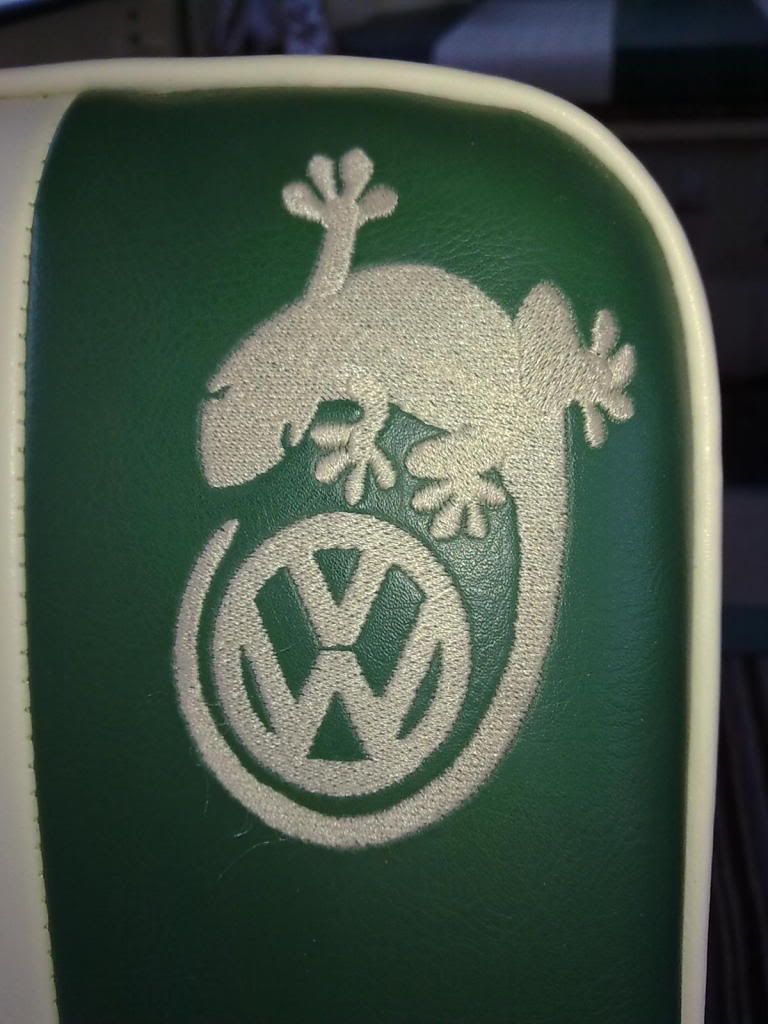
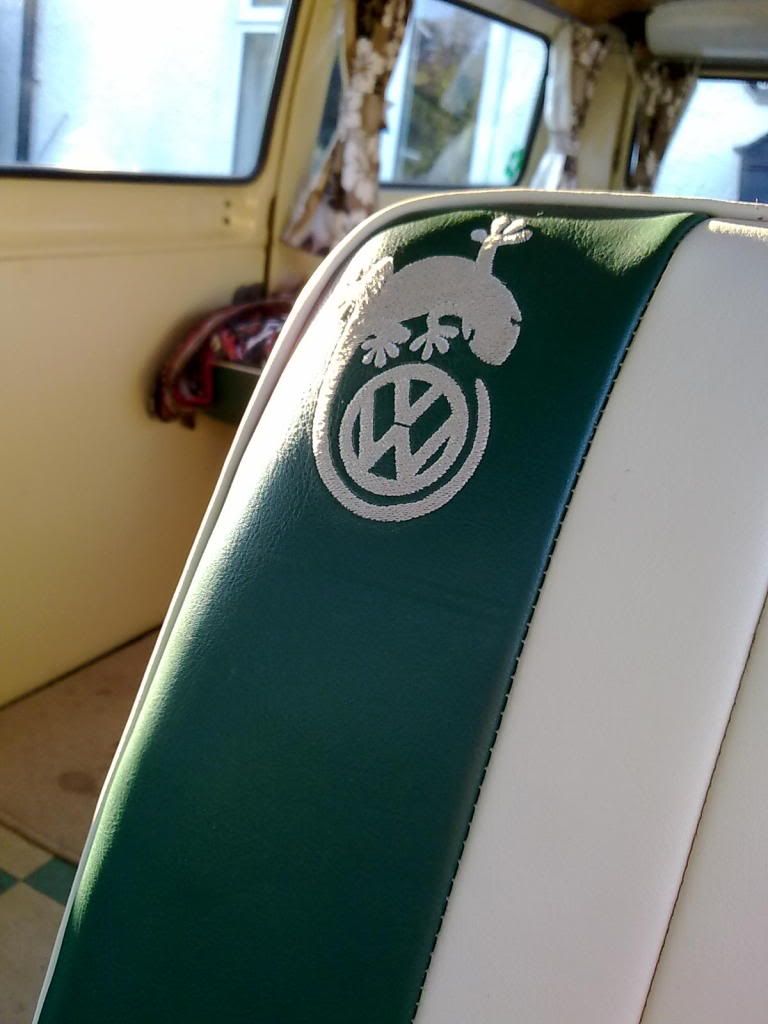
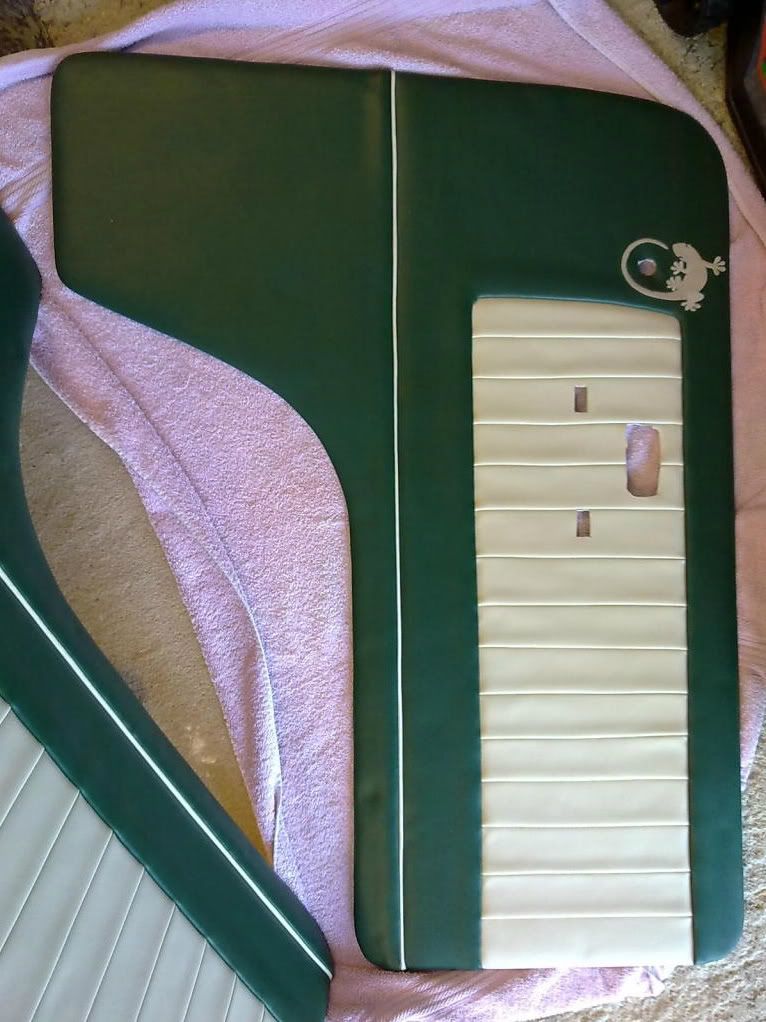
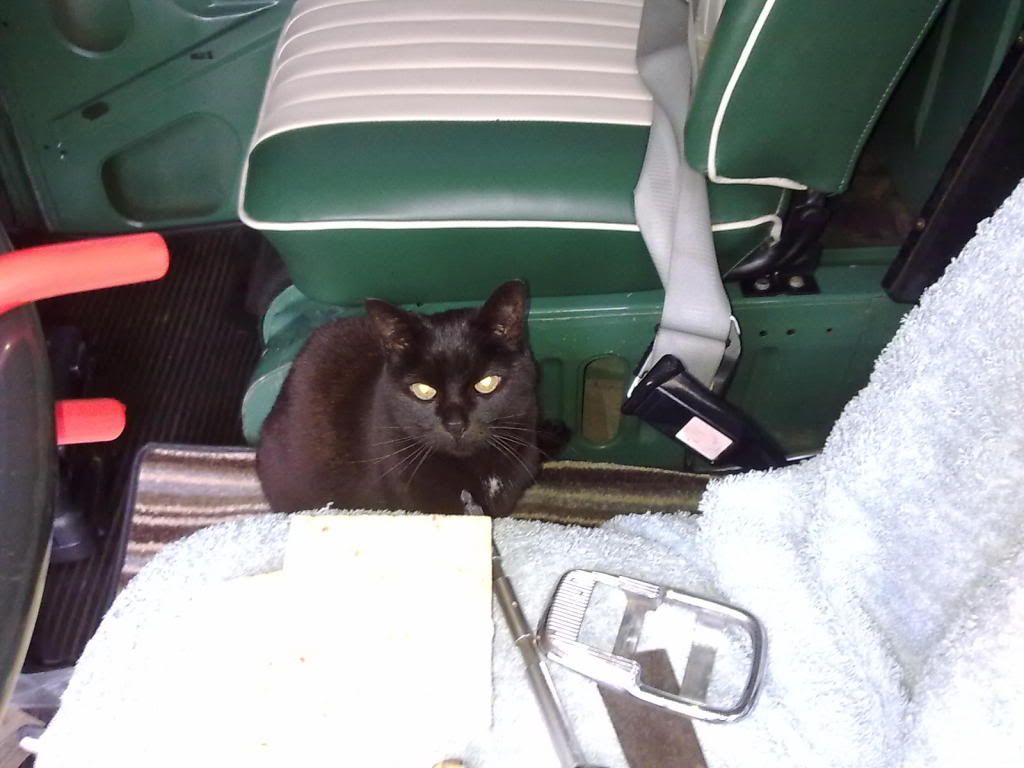
ZedBed said:Looking good - I like the logo.
 arty0046:
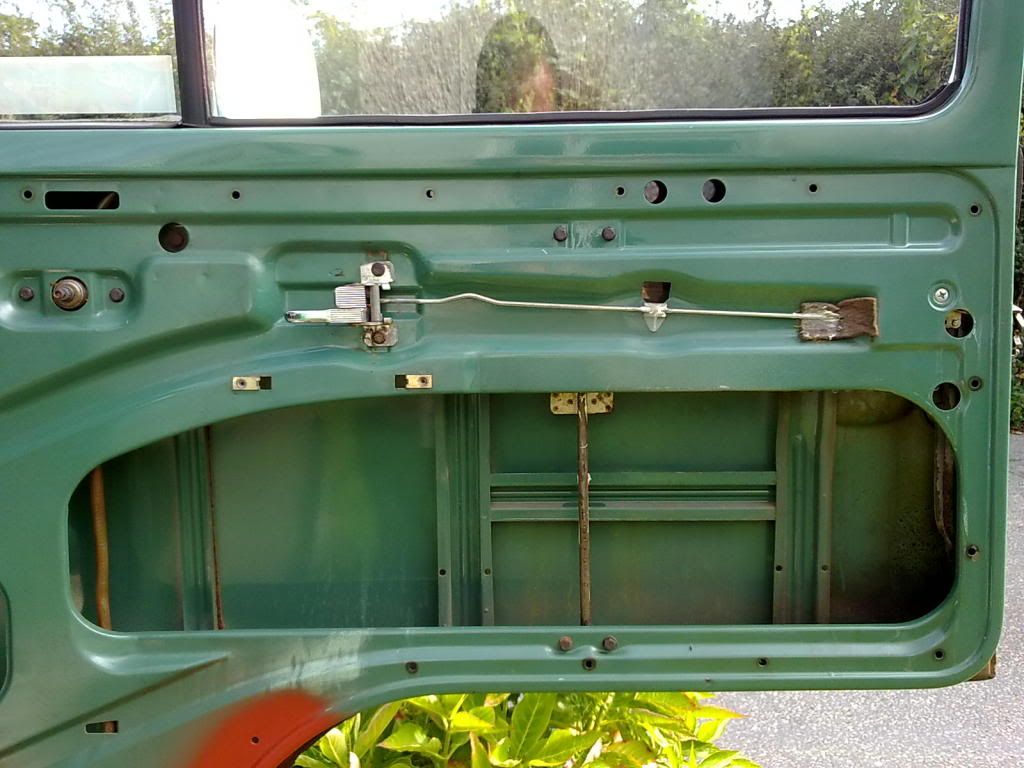
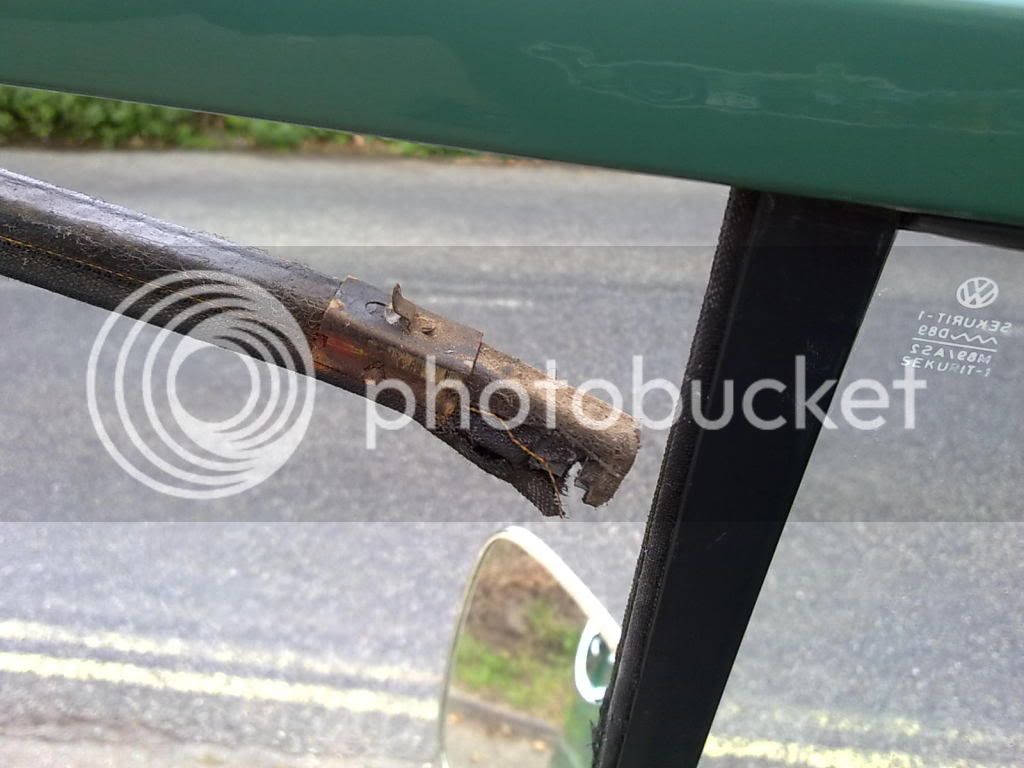
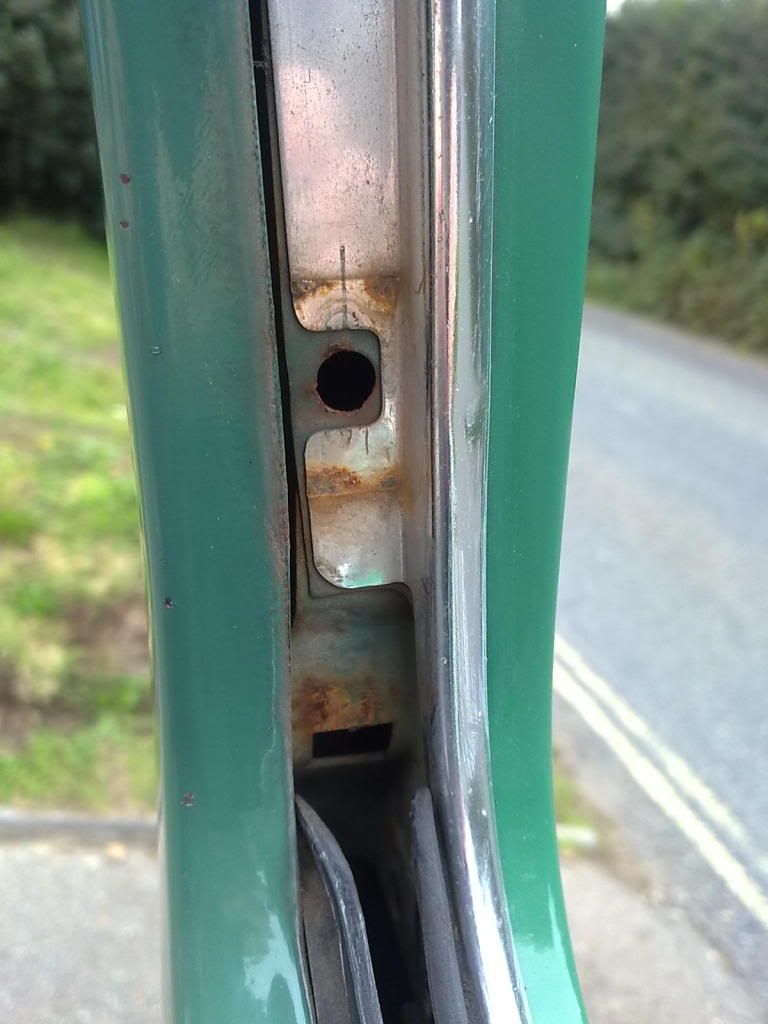
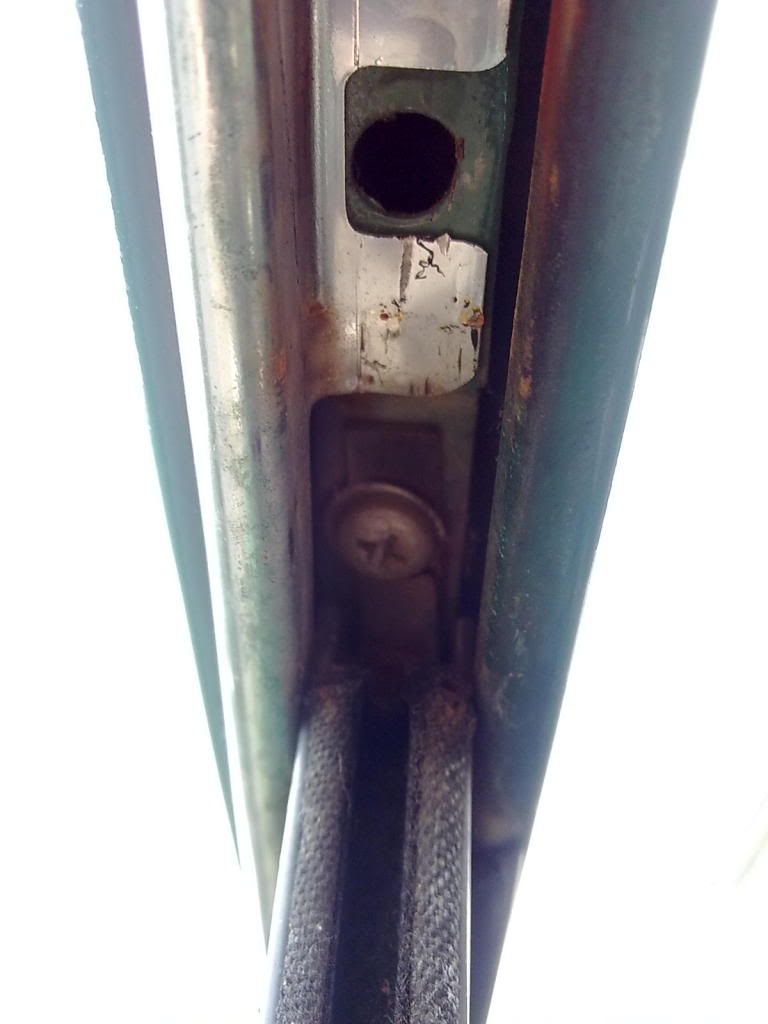
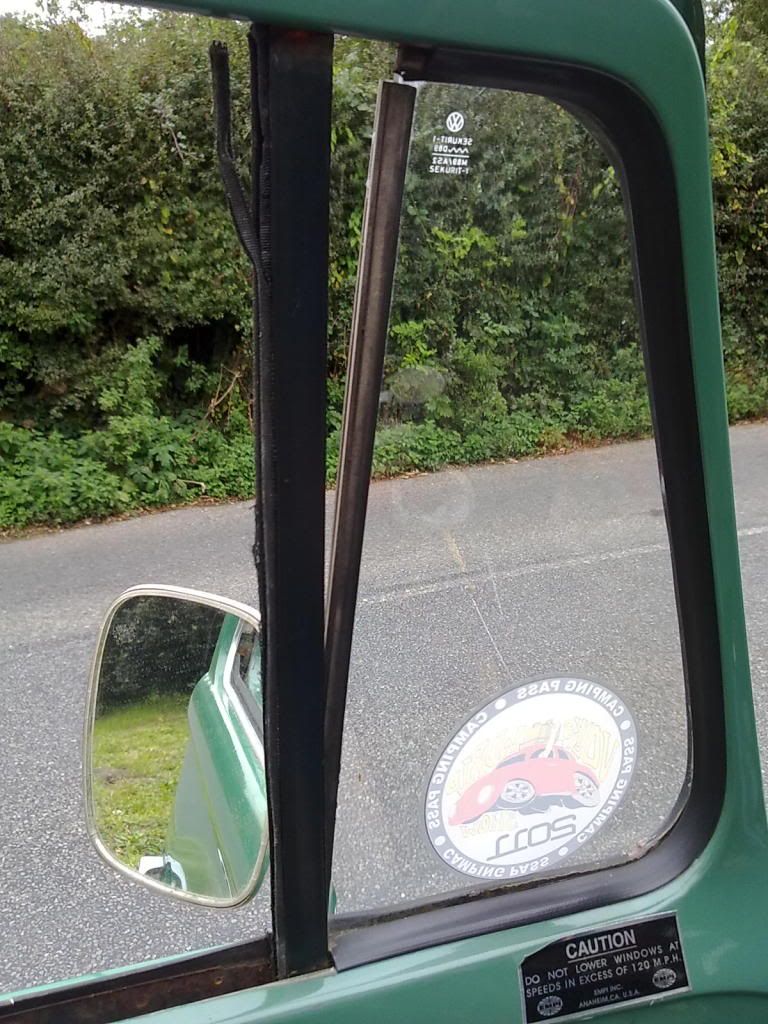
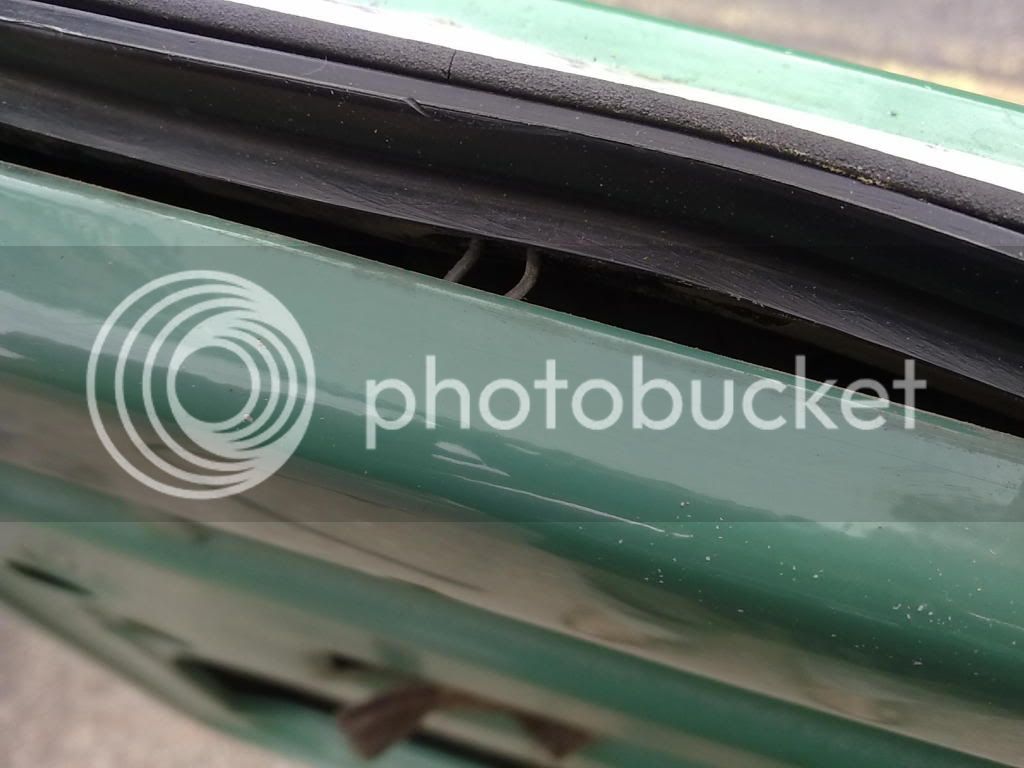
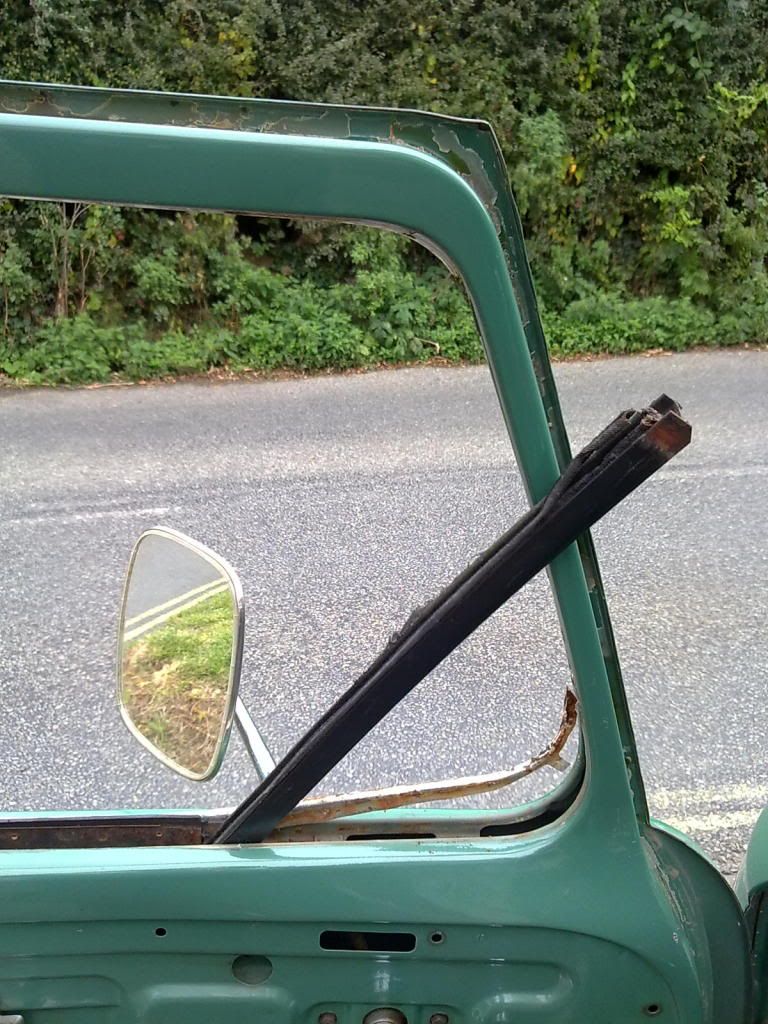
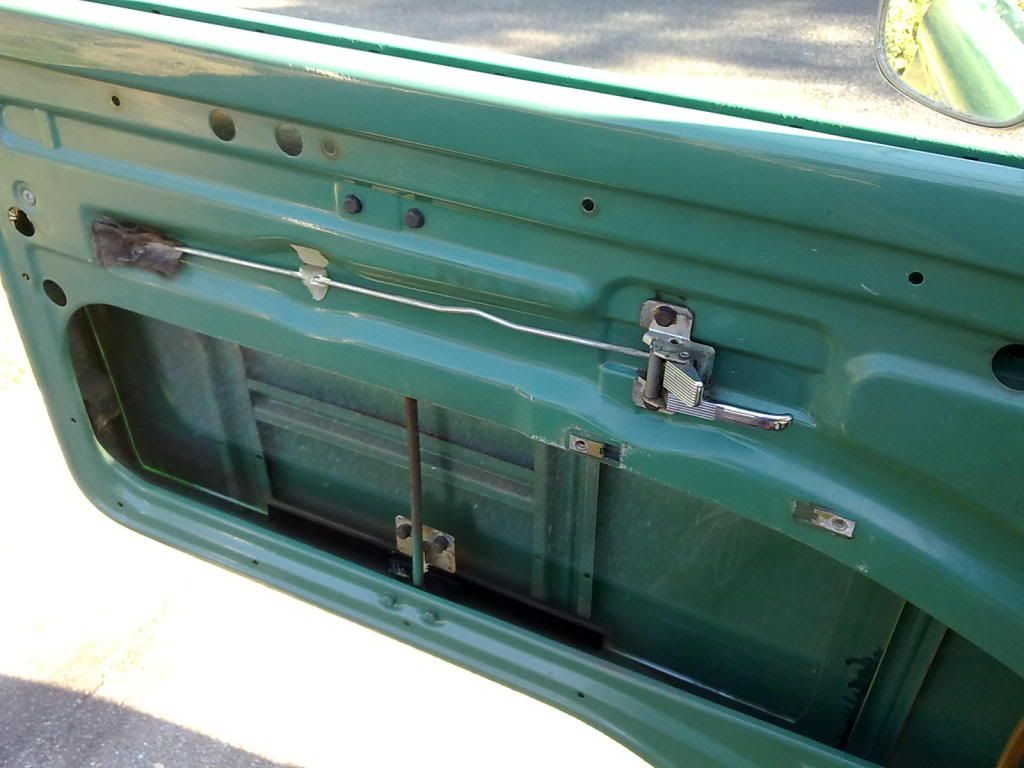
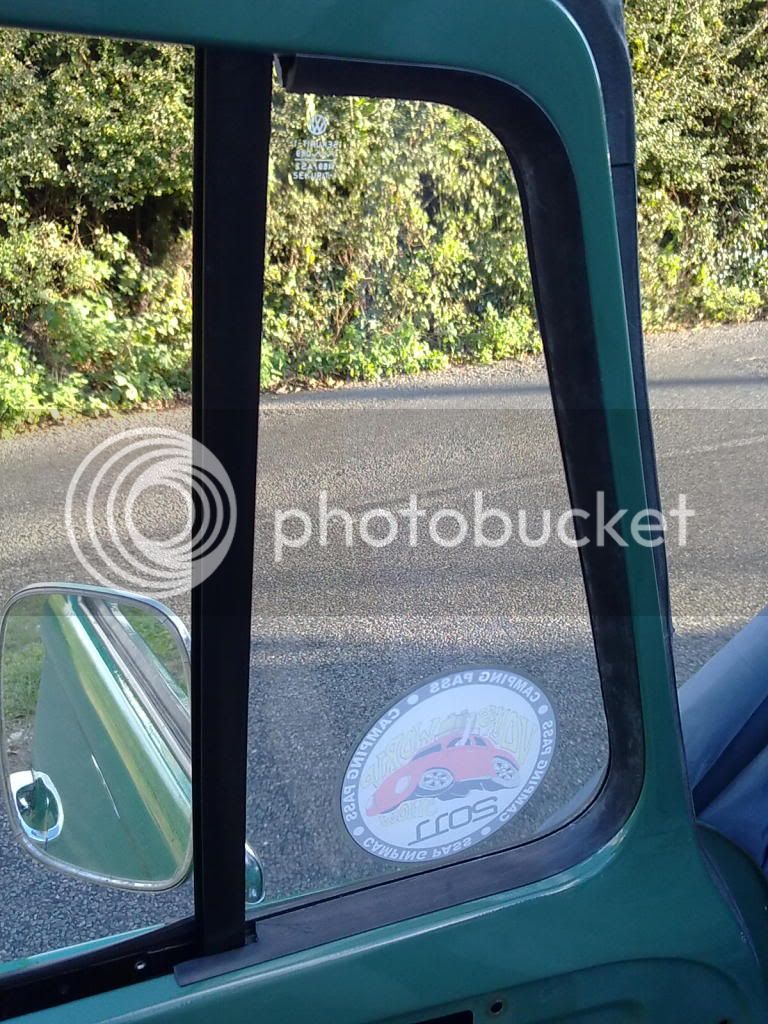
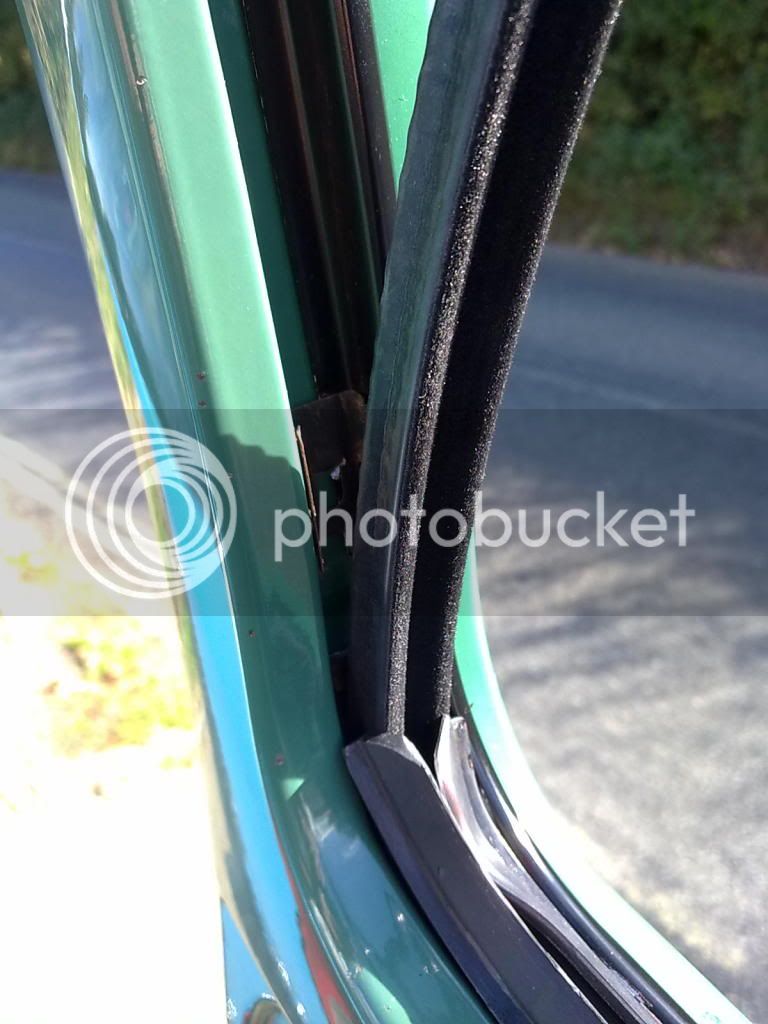
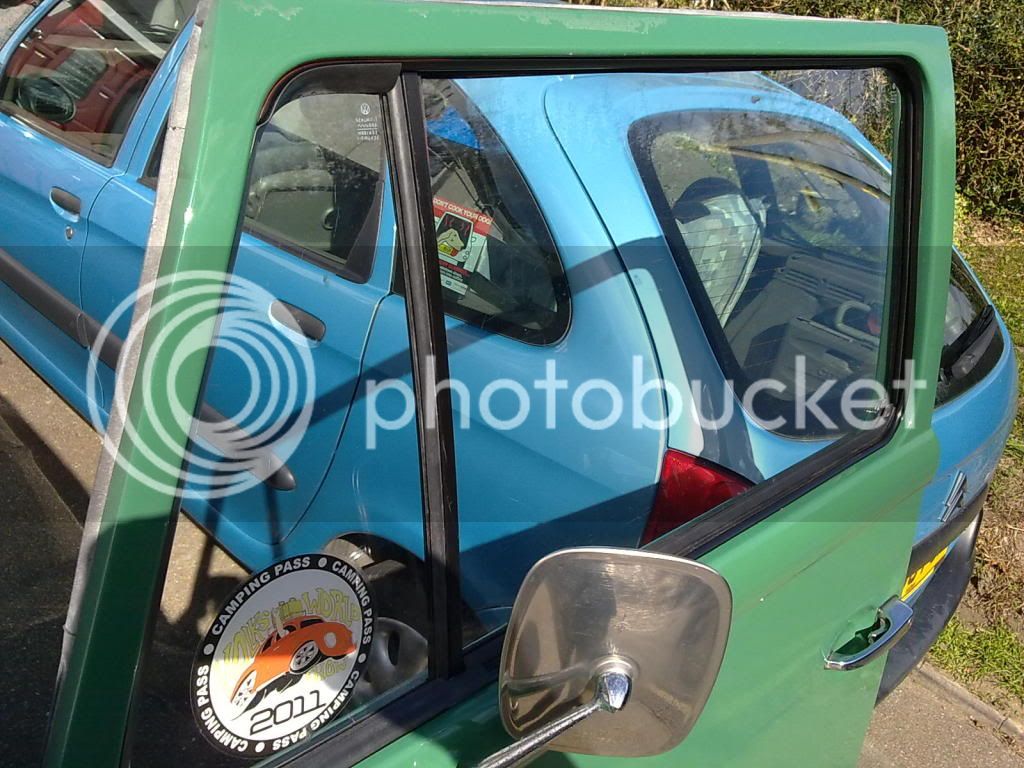
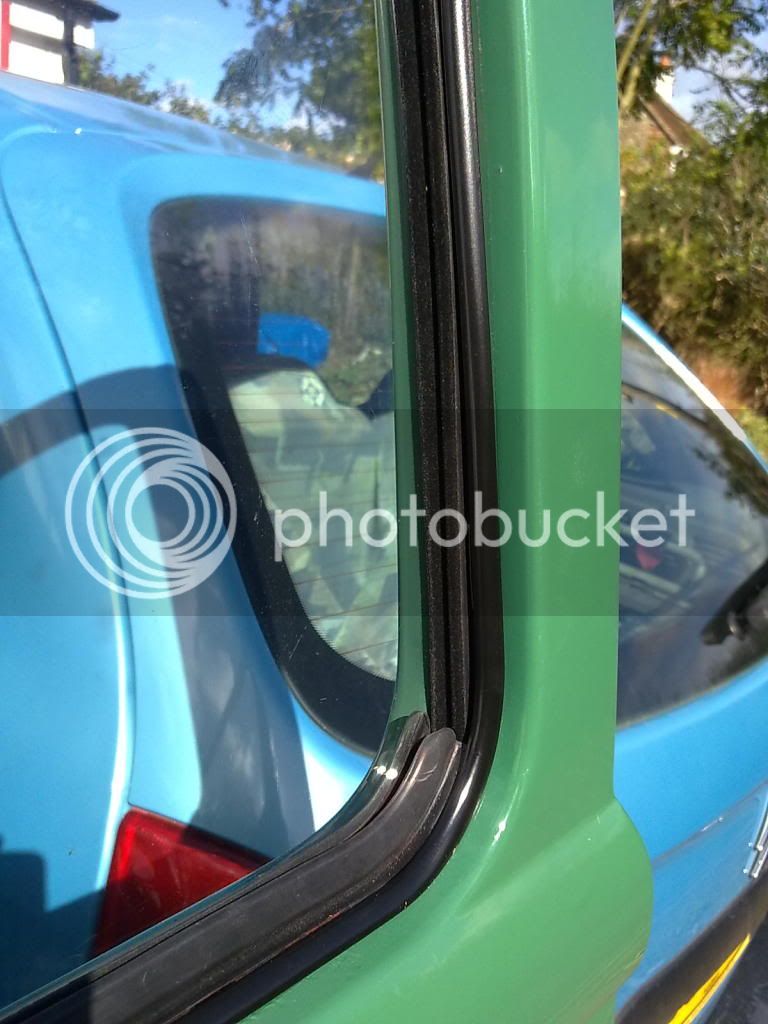
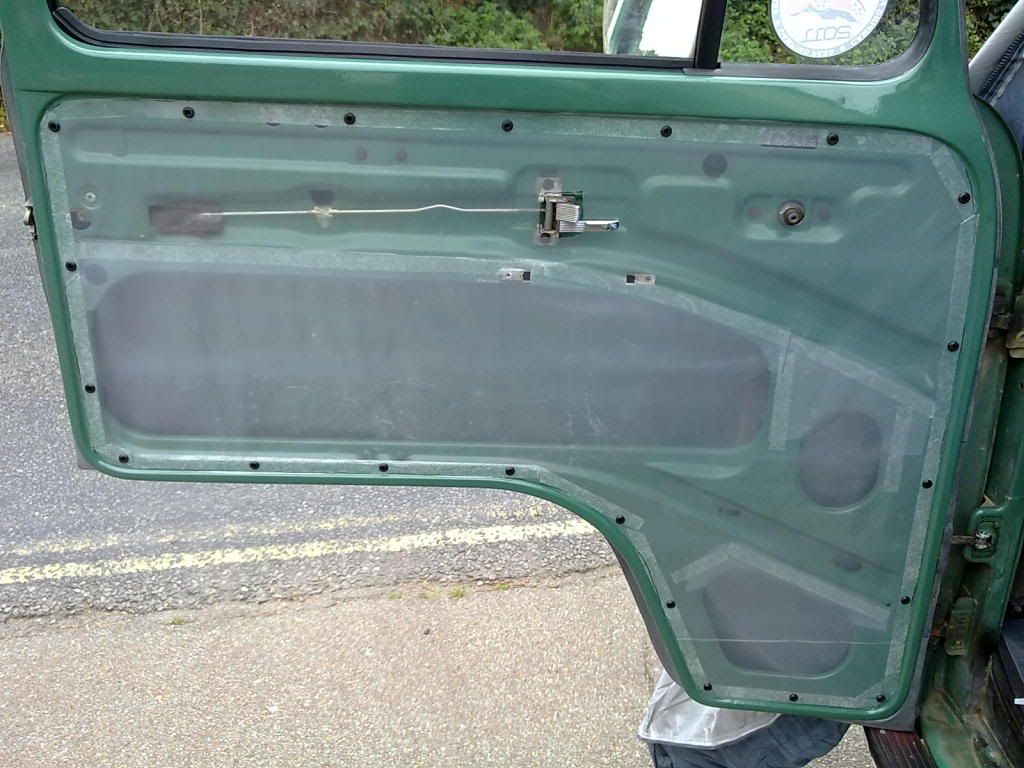
ZedBed said:You should have had the glass in the seal first. It might be a bit difficult to get it in now
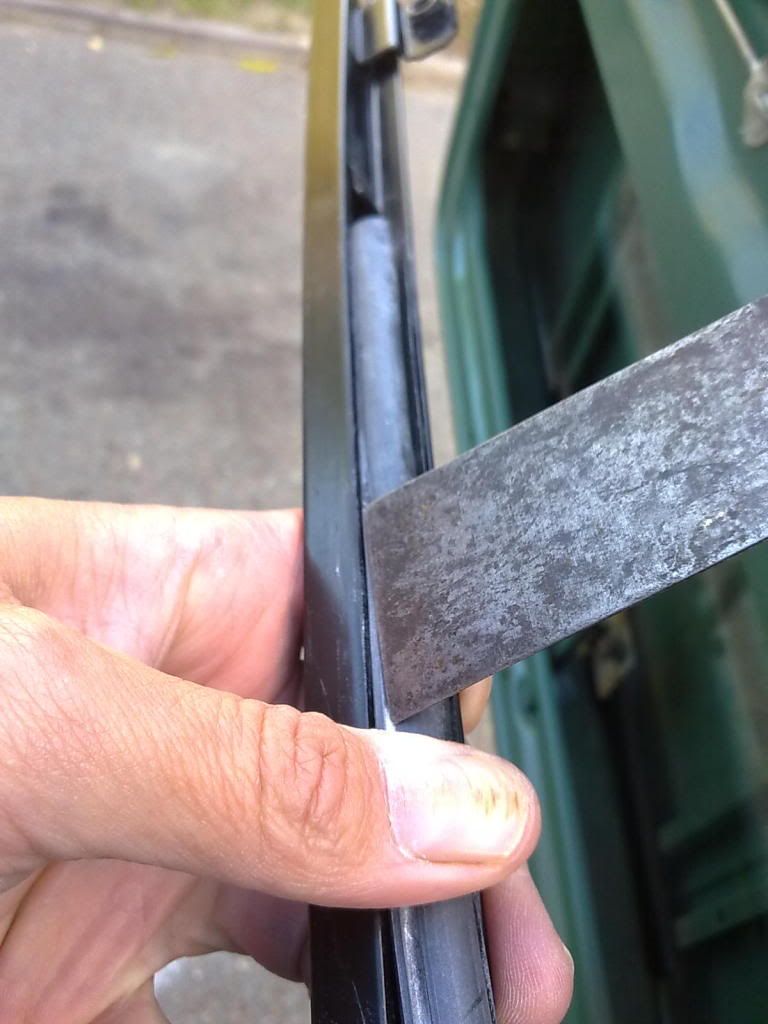
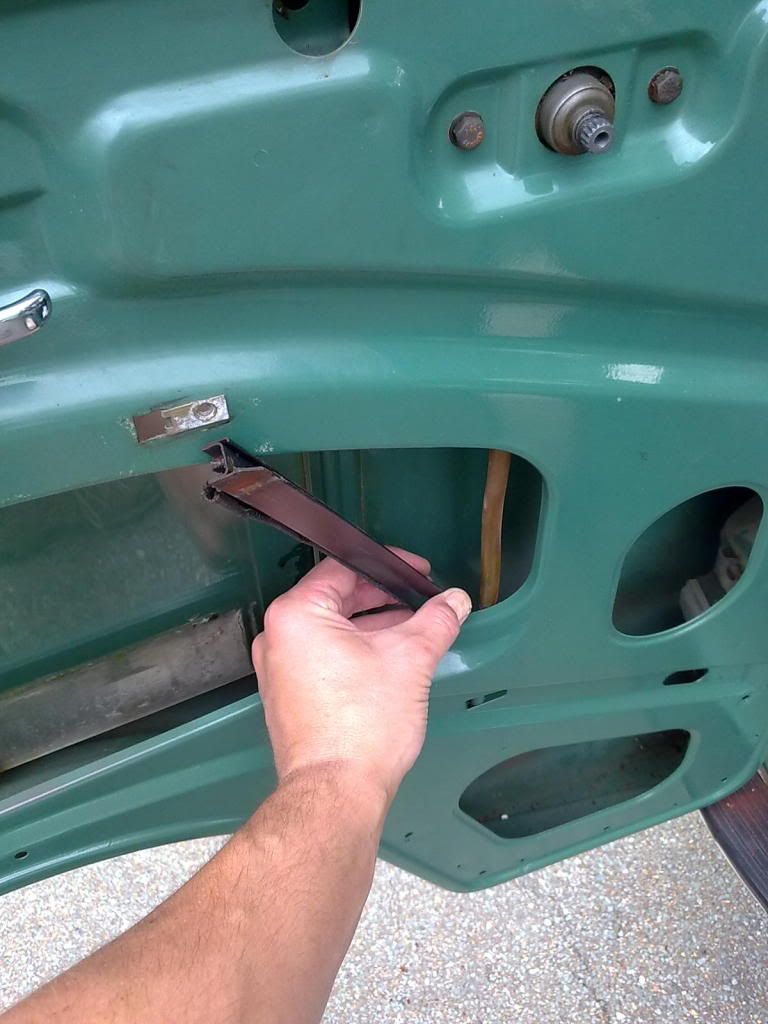
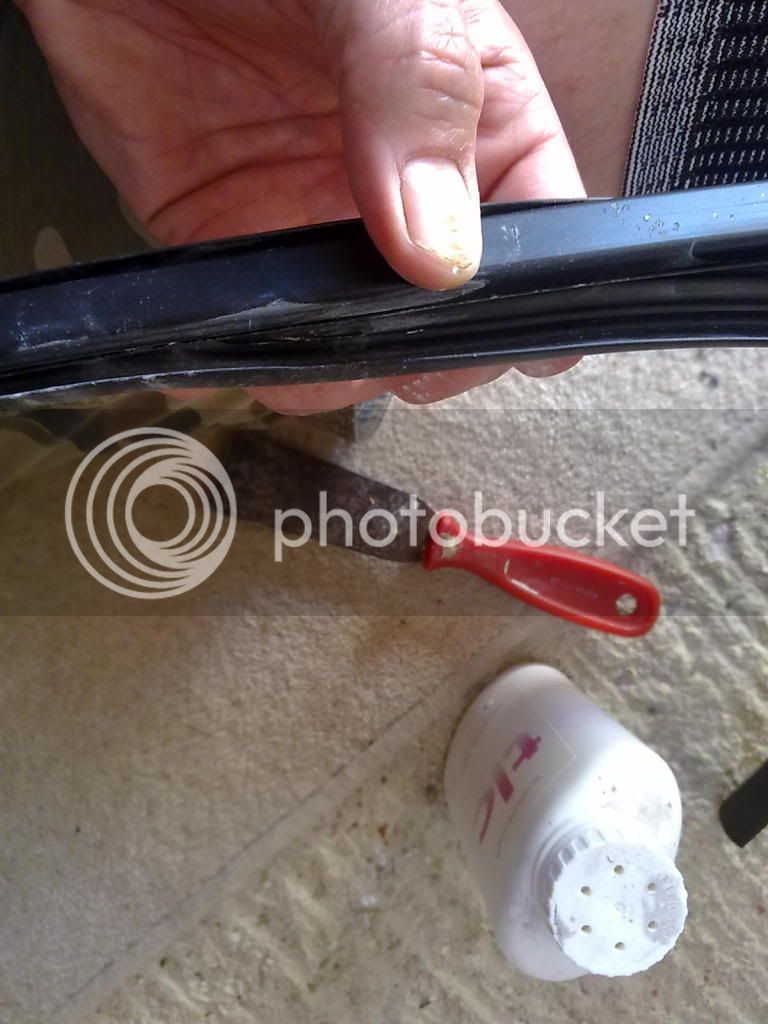
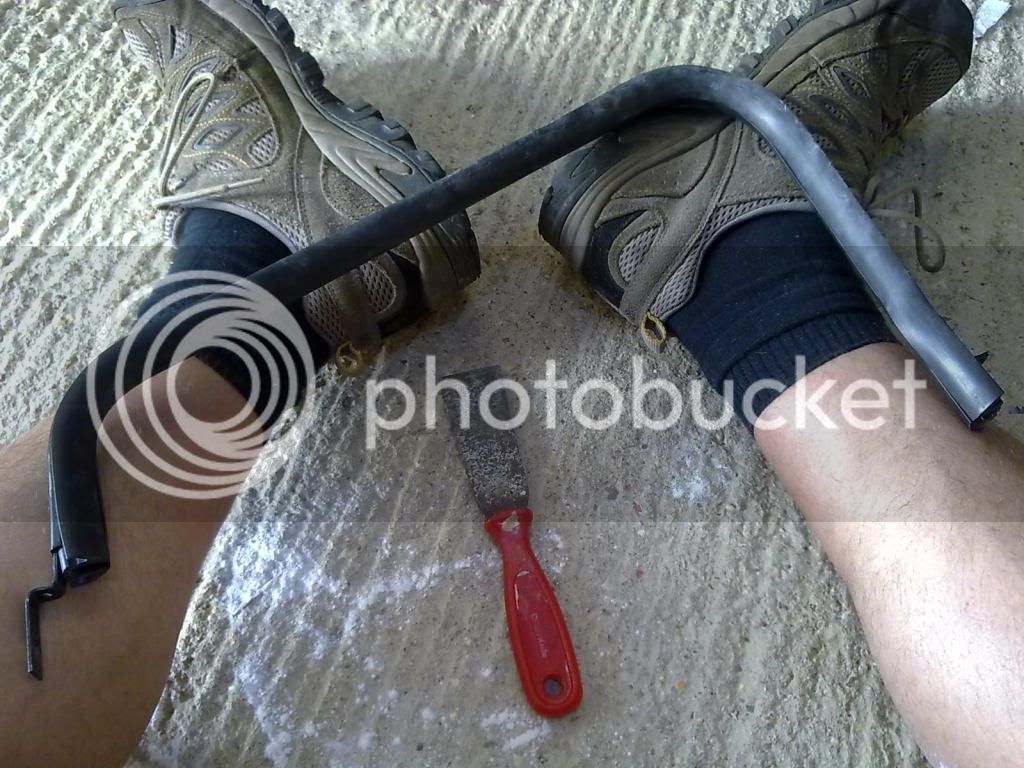
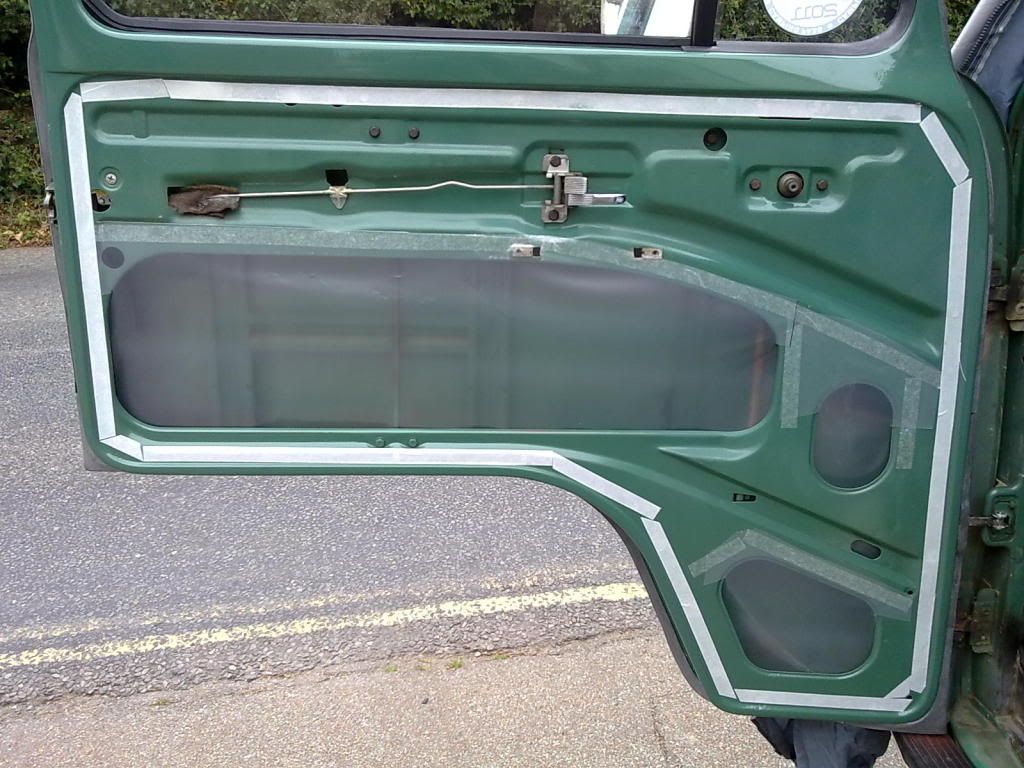
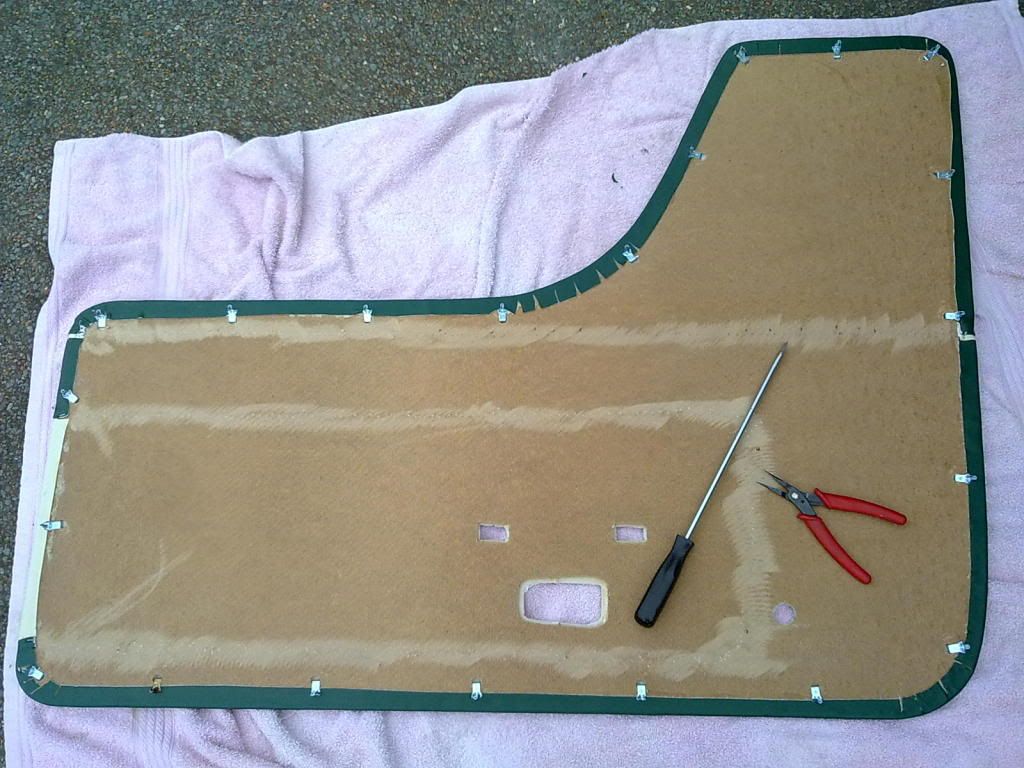
 ) - Forgot to take a picture of this sorry. Then got the glass back in and very slowly but surely started pushing and feeding it into the seals using a combination of putty knife, thin blade screwdriver and a bit of smoothed 1/16th plywood.
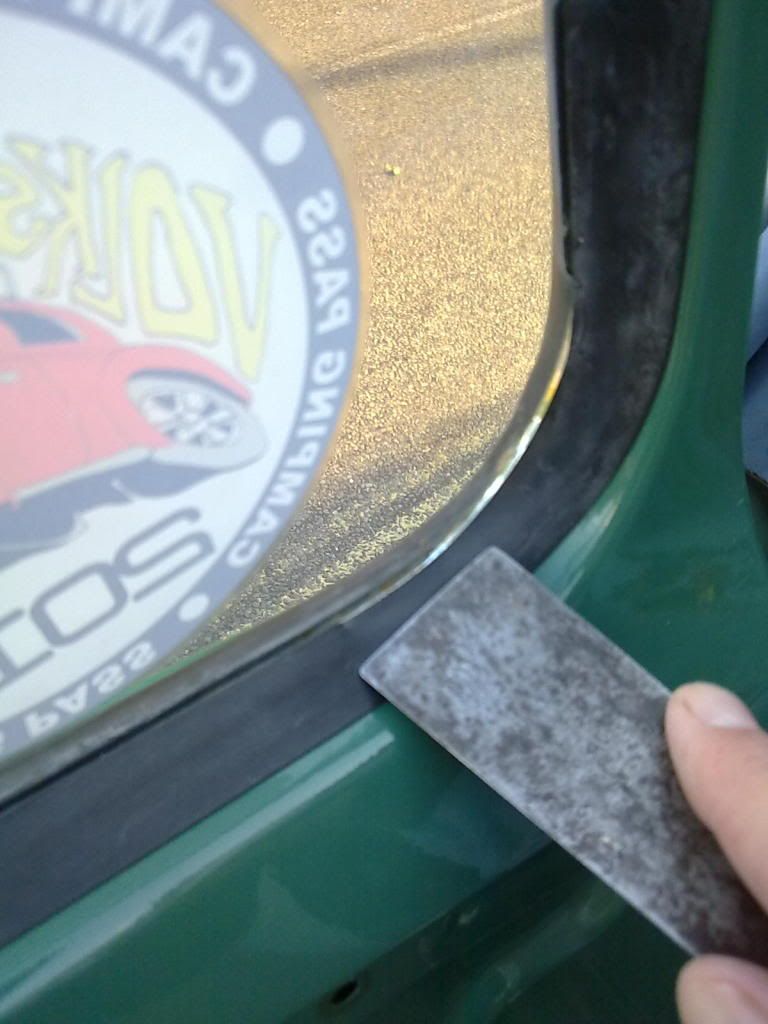
 )
)
 :bliss:
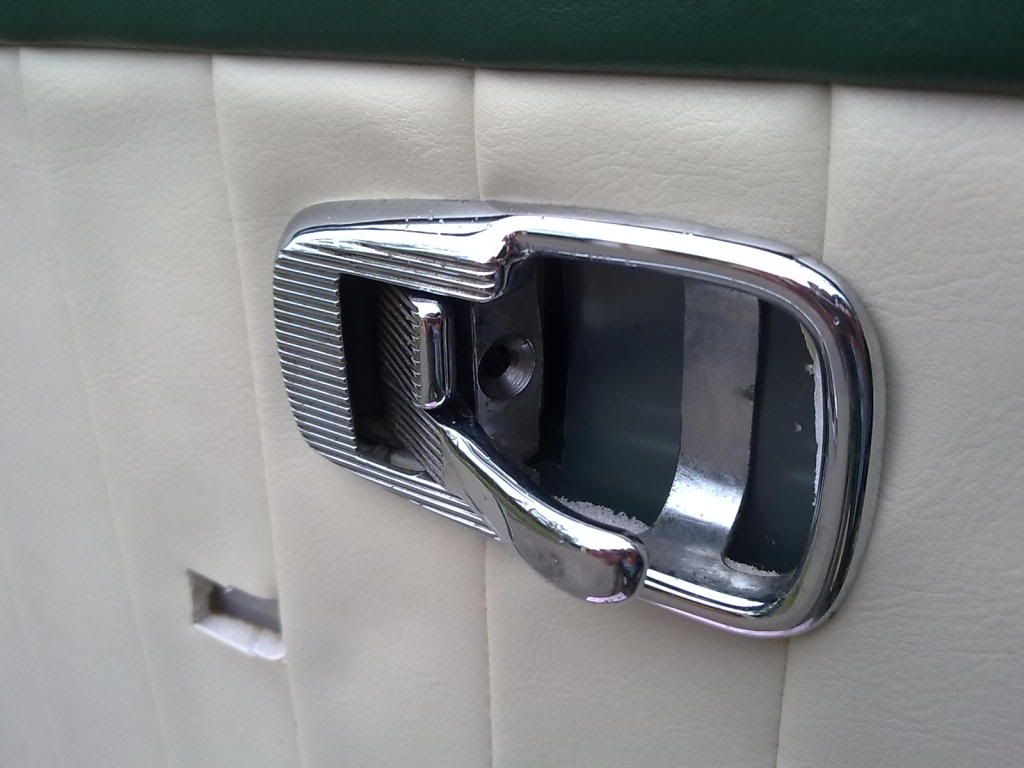
 arty0046: oke: ,arty0046:
Enter your email address to join:


