GLADYS: GOING "BACK TO BEIGE' 68 RESTO.

Early Bay Forum

Help Support Early Bay Forum:

This site may earn a commission from merchant affiliate links, including eBay, Amazon, and others.
.

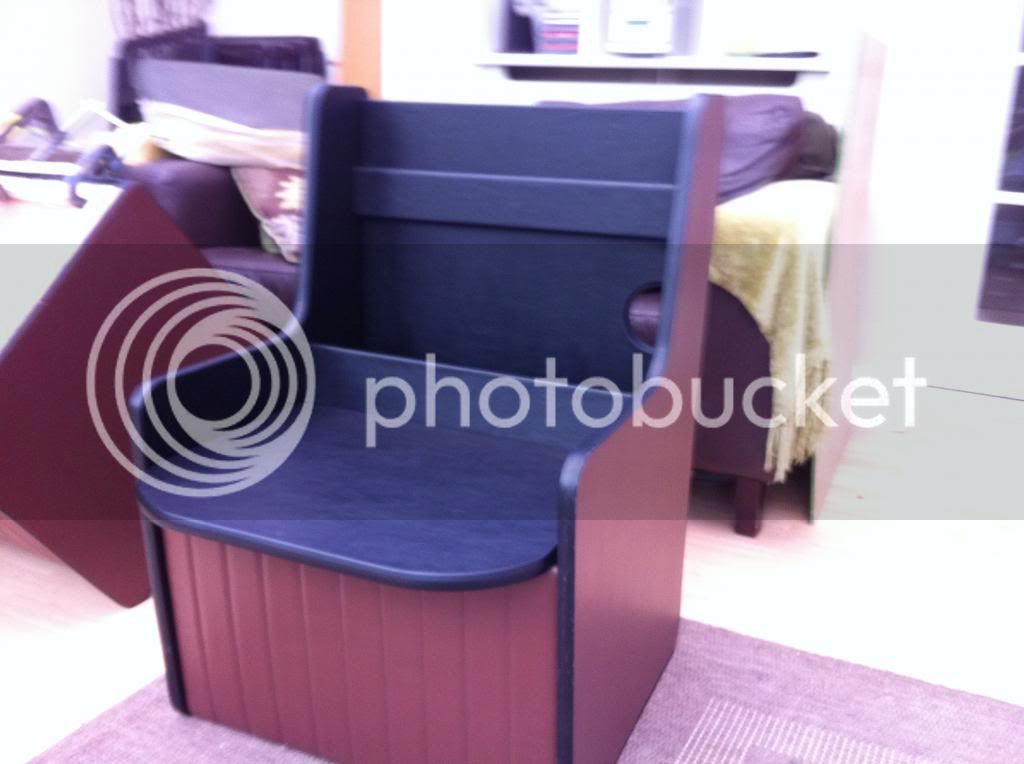
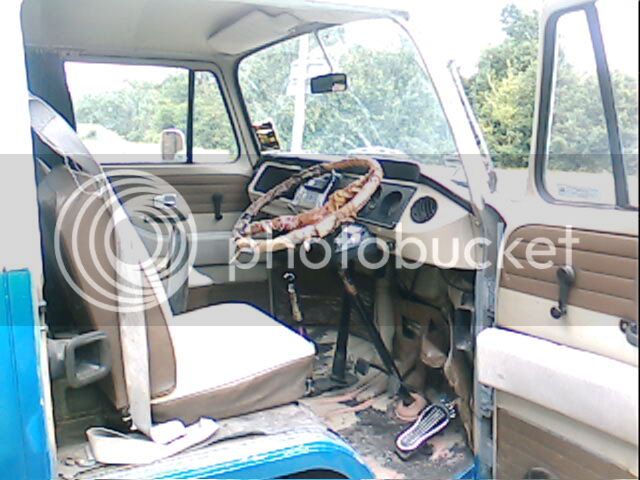
The interior I inherited left a bit to be desired.....


7.jpg
e


So , after reading good things about Delilah's Campervan Furnishings I thought
I'd have a look at their website http://www.delilahscampervanfurnishings.com" onclick="window.open(this.href);return false; .

Spent ages working out roughly what I wanted for the interior and gave them a call.
I've got to say that Darren and Lizzie are a really helpful couple and were willing to
put up with me trying to make my final decisions, then changing my mind or adding
bits and pieces :roll:


I got the front rubber floor mat from Mad Matz and the under seat mats from
Custom and Commercial and waited for Darren and Lizzie to create my new interior.

I had already booked a place in the line up at Bright Breeze so left Darren and Lizzie
with a bit of a tight deadline but they came up trumps. I got the call that it was all
finished and I went to sunny Huntingdon to collect the bits.


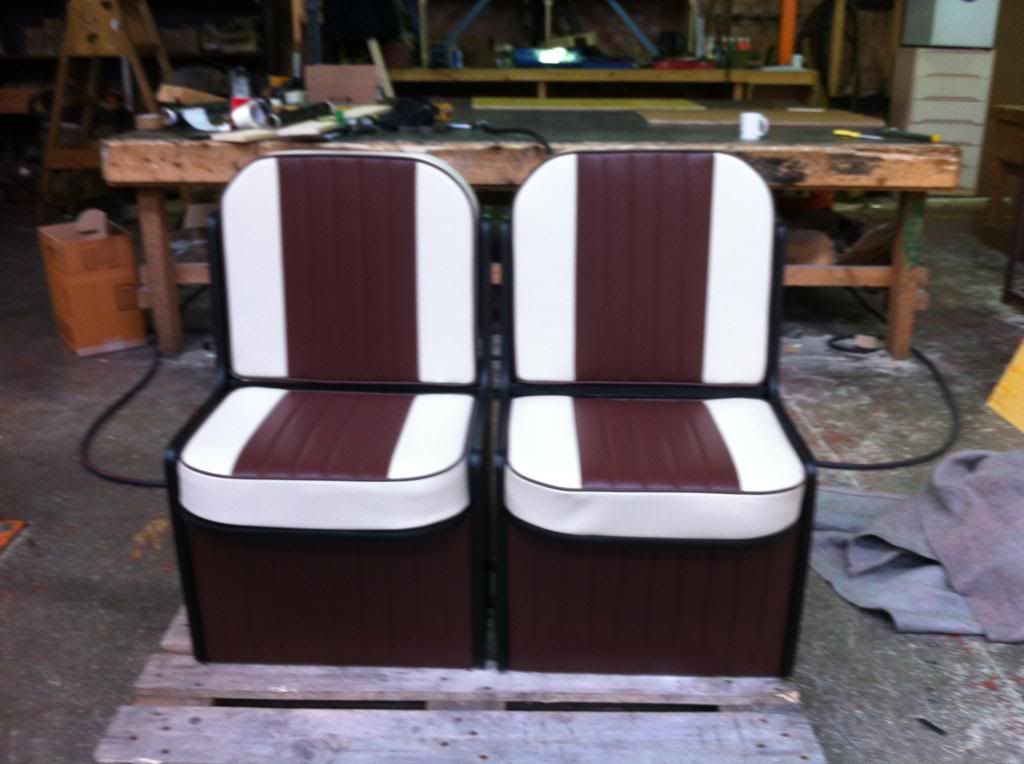
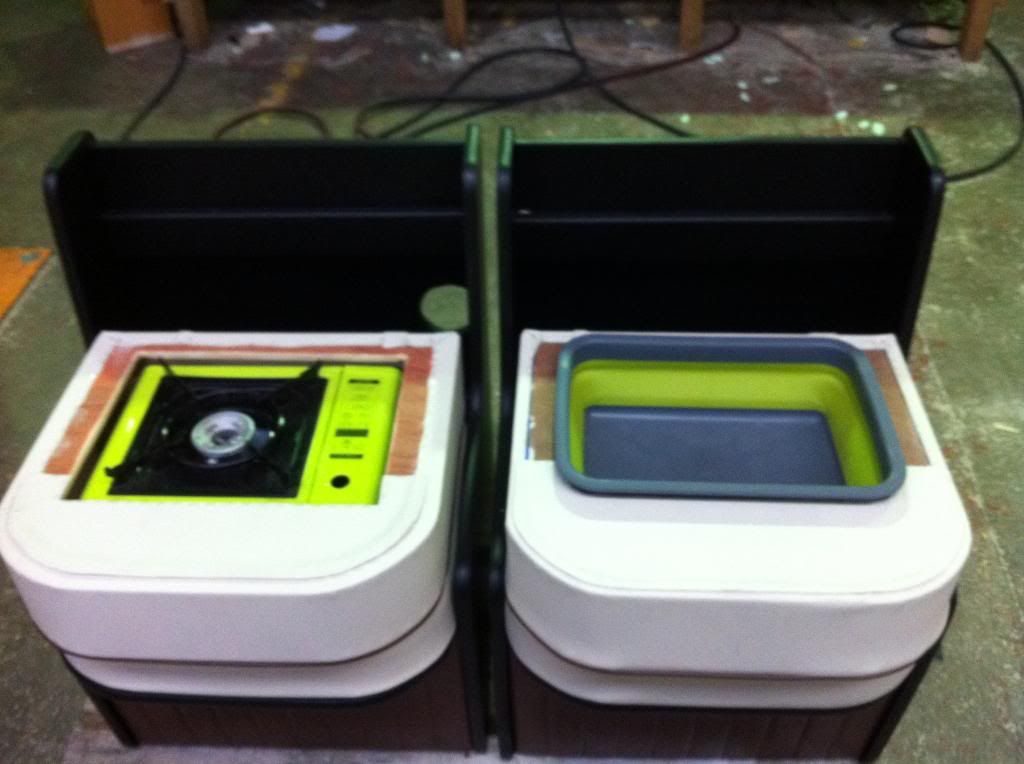
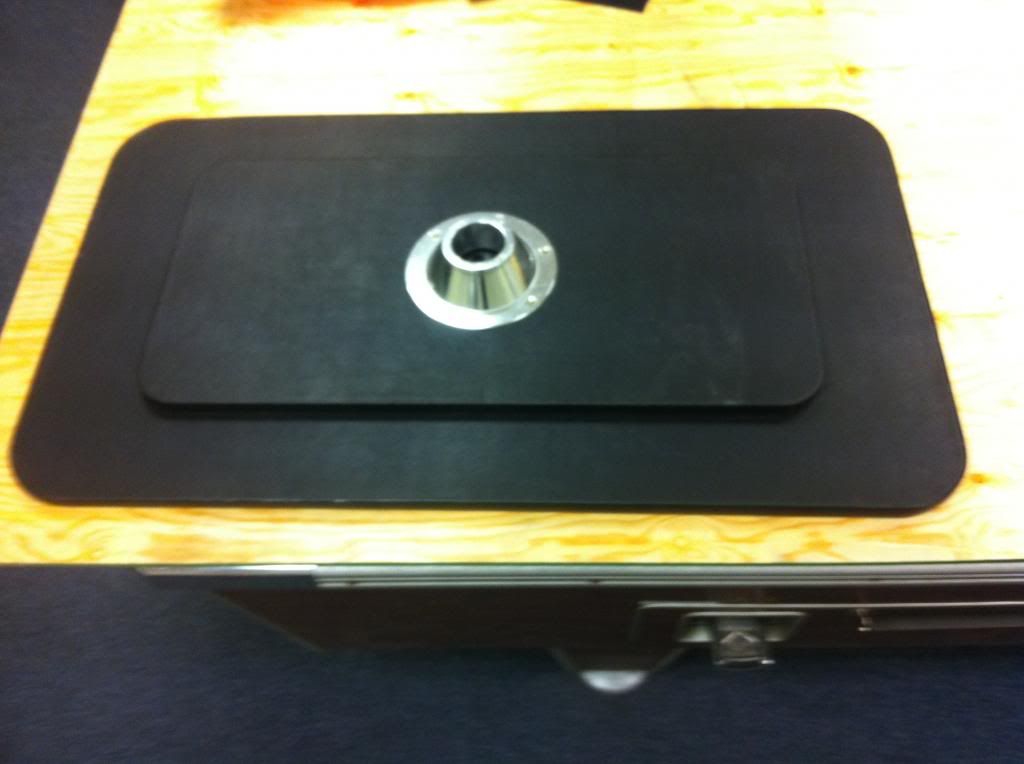
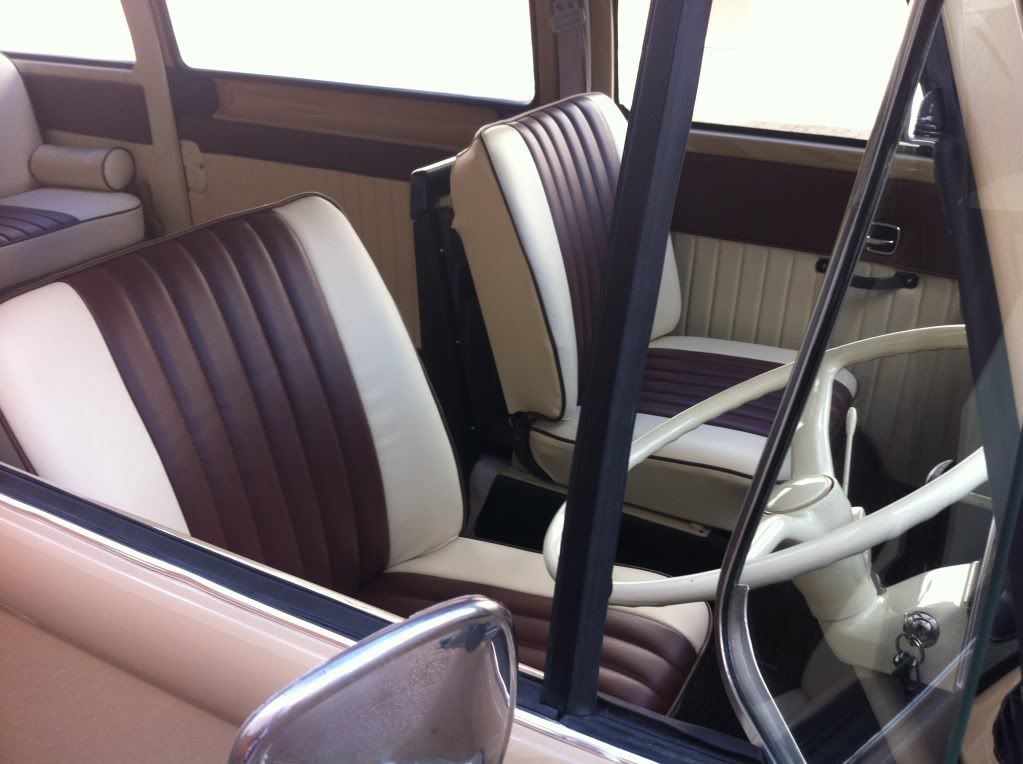
Anyway, after all the discussions, phone calls and e-mails ( they have the patience of a Saint ) this is the outcome........


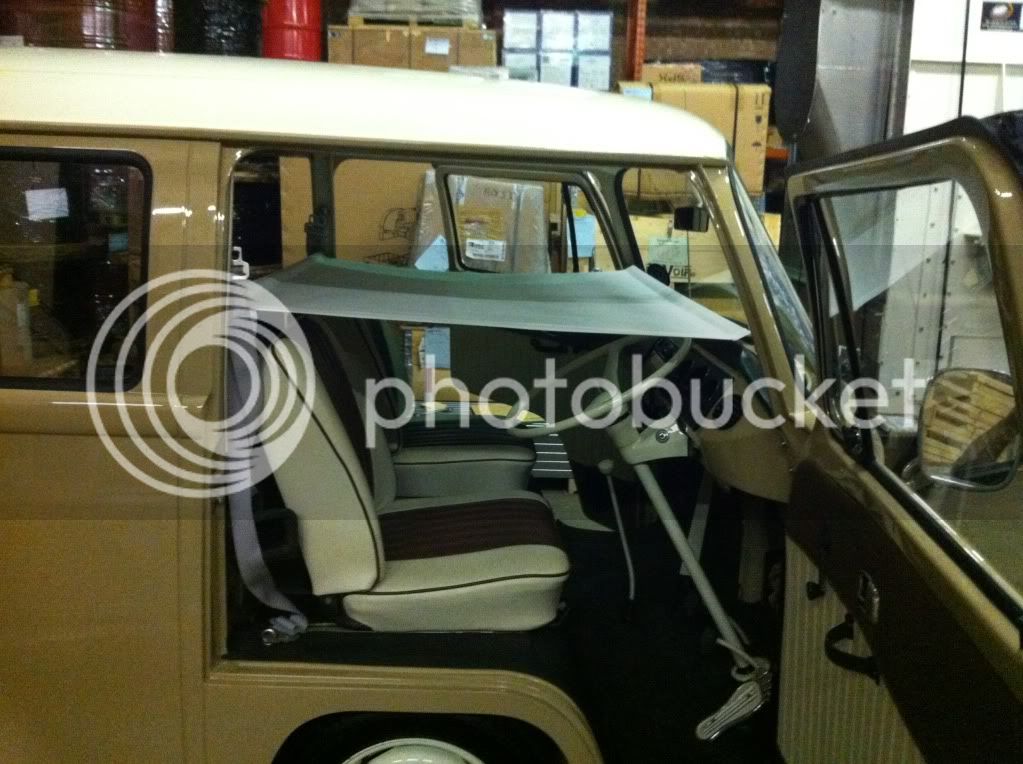
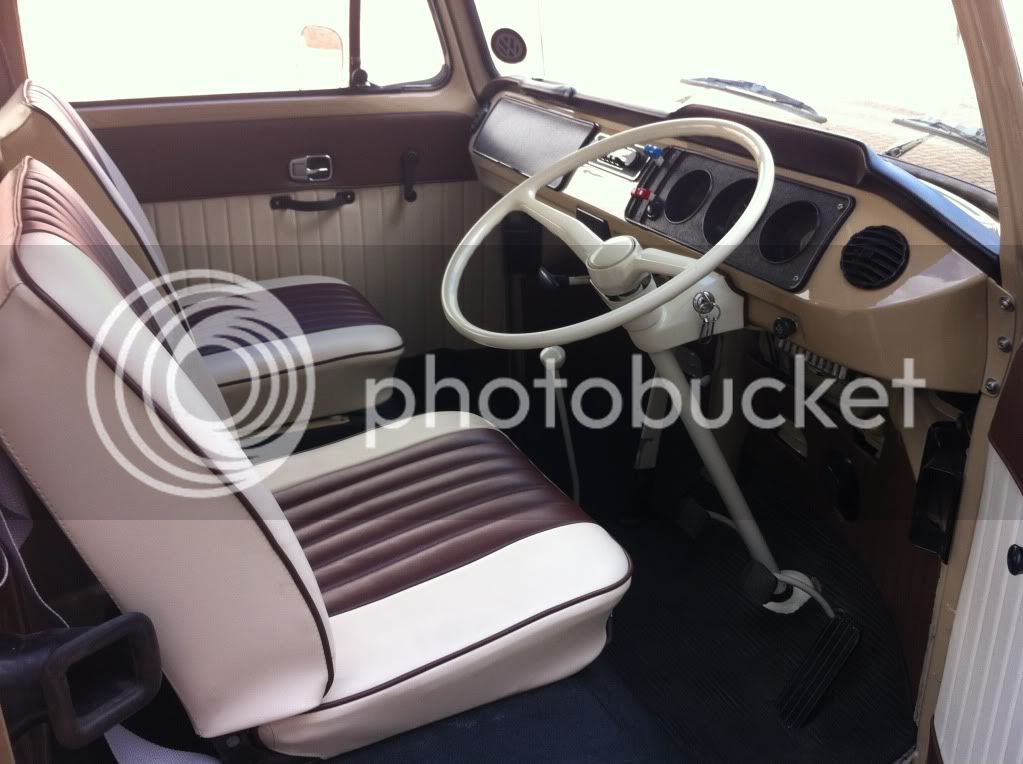
Cab seats and door cards ,,,,,,,,


IMG_0236_zpsb655cb68.jpg


IMG_0237_zps21464a20.jpg


IMG_0238_zpsbc5240af.jpg


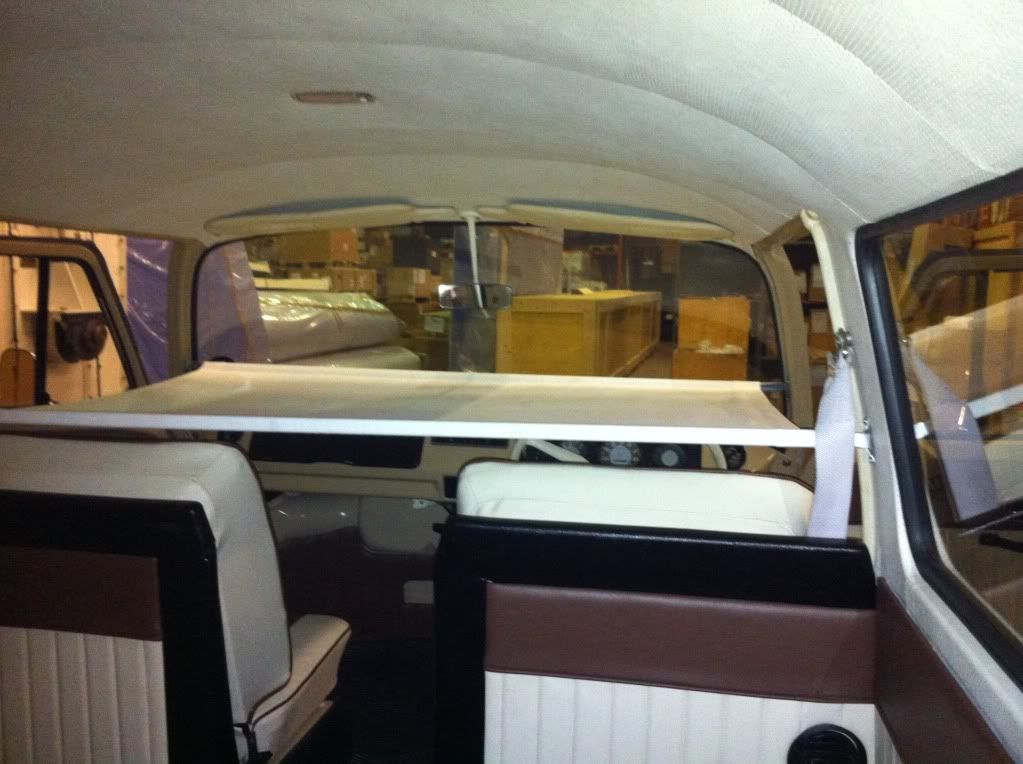
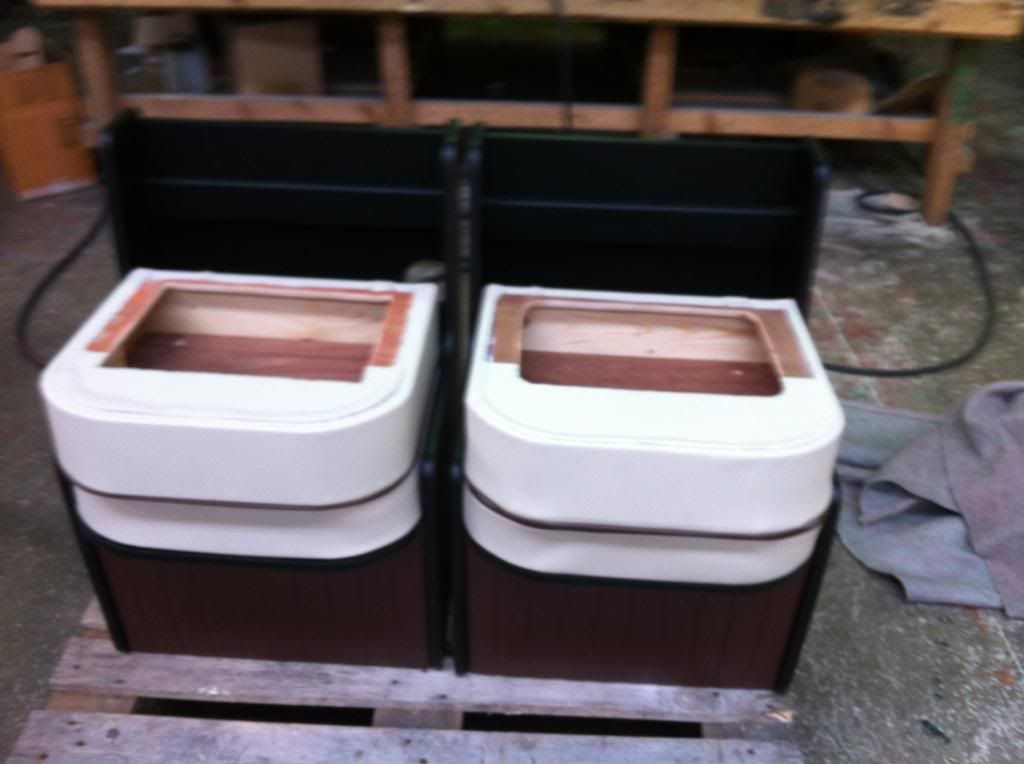
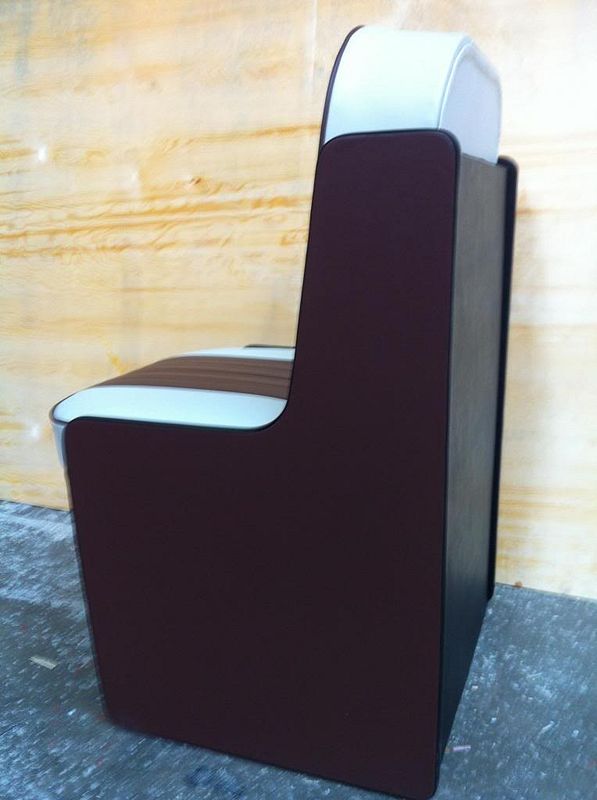
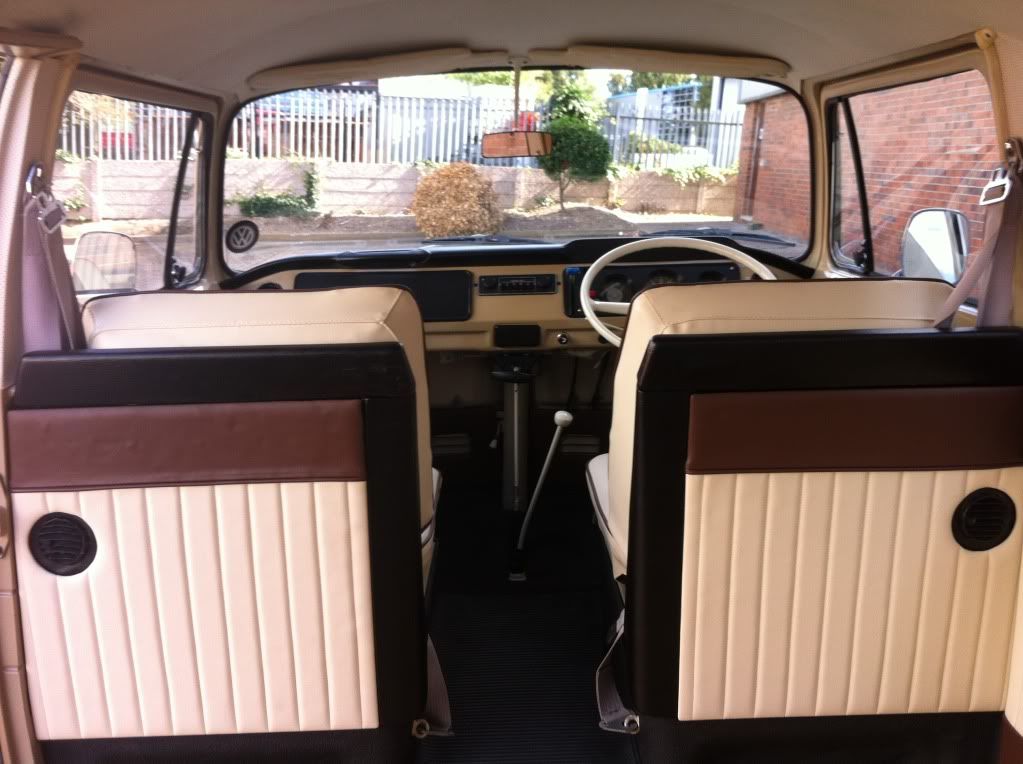
Behind the cab seats......
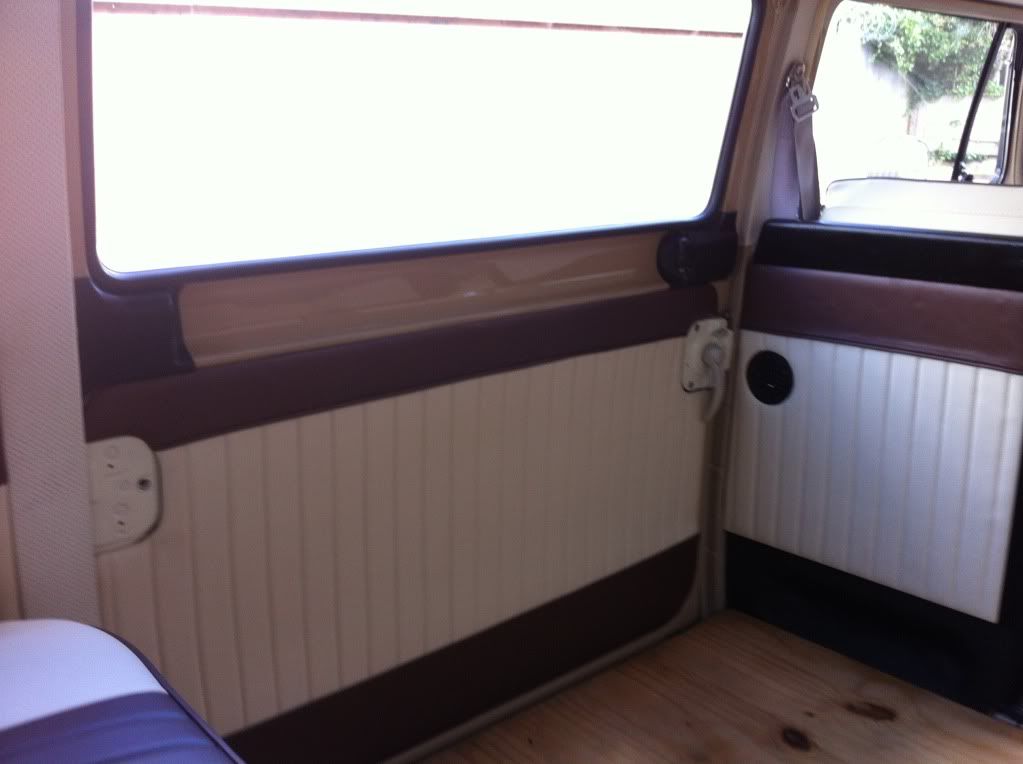
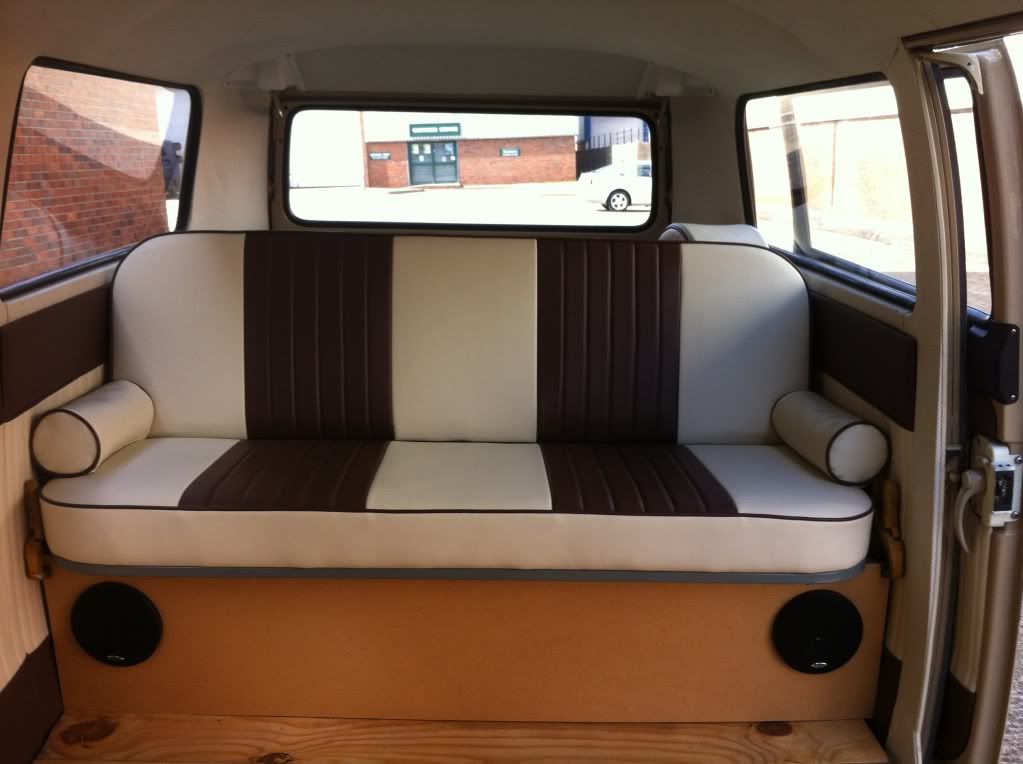

IMG_0242_zpsf3da8f27.jpg


Sliding door......


IMG_0245_zps347fbdf4.jpg


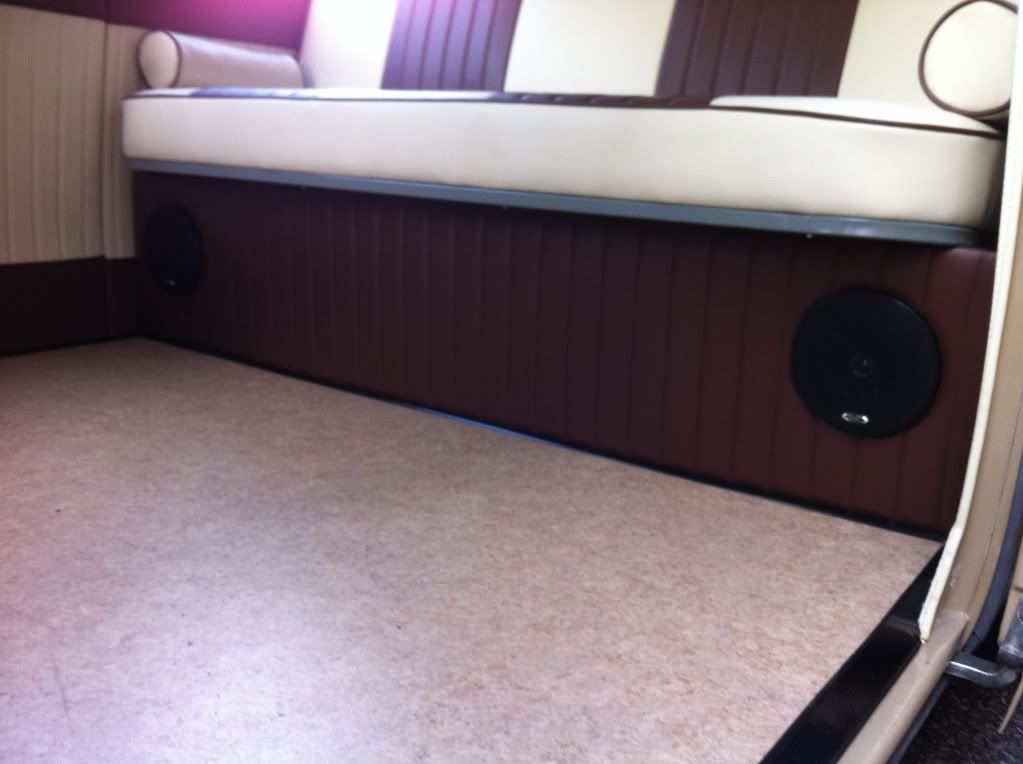
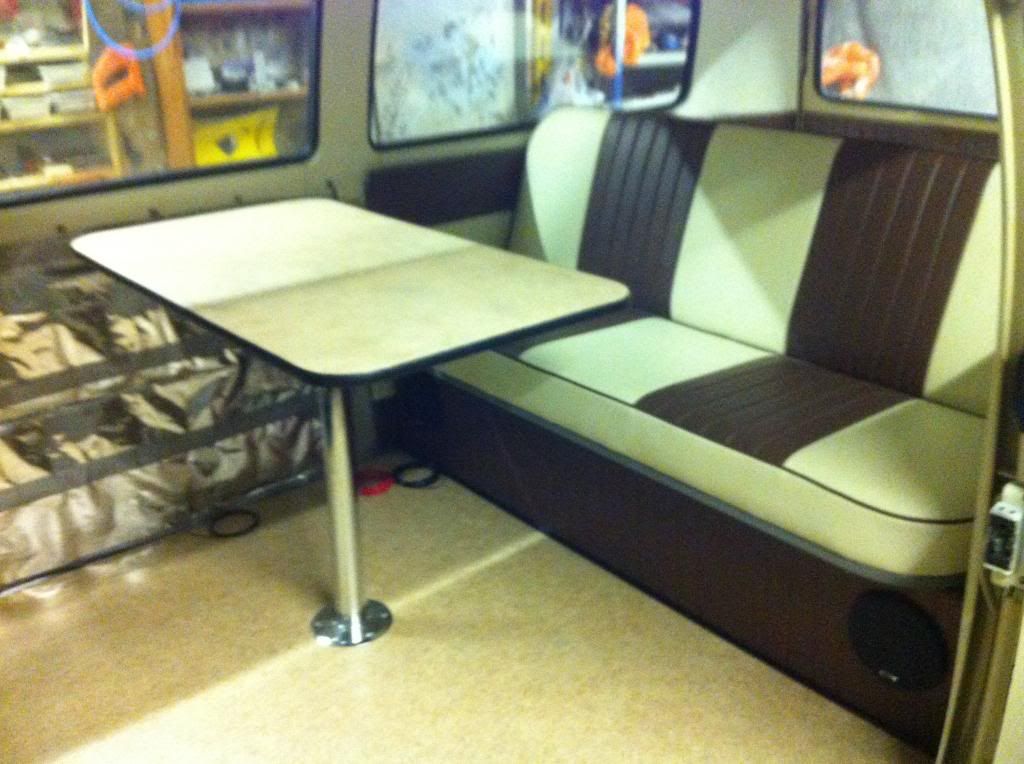
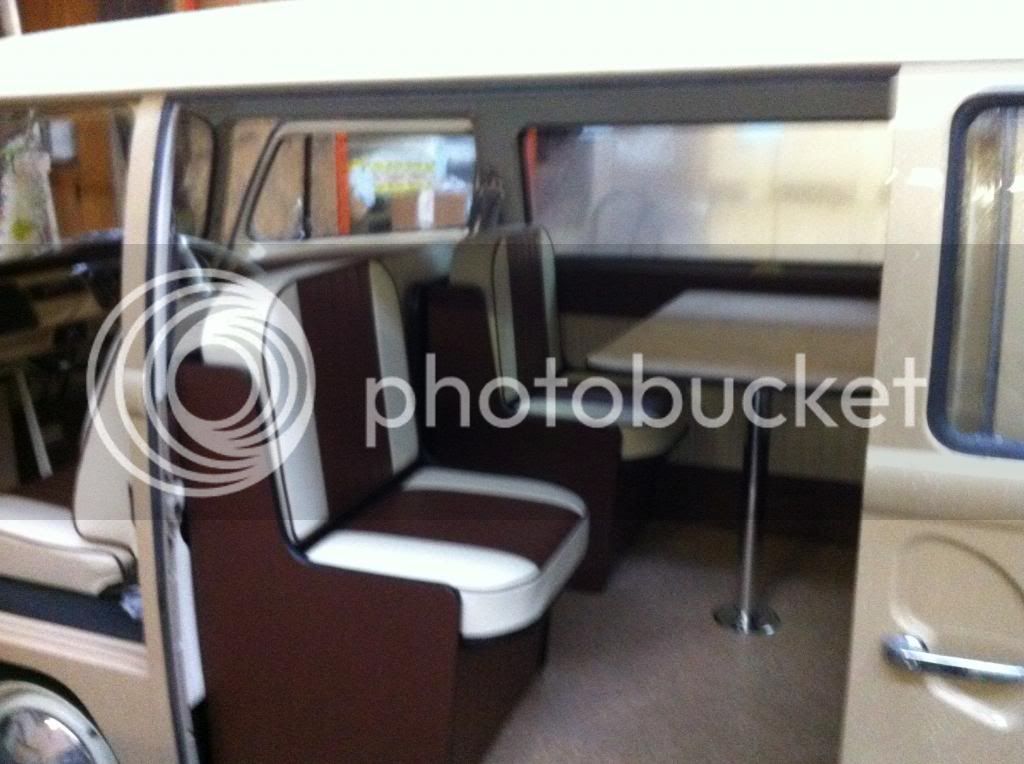
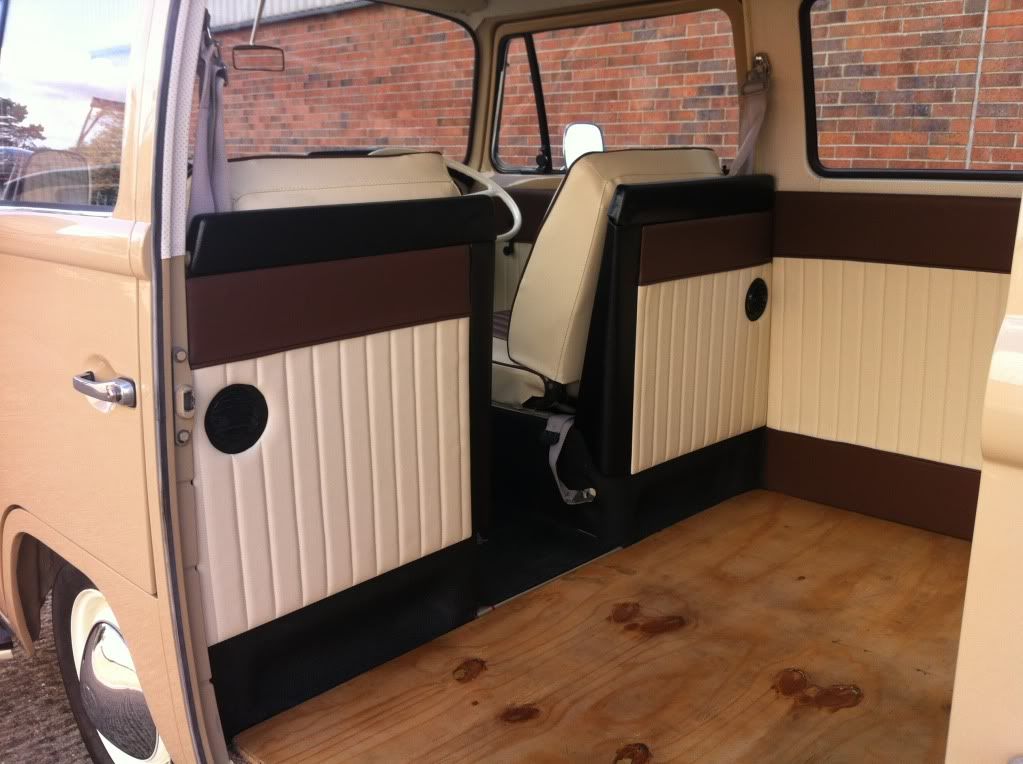
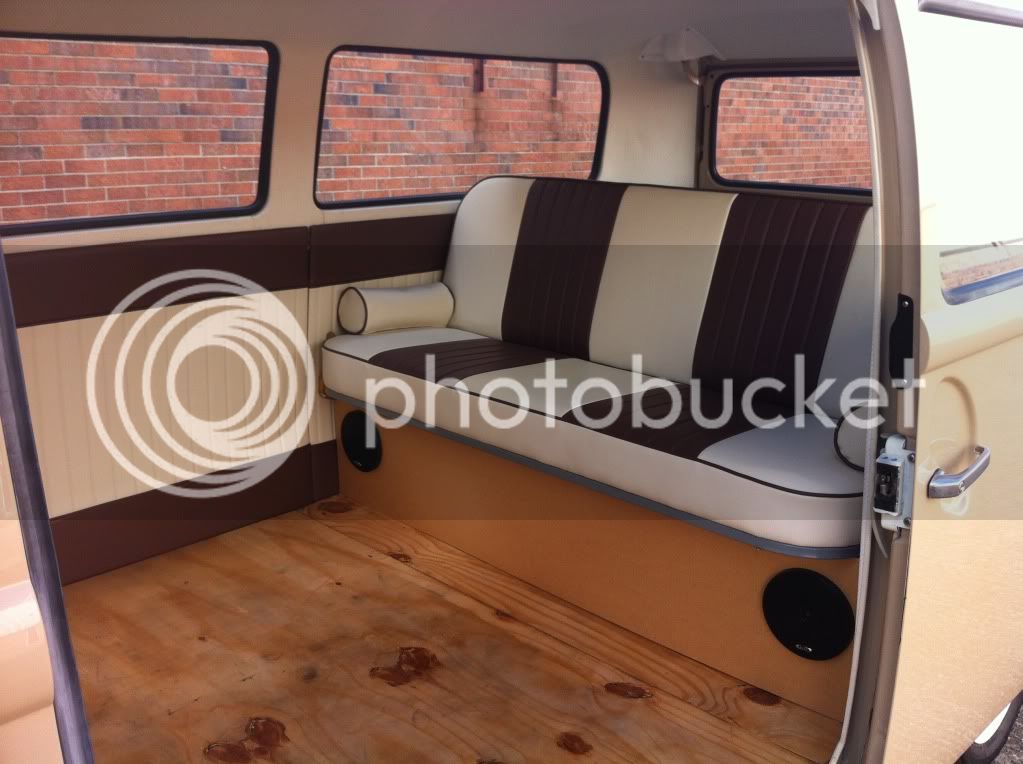
Opposite sliding door and rear seat.......
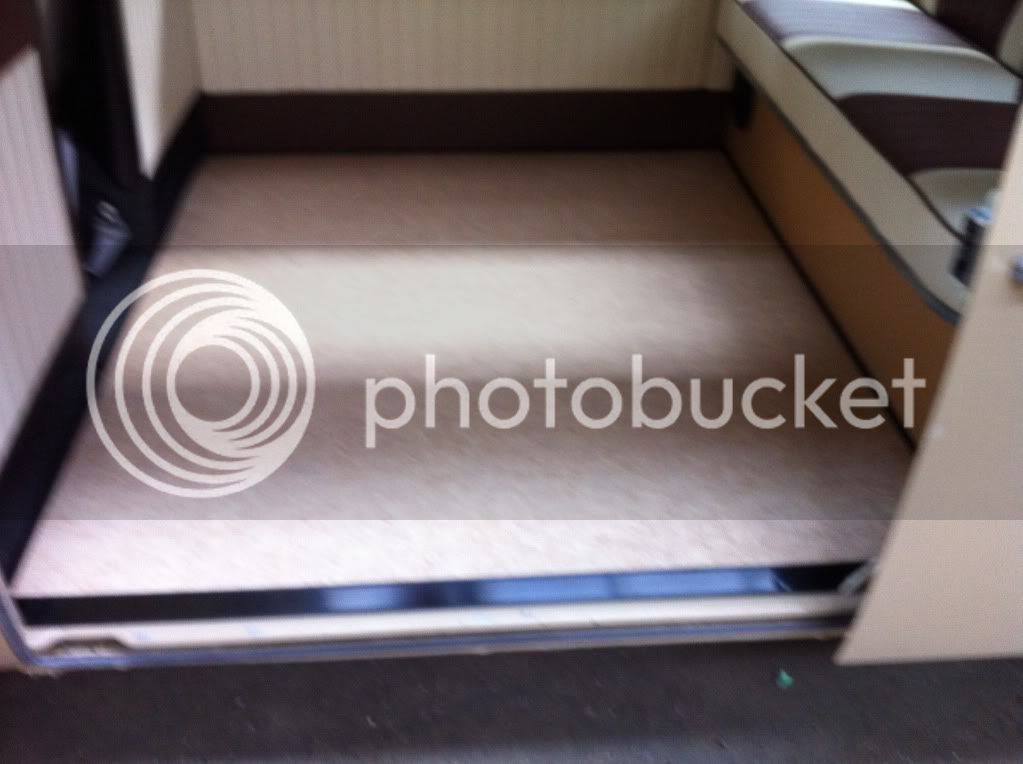
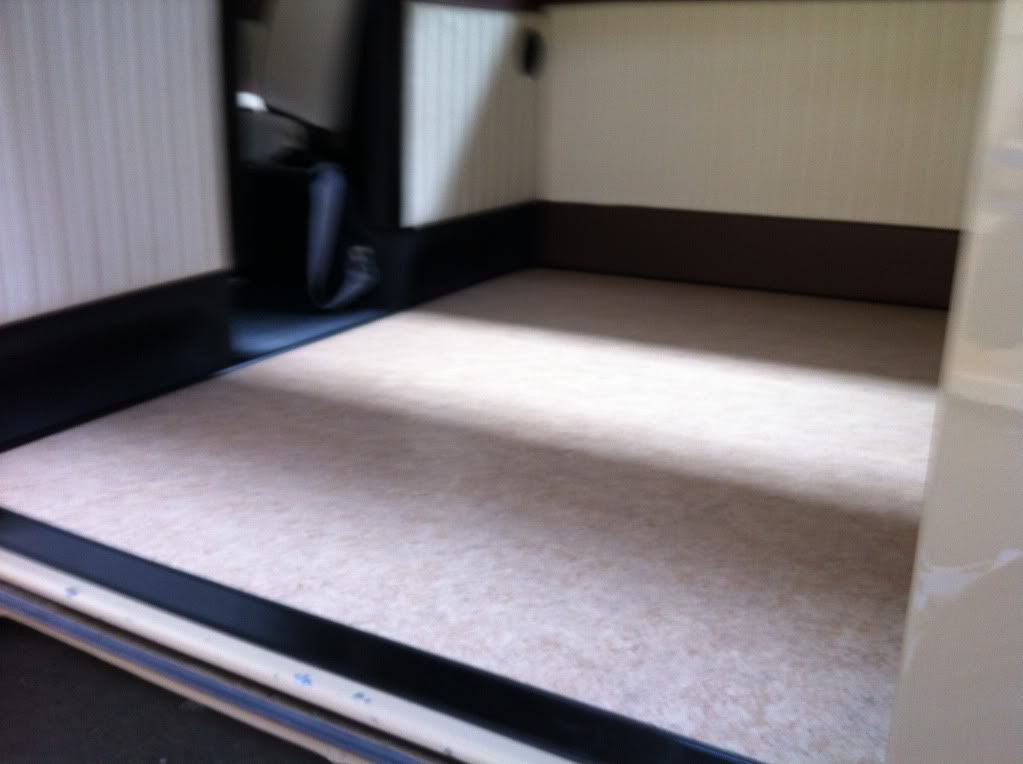
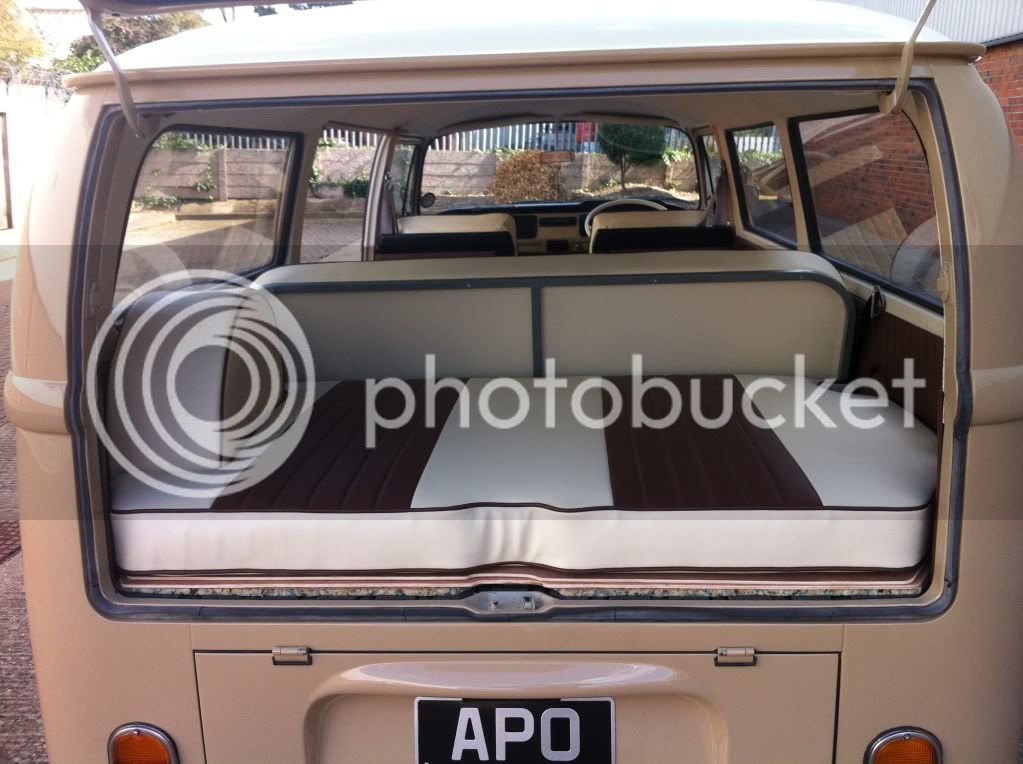


IMG_0240_zpse3809c6c.jpg


IMG_0241_zpsb648ba99.jpg


IMG_0243_zps8d6e8565.jpg


From the back......


IMG_0244_zps504823f7.jpg


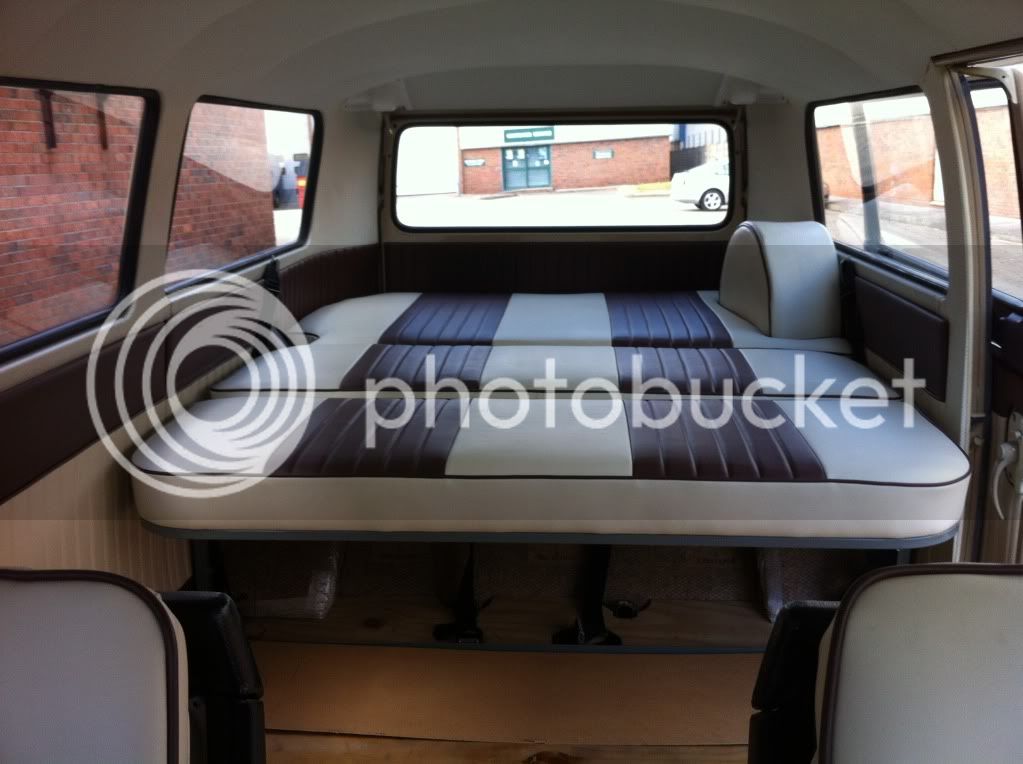
Rock and Roll bed from inside......


IMG_0246_zps554fb198.jpg


Rock and Roll bed from outside..........


IMG_0244_zps504823f7.jpg


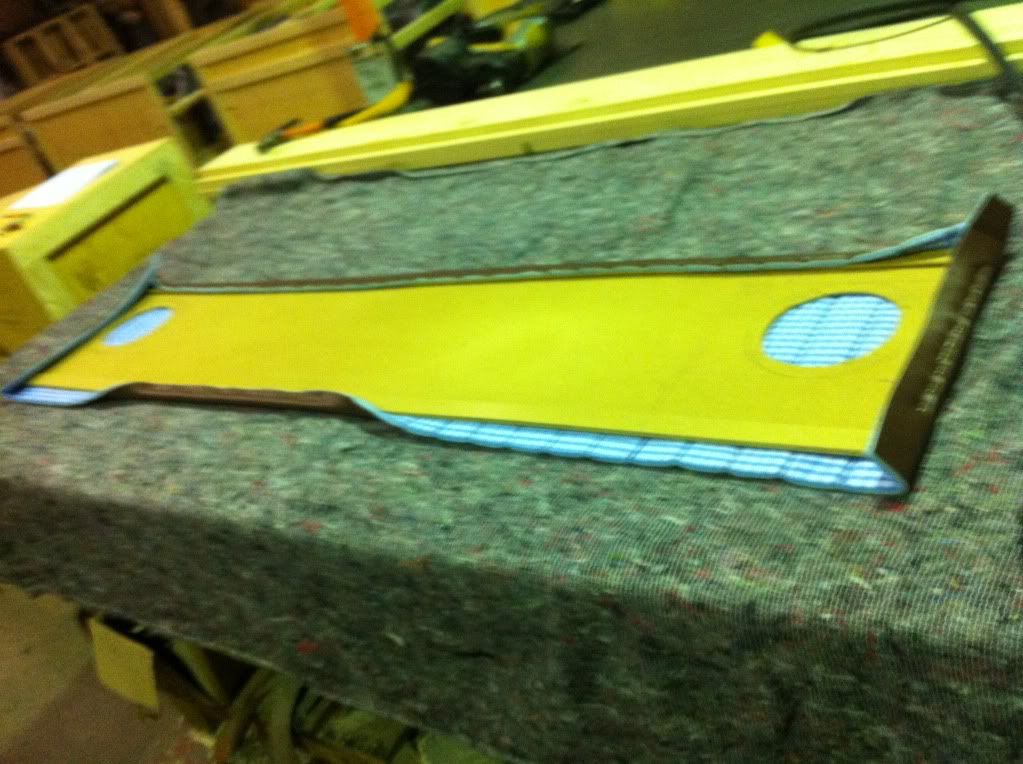
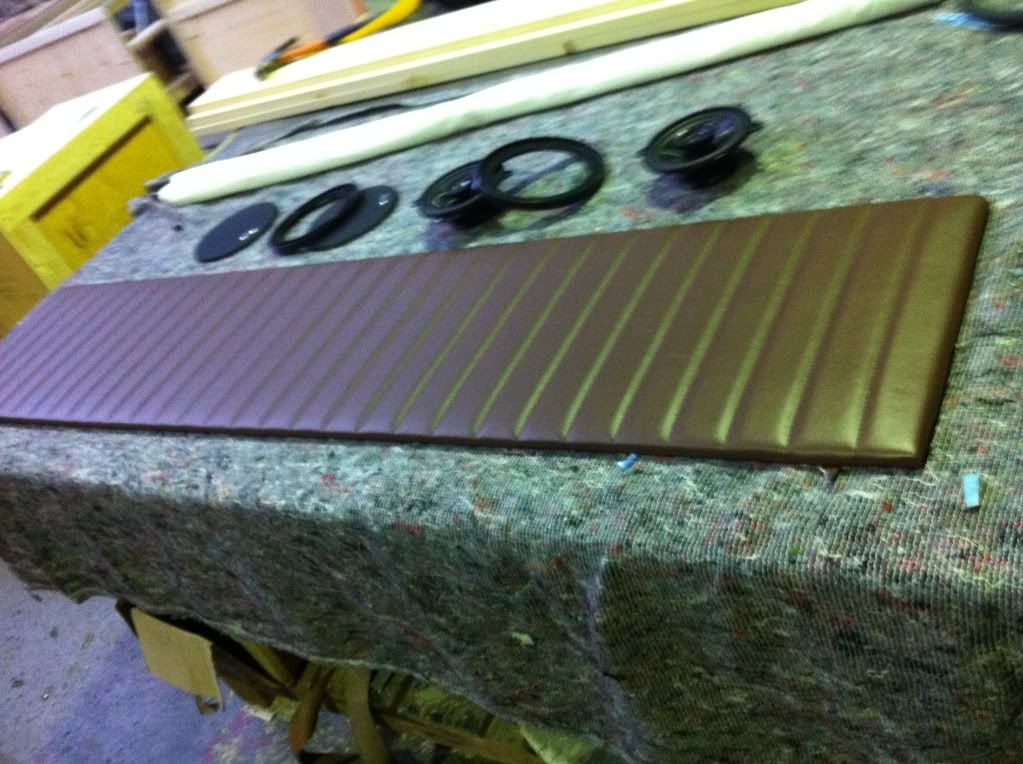
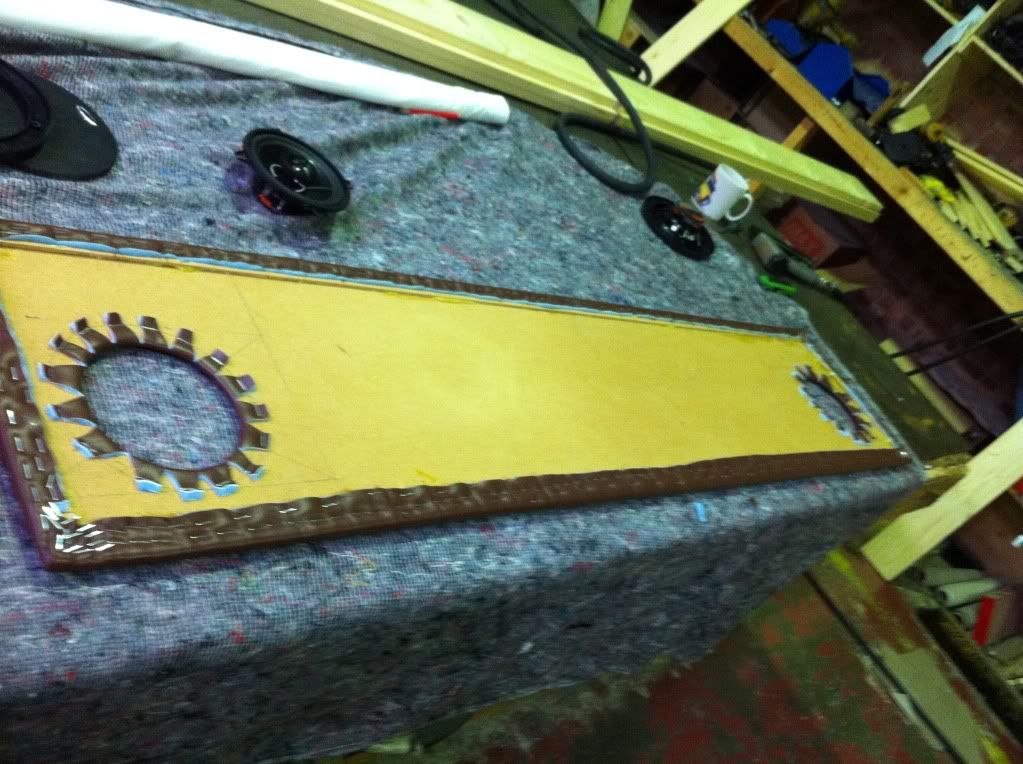
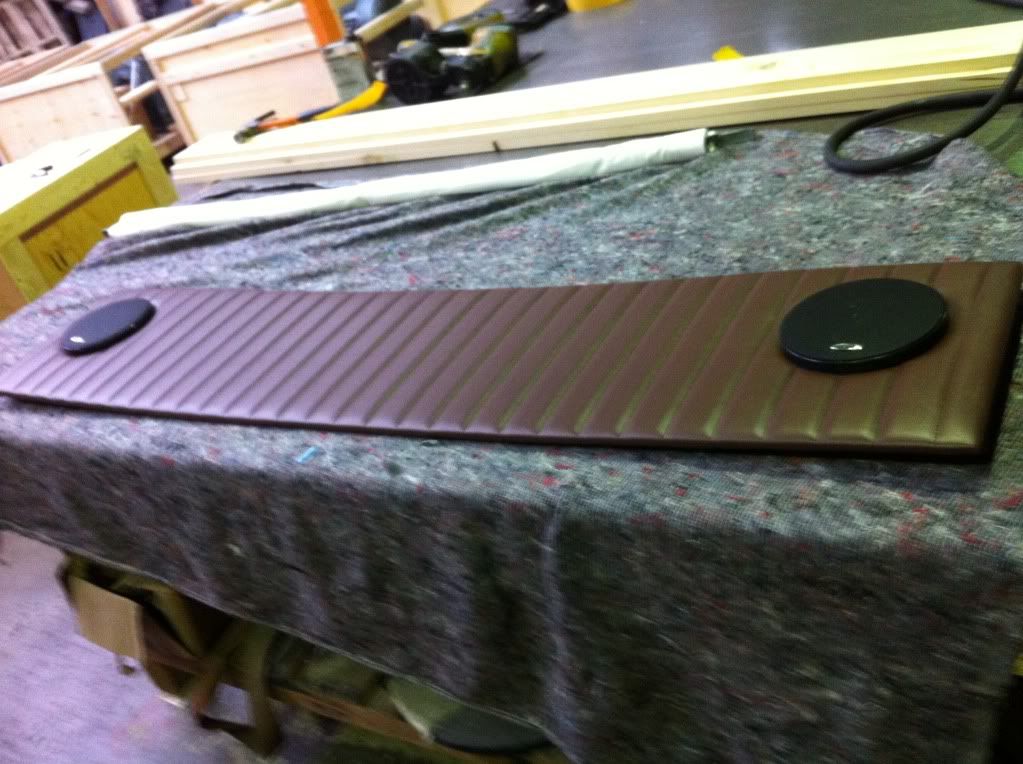
Front kick boards.( complete with footprints ) .......


IMG_0248_zpsb167cfcb.jpg


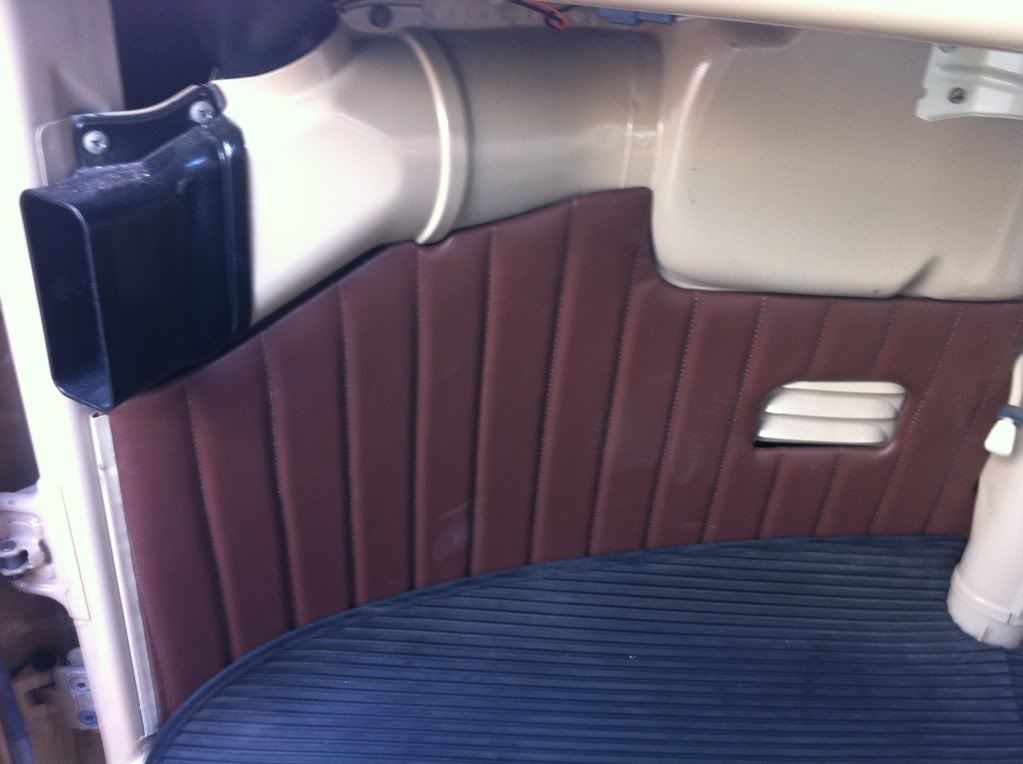
Darren and Lizzie are making me a cover for the rear kick board
under the Rock and Roll bed and are posting it to me so I can
finish the kick board / speaker panel in the same material as the
front kick boards .


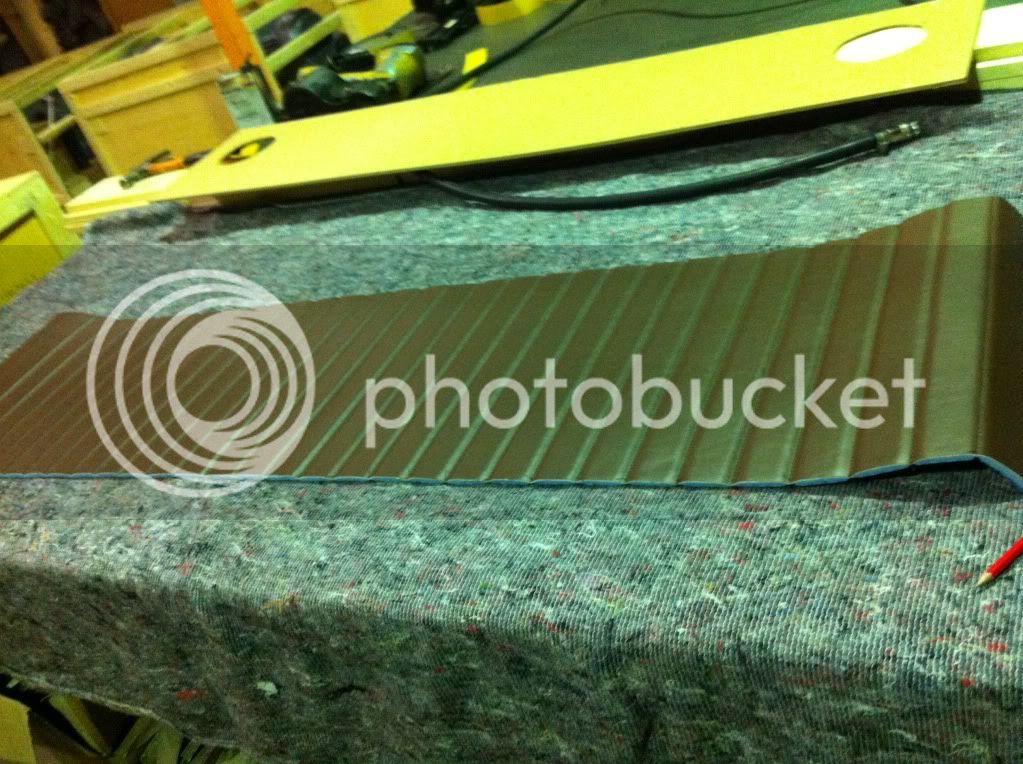
I've got the vinyl for the floor and hope to fit it this week just in
time for Brighton Breeze ;)


Let me know if the photo's are getting boring ...

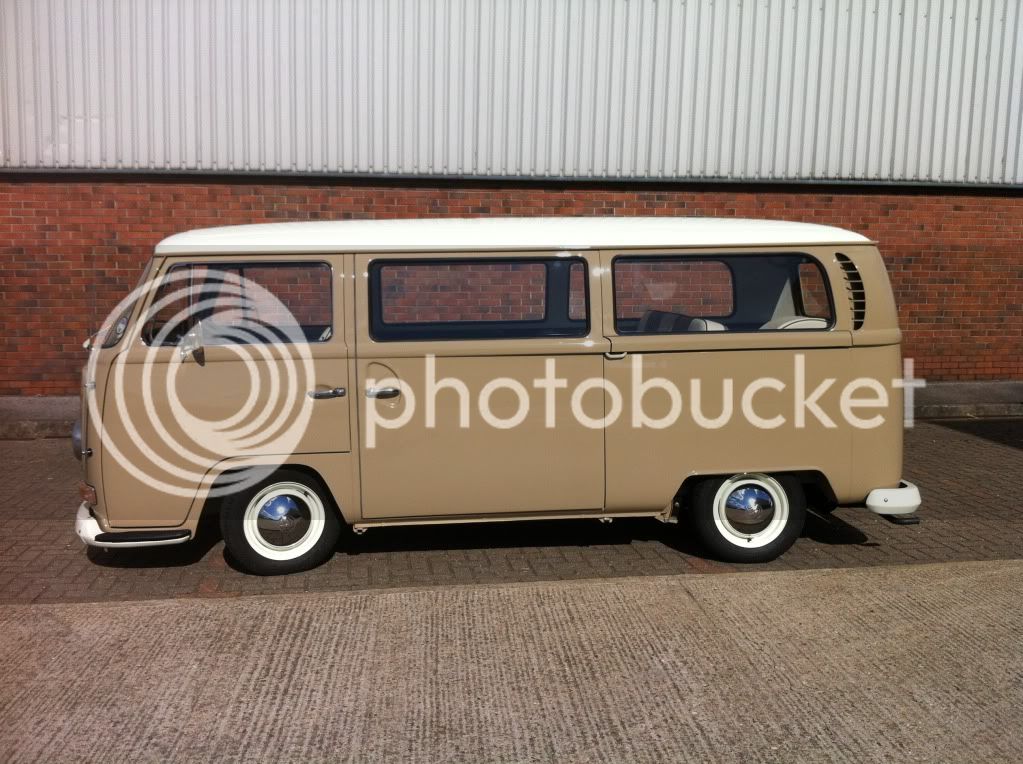
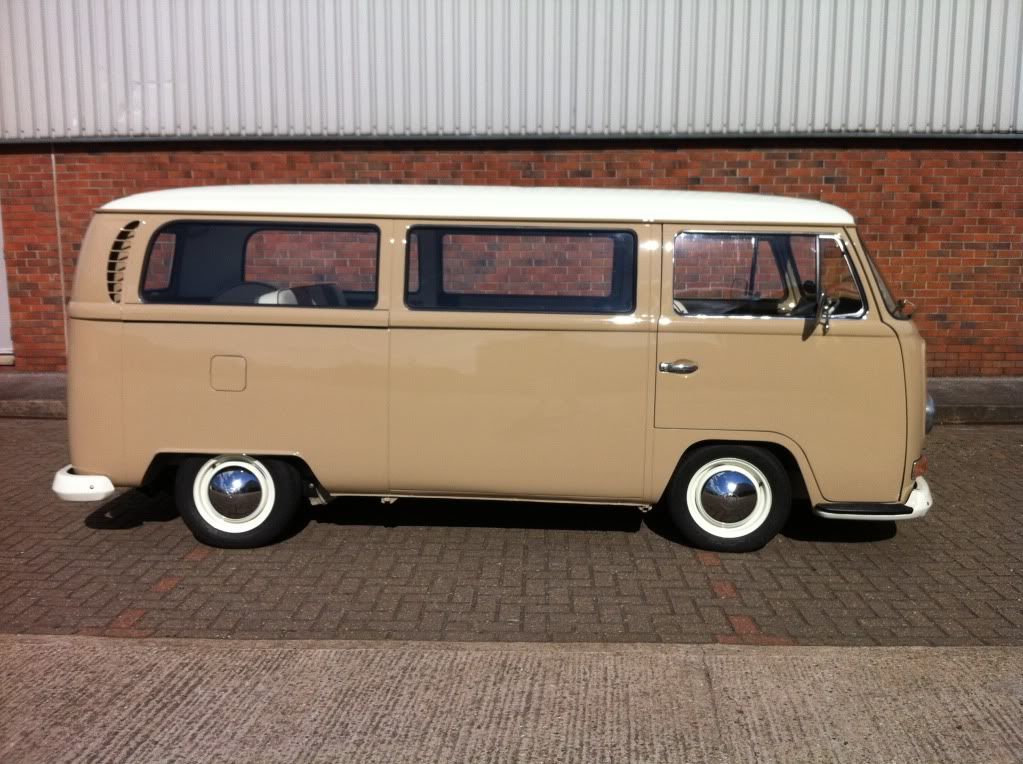
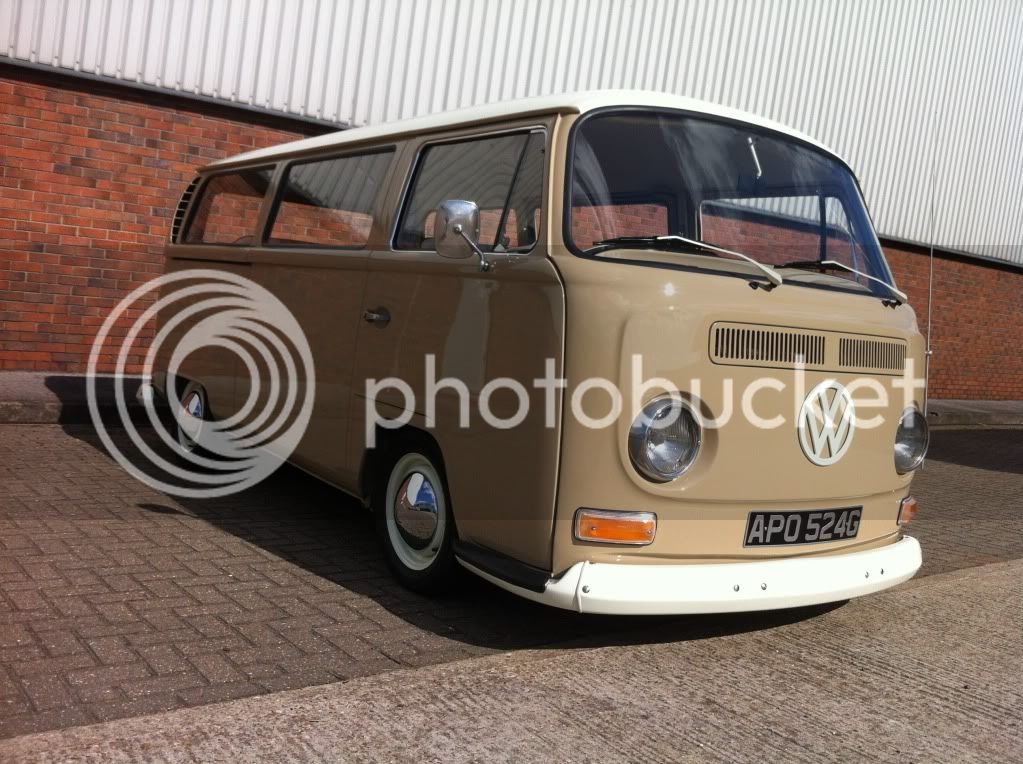
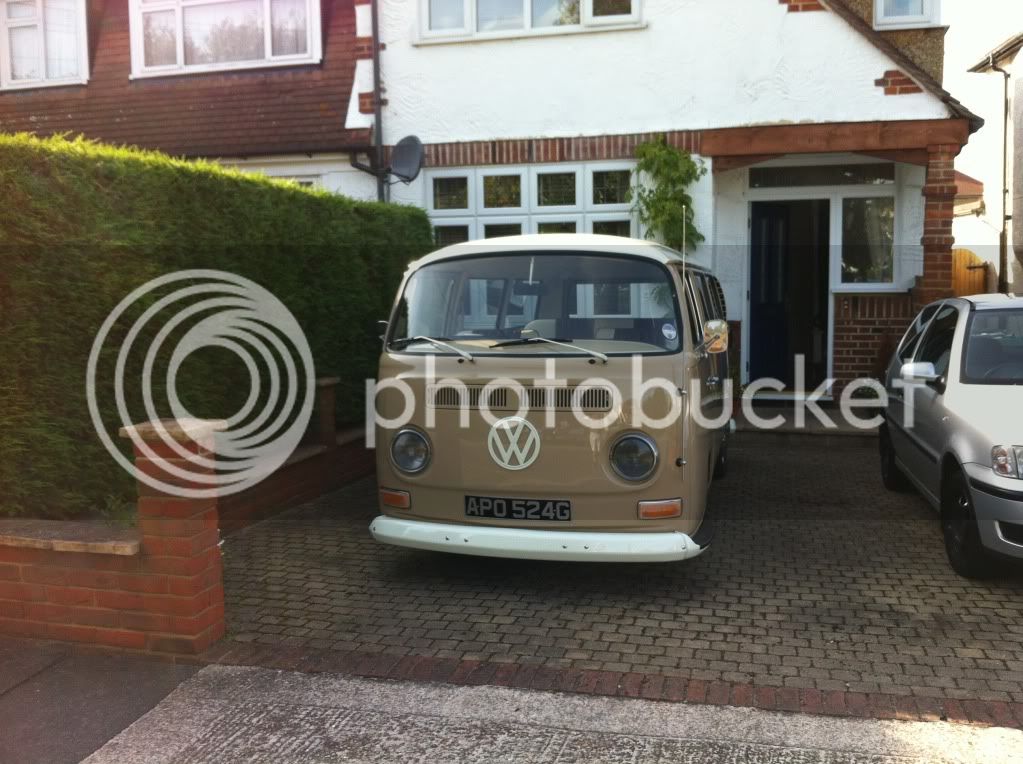
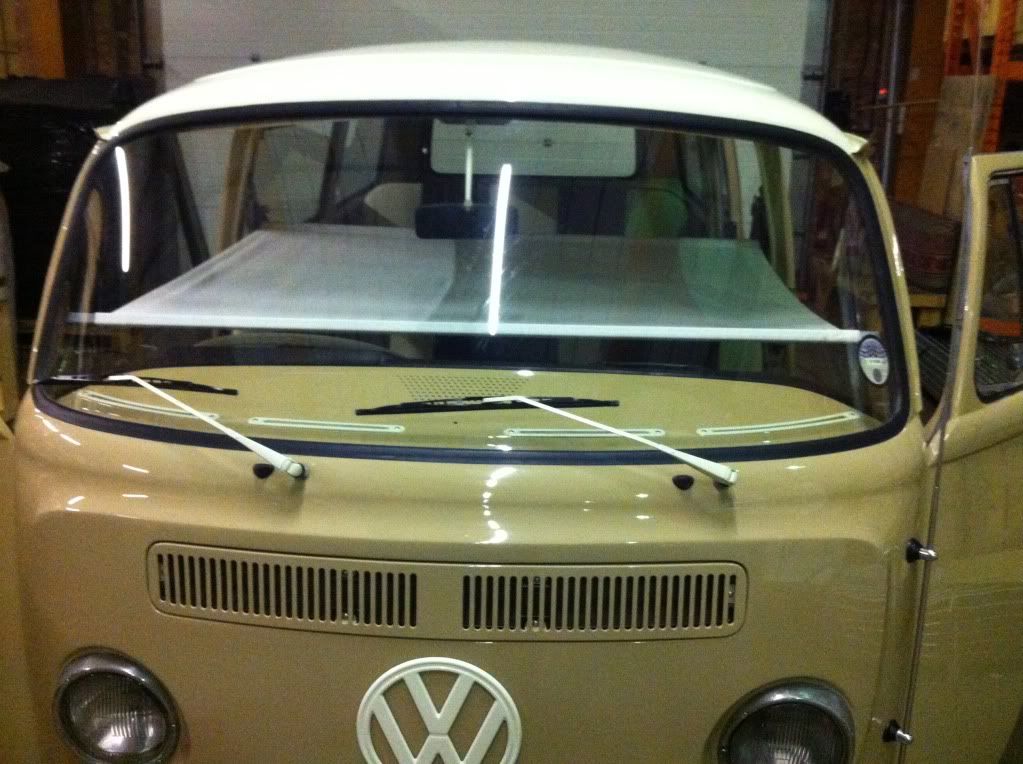
Tough if they are 'cos I'll be back later today with loads photo's of the outside........ :lol:
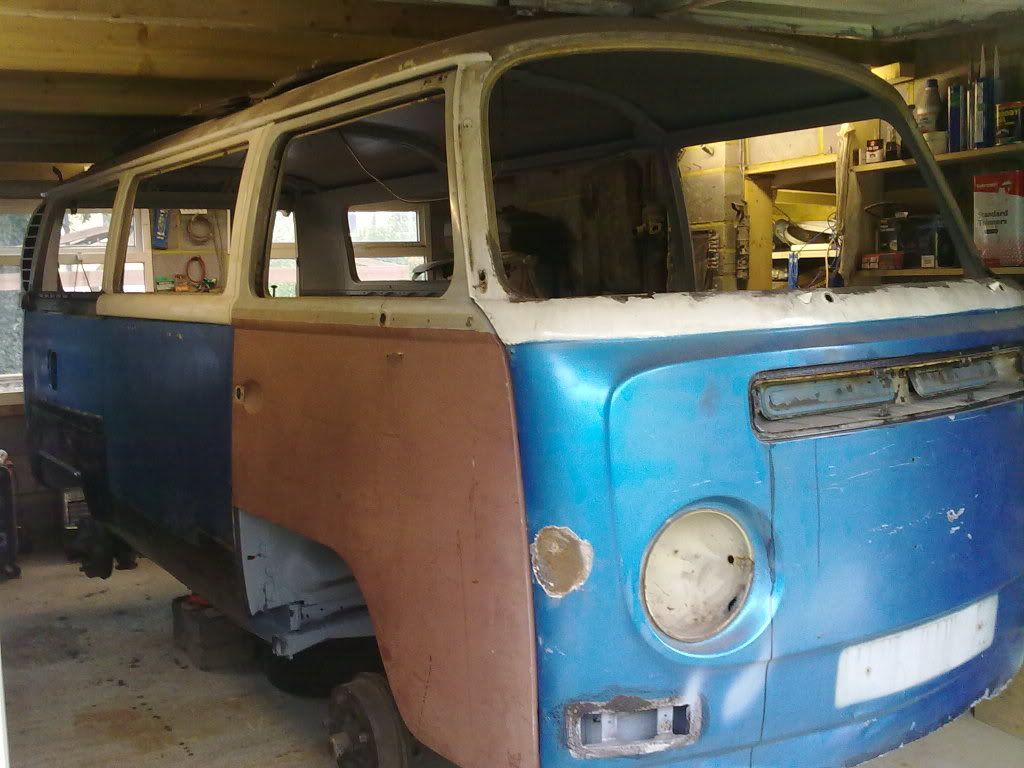
 
.

And here they are.........


Couple of shots before the dropped spindles and adjustable rear spring plates


IMG_0085.jpg


IMG_0086.jpg


And as it stands now , about 90% finished but still loads of little non urgent jobs
like re-chroming the headlight rims and door handles, microphone for hands free phone,
insulation on new heater pipe, lots of tidying bits
.. oh ... and some camping furniture :lol:
but the main thing is I'm ready for Brighton Breeze ;)


Remember this ?


UPDATE11102010035.jpg


After 5 years and two months of blood sweat and tears........another old VW bus saved from the scrapyard.........


IMG_0229_zps12b785f9.jpg


IMG_0231_zpsca8bafef.jpg


IMG_0232_zps6201c9a6.jpg


IMG_0234_zps15f9a444.jpg


IMG_0233_zpsedb99ef7.jpg


IMG_0235_zpsc45fa1aa.jpg


IMG_0228_zps1d83bdb3.jpg


IMG_0230_zpsab66e673.jpg


IMG_0249_zpsc38f9f42.jpg


Taxed , insured, MOT'd and raring to go ;)
 
Splendid work, been watching this one for some time. Great to see it on the road at last.

:mrgreen:
 
..
.
Cheers mate , must admit it's nice to be able to actually drive it after all this time..


Done a few more finishing bits.


Stitched Vinyl arrived in the post courtesy of Delilah's......


IMG_0263.jpg


Started to fit the vinyl to the kick board .....


IMG_0264.jpg


Kick board covered....


IMG_0265.jpg


Speaker holes sorted...


IMG_0266.jpg


Speakers fitted.....


IMG_0267.jpg


Also got the flooring down.......( crap photo's though :roll: )


IMG_0252.jpg


IMG_0253.jpg


Better photo of the flooring with the kick board and speakers fitted....


IMG_0268.jpg


Fitted the cab bunk ( fecker of a job ! ) which will probably be used more for storage than a bed when I'm camping...

From the front...


IMG_0260.jpg


From the side.....


IMG_0262.jpg


And from the back .....


IMG_0261.jpg


Even found a white phone charger to match my steering wheel :lol:


IMG_0255.jpg


Anyway that's about all I'll get to do before my maiden voyage to Brighton Breeze on Friday and Saturday.
Still loads to do, but there's a beer or two with my name on in Brighton so it's time for a weekend off.
 
So jealous of where you have got to :evil:

Looks fantastic - well done (bet your right chuffed) :mrgreen: :D
 
Hi Andy, yeah, pleased how it is at this stage thanks - still loads to do though. ( ain't there always !)

Good to see you're back working on your bus again - keep up the good work, soon be there ;)
 
Mickey Sam said:
Thanks,

Tyres are AVON ZV3 ,
Front 185/60/14
Rear 185/65/14

Not done may miles on them yet but they seem OK so far, cheers

Have got the front beam turned on the adjusters or is it at standard height?
 
69rhdpanel said:
Mickey Sam said:
Thanks,

Tyres are AVON ZV3 ,
Front 185/60/14
Rear 185/65/14

Not done may miles on them yet but they seem OK so far, cheers

Have got the front beam turned on the adjusters or is it at standard height?


69 rhdPanel,

Front beam is standard width with adjusters, Transporterhaus 4" dropped spindles, and adjustable coil overs.
Rear is Transporterhaus adjustable spring plates.

I'm really pleased with the comfort and handling, but others have used the same method and have had slightly different results .

There is a thread in 'Technical' started by Easy titled "Tyres/Stance, let's see what you're runnin' !"

There's 18 pages of it but well worth reading more two or three times before you part with you 'hard earned'

- Best to get it right first time ;)

Good luck , whichever way you choose,
 
.
.
UPDATE: 240 v Hook-up / 12v Leisure / Split charge install.

Haven't updated for a while as I've been busy installing camping electrics.

I wanted a 12v leisure battery set up and a 240v site hook-up incorporating a permanent battery charger / conditioner.


Started by fitting a discreet 240v hook-up connection in the engine bay by the spare wheel well.
Probably stating the obvious but the the white piece hanging down is a cover for the connection...

IMG_0306_zps1e8f01cd.jpg


Ran 240v cable to a Consumer Unit .....


IMG_0335_zps26ecbd24.jpg


Tucked nicely between R&R frame and front of wheel arch...


IMG_0334_zpsb2cc9abb.jpg


Boxed it in temporarily till I have time to make something decent.
I want to make easy access to circuit breakers and RCD.


IMG_0373_zps8aeff330.jpg


Ran cable from Consumer unit through trunking to a 240v socket for battery charger.
Also ran a cable from Leisure battery to a 12v fusebox.
Again, sits nicely in front of opposite wheel arch.


IMG_0360_zpsc7e782e1.jpg


12v fuse box in position...


IMG_0362_zps5d0feb61.jpg


Then mounted the charger on a board which will sit on top of the 240v socket and 12v fuse board.
This will all be boxed in later and the charger will lift out on the board for easy access to the battery charger plug and 12v fuse box access.


IMG_0372_zps3937edcc.jpg


IMG_0371_zpsa8a1a260.jpg


Now here's the bit I like (purists look away !), ran a cable from the consumer unit, through conduit to the air vent behind drivers seat...


IMG_0307_zpsb61a5d58.jpg


Not quite finished yet but this is what you will see when not in use....


IMG_0368_zpsec48653a.jpg


And then when hooked up to site 240v mains .....


IMG_0370_zpsf15ab70a.jpg


And safe as houses ( and keeping the original look ) from the other side !


IMG_0363_zpsb05c97c7.jpg


Back in the engine bay I fitted a 140 amp split charge relay to the hinge panel, out of site...


IMG_0358_zpsf68ed937.jpg


Used a lumpy, waterproof fuse between main battery and relay...


IMG_0322_zps30ee17c0.jpg


Also used waterproof fuse holders between relay and leisure battery and between leisure battery to 12v fuse box.
Battery charger cables ready for permanent connection to leisure battery...


IMG_0354_zpsd217b6c2.jpg


All connected up and ready to rock....


IMG_0356_zps0c7768c6.jpg


So apart from a bit of boxing in and tidying up, that's the split charge 12v leisure system ready and 240 v site hook-up installed and
whenever I'm on hook up my leisure battery will be charging and when that's full the split charge should then top up my main battery.
I will plug into the mains when parked in my garage and keep the battery charger in conditioning mode so should not only keep battery charged
but in top condition too......


I've also been playing about with some buddy seats.

Back soon with some photo's, ;)
 
.
UPDATE


I wanted some extra seating in the bus but not as a permanent fixture.

I knocked up a prototype in tri-wall cardboard so I could get an idea of size, etc..


IMG_0286_zps9fc84cad.jpg


Then made the frames with an idea of also being able to put them together to form a small bunk....

IMG_0301_zps39ecbc5b.jpg


Delilah's VW Upholstery covered the rest of the upholstery so I asked Daz & Lizzie to order me some more of the vinyl and also make the kick panels.
Started putting it all together and hinged the seat base to use the obvious space for storage ..

IMG_0342_zpsd83de721.jpg


Note the circular hole on the right hand side - this lines up with the 240v socket I installed in the air vent behind the drivers seat ;)

IMG_0340_zps903741e6.jpg


I made the backrests hollow, out of ply, and hinged them...

IMG_0297_zps47258bfb.jpg


Then took the backrests to Daz and Lizzie at Delilah's to cover, and also make some cushions to match my R&R bed..


IMG_0388_zps25fb4390.jpg


The reason for the hollow backrests was so that they could hinge forward ....

IMG_0389_zpsdaa77cbd.jpg


And could be used to house the cooker and sink.

Not quite finished yet, still got to make it waterproof and heatproof so I don't melt the seats :shock:
The cooker will be stored inside the backrest and be raised up when in use.
There's stacks of room at the back of the seat to store a heat/wind shield to protect things.


IMG_0390_zpsa574f4cb.jpg


Also made myself a removable table ...

IMG_0375_zps2e1434b7.jpg


Table top matches the floor :roll:

IMG_0376_zpsbc18f83b.jpg


Table in place

IMG_0387_zps6bd1e240.jpg


and with the seats..

IMG_0391_zps076992a0.jpg


Something didn't look right with the seats. :(

I decided that the backrests looked a bit high so before I finish the areas around the sink and cooker I'm going to take the
backrests out and re-make them so they are about 2 inches lower than they are now ;)


IMG_0385_zps5cb983eb.jpg


So back to the drawing board. Going to try and get the seats finished for Sandown VoWo show.

The units are not meant to be the be all and end all of kitchen equipment - just for camping trips when you need a quick cuppa and a spruce up.

I'll eventually make a removable kitchen unit with maybe a sink, double cooker, grill and fridge but sometimes the extra seating is useful so
I want to have different options and have it all removable rather than carting the extra weight around if I don't need it.


.
 

Latest posts

Top