Cheers for the comments fella's, helps to keep me motivated.
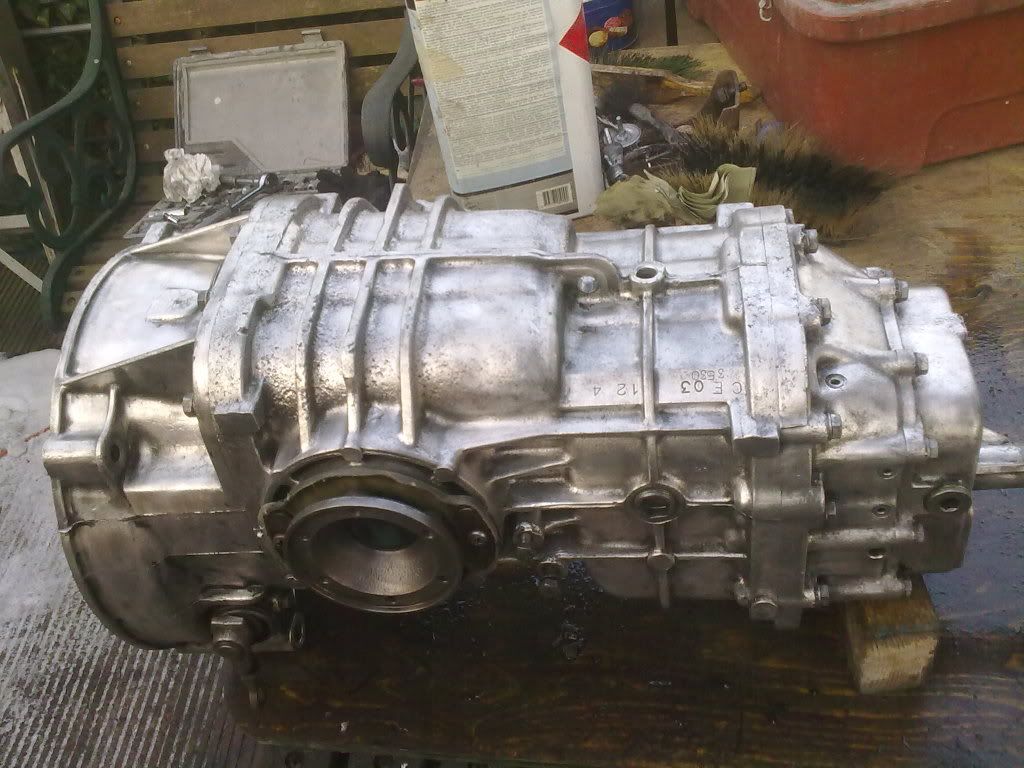
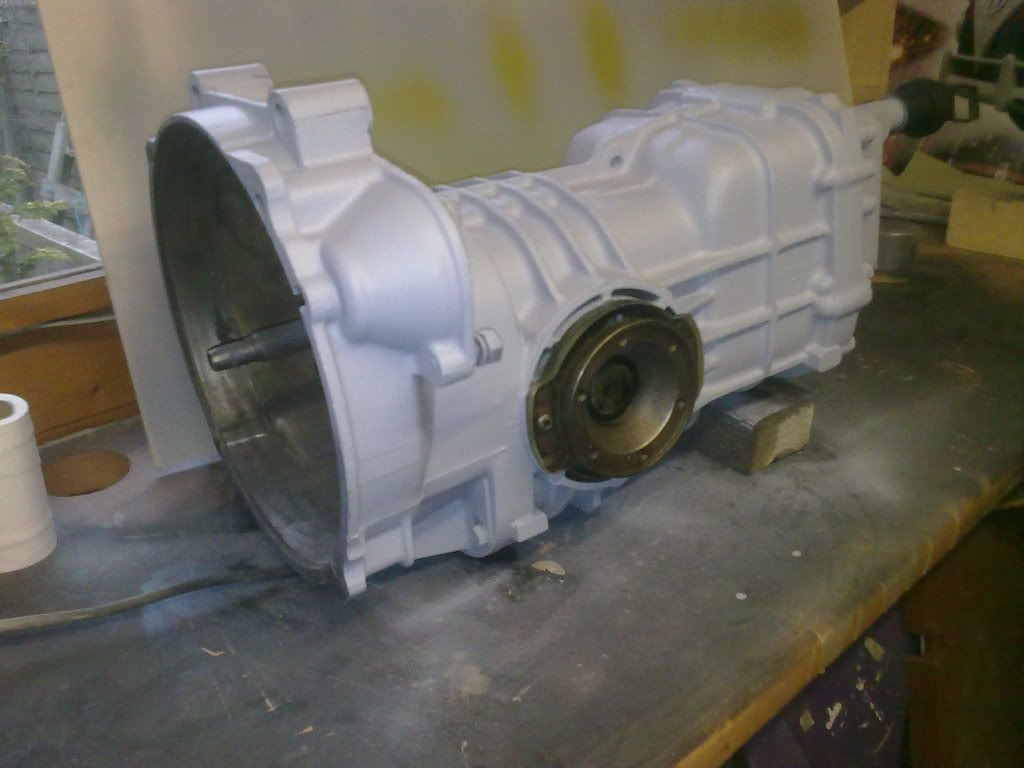
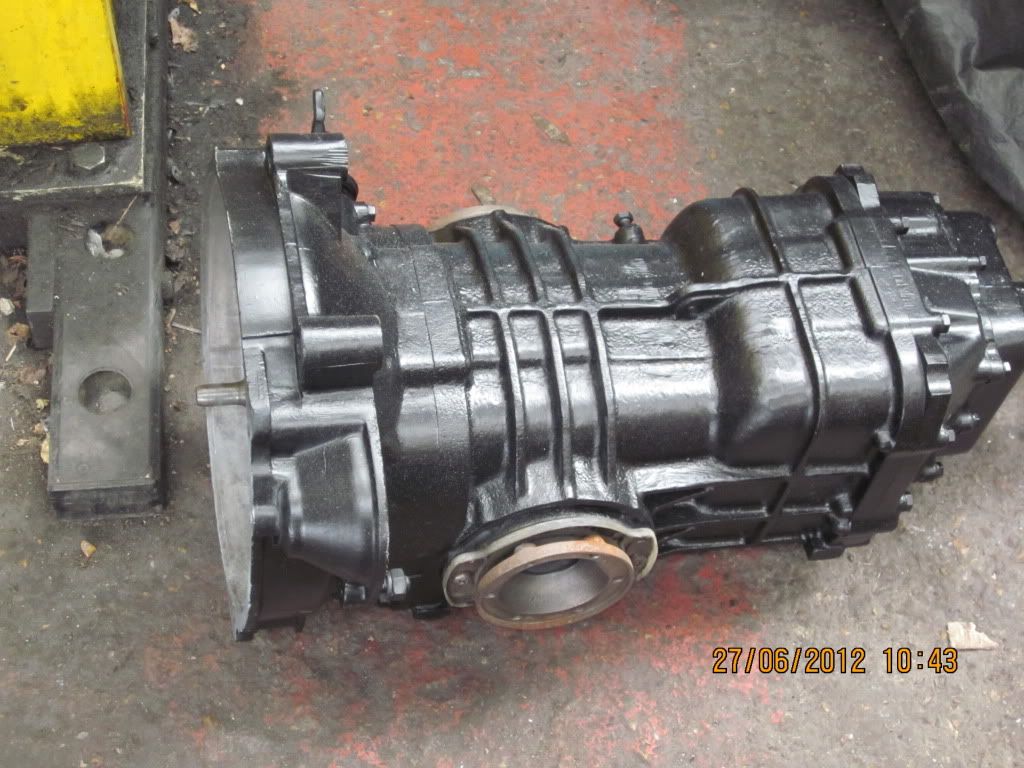
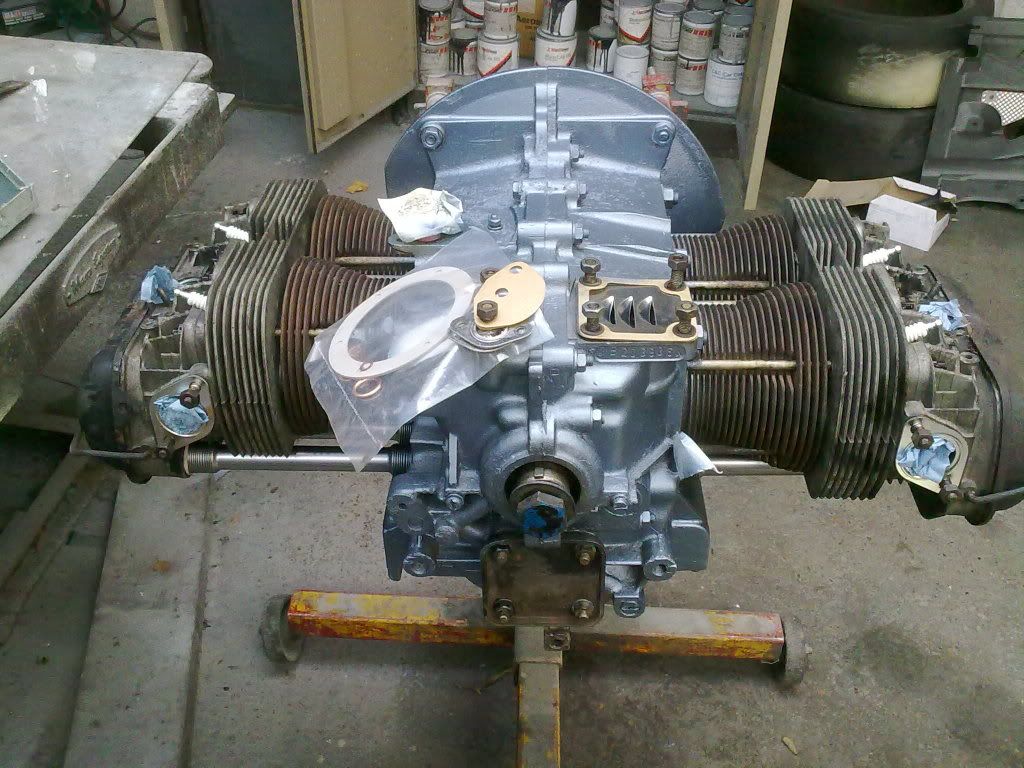
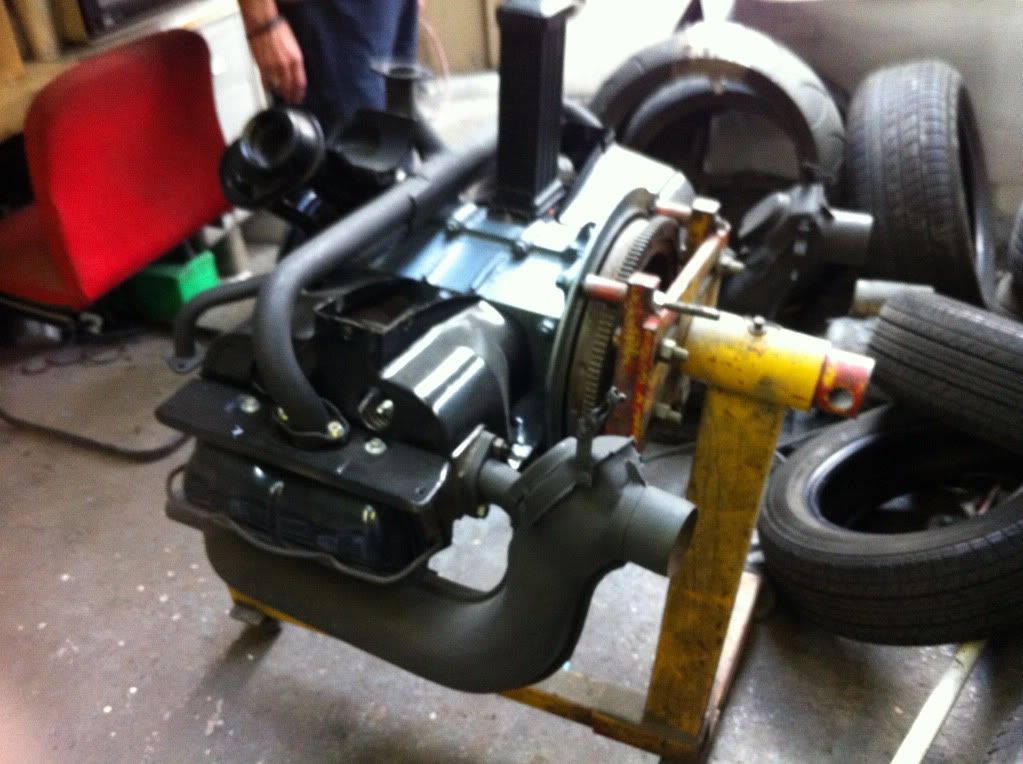
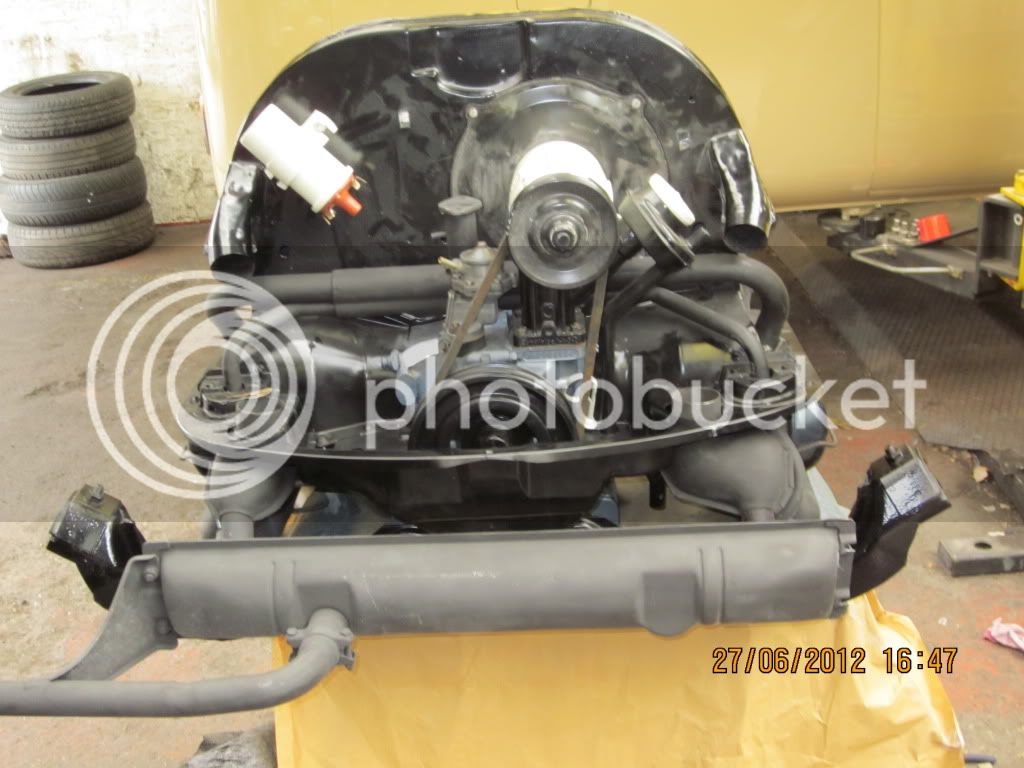
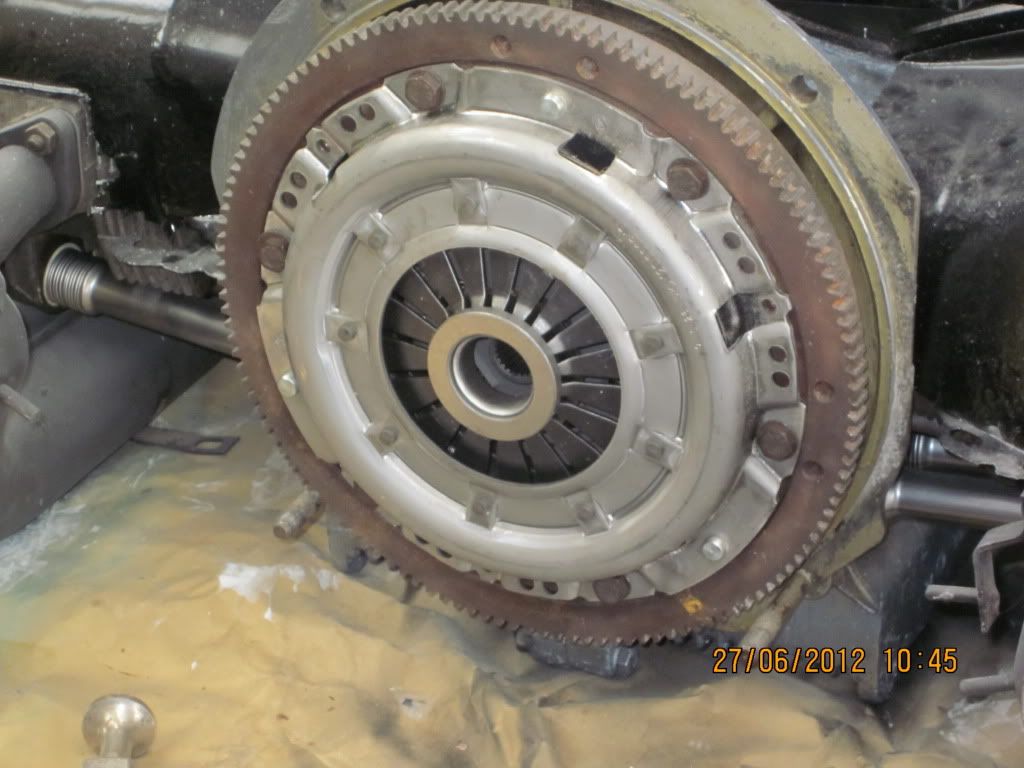
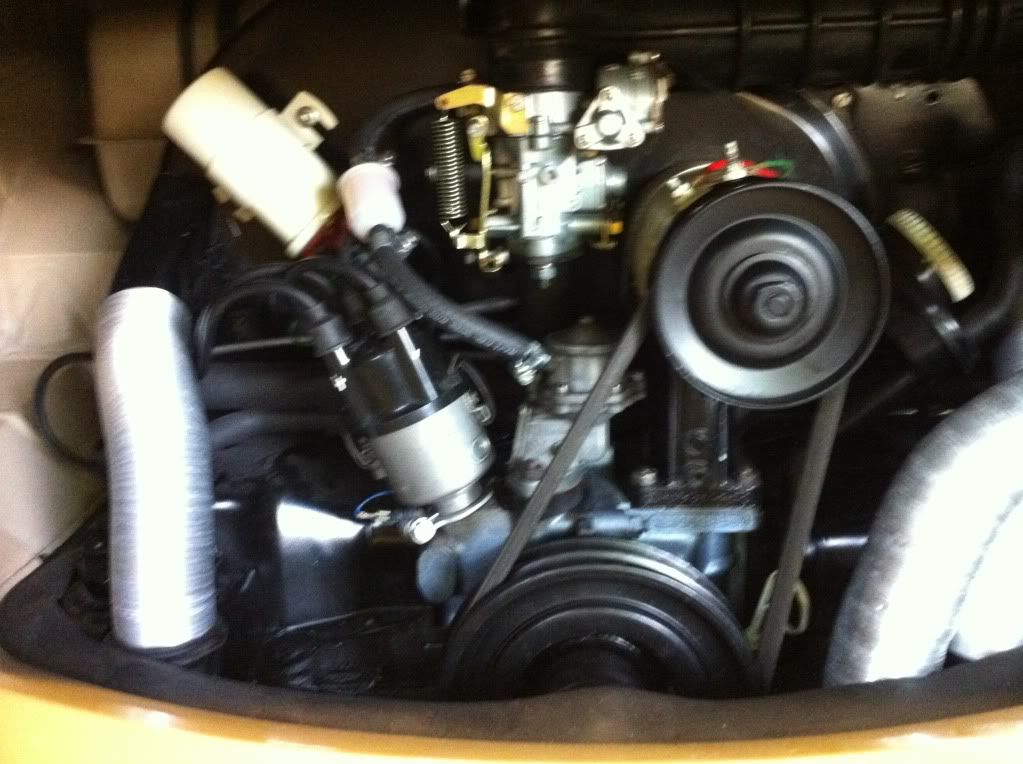
I'm hoping to get the engine and gearbox in next week, fingers crossed !
Maybe even fired up and running for the first time in 5 years !! :shock:
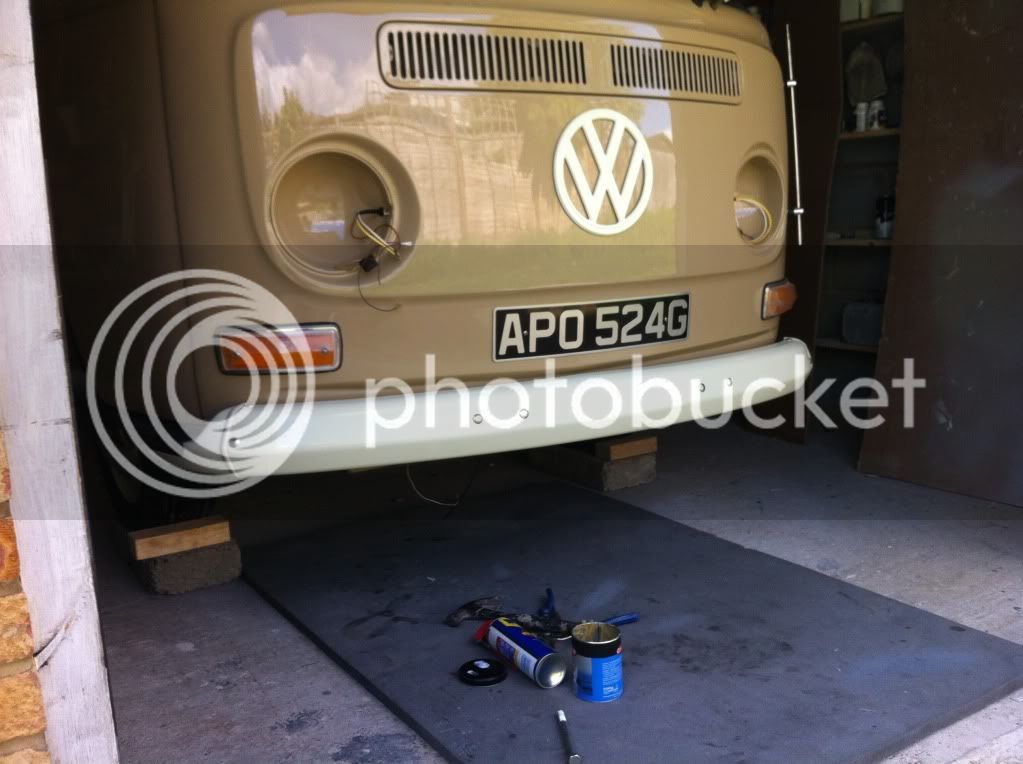
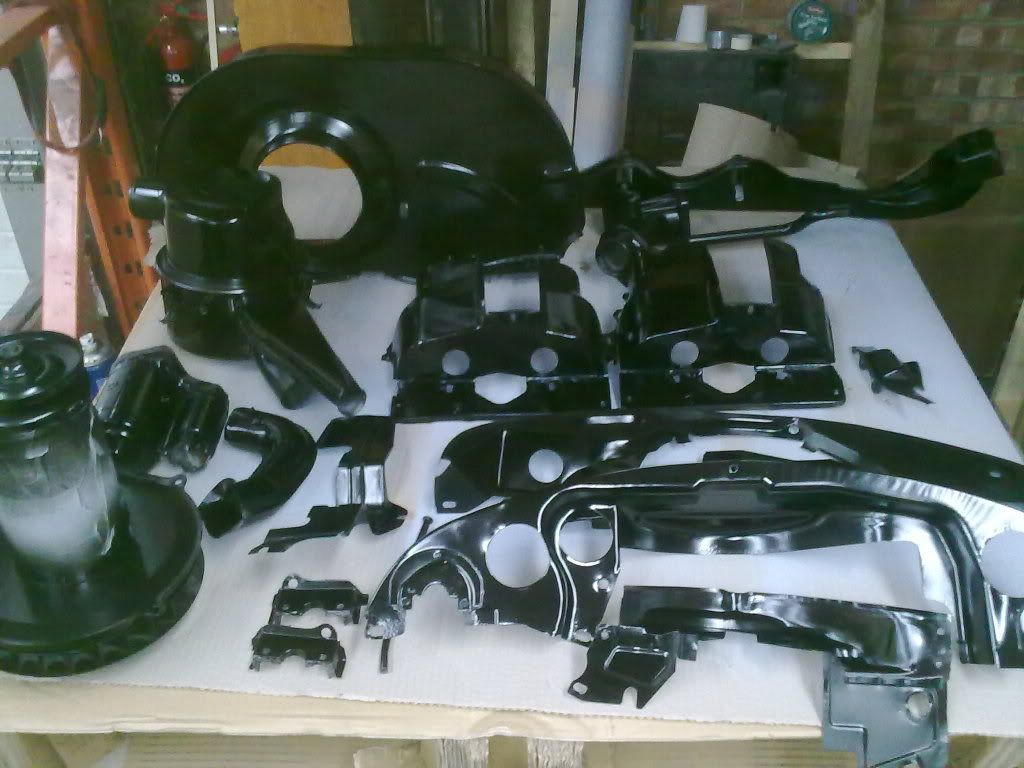
In the meantime here's just a few more pics for the record.............
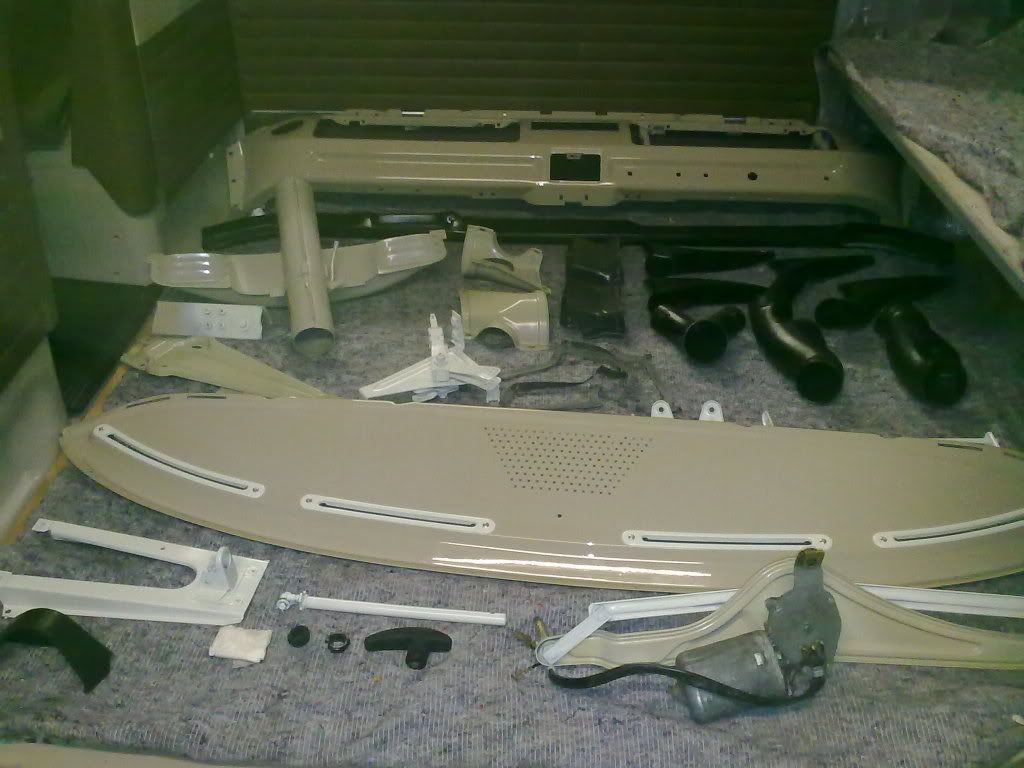
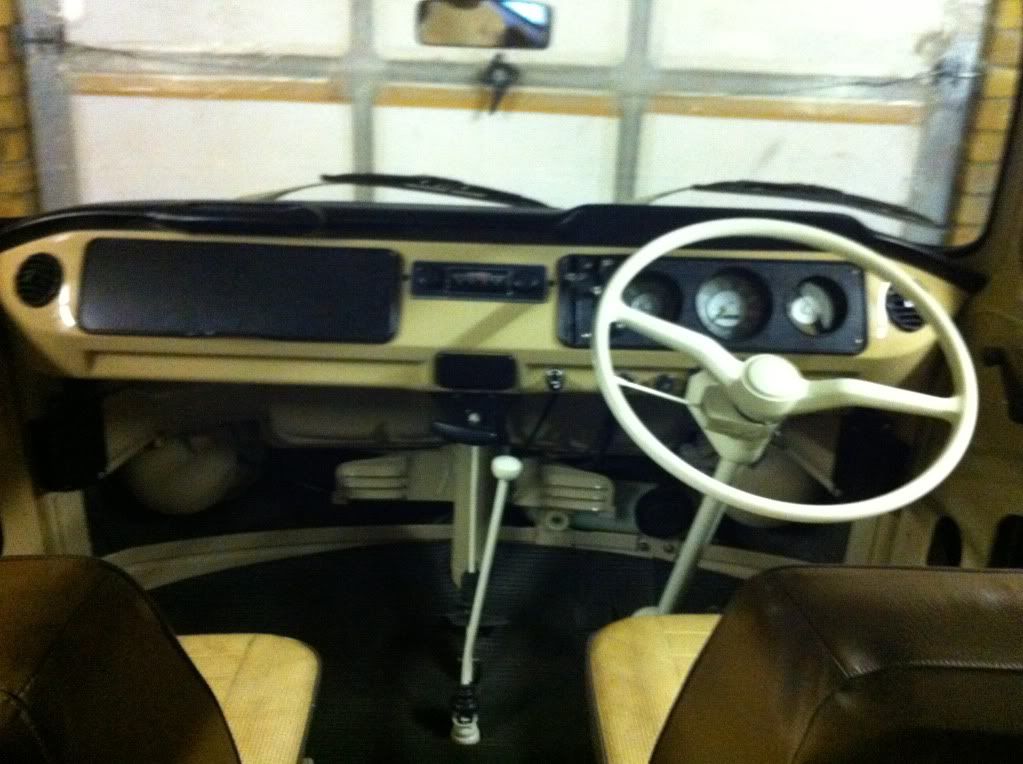
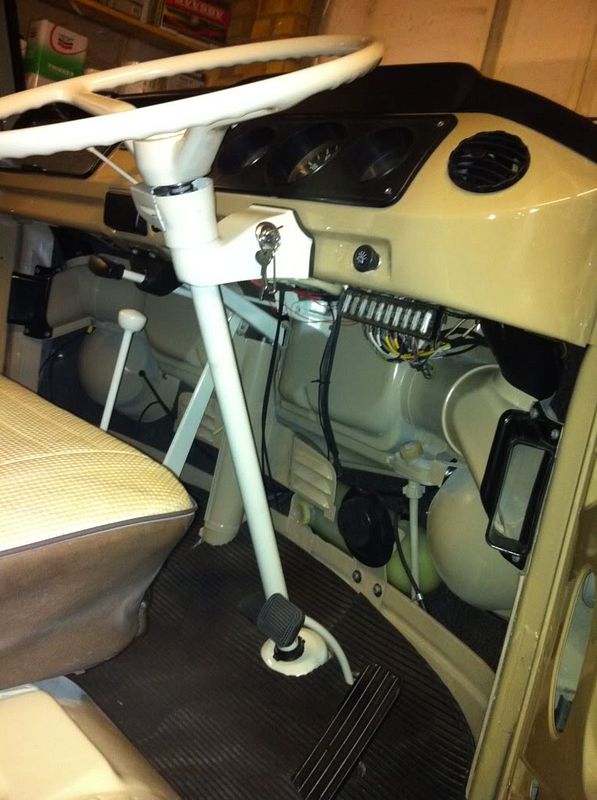
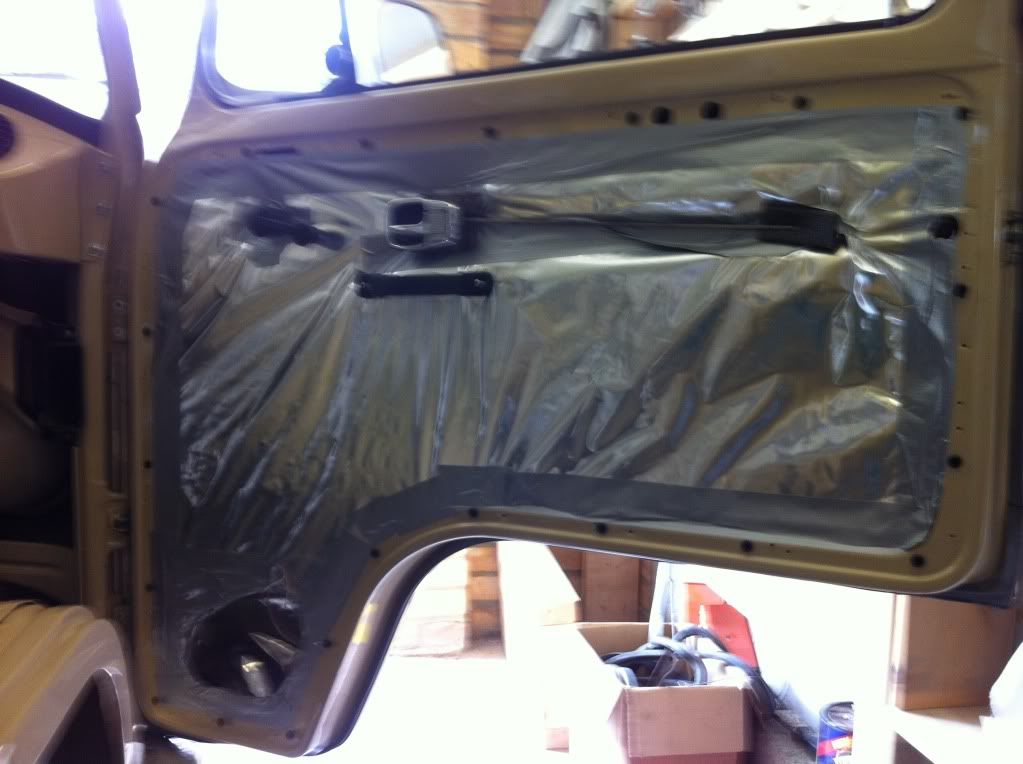
Dash and cab area coming on a bit....
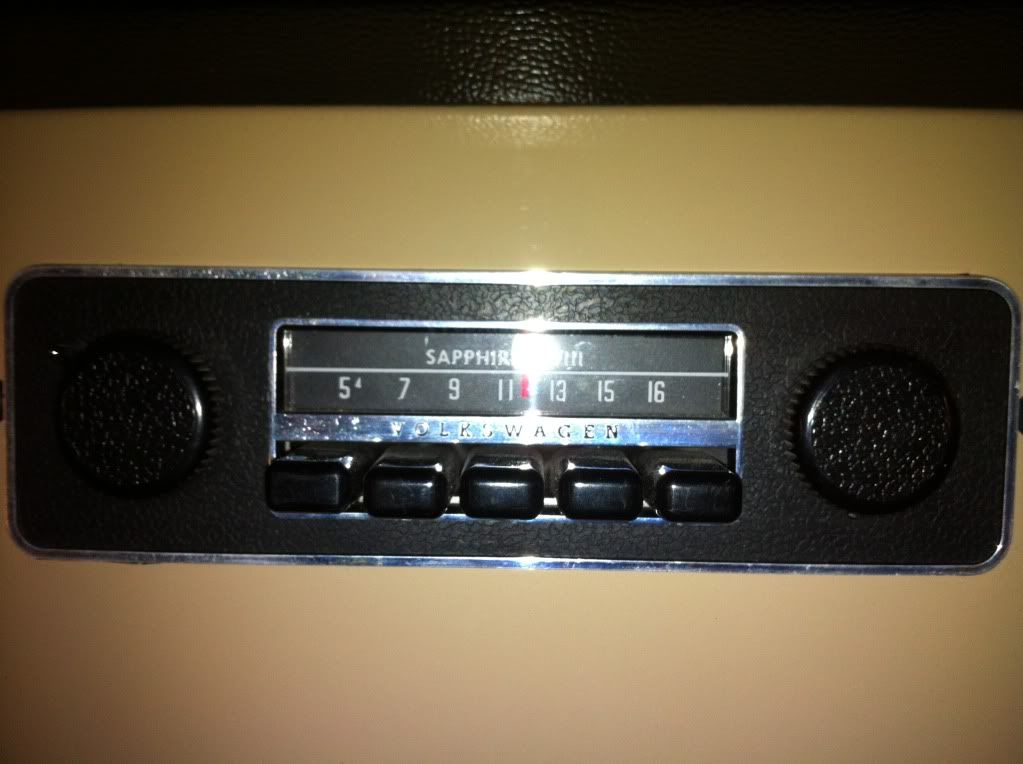
Got this beauty from Juan ( ib-bus on the EB forum ) all the way from sunny California .....
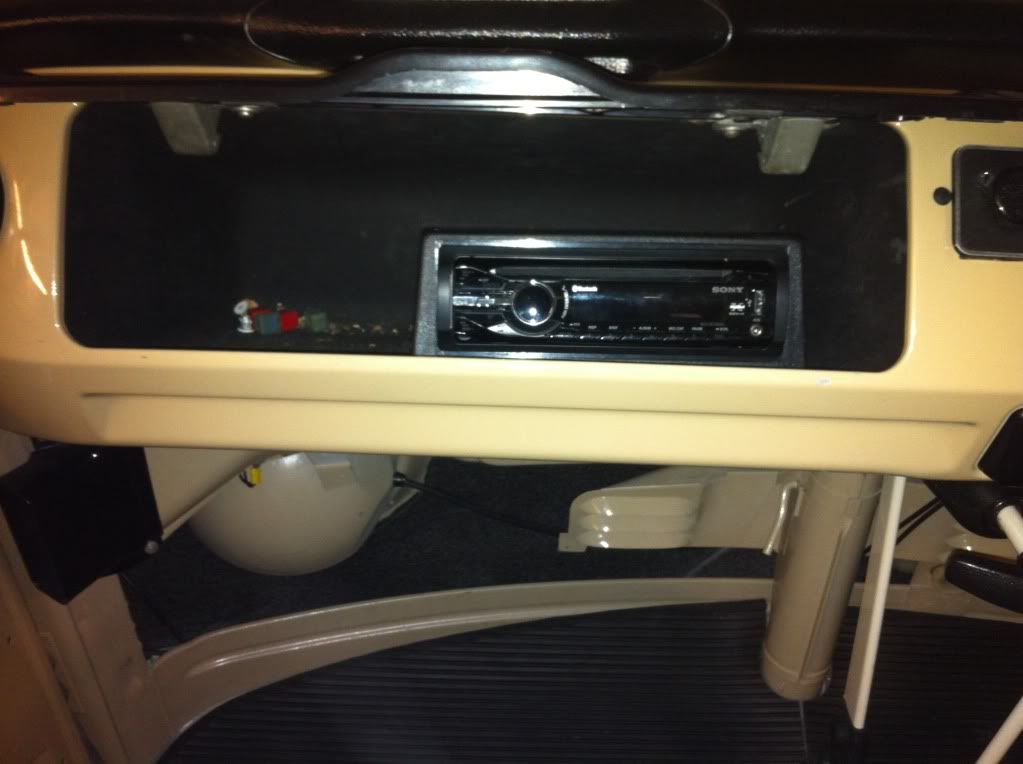
I stashed a modern CD/Radio out of sight so I can also have bluetooth hands free on the dog and bone and some decent music.....
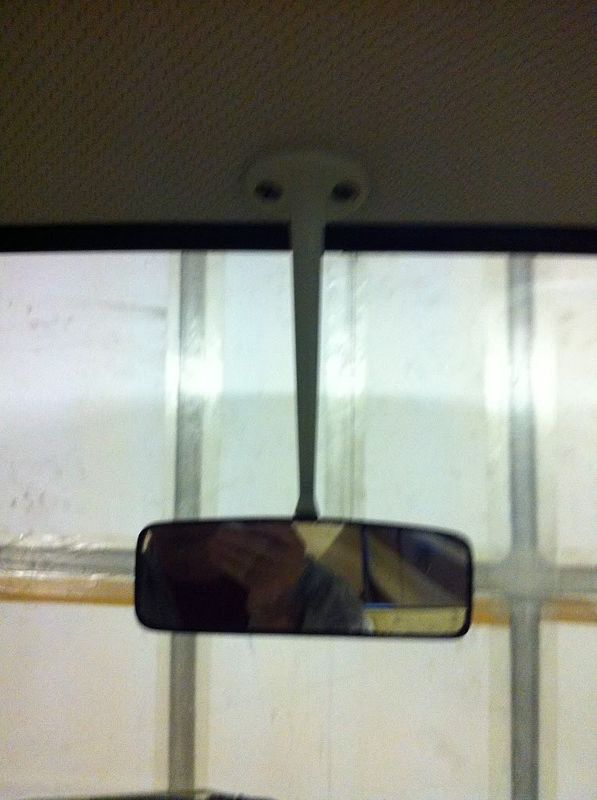
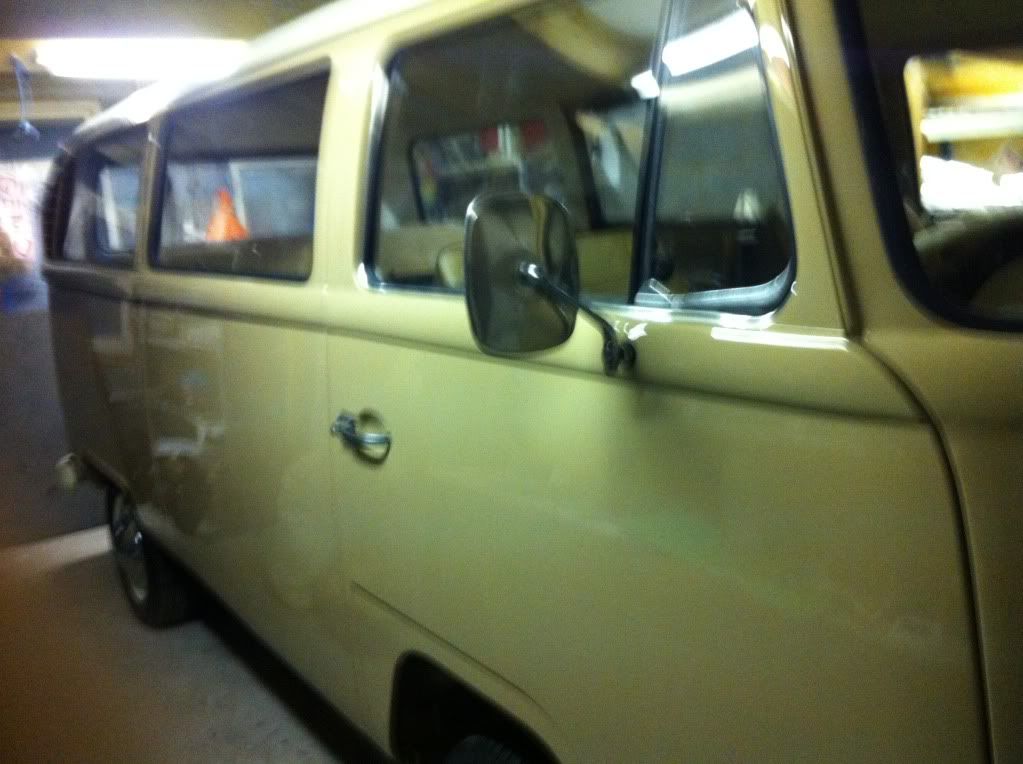
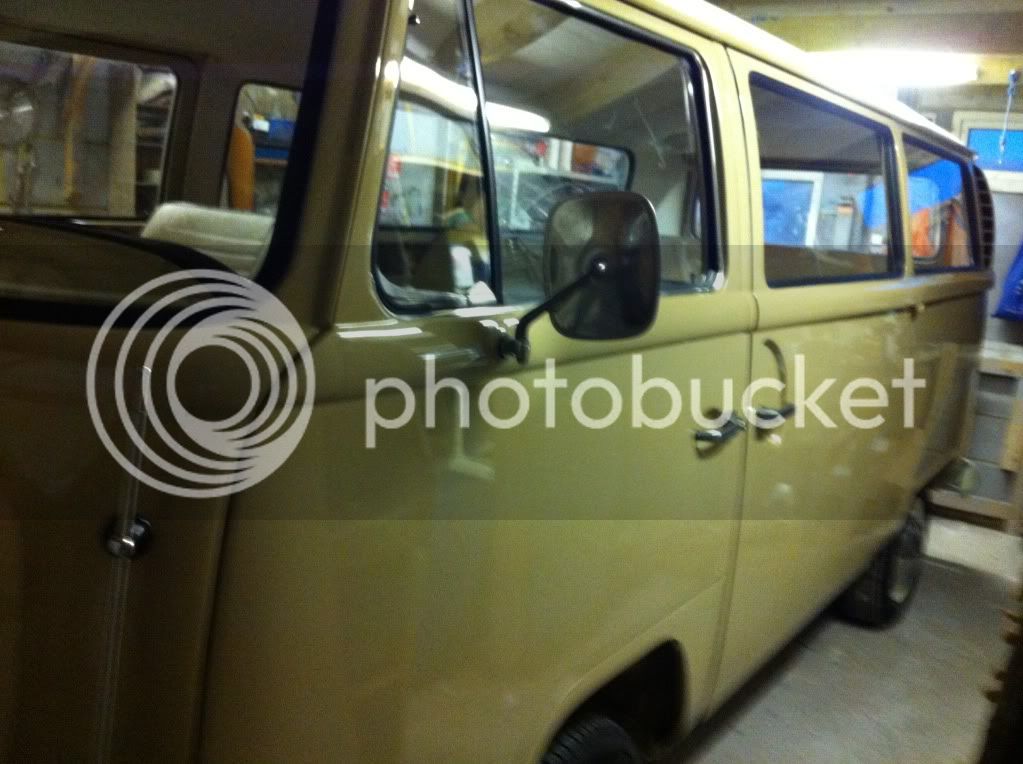
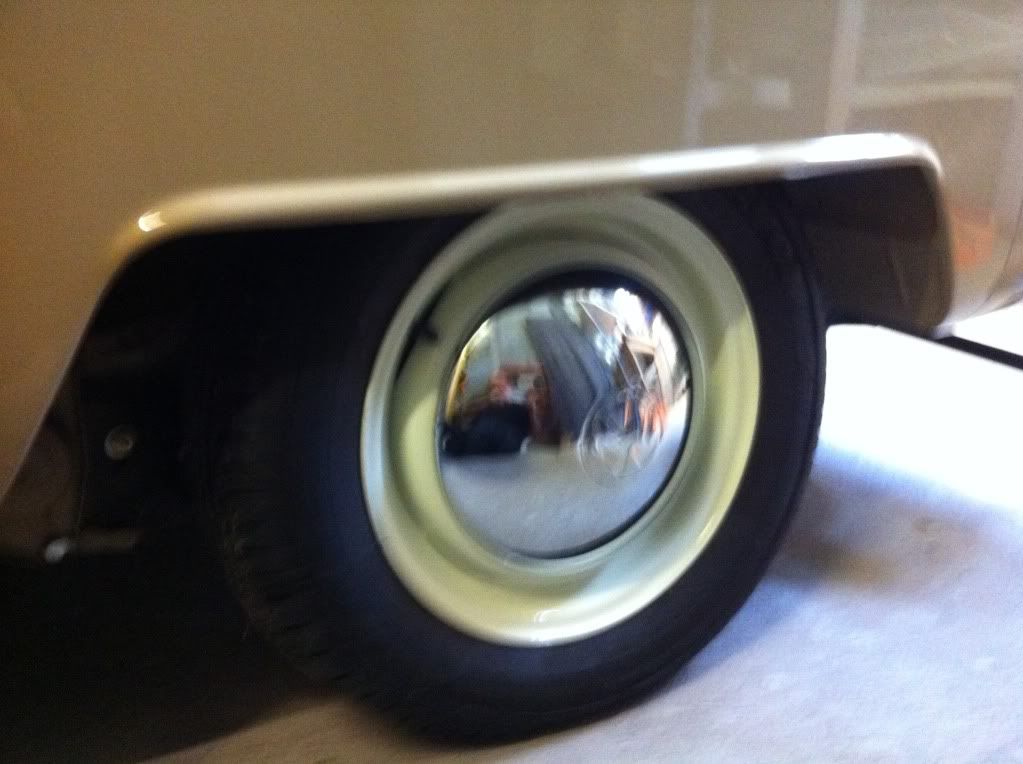
Now you see me...
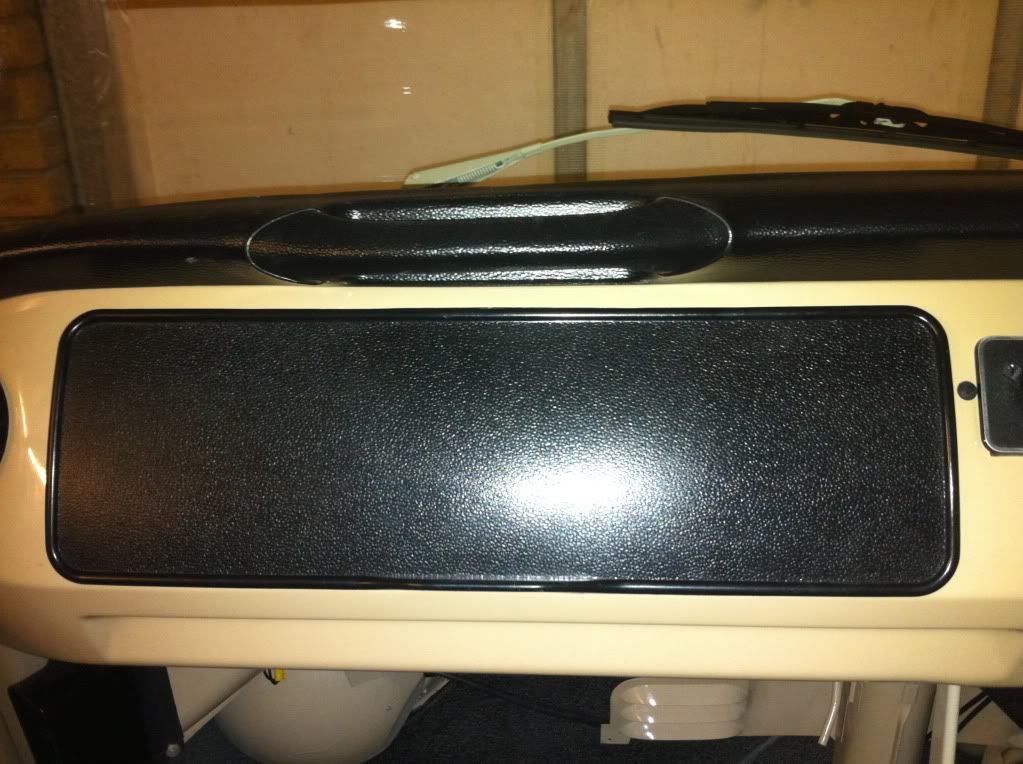
Now you don't ...
68 only mirror..
Still not 100% sure about bringing cloud white into the cab colour scheme but am going to run with it for a while . I can always change it later.
It was all in such a state previously that it was always going to need painting anyway so it's been worth the try ...
Steering wheel, handbrake , gearstick, brake and clutch pedals,
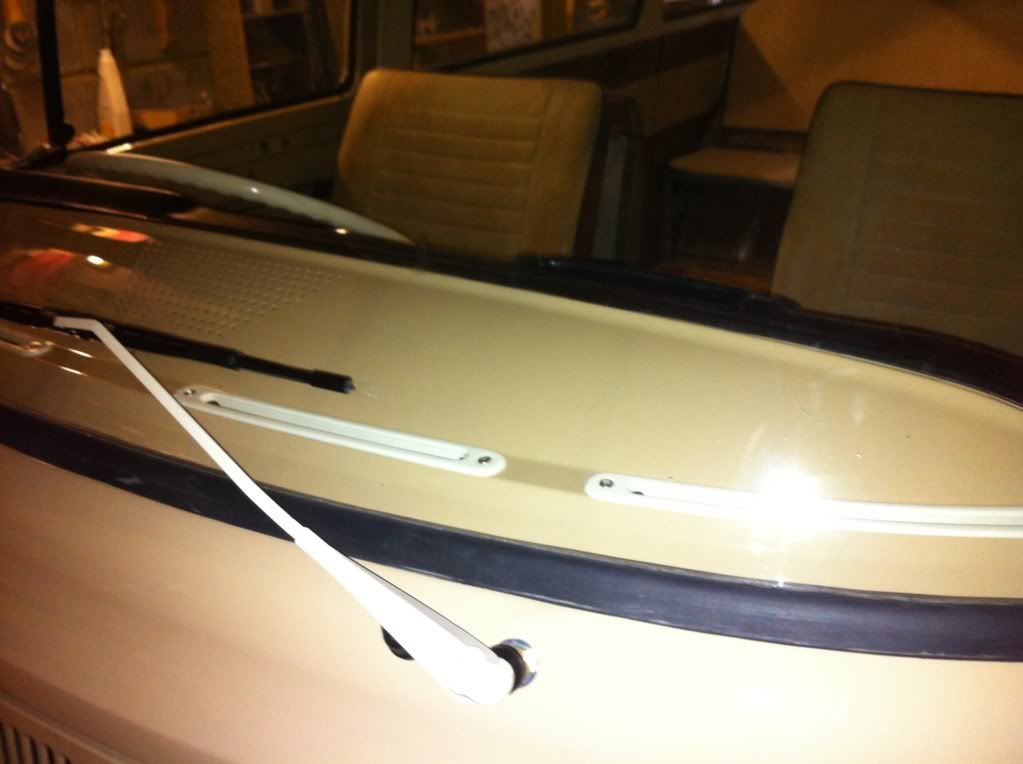
I might be able to live with the white vents but need to change the colour of the wipers.
Problem is that they are 68 only and it's not easy to get a chrome pair for less than the cost of a small car !!
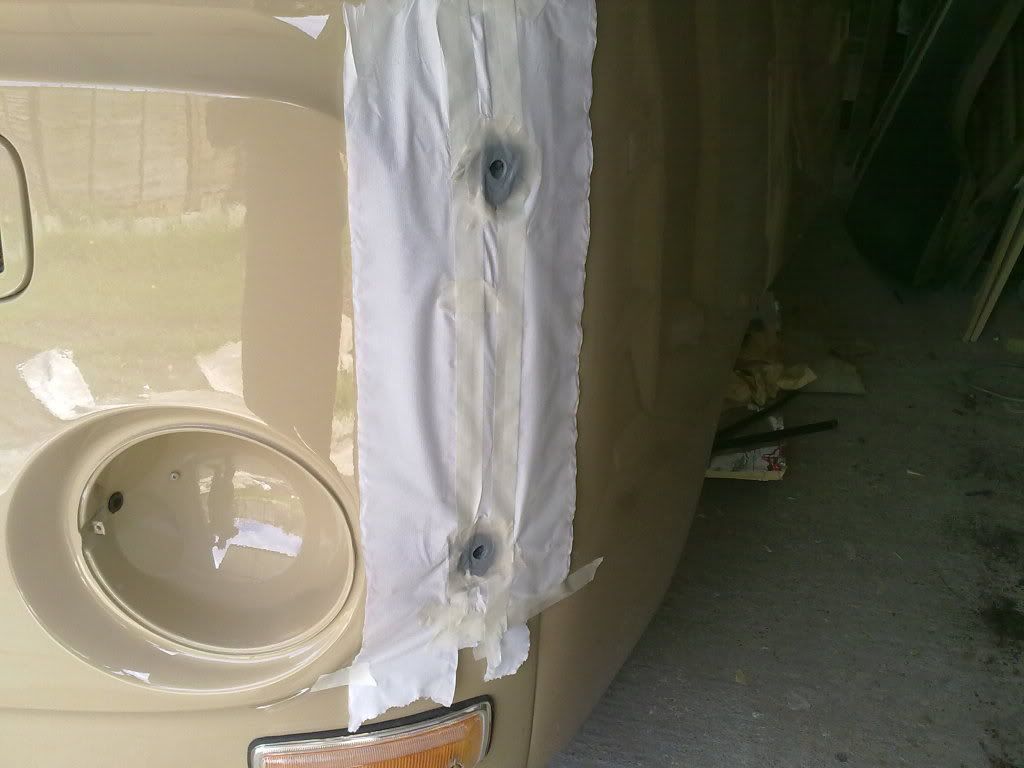
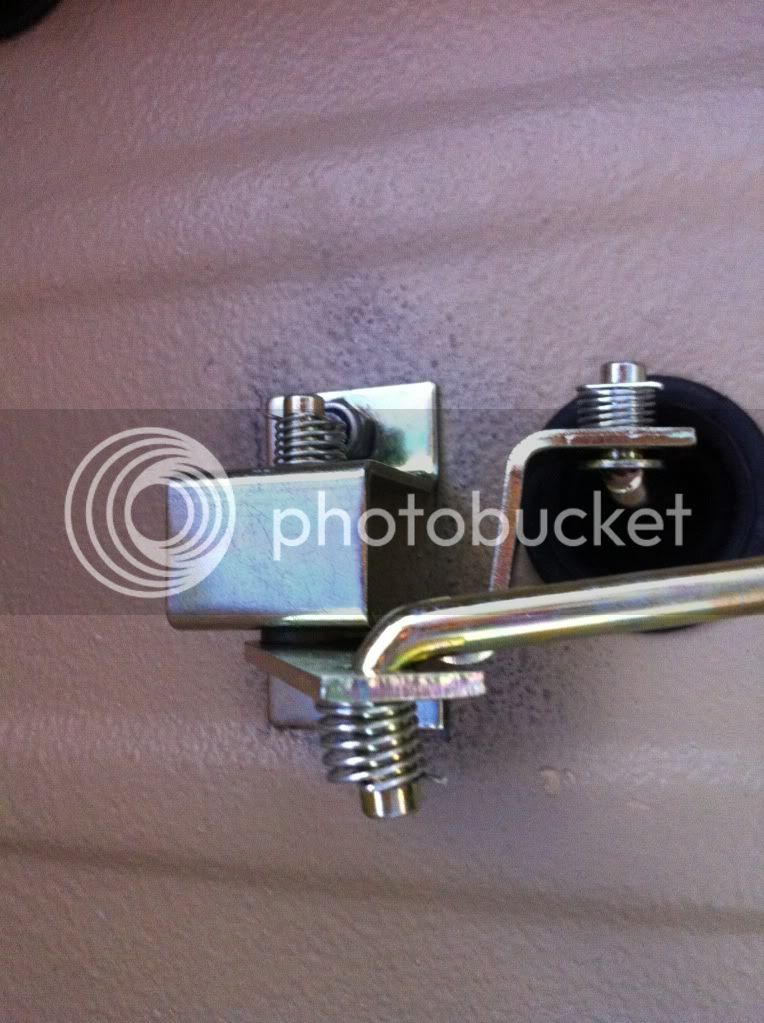
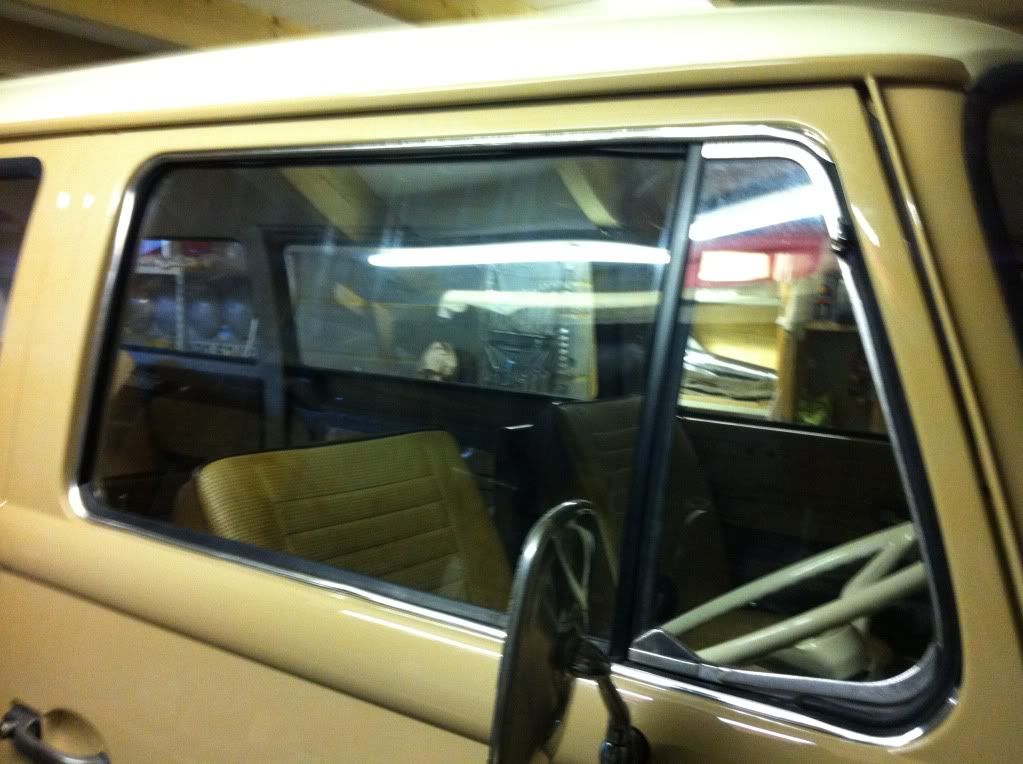
Changed the original fixed quarters for openers
")
Got all the new cab door window scrapers in , (what a f****ng job !! , even with Saraj's write up )
Windows still not moving as smooth as I'd like but am going to give the scrapers a bit of time to wear in.
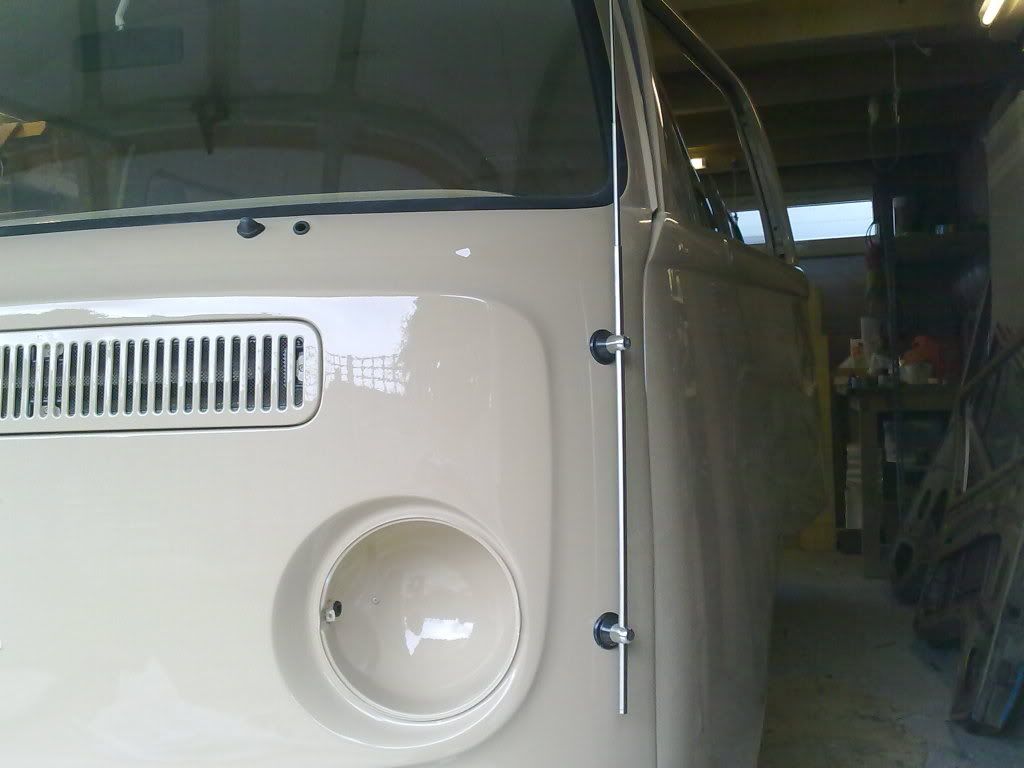
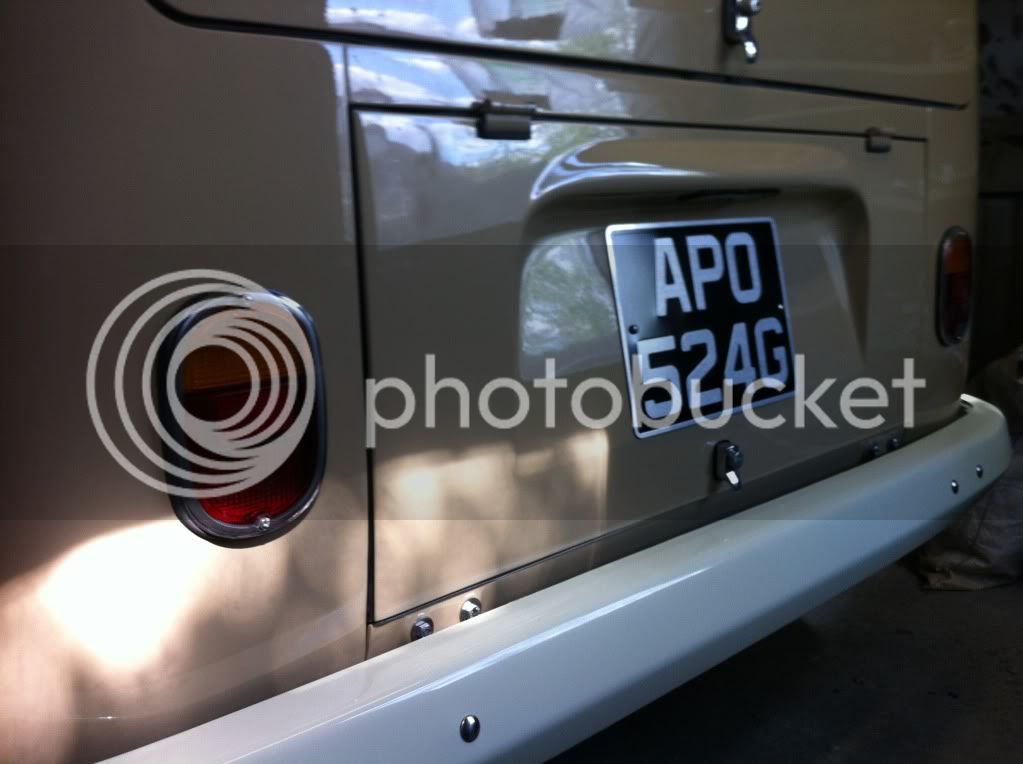
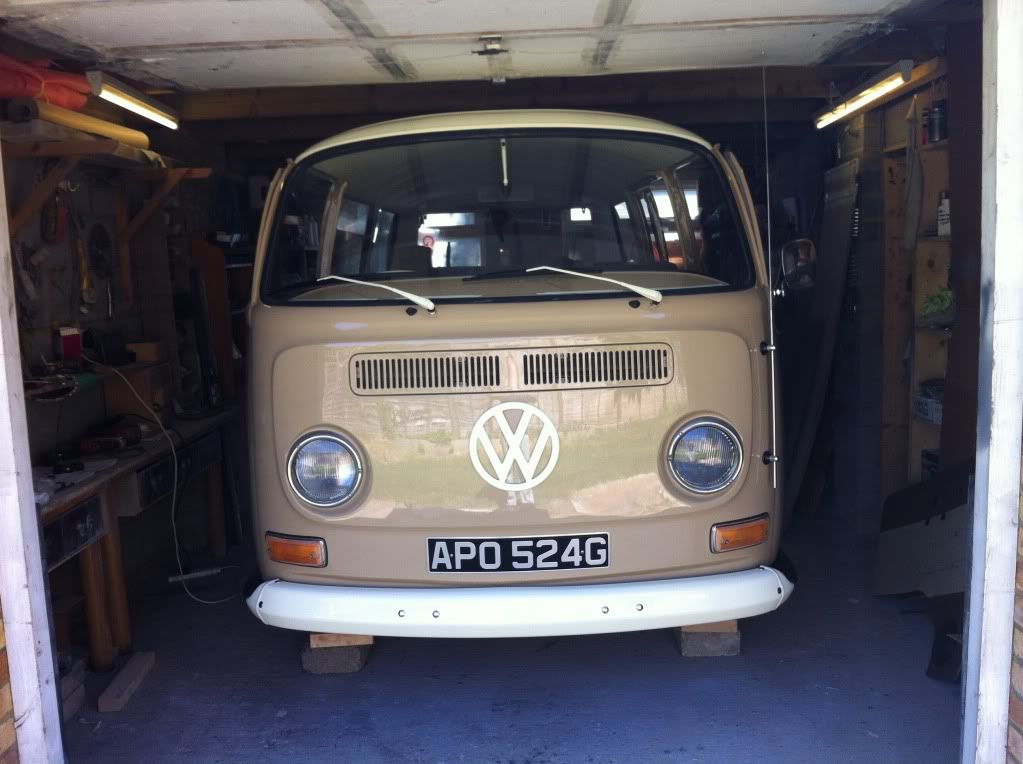
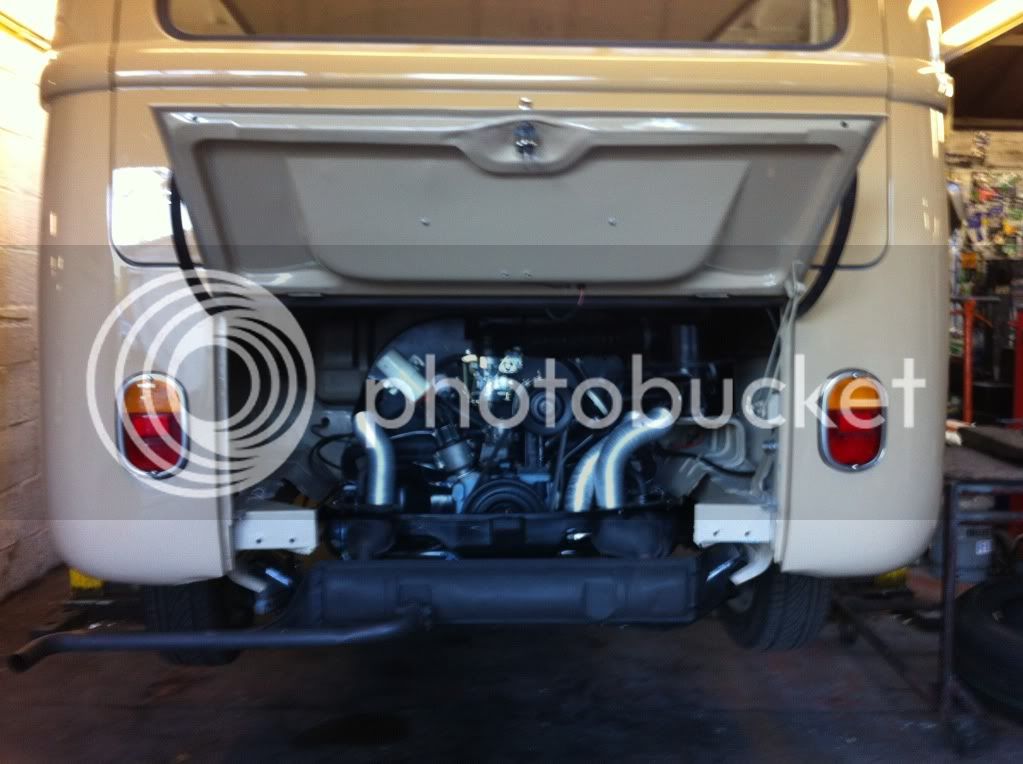
Slowly starting to look like a near finished bus now.
Got the door locks and handles in but still got some final adjusting on the locks and door alignment...
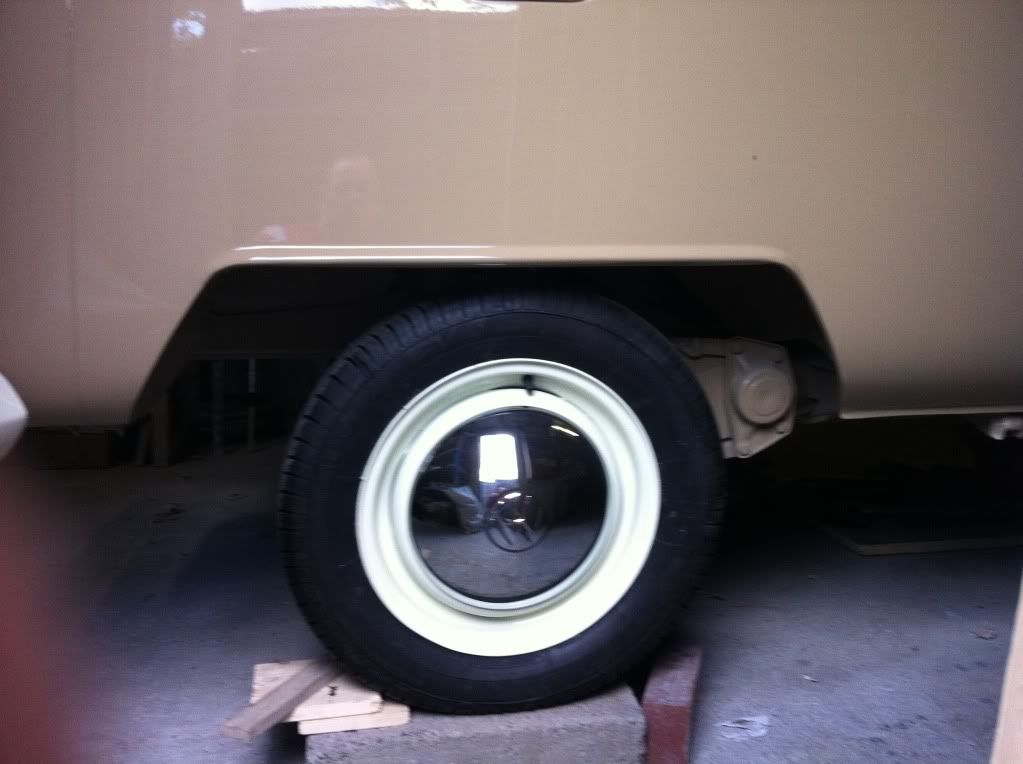
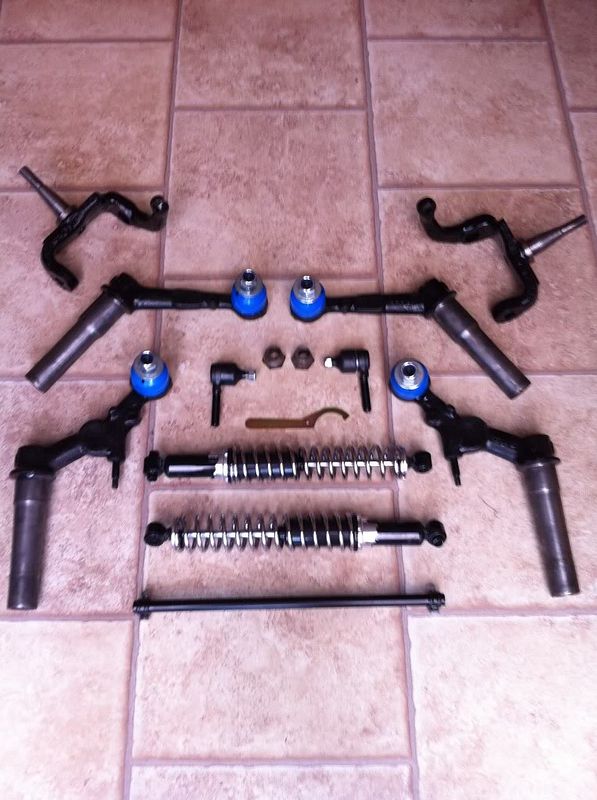
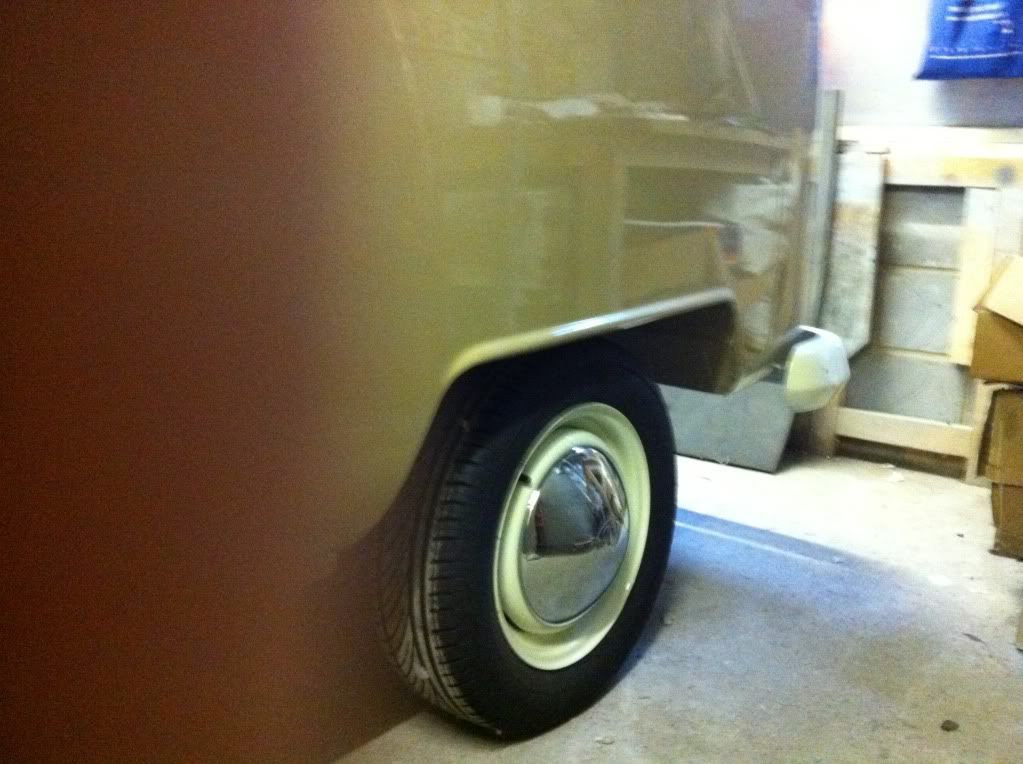
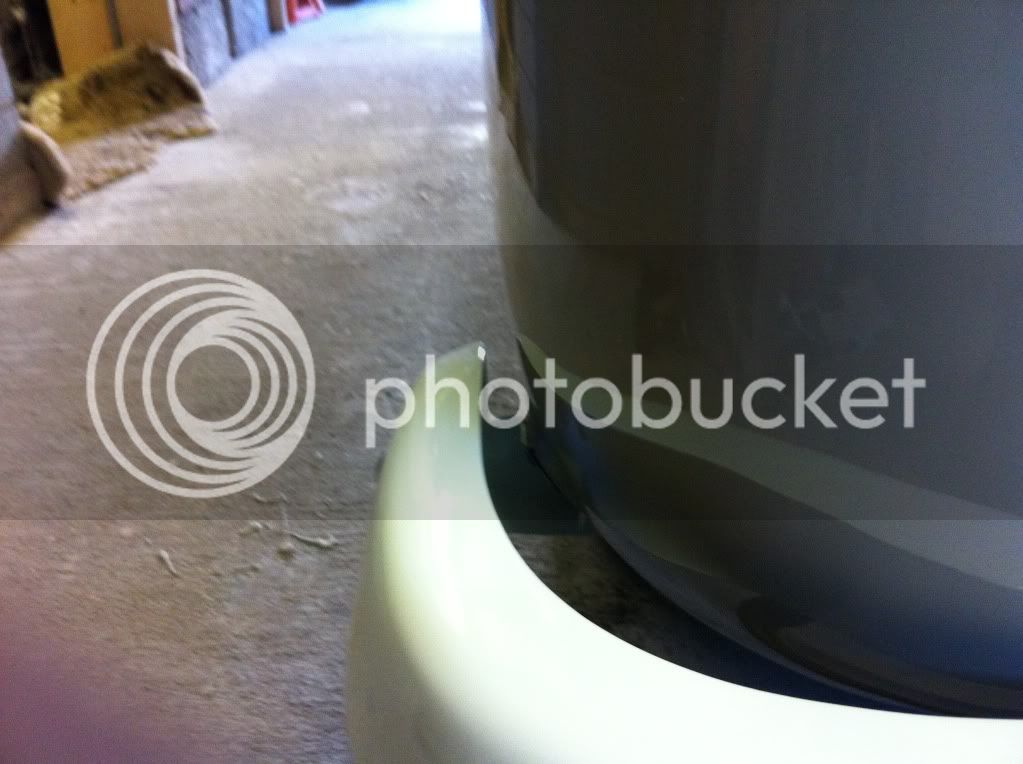
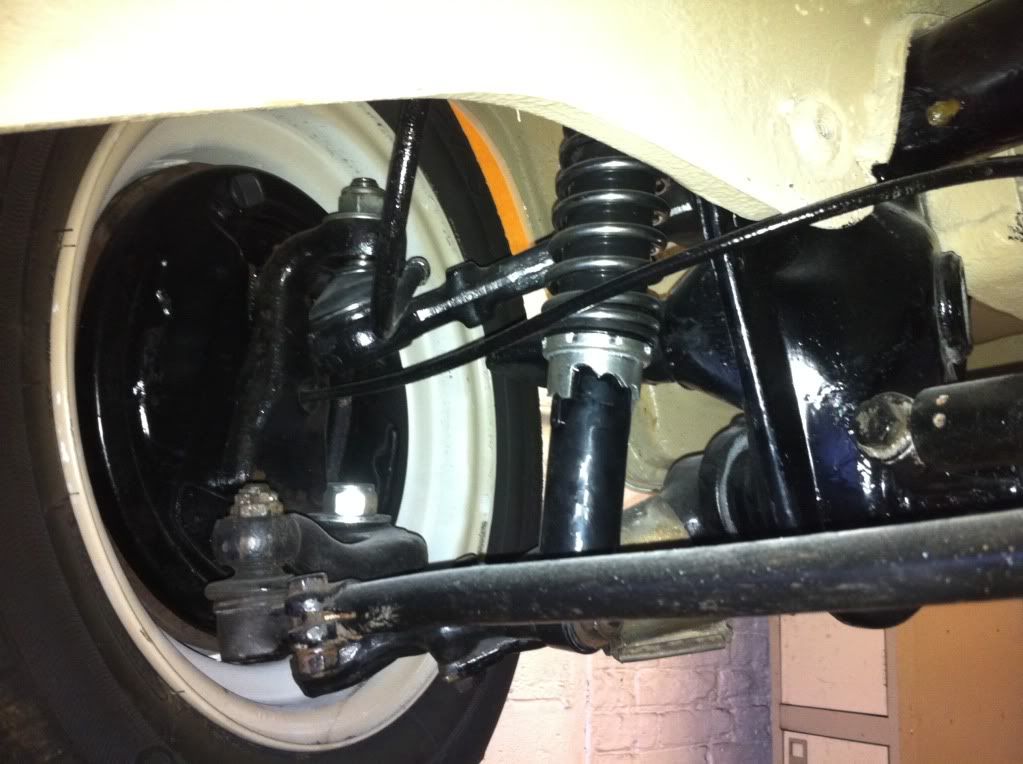
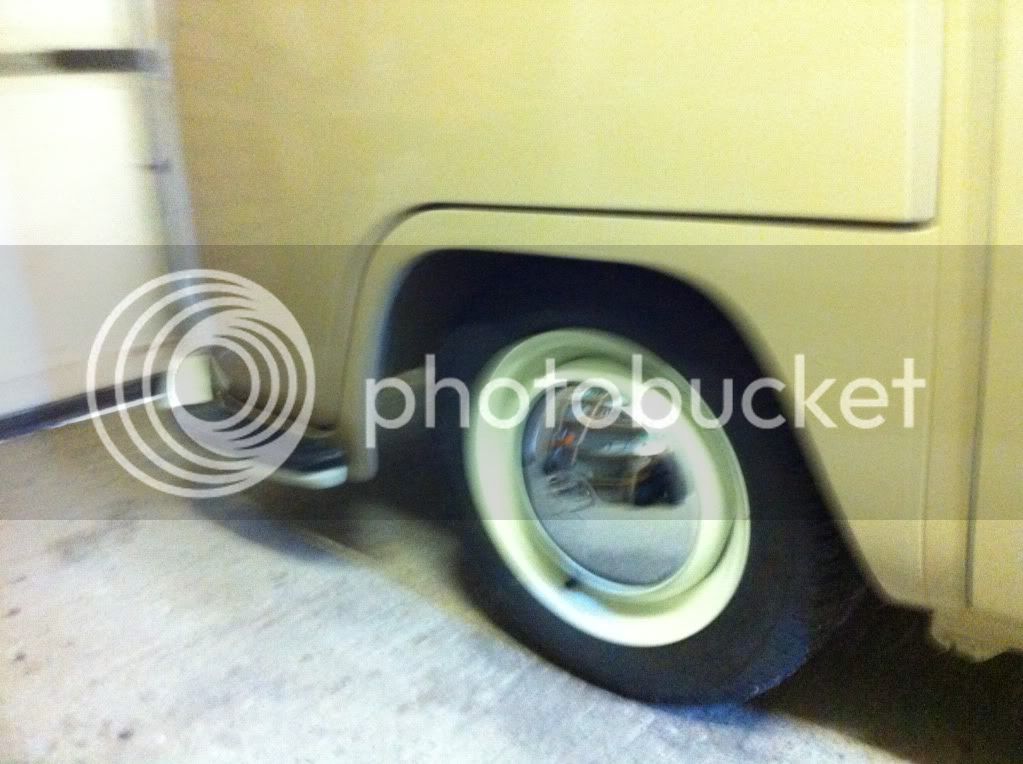
If I get the engine and gearbox in next week then the following job has got to be the lowering.....
I need steps to get in the cab at the moment :lol:
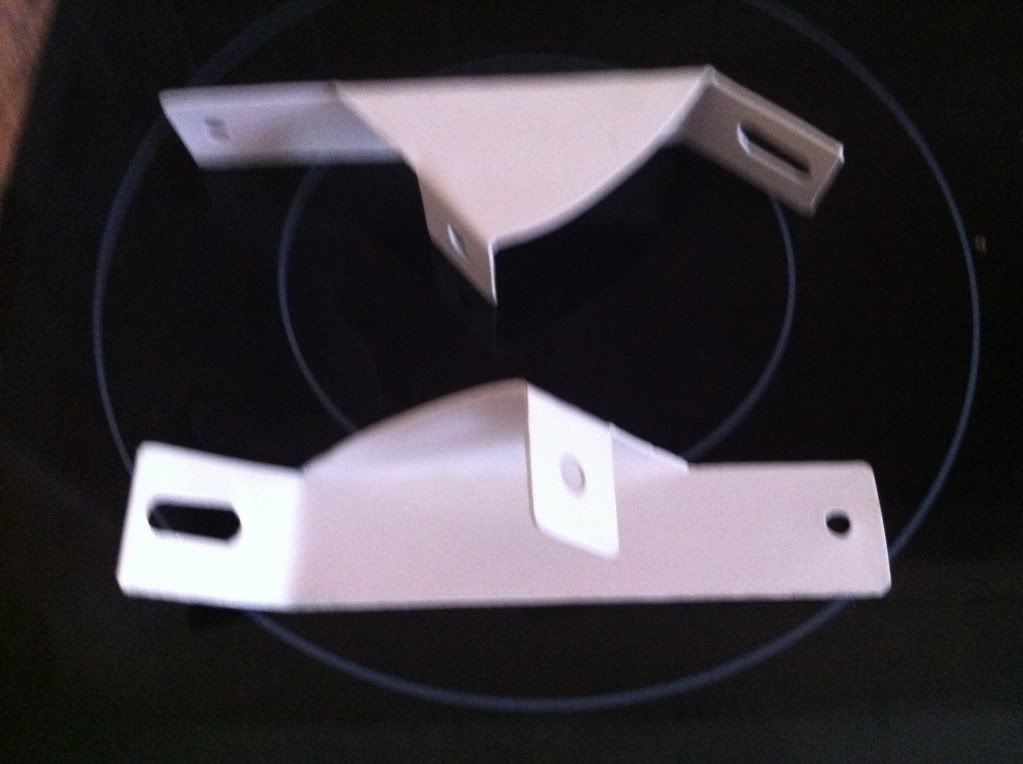
Iv'e already got the dropped spindles , coil overs etc for dropping the front ,
but still waiting for the rear adjustable spring plates , hopefully be here by next week.....
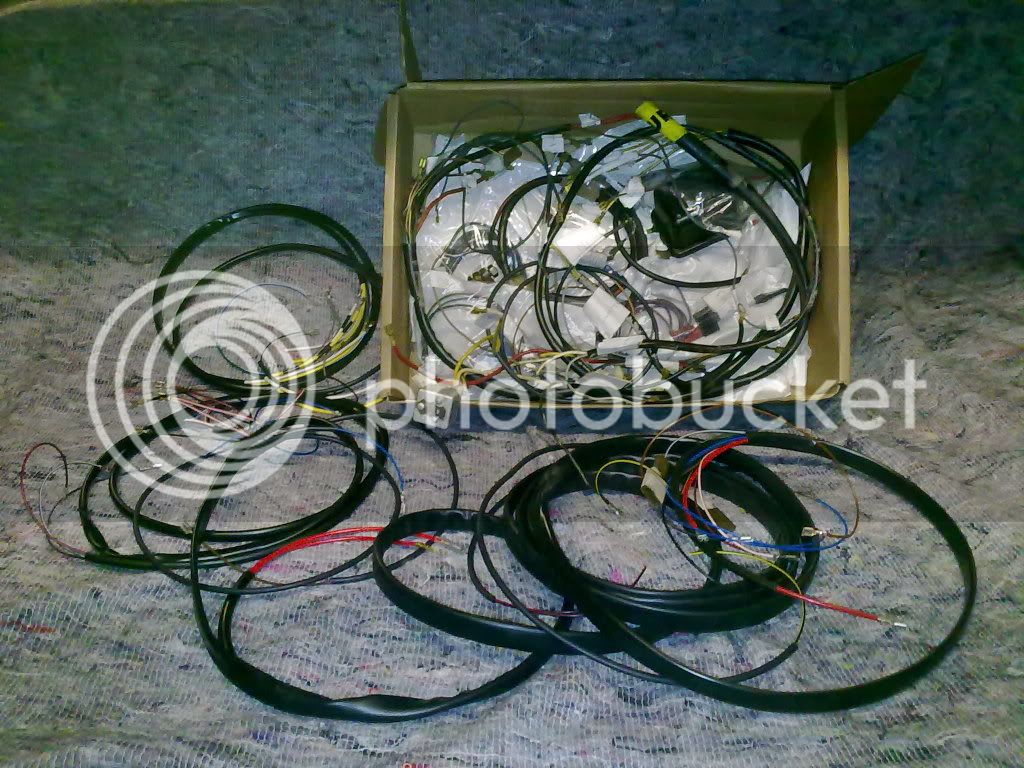
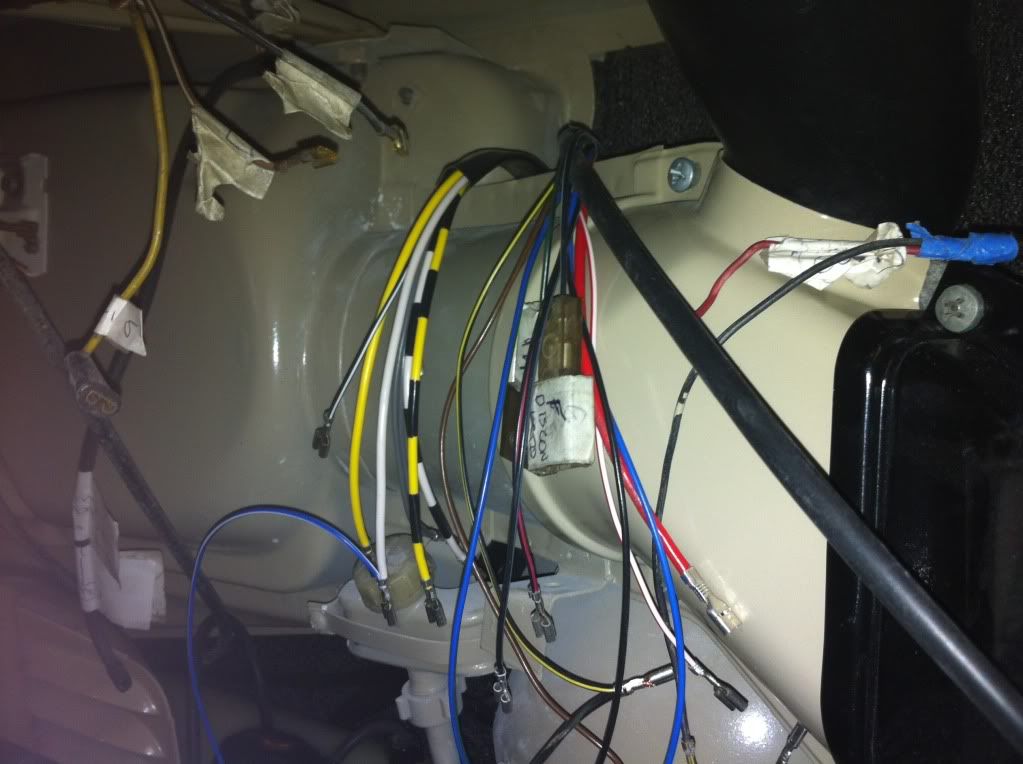
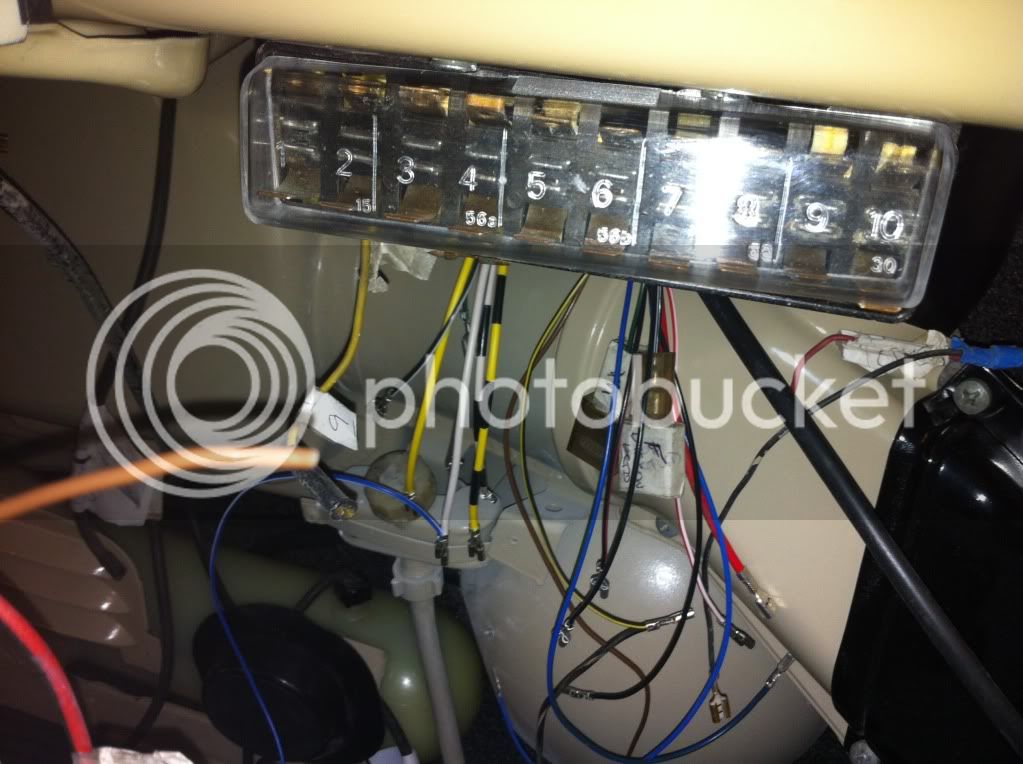
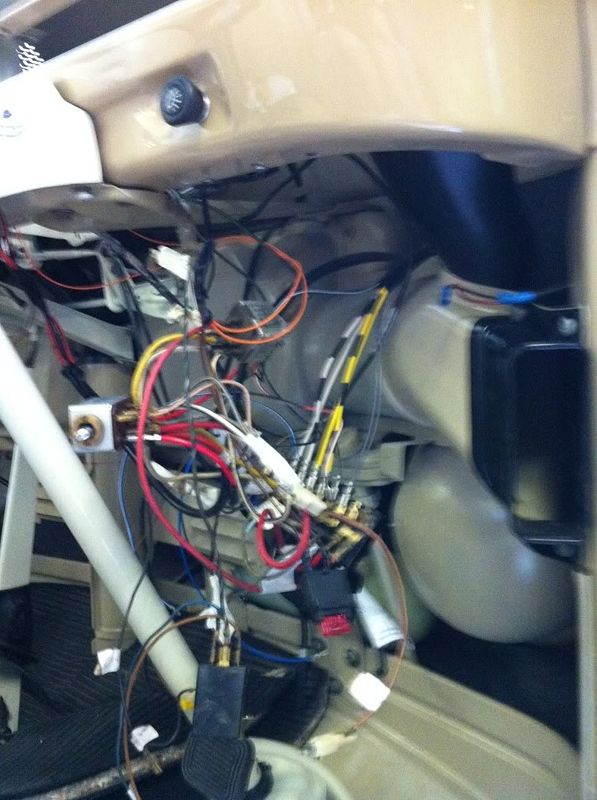
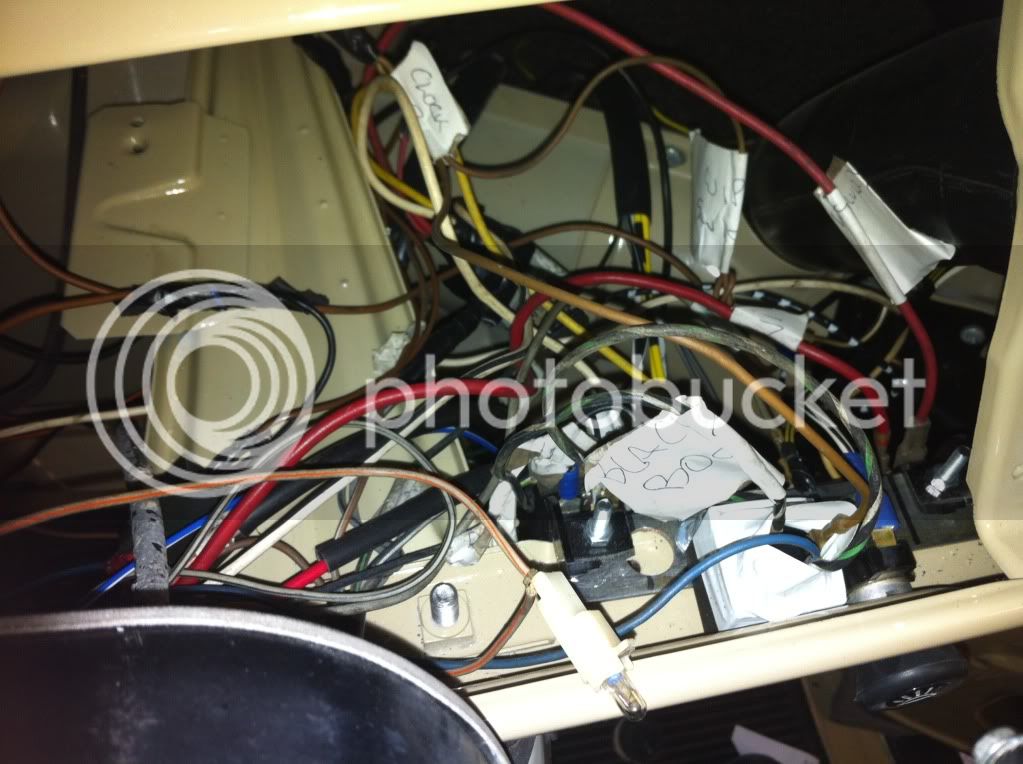
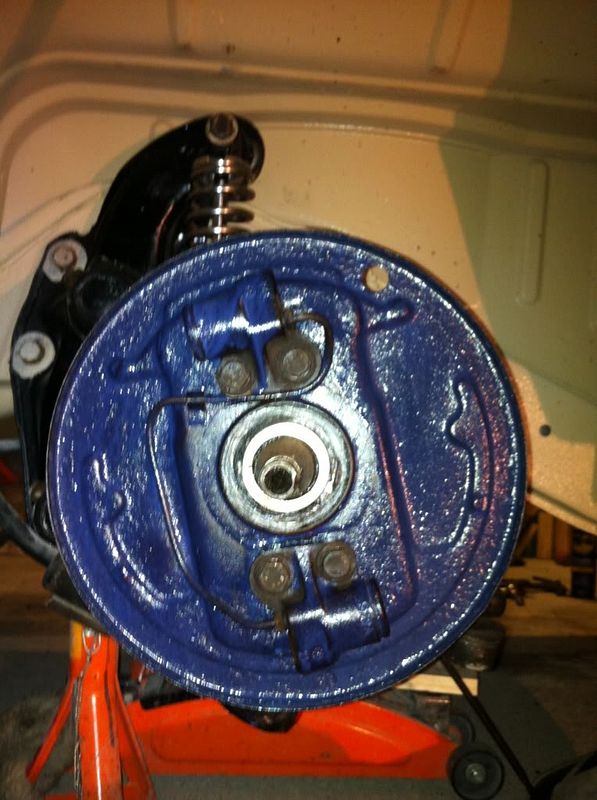
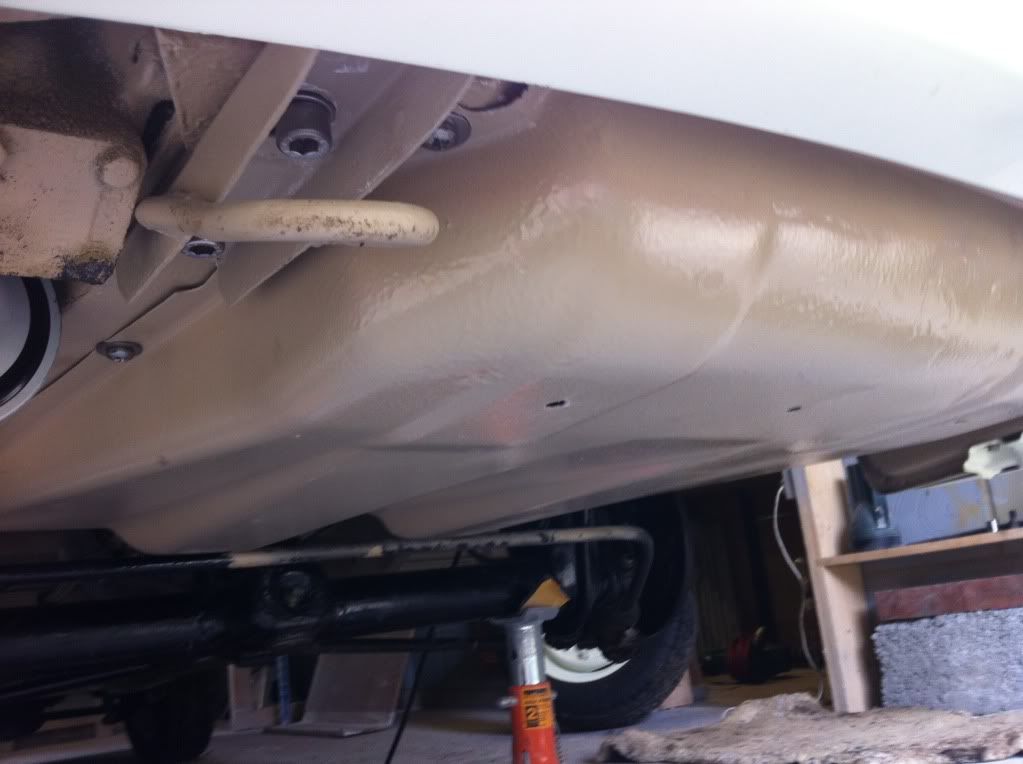
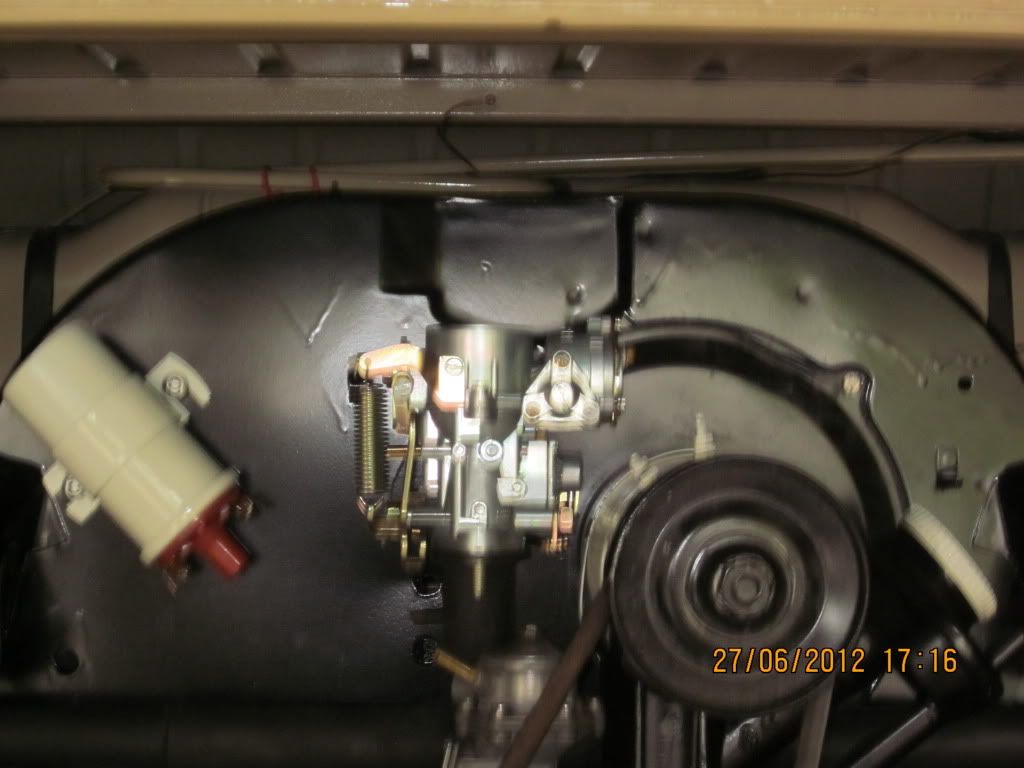
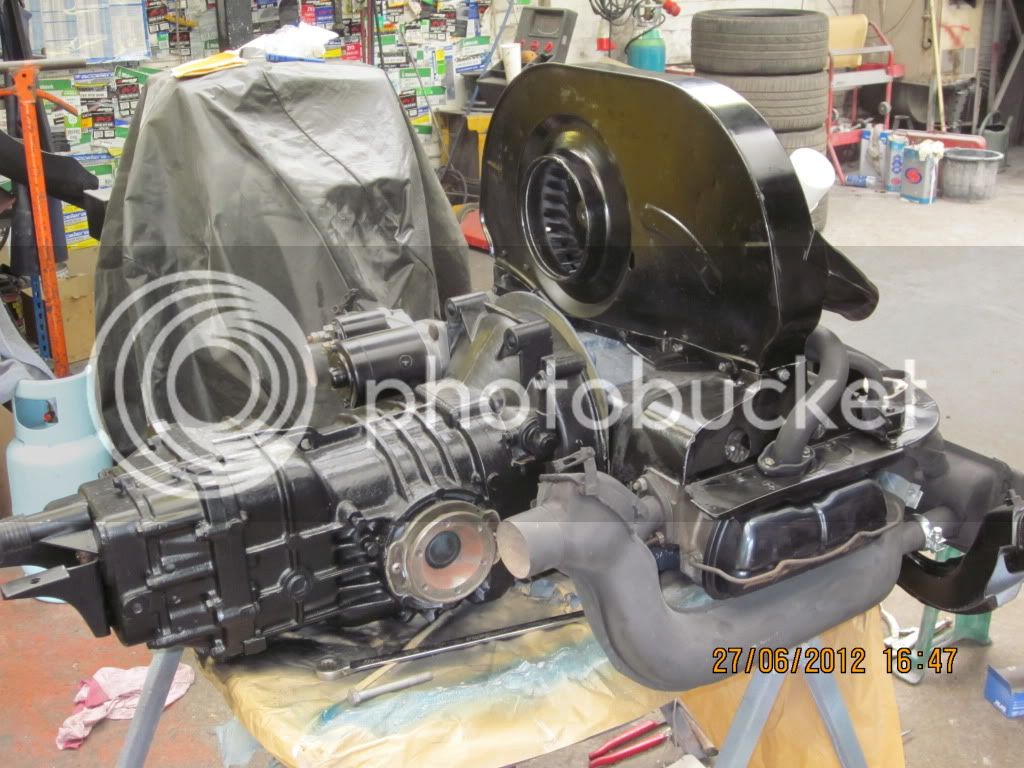
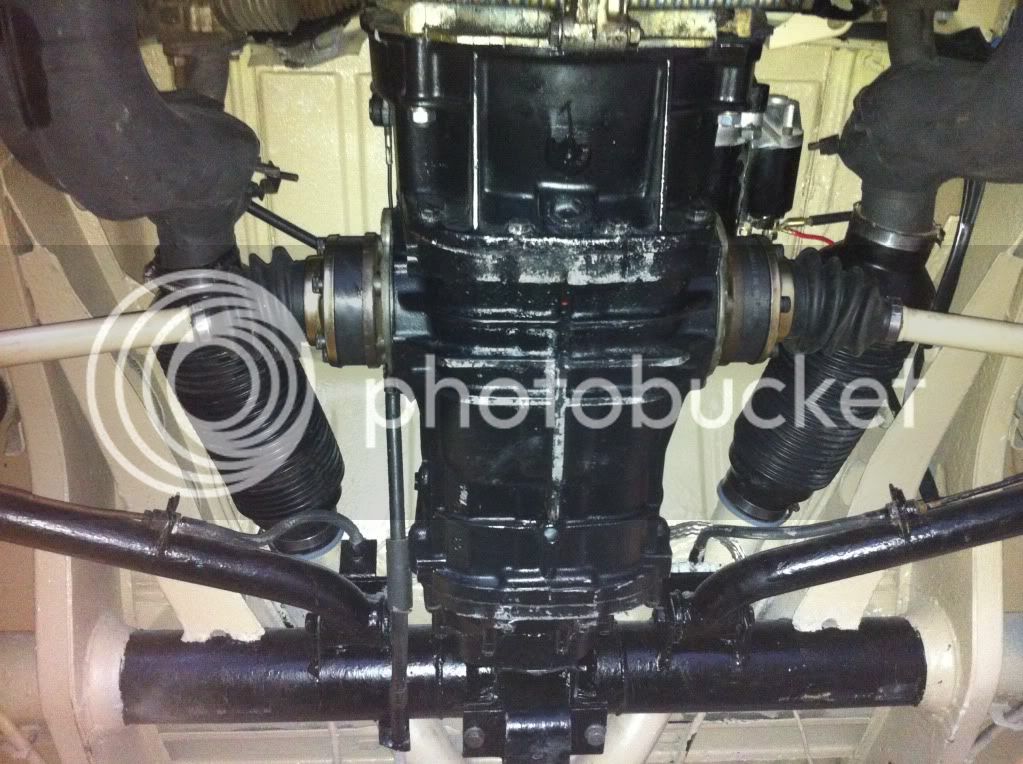
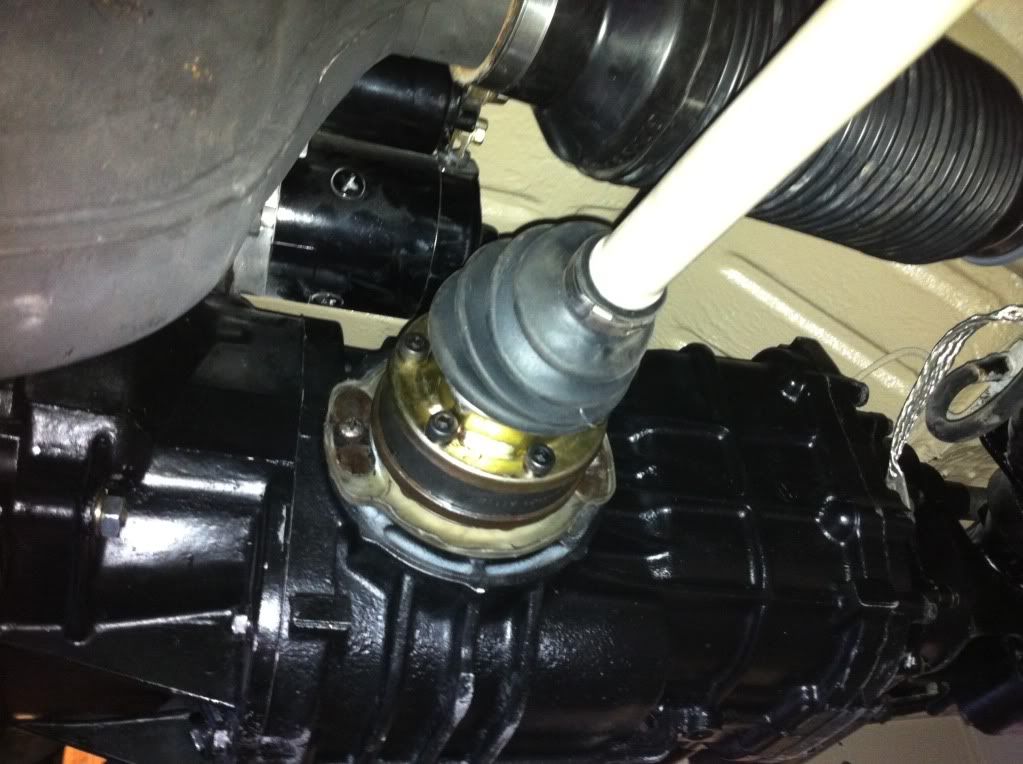
Replaced the throttle cable, heater cables etc, put the engine seals over the gear box area and on the rear valence ,
and all the wiring's ready for the engine, replaced all the bushes on the gear selector rod, battery's fitted and charged so ......
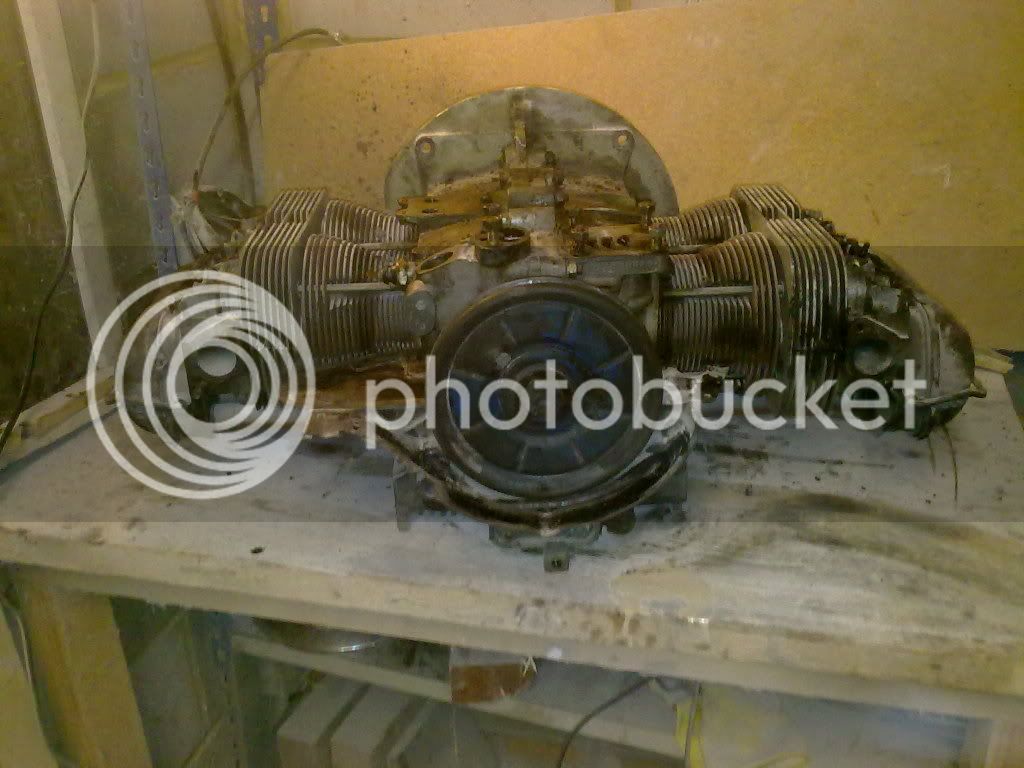
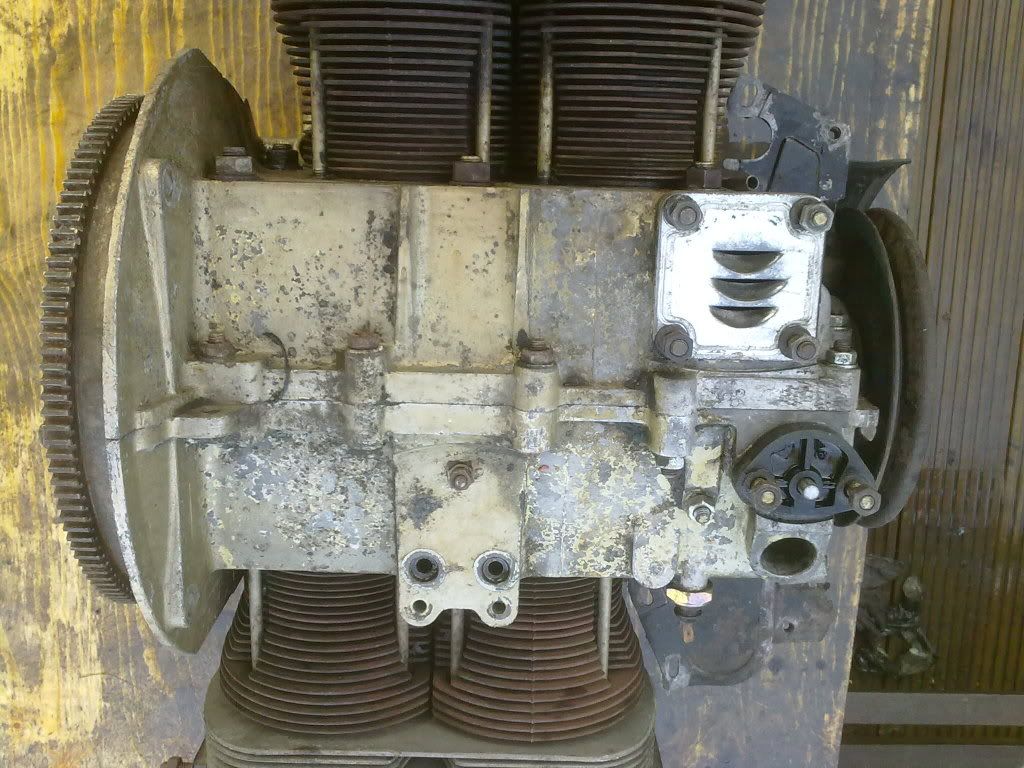
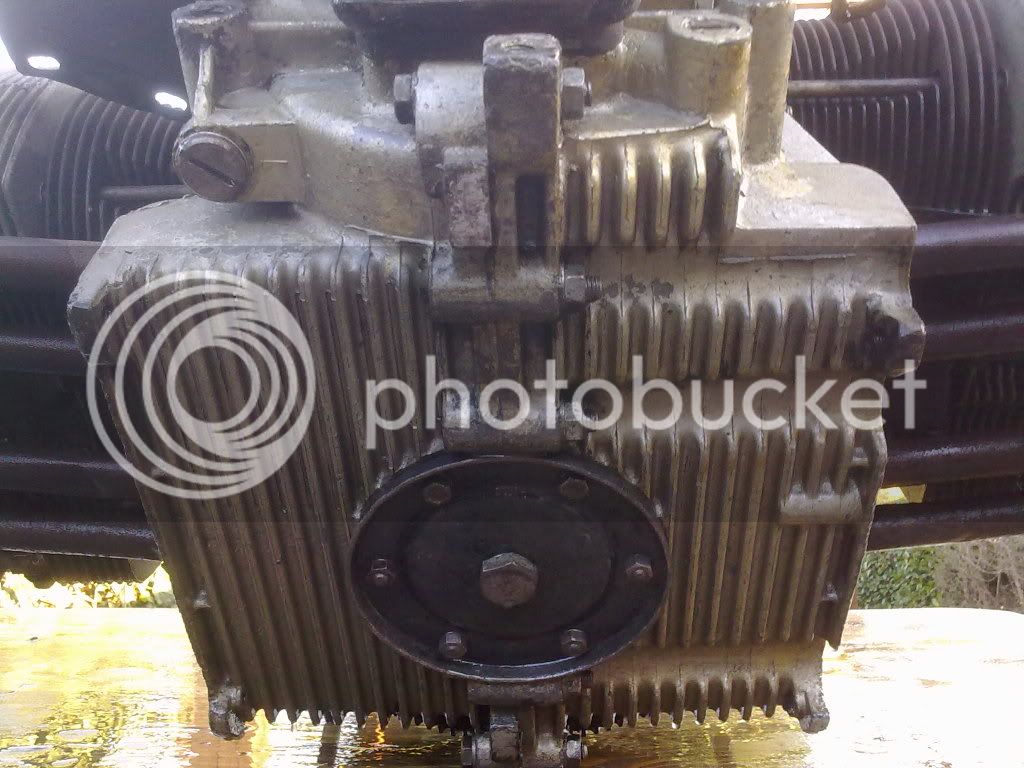
.... apart from something I'm bound to forget..... it's time to put the engine and gearbox in !!!!!
Back in a week or so with a progress report and some photo's,