Guido the B-Movie Bus

Early Bay Forum

Help Support Early Bay Forum:

This site may earn a commission from merchant affiliate links, including eBay, Amazon, and others.
Very nice bus mate 8)

stock-bought-after-glasto-9.jpg

:D
001-12.jpg
 
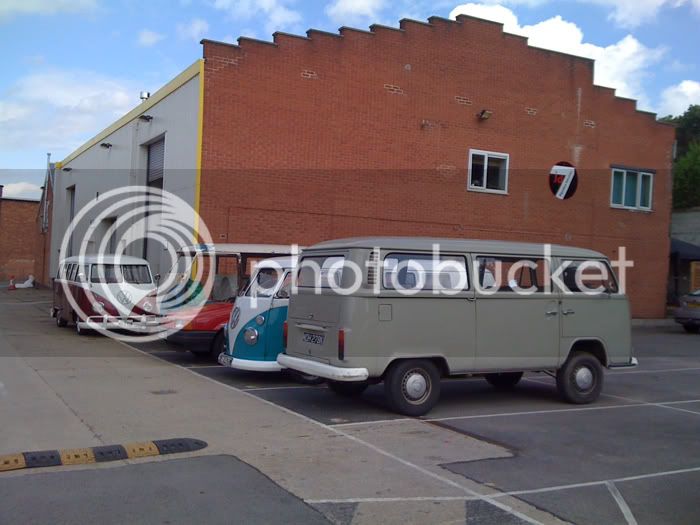
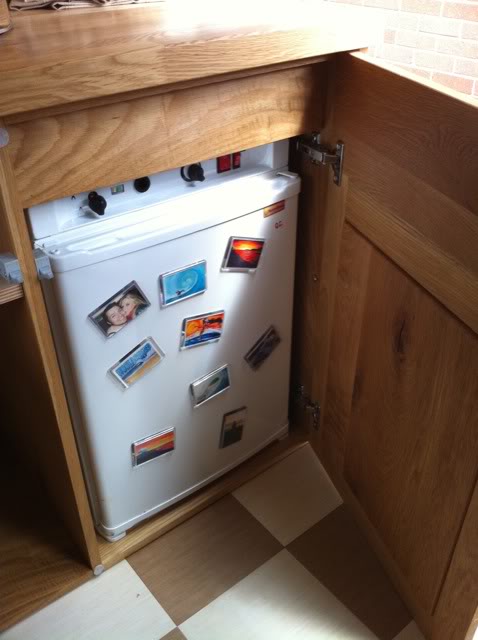
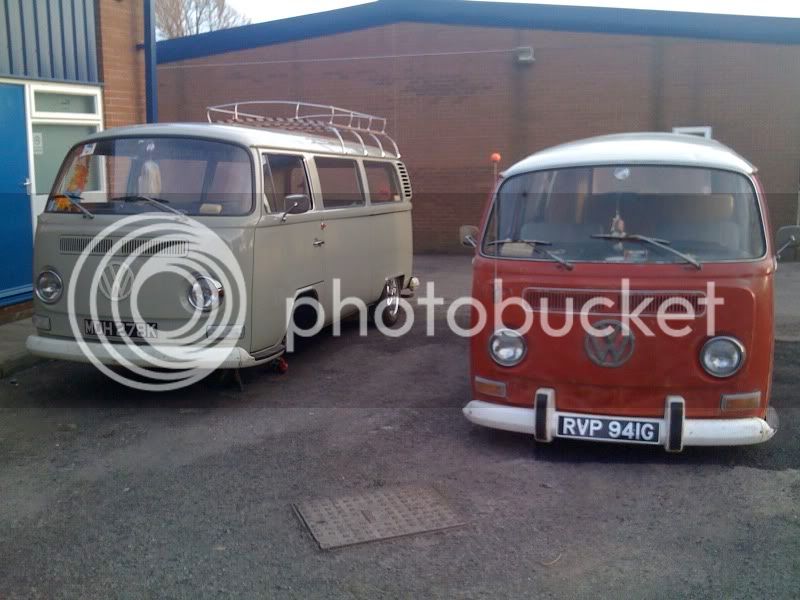
Okey Dokey! Time for a small update.

So the last pics I uploaded showed my bus with the new slamwerks beam on but not drivable. Being a 72 it has a ridiculous chassis that is not slam friendly so the bus chassis was basically 'sitting' on the track rods enough to put a lovely bend in my nice new slamwerks narrowed track rods. I jacked the bus up gave them half a turn then slowly lowered the bus back down. A 2 ton press on wheels :lol:

So notching was the order of the day - originally I was going to take the bus to Guy at slamwerks but after speaking to Paul off of the God Bus I decided to invest in a welder and do them myself! I have to say at this point that, other then the odd bit of messing about on scaps, I have never welded anything - especially anything of structural integrity! I have spent the last few weeks sourcing materials and reading up ALOT on what the best way to do it was.

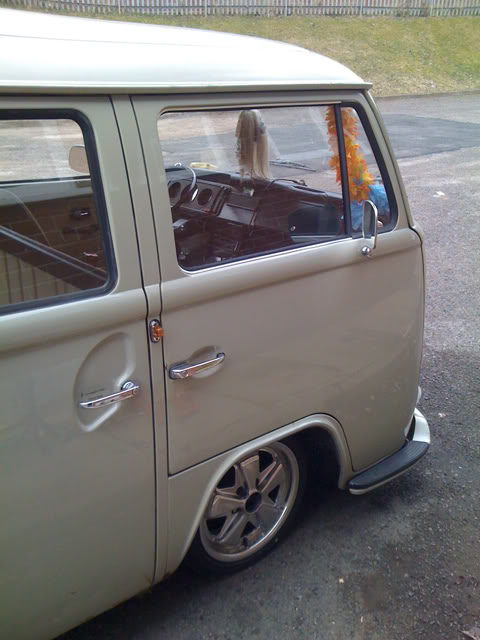
Sooo after lots of measuring, checking, measuring, checking and then some more of the same; I grabbed my angle grinder and got to it! I was amazed how quick I had two nice 1" deep notches! I lowered the bus back down to check clearance but unfortunately I hadn't taken enough out - also I was going to be changing from my 175/55s to 165/50s on the front so I had to guesstimate this too. Back out came the angle grinder!

This photo shows when I had welded it the top plate and the right hand plate. Didn't manage to get the left plate in as it got dark.
I know it's not very pretty but I was just concious of getting a decent enough weld. Plus it was my first time actually welding something of importance - the hardest thing is just getting decent access. I will also be relocating the flexi bracket round a little.
IMG_0163-1.jpg


Anyway - Just need to weld in the drivers side and thats the front notching done. Not 100% sure what to do with the back - Gagdet gave me some scaffold clamps which would sit like a semi circle above the drive shaft and the a arm. My other option is simpler to do but not as neat and effective - just cut trapezeum shapes in the chassis then it's just 3 plates per notch. Like this:
____/""""\____

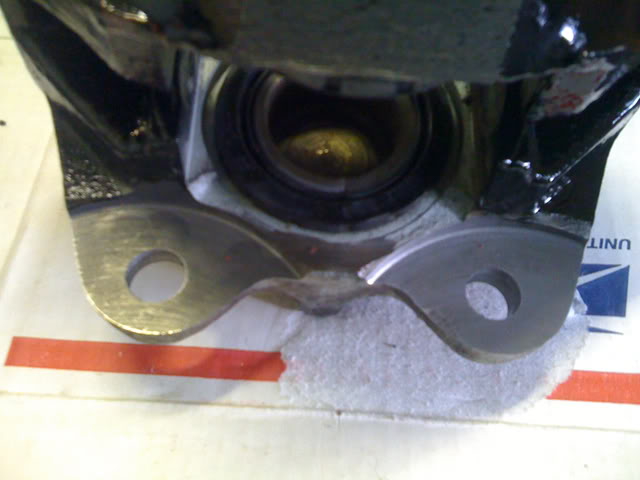
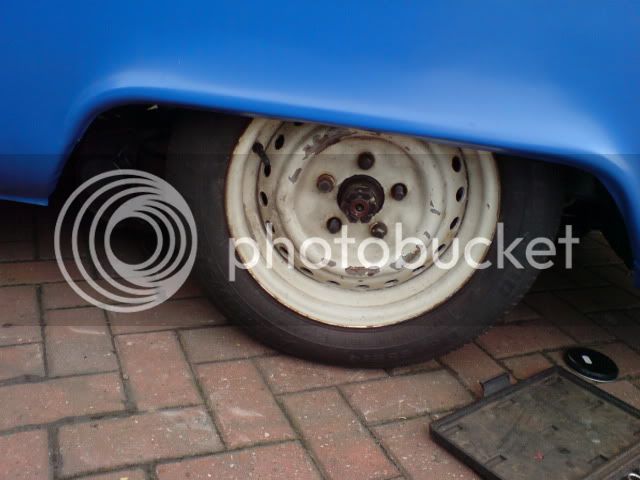
Anyway - another problem I have had with the conversion has been the brazilian late link pin spindles and my late bay brake calipers and discs. I have read up alot on this also but I am none the wiser. So in the end I went to see my friendly neighbourhood mechanical engineer Tom who did this for me:

IMG_0170.jpg


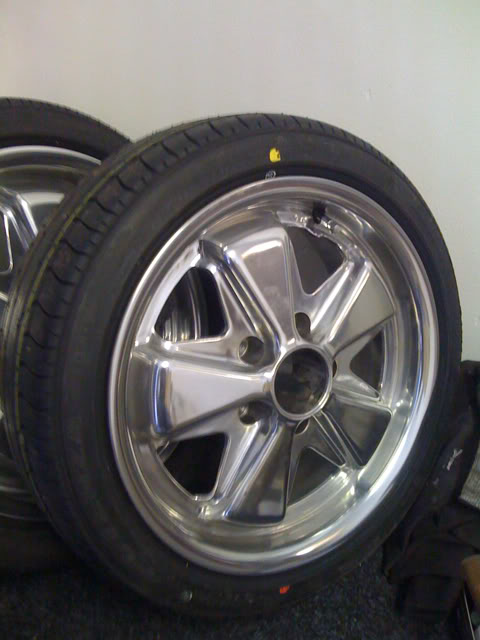
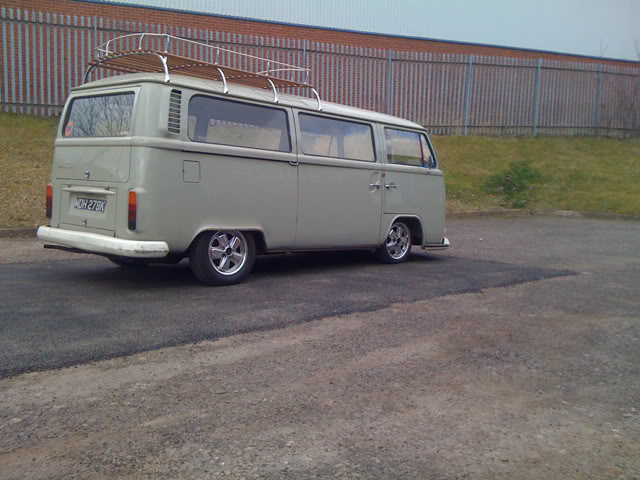
Today my 165/50s came and I couldnt resist putting them on the bus to see what they looked like. Chuffed to say the least:

IMG_0169.jpg


IMG_0177.jpg


IMG_0176.jpg


Just need to get the back notched and down a fair bit - comical rake at the mo!

IMG_0172.jpg


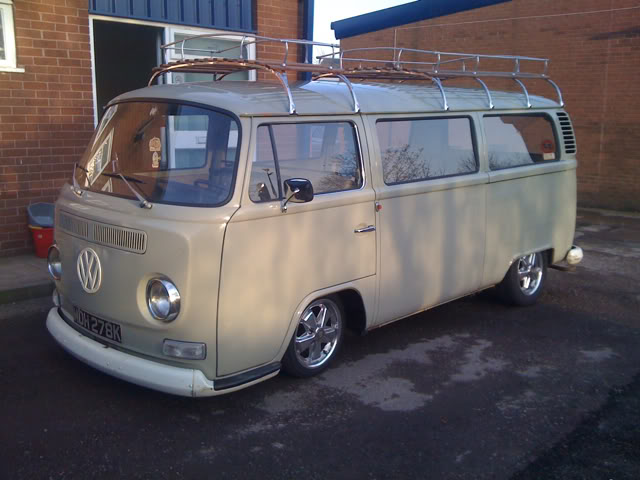
Hoping to have everything done this weekend so I can actually get to go for a drive in it! last time was before christmas!

Thanks for reading 8)
 
Some very nice work you have carried out - good on ya 8)

Agree with the stance - almost looks like it is shoving its arse in ya face ;)
 
Nice one 8) welding looks spot on to say its your first attempt.
Are your track rods flipped at that ?Another option for you would be to fit
Horse shoe plates on the rear and just notch out where the drive shaft goes.
You would end up like this with a 2 spline turn
DSC00646-1.jpg


but I think one would be enough..Just an idea for you plus with one spline you would
retain more travel and less camber
 
Hey guys thanks for the encouraging words.

ground hugger said:
Are your track rods flipped at that ?Another option for you would be to fit
Horse shoe plates on the rear and just notch out where the drive shaft goes.

Yes the track rods are flipped - Now I have notched the chassis rail the track rod has a good 2" of up clearance now.

I already have creative springplates on the rear. It is set at 1 spline down and max height on the adjuster - this is because I had some bad chassis knocking from the a arm hence why I will be notching the rear. I am hoping to go pretty low on the back too.

Like the evil one says "don't be a pussy, be a 3 spline hussy!"
 
Sorry pal,I thought you had just gone 2 splines on the rear ,didn't realise you had
adjustable spring plates :mrgreen:
Its looking very nice and keep the pictures coming ;) ..Dave
 
Small update...

This is how we are currently sat:

bus-3.jpg


bus-2.jpg


We have been concentrating on the interior of late. Here is an idea of what we're going for. We have commissioned an oak unit to be made to run along the partition, similar to a S062 Westy interior.

bus-1.jpg


:msn4:
 
thats a beautiful crossover, awesome stance too. Only problem is when i see busses that look this cool it make me want to spend alot of money wanting to go lower :eek:
 
Our oak unit is now finished and installed and we're over the moon with it. We commisioned a local guy here in Tamworth (Clive) to make it. He has never worked on a camper van before and normally makes bespoke household furniture. He's a genuine bloke and seemed excited with trying something new. I was a little worried that his bespoke kitchen background may make our unit look too kitcheny but I think it suites the van just fine :mrgreen:

So like I mentioned previously in this thread my idea was to recreate a modern style SO62 style interior that utilises the full width partition. I had to change the design around alot, especially when I got a bargain on a second hand fridge that was a bit of an awkward shape. Most of it is solid oak apart from the inner carcass which is oak faced ply. It weighs a tonne! :lol:

IMG_0425.jpg


My original design called for a westy style fold up table on the out facing side of the unit but Clive came up with a really nice elegant solution that I really liked. The table pulls out on runners which he has set up inside the table so you can't see them. It also has soft close ;)

IMG_0428.jpg


IMG_0420.jpg


IMG_0421.jpg


IMG_0419.jpg


IMG_0433.jpg


IMG_0439.jpg


IMG_0476.jpg


IMG_0477.jpg


We are currently oiling the birch ply headlining and will be final fitting that this week. Give the old dog a big tasty service and we're off to Spa and then 5 nights round France! :D

If any of you would like Clive's number PM me and I will pass it on to you.
 
Cheers :mrgreen:

Just for you dubdubz

photo.jpg


So chuffed. The workmanship is excellent.
 

Latest posts

Top