HELP WITH HEADLINING!!!

Early Bay Forum

Help Support Early Bay Forum:

This site may earn a commission from merchant affiliate links, including eBay, Amazon, and others.

baybus70

Well-known member
Joined
Apr 5, 2007
Messages
288
Reaction score
0
Location
Southport, uk
The headlining on my 71 danbury is past it and needs replacing.
I really want to replace it with an original headliner but have heard it's a nightmare!
Is this something i can do myself( im fairly handy i think) or would ppl advise getting a pro to do it? Most of the old stuff is gone and i don't want it to spoil the look of the finished van.Any one any idea how much a trimmer would charge to do a complete job inc around the windows.It has a pop top so this may be a bit more tricky?
Thanks for any help :? ,Steve
 
Try DB Cartrim in Blackpool. Not a million miles away.

http://www.dbcartrim.com/1101/frames.php


Having fitted a headlining in a beelte years ago and making a mess I decided there and then never to do another. Never used them but might be worth getting a price.

I used spirit of the 50's for my last van and he did a fantastic job. Cartrim have been going for a number of years andtrades at a number of show's.
 
G'day Steve,

This job is one of the type that can really try your patience but when you succeed you'll be made up. I did my tin top this year, I was dreading doing it but the mission was accomplished. :D

I guess with your bus having a pop top this will possibly create more probs than a tip top but I'd say it's worth having a go. You also need to employ a friendly octopus to hold things in place whilst you stretch, tug and glue the thing in place.

I paid about £120 for the liner from DB Car Trim in Blackpool and was quoted about £300 by some other dude to fit it hence why I did it myself.

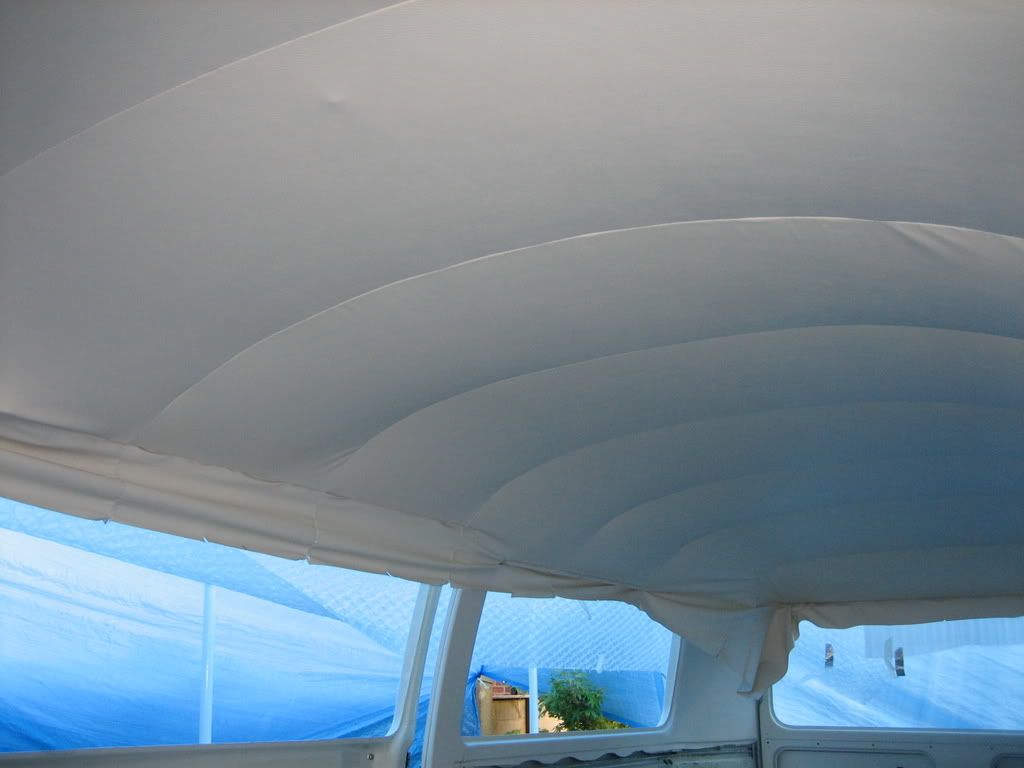
I started by clamping the liner at the rear window frame and pulling it all the way forward, inserting the roof bows as I went until I got to the front where again I clamped it in place. Make sure the liner is aligned down the centre of the bus. Now then, the trick with this job is to keep the liner nice and warm. This helps you to stretch the liner into position without it tearing, it also helps it to form round any complex curves but the great thing is when it cools down it pulls in nice and taught. I used an electric heater and as I did mine in the summer I sweated my bollox off. I'd also recommend a good spray adhesive.

So starting from the back I simply (ensuring all the while that the liner was nice and warm) pulled a 2' length of liner taught to see how it looked, adjusting the tension to get rid of any creases before clamping it to the rear side window frames. Then I sprayed glue on the areas to be bonded (just inside the window frame) before firmly pressing the liner in place and waited for the glue to do it's job. I worked in this way all down the bus to the front of the bus. If you get any creases don't be afraid to unstick it, heat it and try again.

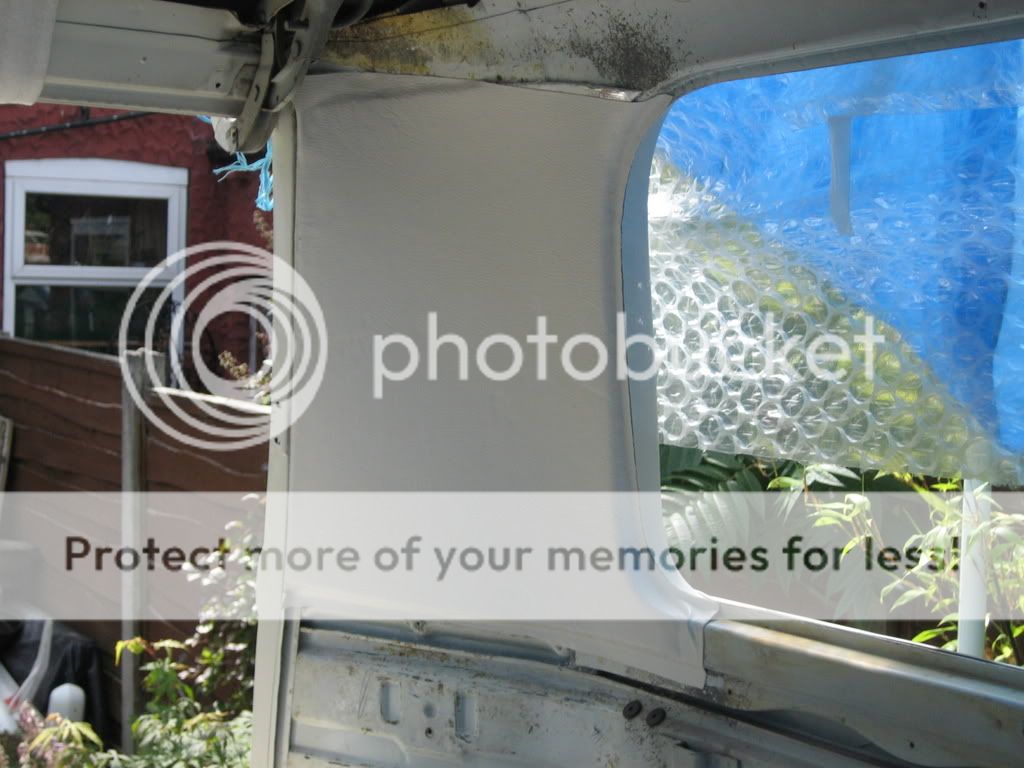
A few points to note are that you need to trim the vertical areas of the window frames and the sills before you fit the headliner, also, when I did mine all the windows were out which allows you to easily fold the liner into window apertures. I've got some before and after pics of mine somewhere, when I suss out how to load them I'll post 'em on here.

Go for it.

Cheers

Ian
 
I take my hat off to anyone that attempts this - it's right up there as a tricky job to do on any car (I did my bug many years ago).
Personally I'd bite the bullet and get a pro to do it - some jobs are just too much hassle IMHO (deffo take the windows out first though!).
Whatever you choose, good luck with it - don't forget those pics too!

;)
 
Thanks everyone for your help and comments. The alternative which has been suggested is a westy stle wooden headliner.Theres a guy by me who makes repro's off an original. Im just stuck with the round the windows bit then.dya reckon it would look any good painted, westy style?
Your input will save any more arguments between me and the udder arf!
Thanks ,Steve
 
My van has acoustic carpet down the sides and round the windows, looks good.

Cheap enough - about £15 for 2m by 1m.
 
Here you go, a few pics. Might not be much help but it gives you an idea of the job

IMG_1142.jpg


IMG_1140.jpg


IMG_1458.jpg


IMG_1471.jpg


IMG_1472.jpg


IMG_1476.jpg


IMG_1473.jpg


IMG_1477.jpg


Cheers

Ian
 
Cheers Ian!
Bloody good job youve done there! prob one of the roughest headlinings ive seen beforehand!
Thanks for your advice and the pics,would really like to do what you did, so will probably just ave a go! Think the poptop may be tricky but u gotta try!
Cheers,Steve
 
top quality job for sure, havent seen one with that few wrinkles that wasnt a professional install. :)
 
Billybradshaw - most excellent dude 8) :wink:

You made it look so simple, but I know it ain't - good on ya :wink:
 
Cheers for the comments fellas. I'm pretty sure the result was more good luck than good judgement cos I hadn't done one before but I'm reet pleased with how it turned out.

My g.f just wishes I would put as much care and attention towards the decorating :roll:

ta ra
 
I did my bug one by taking the old one apart and marking the stitch lines on fresh vinyl. Got my friend to run it through the sewing machine. Fits like factory after a little stretching/glueing. I have struggled with TMI etc before with no luck. Pattern is poor (missing bow), material not the best. I paid 10 quid for my vinyl. Plan to do the bus ('71 Deluxe Microbus w/sunroof) after paint. If it goes tits-up I won't be out much cash. Be brave..give it a try!

Al
 

Latest posts

Top