How to fit cab door scraper seals

Early Bay Forum

Help Support Early Bay Forum:

This site may earn a commission from merchant affiliate links, including eBay, Amazon, and others.

Saraj

Well-known member
Joined
Nov 9, 2007
Messages
201
Reaction score
0
Location
Bristol
This is a question that keeps popping up on various forums so when I changed mine I did a bit of a write up to make it easier to explain:

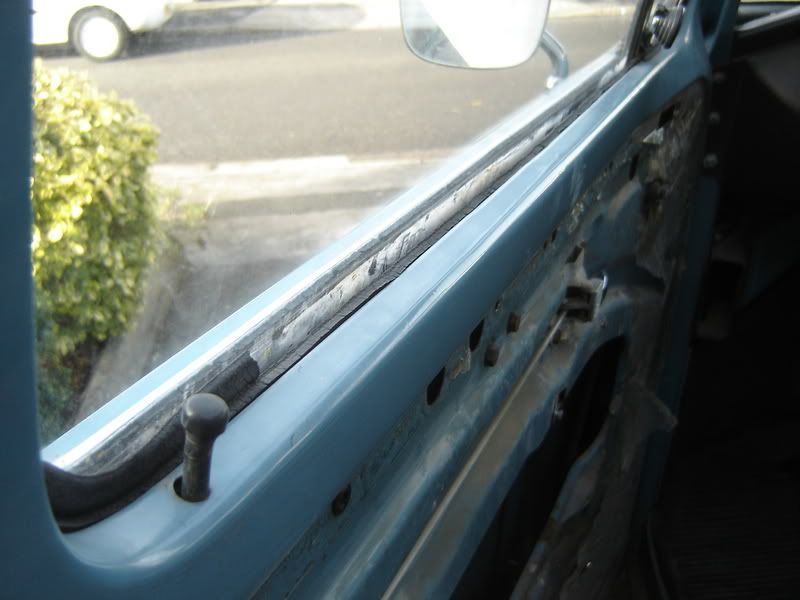
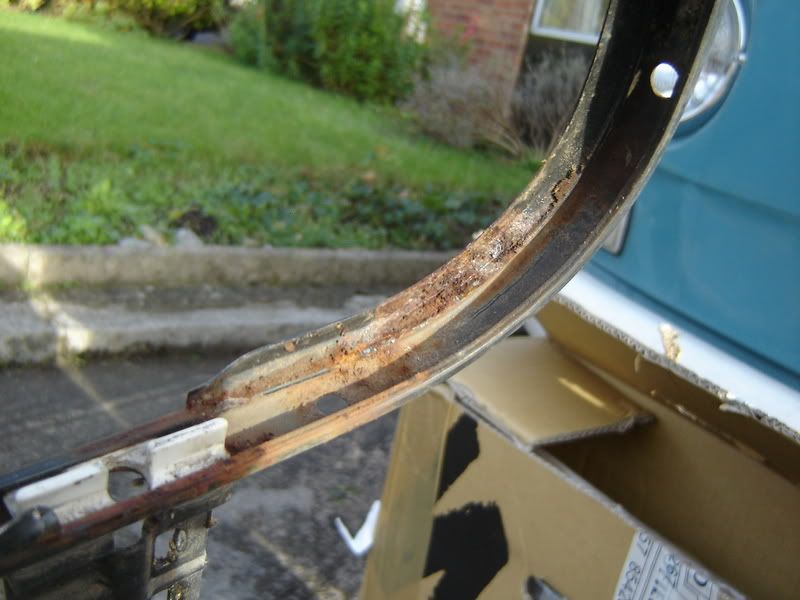
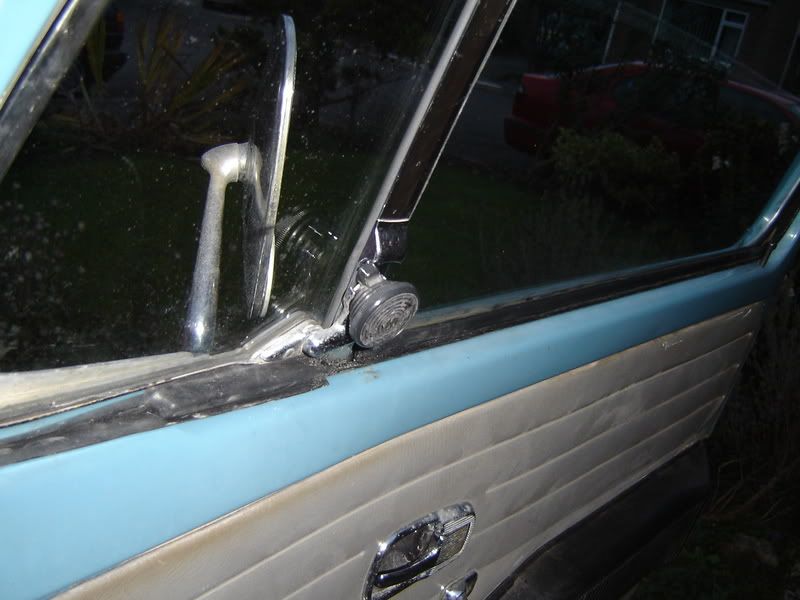
My scrapers had pretty much disappeared so I replaced all the rubber seals.

DSC01414.jpg


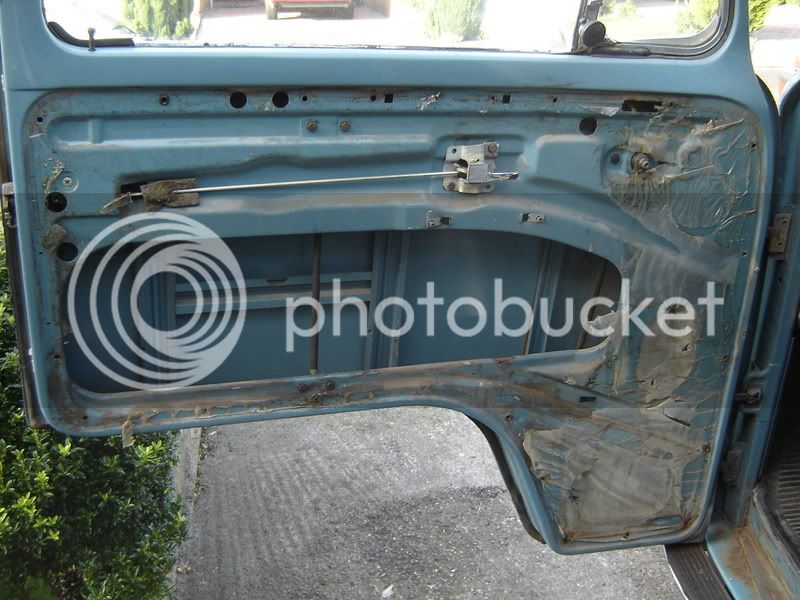
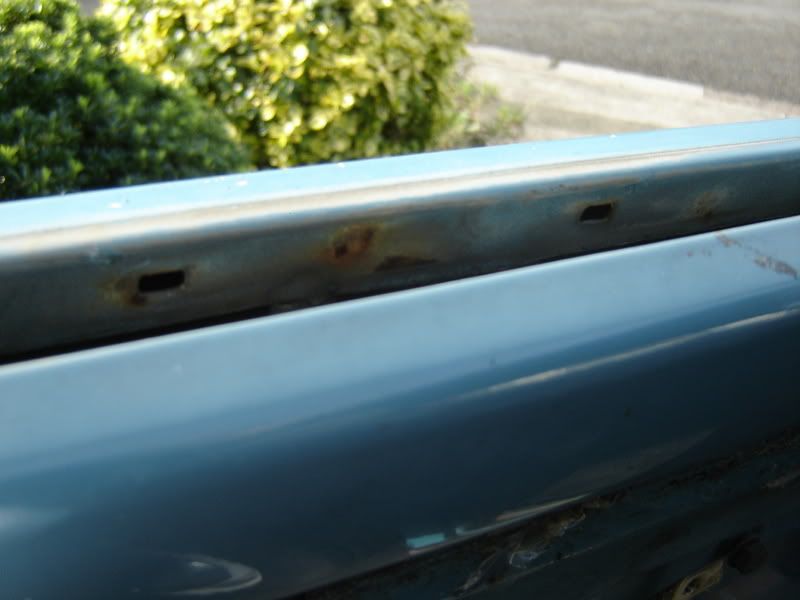
Started off by removing the interior door panel to access all the screws/bolts etc for the door. The plastic lining also disintergrated as I took it off so will need replacing too.

DSC01412.jpg


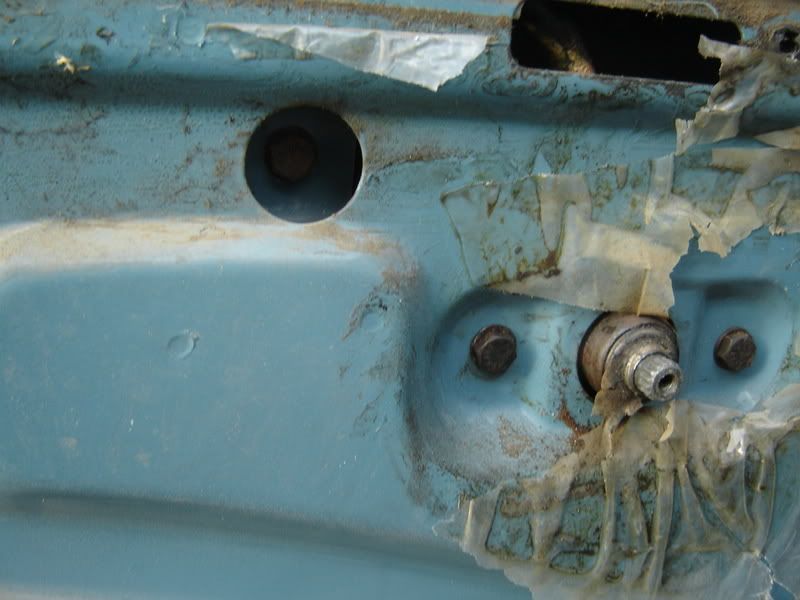
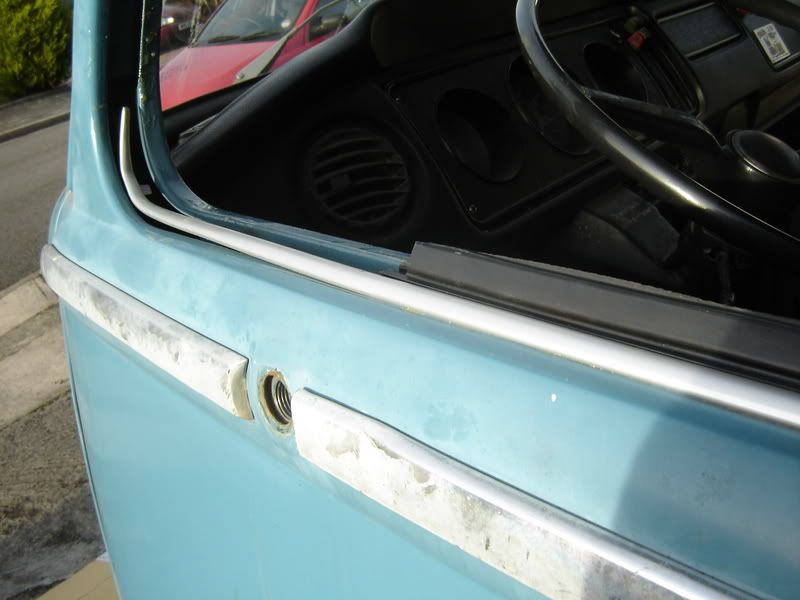
I took the exterior handle off first which is held on by 2x 4mm hex bolts.

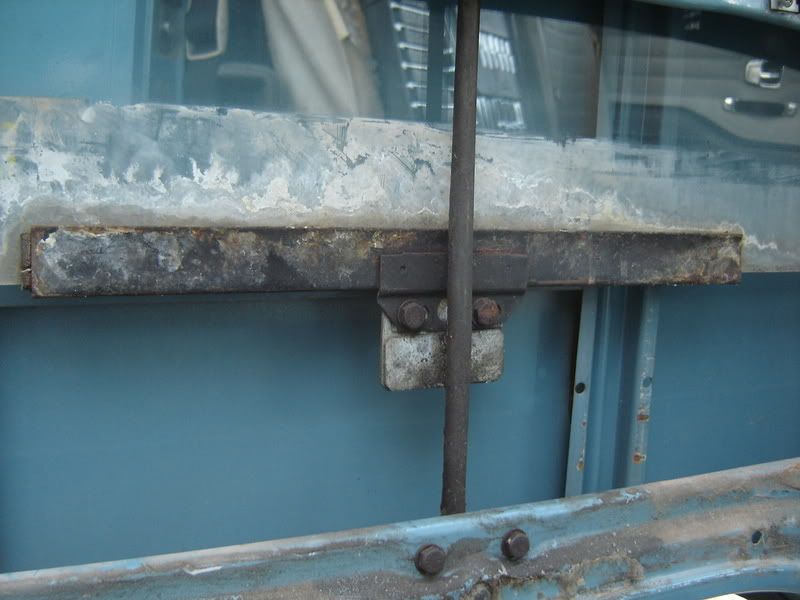
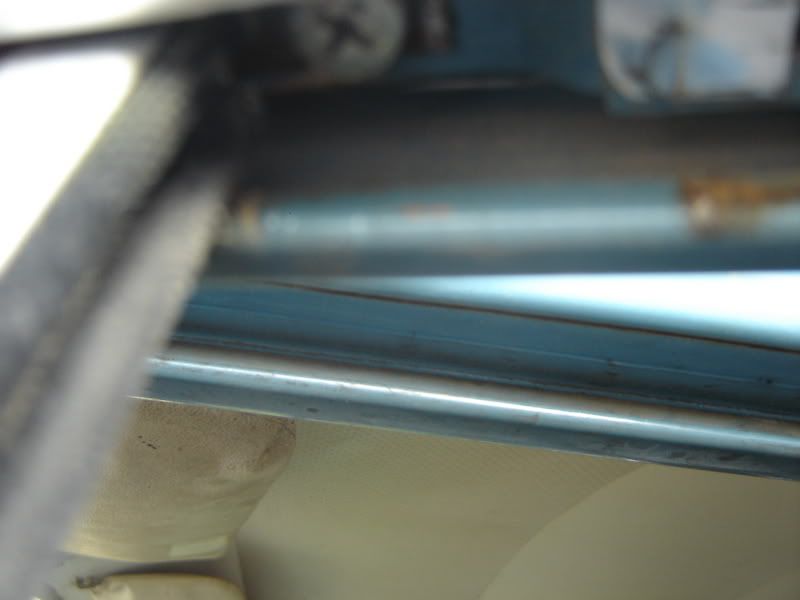
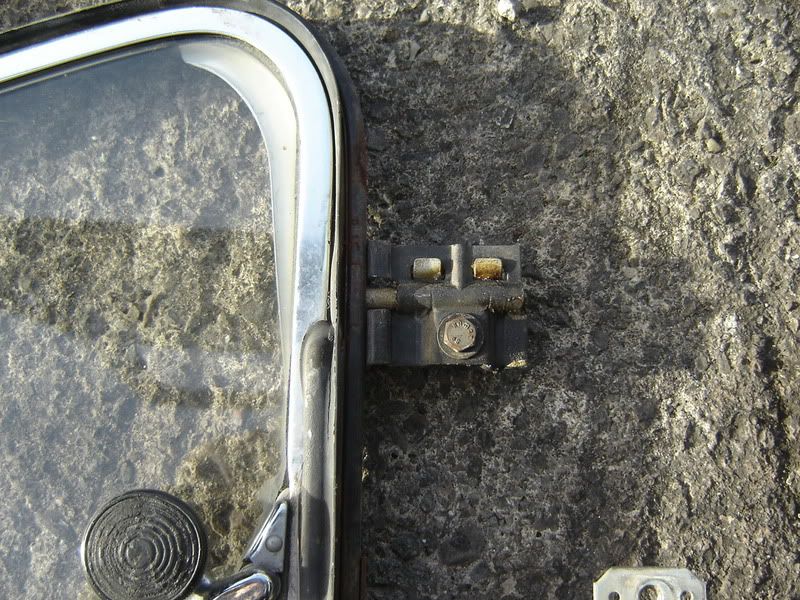
Then I removed the grey metal channel which the end of the long felt channel sits in. This is held by a 10mm bolt at the bottom and a slidy clp thing at the top. It just pulls out once you've removed the bolt.

DSC01415.jpg


DSC01421.jpg


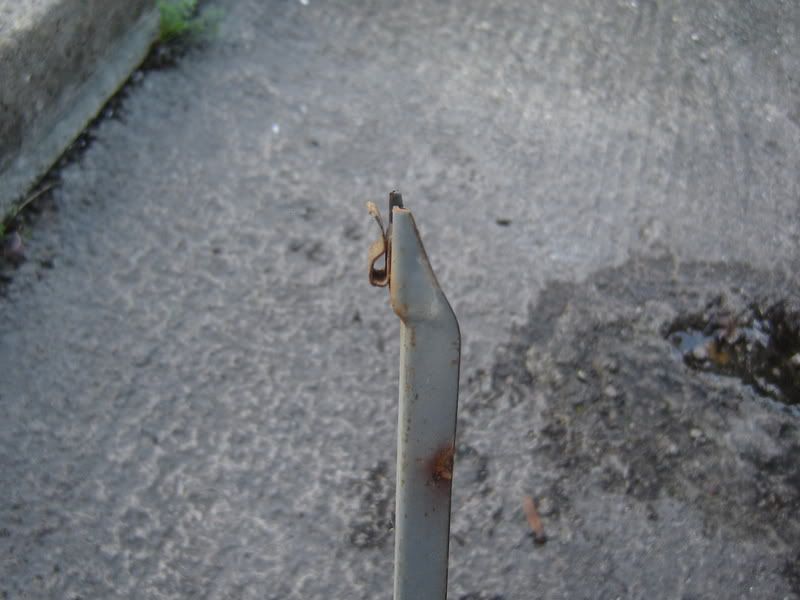
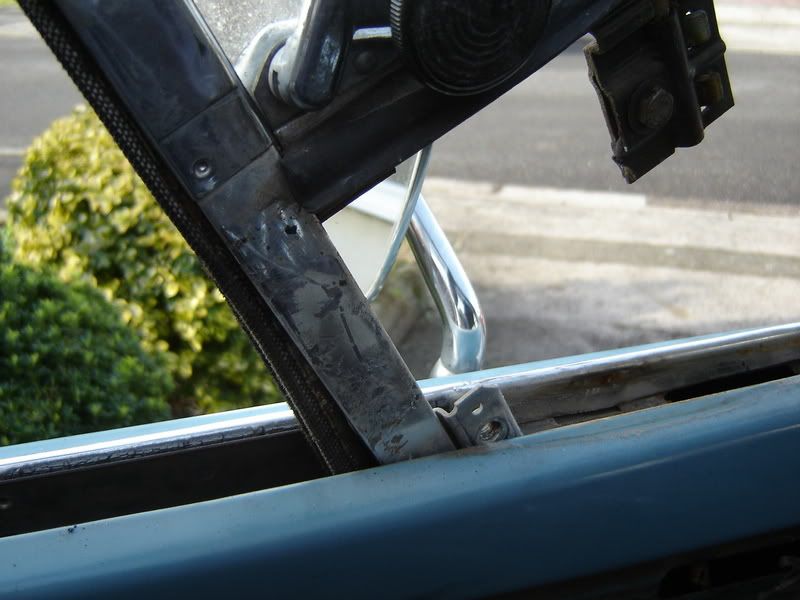
Next I took off the door release handle, again secured by 10mm bolts. and the long rod that leads to the release mechanism thing. You need to undo the clip which holds it into place and I find a small screwdriver does the trick nicely.

DSC01418.jpg


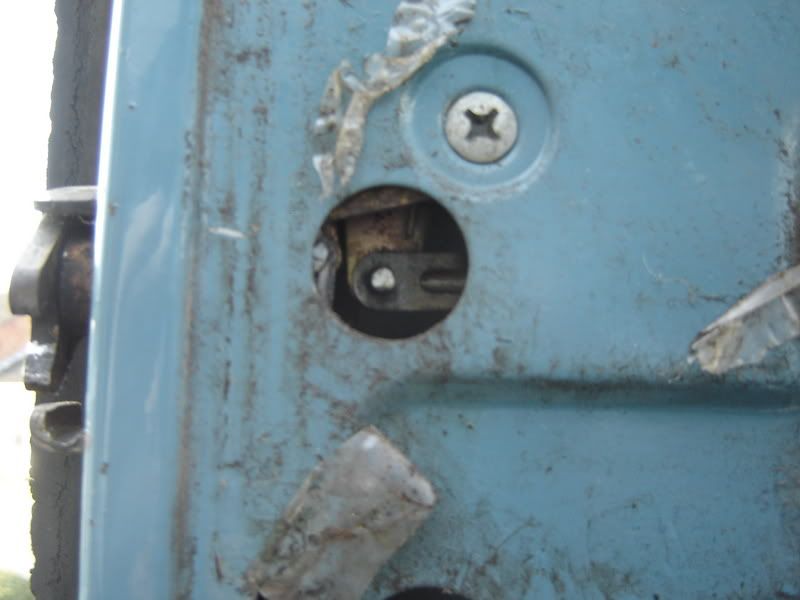
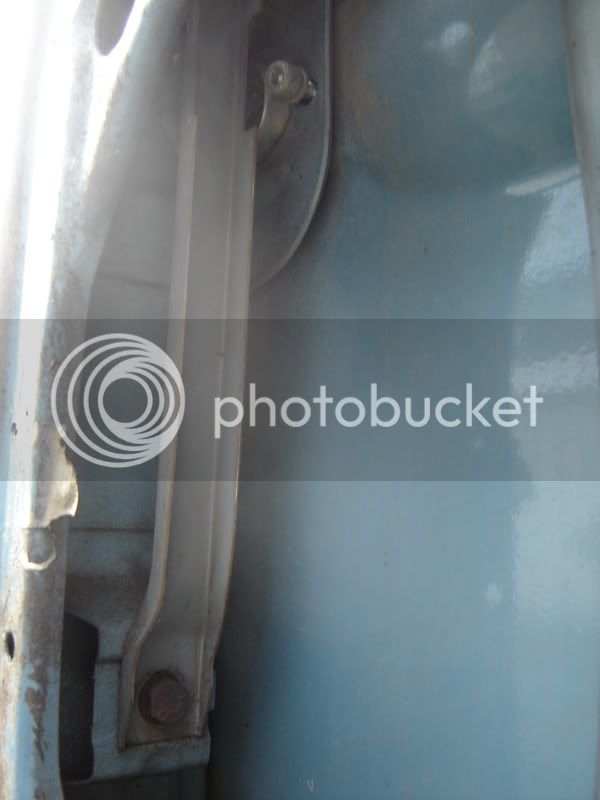
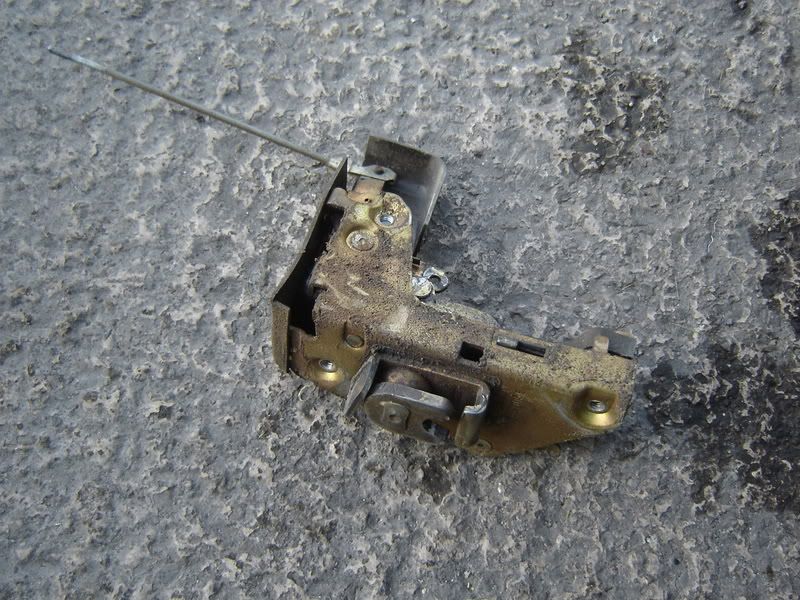
Then onto the release mechanism thingy, held in with 3 cross head screws. Should comemout easily once released and drop down. These are usually pretty crusty and gunked up so it's worth cleaning up before you put it back in.

DSC01423.jpg
[/
 
Next up I released the main window from the lifter mechanism by undoning the 2 10mm bolts. and sat the glass in the bottom of the door for now.

DSC01425.jpg


You can't get the scrapers out until you have removed the 1/4 light so that was next on the todo list. This is held in place by a 10mm bolt at the bottom (seen inside the round hole by the winder handle)

DSC01430.jpg


and a small cross head screw at the top. This screw is behind the felt channel so you need to pul that out first.

DSC01432.jpg


You can now pull the top of the 1/4 light frame towards the rear of the door and with some gentle persuasion it will tip back

DSC01435.jpg


as the lower pivot point comes out you will need to straighten it up vertical again then pull the whole unit towards the rear and it will lift out.

Now you can remover the scrpaers.

the inner scraper is held in by a wire that should just lever out.

the outer scarper is held in along the lower edge with some metal clips, these put up quite a fight on mine so the aluminium part took a bit of a battering in the process. It will probably have the clips which hold in the felt channel too, these just slide along a little then come out.

DSC01438.jpg
 
Now that the 1/4 light is out you can lift out the maing piece of glass and check the condition of the metal bit that clips onto it for the lifter. Mine was ok so I didn't replace it. If you do need to replace it it'd probably be a good idea to mark the glass where it was so you know where to put the new one.

I also removed the winder mechanism at this point and greased it up to ensure it would operate smoothly.

Whilst the door was bare I removed the dabris from the bottom of the insides of the door and hoovered out all the rubbish so the drain holes in the bottom weren't blocked. I then treated the inside to a good dose of Waxoyl to stop any future corrosion.

I turned my attention to the 1/4 light frame next. I drilled out the rivit it pivots on when opened

DSC01444.jpg


an undid the 10mm bolt securing the bottom

DSC01443.jpg


This enabled me to seperate the 2 pieces and change both of these rubbers.

I found a little bit of rust under the larger rubber so sanded that and painted it with some zinc primer before fitting the new rubber.

DSC01447.jpg


I also cleaned up the areas by where the scrapers go

DSC01442.jpg


Now onto the putting it all back together stage.

I started with fitting the new scrapers which should just push into place. Be particularly careful with the outer scrpaer as the aluminium part is pretty fragile.

DSC01449.jpg


Then put the main window and winder mechanism back in but don't attach them to each other yet.

This moves onto the trickiest bit. refitting the 1/4 light. It's pretty much the exact oposite from taking it out but you ned to be a bit more careful this time. I also undid the first 2 clips of the inner scraper and bent it back out of the way to allow a little more space for manouvering the 1/4 light frame. but don't worry it'll get put back in a mo.

Watch the corners of the aluminium trim as it goes in as they are likely to try and move with it so just press them back as they do. You'll probably find that it's all a really tight fit. I found that a closed pair of pliers and a hammer came in handy now. I put the pliers inbetween the 2 scrapers after re-fitting the metal clip thingand hammered the handles of the pliers. This opened up the apetuer a little and with some more waxoyl and a small screwdriver I was able to poke the end of the inner scraper between the door froman and the upright of the 1/4 light. (the bit just under the latch in this pic)

DSC01409.jpg
 
Saraj
I used your writeup to swap fixed for opening qtrlights, so ta very much
The hardest bit I found is getting the fixing bolt bracket which sticks out from the vertical post of the qtrlight past the strengthening brace between the inner/outer skin of the door while the main window is resting on the bottom of the door. I filed a bit of a groove in this brace, about 5-10mm to create a bit more of a gap which made it much easier and hopefully won't impair the integrity of the brace
gerry
 
That is definately the hardest bit of the job.

I hadn't thought of filing the brace down. Do you have any pictures of what you did there? I'd be interested to see if you do.
 
Im just in from doing mine tonight, thanks Sara for the pics, made life much easier than finding everything for myself!

Not much to add, I used Status VW scrapers that fitted very well. I mis-shaped the ally trim a bit on one side, so care is required - luckily having a van with 'wear' is forgiving!

I took about an hour or so per side on mine, but time is dependant on everything coming apart ok and being re-useable (another bonus of dry imports!).

My only apparrant problem is the seal being too good (ironically) and they are folding in on themselves as I wind the glass down - anyone else had this? :?
 
Glad it helped Clem,

Not had the problem you mentioned yet though, is it both the inner and outer scrapers that are bending?

I got my first set of seals from Heritage but I can't remember where I got the ones on Hank from but I think it was either heritage or Schofields, The others I've helped with the people have provided their own seals so I'm still wondering who's are the "best"
 
I only replaced the outer seals, they are 'sticking' to the glass and rolling over, which is stressing the rivetted joins. Ill try lubing them tomorrow with some glass cleaner and see if they bed in. Madness - from no seal whatsoever to too tight a seal!
 
Saraj said:
That is definately the hardest bit of the job.

I hadn't thought of filing the brace down. Do you have any pictures of what you did there? I'd be interested to see if you do.

actually did this at techenders a few w/e ago and it was inclement weather on the friday so didn't hang about, but I'll try to get a pic this w/e - jff who was there said you were the bees knees for this
 
Just thought Id add that that the issue with the seals gripping the window has now gone. Maybe the dressing they come with caused it and this dries out? Dunno ... but all is well now. :)
 
Weird, had the same problem but on the inner scrapers before, that was due to the wire that holds them in being bent.
 
Great guide!

Looks like it also shows me the way for when I want to replace my fixed 1/4 lights!

Thanks
 
when i done mine today ther was another screw holding the 1/4 light in ,about half way up the glass .open the window and you will find it hidein behind the seal :x
 
I managed to do mine without removing any of the lock mechanism. Was there a reason for doing it ?
 

Latest posts

Top