You are using an out of date browser. It may not display this or other websites correctly.
You should upgrade or use an alternative browser.
You should upgrade or use an alternative browser.
Huey - RHD Single Cab
- Thread starter ProfessorWheeto
- Start date


Help Support Early Bay Forum:
This site may earn a commission from merchant affiliate
links, including eBay, Amazon, and others.
ProfessorWheeto
Well-known member
Chopped off the top hat
Repaired the inner sill and replaced top hat (first bits of metal to go back in! Progress at last!)
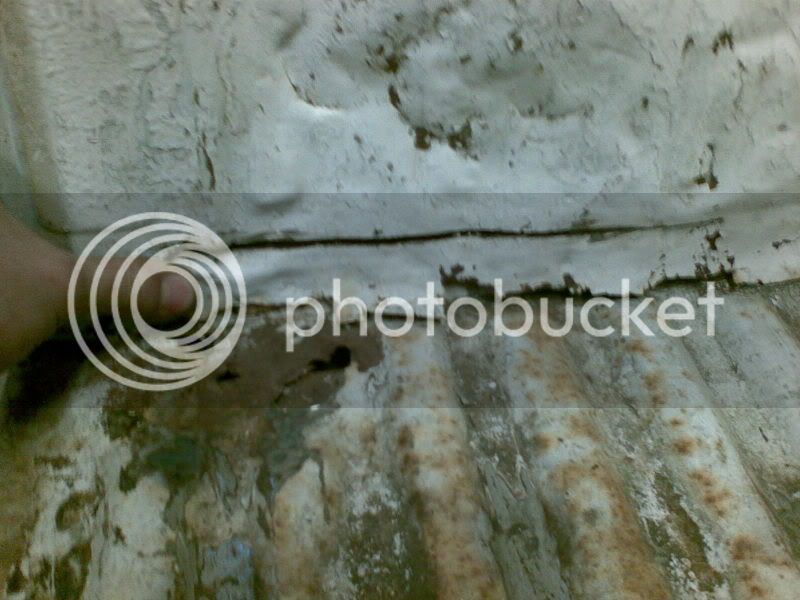
Whipped off the outer sill, the inner was looking pretty tidy and cleaned up nicely
Repaired the inner arch and whacked on some zinc (weld through) primer to the inner sill
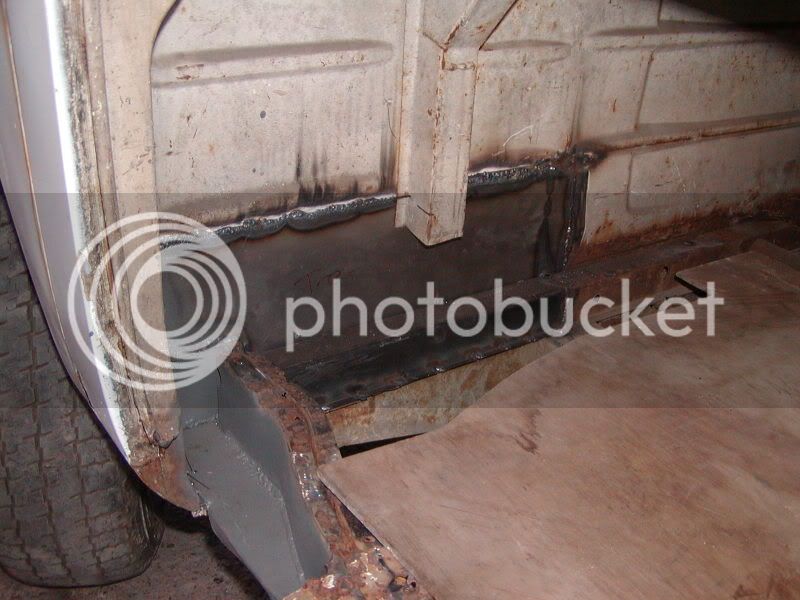
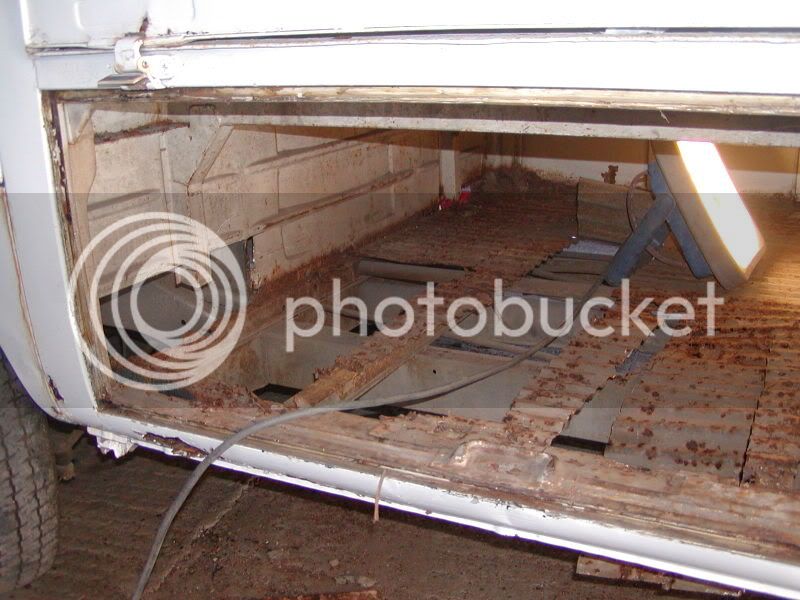
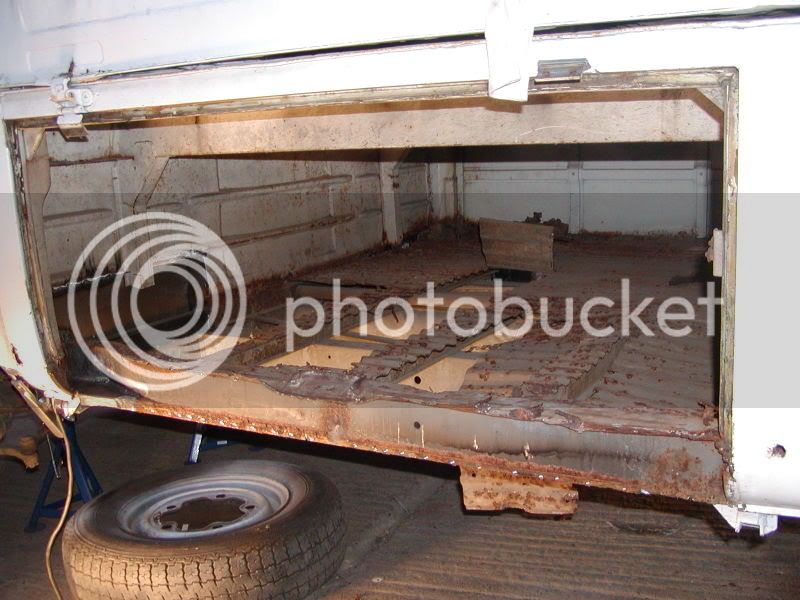
And started to remove the rest of the floor, getting trickier now as I've got to use boards to lie on and I'm now working in a fairly tight space. What I'd give to have a twin treasure chest model now :lol:
ProfessorWheeto
Well-known member
Bit of an update, all the holes in the exterior that I have discovered so far have been patched up.
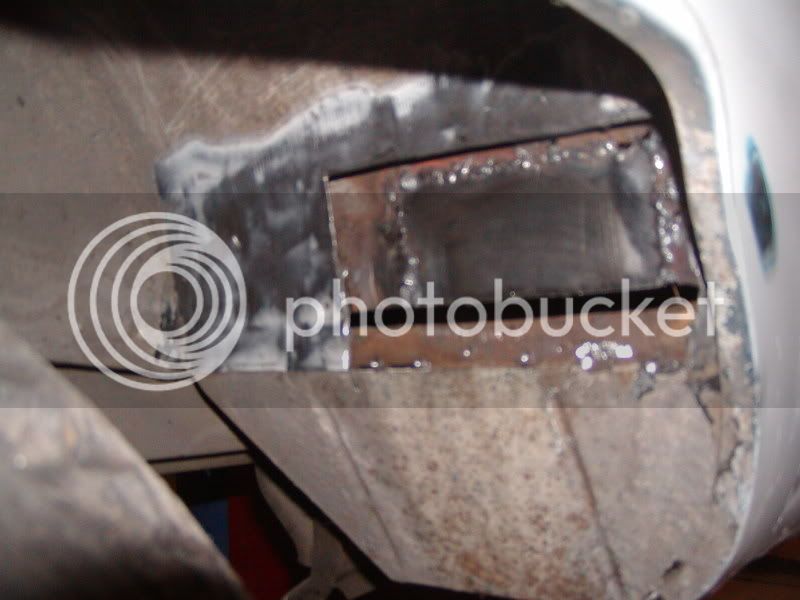
Just got the front drivers side inner arch left to patch up, the rest have been done. Doing the rears was akward as it had gone on the inner arch and inside the engine bay, so it was easier to cut a larger hole in the arch and weld it from behind.
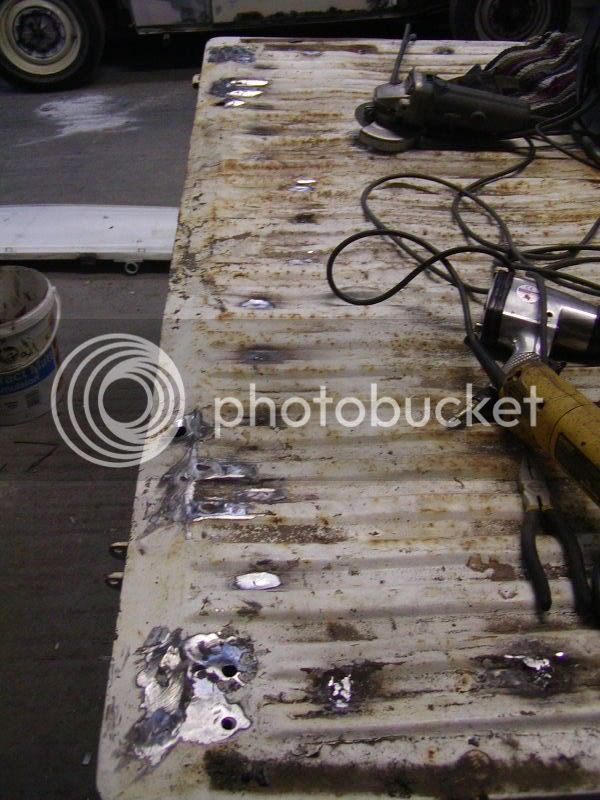
The dropgates have come off, the scaffolding on the back is coming off and I've started to weld up the hundreds of holes drilled into the load bed.
and in the intrests of rust prevention he's getting painted. I've got some one off unique colour paint. (Alright, our paint suppliers occasionally screw up the colours so they sell the mismatched mixes off cheap, 5 litres for £20!)

Just got the front drivers side inner arch left to patch up, the rest have been done. Doing the rears was akward as it had gone on the inner arch and inside the engine bay, so it was easier to cut a larger hole in the arch and weld it from behind.
The dropgates have come off, the scaffolding on the back is coming off and I've started to weld up the hundreds of holes drilled into the load bed.
and in the intrests of rust prevention he's getting painted. I've got some one off unique colour paint. (Alright, our paint suppliers occasionally screw up the colours so they sell the mismatched mixes off cheap, 5 litres for £20!)
ProfessorWheeto
Well-known member
Got the dropgates and all the crap off the back..
And welded and ground down all the holes, just a couple need tickling now
And welded and ground down all the holes, just a couple need tickling now
G
Guest
Guest
it will look very sweet in that colour i assume it will dry slightly darker than than what you see in the tin. Its gonna look very nice


$21.60
$29.91
ハセガワ Hasegawa HMCC11 1:24 Scale VW Type 2 Pick-Up Truck Model Building Kits
Amazon Japan


$42.47
Tamiya 51616 VW Bus Type 2 (T1) Remote Control Car Accessory Body RC Model Making
Hobby Etc | Authorized ✅


$27.95 ($13.98 / Count)
Marketplace Auto Parts Window Crank Handle Set of 2 - Chrome with Black Knob - Compatible with 1968-1978 Volkswagen Beetle
Parts Geek LLC

ProfessorWheeto
Well-known member
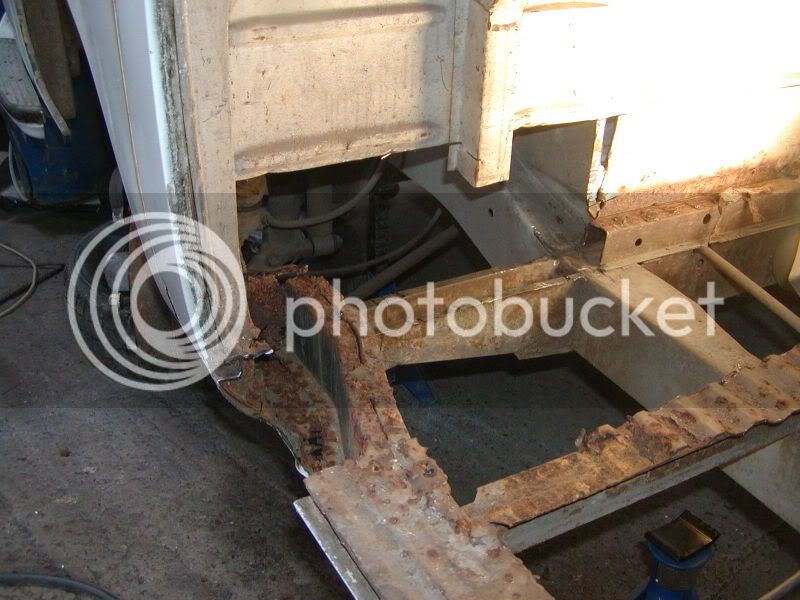
Nearly got the loadbed sorted. The bulkhead that forms the back of the cab has been well pushed in, theres obviously been something really heavy on the loadbed at one point. It's not really salvagable and a replacement panel doesnt exsist. However I have a plan, but for the moment it shall remain secret :wink:
Blobbed in a couple of holes that I didn't quite get first time round, and then started to sort out the two rusty patches at the front of the loadbed.
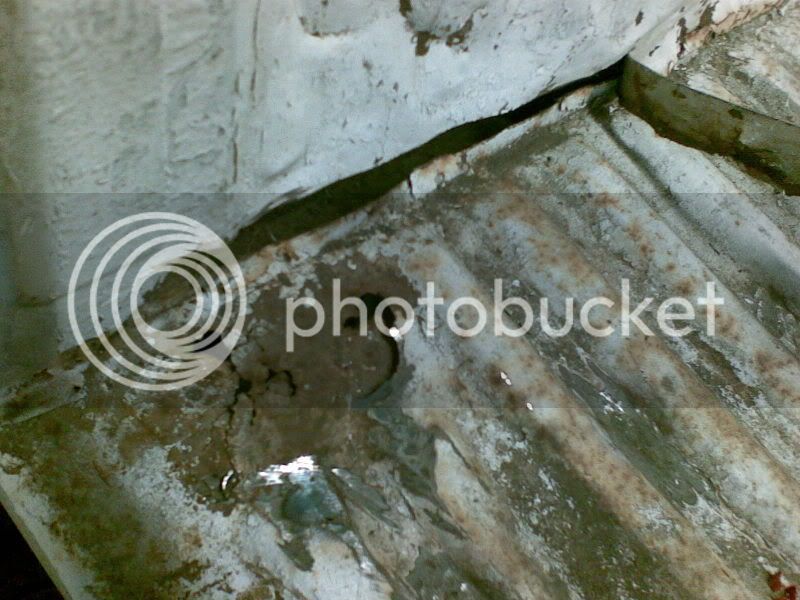
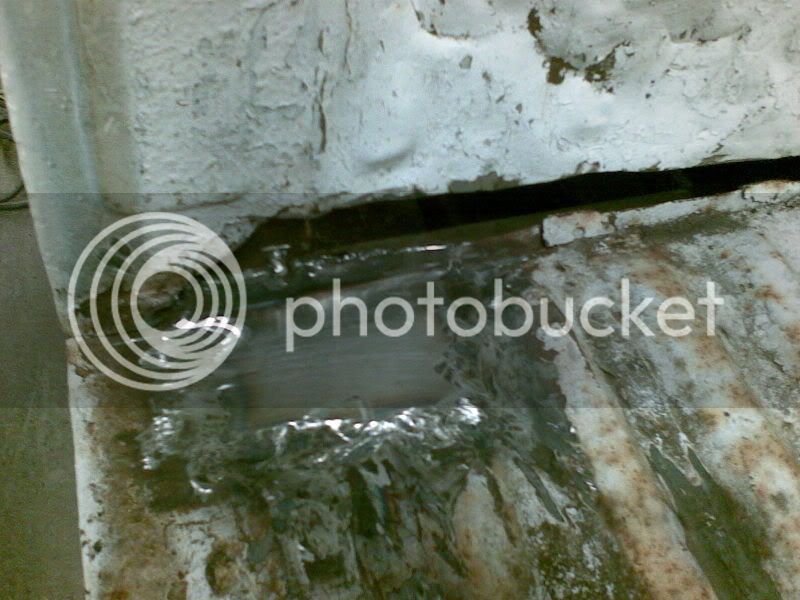
Luckily had only got holes on the flat bits, rather than on the ribs so making piece to fit was easy.
Blobbed in a couple of holes that I didn't quite get first time round, and then started to sort out the two rusty patches at the front of the loadbed.
Luckily had only got holes on the flat bits, rather than on the ribs so making piece to fit was easy.
smudge
Well-known member
looking kewl so far dude!! wana sell me them roo bars? 
ProfessorWheeto
Well-known member
Not sure what I'm going to do with them, might paint them up and stick them on, but originally they were for the van as is.
We might even have a choice of a few different styles of rooies at work if your looking for a set?
We might even have a choice of a few different styles of rooies at work if your looking for a set?
smudge
Well-known member
what sort of money do they go for at work Dude?..need to have hit a few roo's though! :lol:
ProfessorWheeto
Well-known member
Got these steel ones with or without wheel mount for £50 each
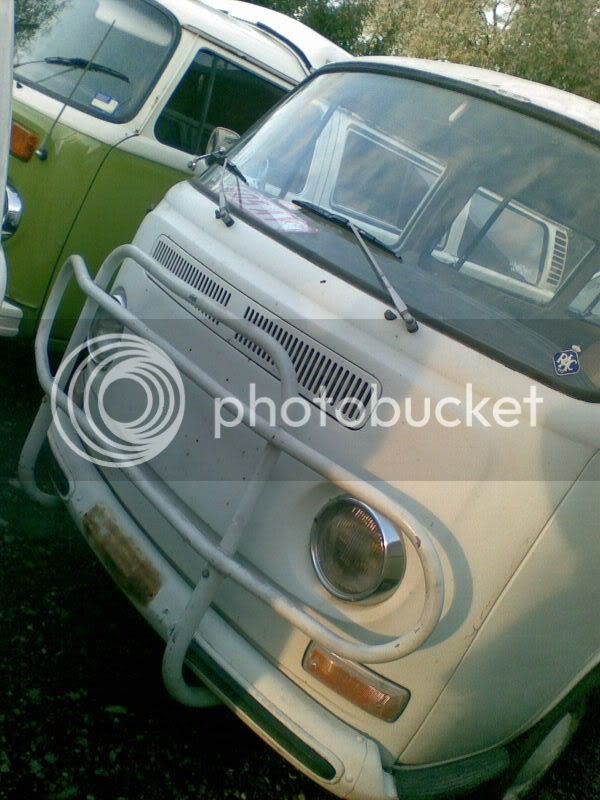
Fitted them with spotlamps for a customer, theres also a tab to mount an aerial....
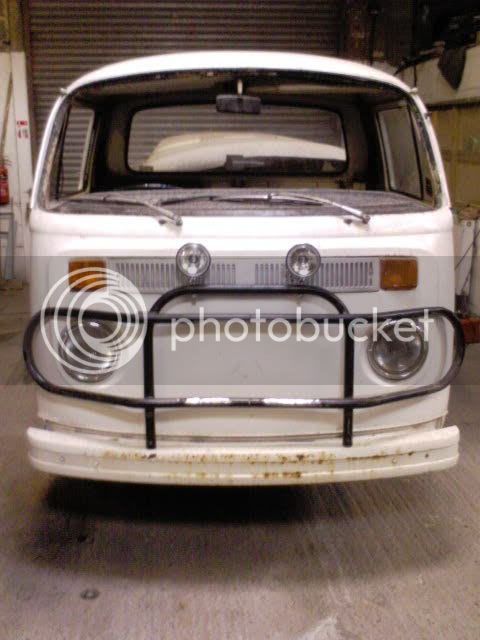
And then we have a set of these alloy bad boys that I think will be well over the £100 mark
But they are ali and I'd be suprised if anyone else over here has a matching set.
Fitted them with spotlamps for a customer, theres also a tab to mount an aerial....
And then we have a set of these alloy bad boys that I think will be well over the £100 mark
But they are ali and I'd be suprised if anyone else over here has a matching set.
smudge
Well-known member
get him to a onner and ill take the ali ones! :lol:
Will they fit an early?
Will they fit an early?
ProfessorWheeto
Well-known member
Oh there is ways and means of getting them to fit :lol:
They basically bolt to the chassis rails, and there is usually a renforcing bar that runs along the width of the cab as well. Would rather have an accident in a bay with them. And is the safest option for carrying a wheel on the front (wheel mounts on the front panel are a bad idea if your fond of your legs from the knee down :lol: )
I'll get a final price for the ally ones if your interested?
smudge
Well-known member
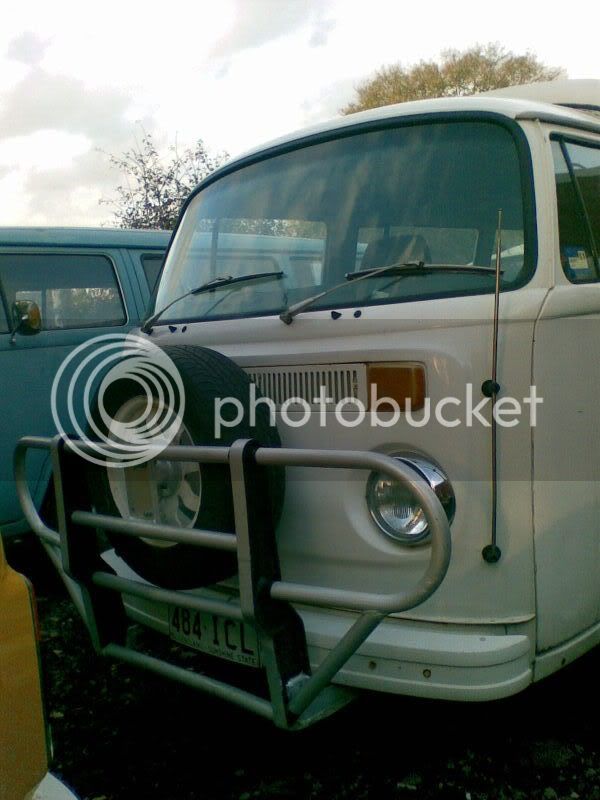
if you could hook me up with a ratty normal on like fitted to the early bay that would be kewl...dont want a gay tyre on the front tho :lol:
ProfessorWheeto
Well-known member
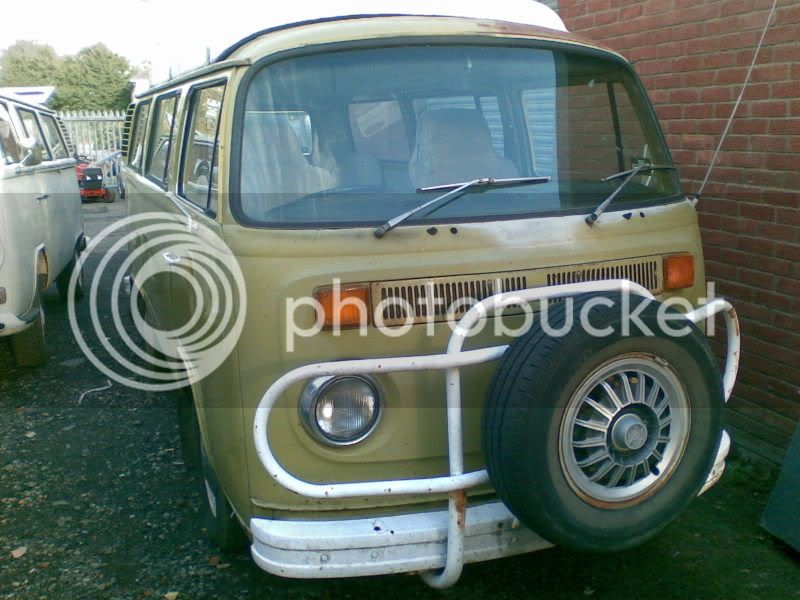
Yeah is the one on the white crossover alright for you?
Would you want to pick it up or we could take it to dubfreeze or something?
Would you want to pick it up or we could take it to dubfreeze or something?
smudge
Well-known member
yep that ones sound 8)
not doing slough?
not doing slough?
ProfessorWheeto
Well-known member
Don't think we plan to, bit of a trek for one day.
smudge
Well-known member
yeah thought that when i saw your location..im presuming postage would be out of it??..if so ill take a drive up and collect..no ratty 2 bow racks? :lol:
Back to your thread Dude...carry on the good work 8)
Back to your thread Dude...carry on the good work 8)
ProfessorWheeto
Well-known member
Right my camera is throwing a wobbly, so theres some pics I need to get off the boss's camera at work and the rest are off my phone.
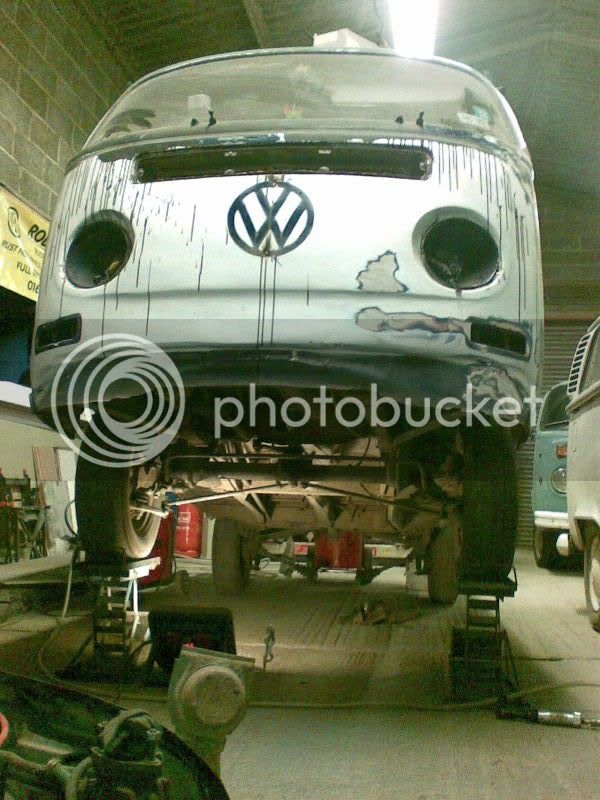
Got the front bumper off, got the steps split off. They were completly solid but one had a nasty whack in it, which with some careful adjustment with a FBH knocked out alright. Sorted a few other dinks in the bumper as well so its ready for filler and paint.
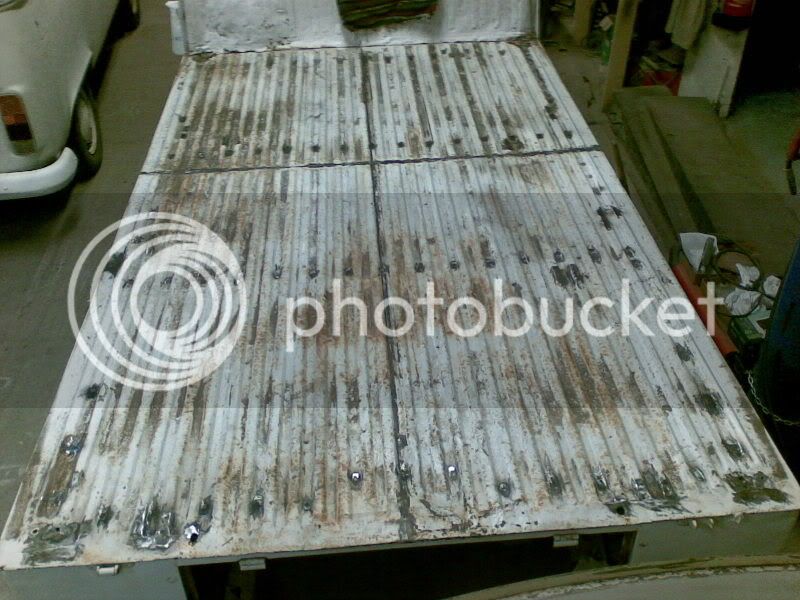
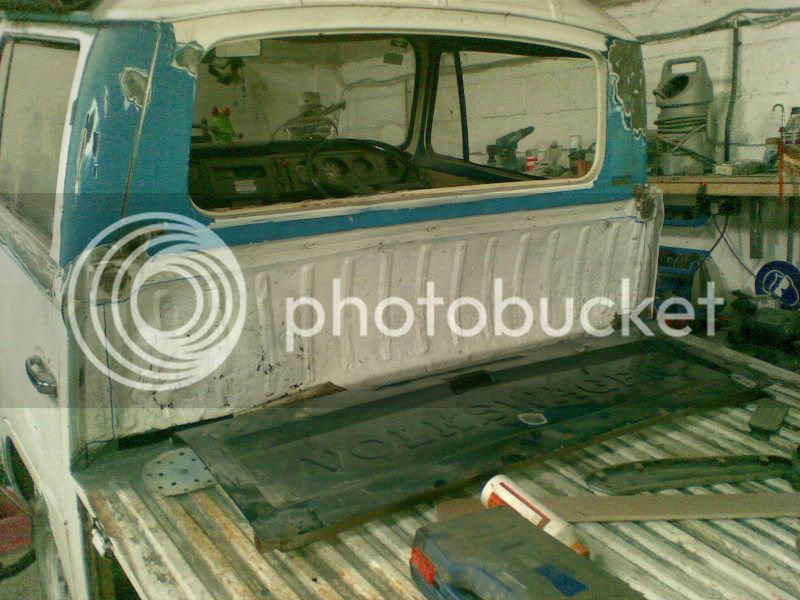
Finished the load bed

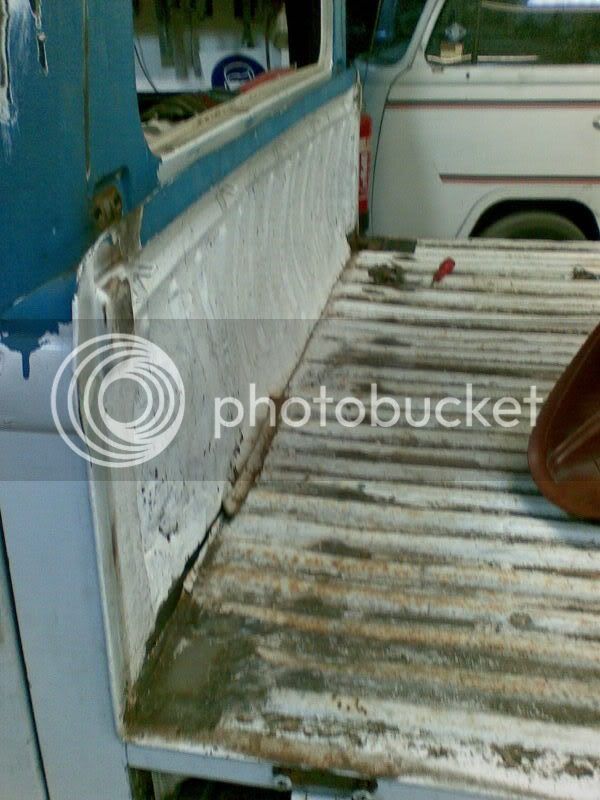
This bulkhead, like the drop gates, has obviously has some weight against it!
As knocking it our or replacing it with an identical piece will be near impossible I have got a cunning plan, which the purists won't like. But all will be reveiled soon!
Installed the alarm system :lol:
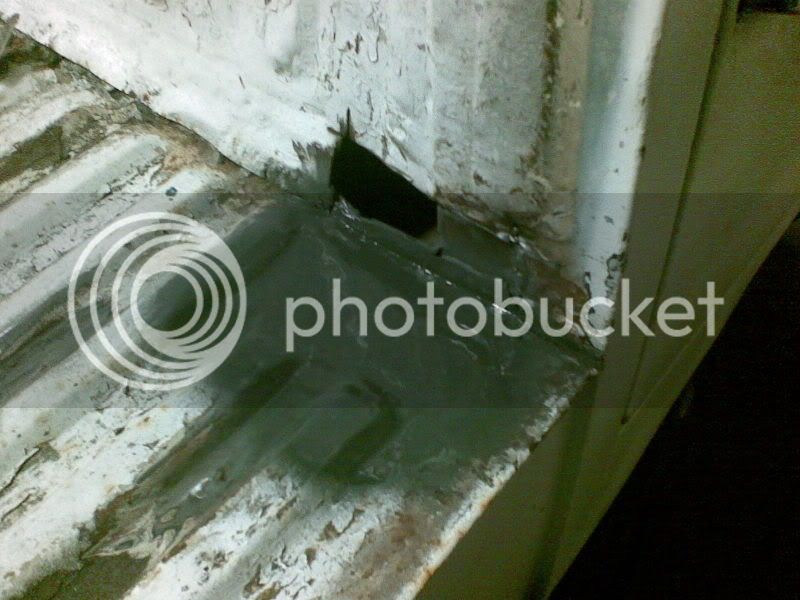
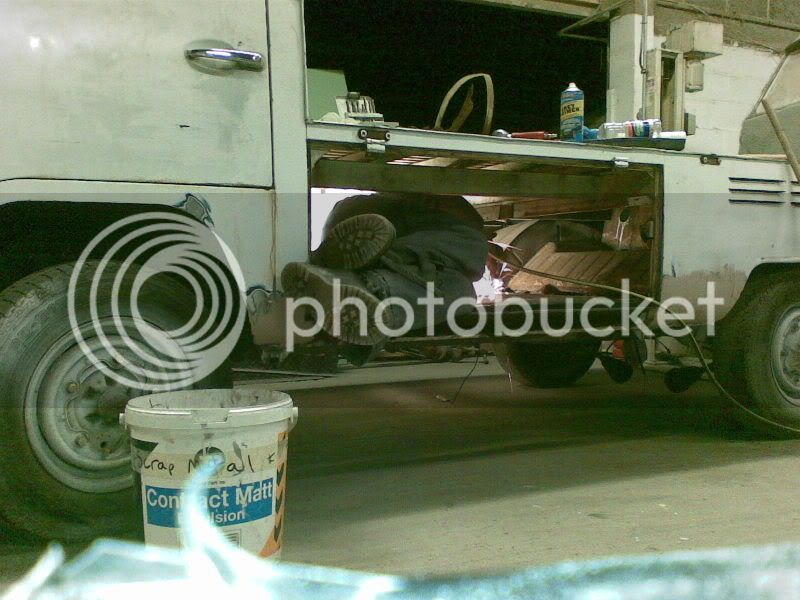
Got the top hat and patch on the drivers front inner wheel arch done. Had to do the patch in two bits as it had gone all the way into the wheel arch and then to the spare wheel area in the cab. The extending ramps were a godsend for getting right underneath. Got a non running splitty on the four poster and huey is still engineless so it wasn't an option.
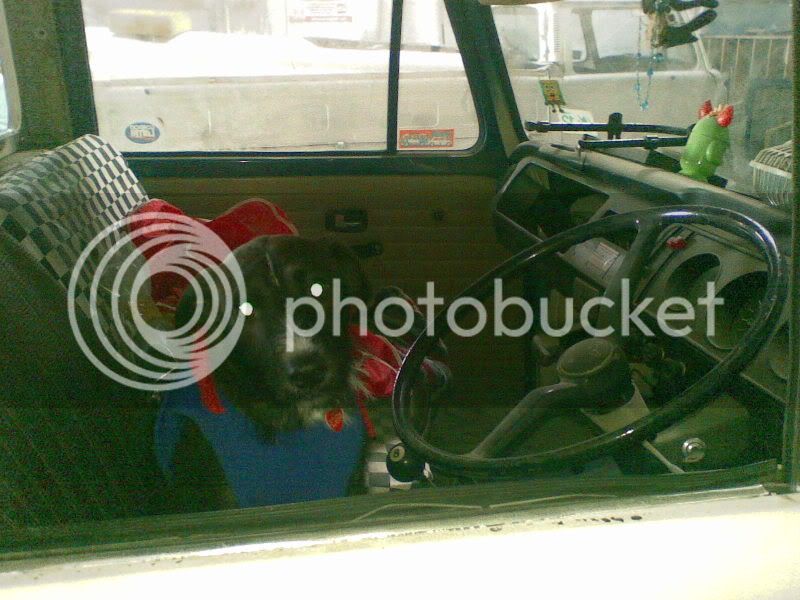
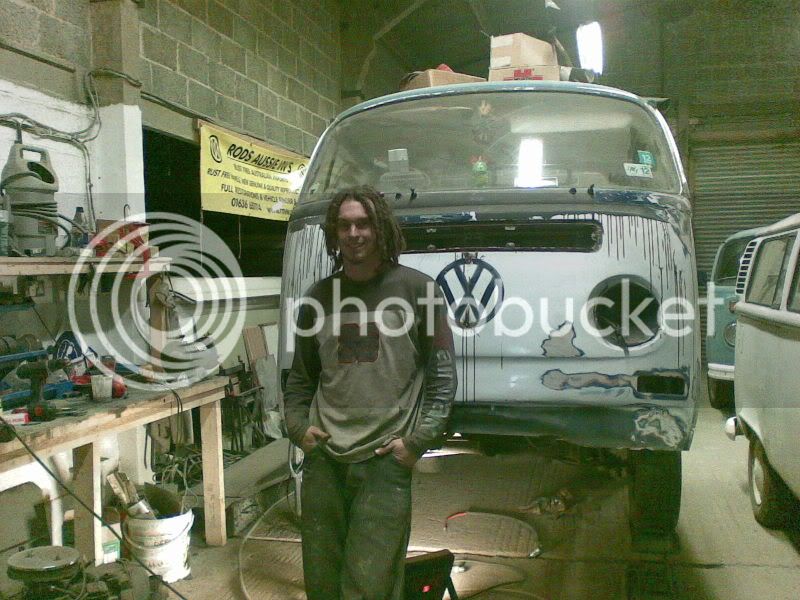
Posing :lol:
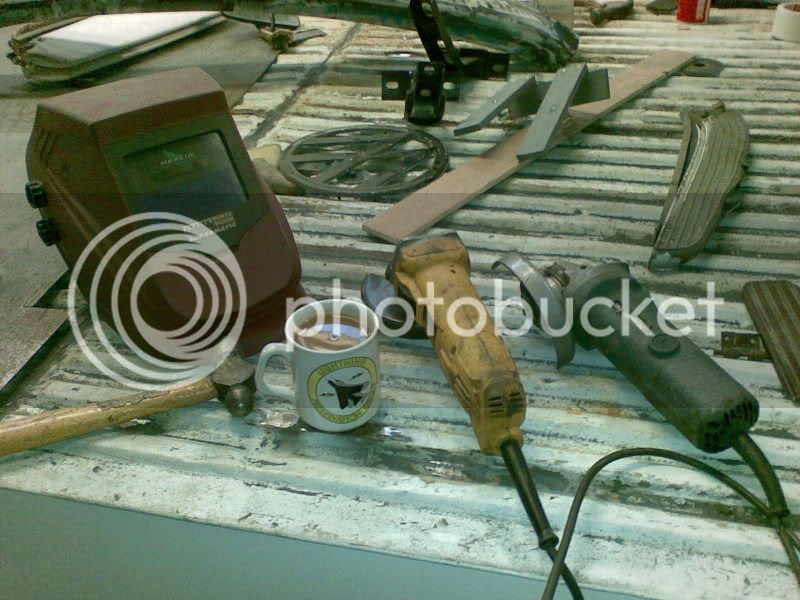
Essential Items
Got the front bumper off, got the steps split off. They were completly solid but one had a nasty whack in it, which with some careful adjustment with a FBH knocked out alright. Sorted a few other dinks in the bumper as well so its ready for filler and paint.
Finished the load bed
This bulkhead, like the drop gates, has obviously has some weight against it!
As knocking it our or replacing it with an identical piece will be near impossible I have got a cunning plan, which the purists won't like. But all will be reveiled soon!
Installed the alarm system :lol:
Got the top hat and patch on the drivers front inner wheel arch done. Had to do the patch in two bits as it had gone all the way into the wheel arch and then to the spare wheel area in the cab. The extending ramps were a godsend for getting right underneath. Got a non running splitty on the four poster and huey is still engineless so it wasn't an option.
Posing :lol:
Essential Items
ProfessorWheeto
Well-known member
Nov 13th update:
"My camera is a bit hit and miss, need to get the piccies off rod's cam.
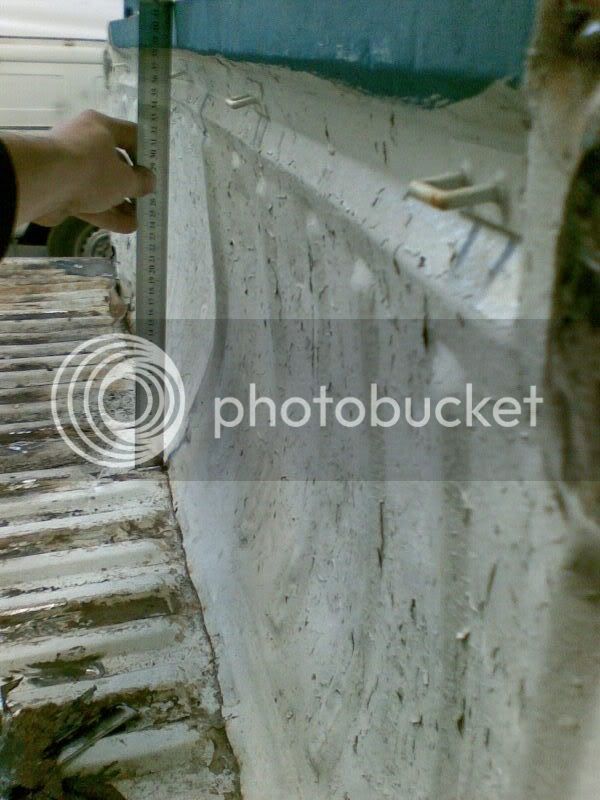
Bulkhead is gone anyway and I've started the replacement/modification process. Decided to go home at 7.30 tonight as I was starting to make mistakes with measuring (nearly covered the replacement panel with lines and measurements and sums and stuff :lol: ) . Had been there since 8am, was freezing cold and when I got home I realised there was a lump of metal that I needed to scrape off my eyeball. All fun and games this resto business!
The steel for my cargo floor turned up today, and so did the cab floor repair panels so I now have all the bits to complete the welding!
Me and little jay have been chucking filler on it when we've got some left over from a job as well."
Todays update:
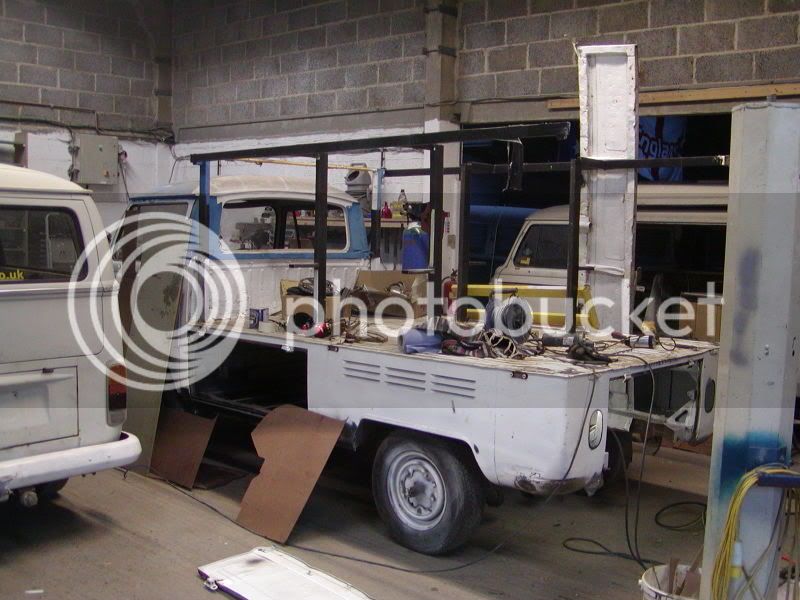
Time for an update!
The start of the cunning plan...
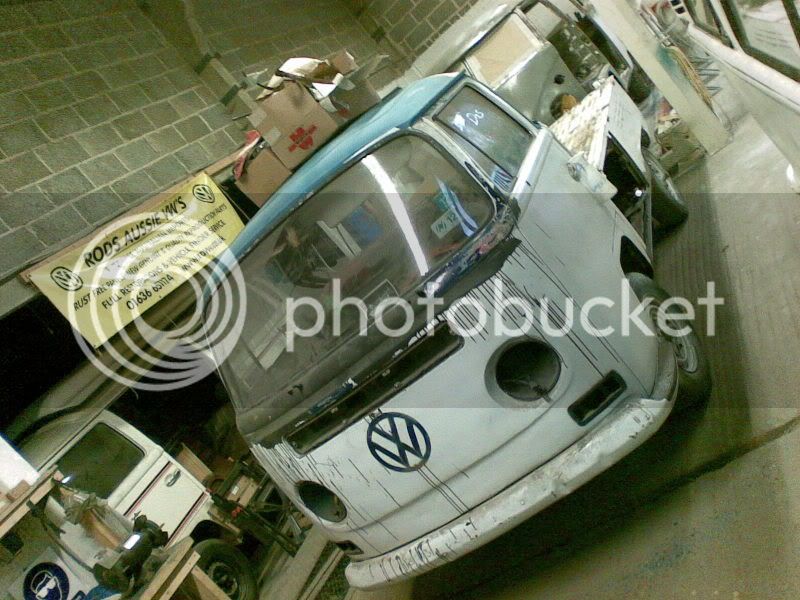
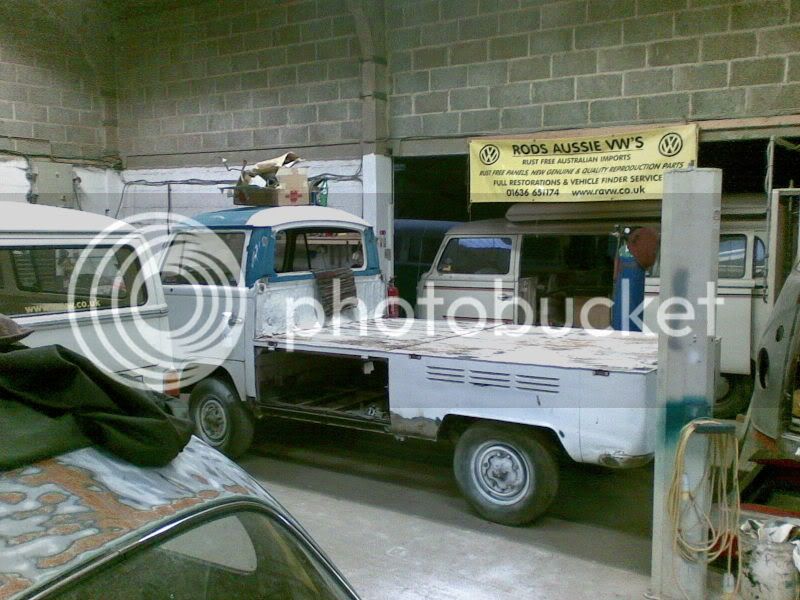
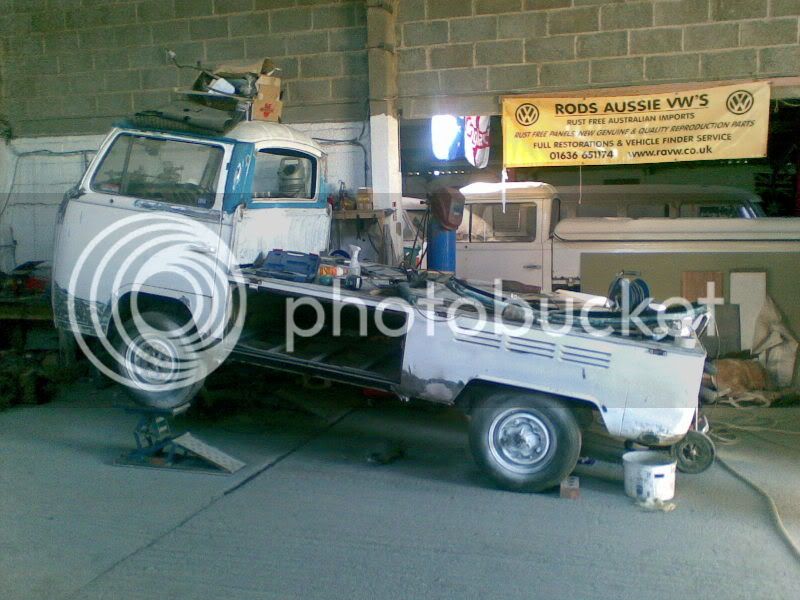
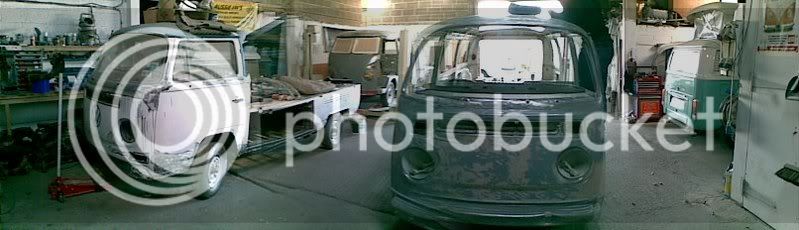
Part of the workshop..
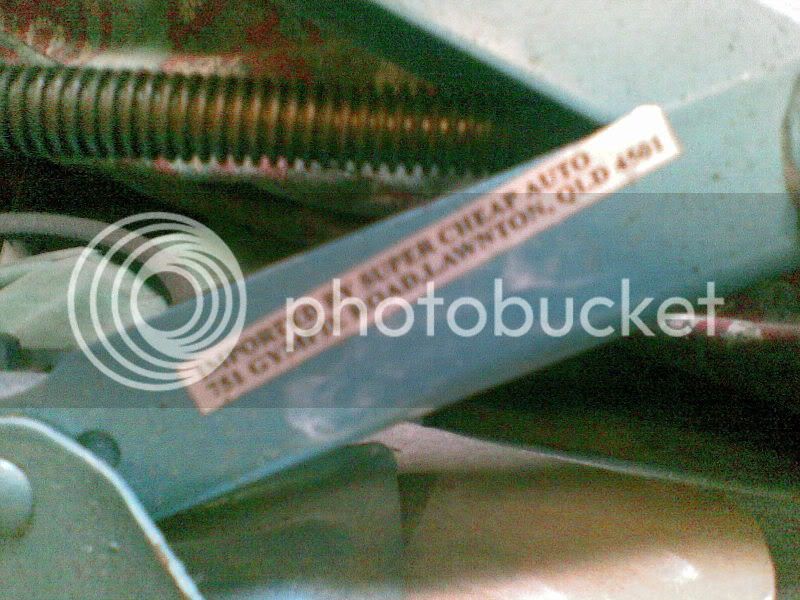
Don't know if I'd trust a car from here...
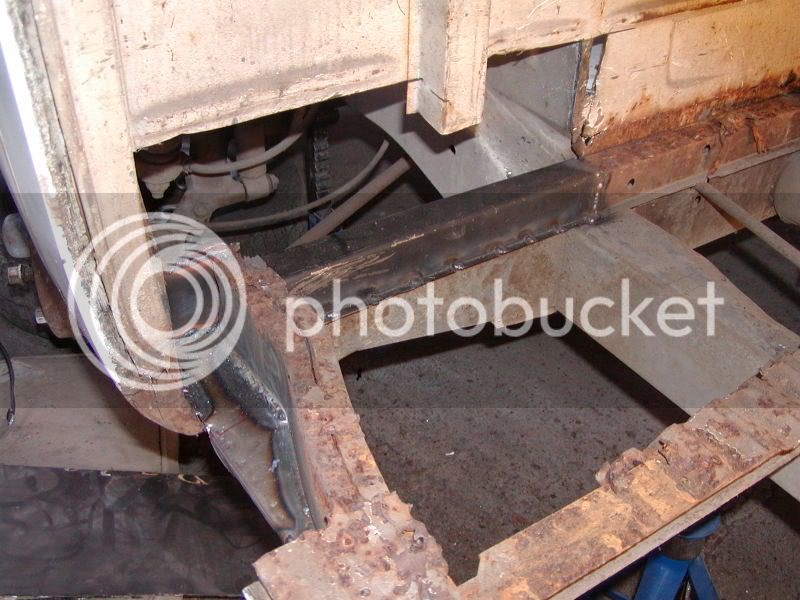
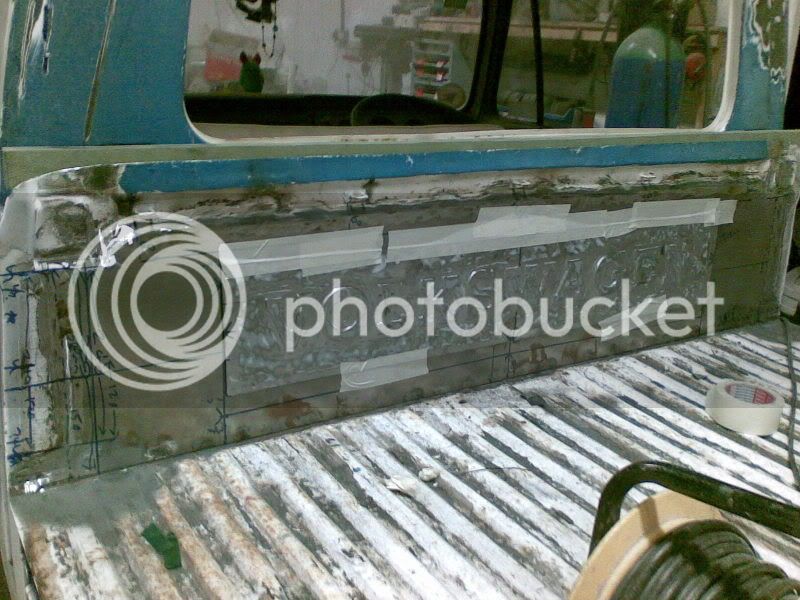
Bulkhead cut out and replaced. Have some in progress photos on the works camera. The original plan was to then cut the plate and weld in the script, however I've been advised to bond it on to avoid distortion and then loose the edge with filler which I think might be an easier option.
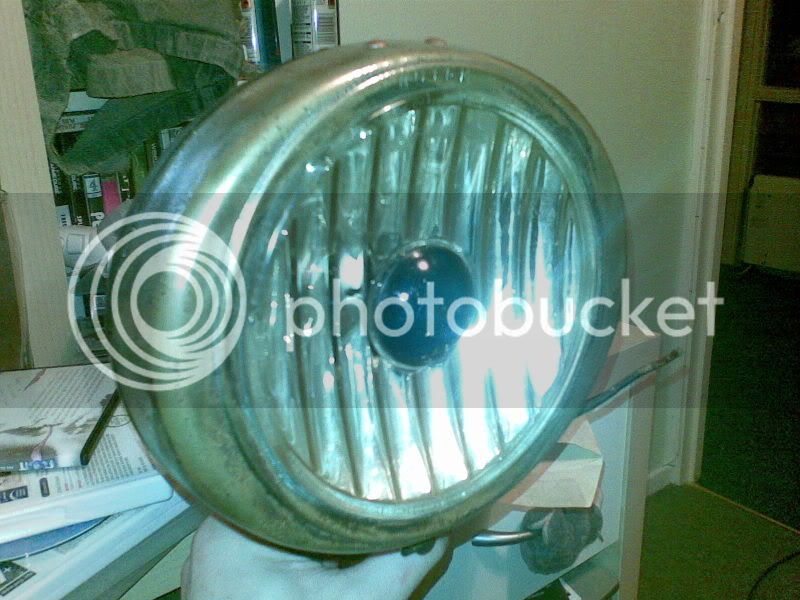
Bargainous fugly lamp from the auto jumble
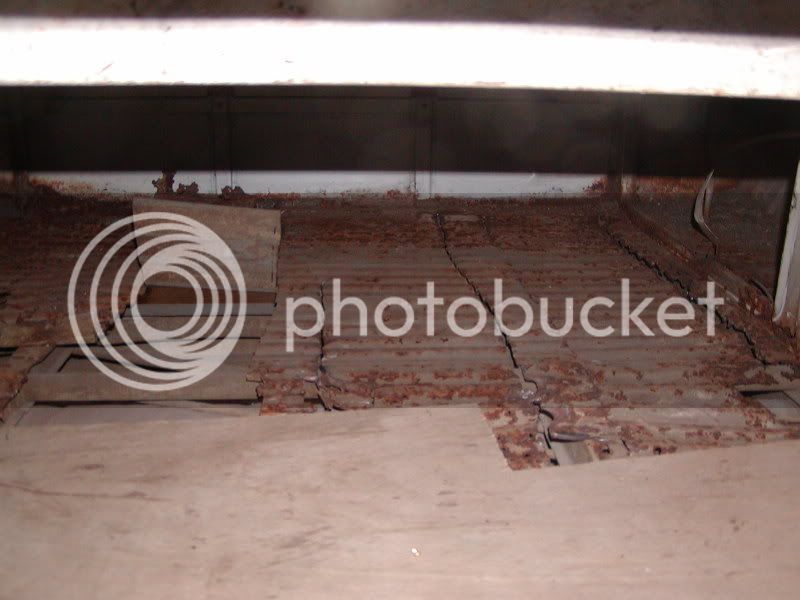
Last bits of floor all out
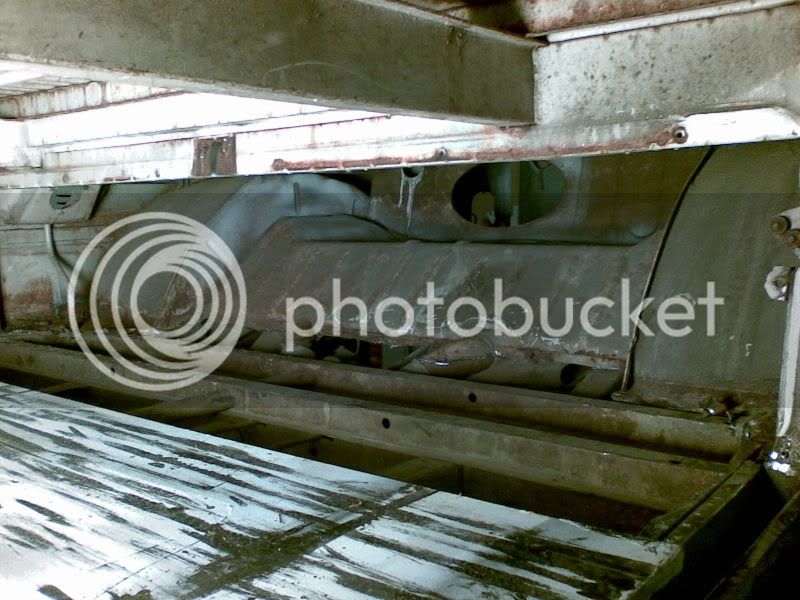
Good job I'm not claustrophobic (why didn't I get a twin treasure chest model!)
"My camera is a bit hit and miss, need to get the piccies off rod's cam.
Bulkhead is gone anyway and I've started the replacement/modification process. Decided to go home at 7.30 tonight as I was starting to make mistakes with measuring (nearly covered the replacement panel with lines and measurements and sums and stuff :lol: ) . Had been there since 8am, was freezing cold and when I got home I realised there was a lump of metal that I needed to scrape off my eyeball. All fun and games this resto business!
The steel for my cargo floor turned up today, and so did the cab floor repair panels so I now have all the bits to complete the welding!
Me and little jay have been chucking filler on it when we've got some left over from a job as well."
Todays update:
Time for an update!
The start of the cunning plan...
Part of the workshop..
Don't know if I'd trust a car from here...
Bulkhead cut out and replaced. Have some in progress photos on the works camera. The original plan was to then cut the plate and weld in the script, however I've been advised to bond it on to avoid distortion and then loose the edge with filler which I think might be an easier option.
Bargainous fugly lamp from the auto jumble
Last bits of floor all out
Good job I'm not claustrophobic (why didn't I get a twin treasure chest model!)
Similar threads
- Replies
- 1
- Views
- 552
Vehicle For Sale
1968 Bay window T2 Dreamy
- Replies
- 3
- Views
- 305