You are using an out of date browser. It may not display this or other websites correctly.
You should upgrade or use an alternative browser.
You should upgrade or use an alternative browser.
Huey - RHD Single Cab
- Thread starter ProfessorWheeto
- Start date


Help Support Early Bay Forum:
This site may earn a commission from merchant affiliate
links, including eBay, Amazon, and others.
Chris
Well-known member
doing an amazing job keeping the SC alive.
will look great in that colour when its done.
will look great in that colour when its done.
ProfessorWheeto
Well-known member
Thanks for the props guys.
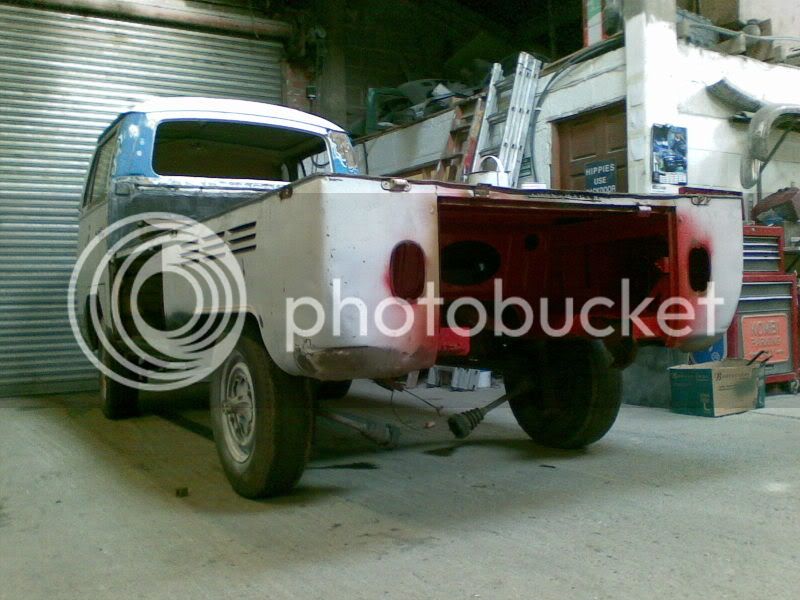
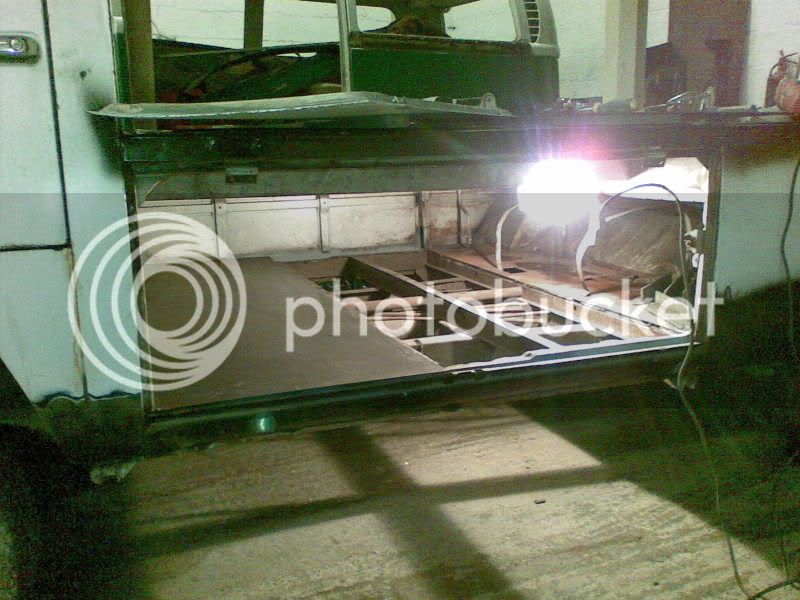
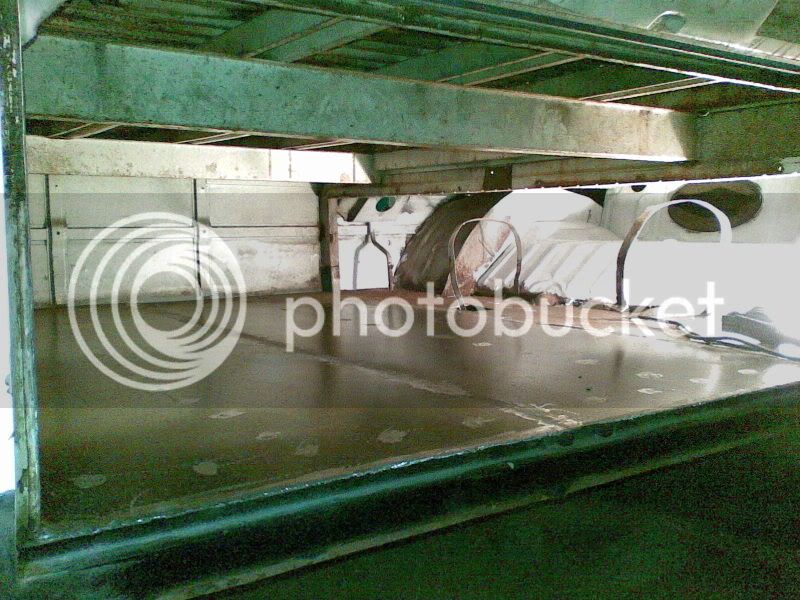
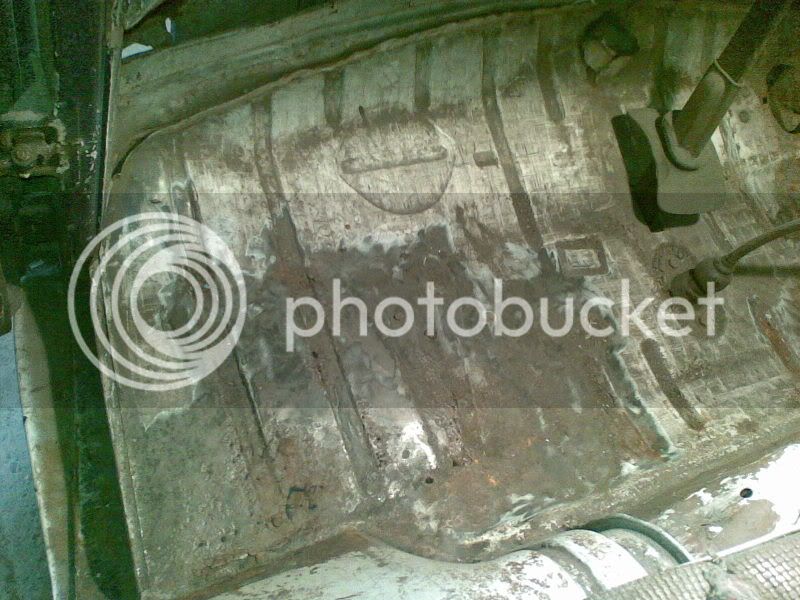
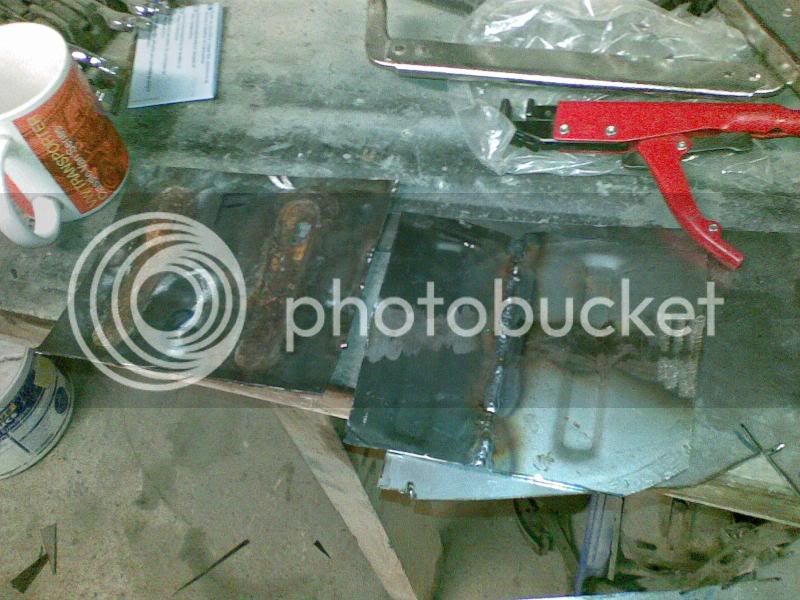
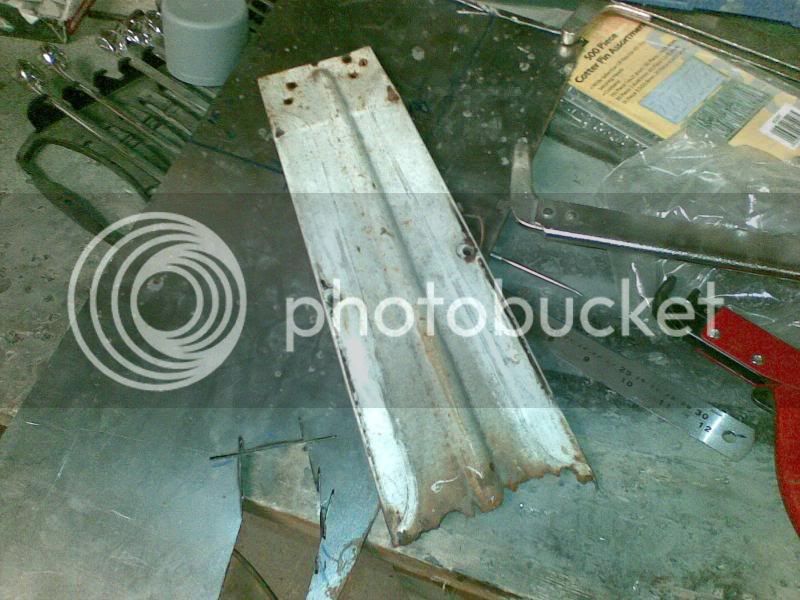
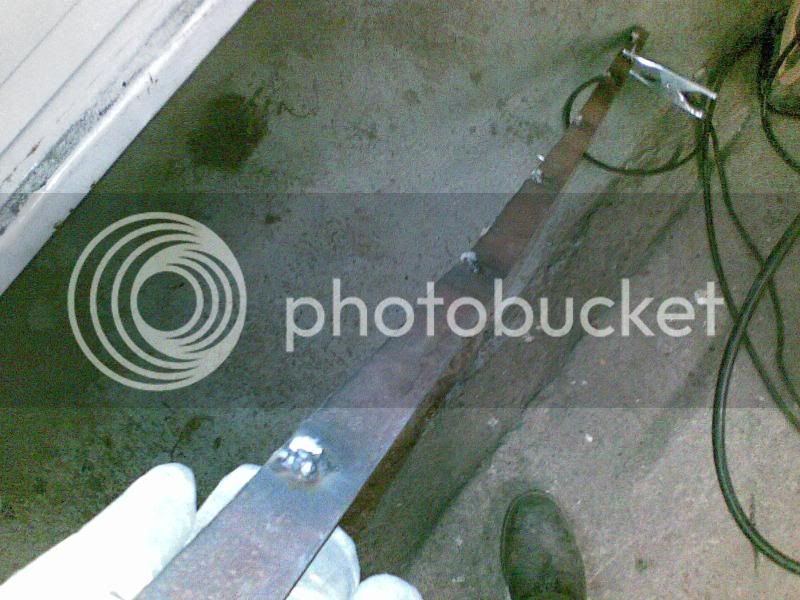
Was in the workshop until half 8 tonight, finally got the load bed all cleaned off
And welded up all the little pin holes in it
Should have it sealed up tomorrow and put the first coat of paint on it to protect it.
Was in the workshop until half 8 tonight, finally got the load bed all cleaned off
And welded up all the little pin holes in it
Should have it sealed up tomorrow and put the first coat of paint on it to protect it.
ProfessorWheeto
Well-known member
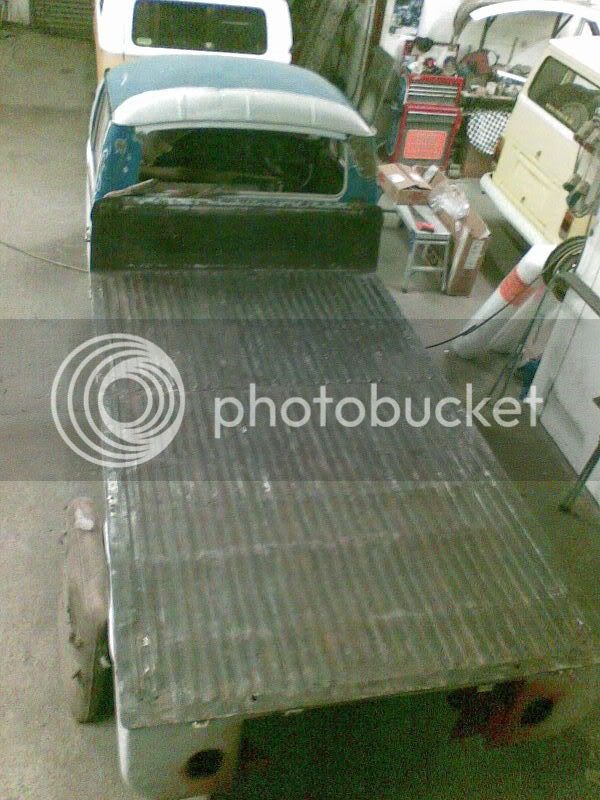
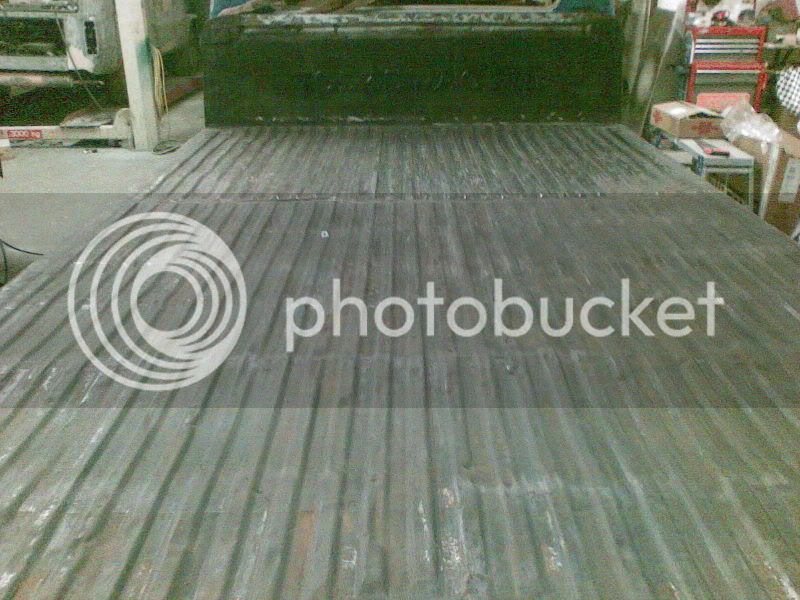
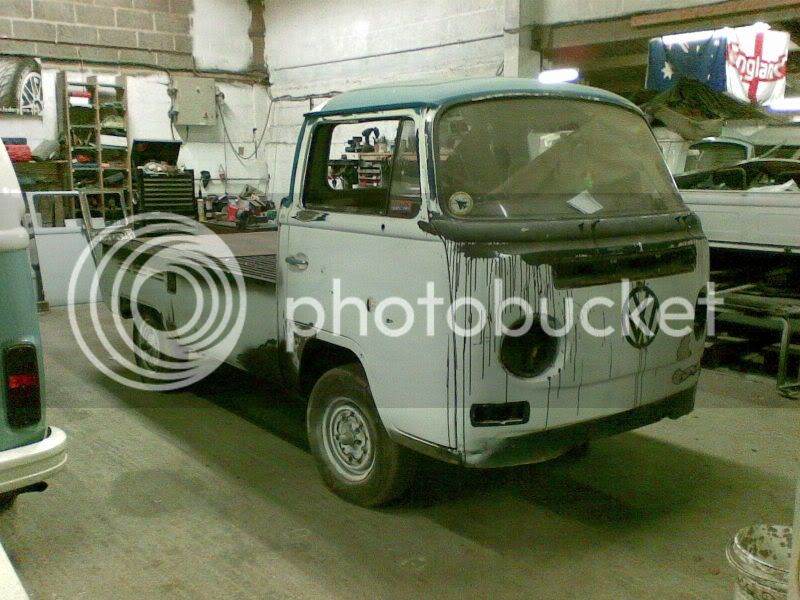
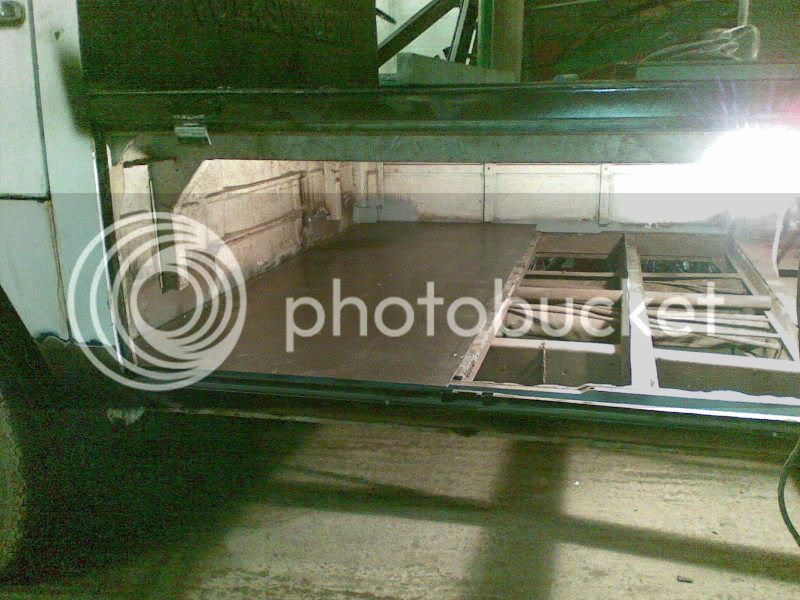
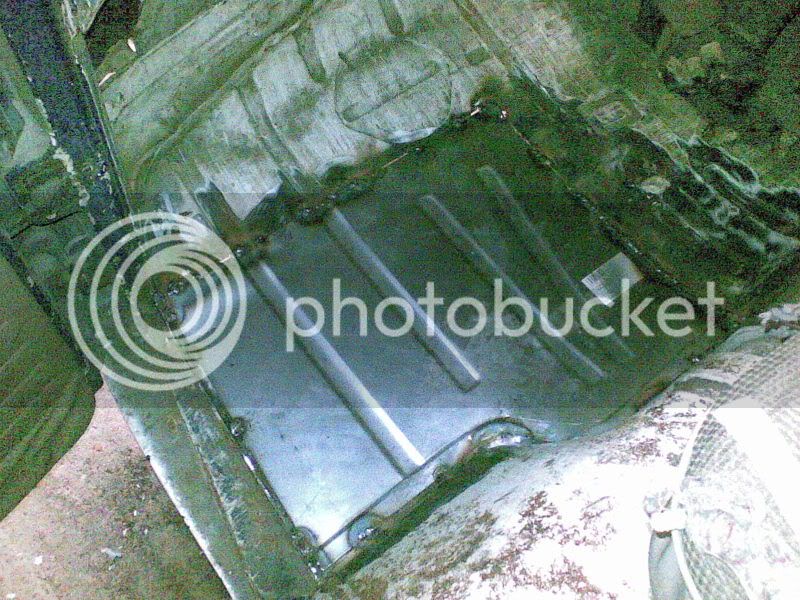
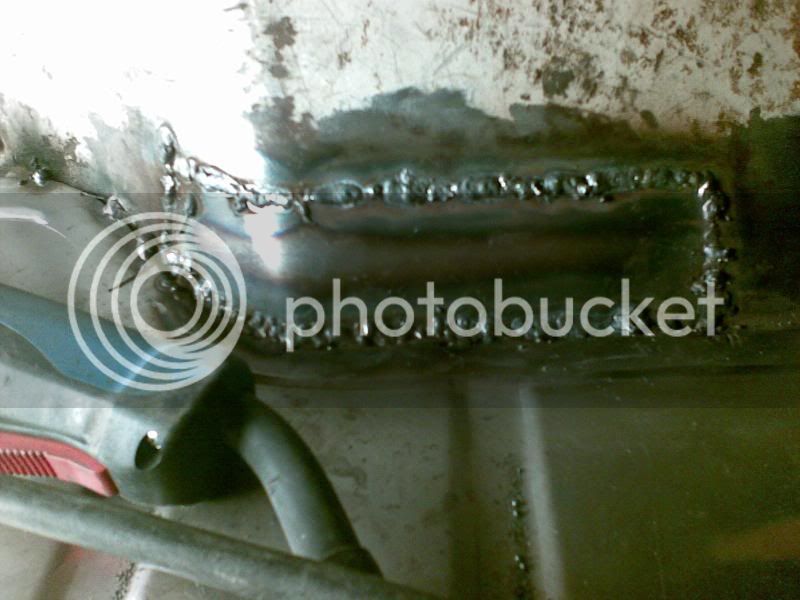
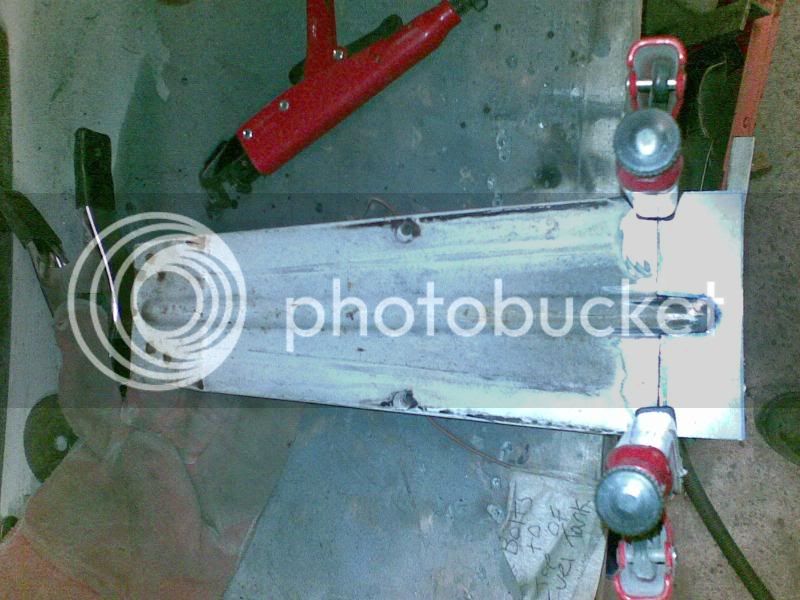
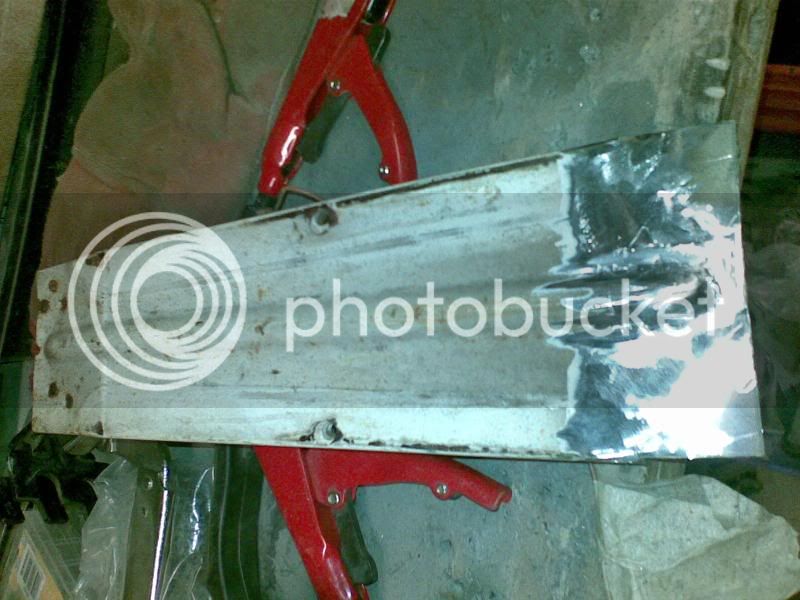
Ground down the welds on the loadbed and sealed them all up
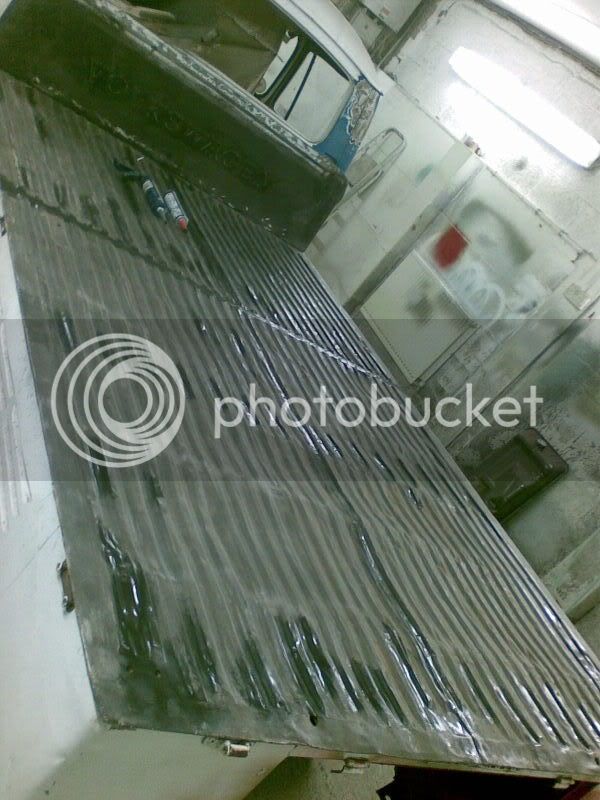
Put two coats of the satin black on to mainly protect the bare metal. It'll get another two coats at least when i do the rest of the van.
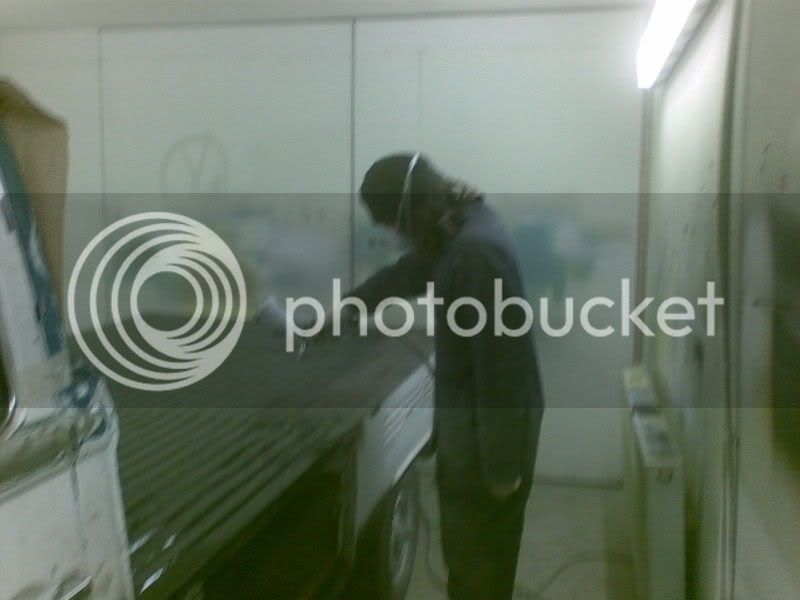
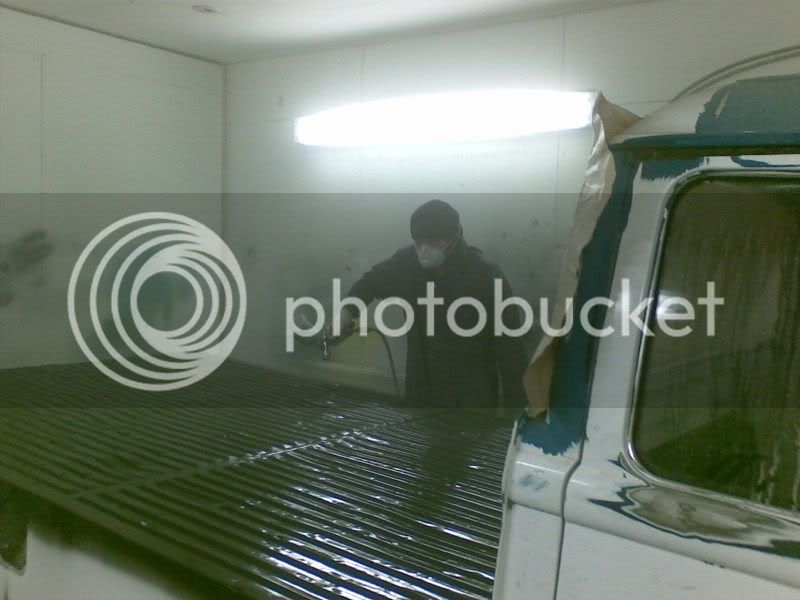
For those interested, there was no need for primer as its a direct product, however on the bodywork I'll be high building it and blocking it back.
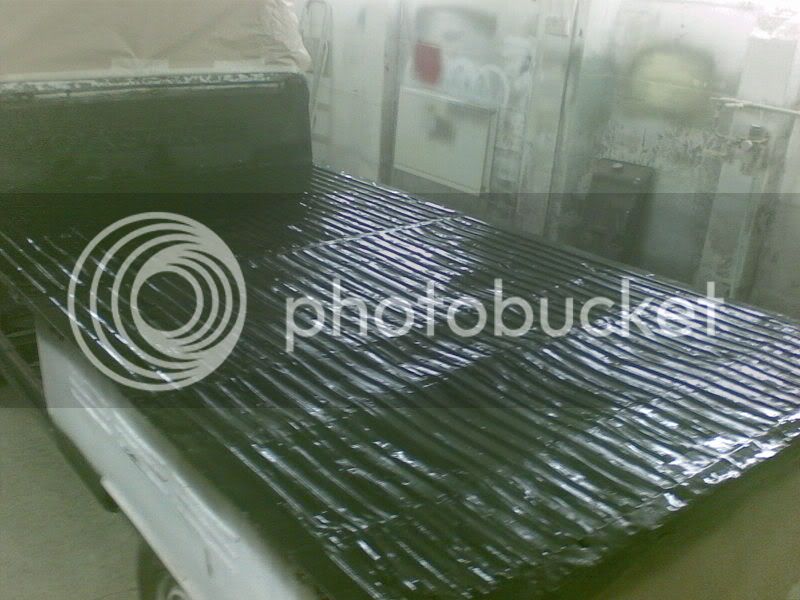
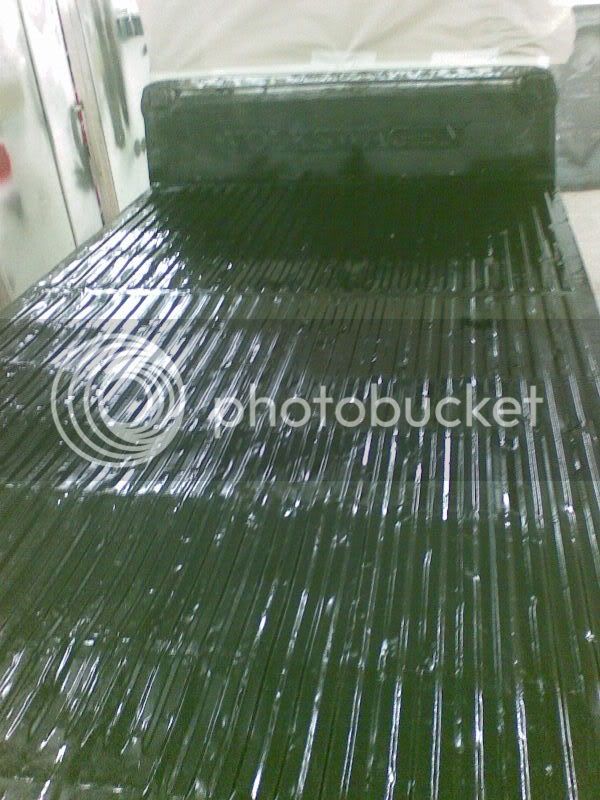
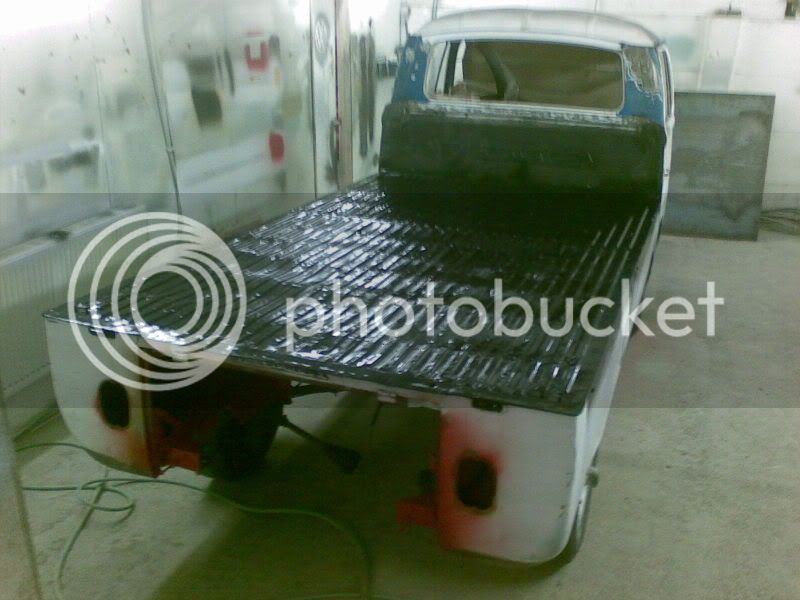
It's a 70% gloss, so should give a satin finish. Will see what its like when i go in tomorrow when its dry

Put two coats of the satin black on to mainly protect the bare metal. It'll get another two coats at least when i do the rest of the van.
For those interested, there was no need for primer as its a direct product, however on the bodywork I'll be high building it and blocking it back.
It's a 70% gloss, so should give a satin finish. Will see what its like when i go in tomorrow when its dry
ProfessorWheeto
Well-known member
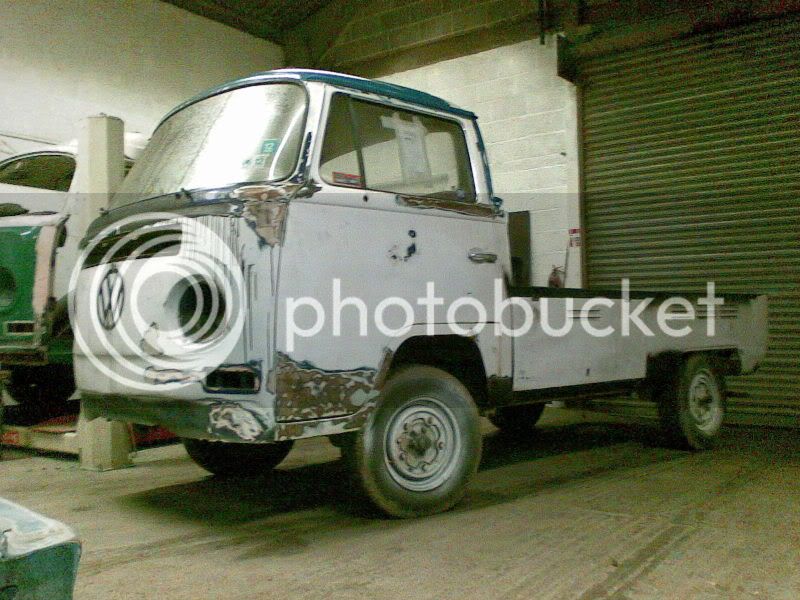
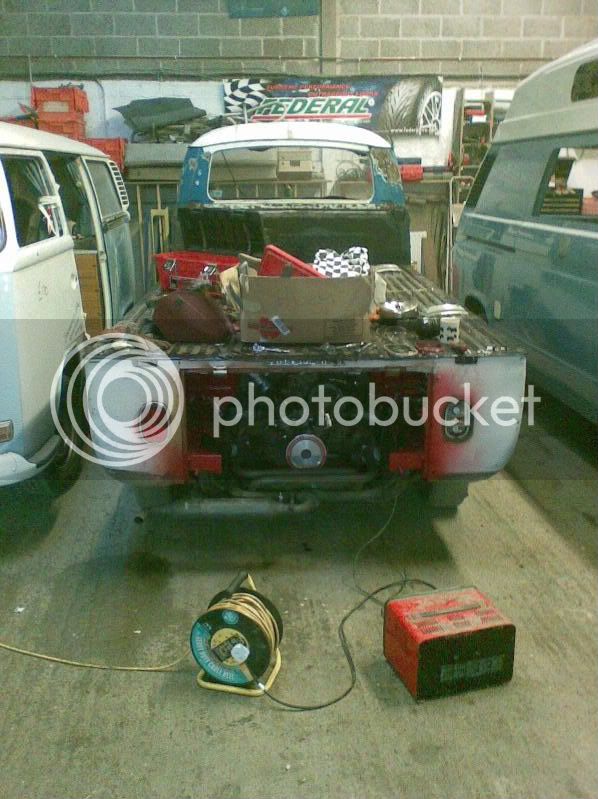
Got the engine in today, was meant to be a 2 hour job but turned into a bit of a pig. Ended up cutting the cv bolts that were holding the butchered drive shafts onto the box. Also got a bit distracted by the newest member of the RAVW team
Finally got it in and off the floor anyway, ended up installing the engine and gearbox as one unit.
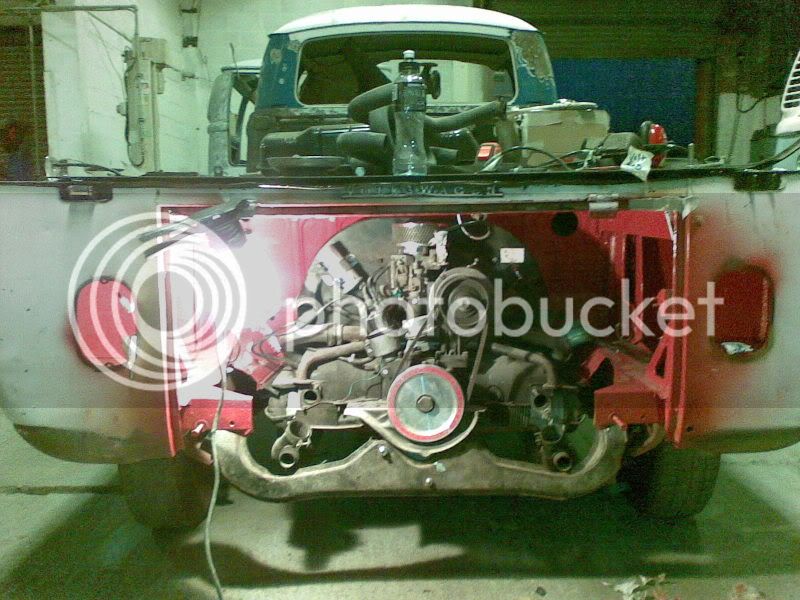
Trial fitted the aussie asbo exhausts and had to replace a couple of exhaust studs
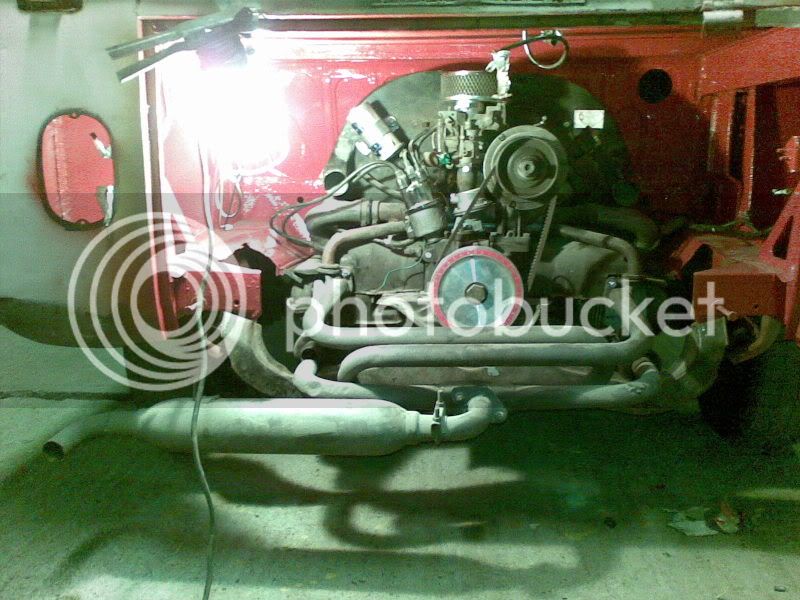
Finally with a bit of weight in the tail huey has levelled out.
Finally got it in and off the floor anyway, ended up installing the engine and gearbox as one unit.
Trial fitted the aussie asbo exhausts and had to replace a couple of exhaust studs
Finally with a bit of weight in the tail huey has levelled out.
ProfessorWheeto
Well-known member
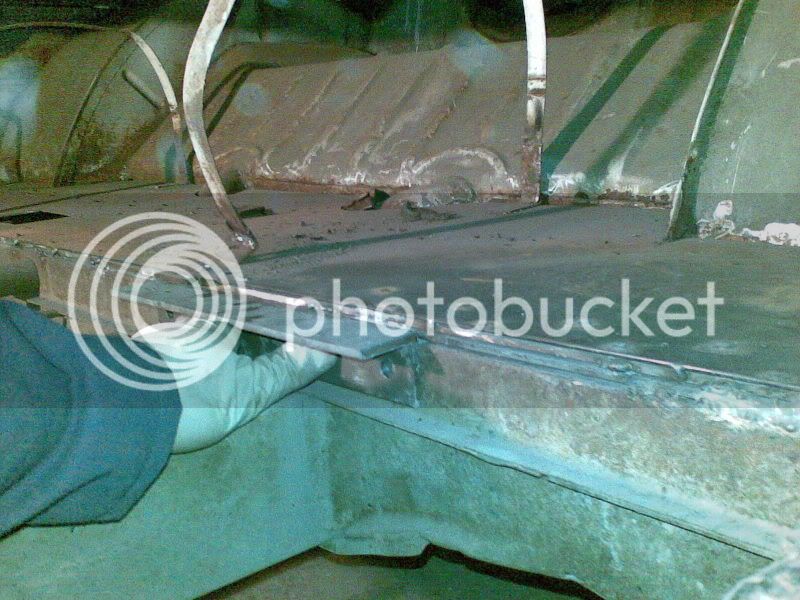
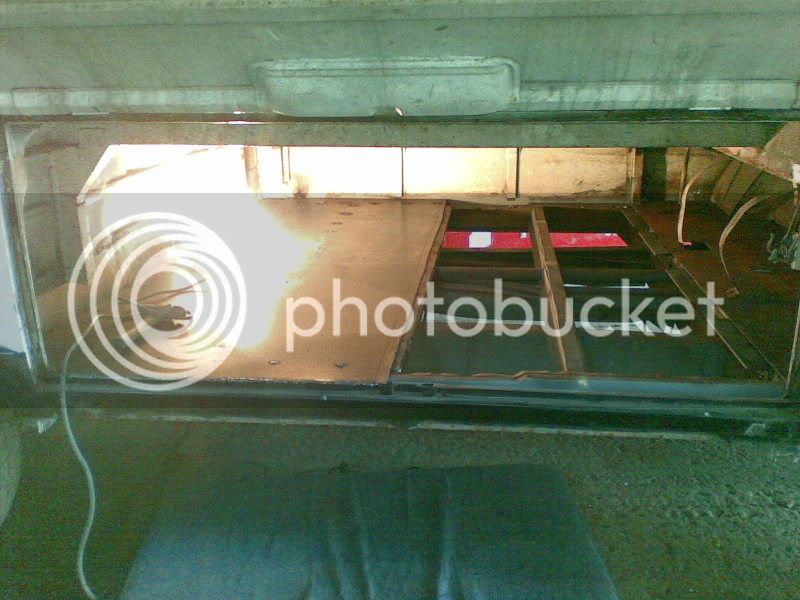
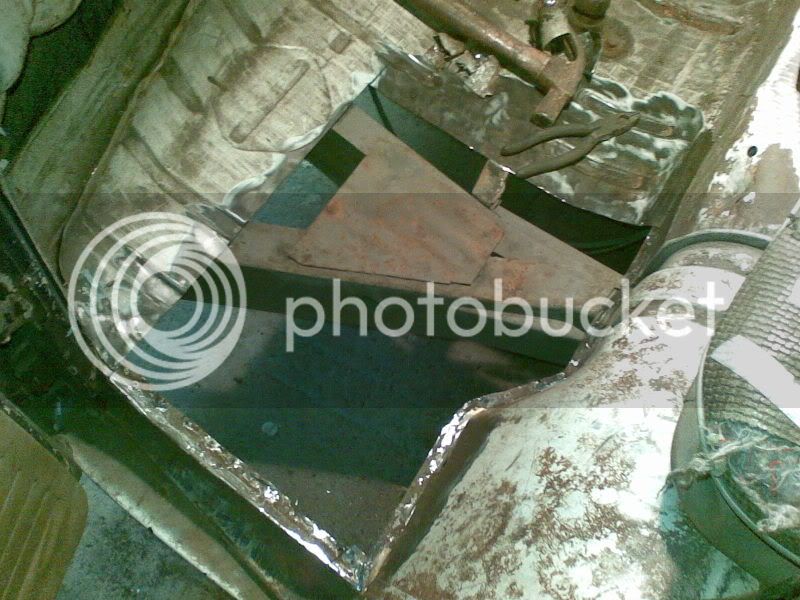
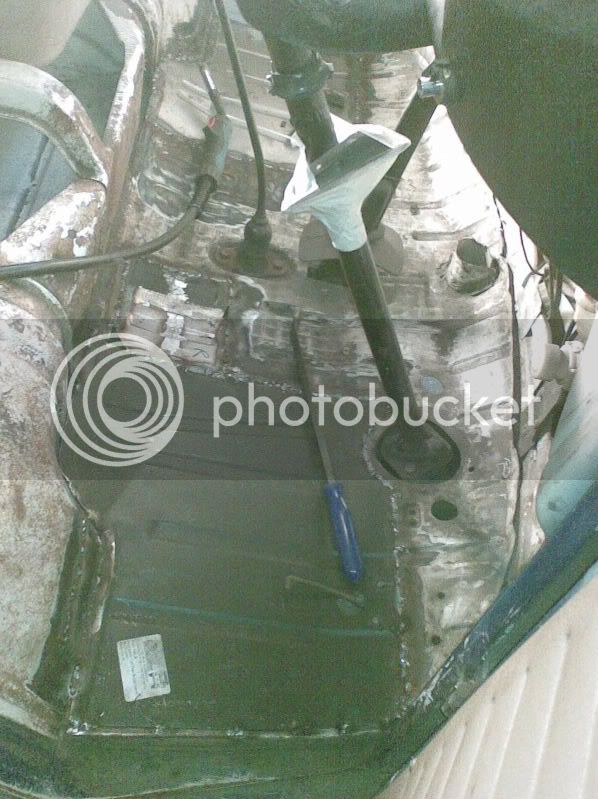
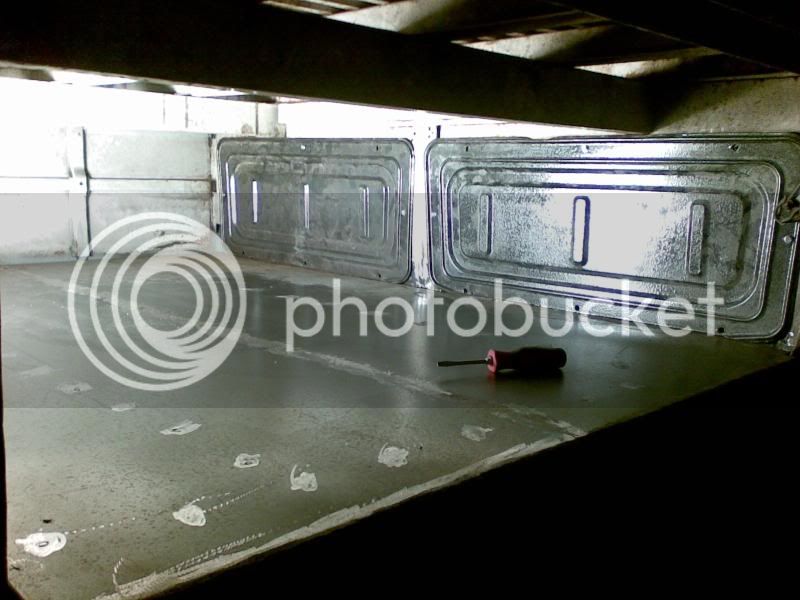
I'm back on to fitting the cargo floor now, so using the strips I'd chopped of the old pair of ramps I've raised the top hat sections so they are level with the inner and outer sills.
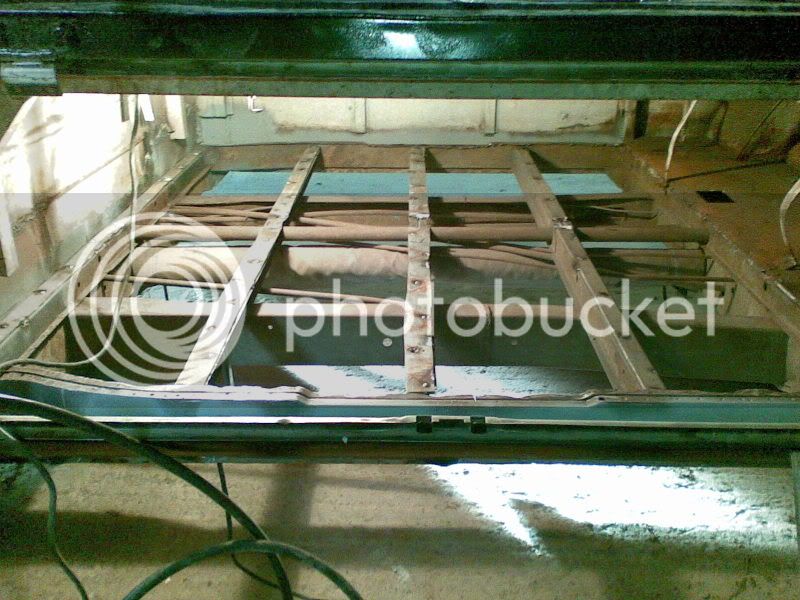
When I ordered the steel I had planned for the join between to the two pieces to be on top of the top hat section and be hidden by the fuel tank bulkhead. However i couldn't get sheet in the size so I have had to weld some angle onto the top hat section to support the floor.
Got some careful measuring to do now!


$42.47
Tamiya 51616 VW Bus Type 2 (T1) Remote Control Car Accessory Body RC Model Making
Hobby Etc | Authorized ✅


$21.60
$29.91
ハセガワ Hasegawa HMCC11 1:24 Scale VW Type 2 Pick-Up Truck Model Building Kits
Amazon Japan


$27.95 ($13.98 / Count)
Marketplace Auto Parts Window Crank Handle Set of 2 - Chrome with Black Knob - Compatible with 1968-1978 Volkswagen Beetle
Parts Geek LLC


ProfessorWheeto
Well-known member
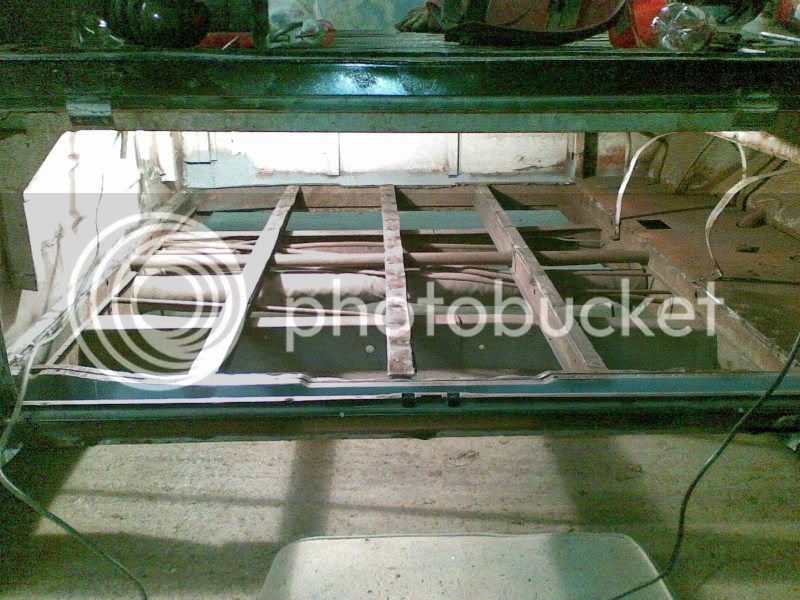
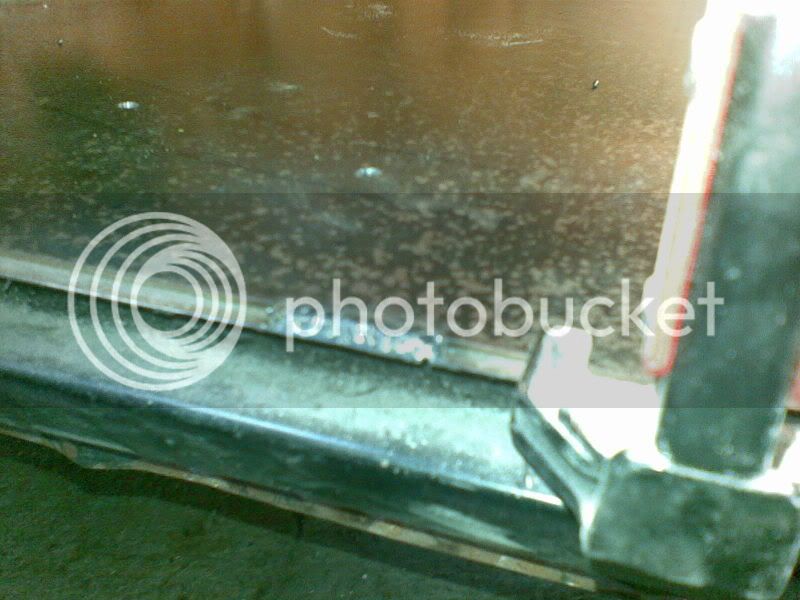
Had another measure of my main floor today, looks like i've got a 10mm over lap so might be able to slice 10mm off the rear floor have the join over the top of the tophat section.
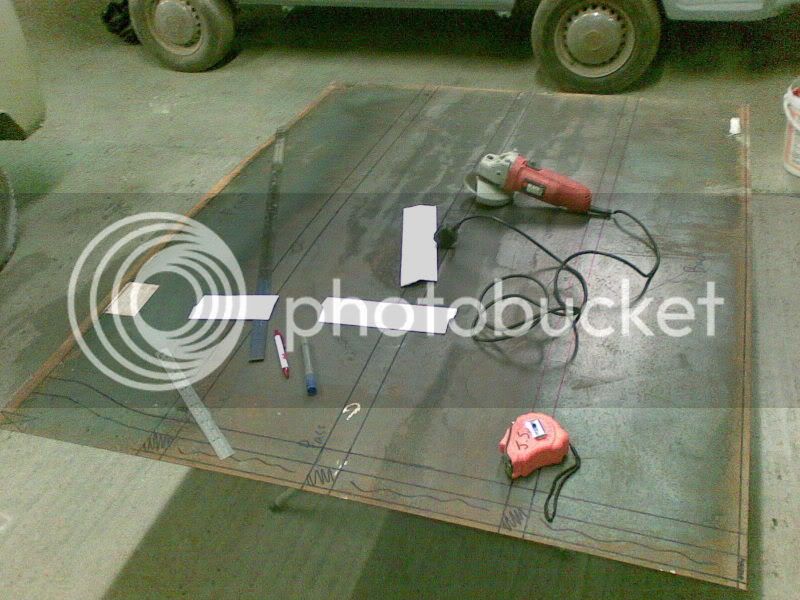
Measuring and drilling holes is boring!
Measuring and drilling holes is boring!
ProfessorWheeto
Well-known member
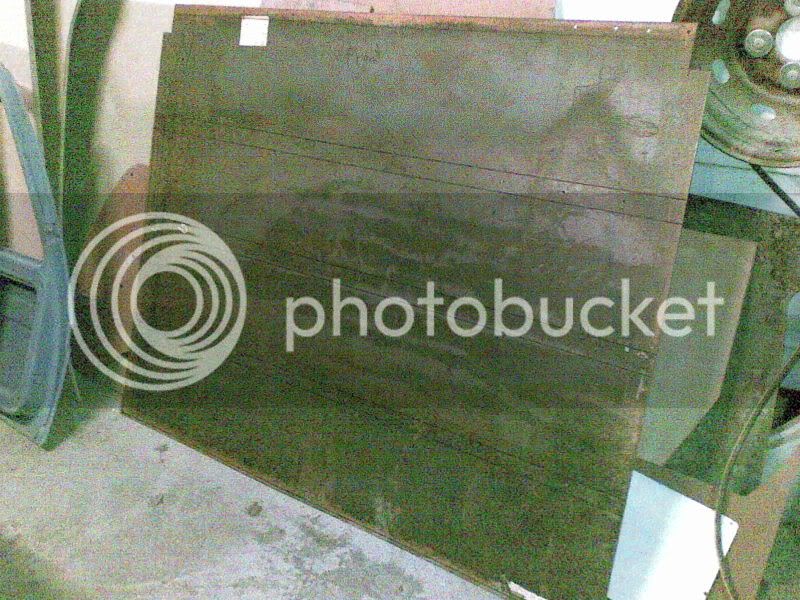
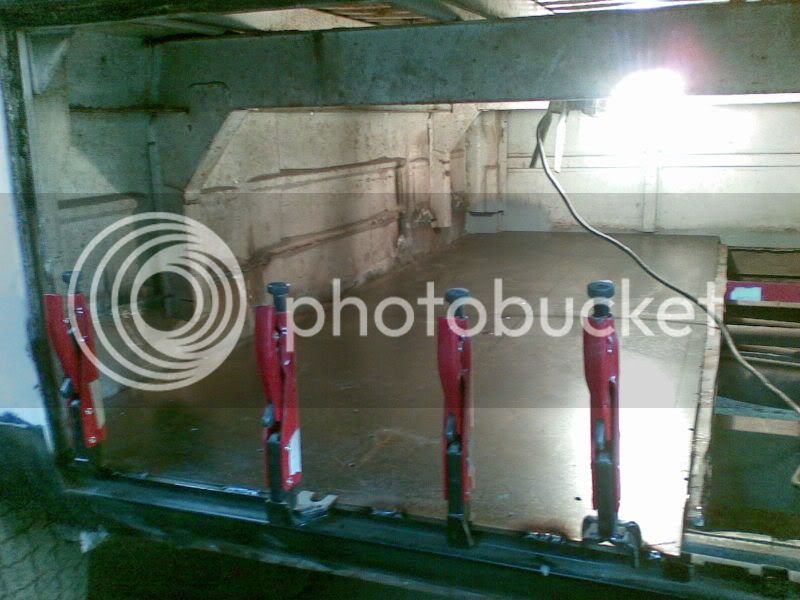
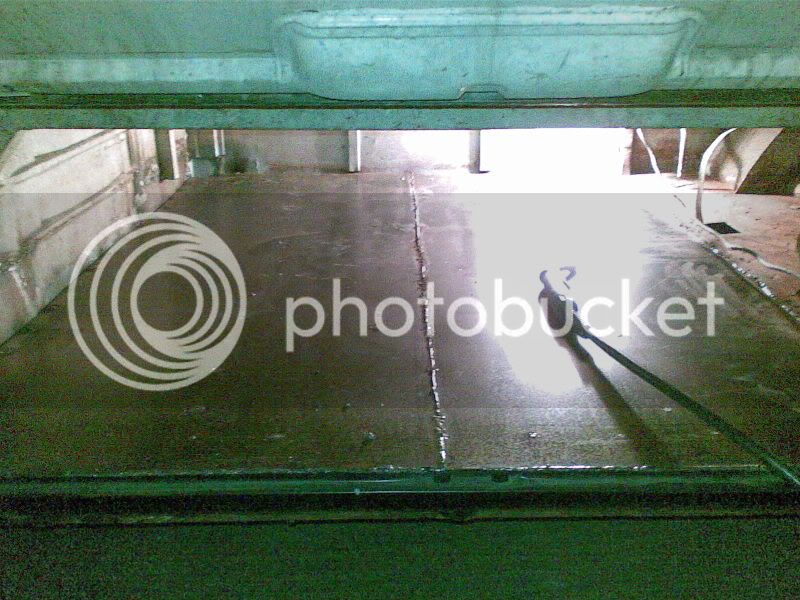
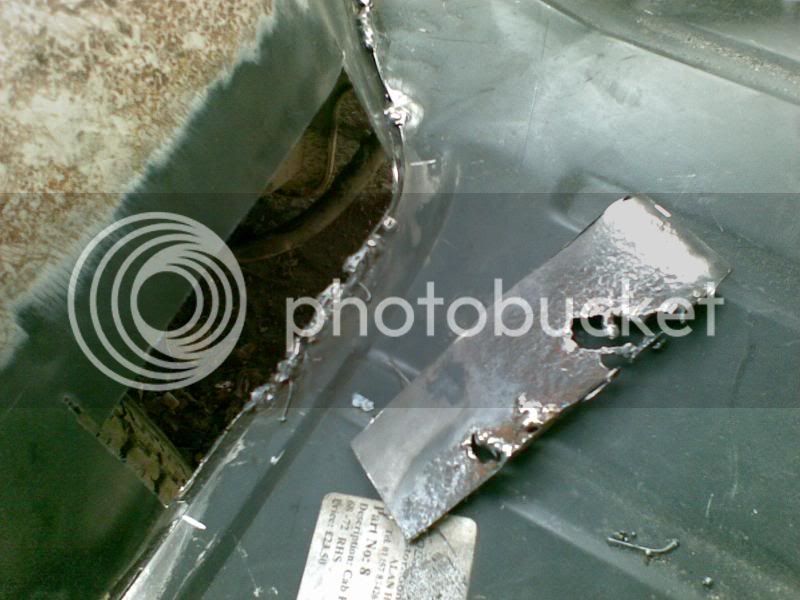
Well yet another change of plans. The idea was to bend the sheet so it fitted through the door gap. Turns out there wasn't a hope in hell of this happening so we've had to lop the sheet in half and I'll now have to do some very careful welding and grinding.
Started to trial fit the floor ready to be welded on saturday
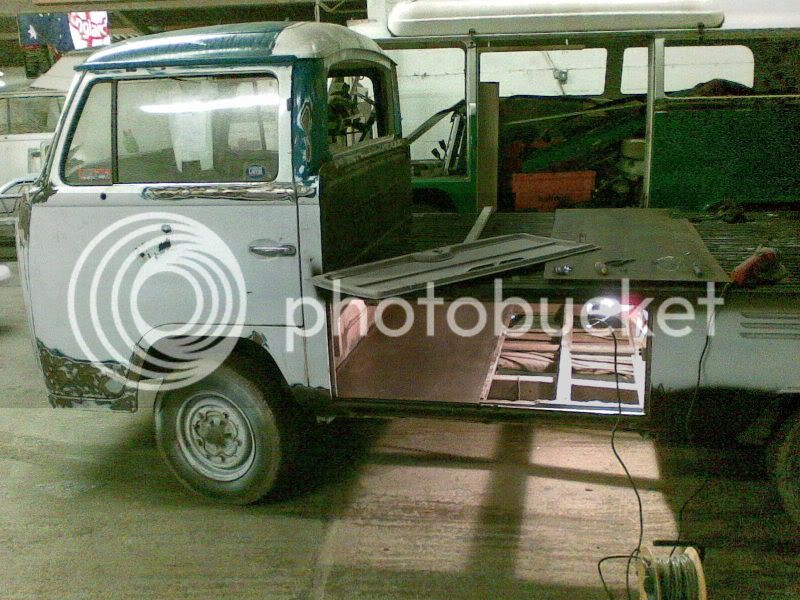
Stuck the treasure chest door back on to check it closes alright with the new sill and floor
Hopefully have the floor welded in on saturday
Started to trial fit the floor ready to be welded on saturday
Stuck the treasure chest door back on to check it closes alright with the new sill and floor
Hopefully have the floor welded in on saturday
ProfessorWheeto
Well-known member
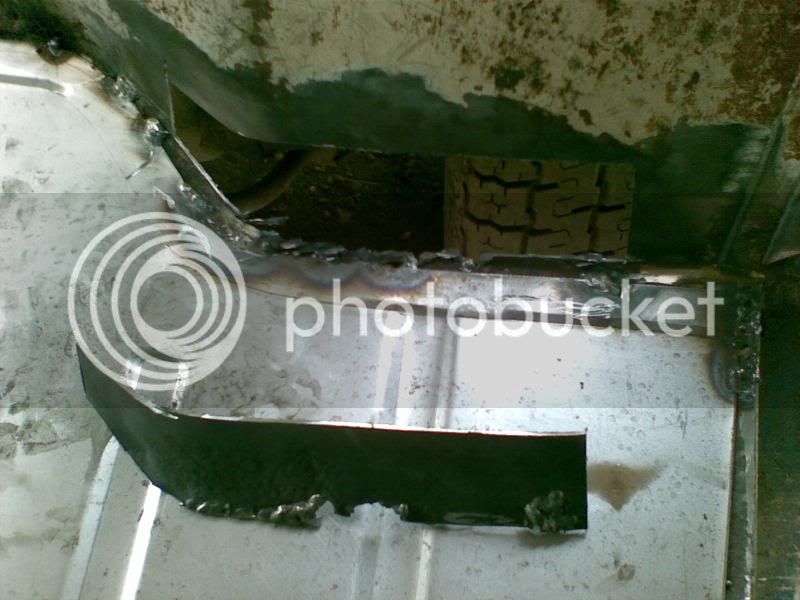
Saturdays progress:
Welded in:
Getting neater the more I do!
Cut the other half to fit and welded it in:
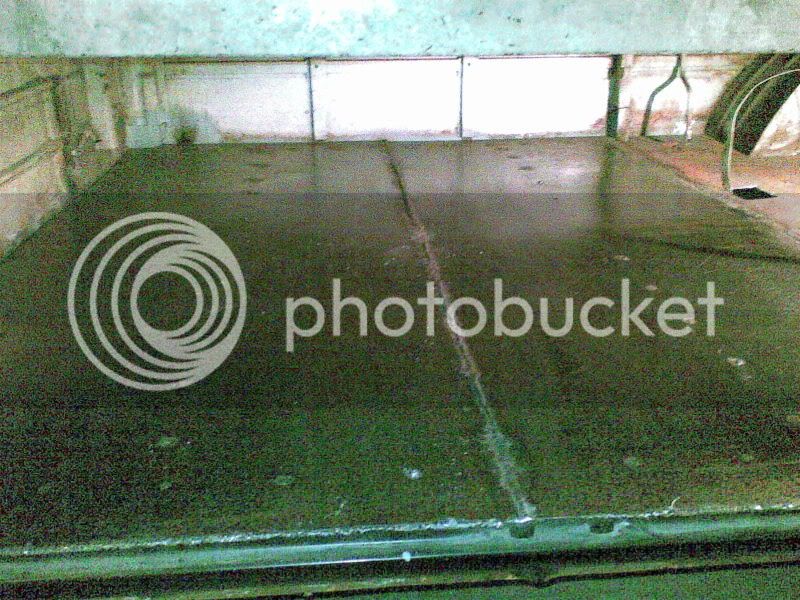
Just got to tidy up the edges now and then can start on repairing the frame that the fuel tank bulk head bolts to.
Bought some trinkets from dubfreeze, NOS treasure chest lock with keys was an unexpected bonus
Welded in:
Getting neater the more I do!
Cut the other half to fit and welded it in:
Just got to tidy up the edges now and then can start on repairing the frame that the fuel tank bulk head bolts to.
Bought some trinkets from dubfreeze, NOS treasure chest lock with keys was an unexpected bonus
ProfessorWheeto
Well-known member
Some photos from sunday and tonight...
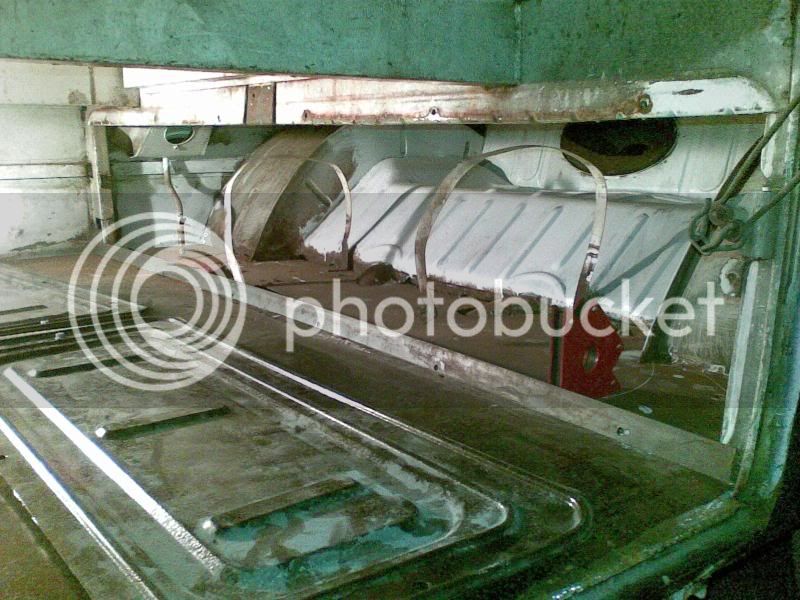
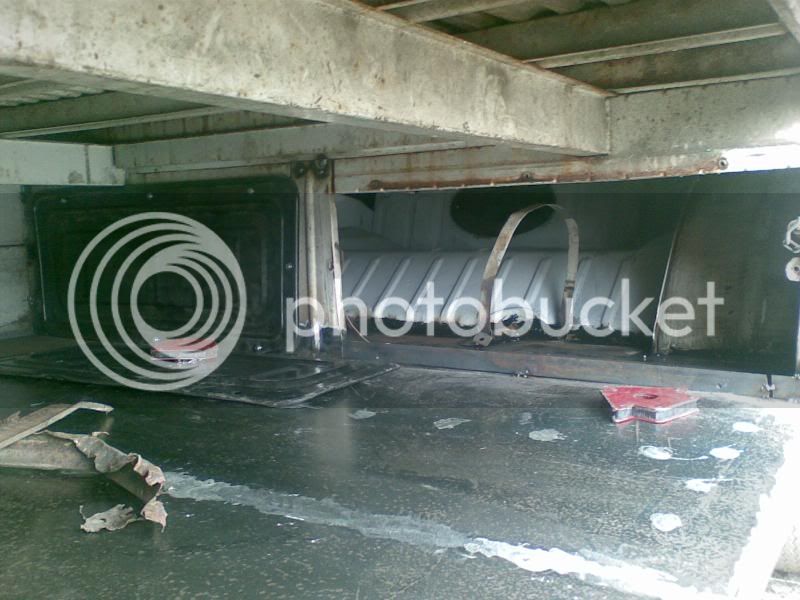
Ground the welds down on the cargo floor and tarted up the area behind the fuel tank bulkhead.
Started on the cab floor
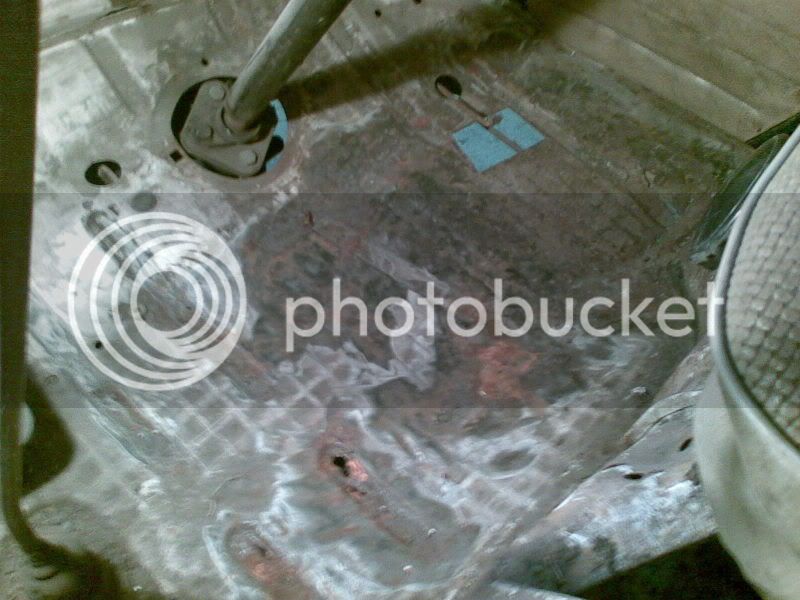
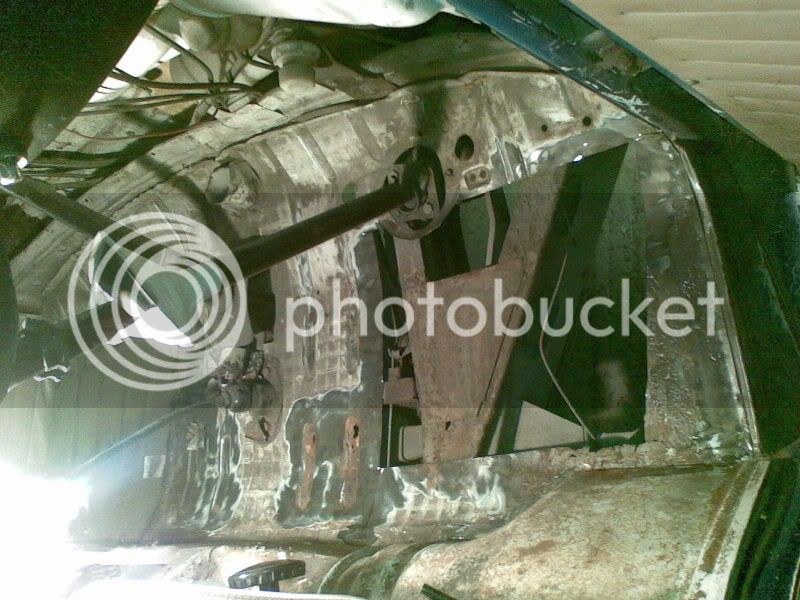
Ground the welds down on the cargo floor and tarted up the area behind the fuel tank bulkhead.
Started on the cab floor
ProfessorWheeto
Well-known member
Made some more progress today, nearly got all the welding done now.
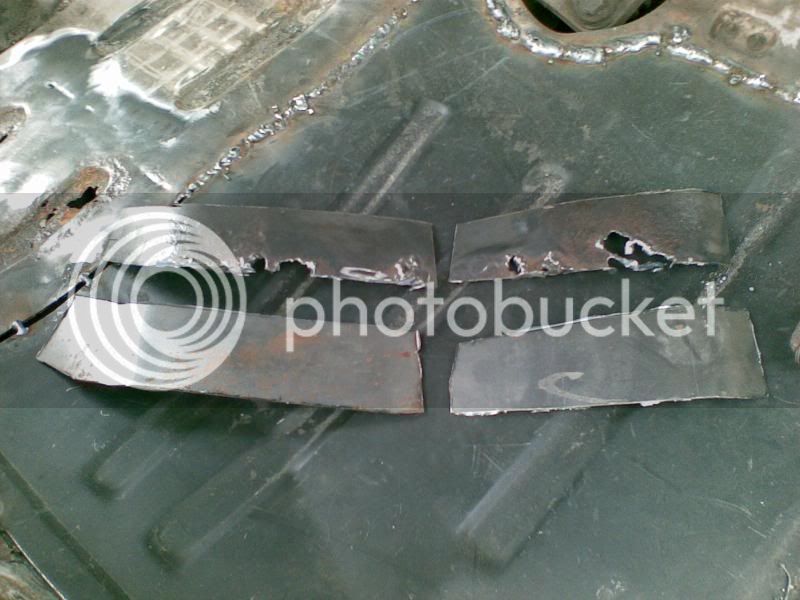
The arches were blowing through when I was welding them so cleaned them off and cut them out
Made some plates
Cut out the last bit of grotty cab floor that the repair panels didn't reach
Flat plate would have been easy, but I wanted to keep the pressings in the floor so used the bits I cut off the floor repair panels
Welded them together

Repaired the arches
Welded the floor repair section in
Ended up plugging the last two holes with some small patches
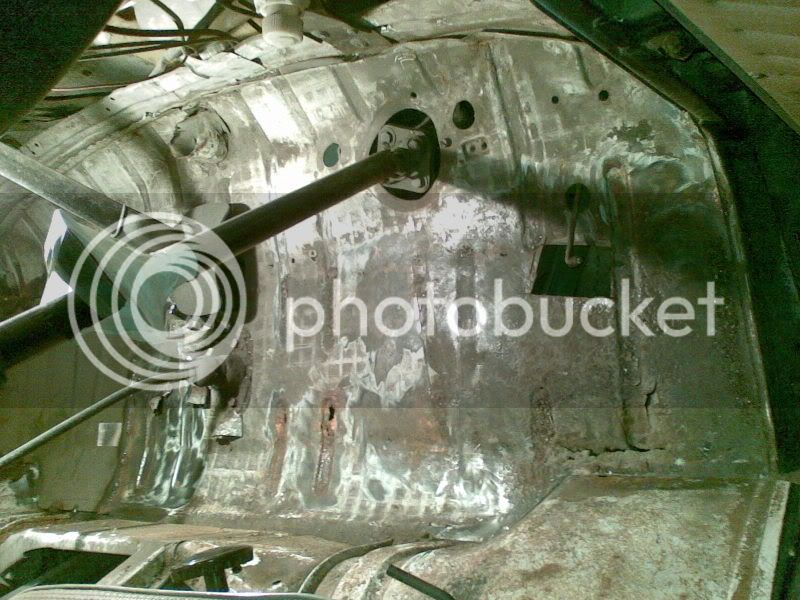
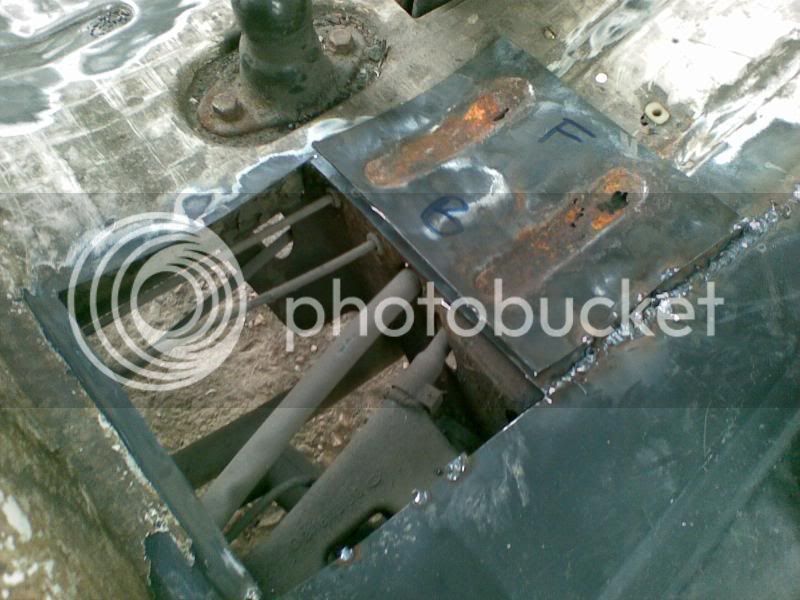
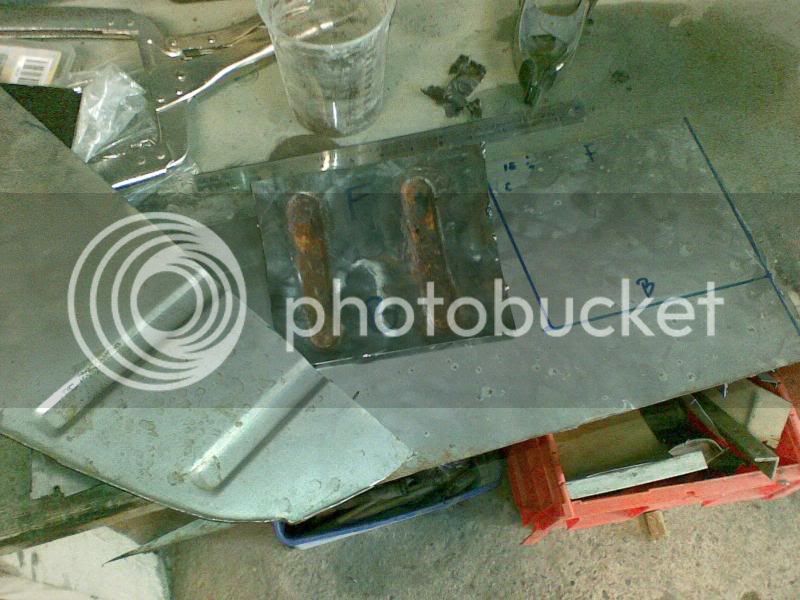
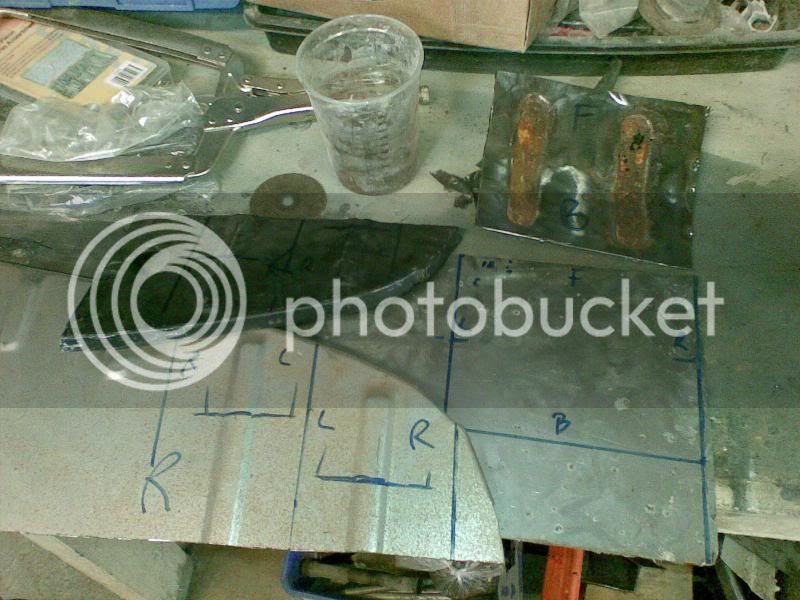
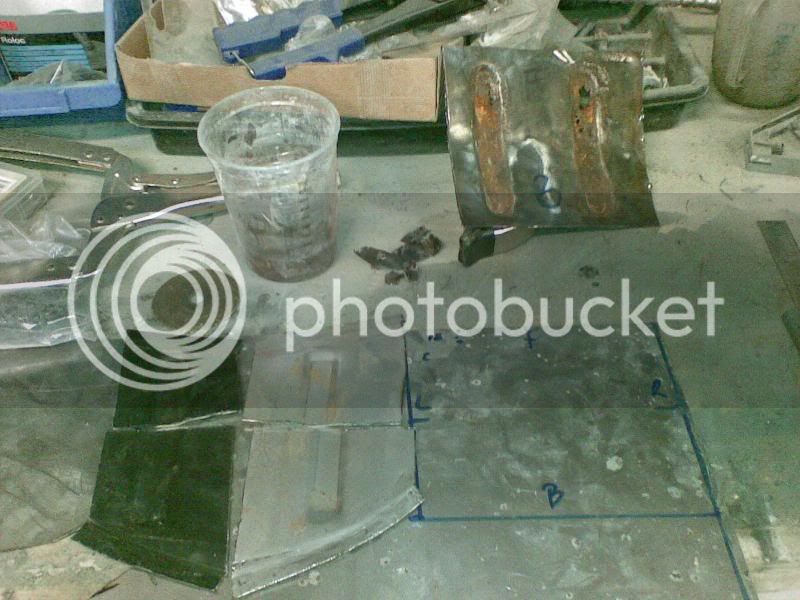
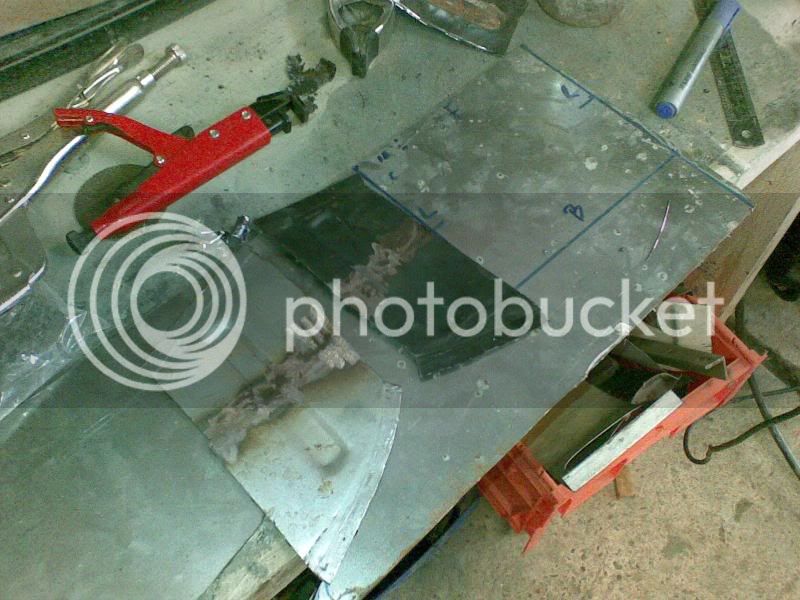
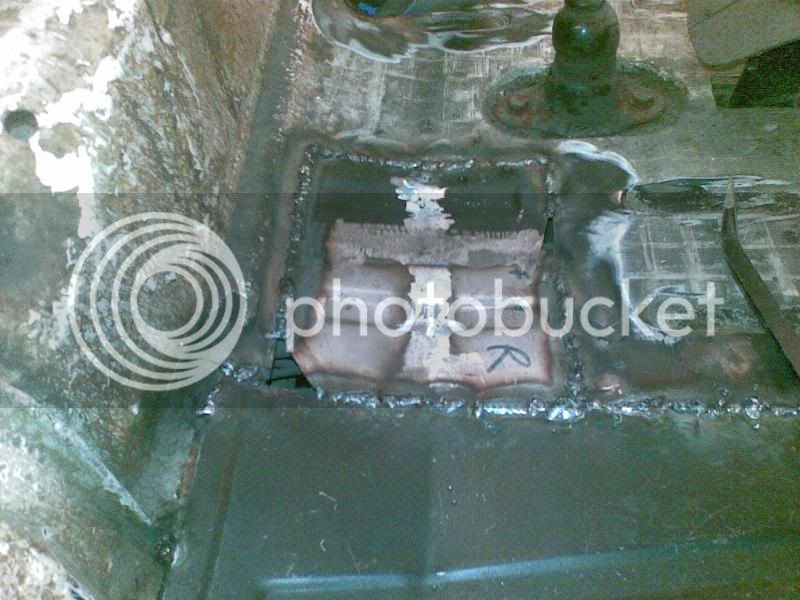
With the cab floor all finished I started on the fuel tank bulkhead.
The centre section was rotten at the bottom and needed repairing.
Made a plate to fit
Welded up and then did some careful grinding
Trial fitted it with the removable panels. Need to made up the piece that are welded to the floor now
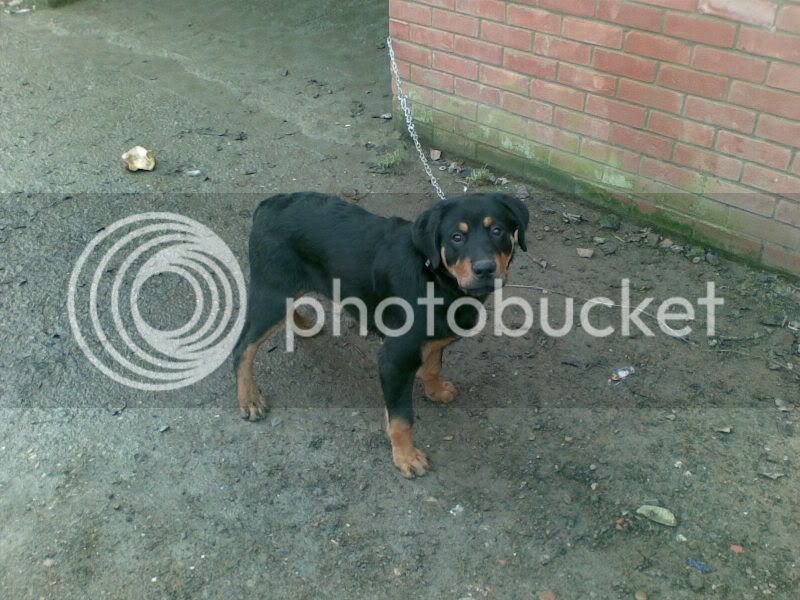
And a more effective alarm system decided to install himself!
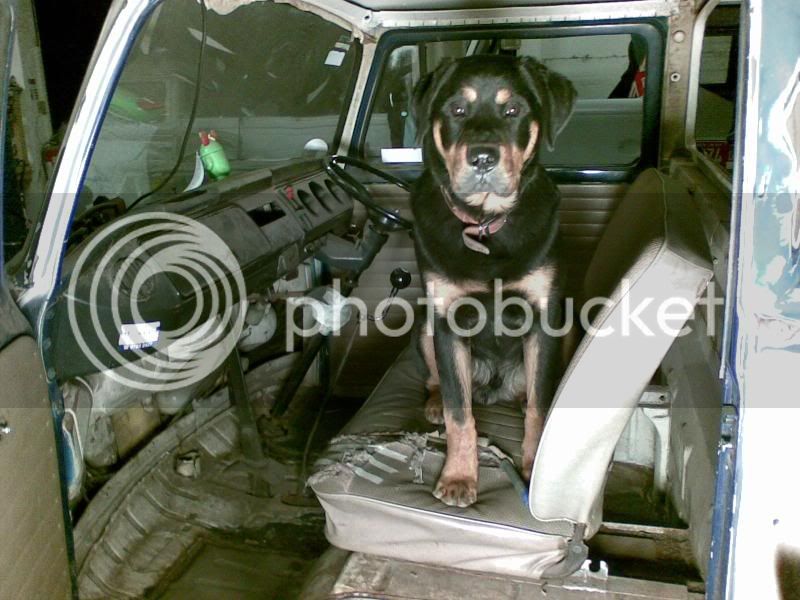
Doesn't look as much of a pup as he did in the first photo on this thread.
The arches were blowing through when I was welding them so cleaned them off and cut them out
Made some plates
Cut out the last bit of grotty cab floor that the repair panels didn't reach
Flat plate would have been easy, but I wanted to keep the pressings in the floor so used the bits I cut off the floor repair panels
Welded them together
Repaired the arches
Welded the floor repair section in
Ended up plugging the last two holes with some small patches
With the cab floor all finished I started on the fuel tank bulkhead.
The centre section was rotten at the bottom and needed repairing.
Made a plate to fit
Welded up and then did some careful grinding
Trial fitted it with the removable panels. Need to made up the piece that are welded to the floor now
And a more effective alarm system decided to install himself!
Doesn't look as much of a pup as he did in the first photo on this thread.
ProfessorWheeto
Well-known member
Cheers dude
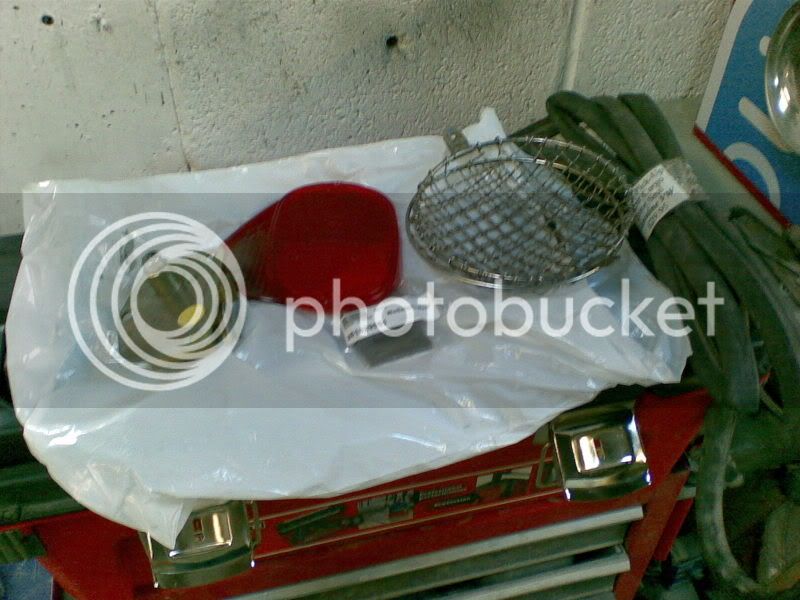
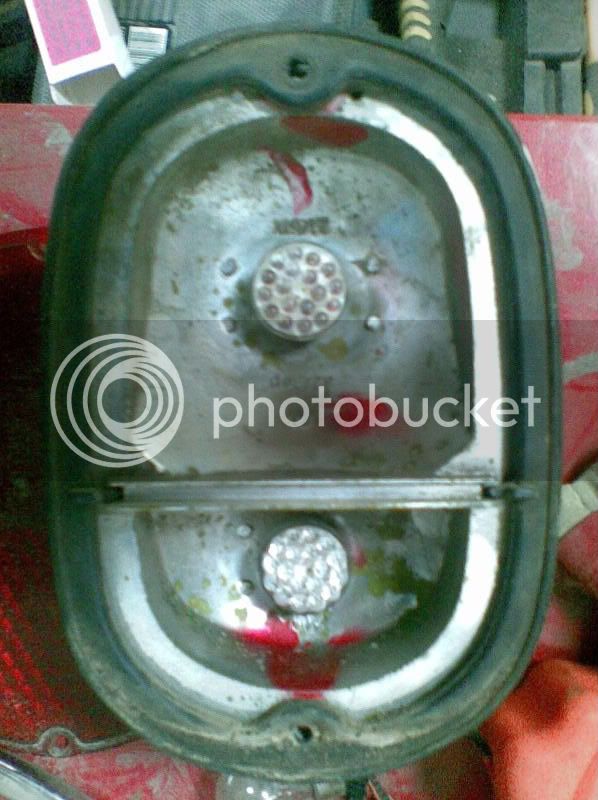
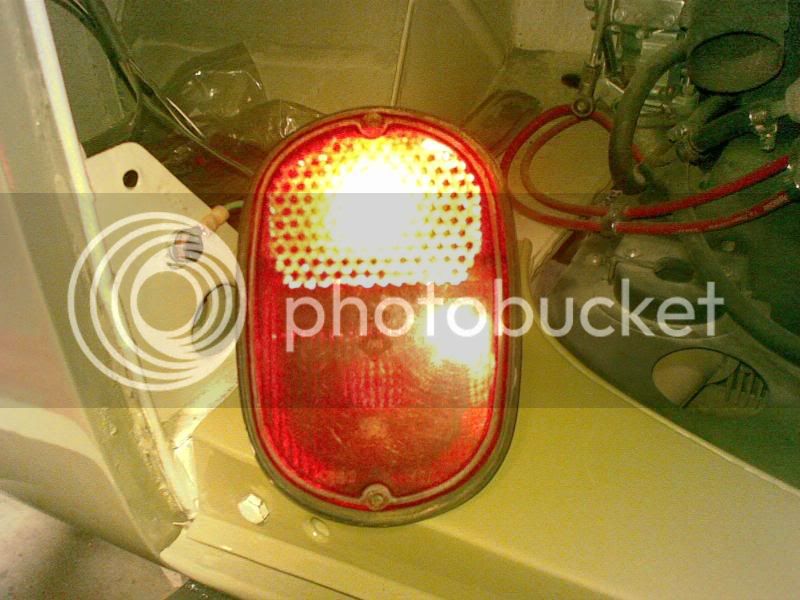
Been to newark autojumble today.
Got some LED bulbs for my rear lights and indicators.
Nice and bright and the indicators shine amber through the us spec lenses so should pass an MOT.
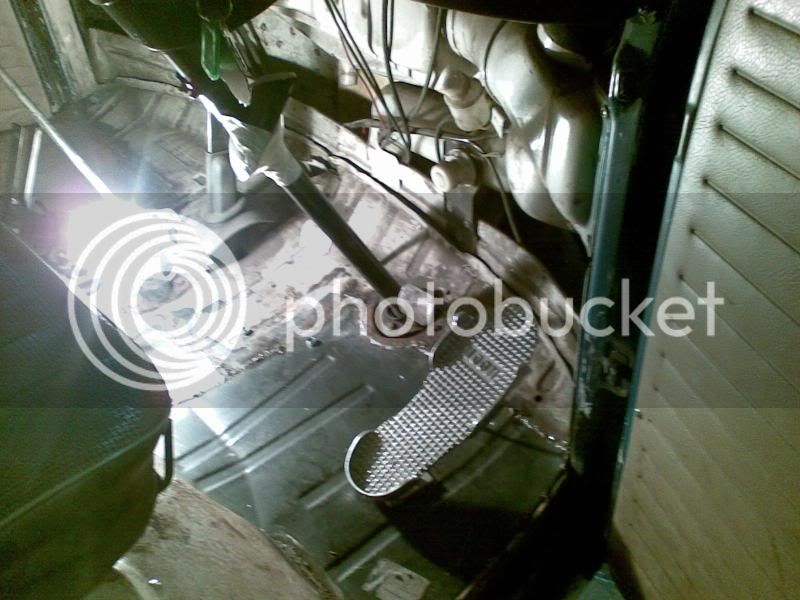
And I got the mother of all loud pedals

Been to newark autojumble today.
Got some LED bulbs for my rear lights and indicators.
Nice and bright and the indicators shine amber through the us spec lenses so should pass an MOT.
And I got the mother of all loud pedals
Airtime
Well-known member
Tose LED bulbs are nice! Let's see if I can find them somewhere overhere. 8)
Oh, and that pedal is just cool! 8)
Oh, and that pedal is just cool! 8)
ProfessorWheeto
Well-known member
Some more progress, carried on with the fuel tank bulkhead:
Measured it all up and welded on some captive nuts
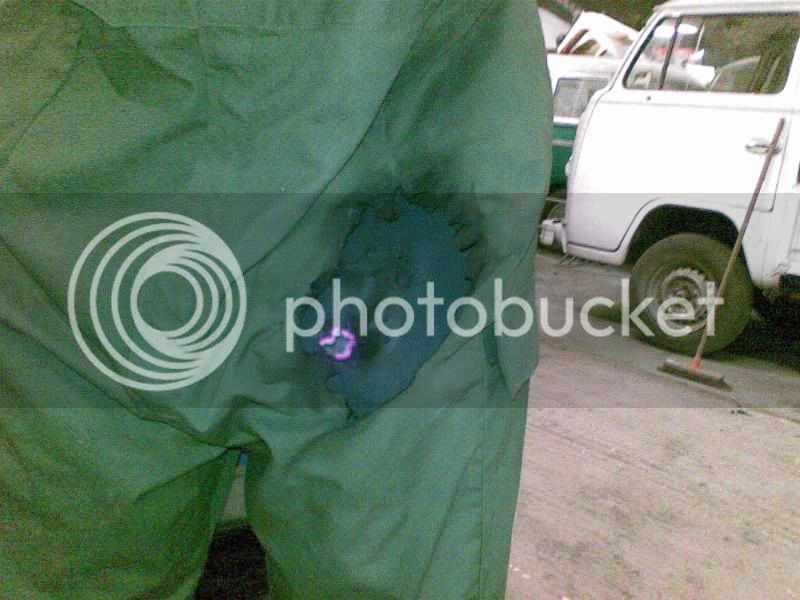
Managed to set myself on fire with the grinder
Checked the fit
Ended up screwing the covers on the lower and centre sections, putting it all in, tacking the corners and then removing one panel at the time and tacking behind the fitted panel to make sure the holes all lined up
Checked that the tank would fit. Needed to take some material off the lower strip nearest the door
Slapped on some hammerite, the tank is now ready to be finally fitted
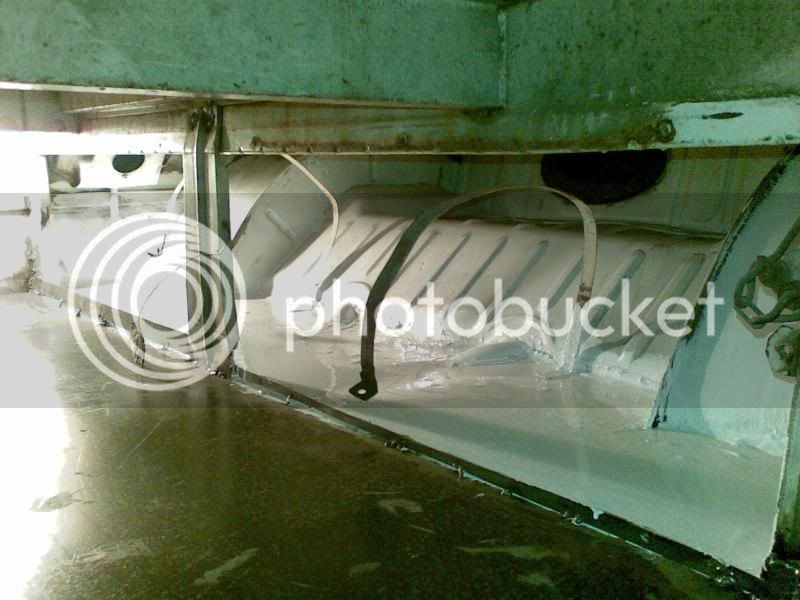
Also decided to check the fuel tank for rust before fitting it
All looks good from peering through the filler neck.
Measured it all up and welded on some captive nuts
Managed to set myself on fire with the grinder
Checked the fit
Ended up screwing the covers on the lower and centre sections, putting it all in, tacking the corners and then removing one panel at the time and tacking behind the fitted panel to make sure the holes all lined up
Checked that the tank would fit. Needed to take some material off the lower strip nearest the door
Slapped on some hammerite, the tank is now ready to be finally fitted
Also decided to check the fuel tank for rust before fitting it
All looks good from peering through the filler neck.
ProfessorWheeto
Well-known member
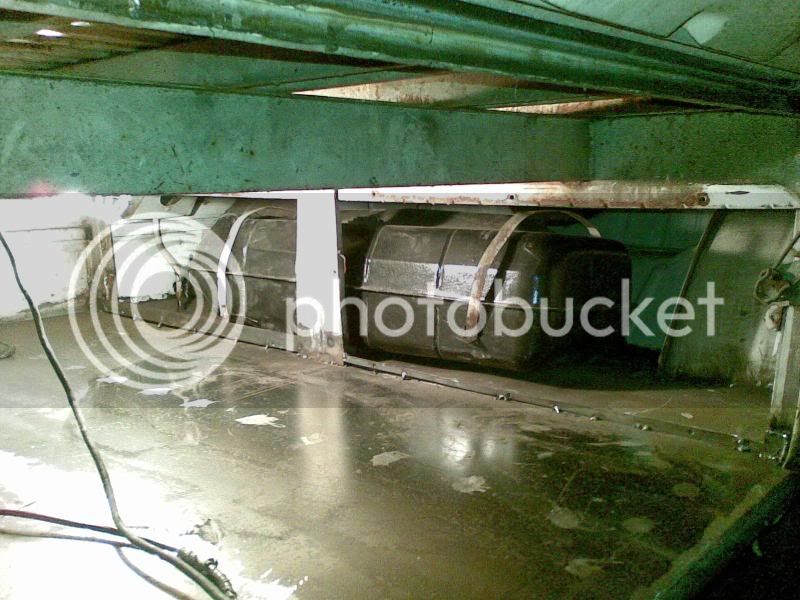
Had a good day today,finally fitted the fuel tank and renewed all the fuel lines and breathers,

Adapted the wiring from dynamo with external regulator to work with an alternator with internal regulator.
Chucked in some petrol and battery and fired him up
Uncovered a couple of problems, the carb needs sorting out as it seems to be full throttle or not running, timing needs adjusting and gear linkage needs a tweek as I can't get first and putting it into second got me reverse. However he moved under his own power (In third, throttle wide open with no exhaust on :lol: )
Had to modify my aussie asbo cherry bomb as the pipes that meet the heat exchangers weren't flared, so I lopped the flared bits of my old monza four tip
Started banging the lights in and getting the van more MOT ready. Horn and wipers work, as do most of the lights, but I really need to go round and clean up all the contacts and check all the wiring.
Adapted the wiring from dynamo with external regulator to work with an alternator with internal regulator.
Chucked in some petrol and battery and fired him up
Uncovered a couple of problems, the carb needs sorting out as it seems to be full throttle or not running, timing needs adjusting and gear linkage needs a tweek as I can't get first and putting it into second got me reverse. However he moved under his own power (In third, throttle wide open with no exhaust on :lol: )
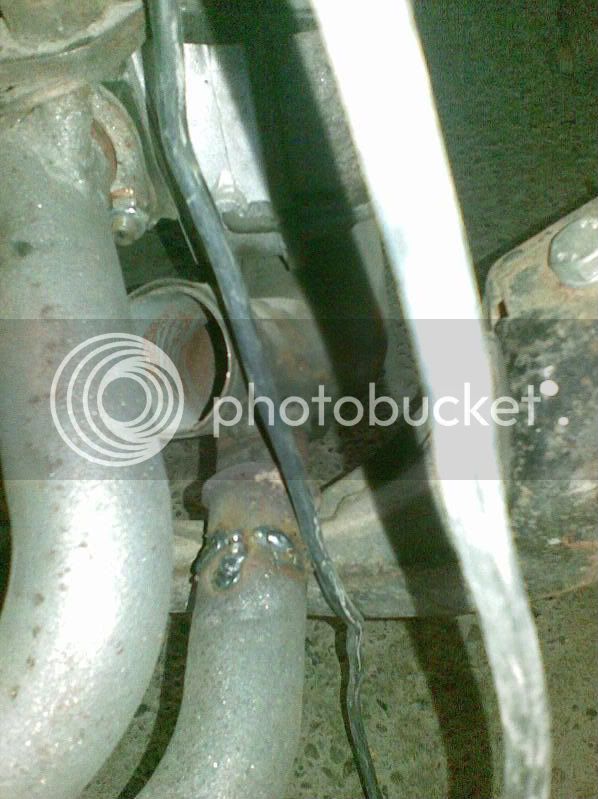
Had to modify my aussie asbo cherry bomb as the pipes that meet the heat exchangers weren't flared, so I lopped the flared bits of my old monza four tip
Started banging the lights in and getting the van more MOT ready. Horn and wipers work, as do most of the lights, but I really need to go round and clean up all the contacts and check all the wiring.
G
Guest
Guest
some good progress wheeto 8) , you must be happy
ProfessorWheeto
Well-known member
Yeah it was nice to hear it run and know that I havent got a box full of neutrals. Had another play with the gear stick and found first and second but the gear linkage still needs tweeking, clutch needs setting and the carb needs serious attention or replacing.
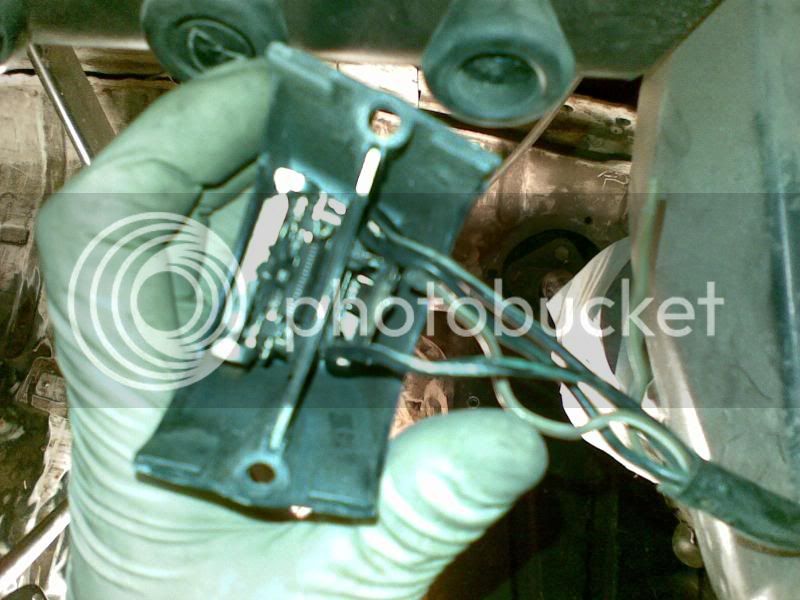
Did some more work on the lights, came to the conclusion that my headlight and indicator relays are shot, and I had to replace the indicator stalk
Fitted the accelerator pedal too
On the look out for indicator relay, headlight relay, brake fluid resevior and a 34 pict 3 now.
Did some more work on the lights, came to the conclusion that my headlight and indicator relays are shot, and I had to replace the indicator stalk
Fitted the accelerator pedal too
On the look out for indicator relay, headlight relay, brake fluid resevior and a 34 pict 3 now.
Similar threads
- Replies
- 1
- Views
- 552
Vehicle For Sale
1968 Bay window T2 Dreamy
- Replies
- 3
- Views
- 304