Well after breaking my other thread and losing the plot with photobucket, thought id just do an interior thread instead.
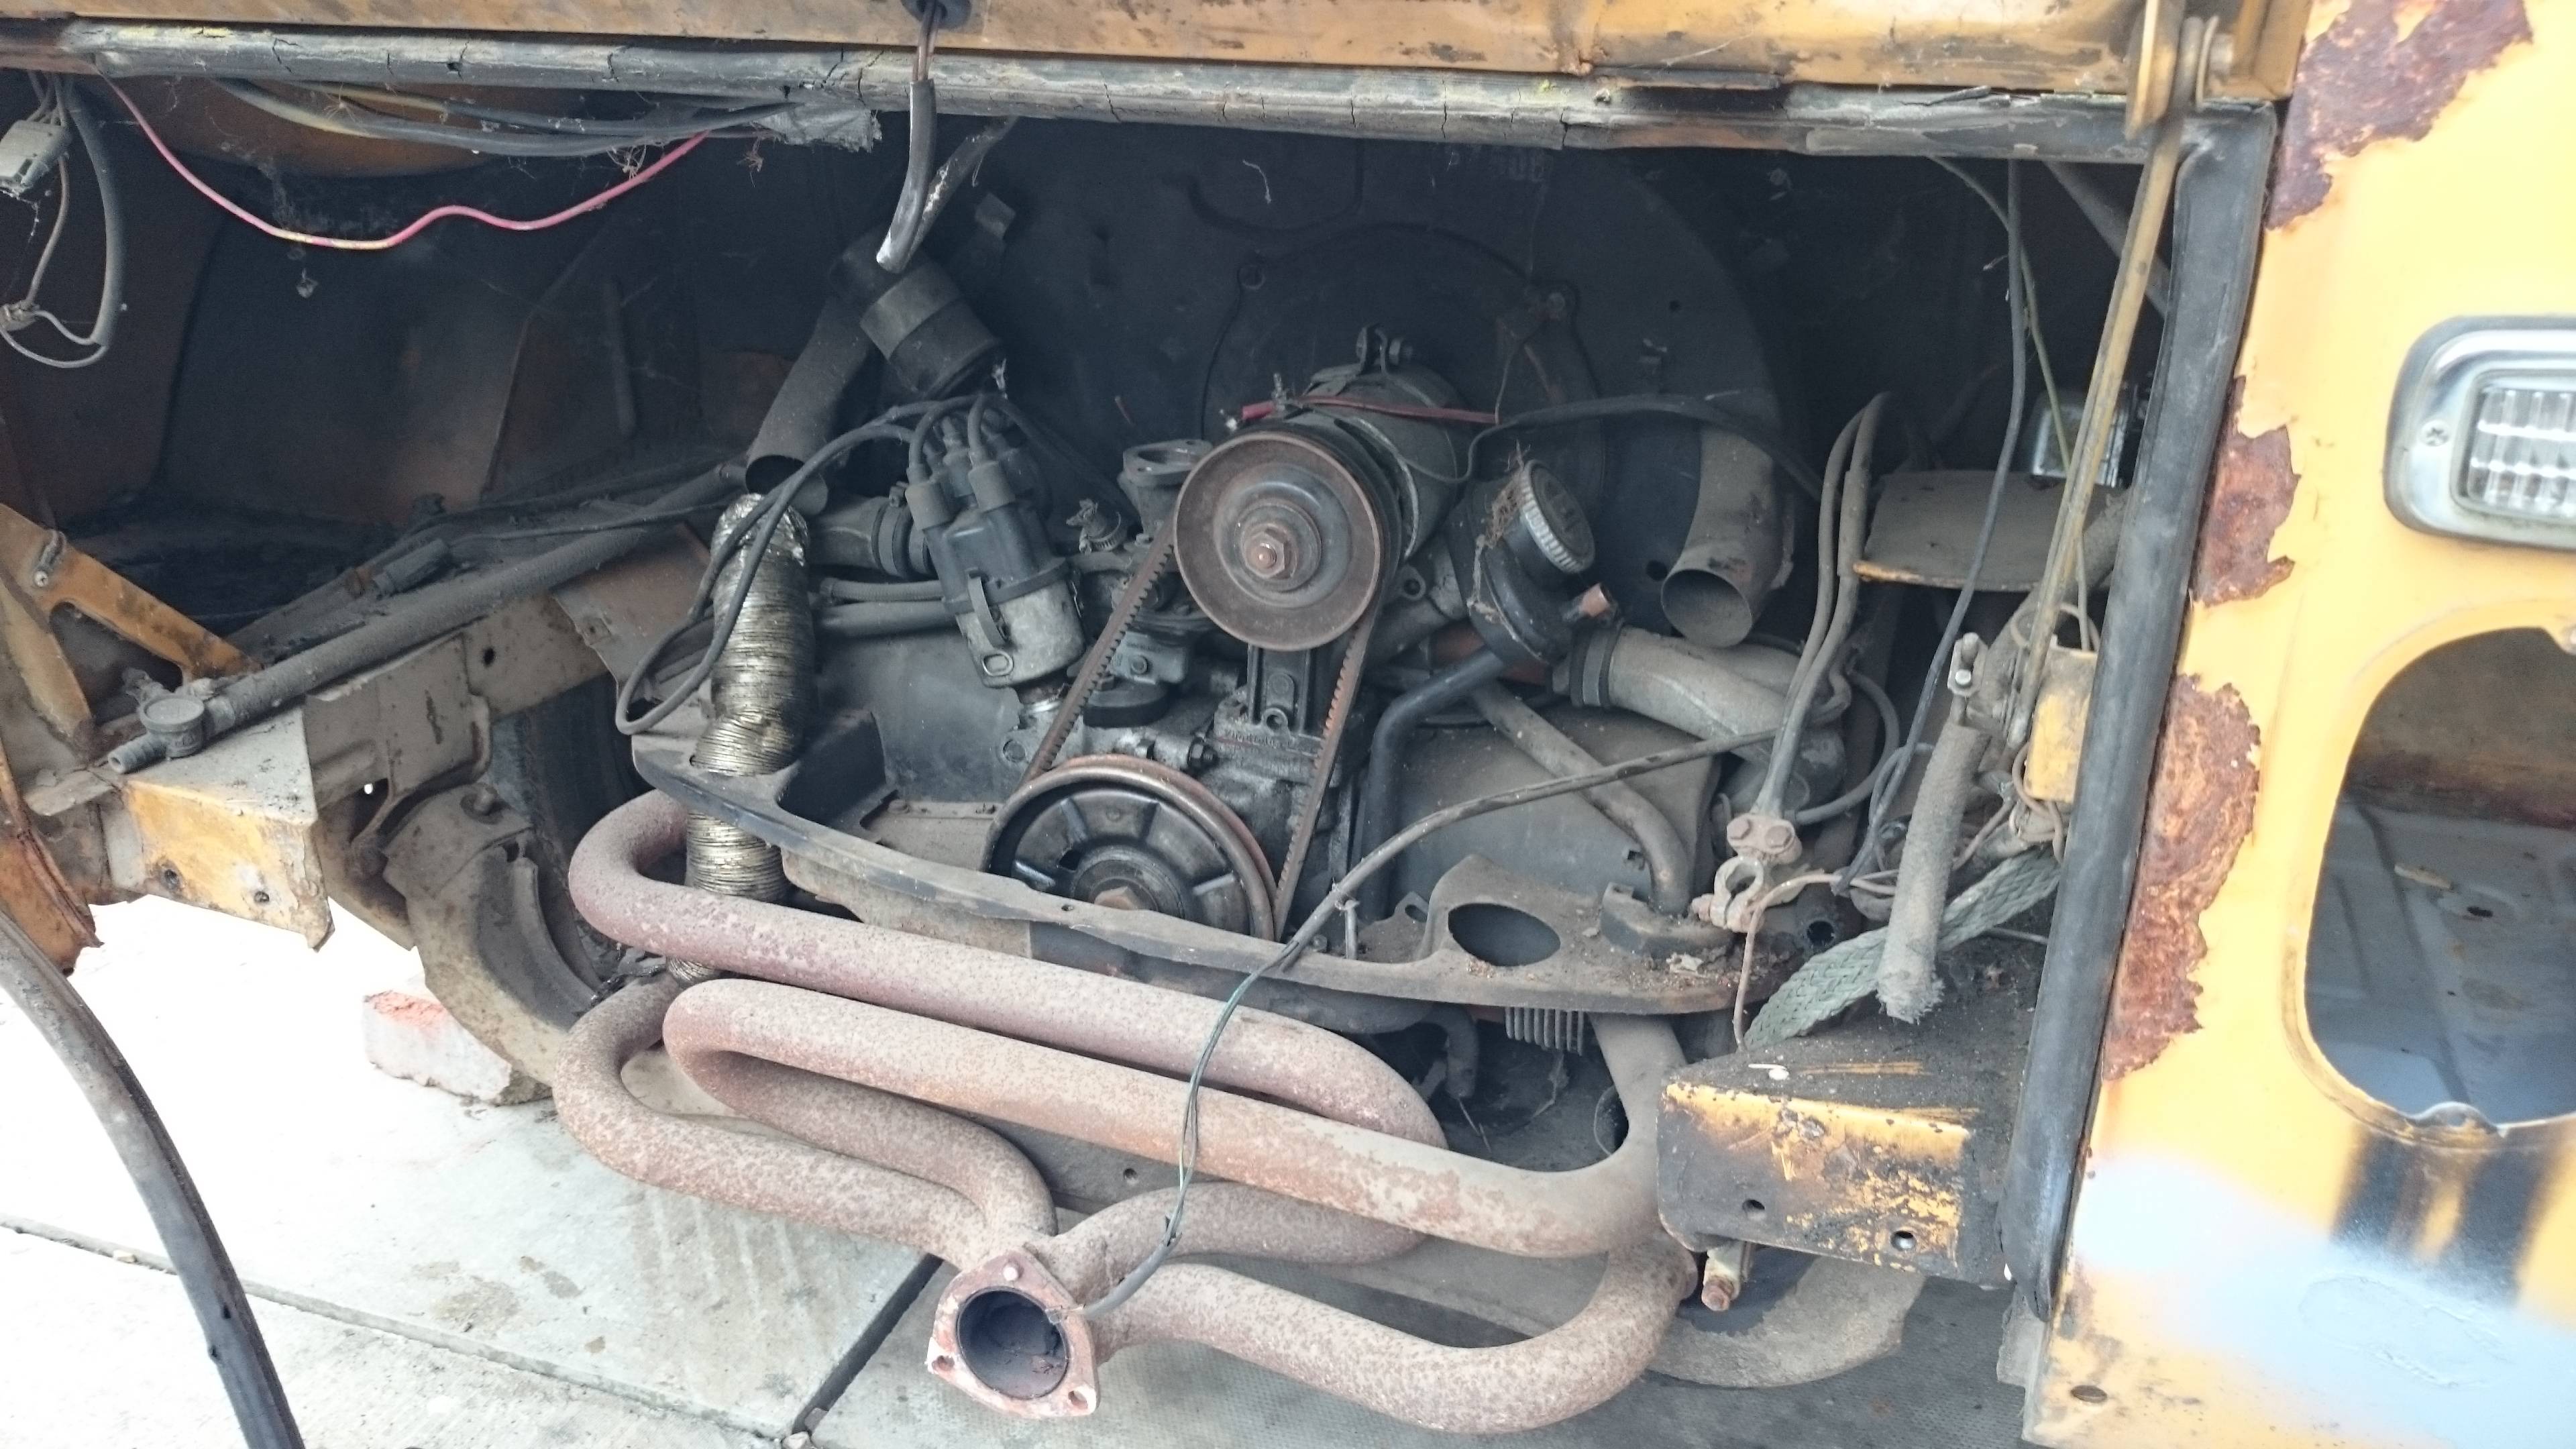
In short after 2 yrs my van is ready mechanically. Was never meant to be (AND STILL ISN'T) a total resto, just rust free, mechanically sound and all one colour. Dints etc all stayed as I like them")
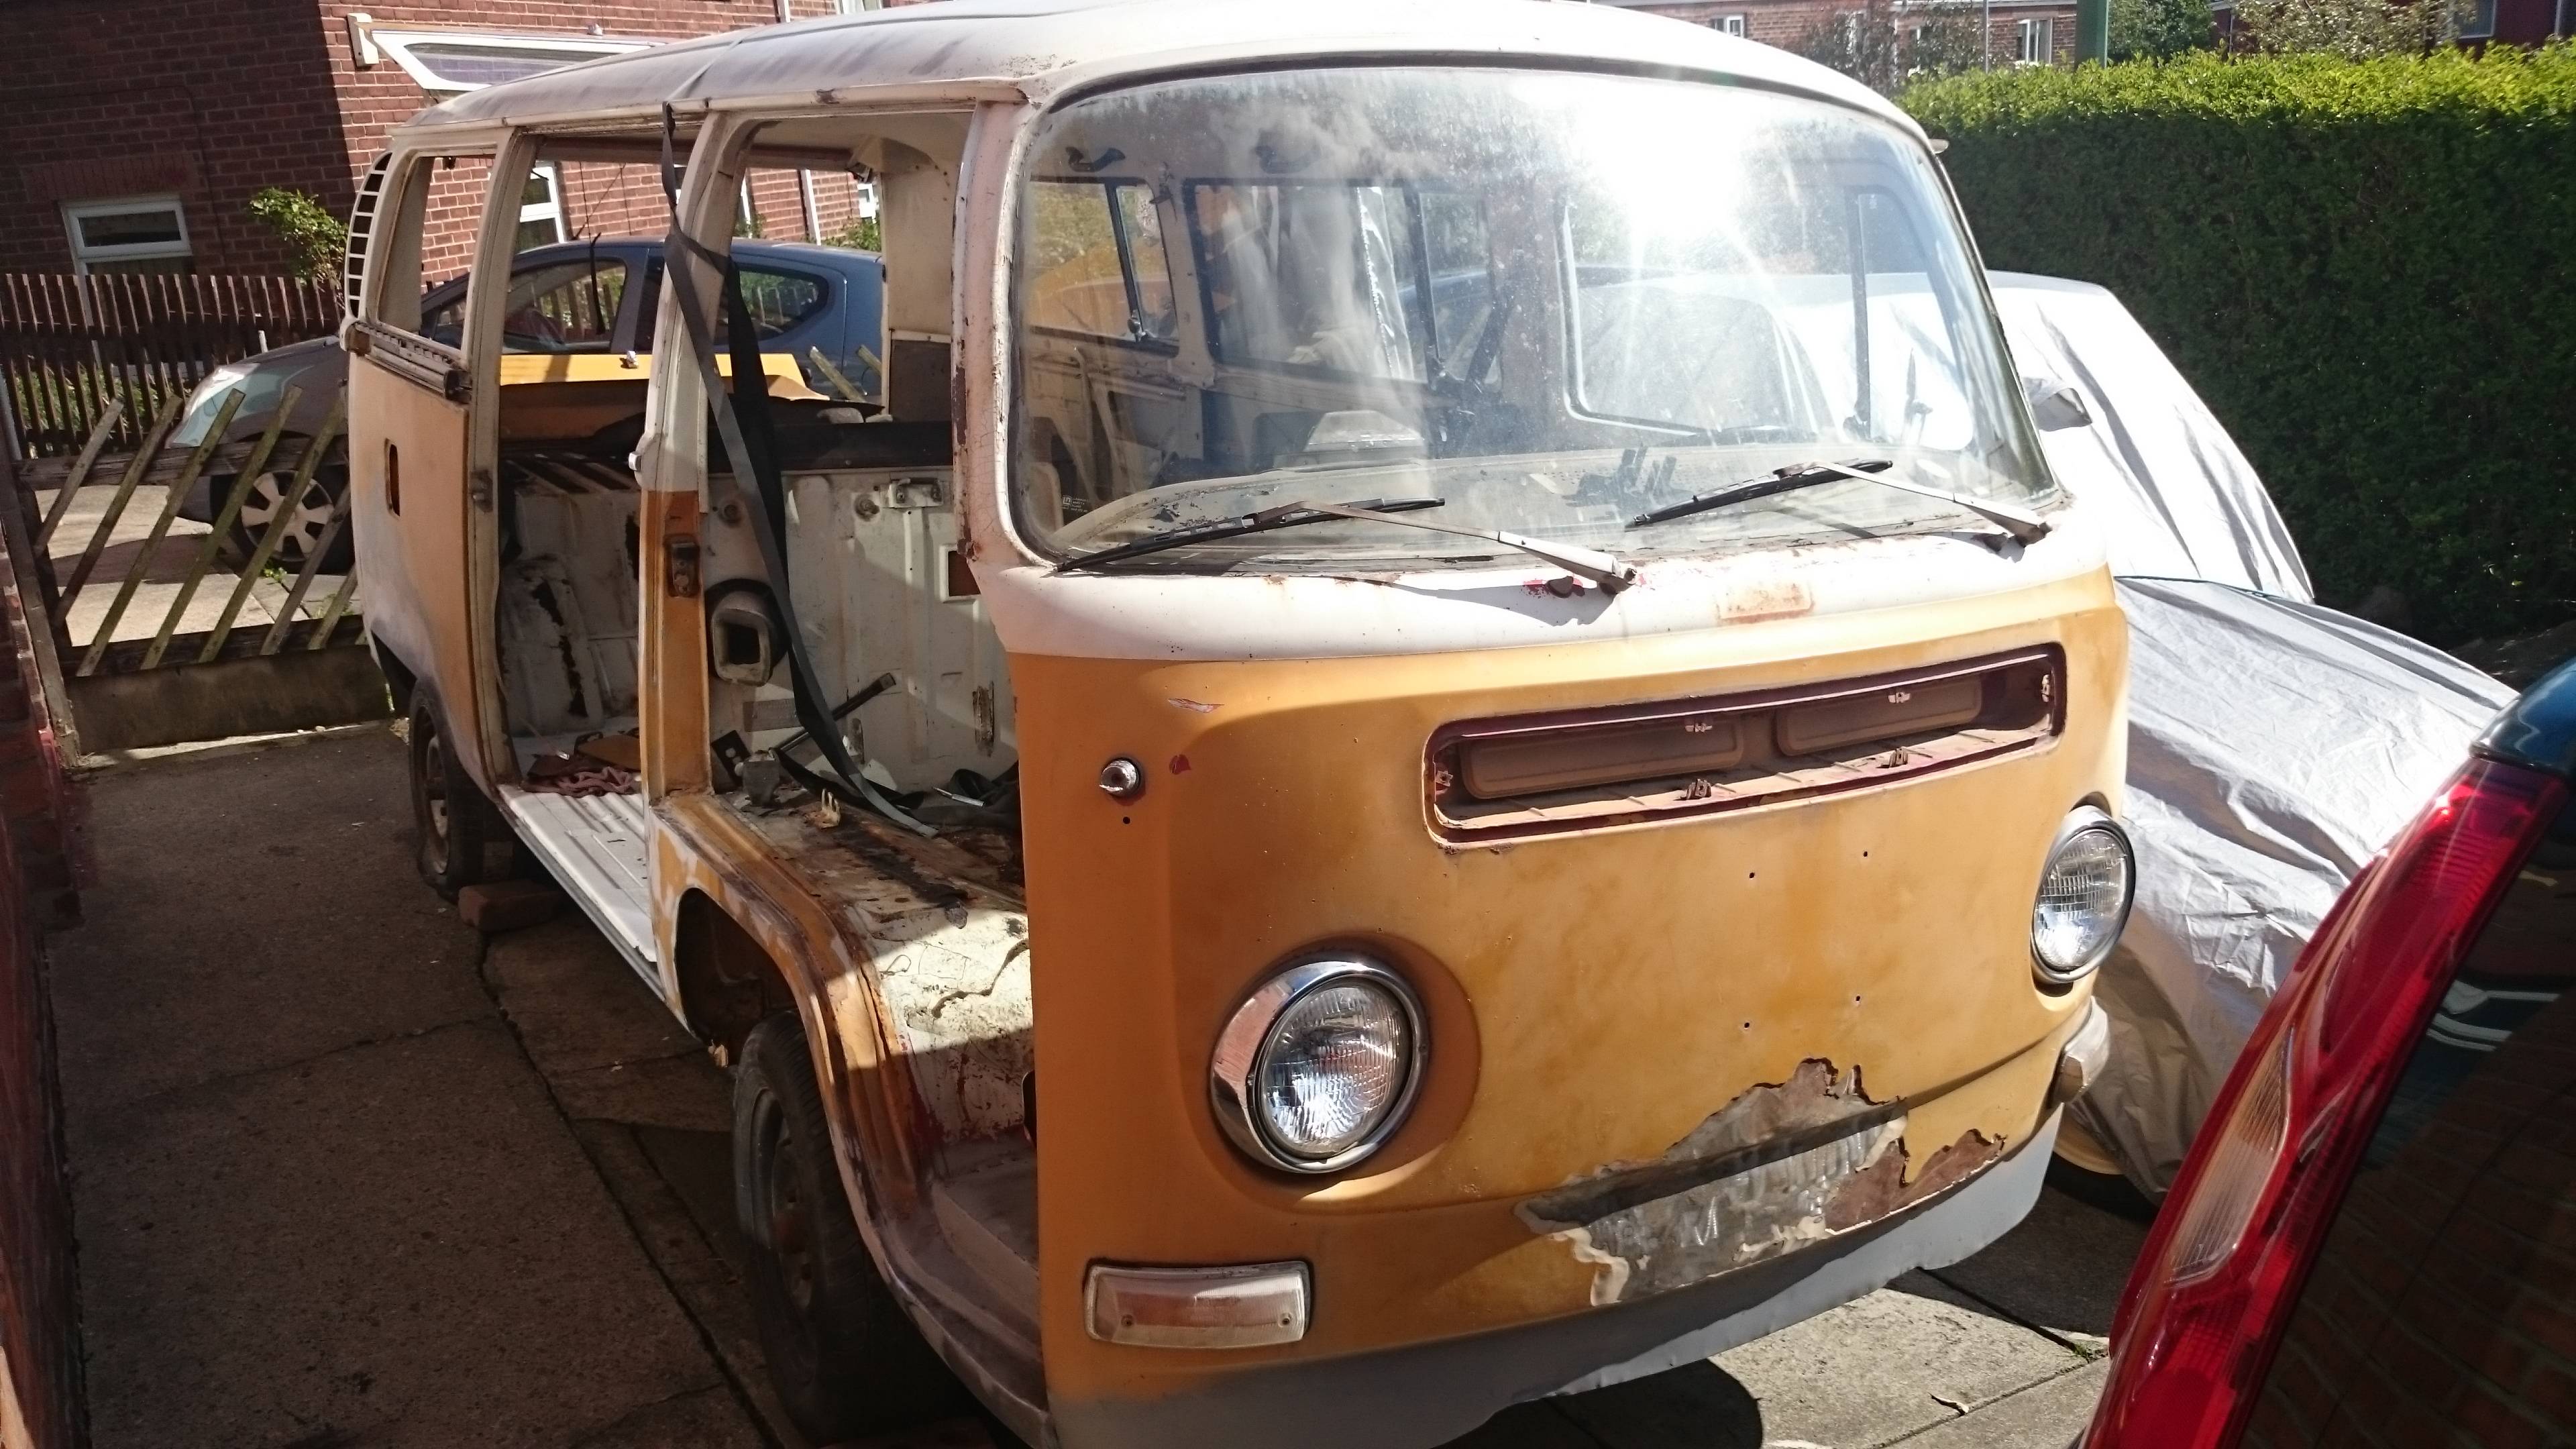
From this in March 2015
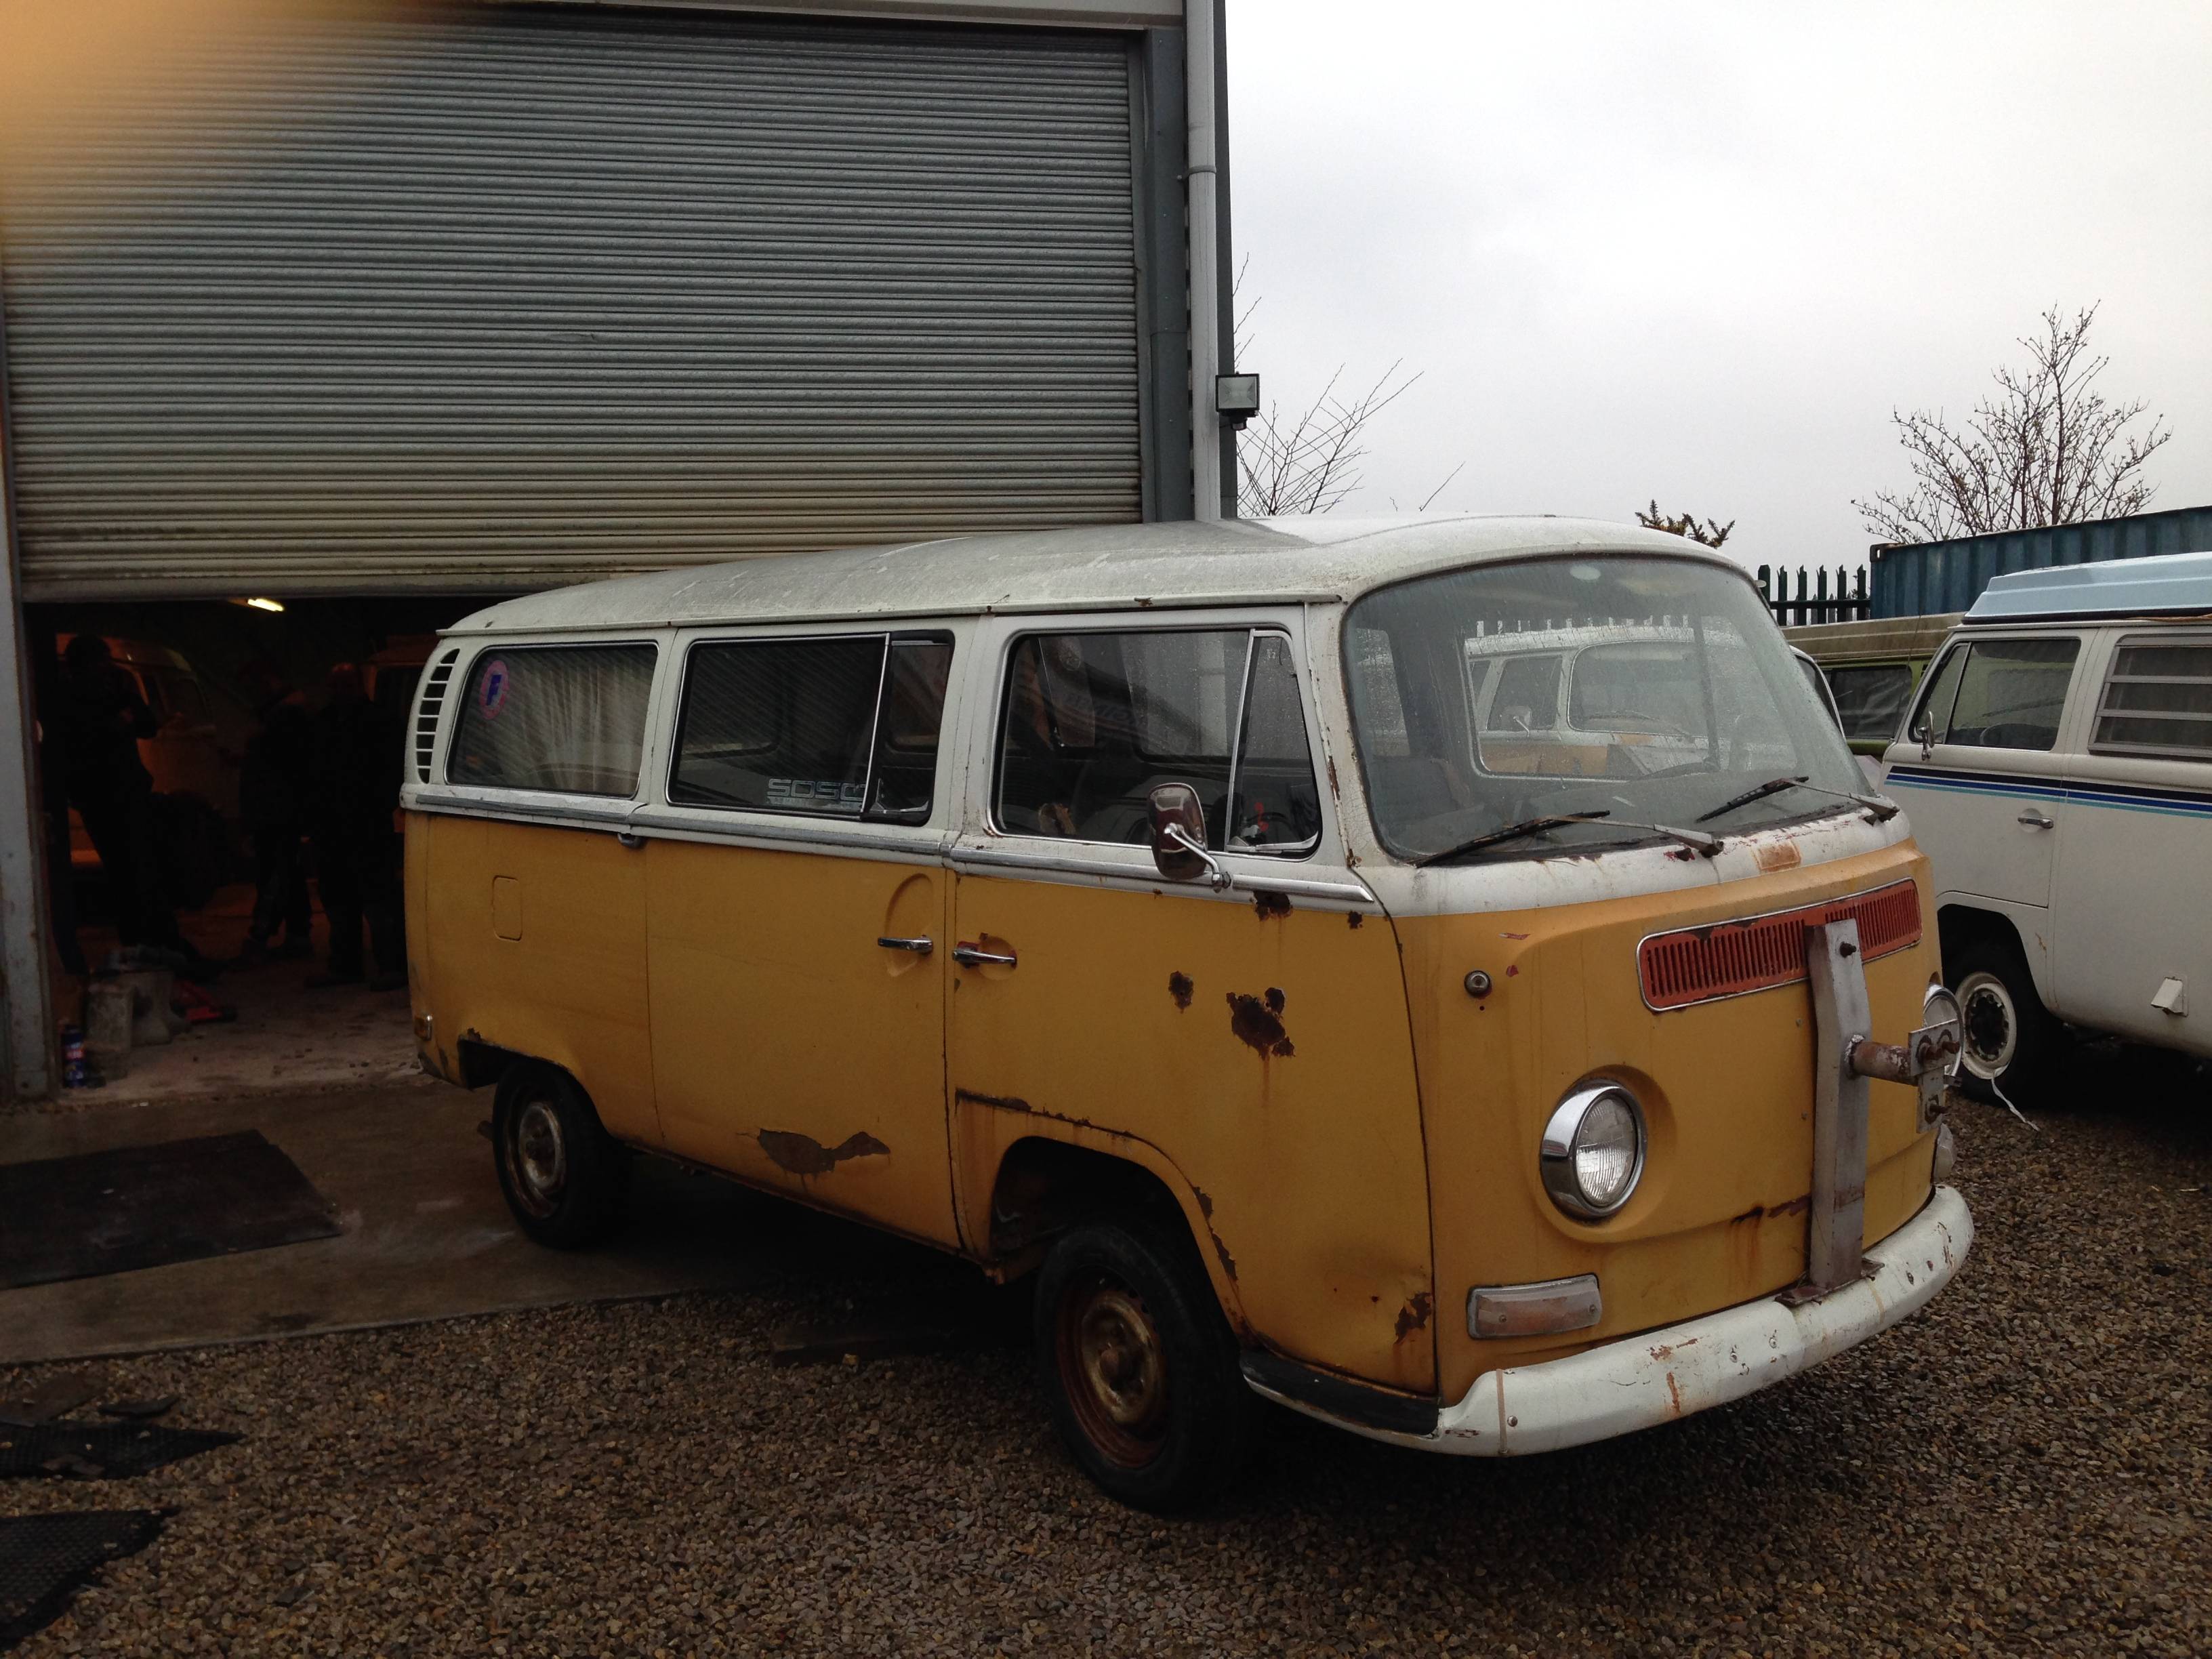
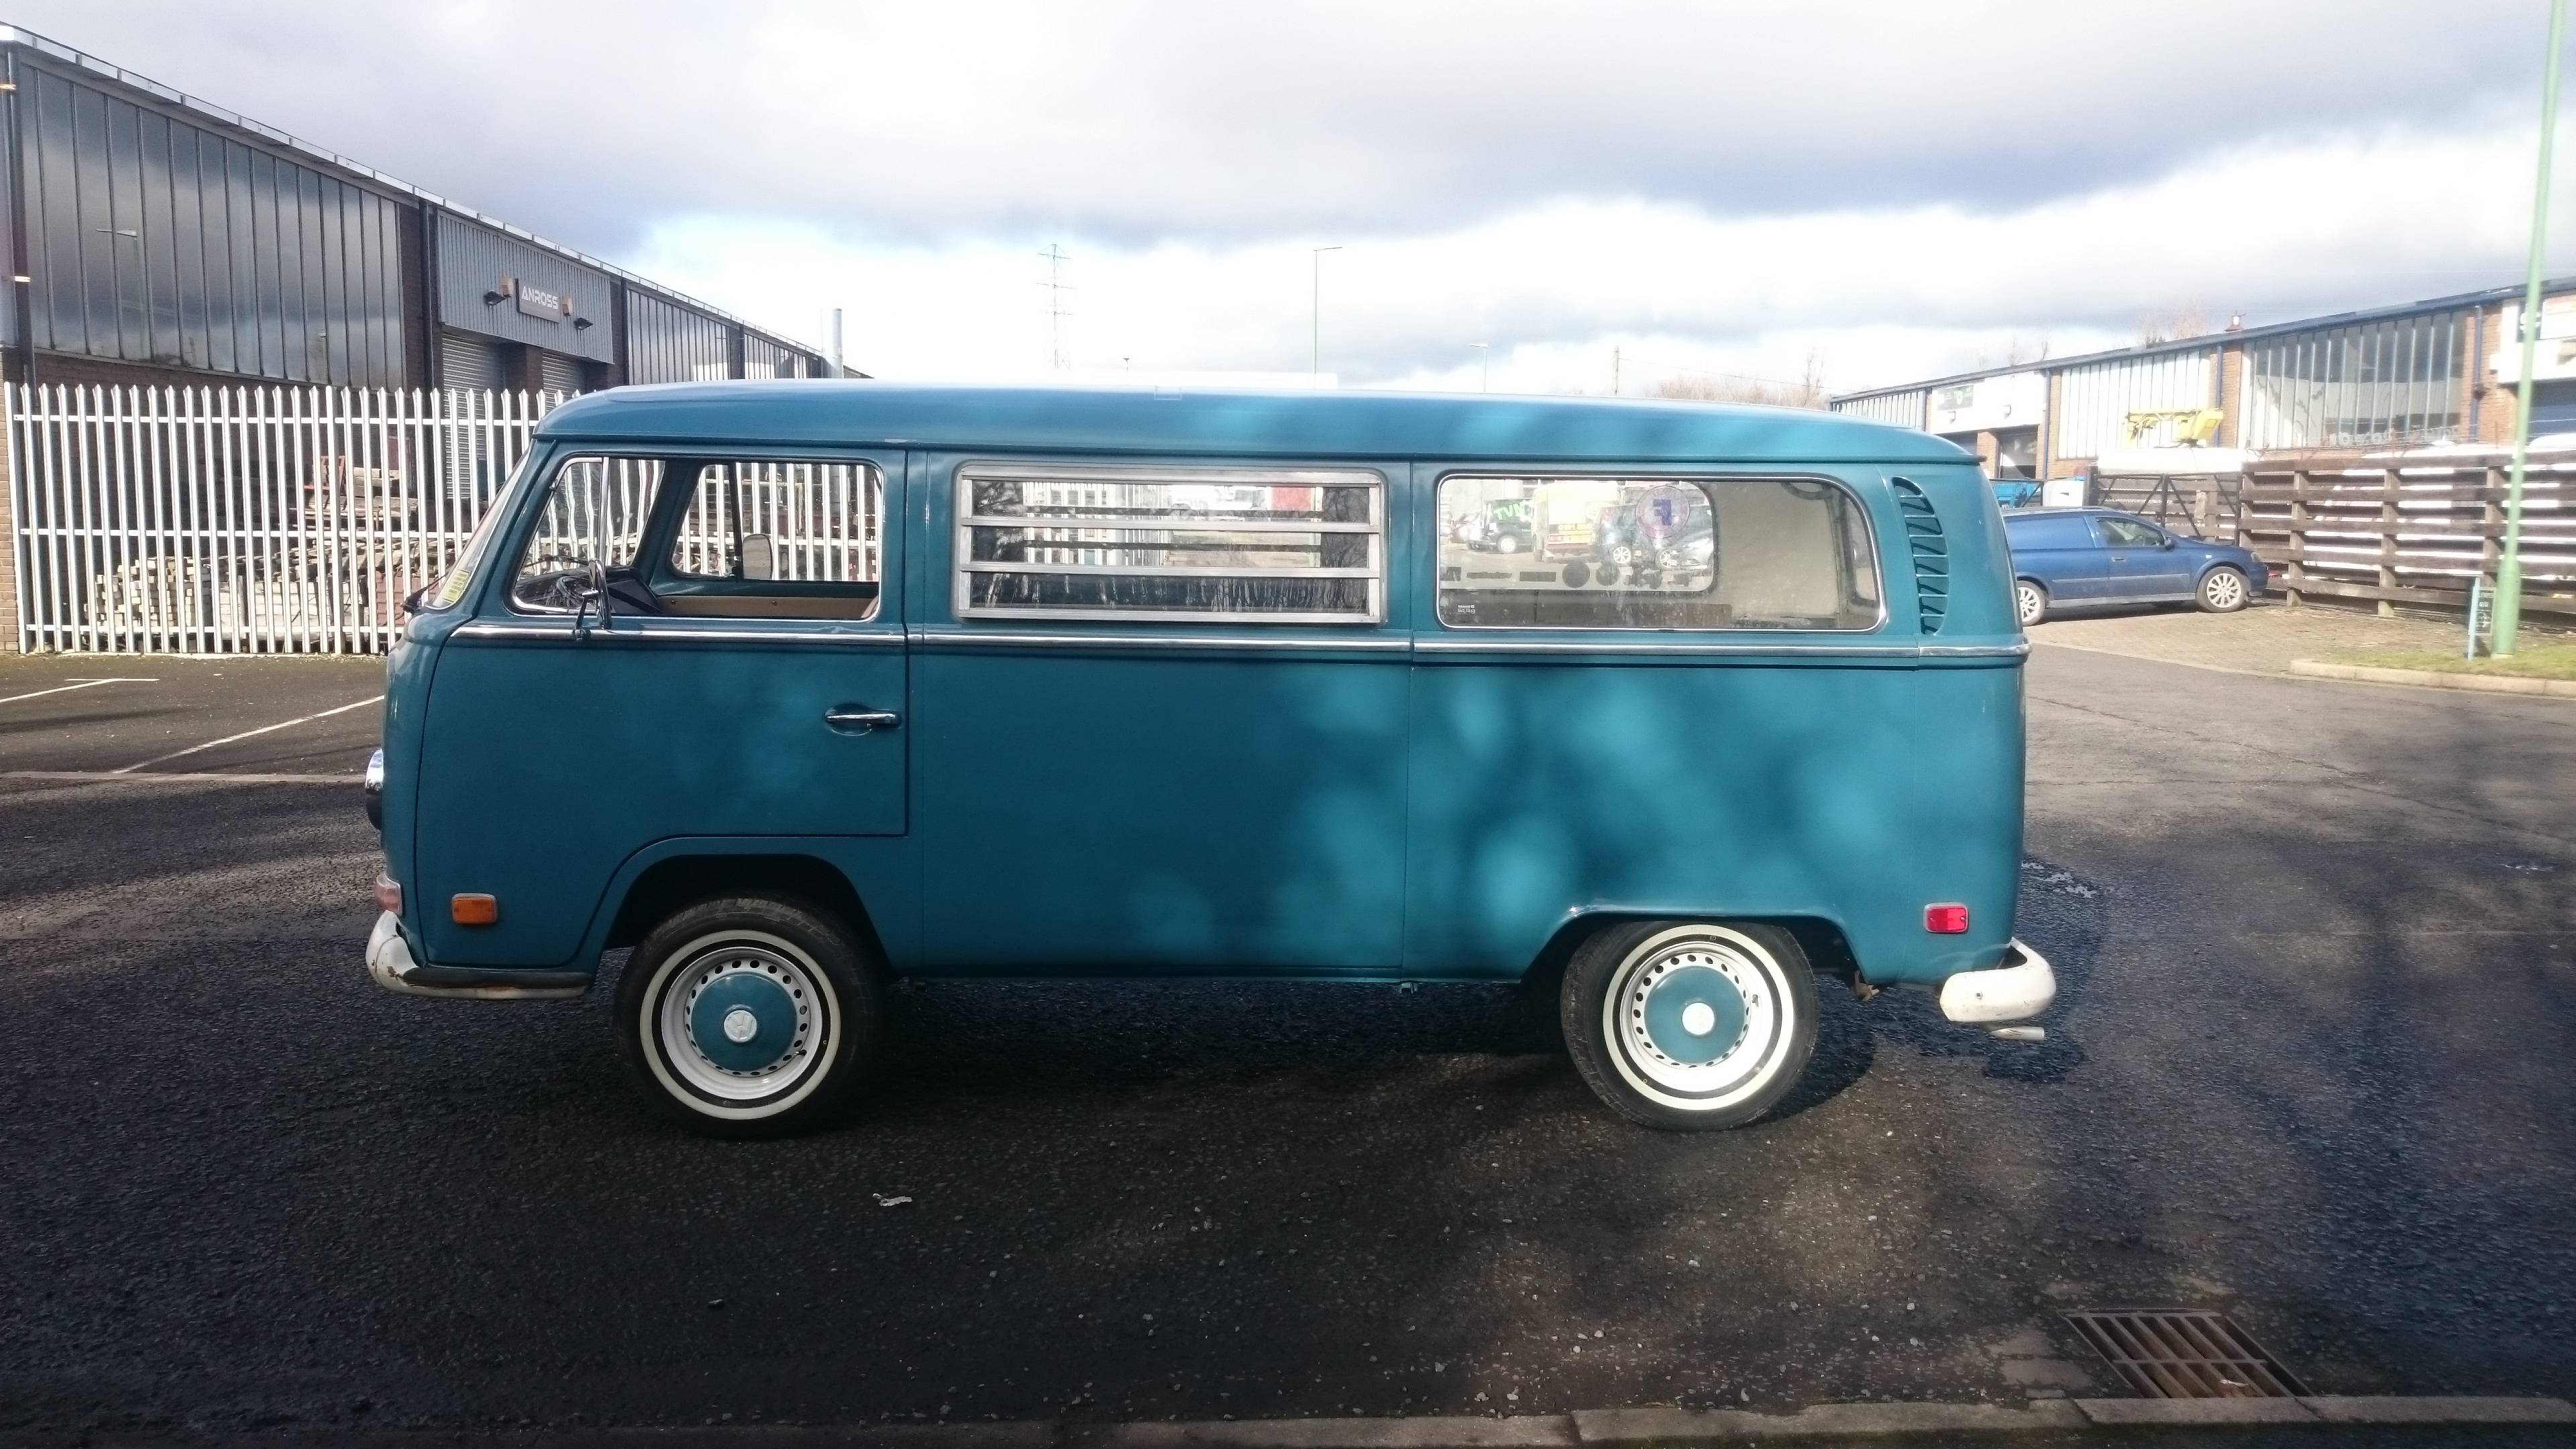
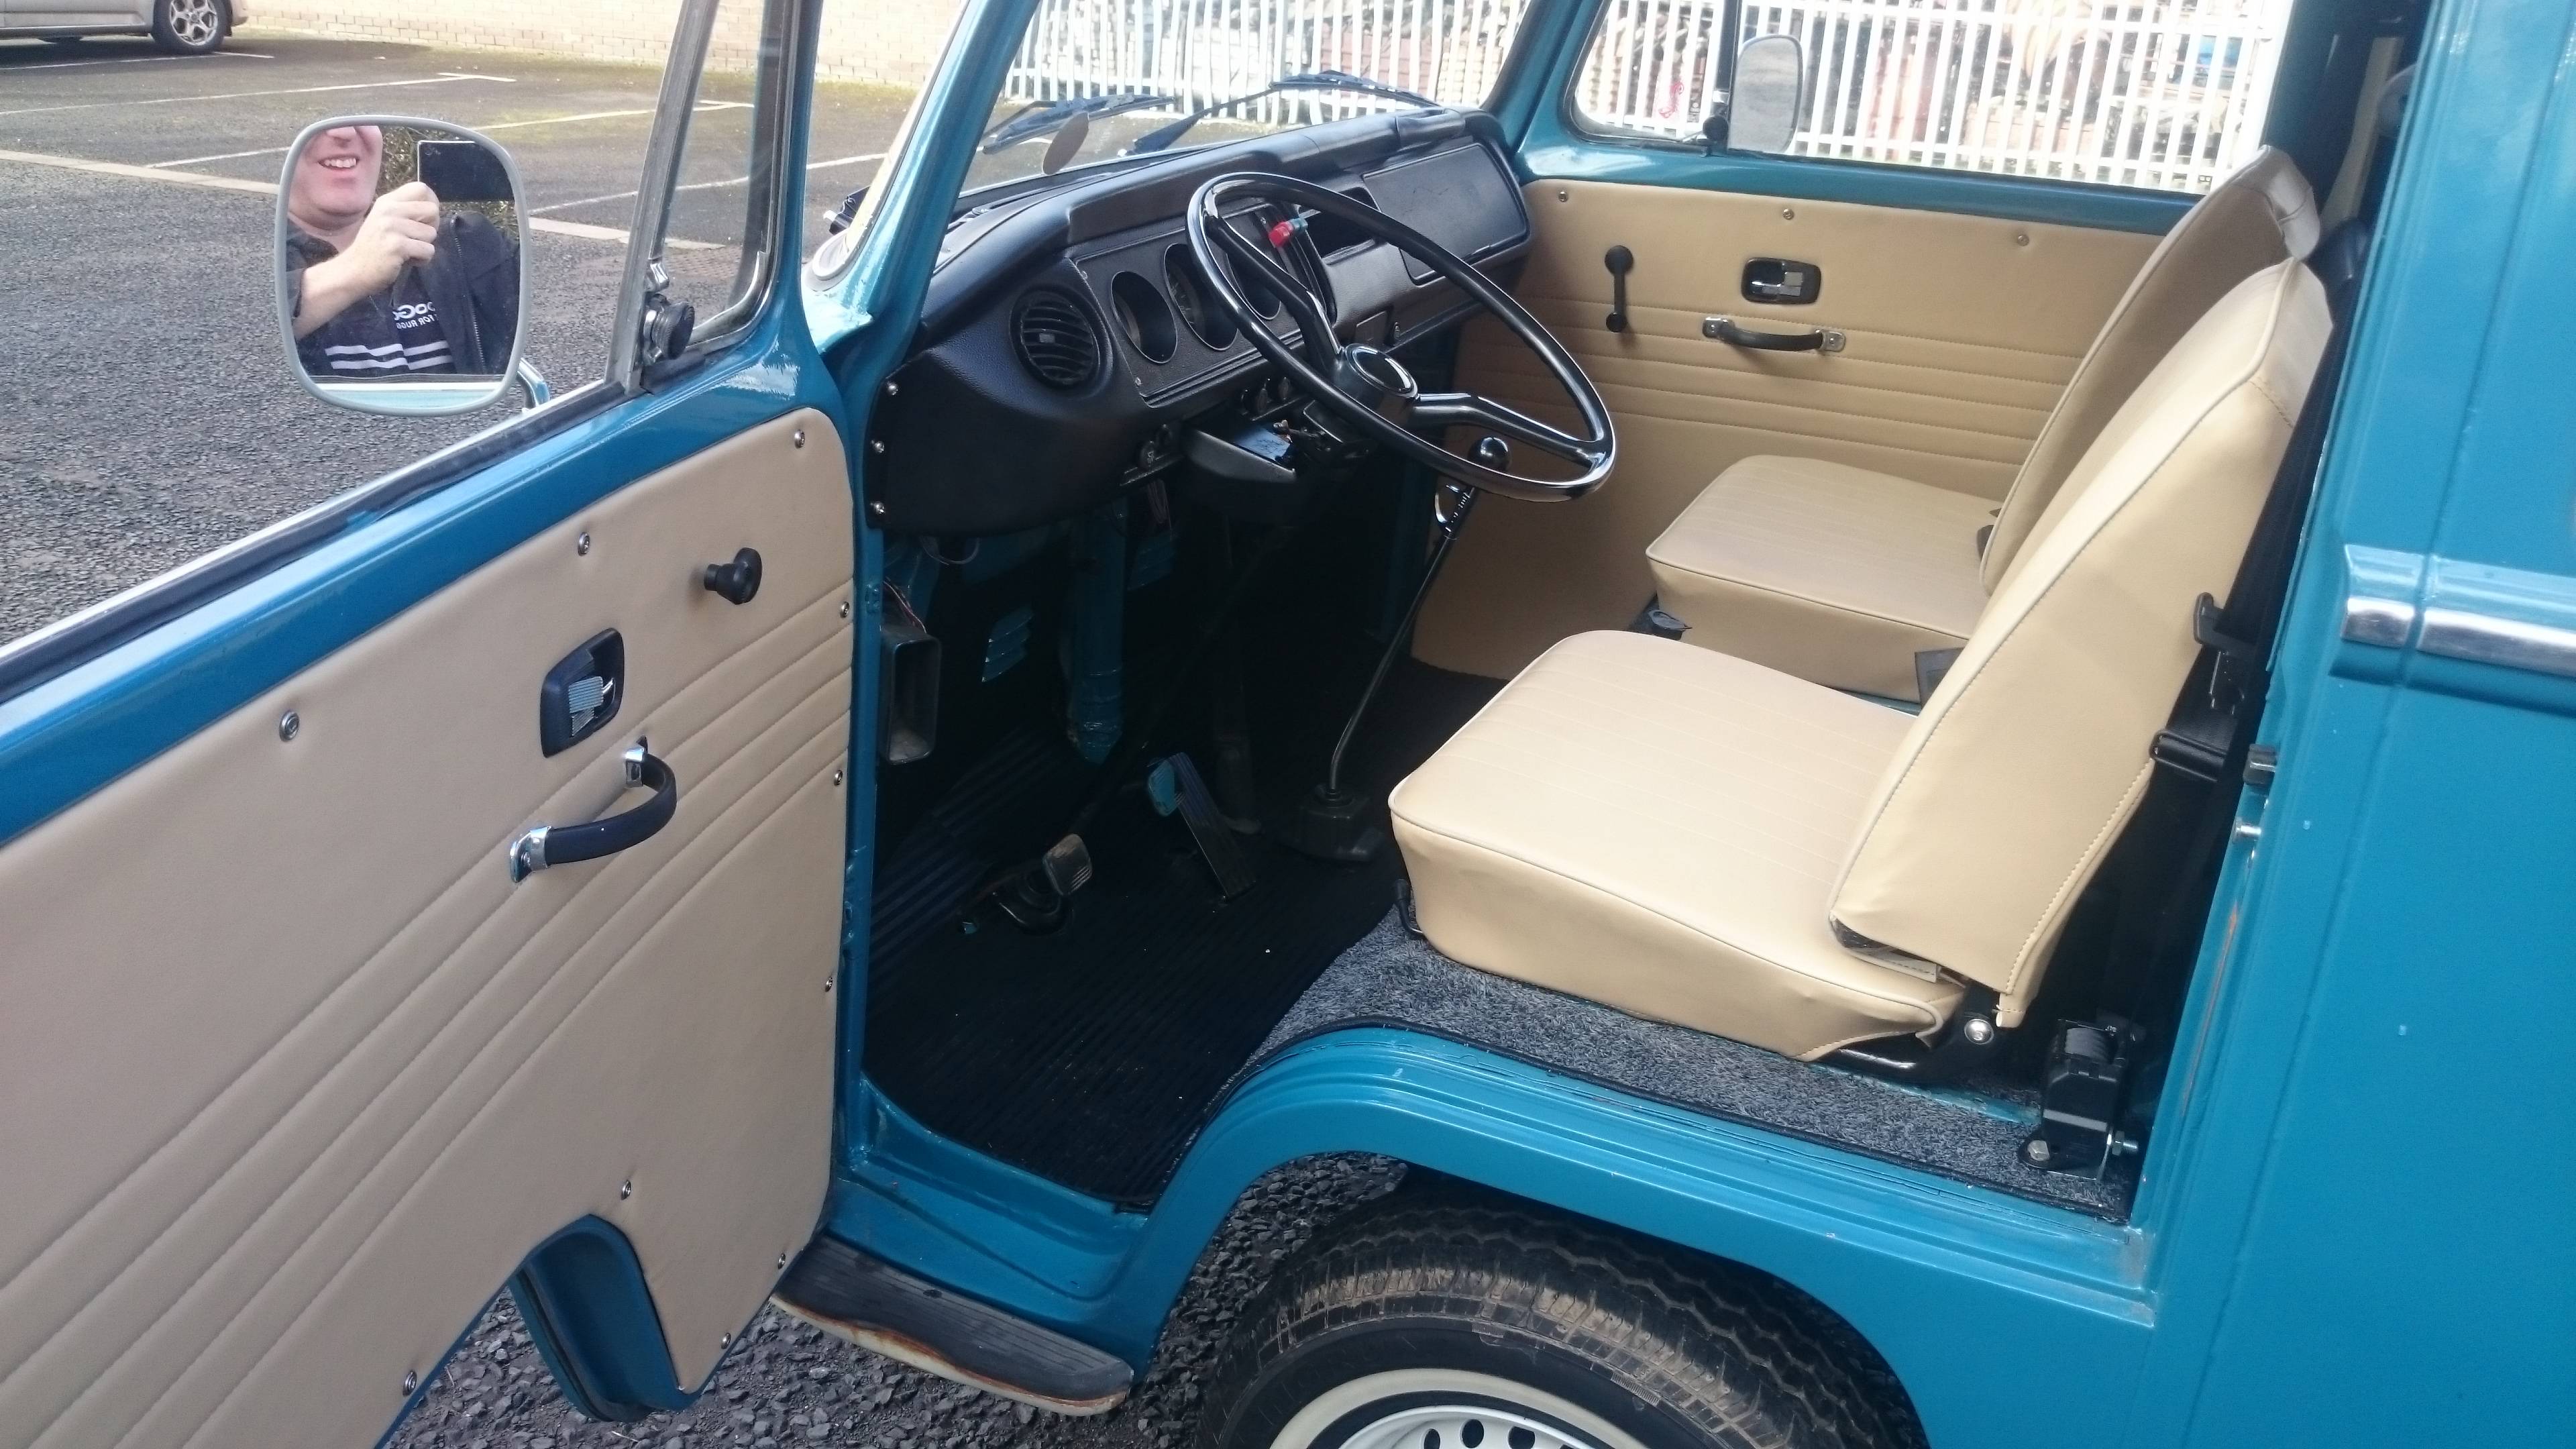
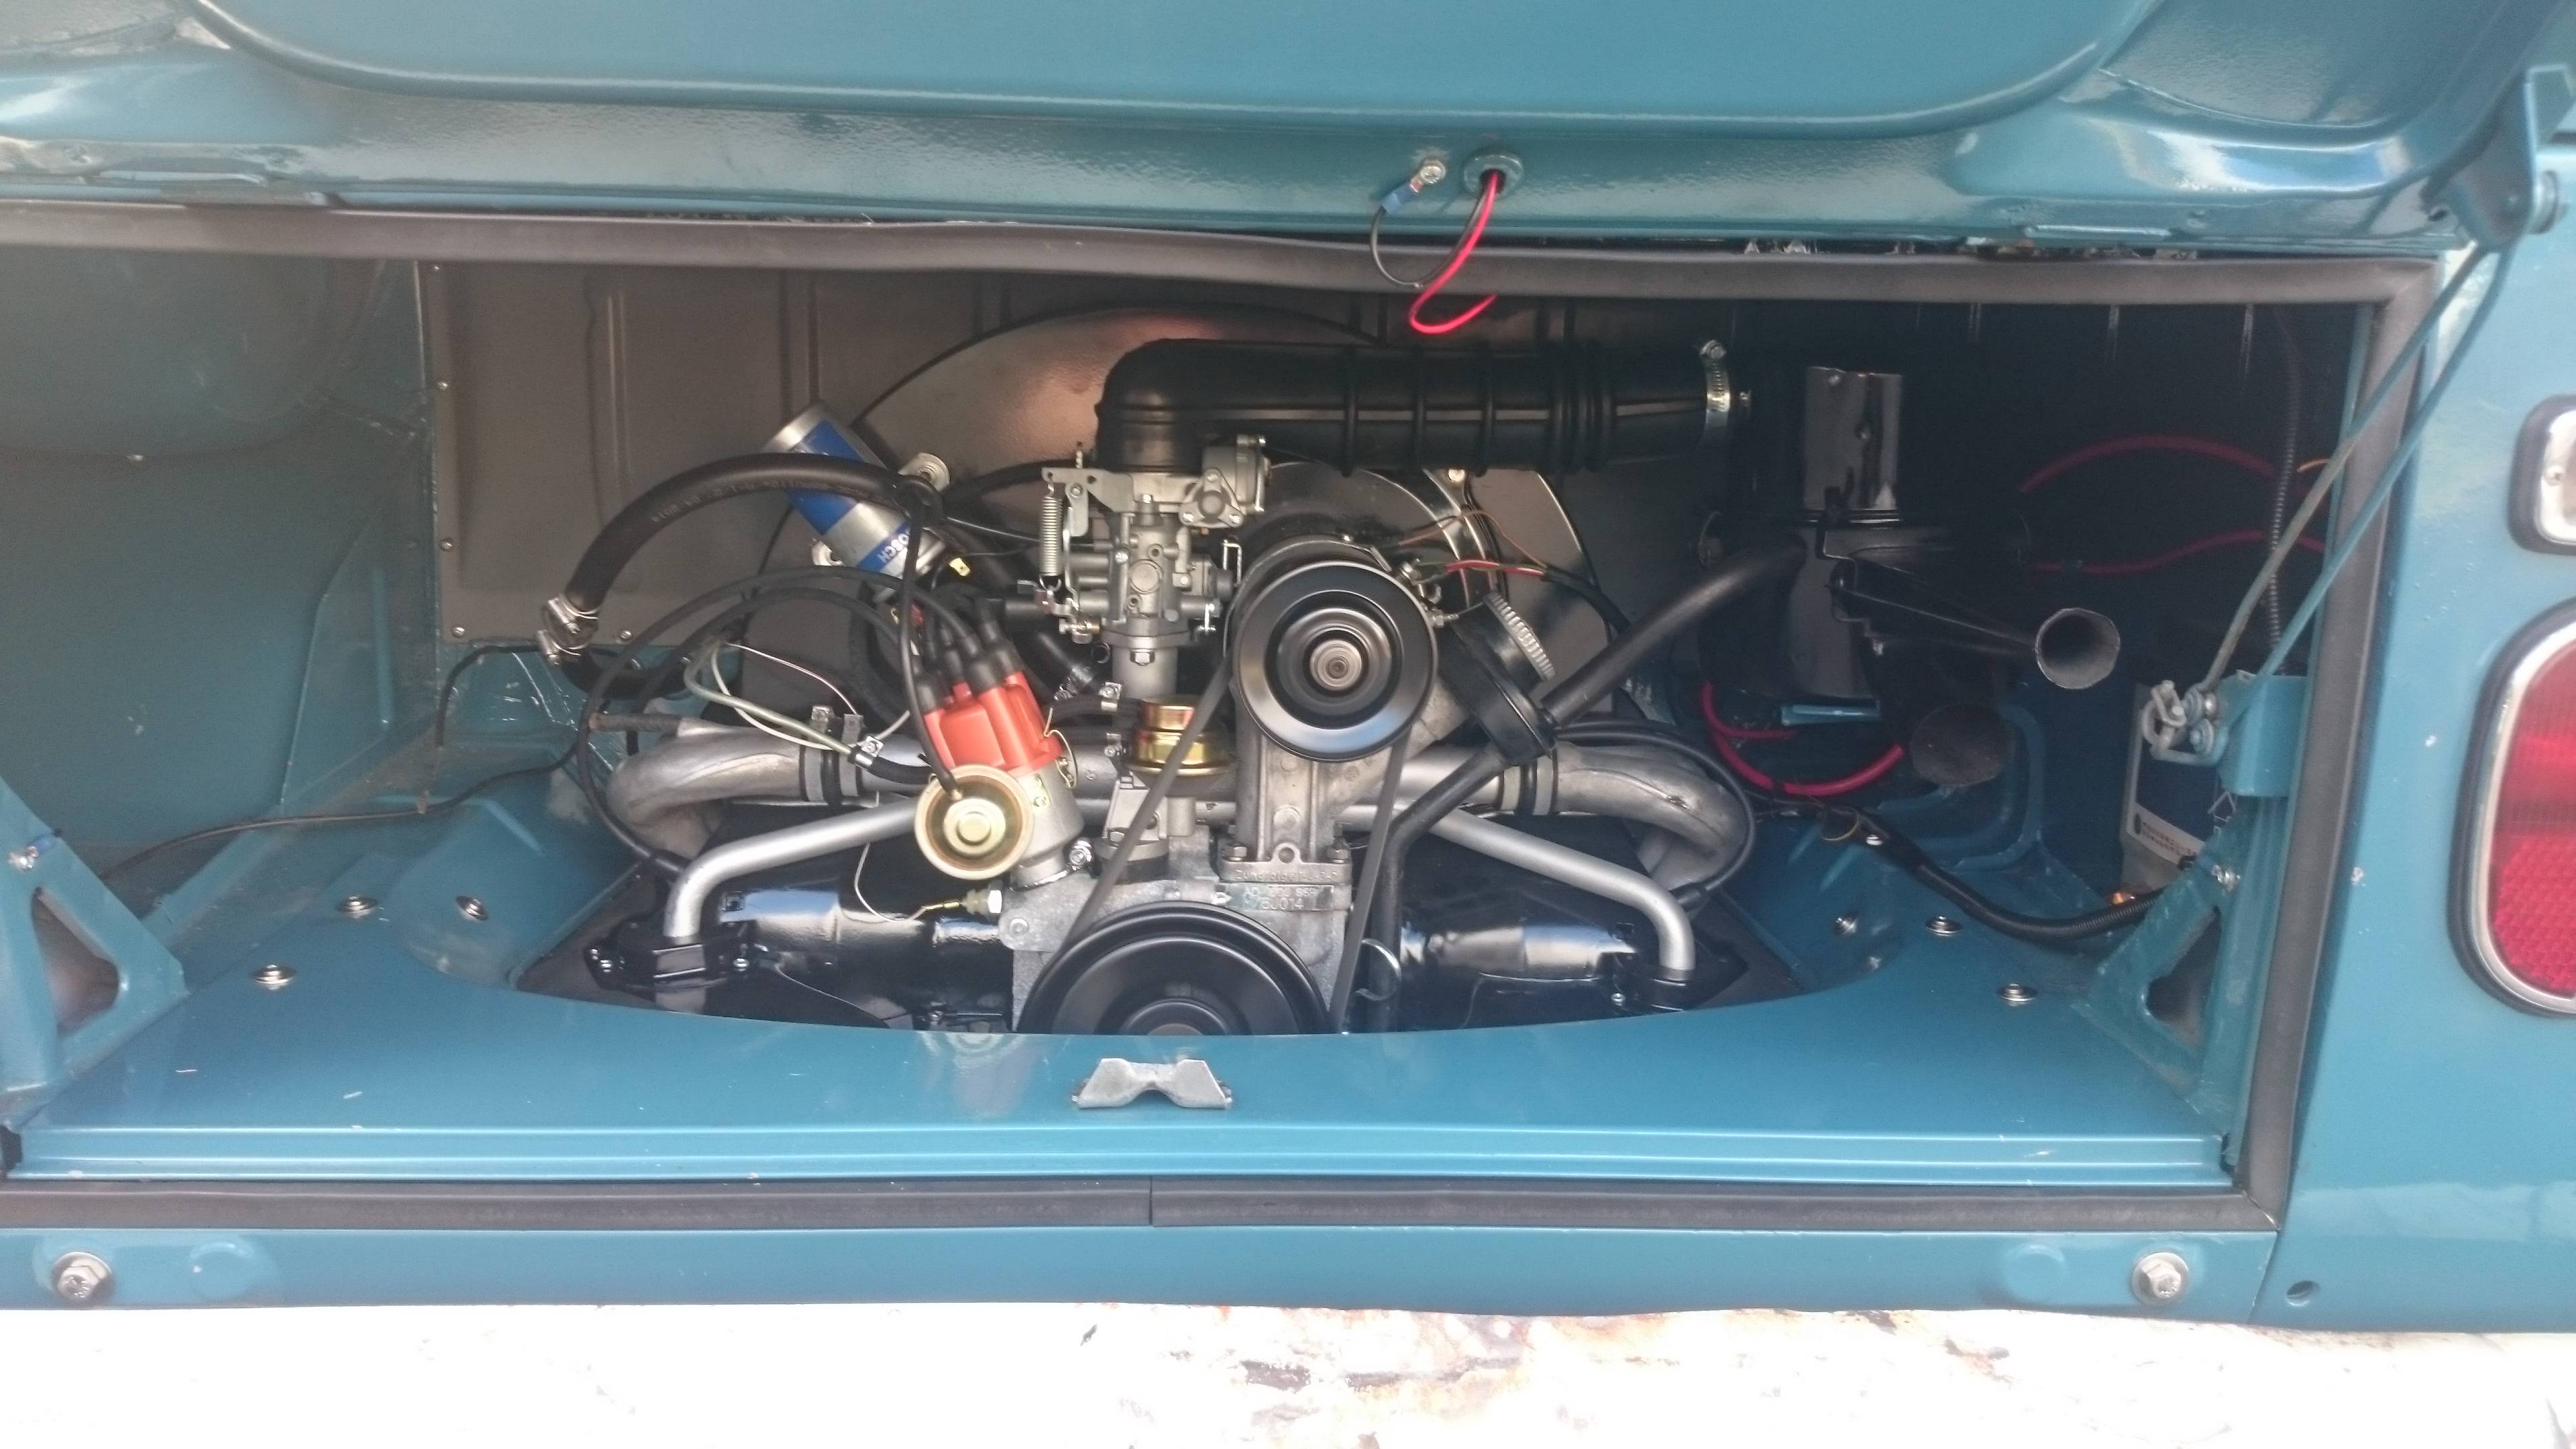
To this in late 2016. Took a while as have a little'un now. Basically body was done on the drive, spent most money on running gear. Except the timing, done everything myself. Sprayed it in rustoleum so looks crap close up but its all Neptune blue so I'm happy.
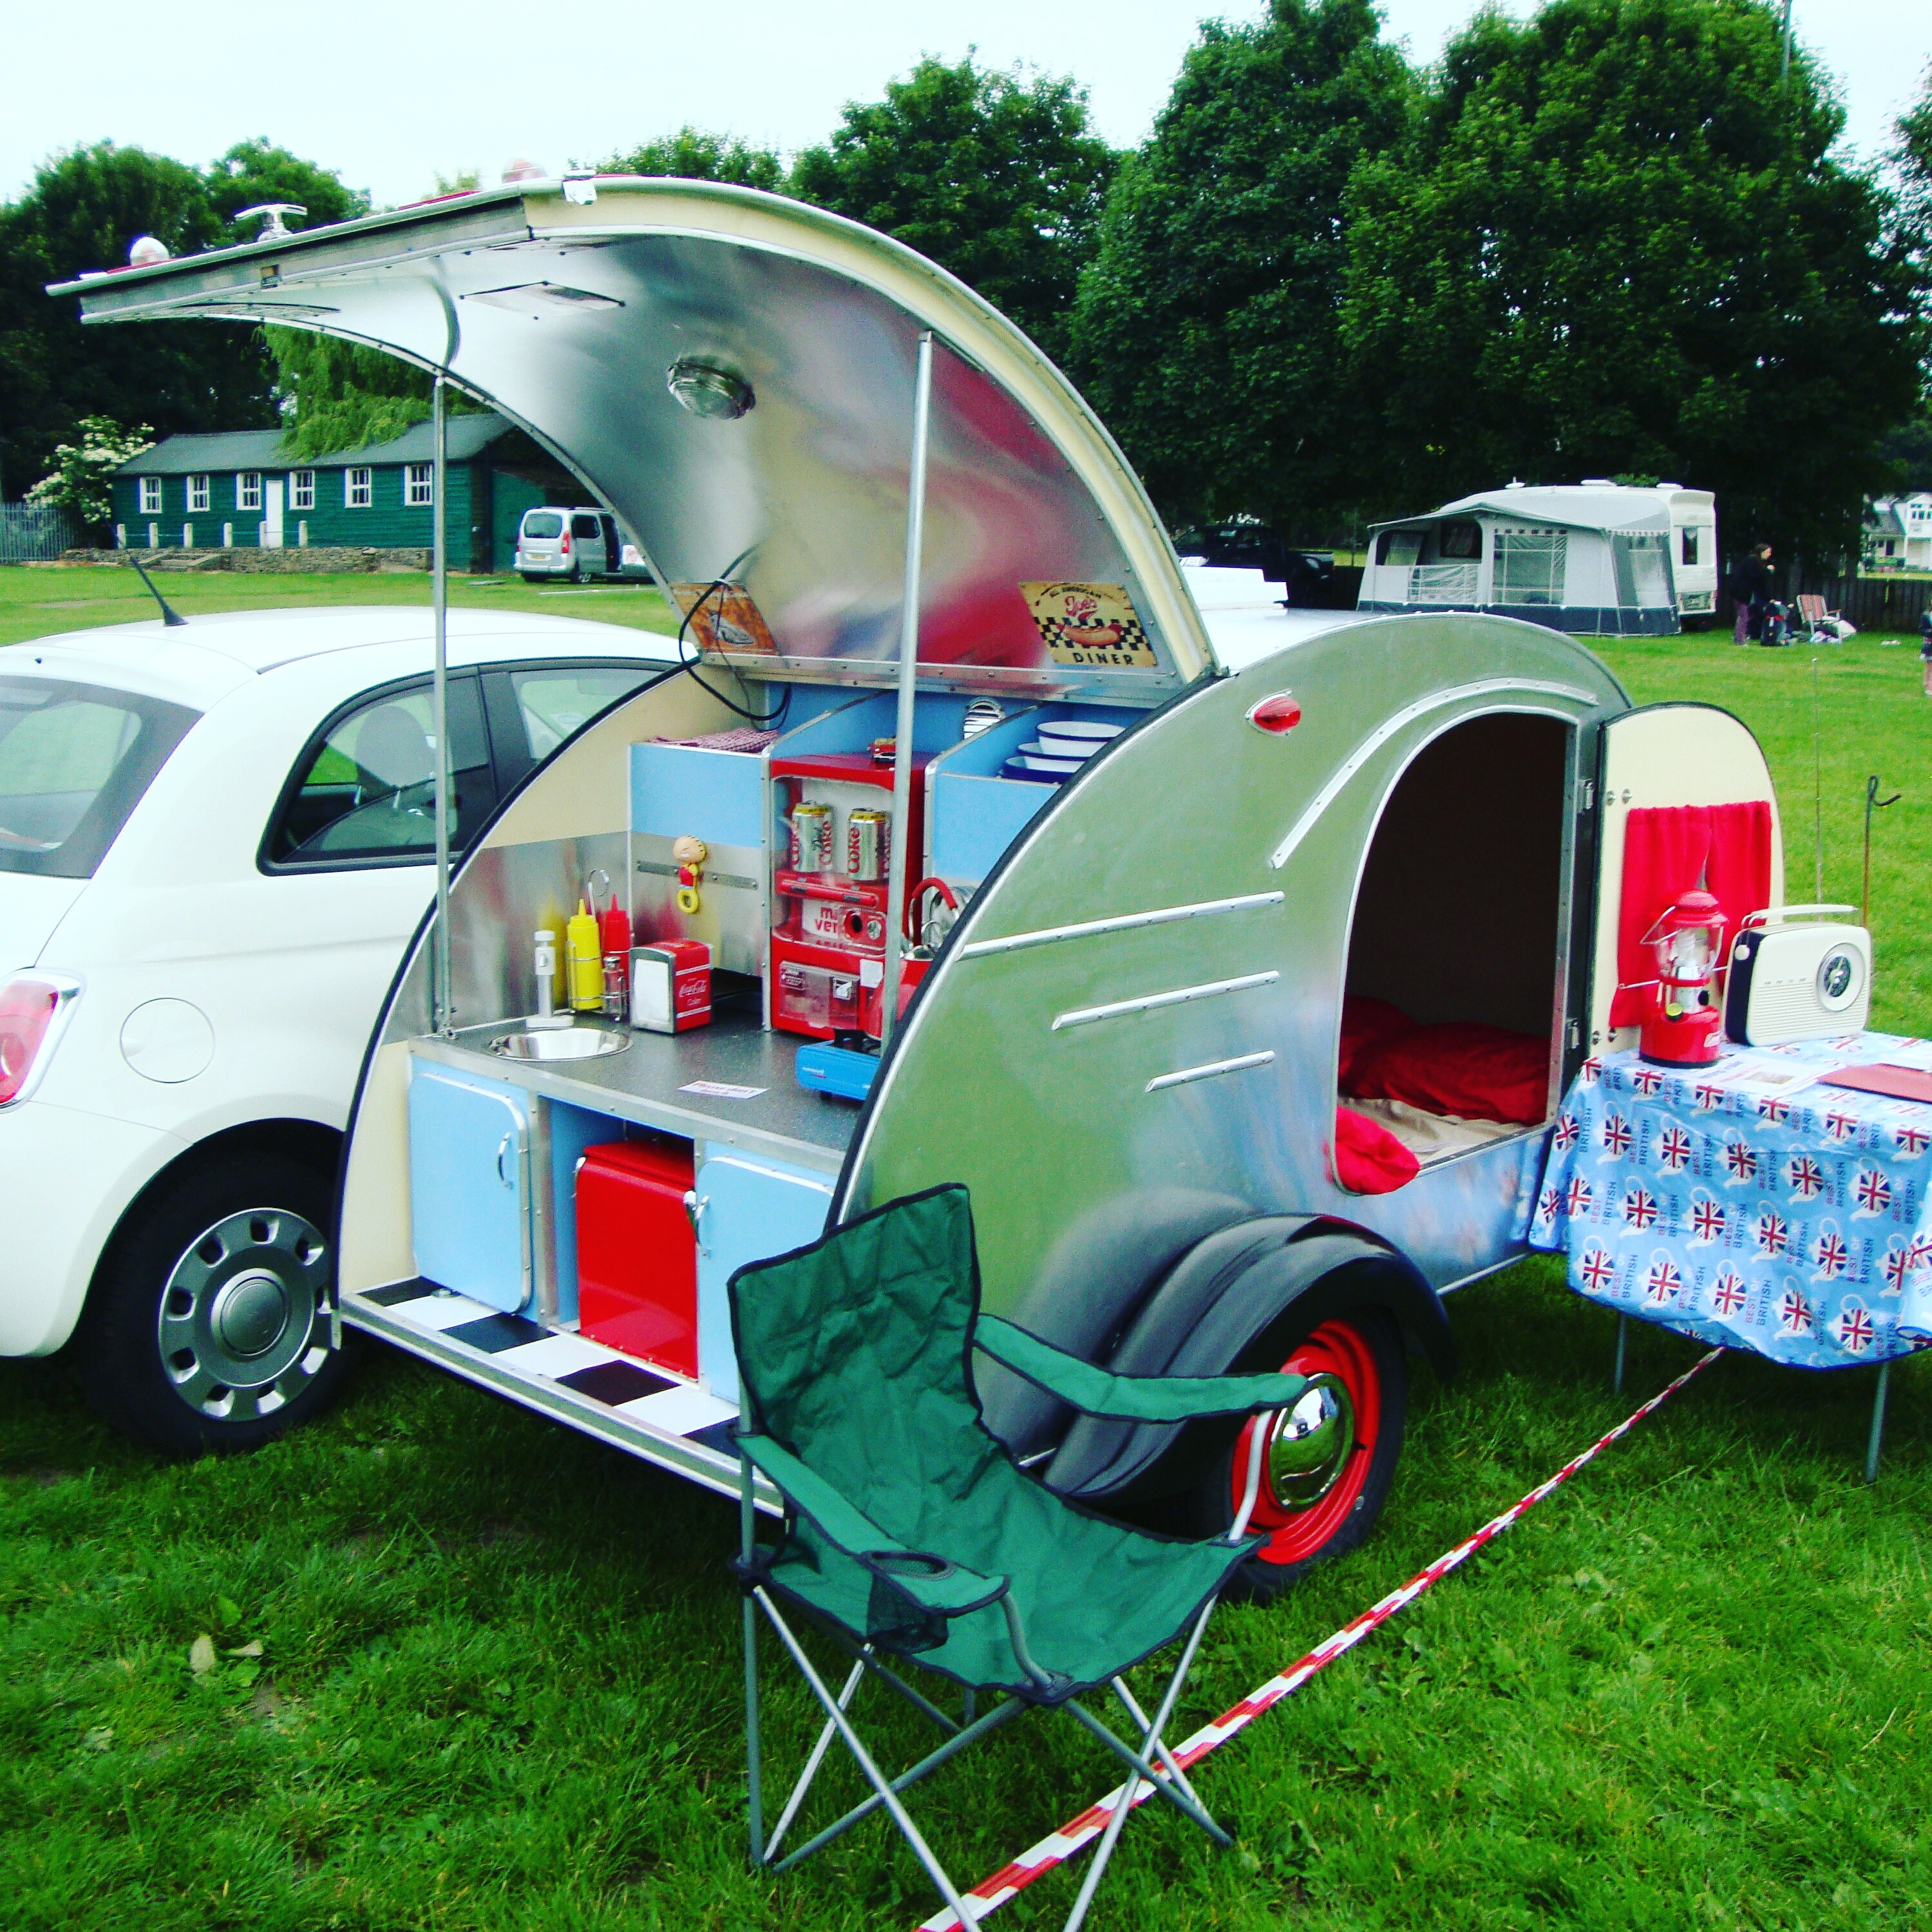
This will cover the next couple of months making a sundial-inspired interior on the cheap.
Heres a 3-day update
OK so after de-mechanising the shed, ive turned it back into a woodworking shed for the van interior
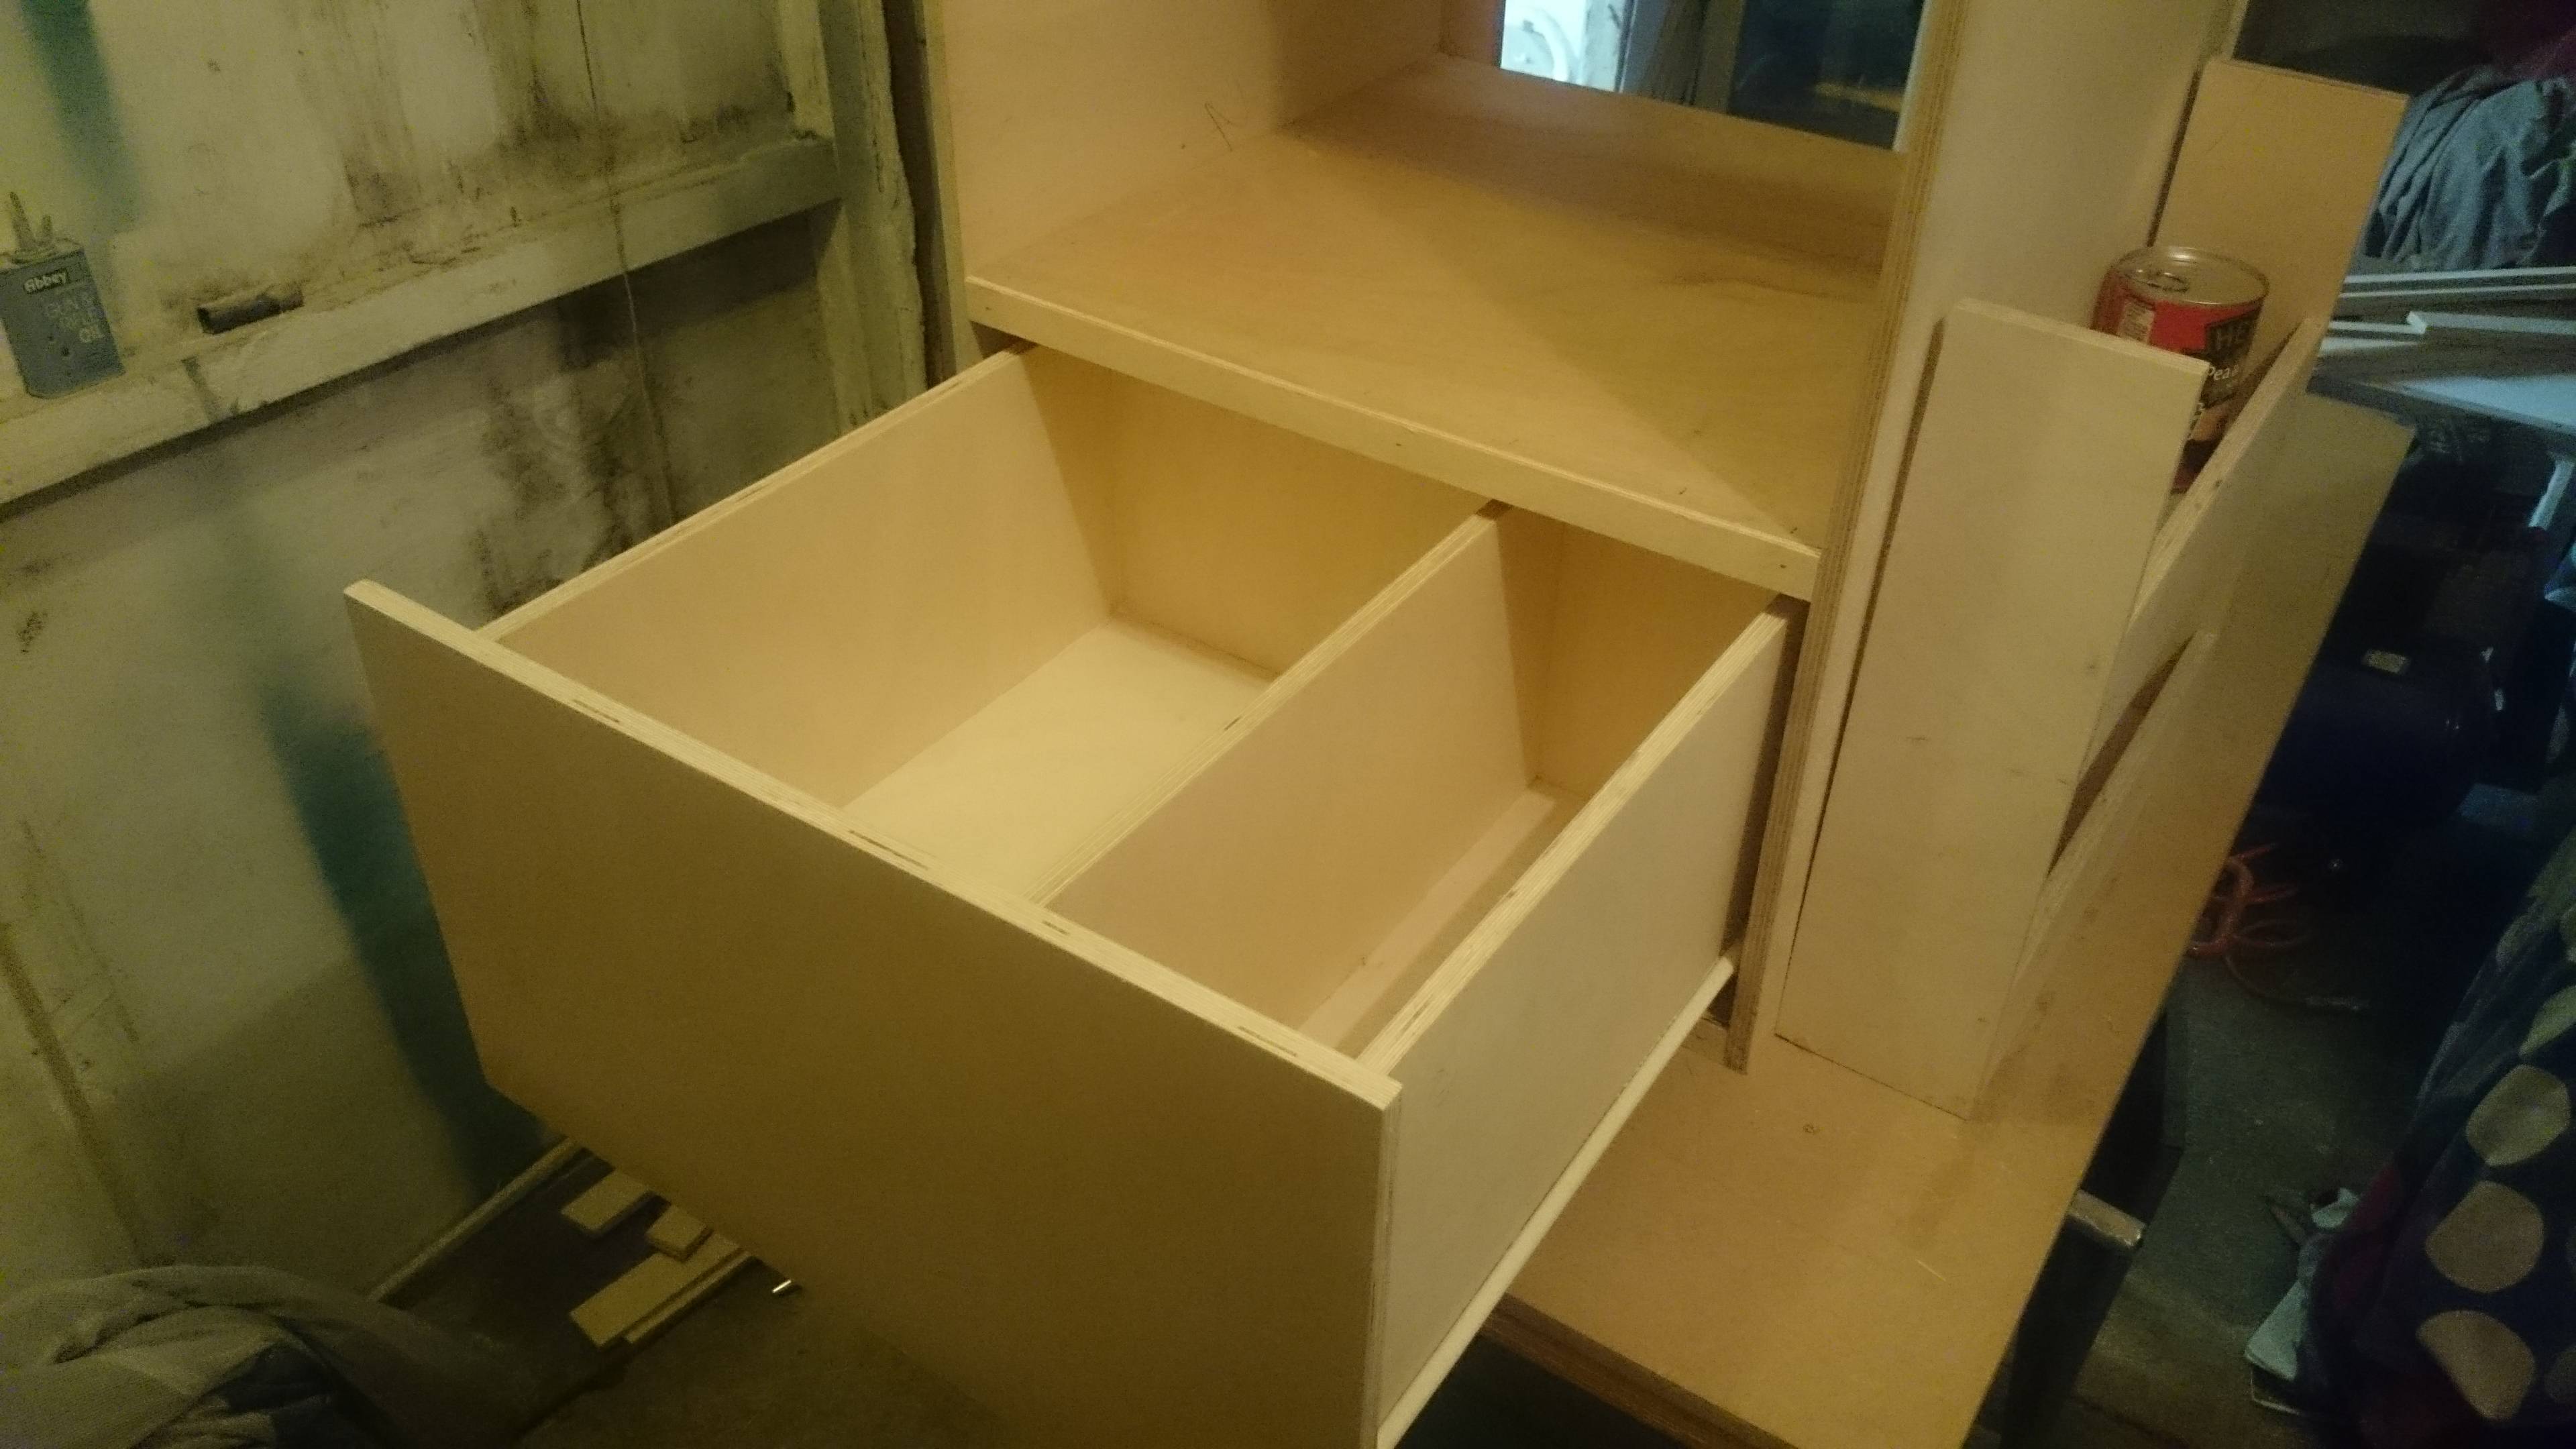
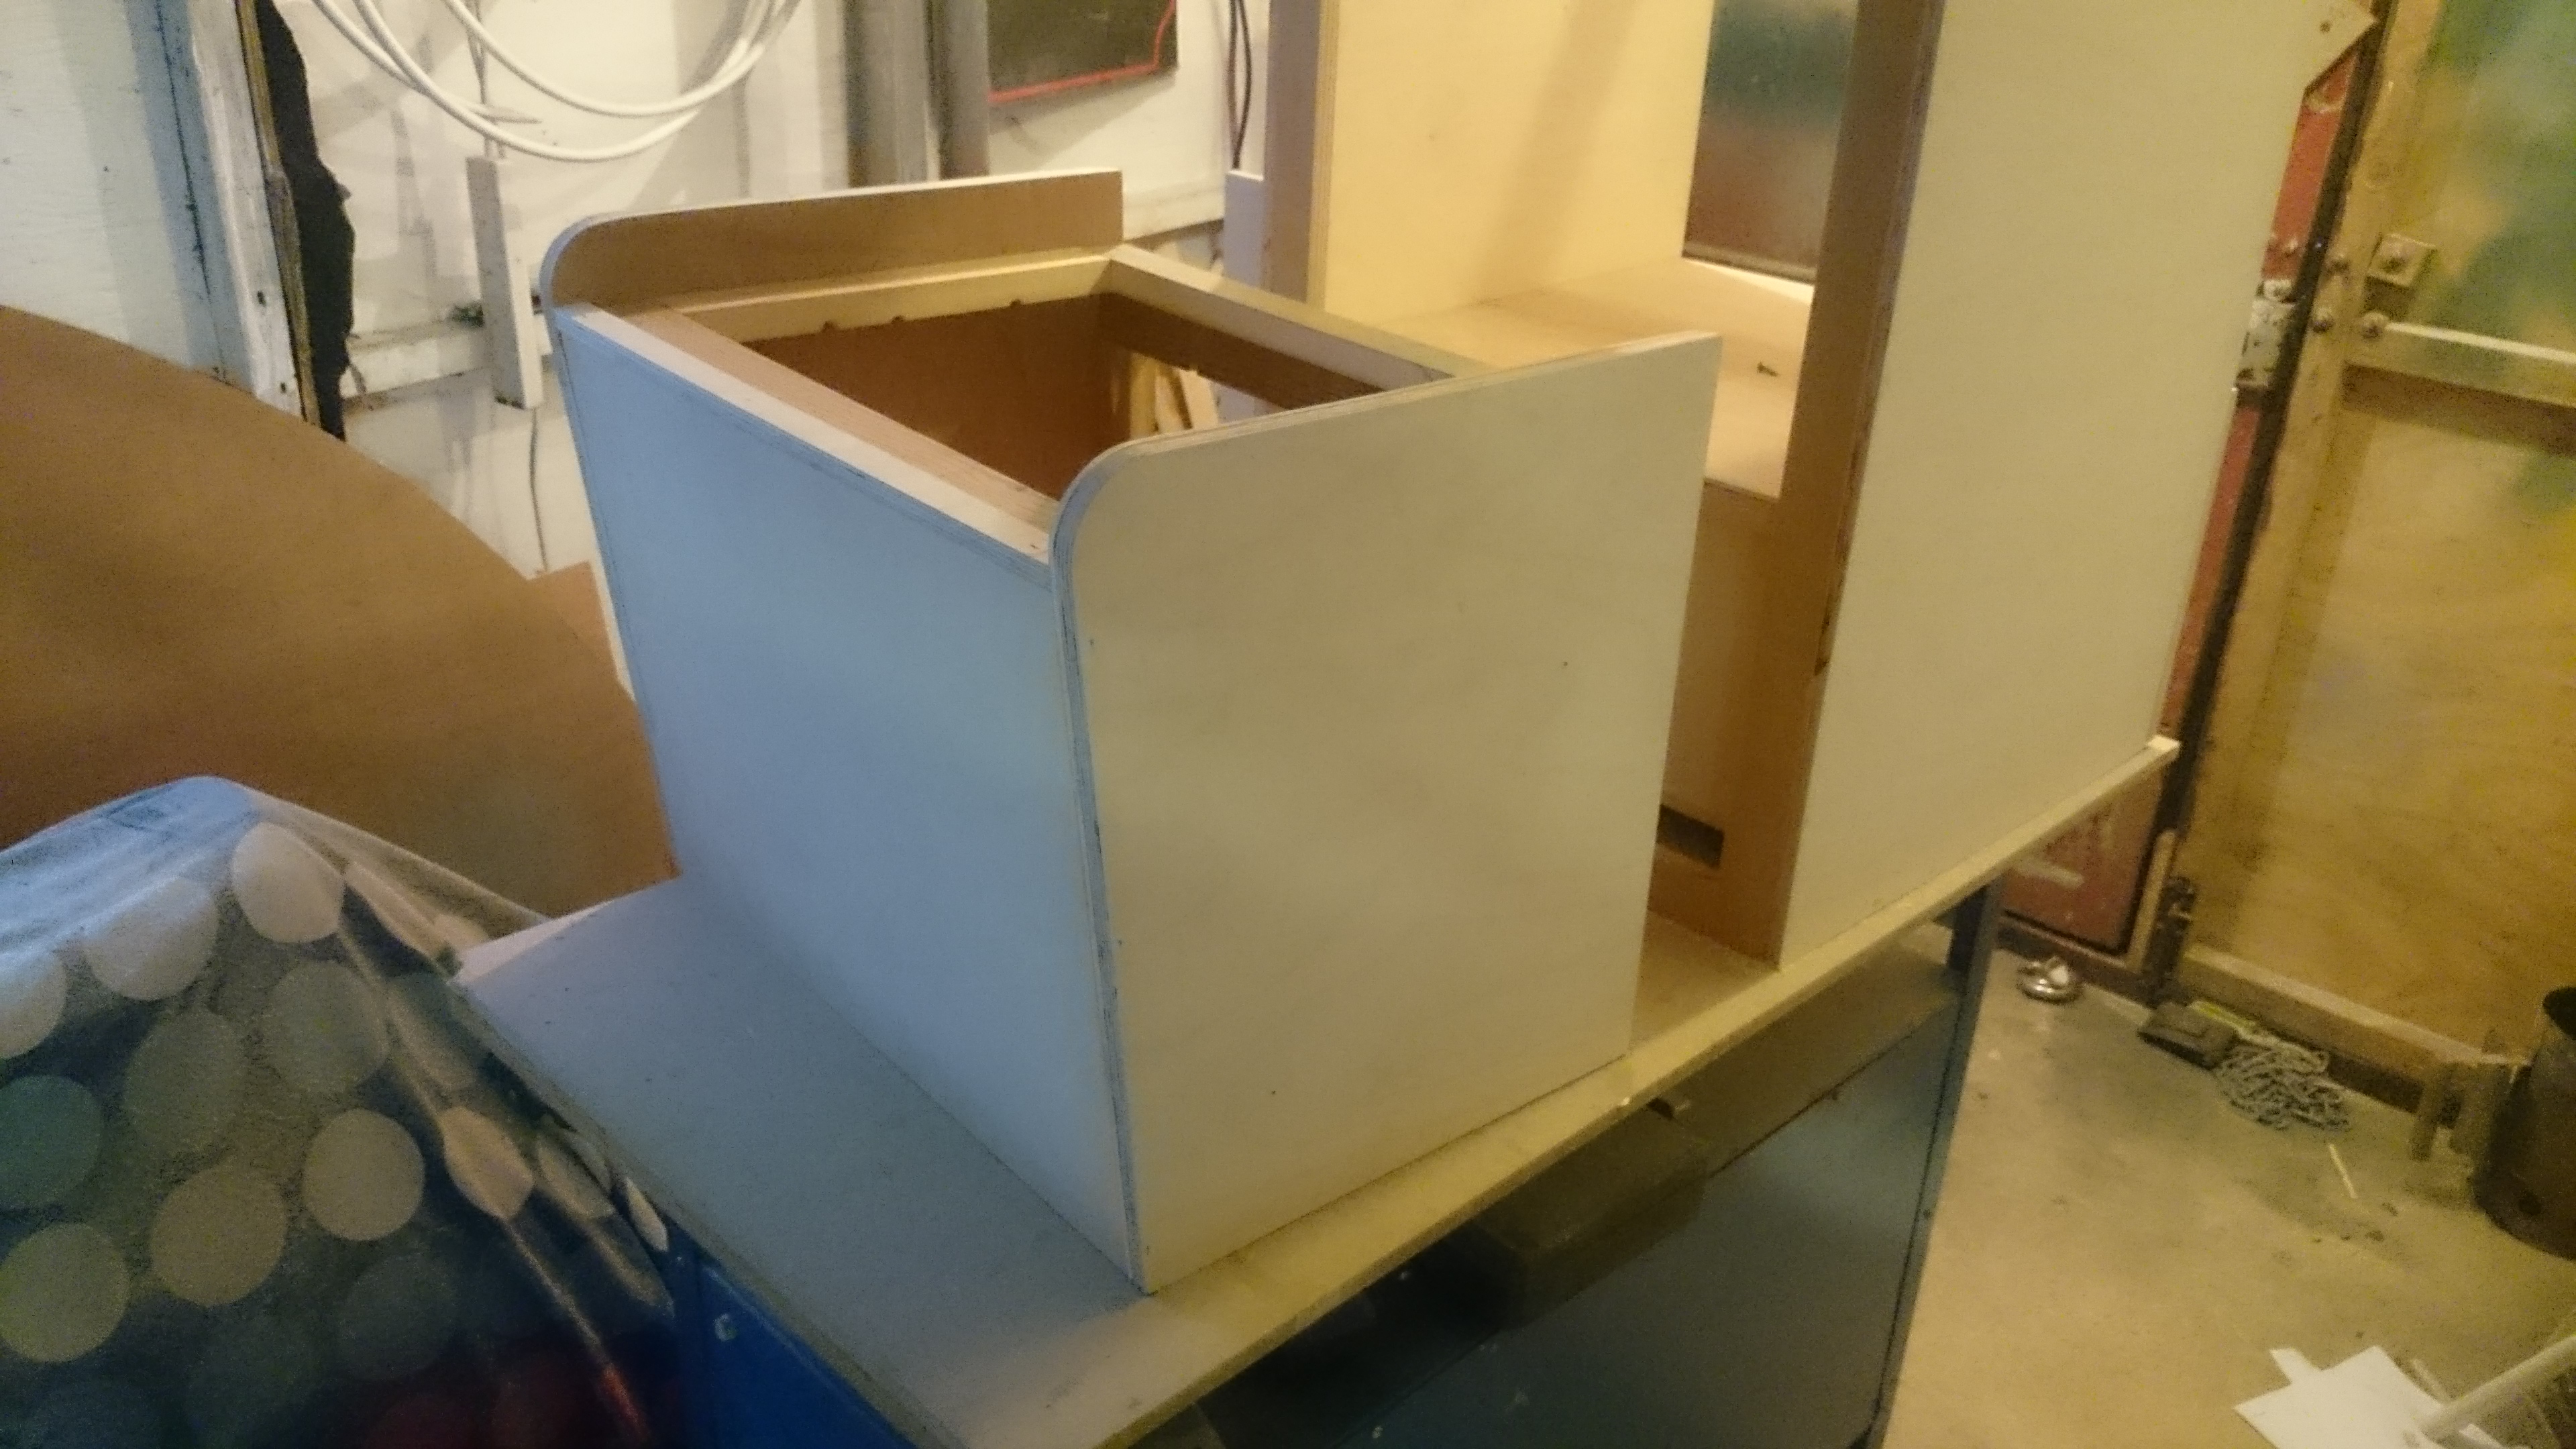
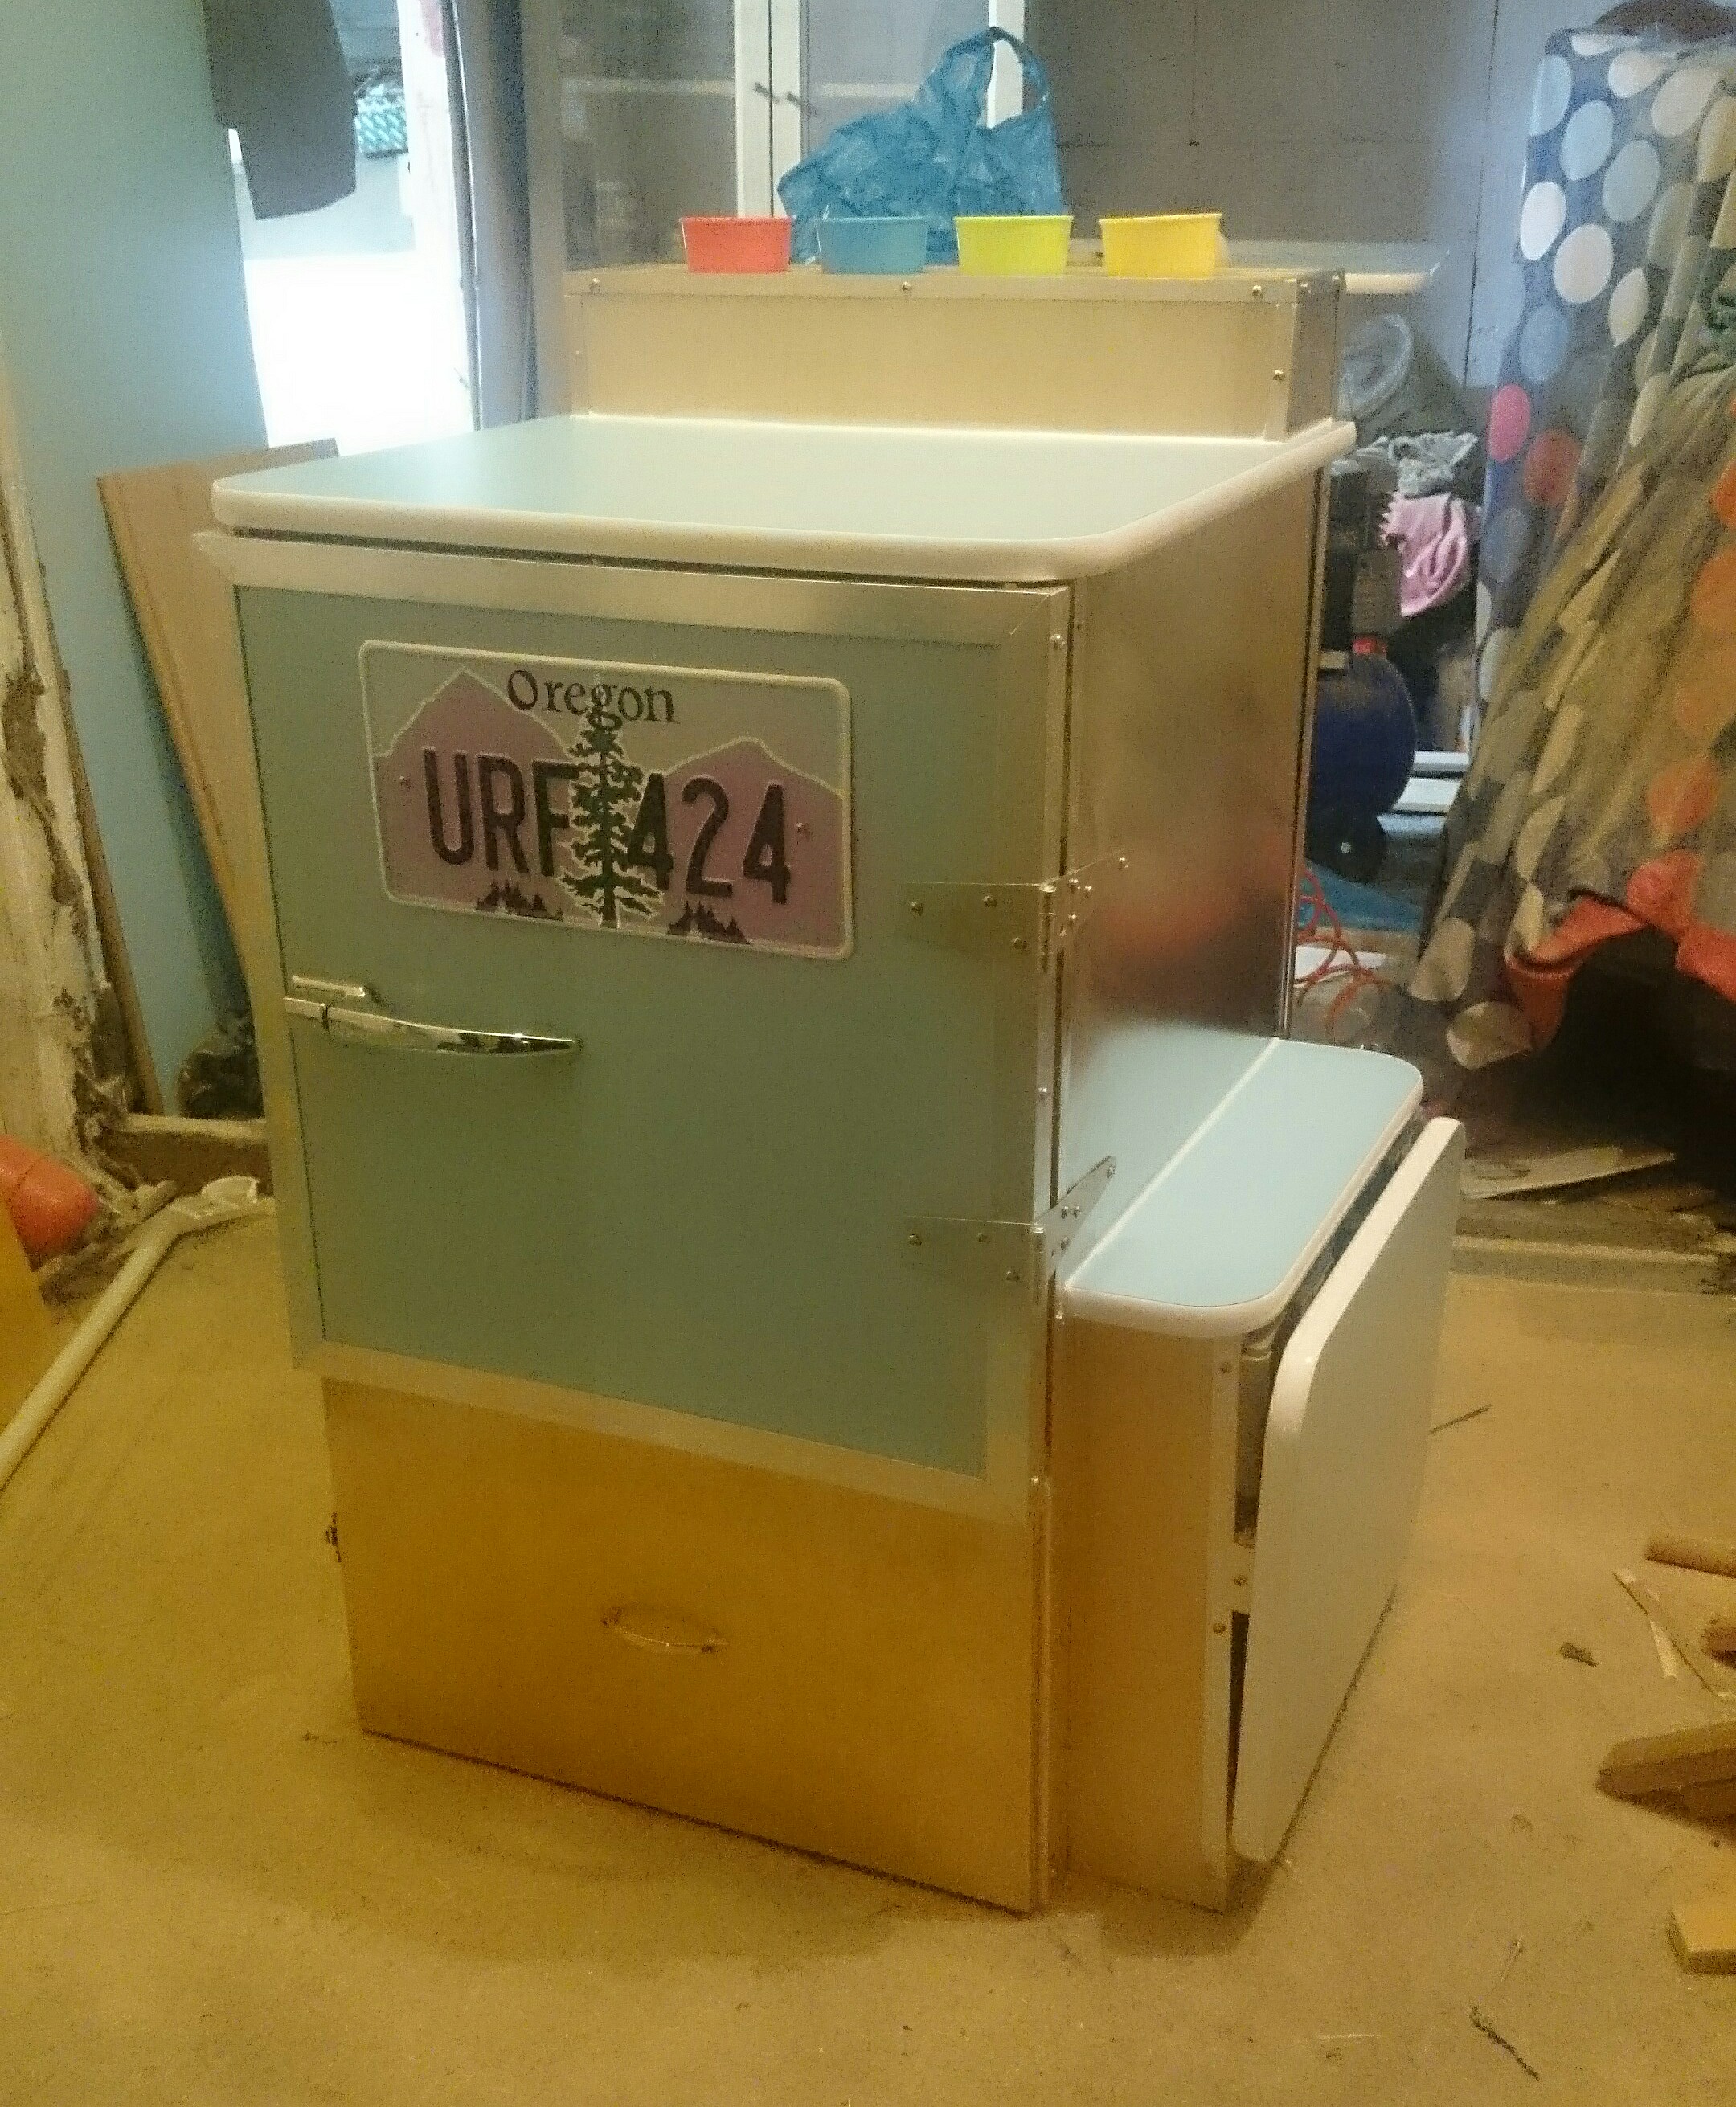
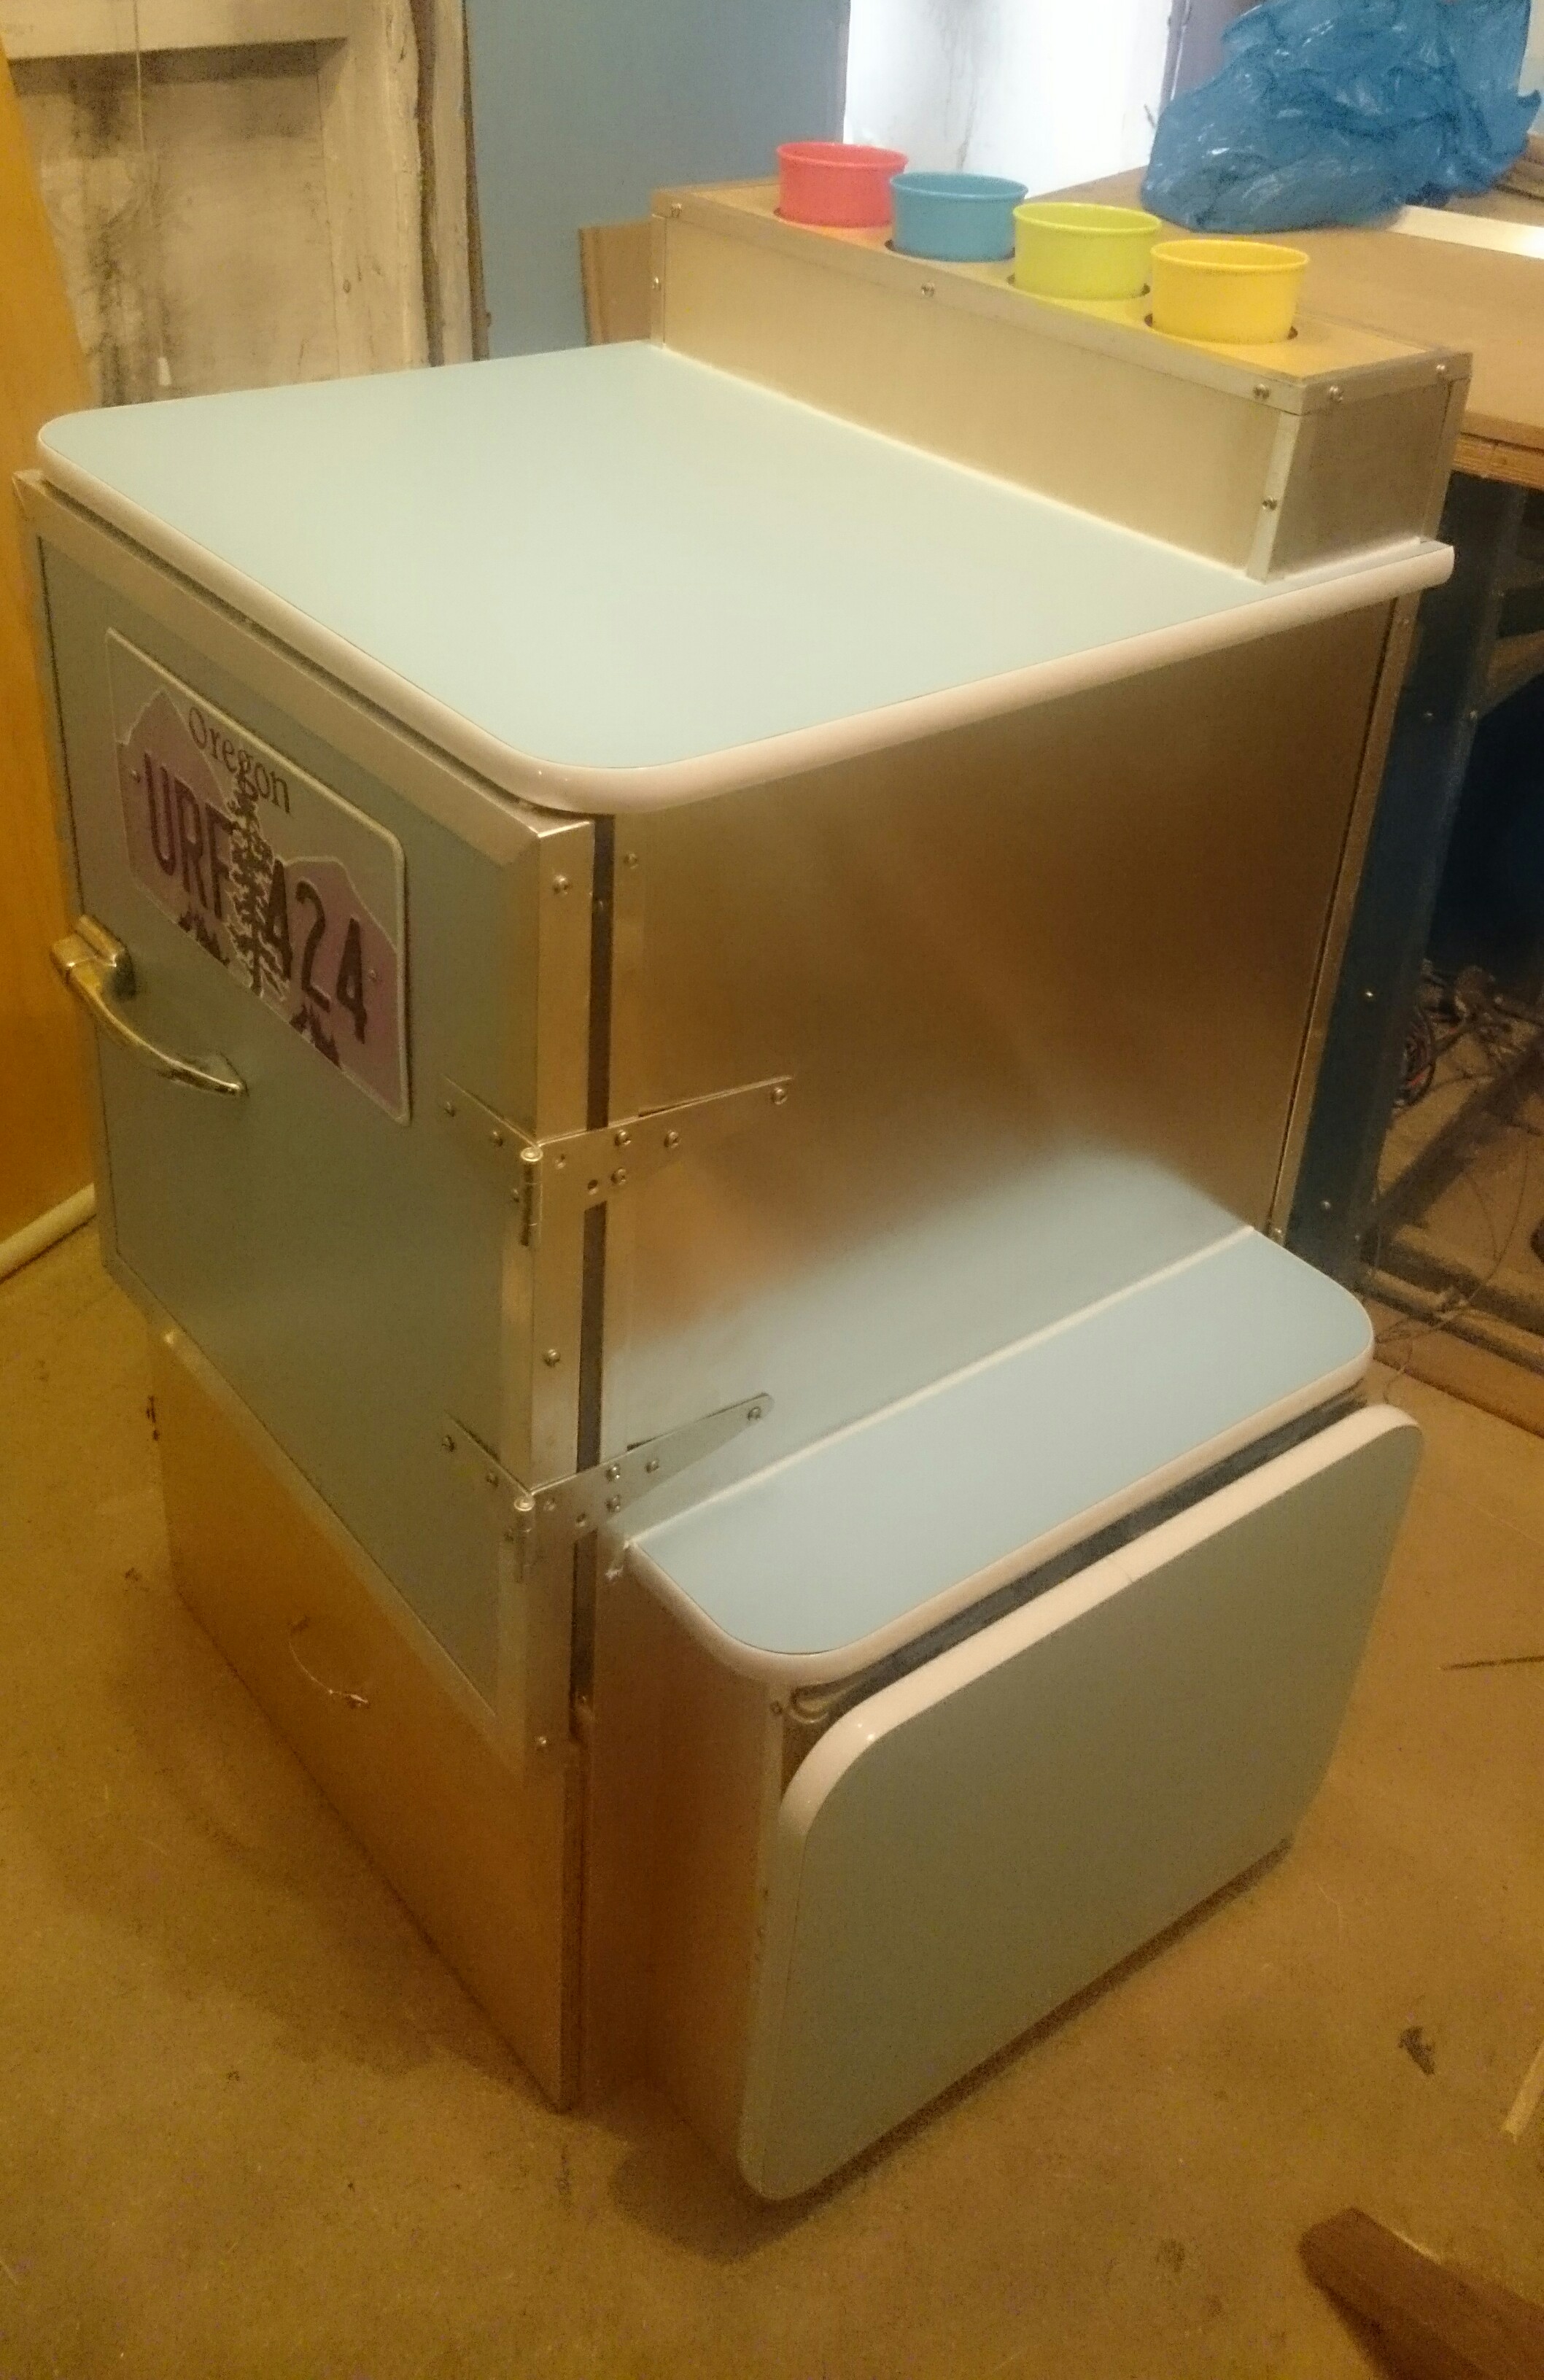
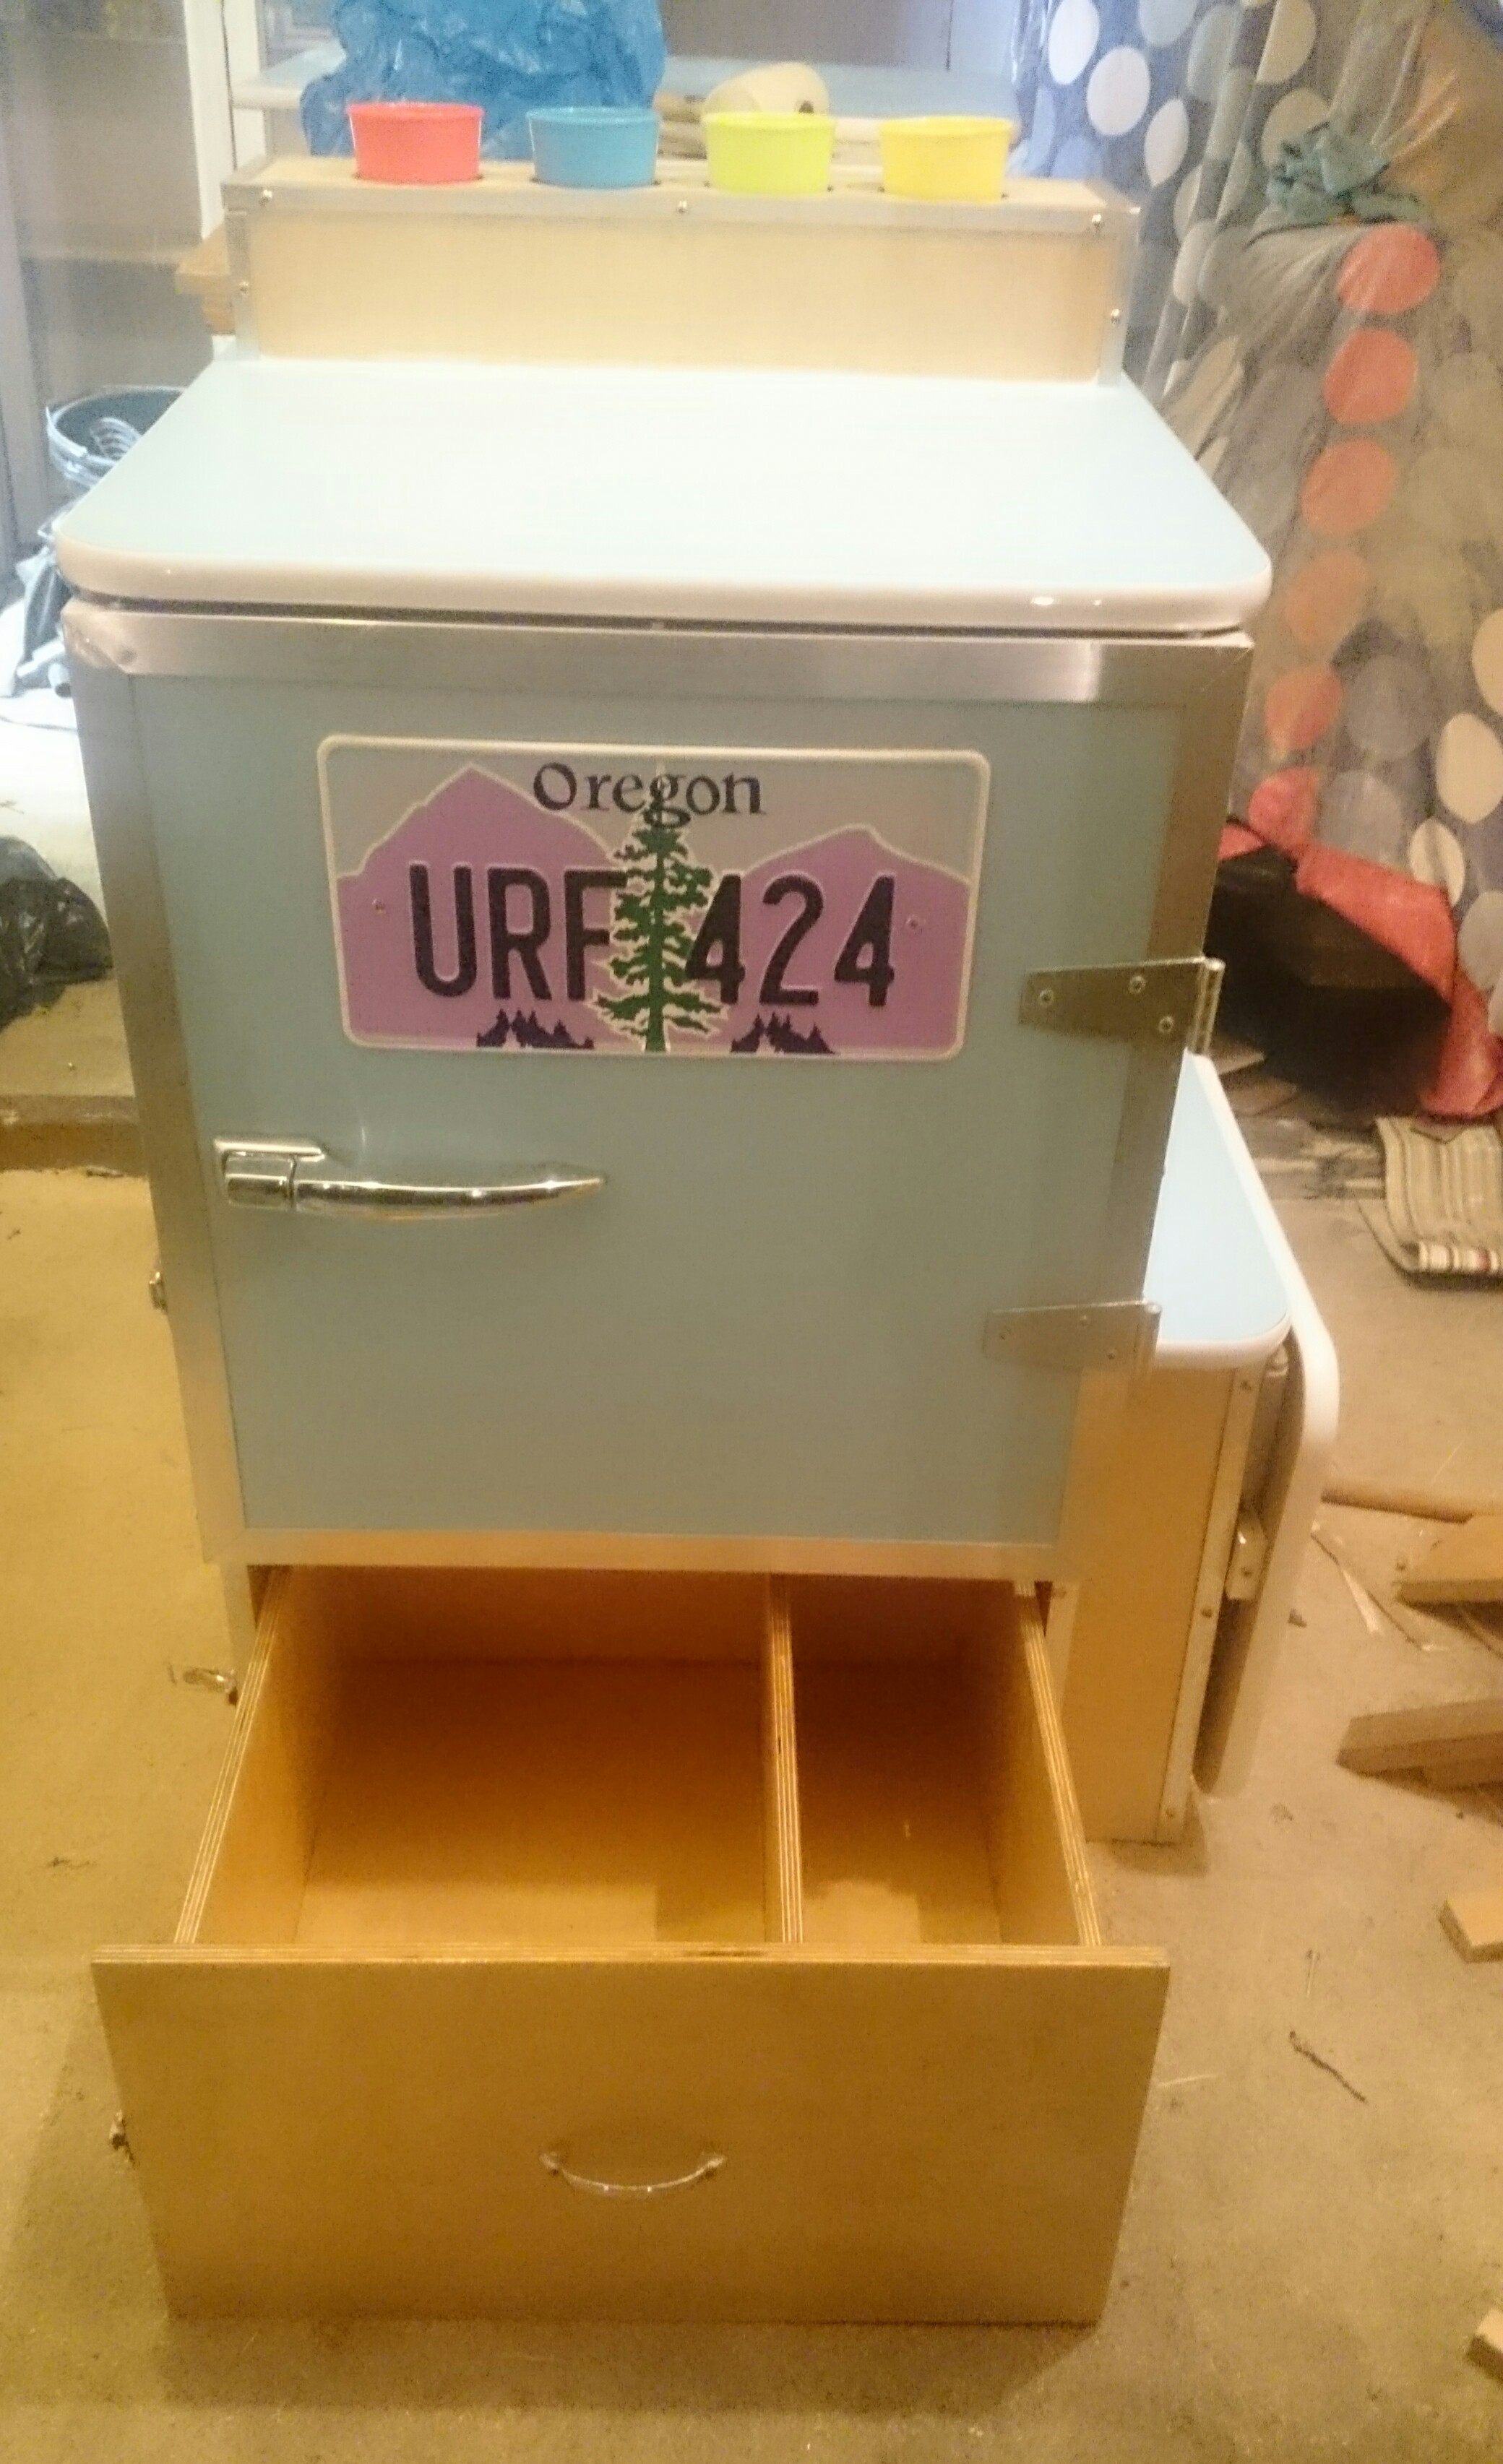
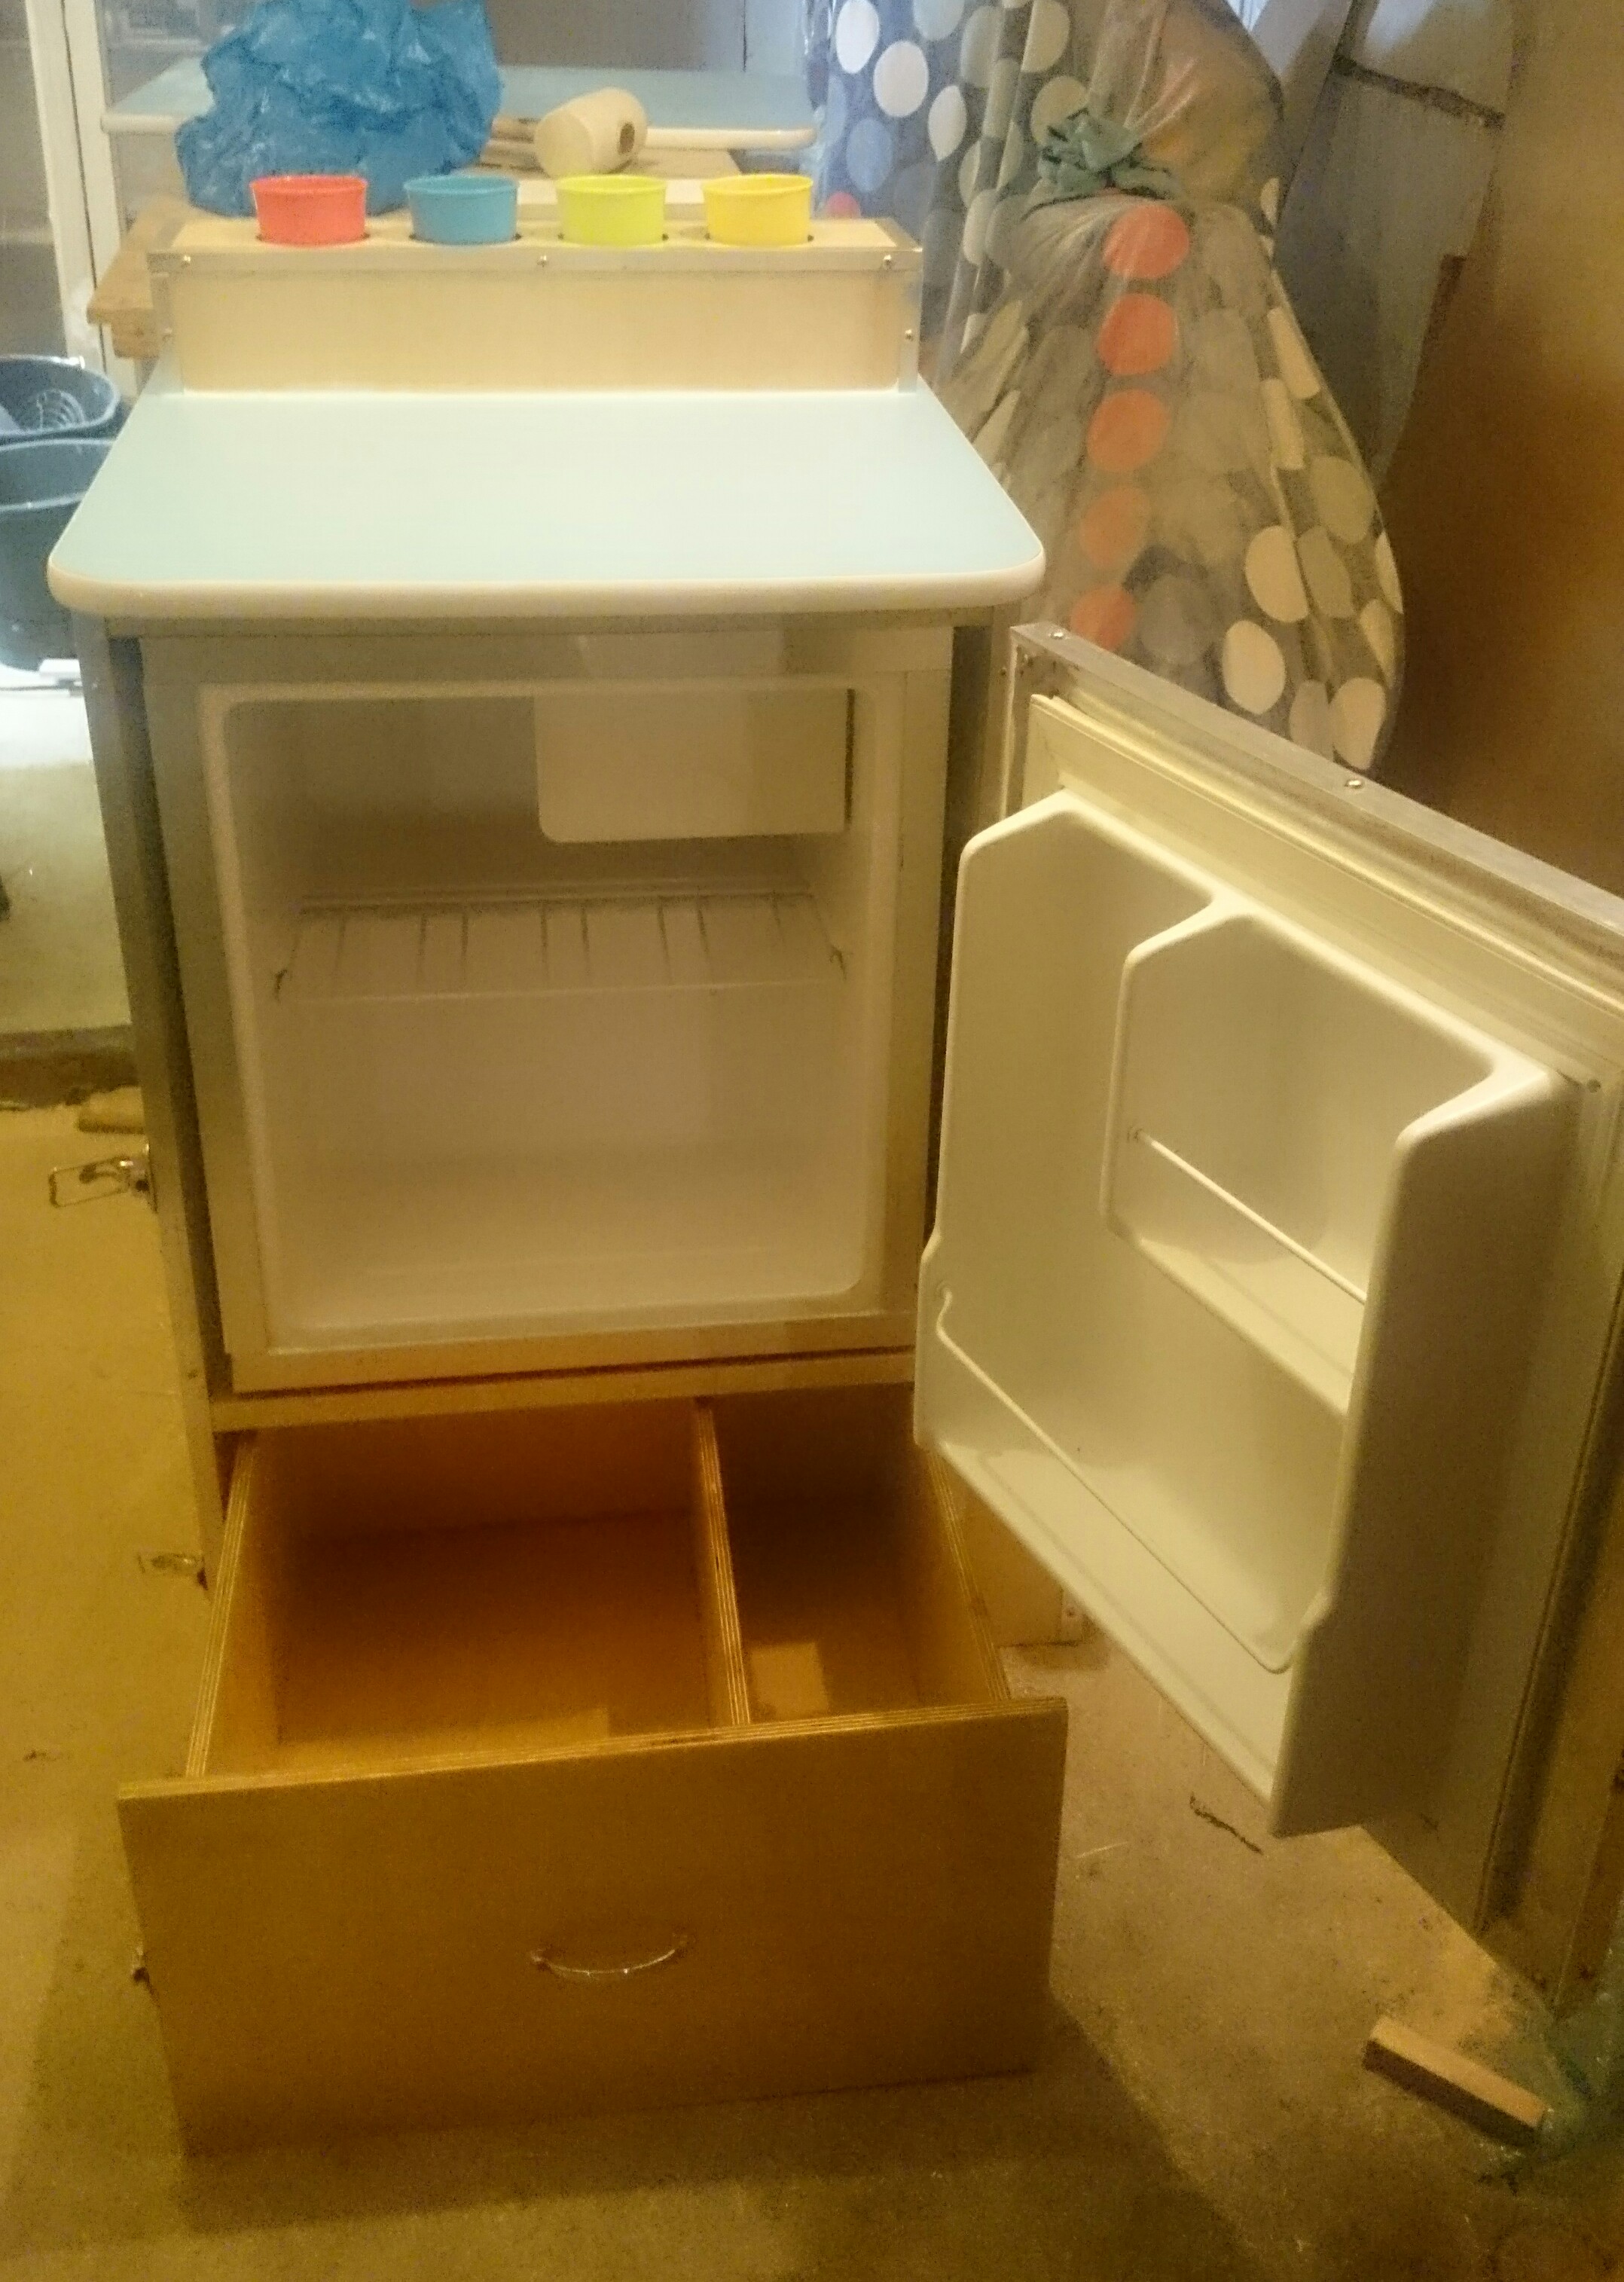
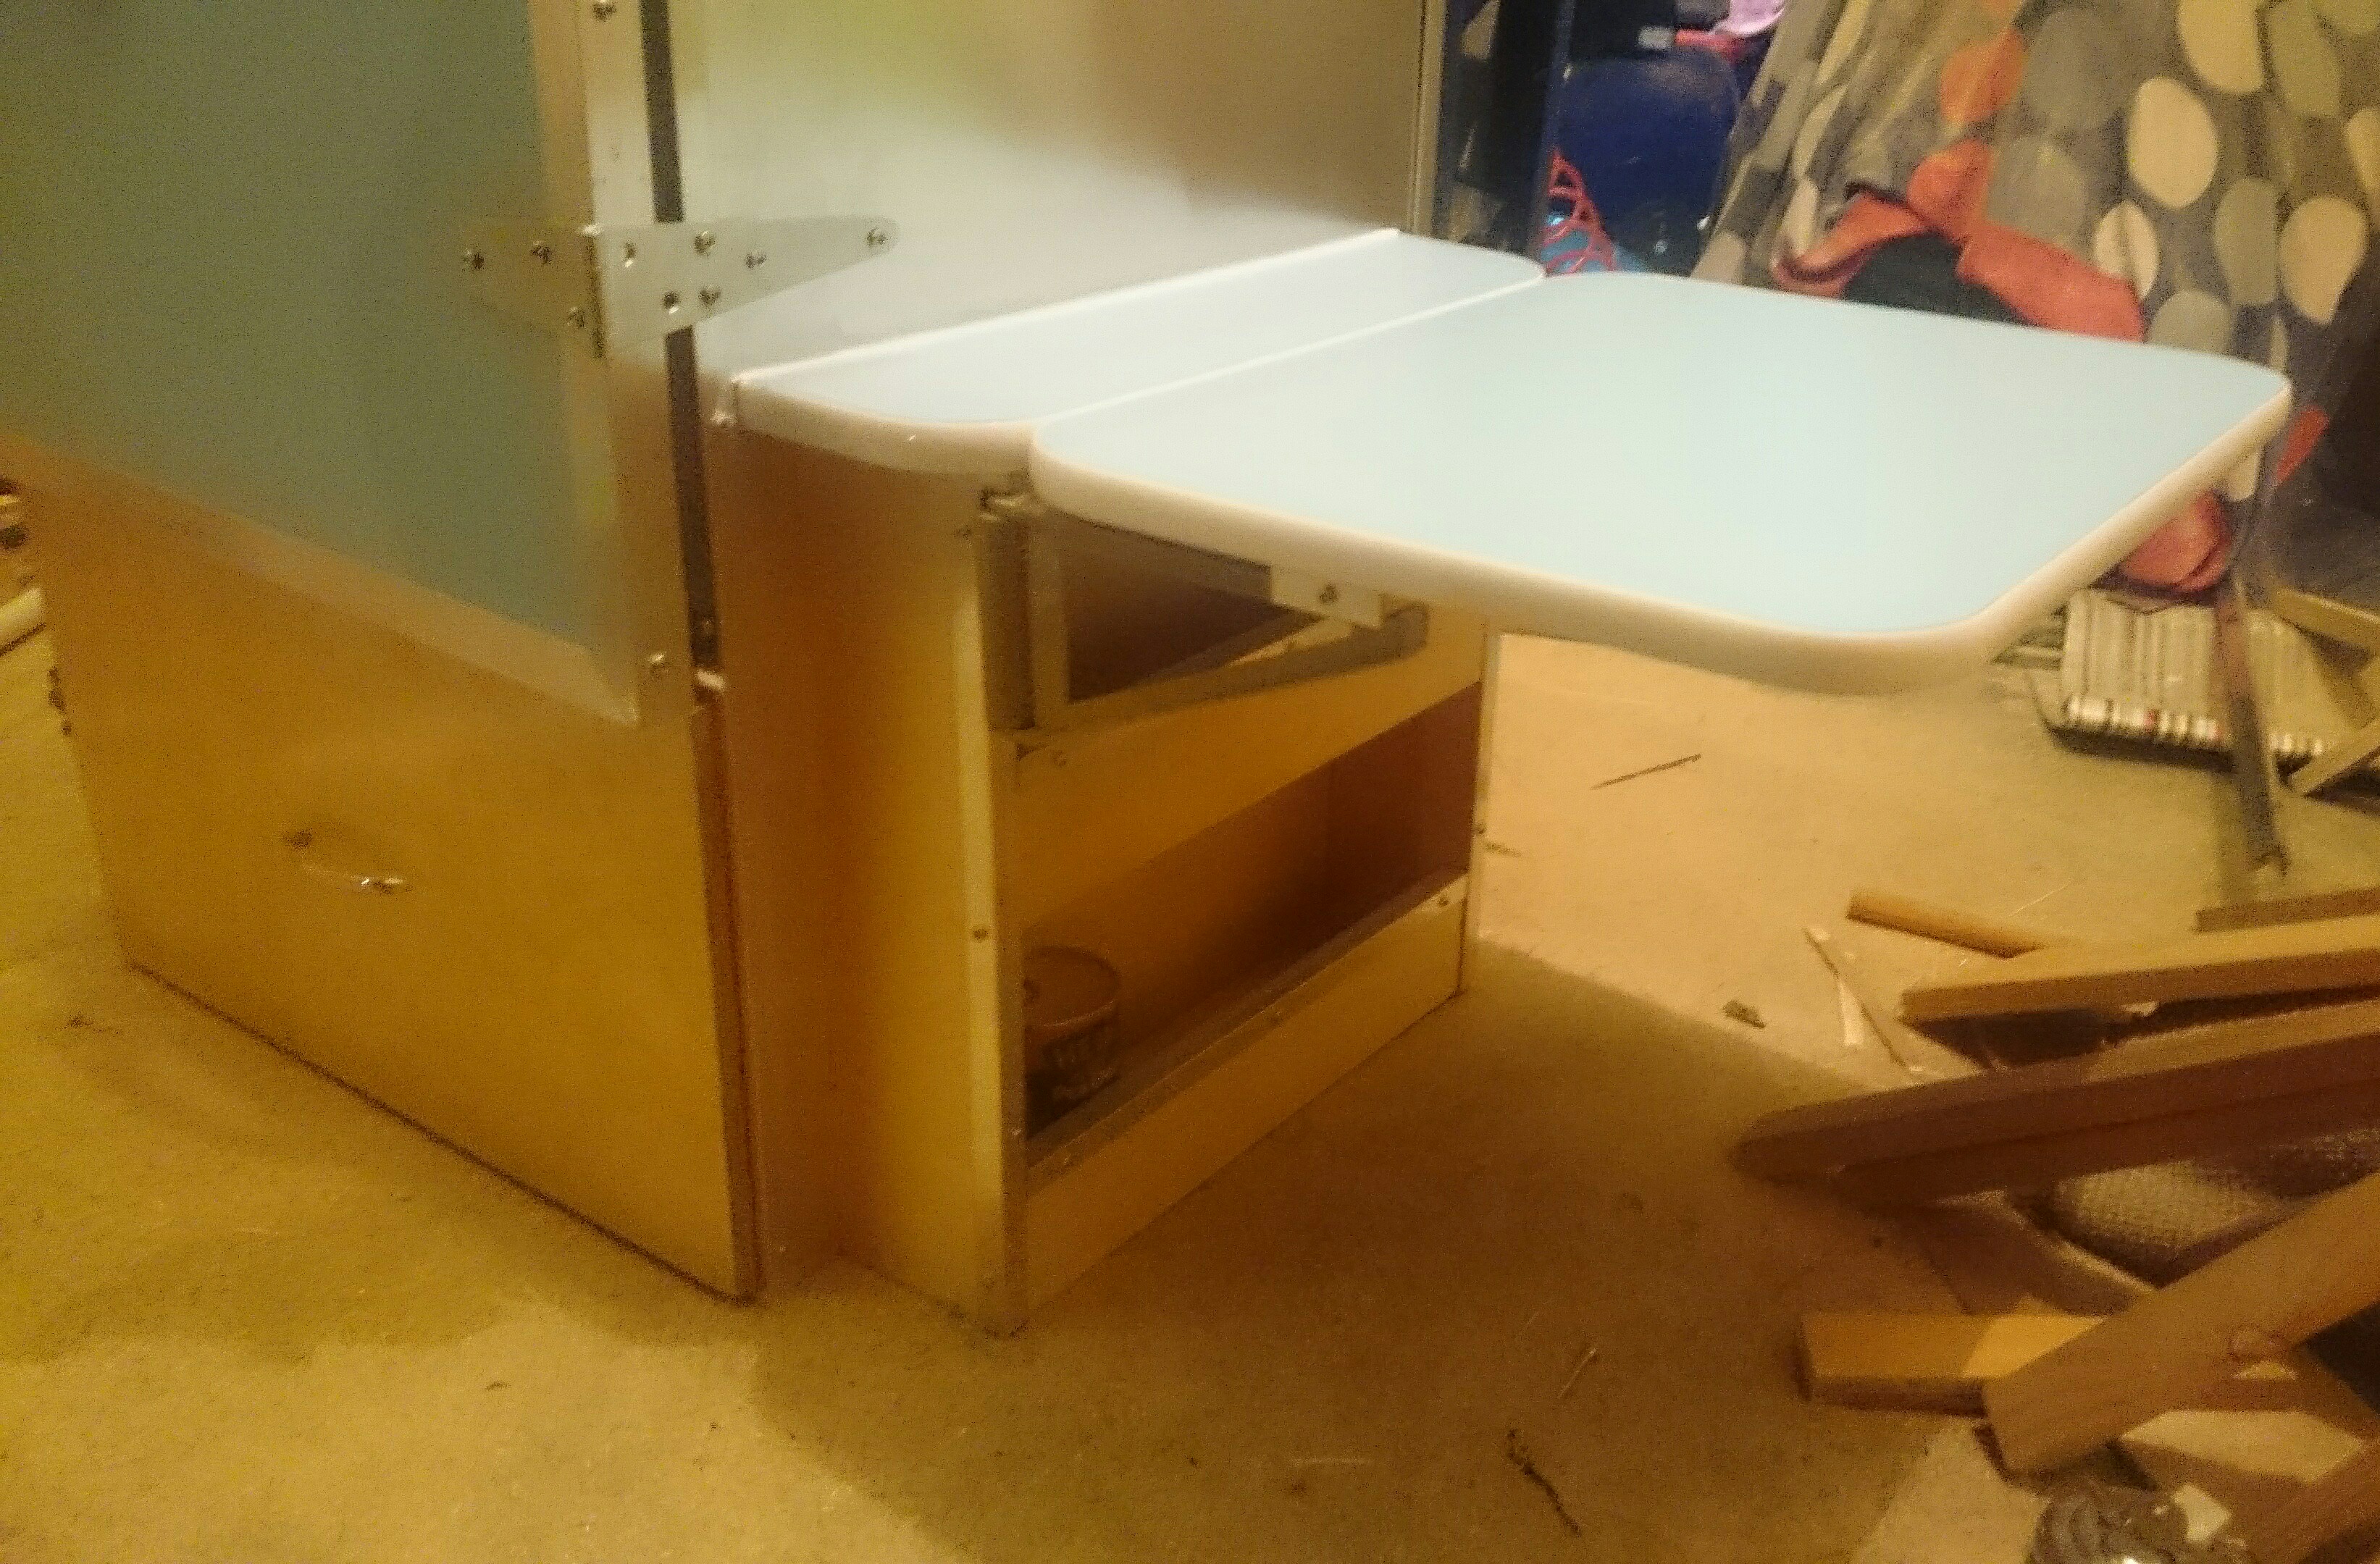
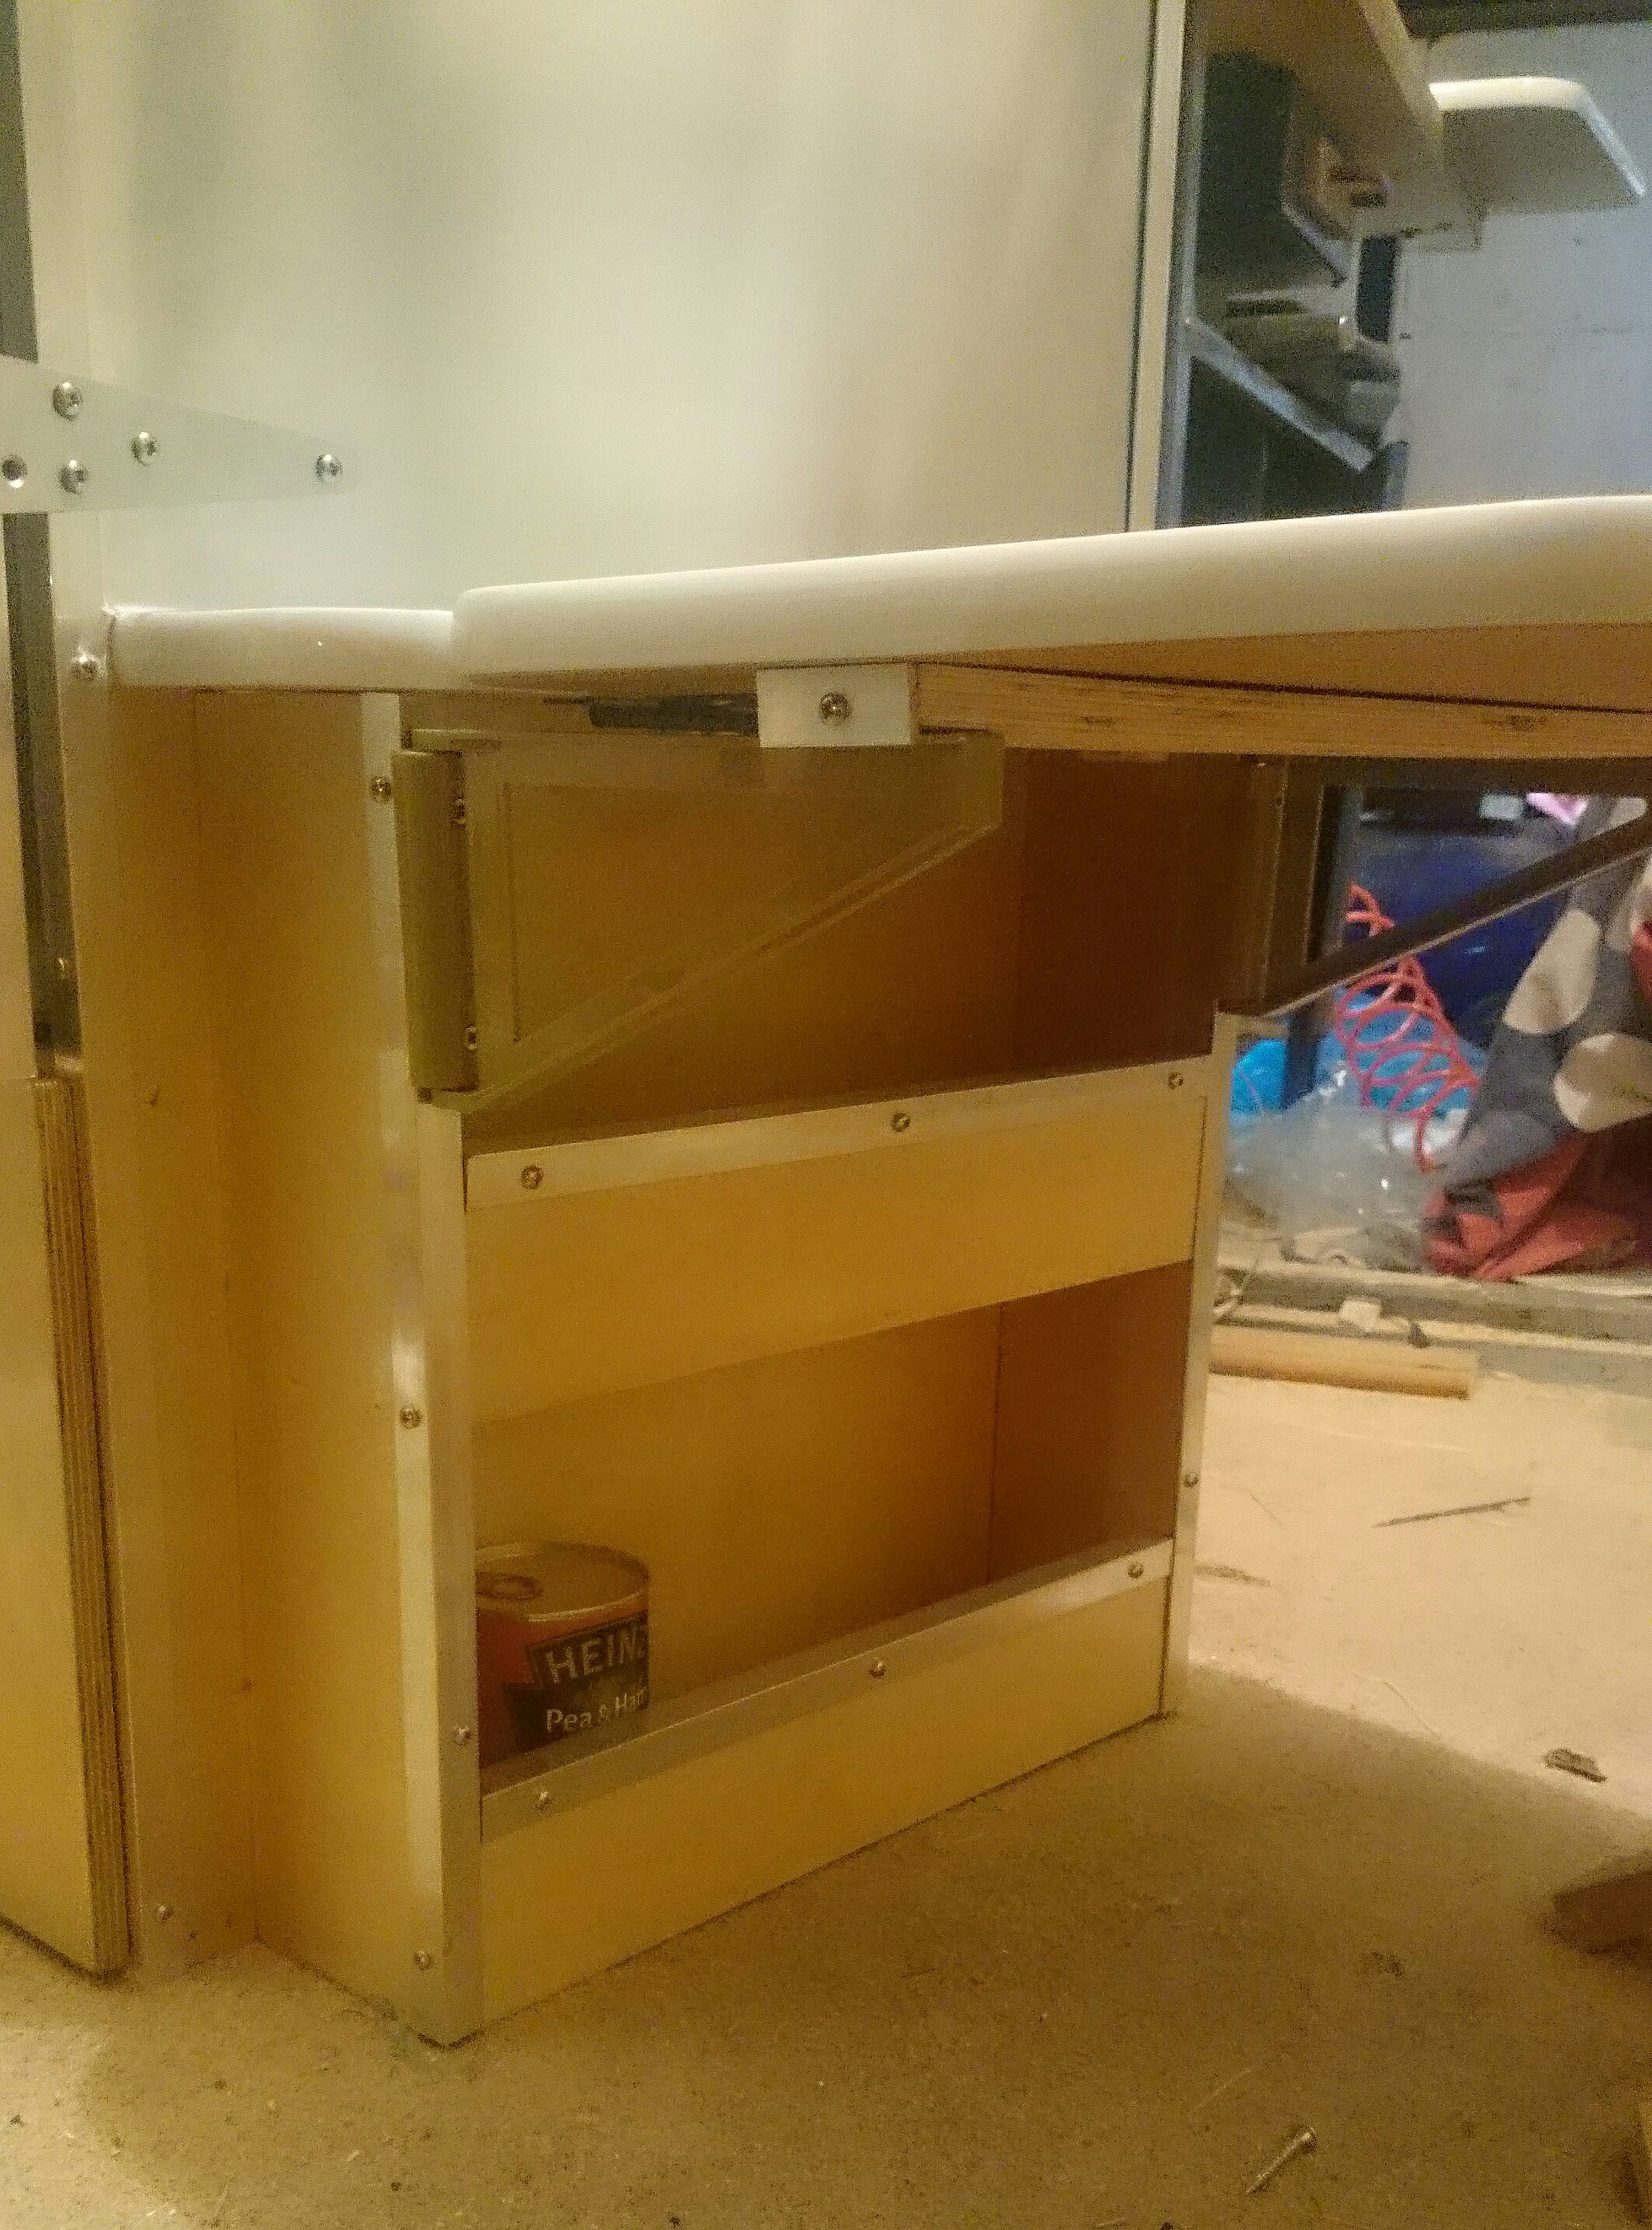
I plan on making a Wardrobe for behind the drivers seat, buddy seat, folding table, and fridge unit. Hopefully by the end of april.
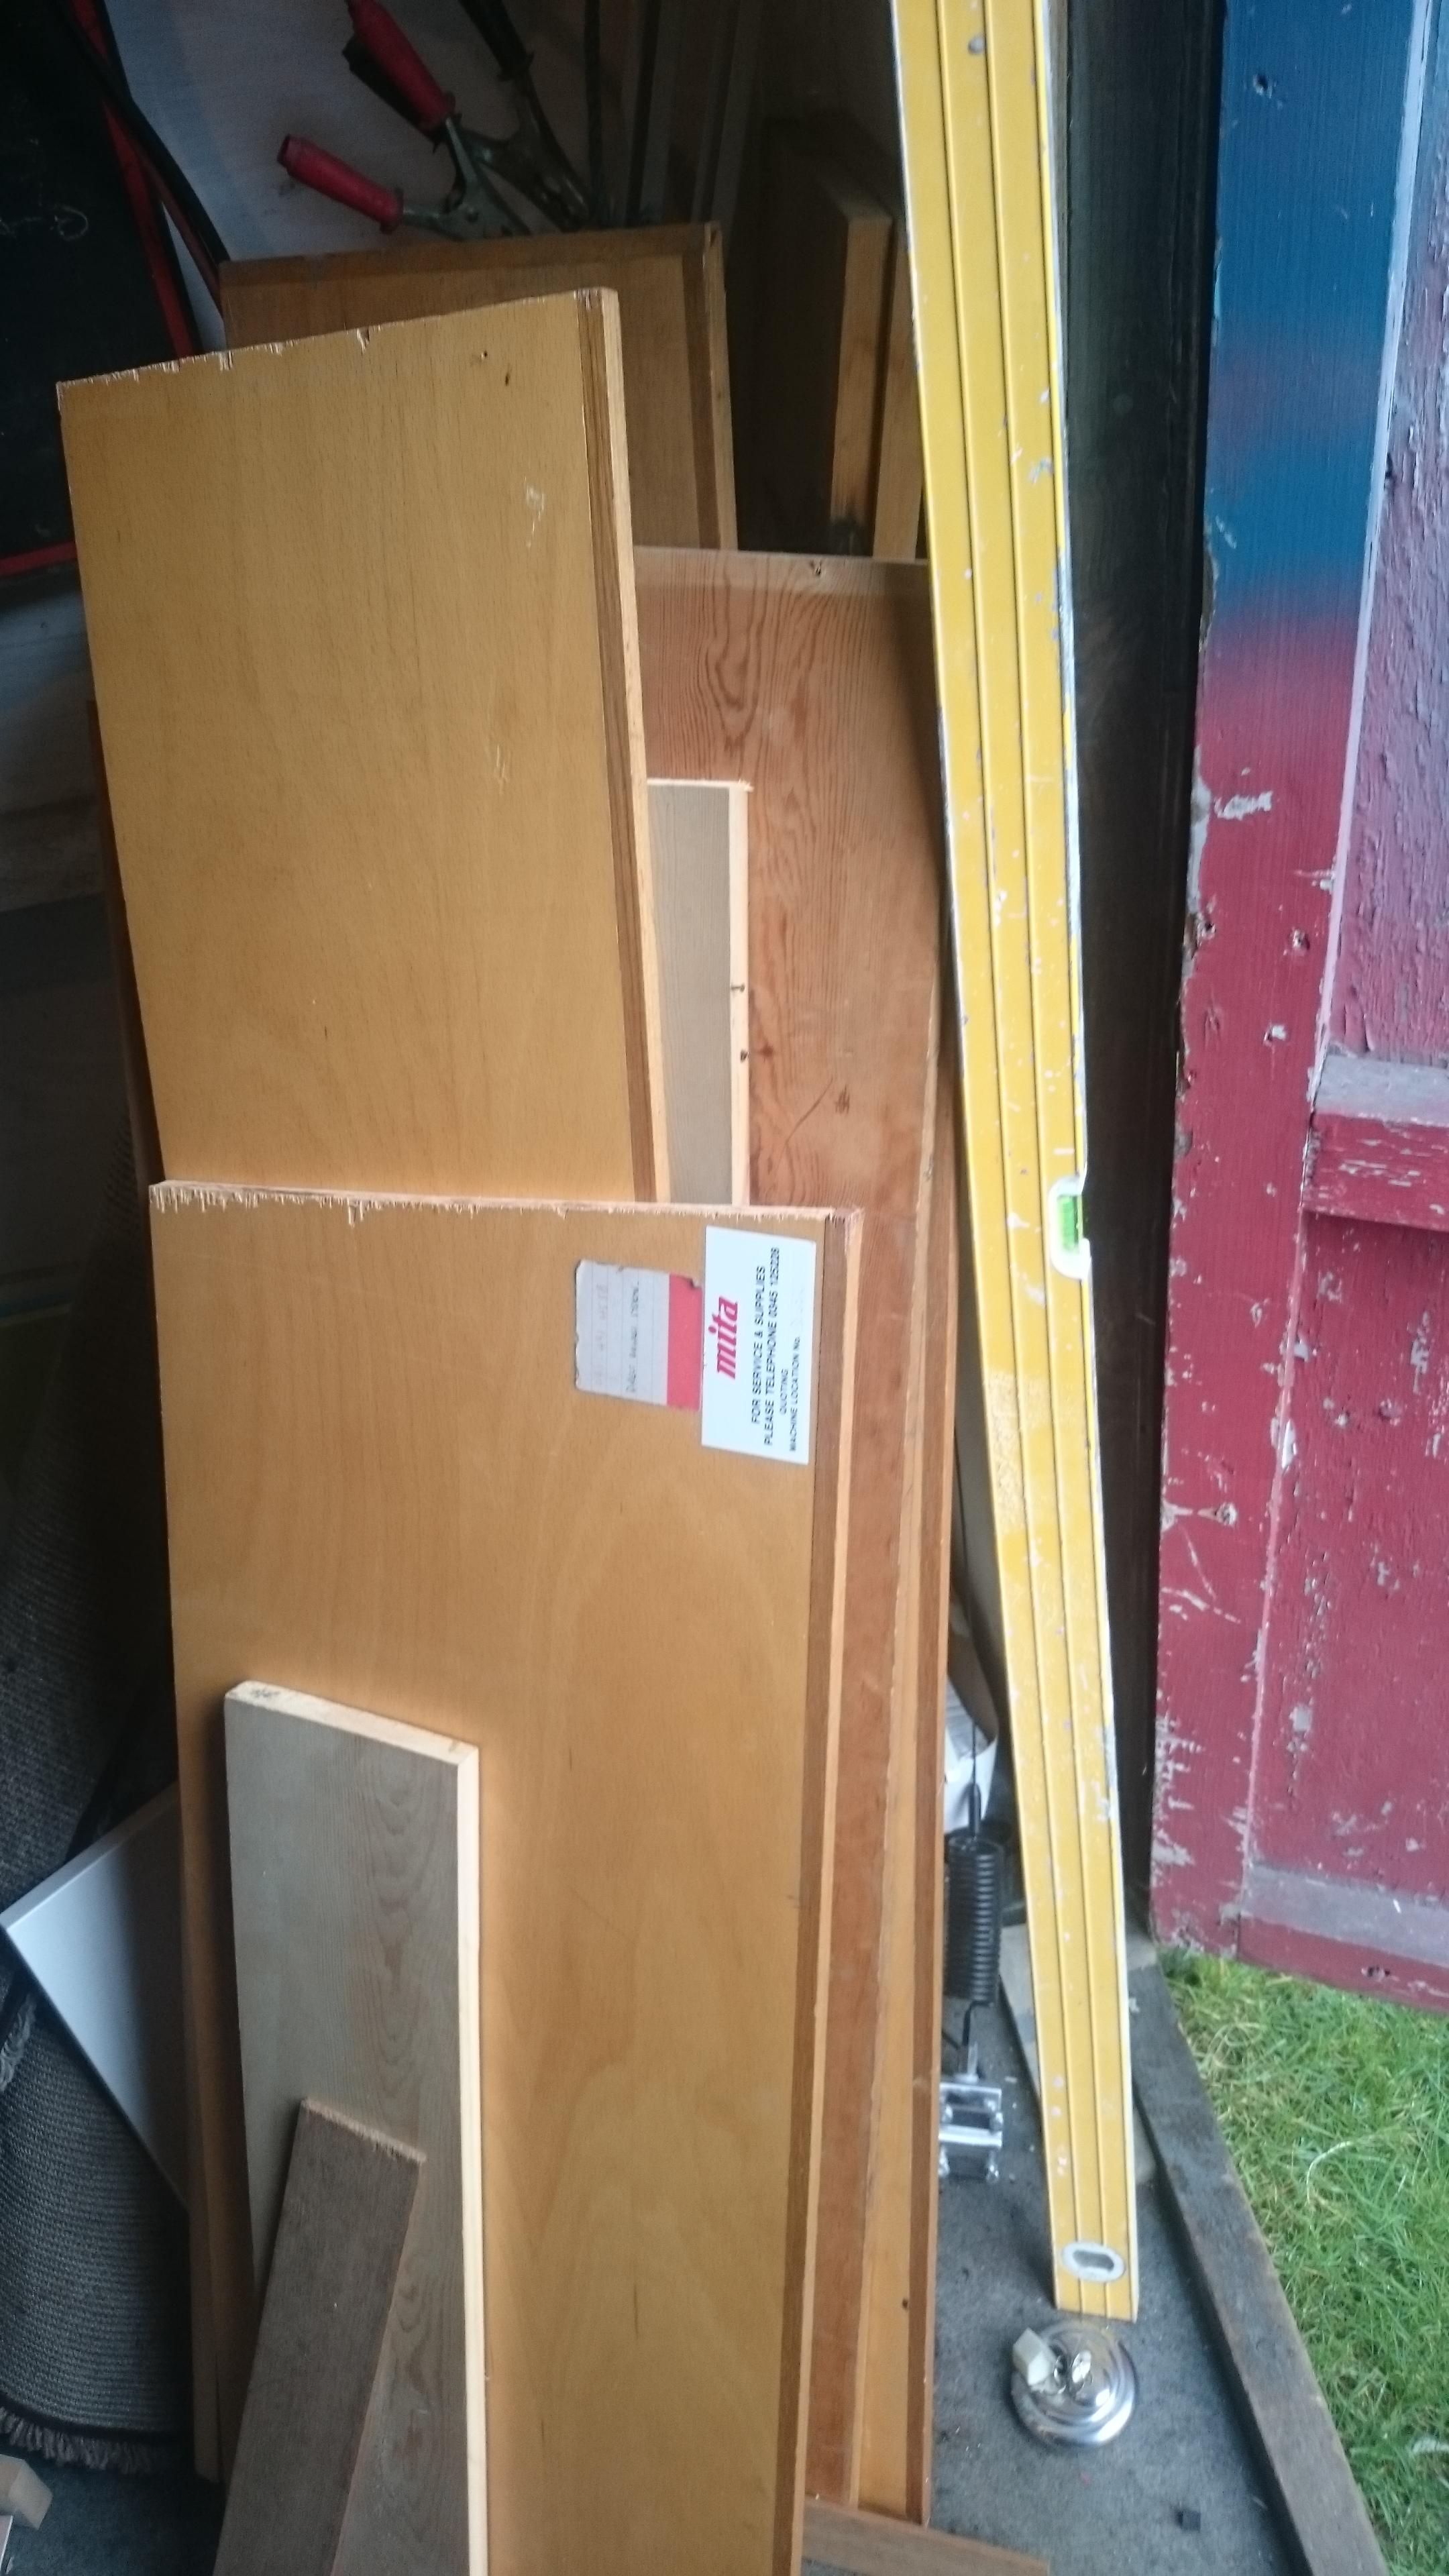
Obtained some old shelving from work, I'm building the cabinet exteriors out of Birch ply but its expensive so for the insides/frames they will be made of anything I can find
Ripped one down already for 1x1 framing for the wardrobe
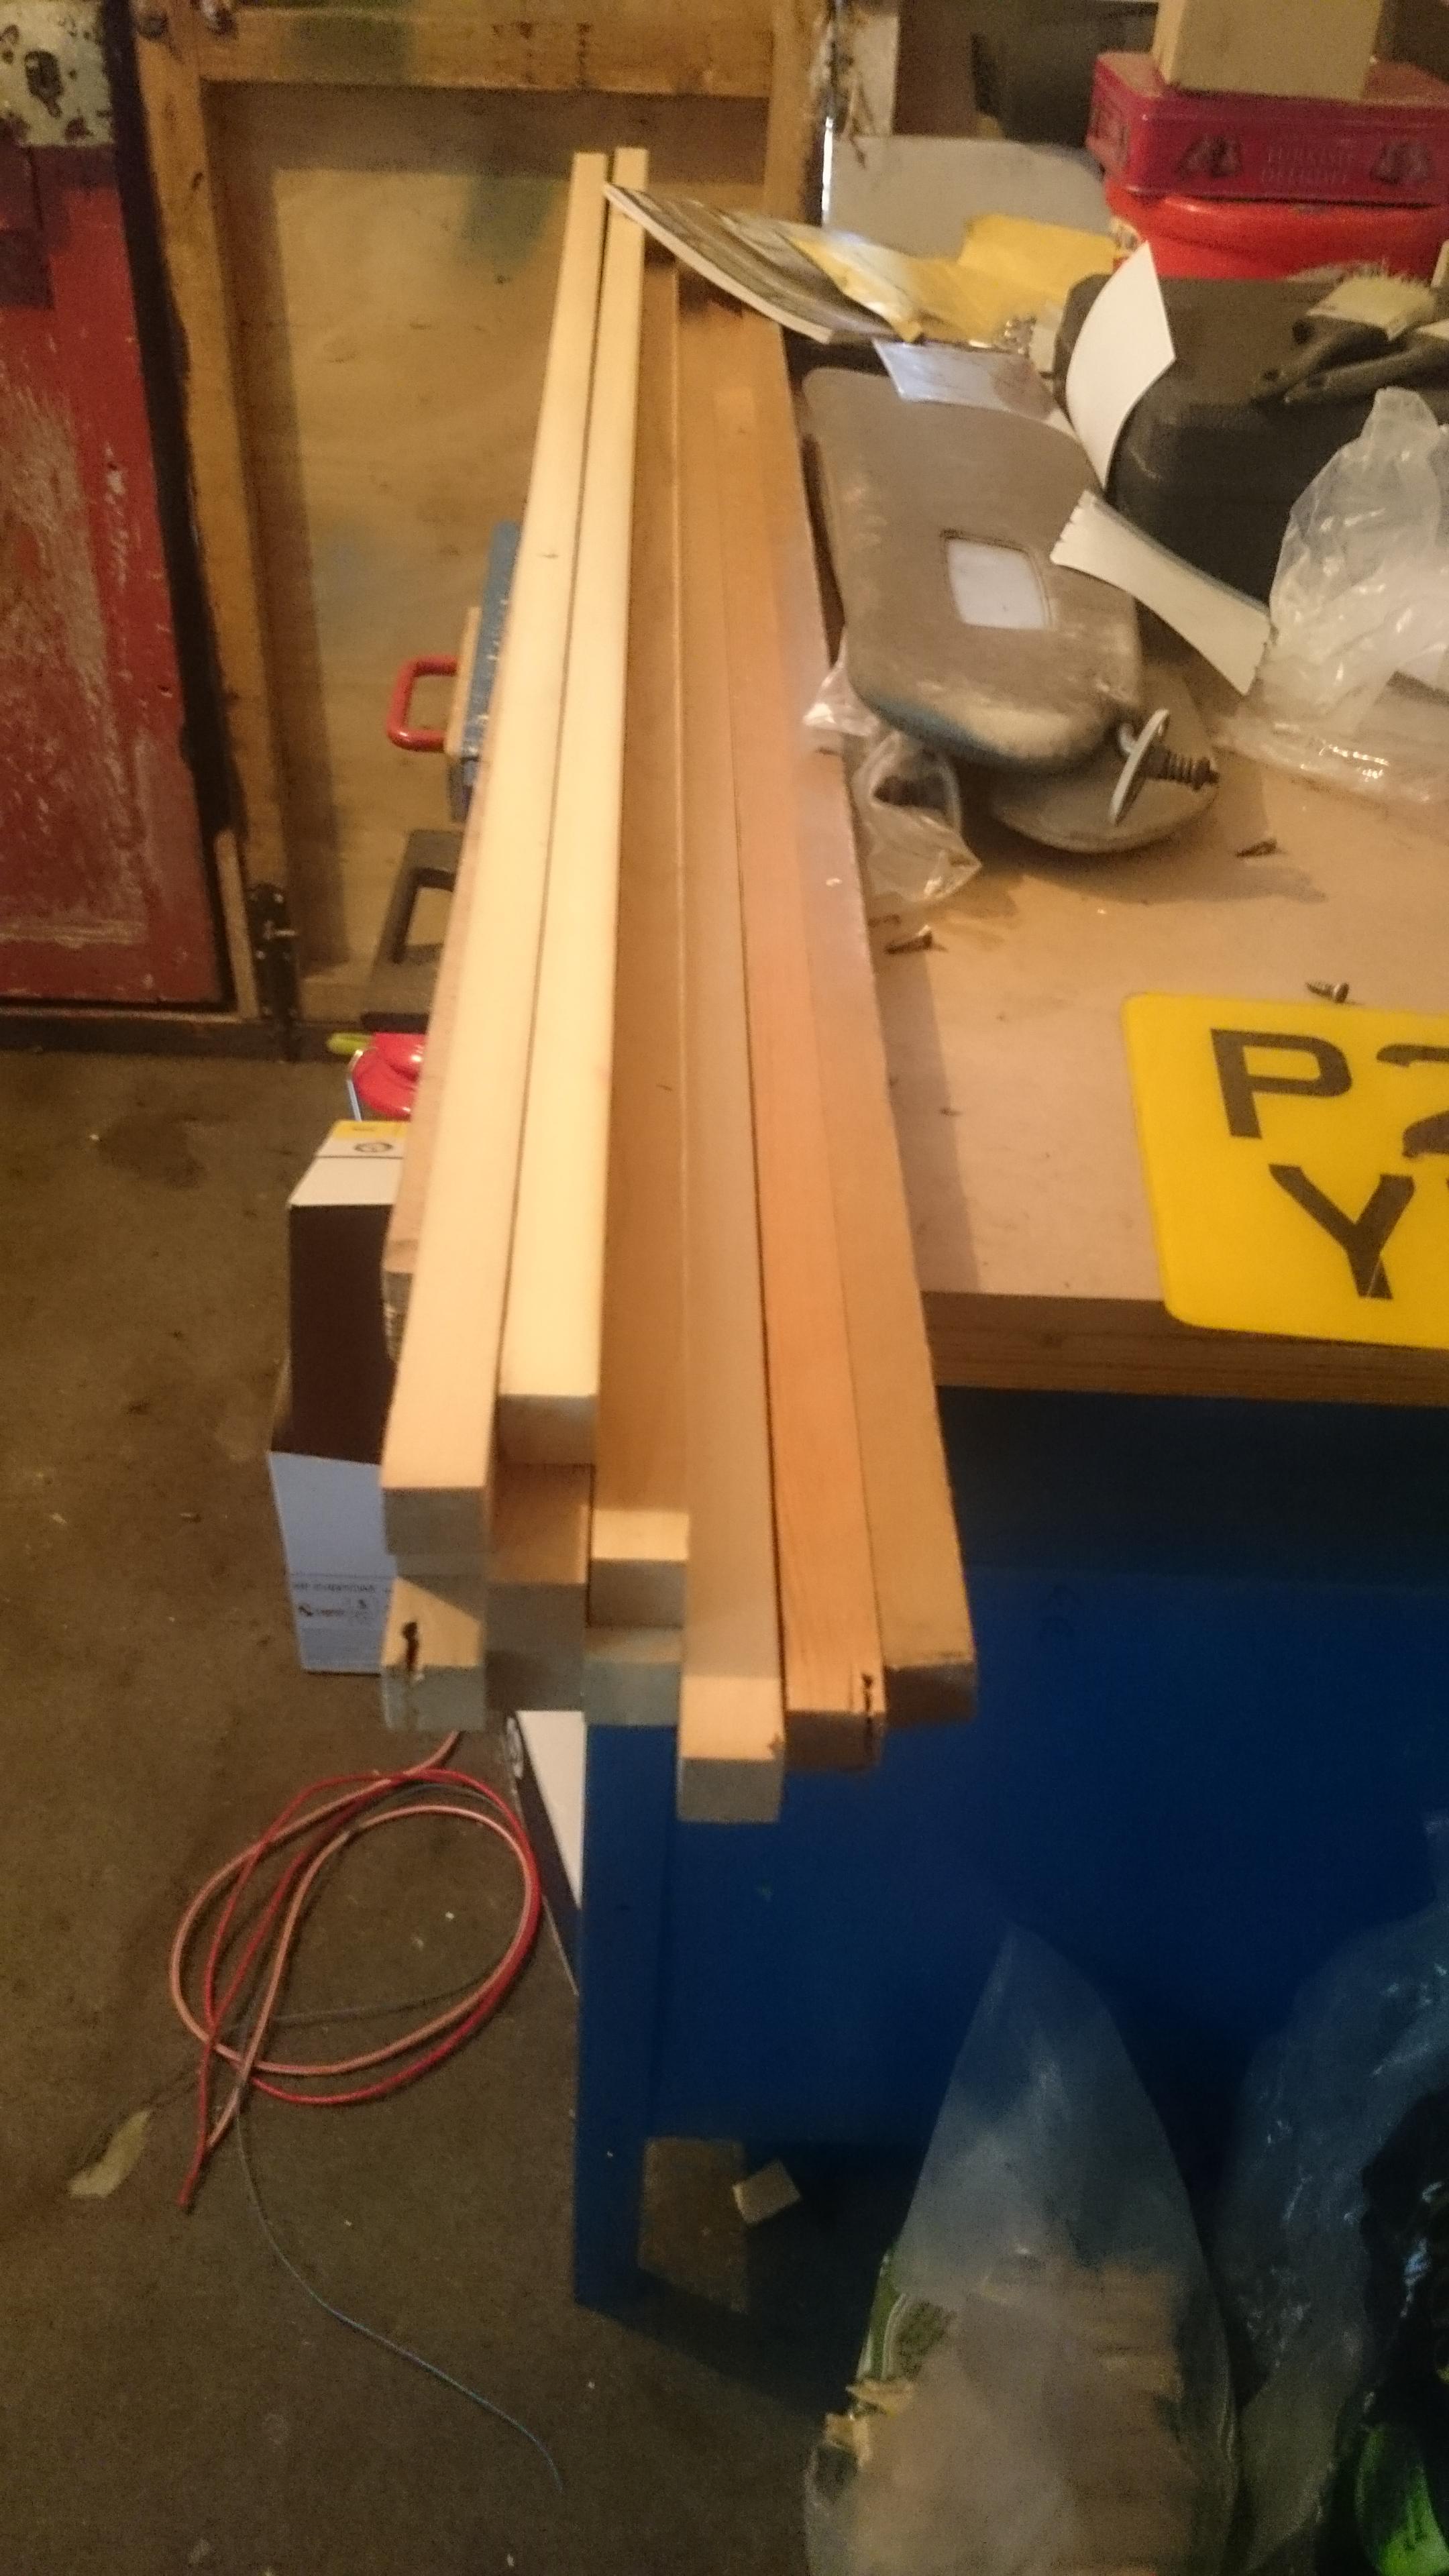
So wood arrived for the wardrobe/buddy seat and fridge unit yesterday yey!
Wardrobe is going to be made from 6.5mm ply, other stuff 12mm. To keep weight down.
To save material, money I found a good little bit of software. You type in the wood size, and cuts needed and it plots it all for you.
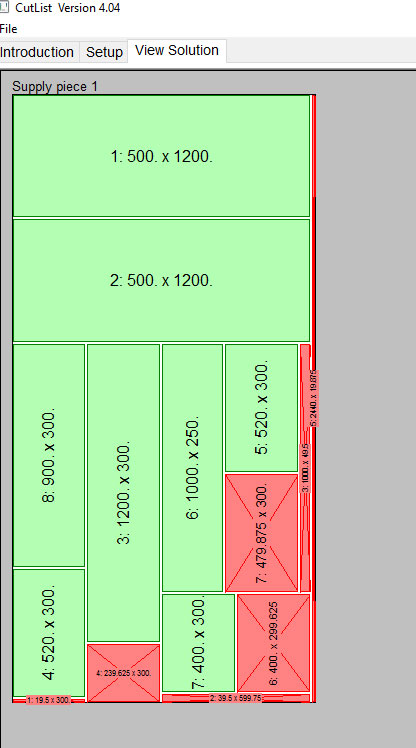
Need to cut it tonight before the sheets start to bow
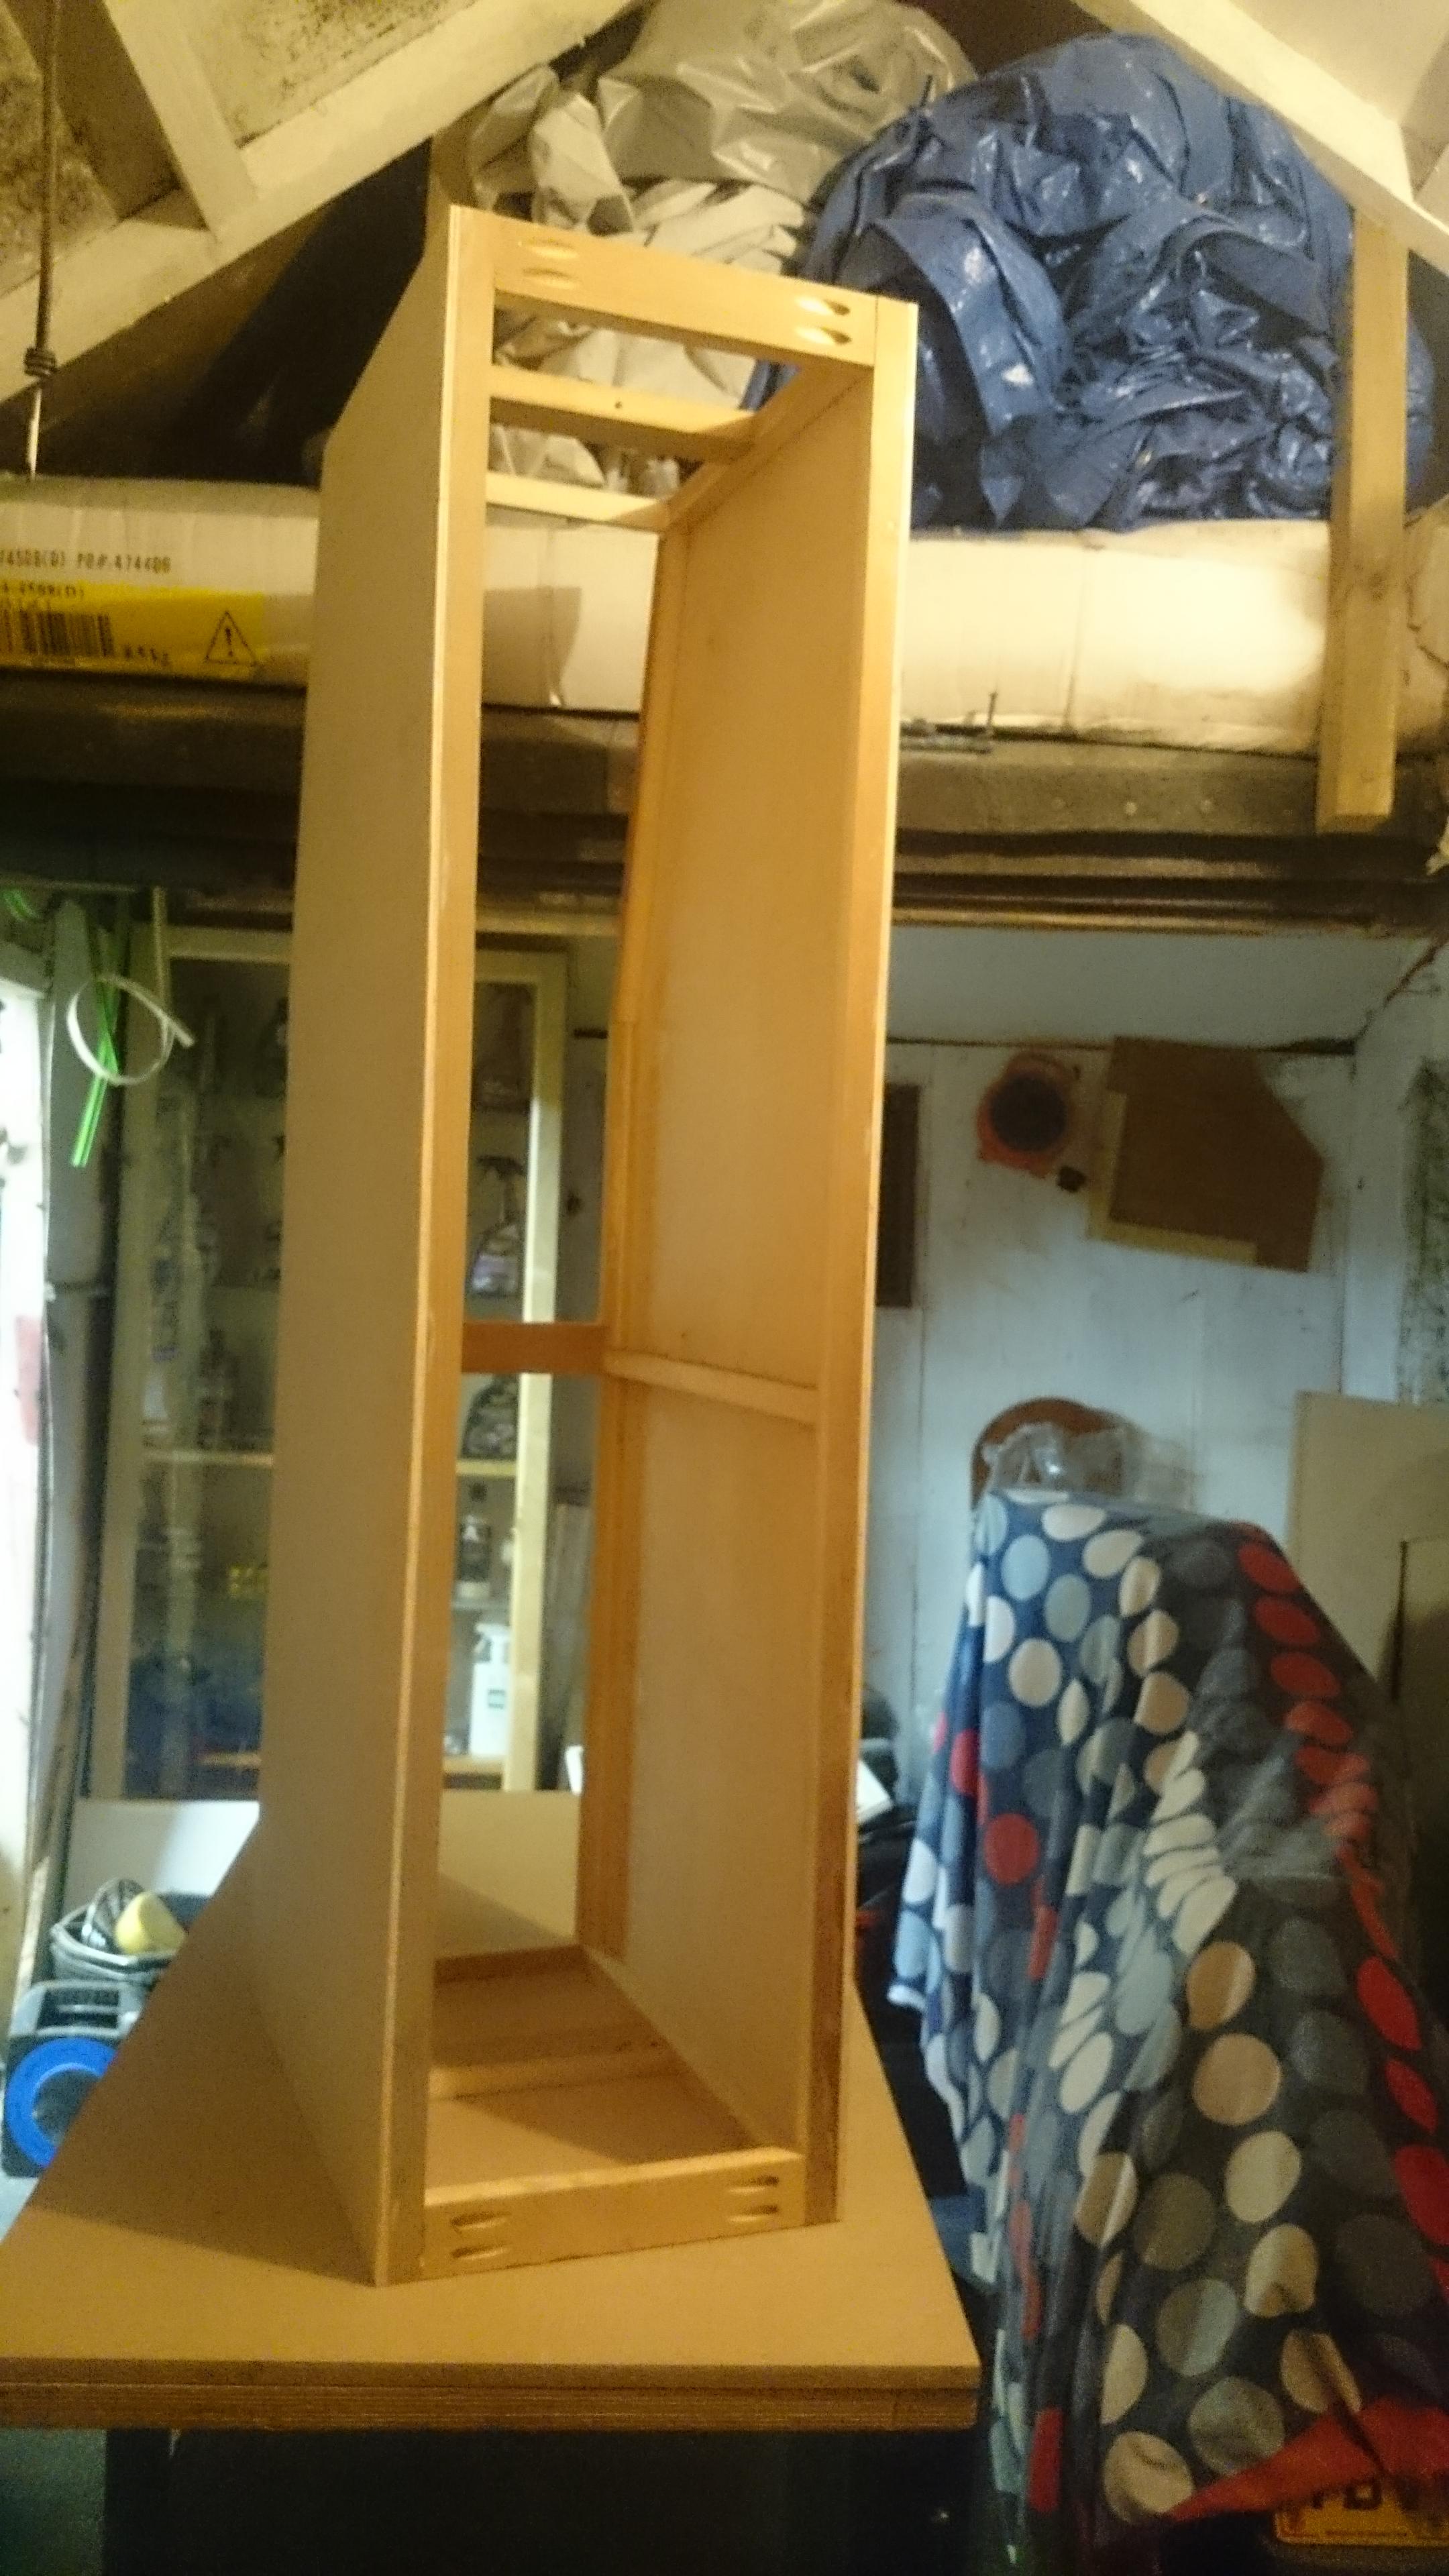
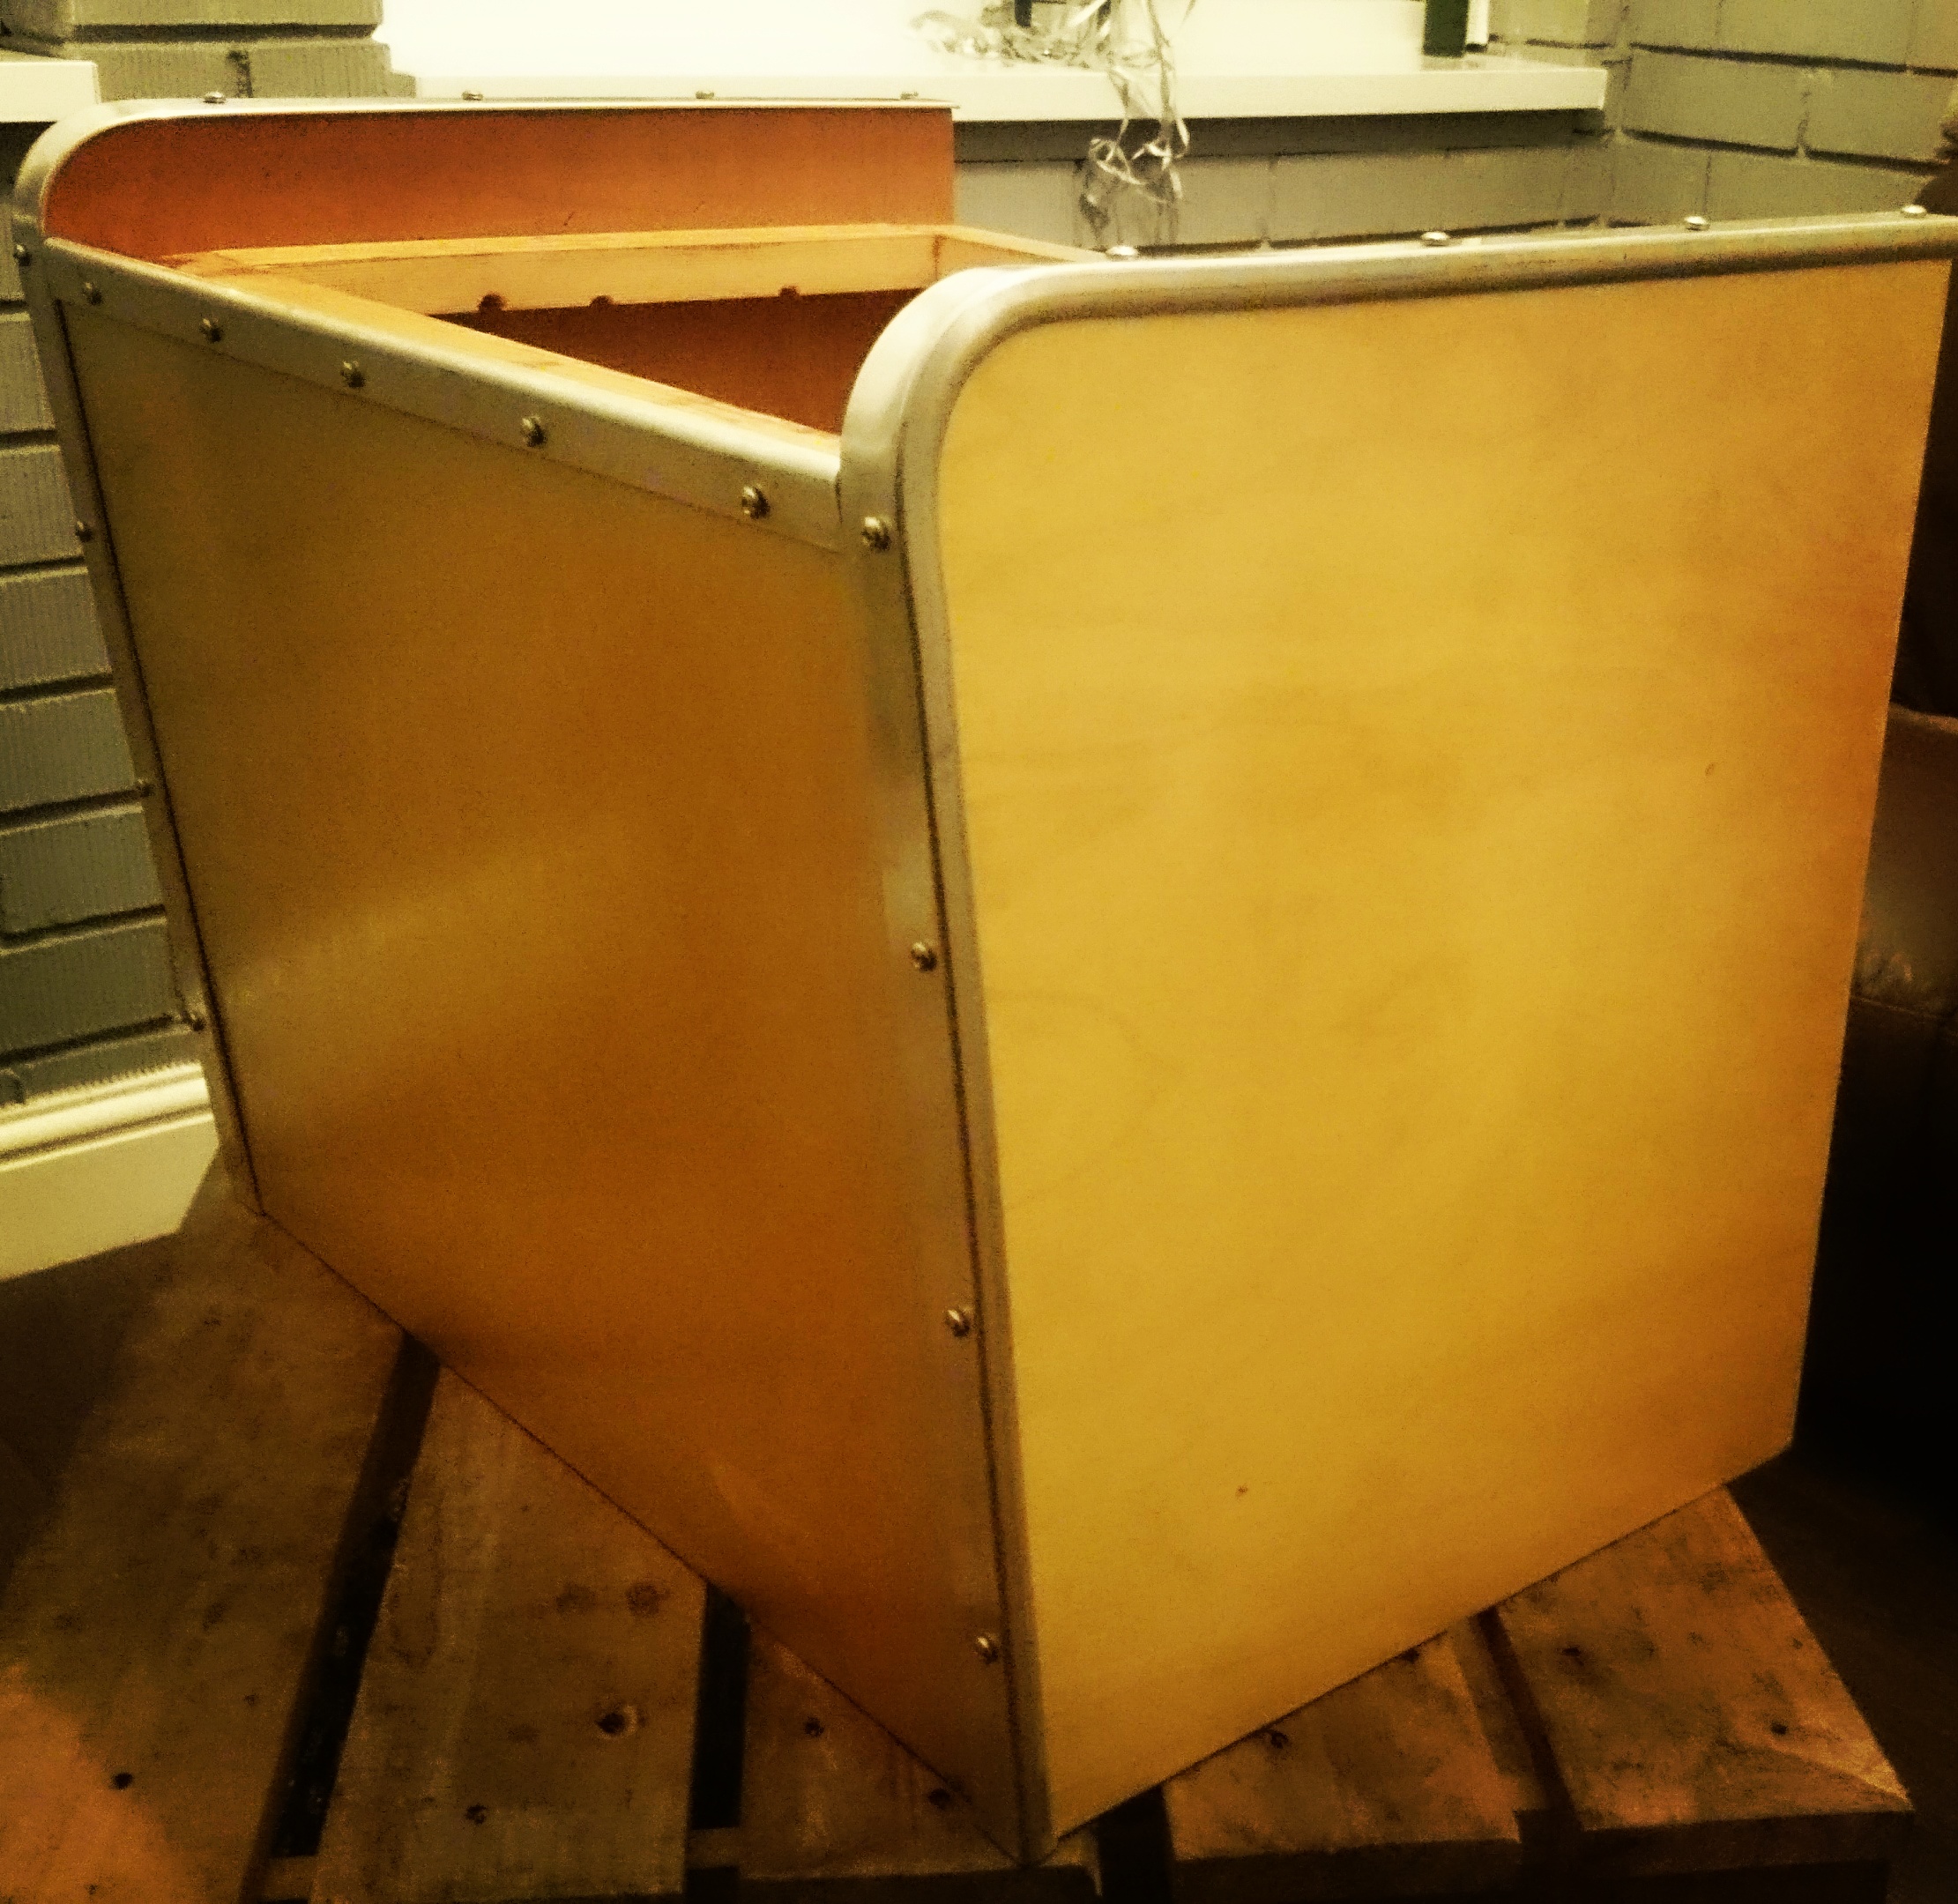
Basing the build on eriba style method. Thin wood and framing.
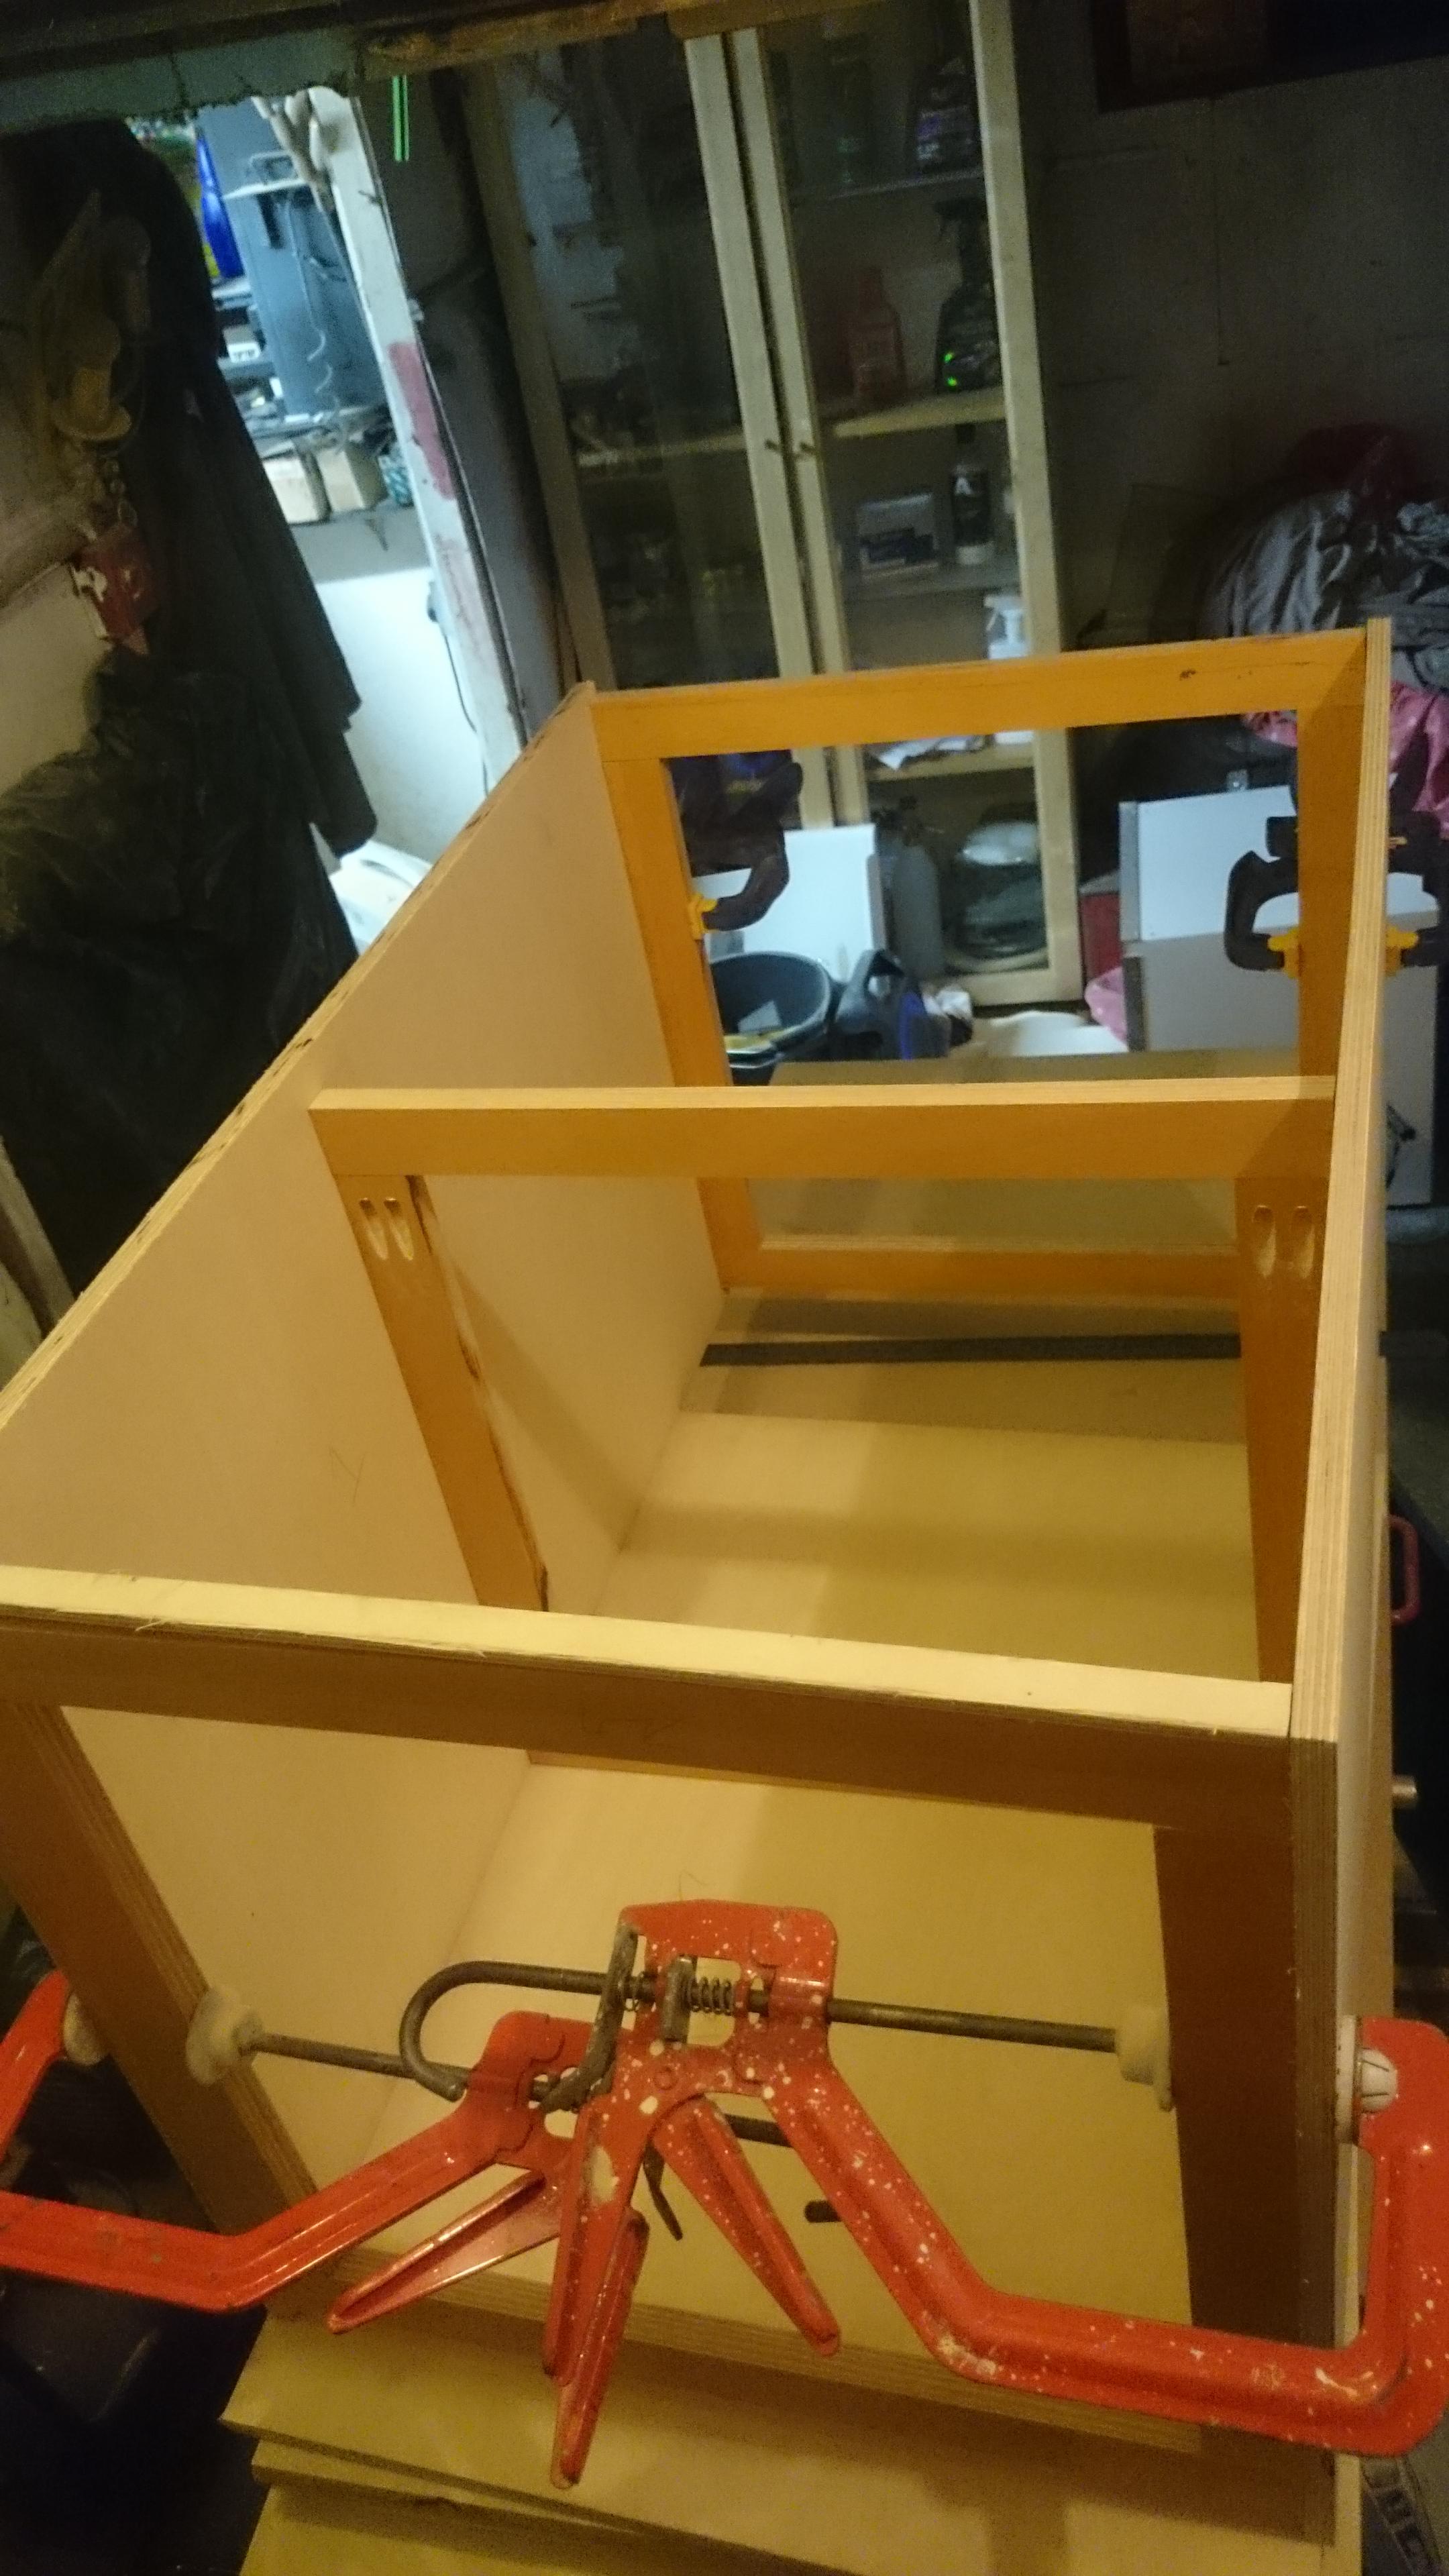
So all wardrobe parts cut out
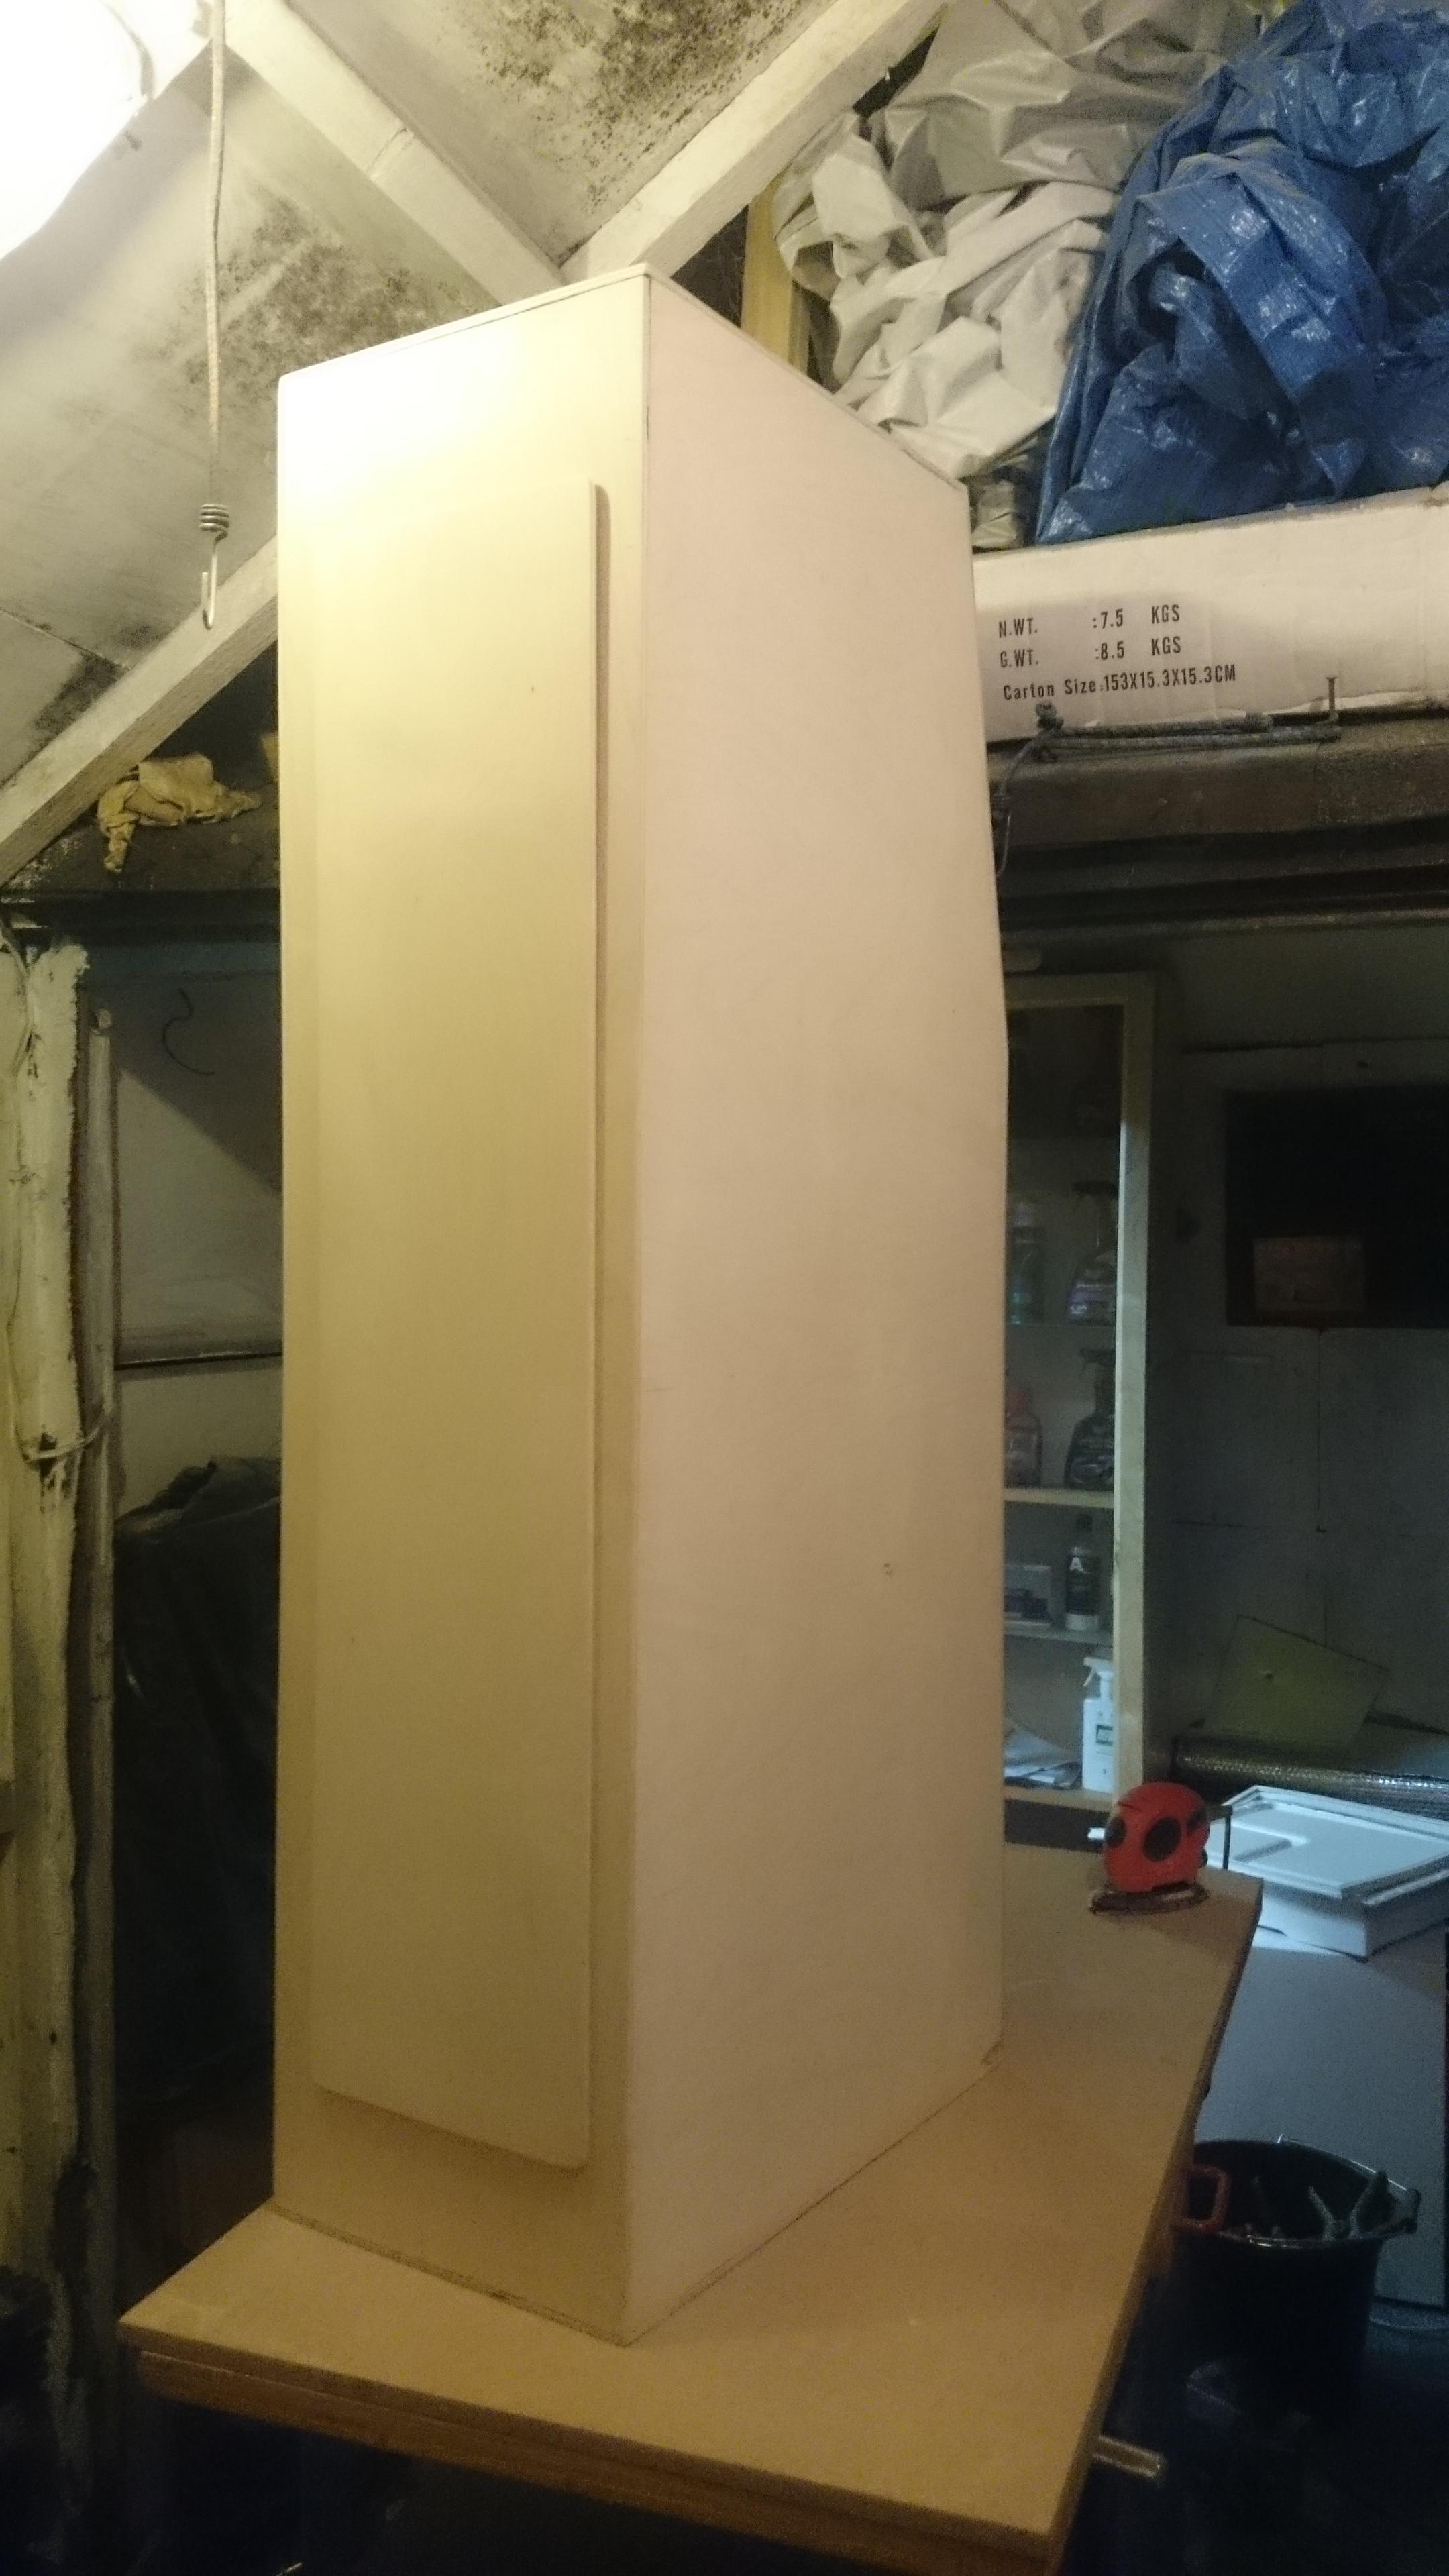
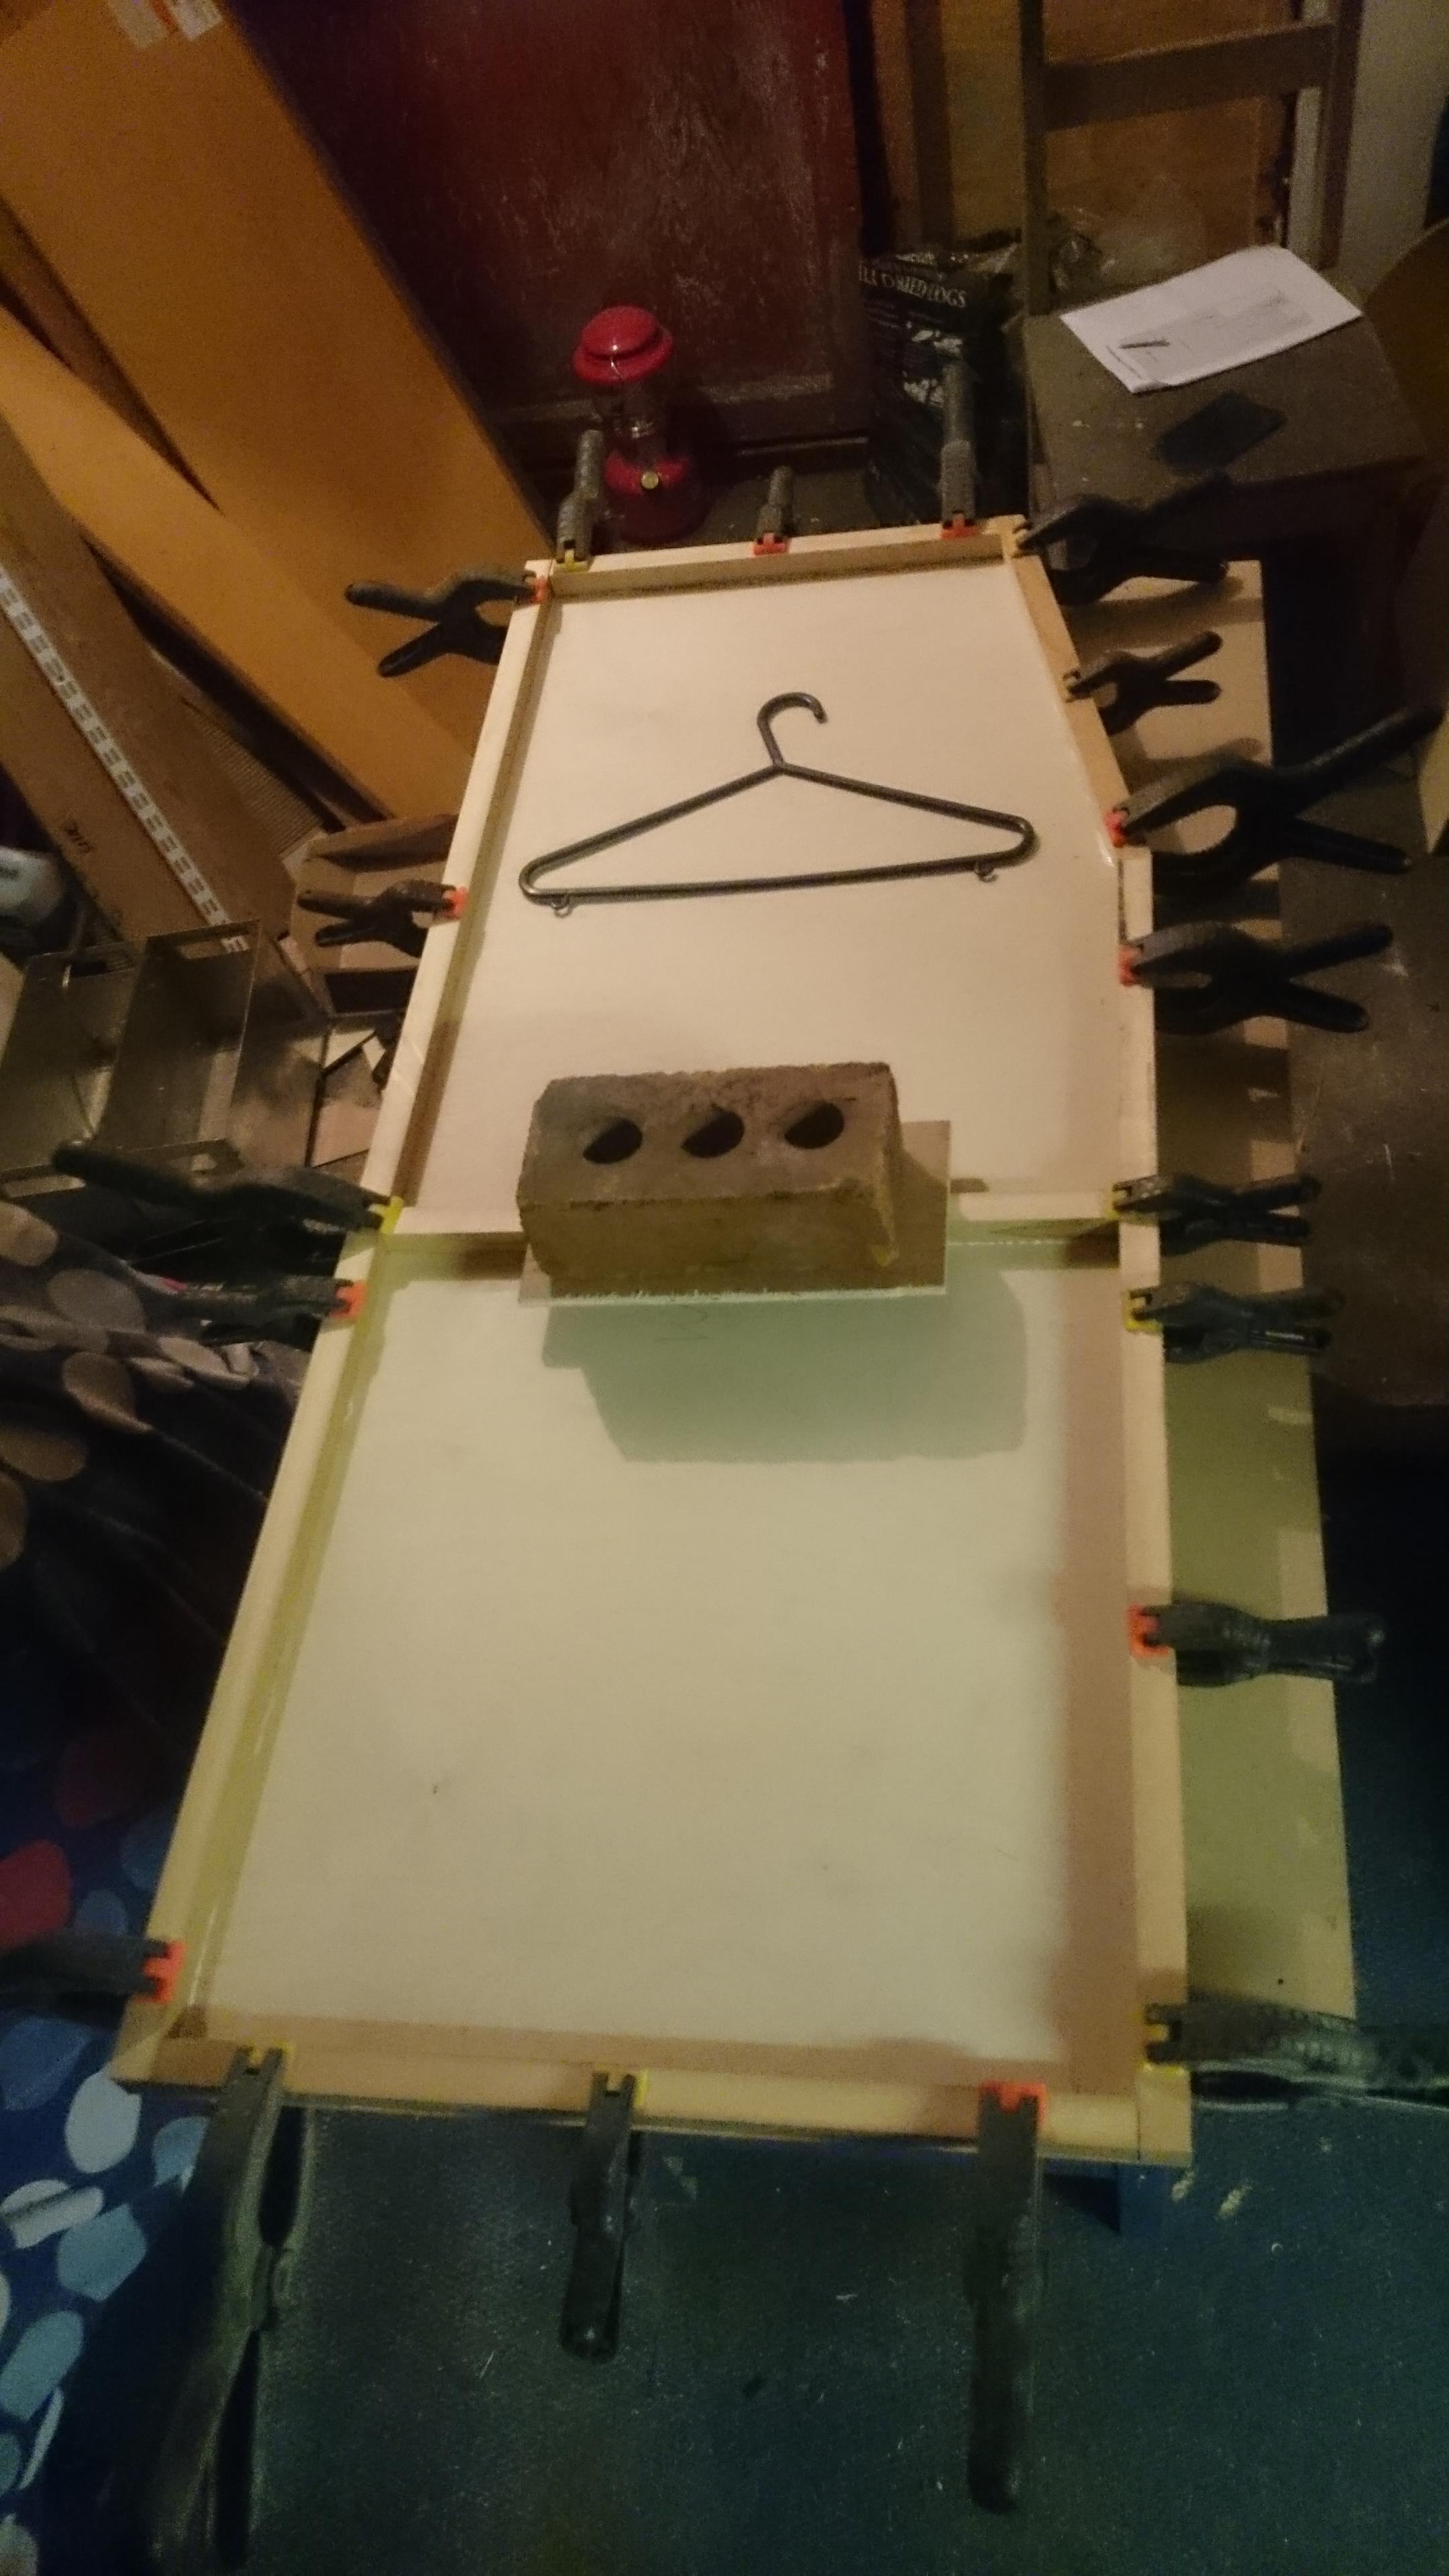
First wardrobe side glued up!
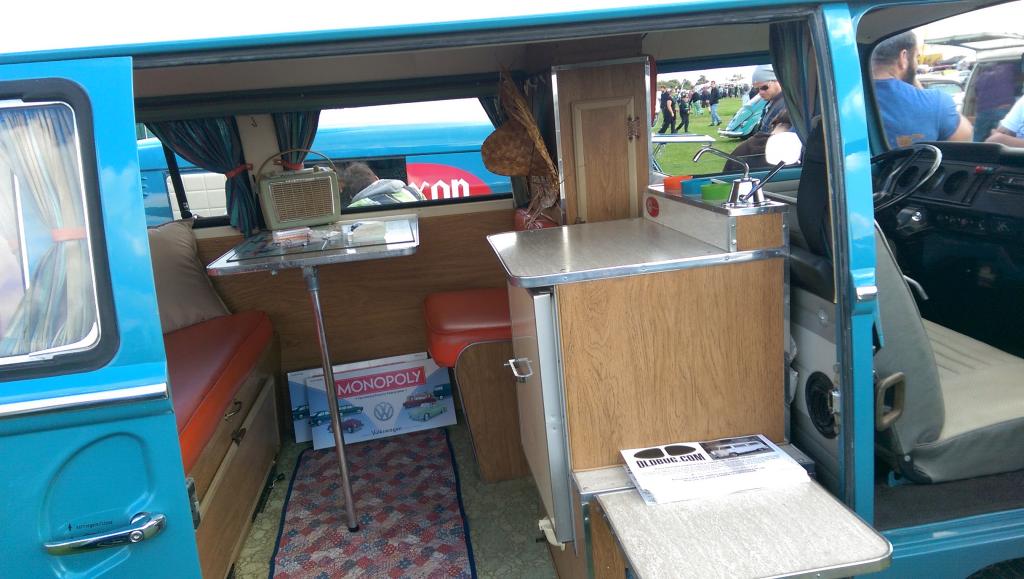
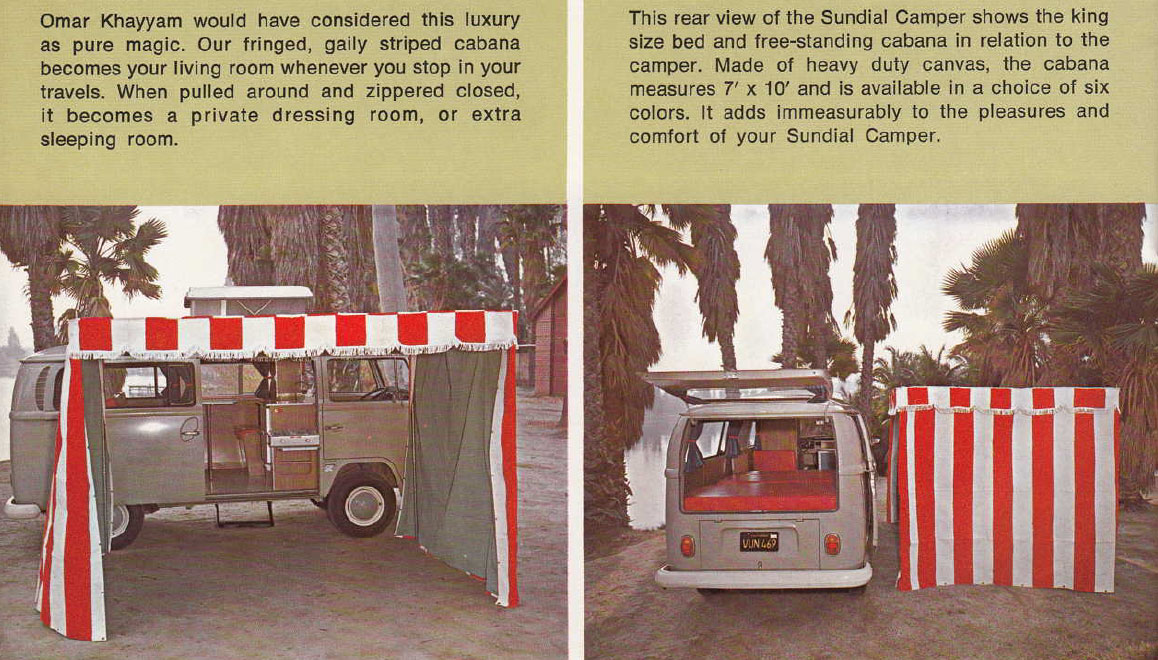
For reference, I'm loosely basing my interior on a Sundial layout I like. Kinda nice parts of a westy but with full bed and front wardrobe. Quite a rare layout but I like it. Plus it works for us three. After having a t25 with a 3/4 bed, never again. I'm too tall and fat for one.
Looking at the brochure I'm not sure about the cabana attachment or not!?
In short after 2 yrs my van is ready mechanically. Was never meant to be (AND STILL ISN'T) a total resto, just rust free, mechanically sound and all one colour. Dints etc all stayed as I like them
From this in March 2015
To this in late 2016. Took a while as have a little'un now. Basically body was done on the drive, spent most money on running gear. Except the timing, done everything myself. Sprayed it in rustoleum so looks crap close up but its all Neptune blue so I'm happy.
This will cover the next couple of months making a sundial-inspired interior on the cheap.
Heres a 3-day update
OK so after de-mechanising the shed, ive turned it back into a woodworking shed for the van interior
I plan on making a Wardrobe for behind the drivers seat, buddy seat, folding table, and fridge unit. Hopefully by the end of april.
Obtained some old shelving from work, I'm building the cabinet exteriors out of Birch ply but its expensive so for the insides/frames they will be made of anything I can find
Ripped one down already for 1x1 framing for the wardrobe
So wood arrived for the wardrobe/buddy seat and fridge unit yesterday yey!
Wardrobe is going to be made from 6.5mm ply, other stuff 12mm. To keep weight down.
To save material, money I found a good little bit of software. You type in the wood size, and cuts needed and it plots it all for you.
Need to cut it tonight before the sheets start to bow
Basing the build on eriba style method. Thin wood and framing.
So all wardrobe parts cut out
First wardrobe side glued up!
For reference, I'm loosely basing my interior on a Sundial layout I like. Kinda nice parts of a westy but with full bed and front wardrobe. Quite a rare layout but I like it. Plus it works for us three. After having a t25 with a 3/4 bed, never again. I'm too tall and fat for one.
Looking at the brochure I'm not sure about the cabana attachment or not!?