King & Link Pin 68 Swedish Bus

Early Bay Forum

Help Support Early Bay Forum:

This site may earn a commission from merchant affiliate links, including eBay, Amazon, and others.

mike.s

Well-known member
Joined
Oct 7, 2009
Messages
574
Reaction score
0
Location
Weymouth
Hi,

After photobucket and dropbox both screwed me over with pic hosting, thought i`d start a fresh thread.

Here`s some pics of when i first bought it - proper white, black and maroon dulux paint job - lovely!

B0_E5_DF29_3_A6_E_44_C4_AEF2_13129_E5_D7_EE5_zpszzshnc6p.jpg


B22_AD423_44_B1_4_CCC_9731_4_C059_D88357_E_zpsy2uuwm2t.jpg


425109_F7_23_E7_4_C5_D_884_D_C942_DC8_D8297_zpscbit9jpc.jpg


A193_A8_C3_4_B1_D_4536_AC94_206_E1124_C010_zps49wqn4iz.jpg


6_DDAC4_B5_96_C5_40_C5_AC33_C43515_EA811_F_zpso0ovgxsf.jpg


450_B2_D89_4217_4_AB3_8_C41_F3_E2152_DBC08_zpsojja8abq.jpg


Been rebuildmy imported swedish microbus this last 3 months. Had to weld in the all new sills and quite a few other bits - will stick some pics of that up eventually, but for the time being, here`s some pics of it finally driving out of the garage under its own power yesterday - i gave it a wash and had to take a couple of pics :)

Front needs to come down a bit still!


Hi Mike
Cool bus!
I've just got a set of wheels like that but painted.
what size tyres are you running?

Jay
 
Thanks Jay :)

They`re porsche 356 replicas 5.5 on the rear and 4.5 on the front - just been through a right palava trying to sort the tyres!

Its running 175/65/15s on the back and 185/55/15s on the front. Fronts there is loads of clearance - i`ll probably drop it a bit more i think - or i coudl stick some bigger tyres on even if i had some. Those sizes are right by the way - wider on the front - only in numbers mind. When the 185/55s are fitted to the 4.5 inch wheels they are pulled narrower so when measured are actually 165 wide.

I had 185/65s on the back originally and i just could not get them on! They wouldn`t clear past the arch when i came to drop it on the floor. I put the 175s on and it cleared - there is about 10 mm gap between the tyre and arch when its sat on the floor - think they tuck in a bit.

Other people have run 185/65s though - see my thread in the tech section - i have no idea how they got them on!
 
The front of the van is on a standard late split beam with dropped spindles and then i welded adjusters into the beam.

The split beam narrows the stance on a bay anyway by about 2 inches and drops it a further inch on top of the dropped spindles.

So straight off, you have a 2inch narrowed beam thats dropped 4.5 inches on completely stock geometry suspension. I like the idea of this and i`ll also have no fear of bottoming out ball joints or splindles that are welded or have upside down ball joints.

Also with the stock split beam, i get all the steering damper, seals, needle bearings, shock mounts as standard factory.

 
Well, all Mot`d now at halfords (of all places!) - its the nearest mot station to my house which was required considering it was the first time it`d been driven on the road in nearly 20 years!

Didn`t drive too badly considering apart from the exhaust catching the speed bumps outside my house.

Failed first time on headlights and a leaking rear brake cylinder so not too bad. Made some brackets for the headlight bowls and fitted later H4 units which are mch better and replaced the cylinder and all was good :)

Passed!!!!

Sent off the DVLA registration form the other day so will wait for them to churn through their process!


Well finally getting round to looking at my white, red and black brush painted paint job !

Somewhere under there is lurking the original lotus white paint.

I`ve tried everything - graffiti remover (several brands), acetone, thinners, nitromors - nothing touches it!

Yesterday though, got some Oven Pride oven cleaner (evil stuff) - brushing this on and using wire wool to seems to soften it and thin it out, then i use wet and dry 400 grit to get rid of the last bit. This seems to be my best bet at the moment - but progress will be slow!

Heres a couple of pics -

....well , i`ll upload them later when the image hosting isn`t erroring!
 
We are registered! DVLA came through :)

Plates are ordered, although i made up some temporary ones and finally got round to fitting my interior!

Thought i`d better give it a clean before that though and its coming up nicely.

A skeleton even found his way into the van!


Well - unfortuanately, my engine has buggered - the flywheel nut came loose and damaged the crank and flywheel!

So its first bottom end rebuild for me! Was thinking of boring it out, etc while we`re there, but i`ve picked up 2.0 Type 4 engine and i think i`m going to use this, so it also needs a rebuild aswell, but might have some fun with it too :)

In the meantime, i`ve stolen the wifes beetles engine for my van and got some new wheels - hurrah!

4J 15 inch Beetle Steels :)

IMG_20171217_094444.jpg


IMG_20171217_094530.jpg
 
Been removing the horrible brush paint stuff - slowly getting there. Also drove to the top off portland today - with some support (just in case!) and then ran out of petrol on the way back. Lesson leart there -don`t trust an unknown 50 year old fuel sender!

IMG_20180106_090526.jpg


IMG_20180106_090514.jpg


IMG_20180106_090506.jpg


IMG_20180106_090453.jpg


IMG_20180106_090536.jpg
 
And the heaters work the best i`ve ever had in an aircooled vehicle - Hallelujah!
 
Paint is slowly coming off - wet and dry 240 grit by hand - my poor arms!!

I finally think there may be more lotus white there now than dulux...

IMG_20180127_125938_1.jpg


IMG_20180201_195756_1.jpg


IMG_20180125_192654_1.jpg


IMG_20180125_191108.jpg


IMG_20180130_201659_1.jpg


IMG_20180127_125946_1.jpg


White (ish) bumpers!

IMG_20180128_091533.jpg


IMG_20180127_125932_1.jpg
 
While all this has been going on, i have also picked up a 6 Rib Late Bay gearbox which has the shorter shaft swapped over with a Rancho bellhousing fitted too. I `m praying that the gearbox is ok inside - apparently was driving a bus around!

Also, i should be finally getting my engine bits back from the machine shop on monday / tuesday next week :)

I decided not to use the Type 4 as it looked a bit of a faff with the tinware, etc - so that will go in the beetle eventually - should give it a bit of umpph!

I am going to attempt by first bottem end build -done loads of heads, pistons, etc, but never split the case, etc.

I`m getting it bored to 94mm , using stock ported heads, dell 40s with 32 chokes, fully balanced crank assembly, stock cam with 1.4 rockers and the same exhaust as before.

We shall see how it goes! Just take my time, just take my time, i keep telling myself!

Saturday - engine out and 1600 gearbox (which works fine and is for sale if anyone interested!) and new gearbox in and temporary 1600 engine back in. Will be a little sluggish on that big gearbox, but hey ho - better than no engine!
 
Box and engine out- new 6 Rib ready to go in and now all in :) Fitted fine!

Think the 1600 might be a bit sluggish for a while!

IMG_20180202_202414.jpg


IMG_20180203_082132.jpg
 
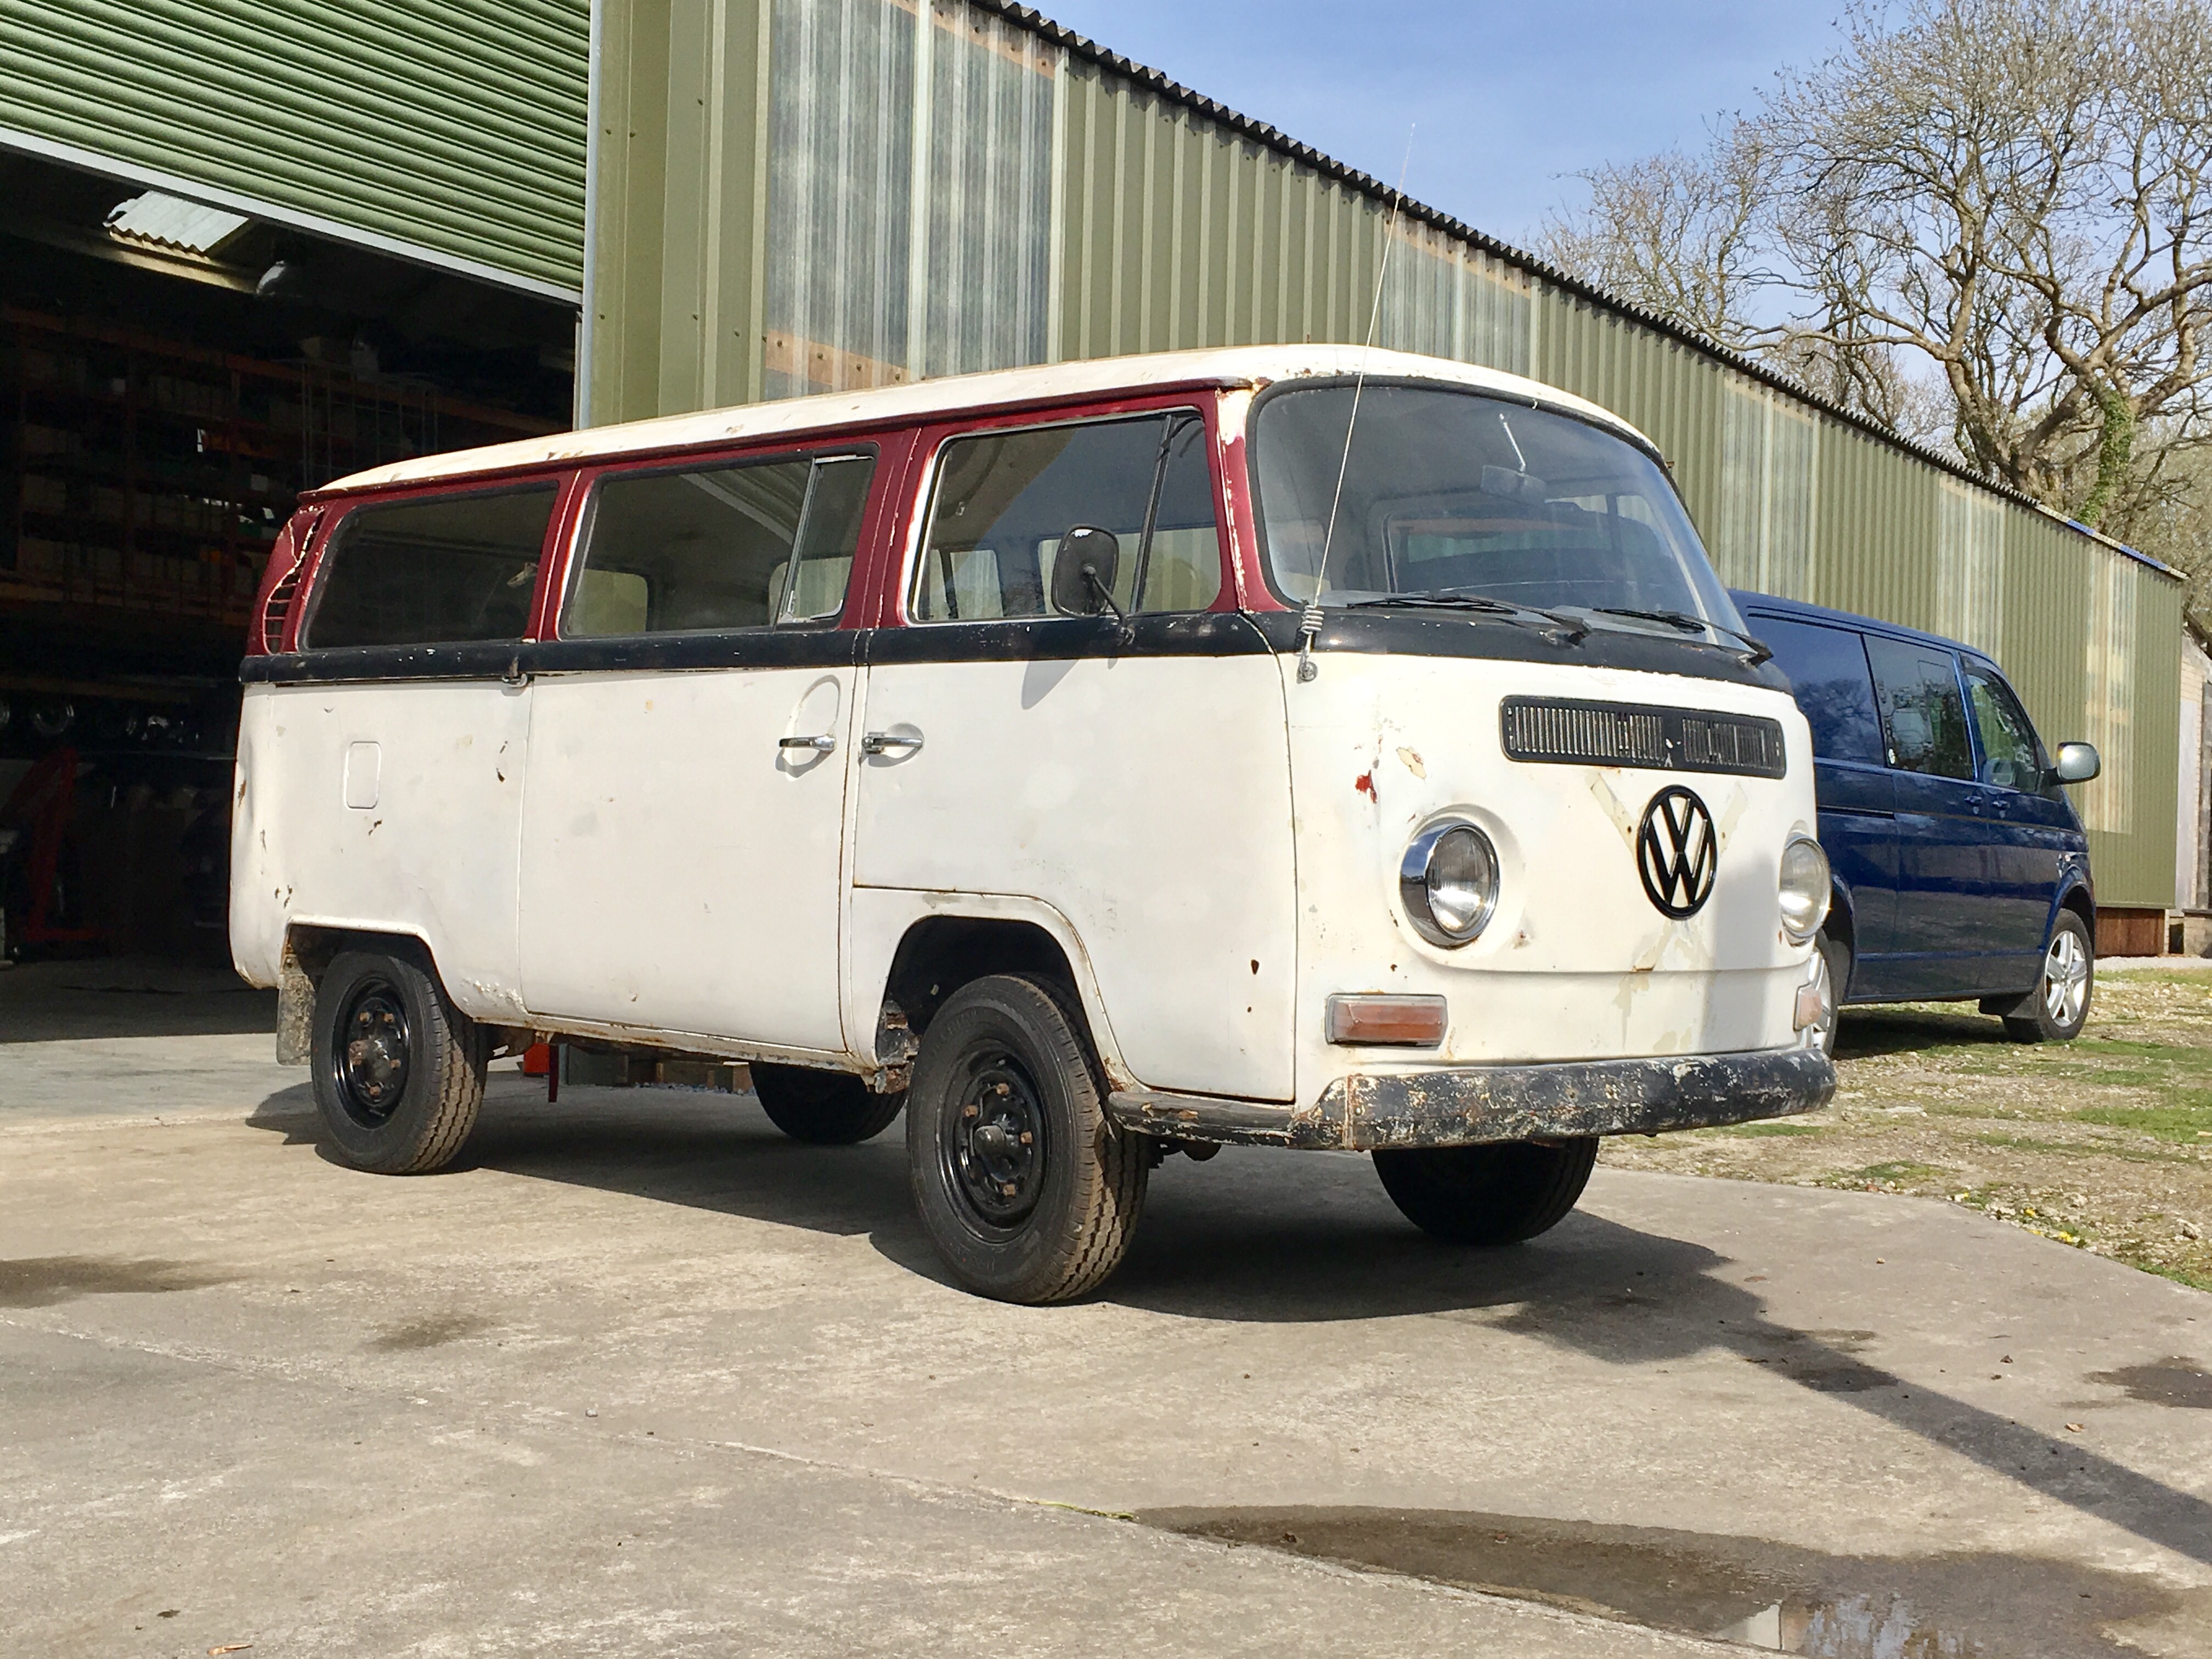
So probably about time for an update!

The 6 Rib is in and actually the 1600 isn`t too bad at all although i`ve not been up any long hills yet! Fine for pottering around town in!. I have found that the van doesn`t appear to be revving its nuts off anymore so thats a good thing :)

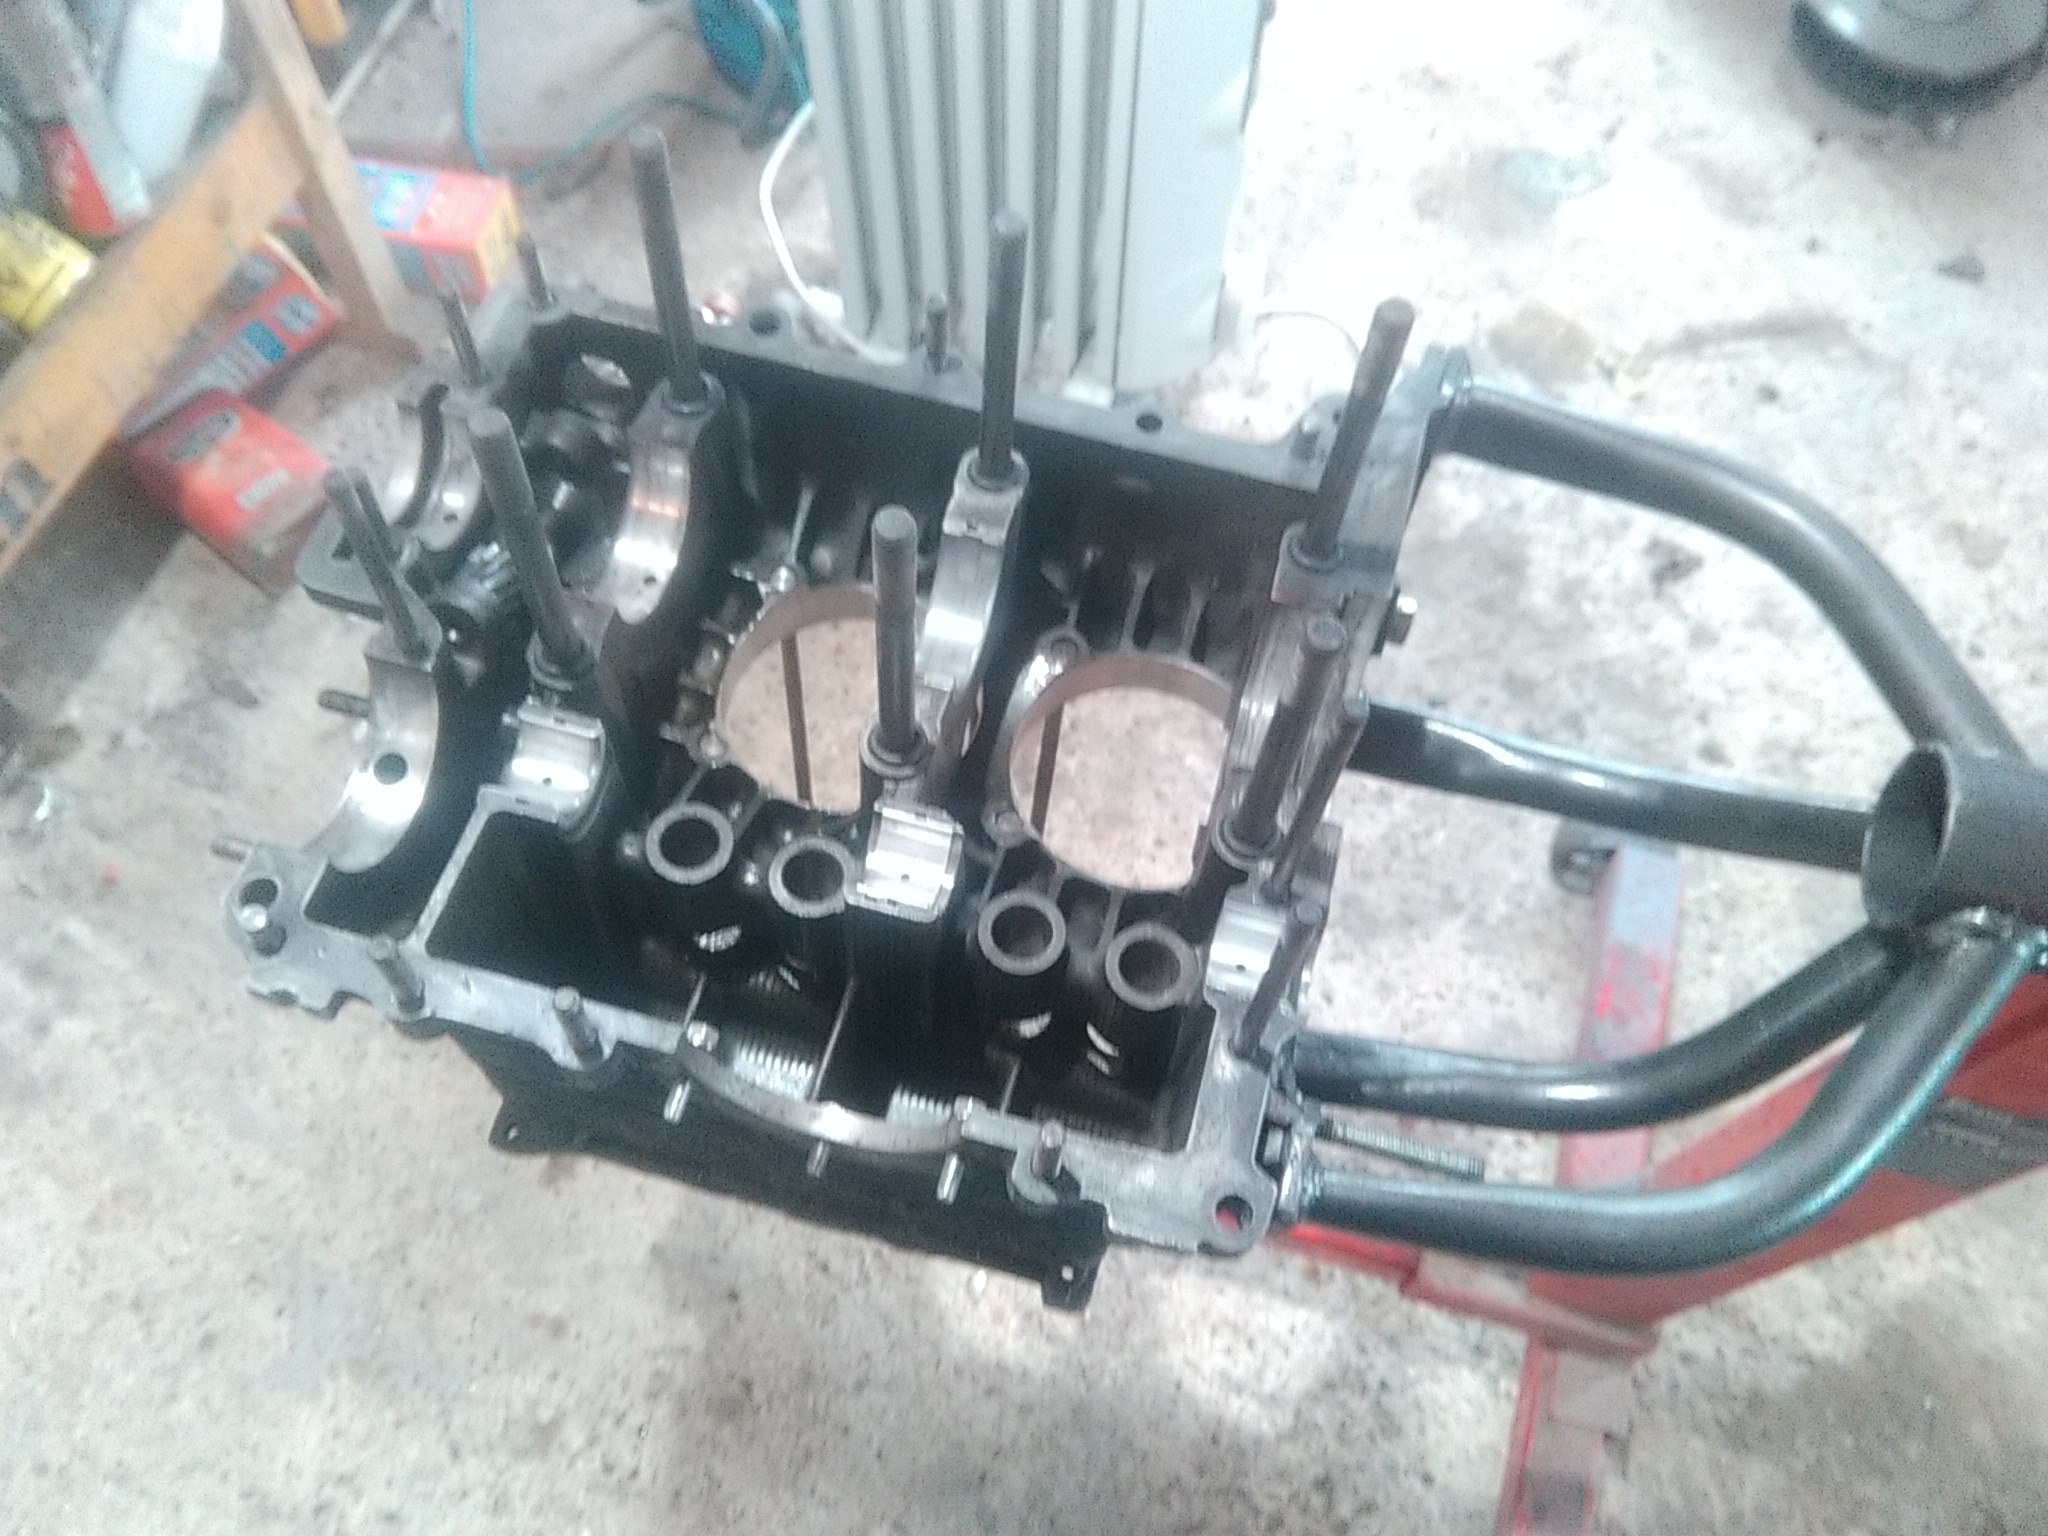
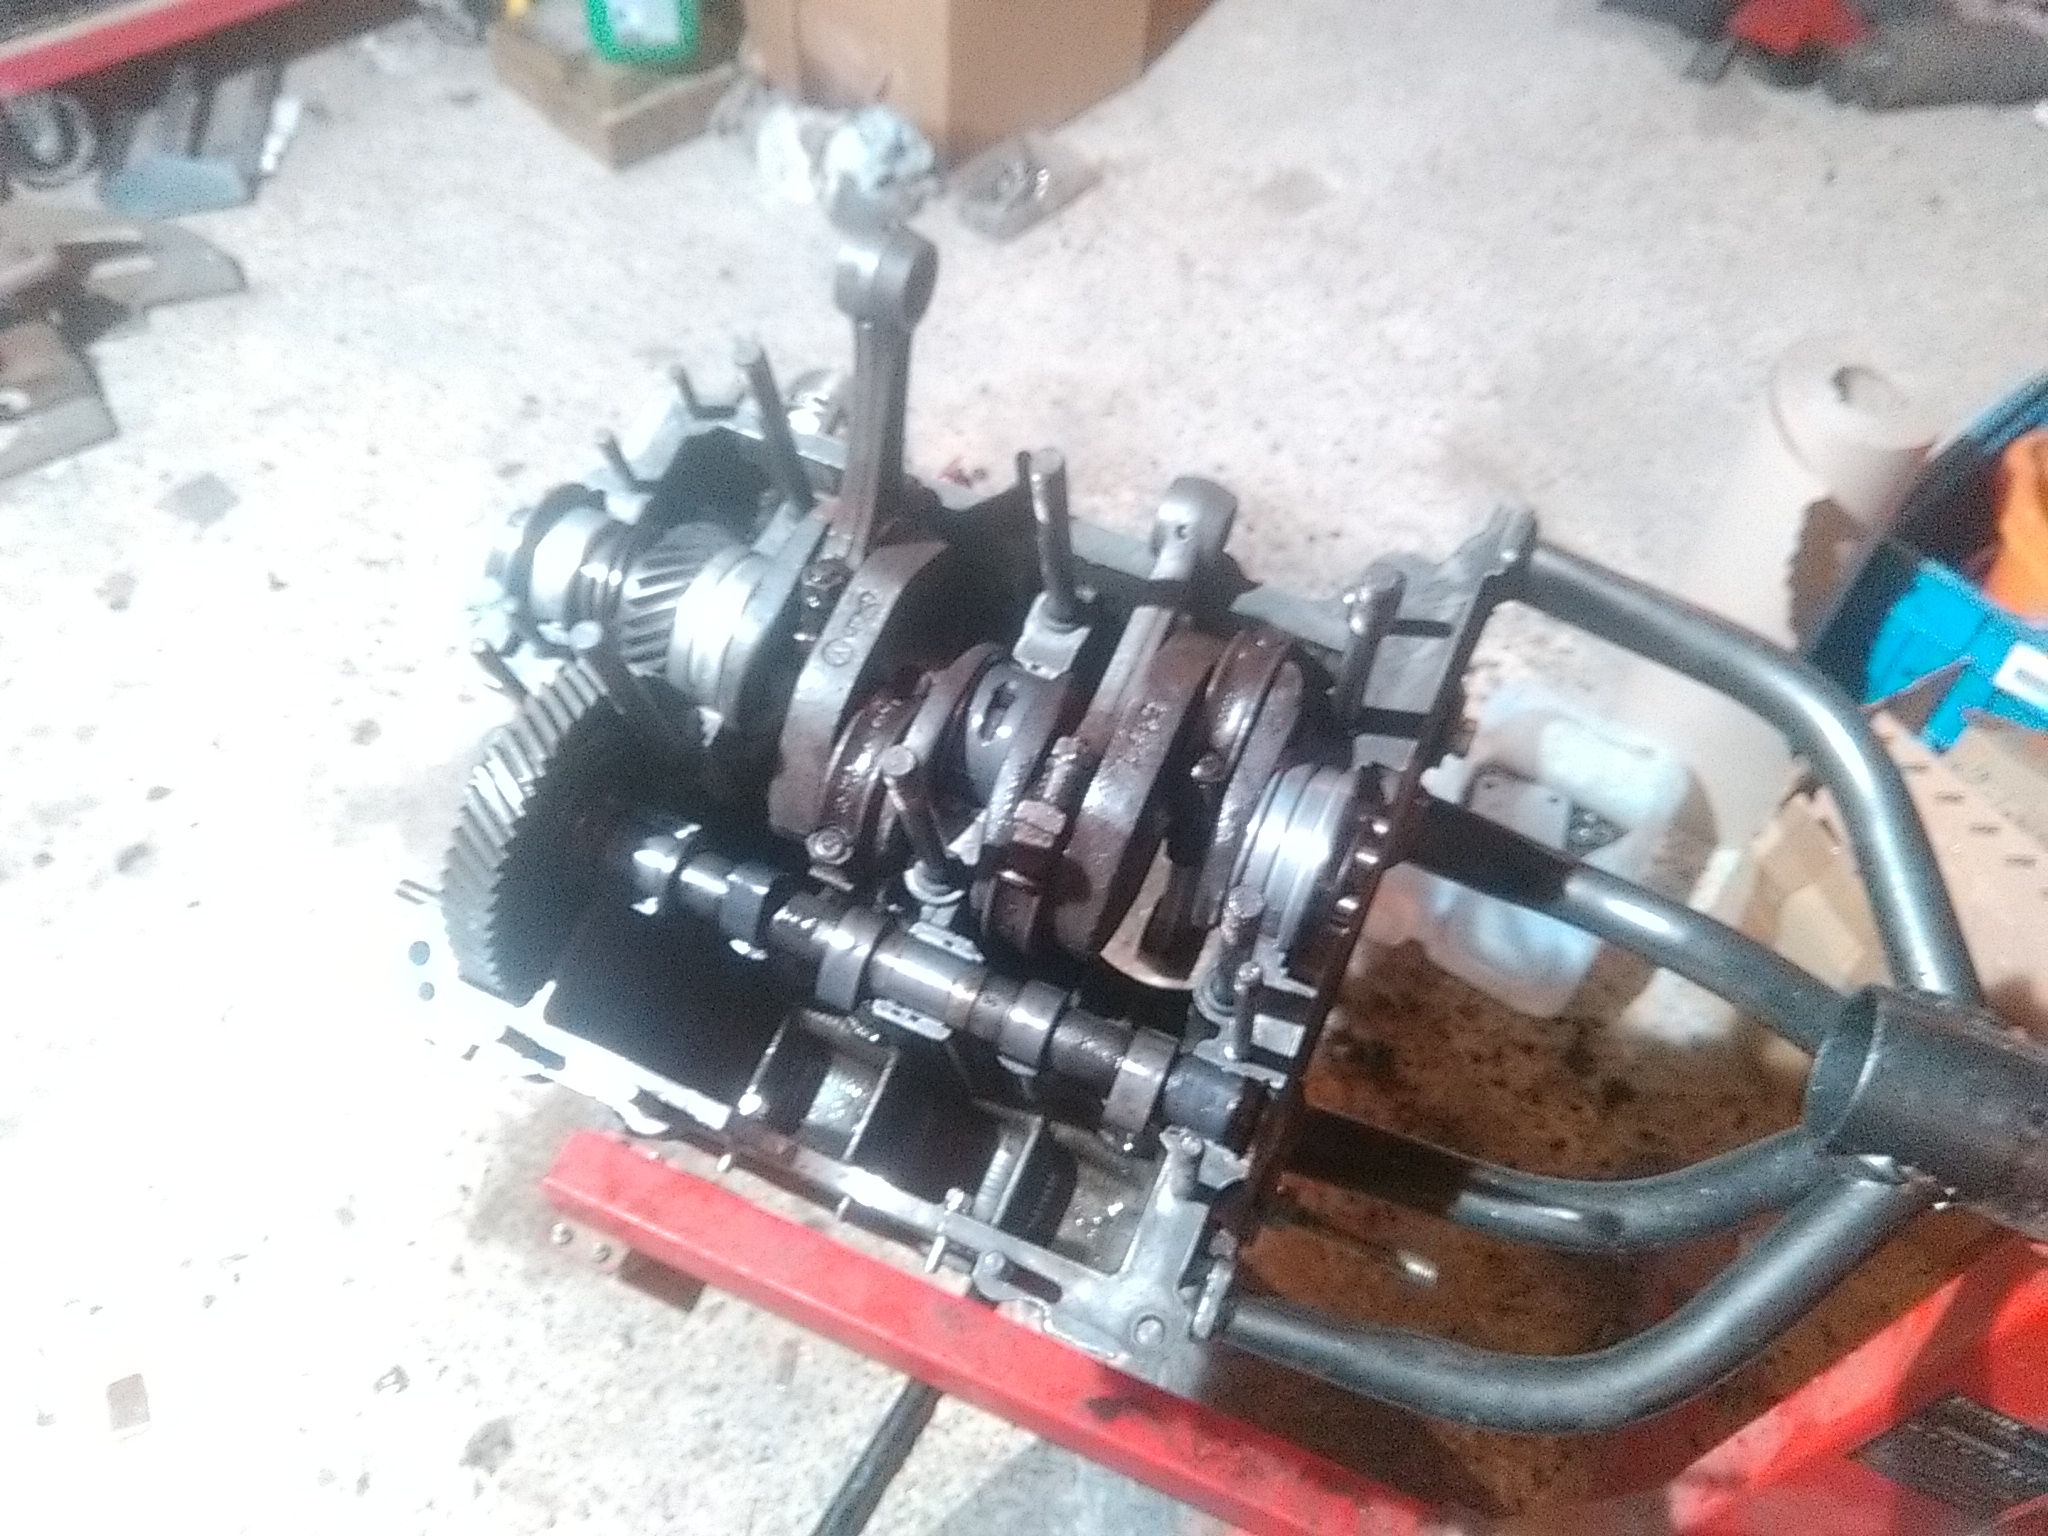
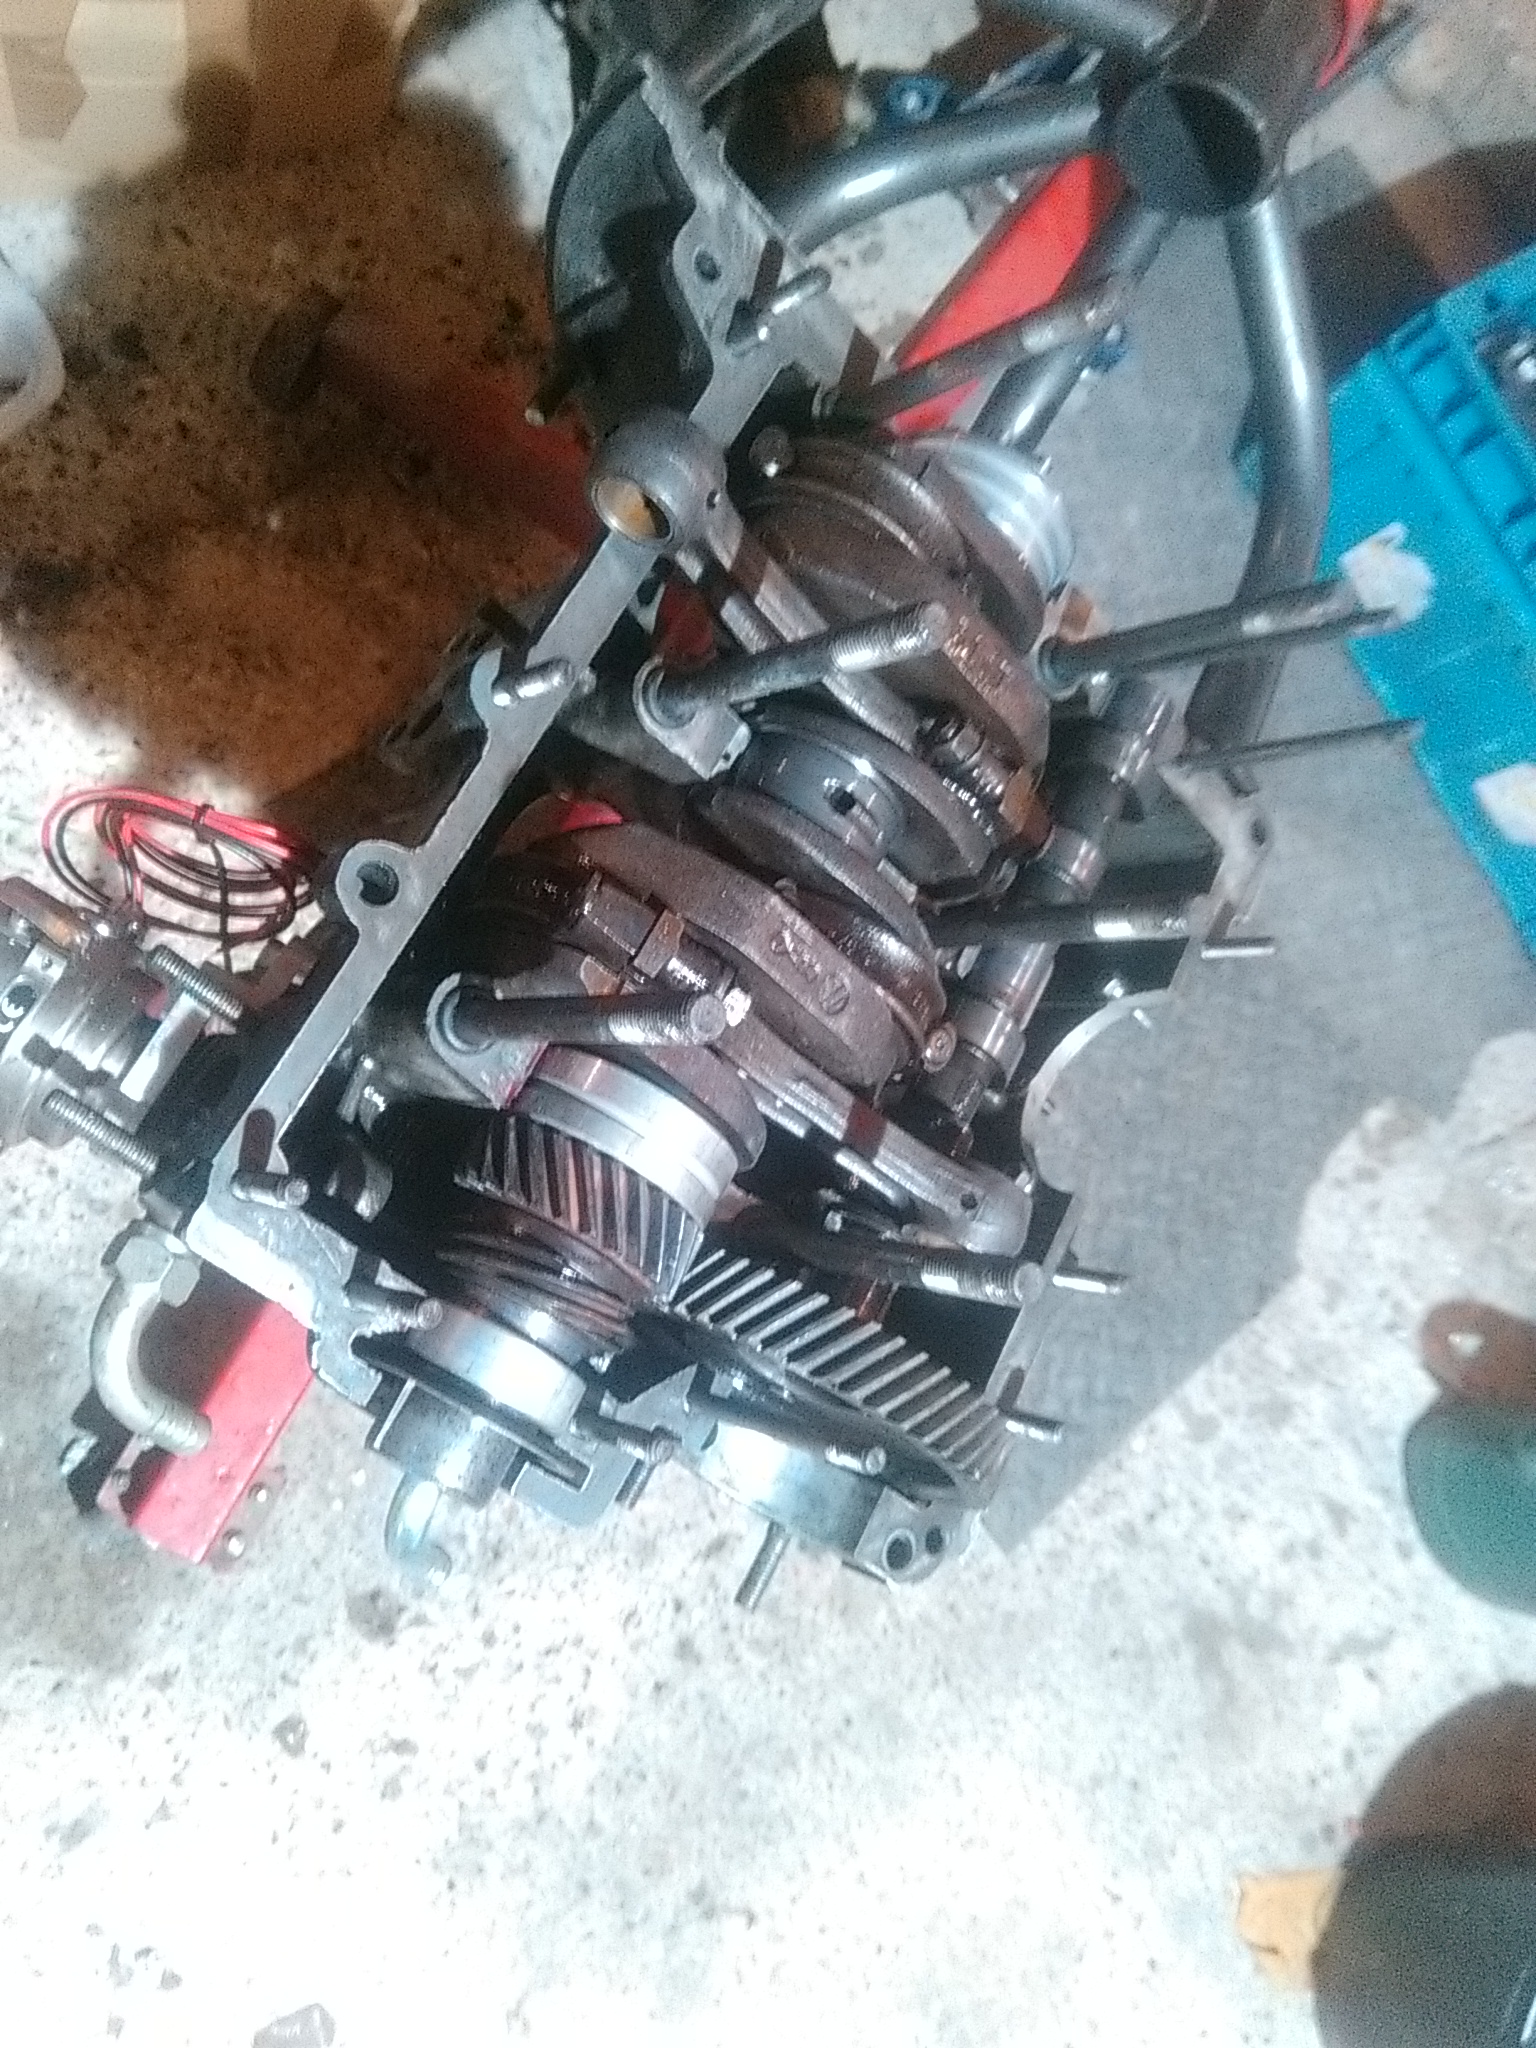
Between sanding the old brush paint of , i`ve been building my engine up. Ihave actually built the short block about 4 or 5 times now!

First time, i forgot the oil thrower washer - doh!

Second time was to repair two of the studs on the edge of the case which had pulled their threads with a couple of helicoils.

Third time, the machine shop had made a mistake and one barrel hole in the case was not mahcined perfectly in line with a step in it so the barrel woudl`nt go in!

Forth time, i didn`t realise but the edges around the barrel holes in the case has been spot faced for barrels with a small edge to them. My barrels have got a thicker mating surface so were sat on the rough case rather than the machined edge!

I also had more bad luck with one of my barrels had actually been cast incorrectly and was oval so would`nt drop into the case easily! The mahcine shop fixed that for me for free. To be honest they had no quibbles about putting the errors right and luckily are fairly local to me. Guess i`ve had plenty of practice now tearing down and rebuilding the short block!

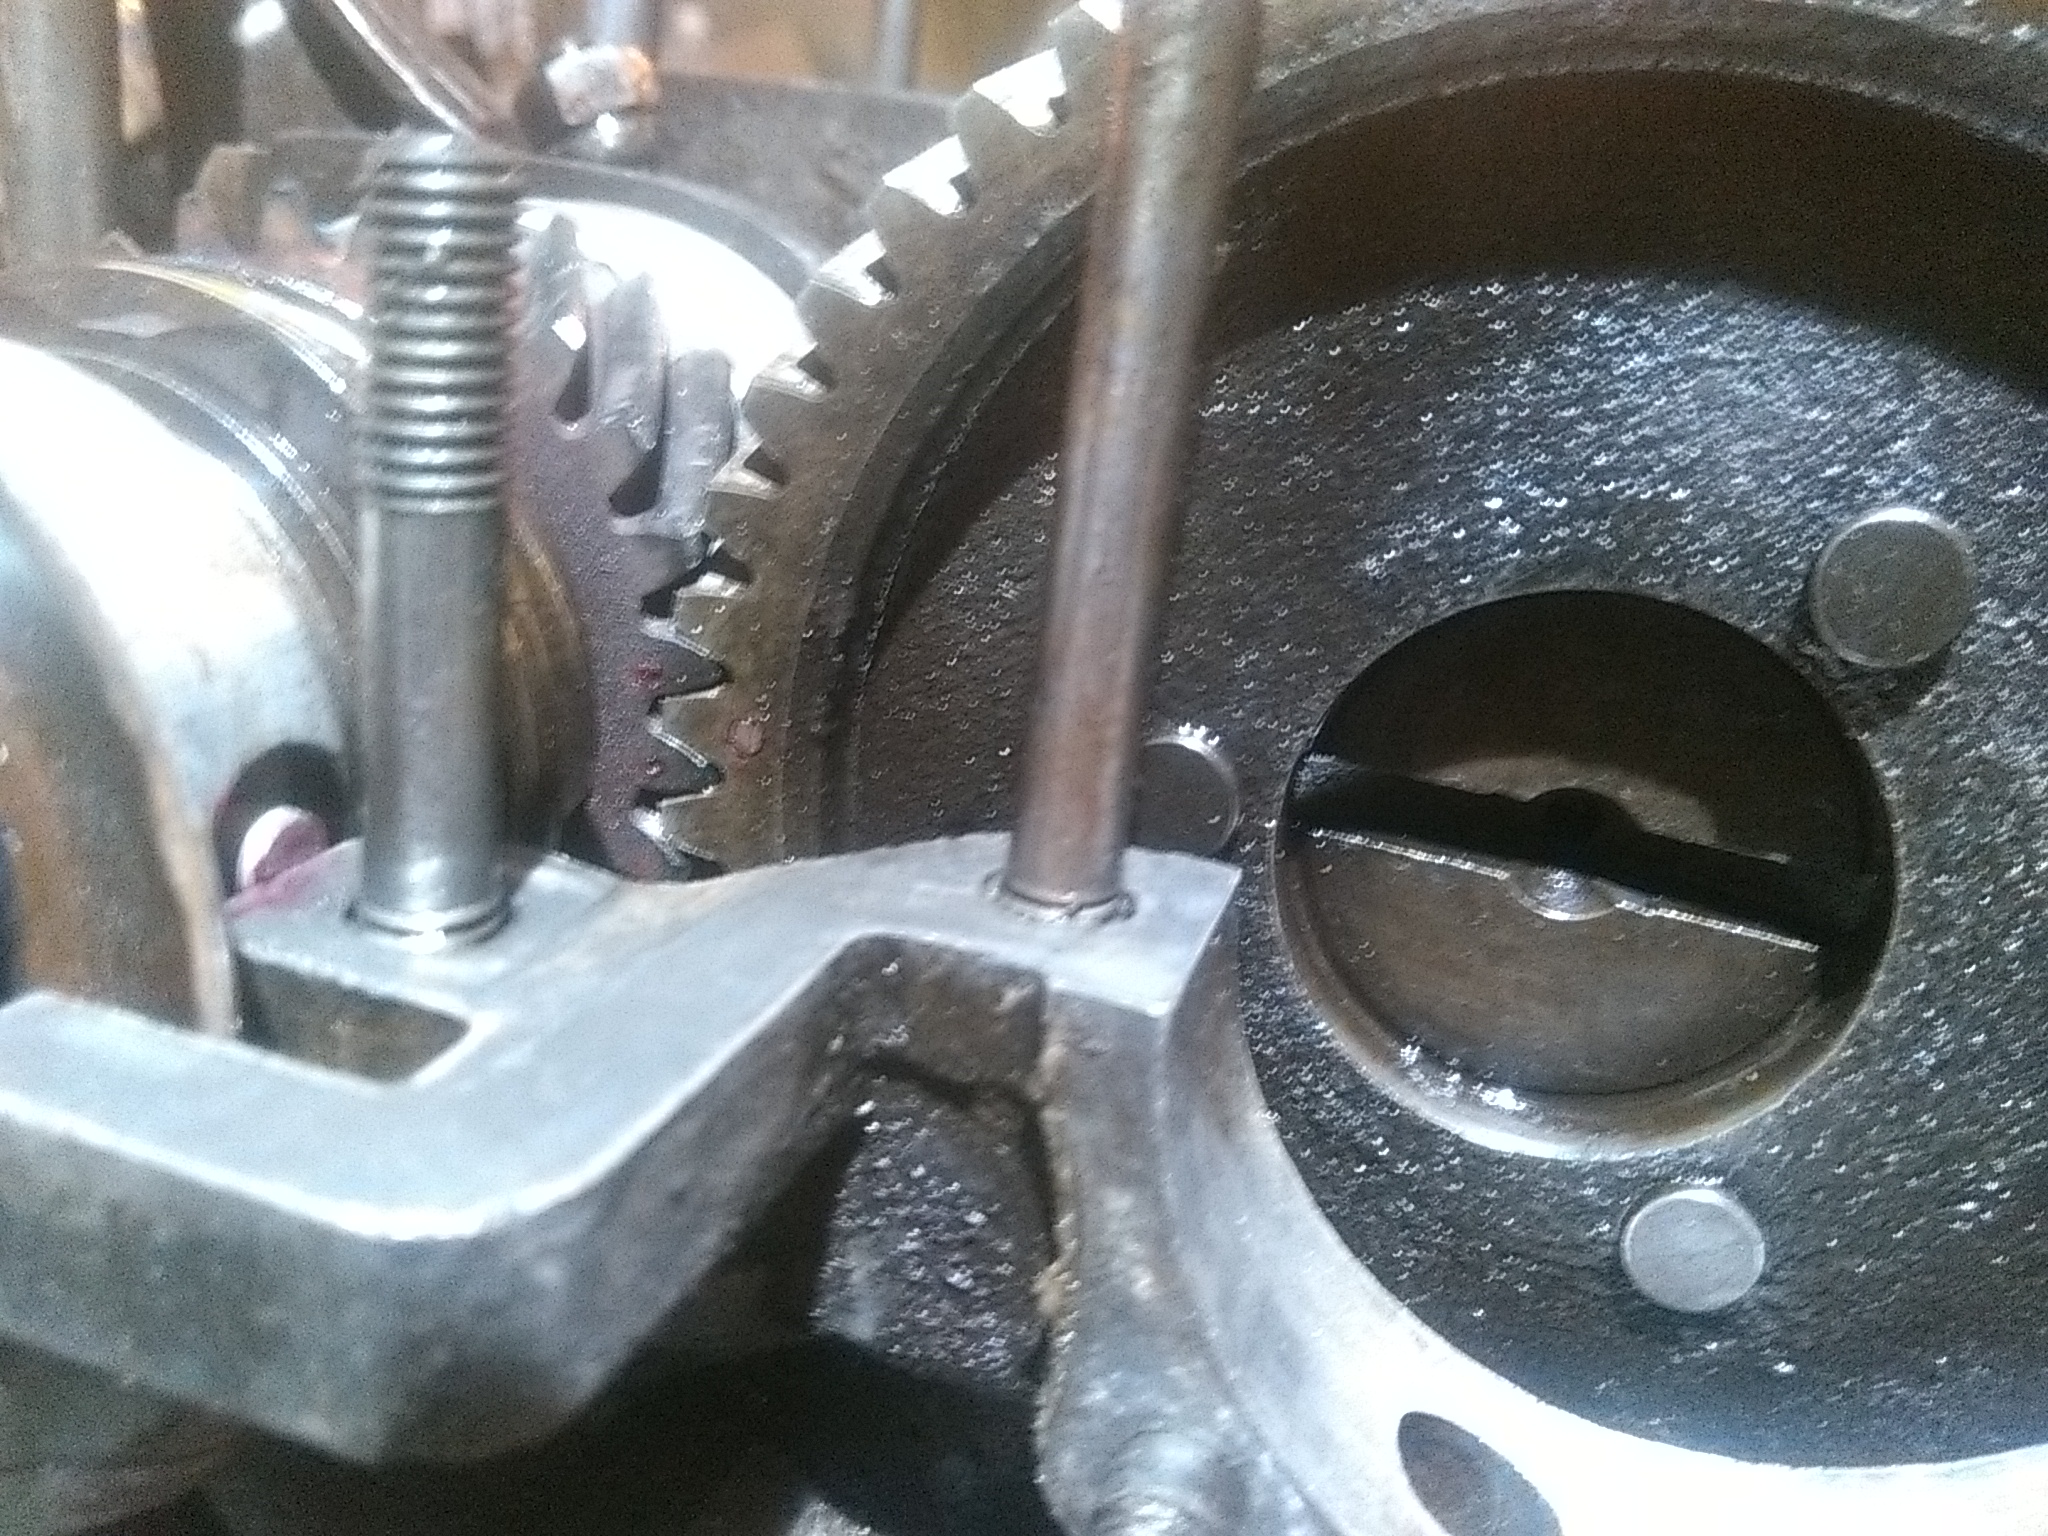
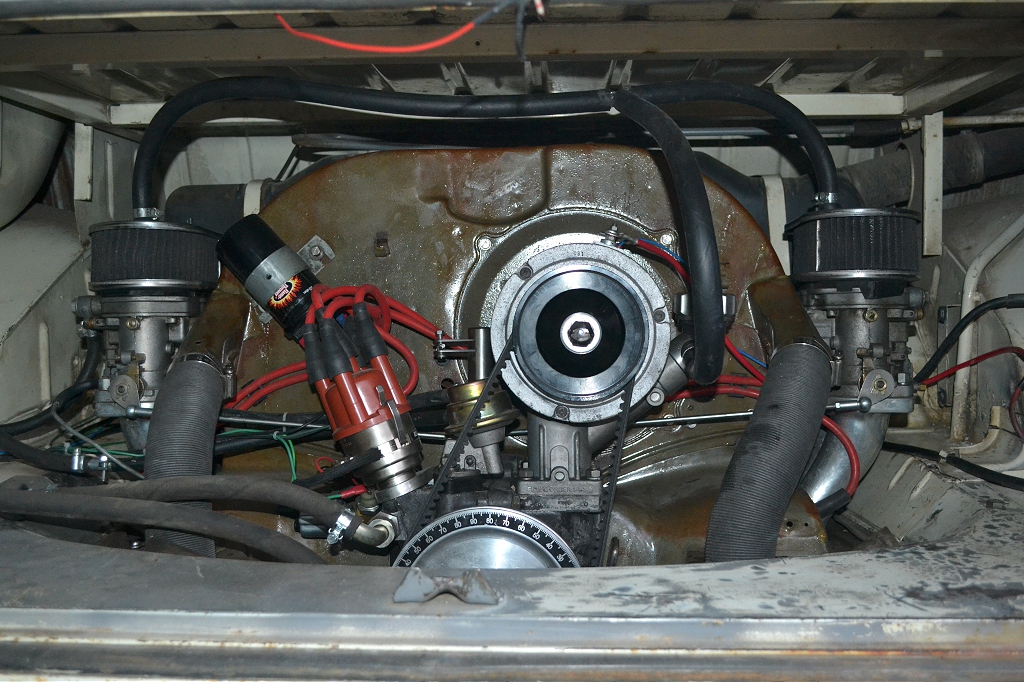
Some random pics of engine assembly including one of the timing marks lining up so i can`t wory about that later! -

IMG_20180302_110100_1.jpg


IMG_20180308_184107_1.jpg


IMG_20180308_184048_1.jpg


IMG_20180308_184032_1.jpg


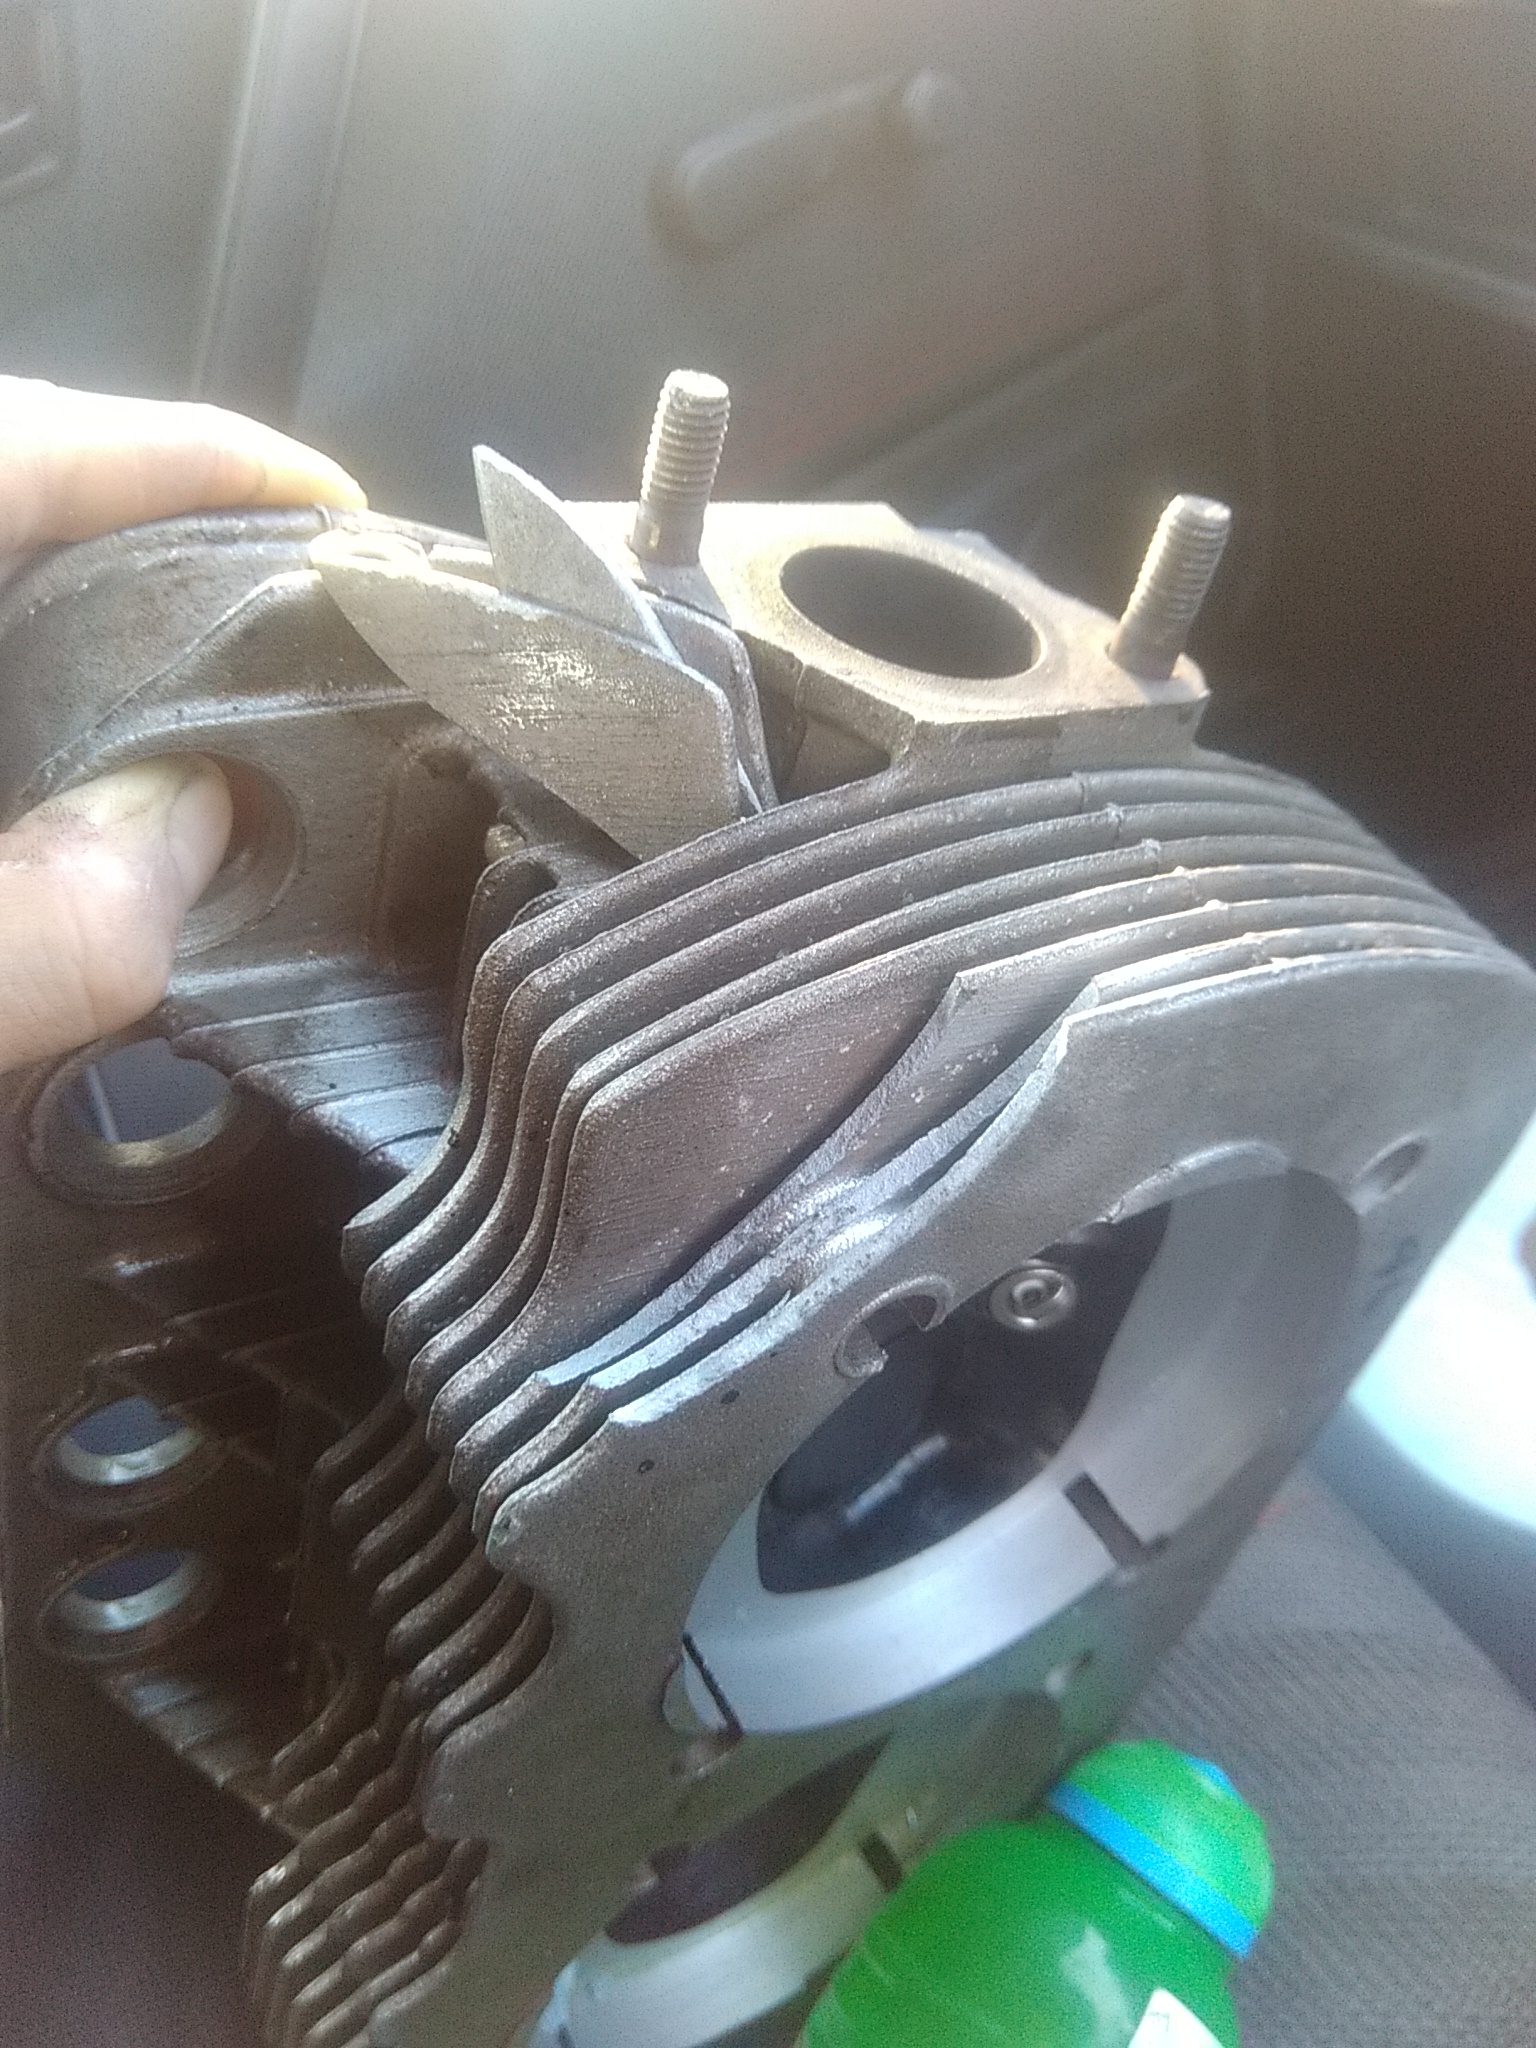
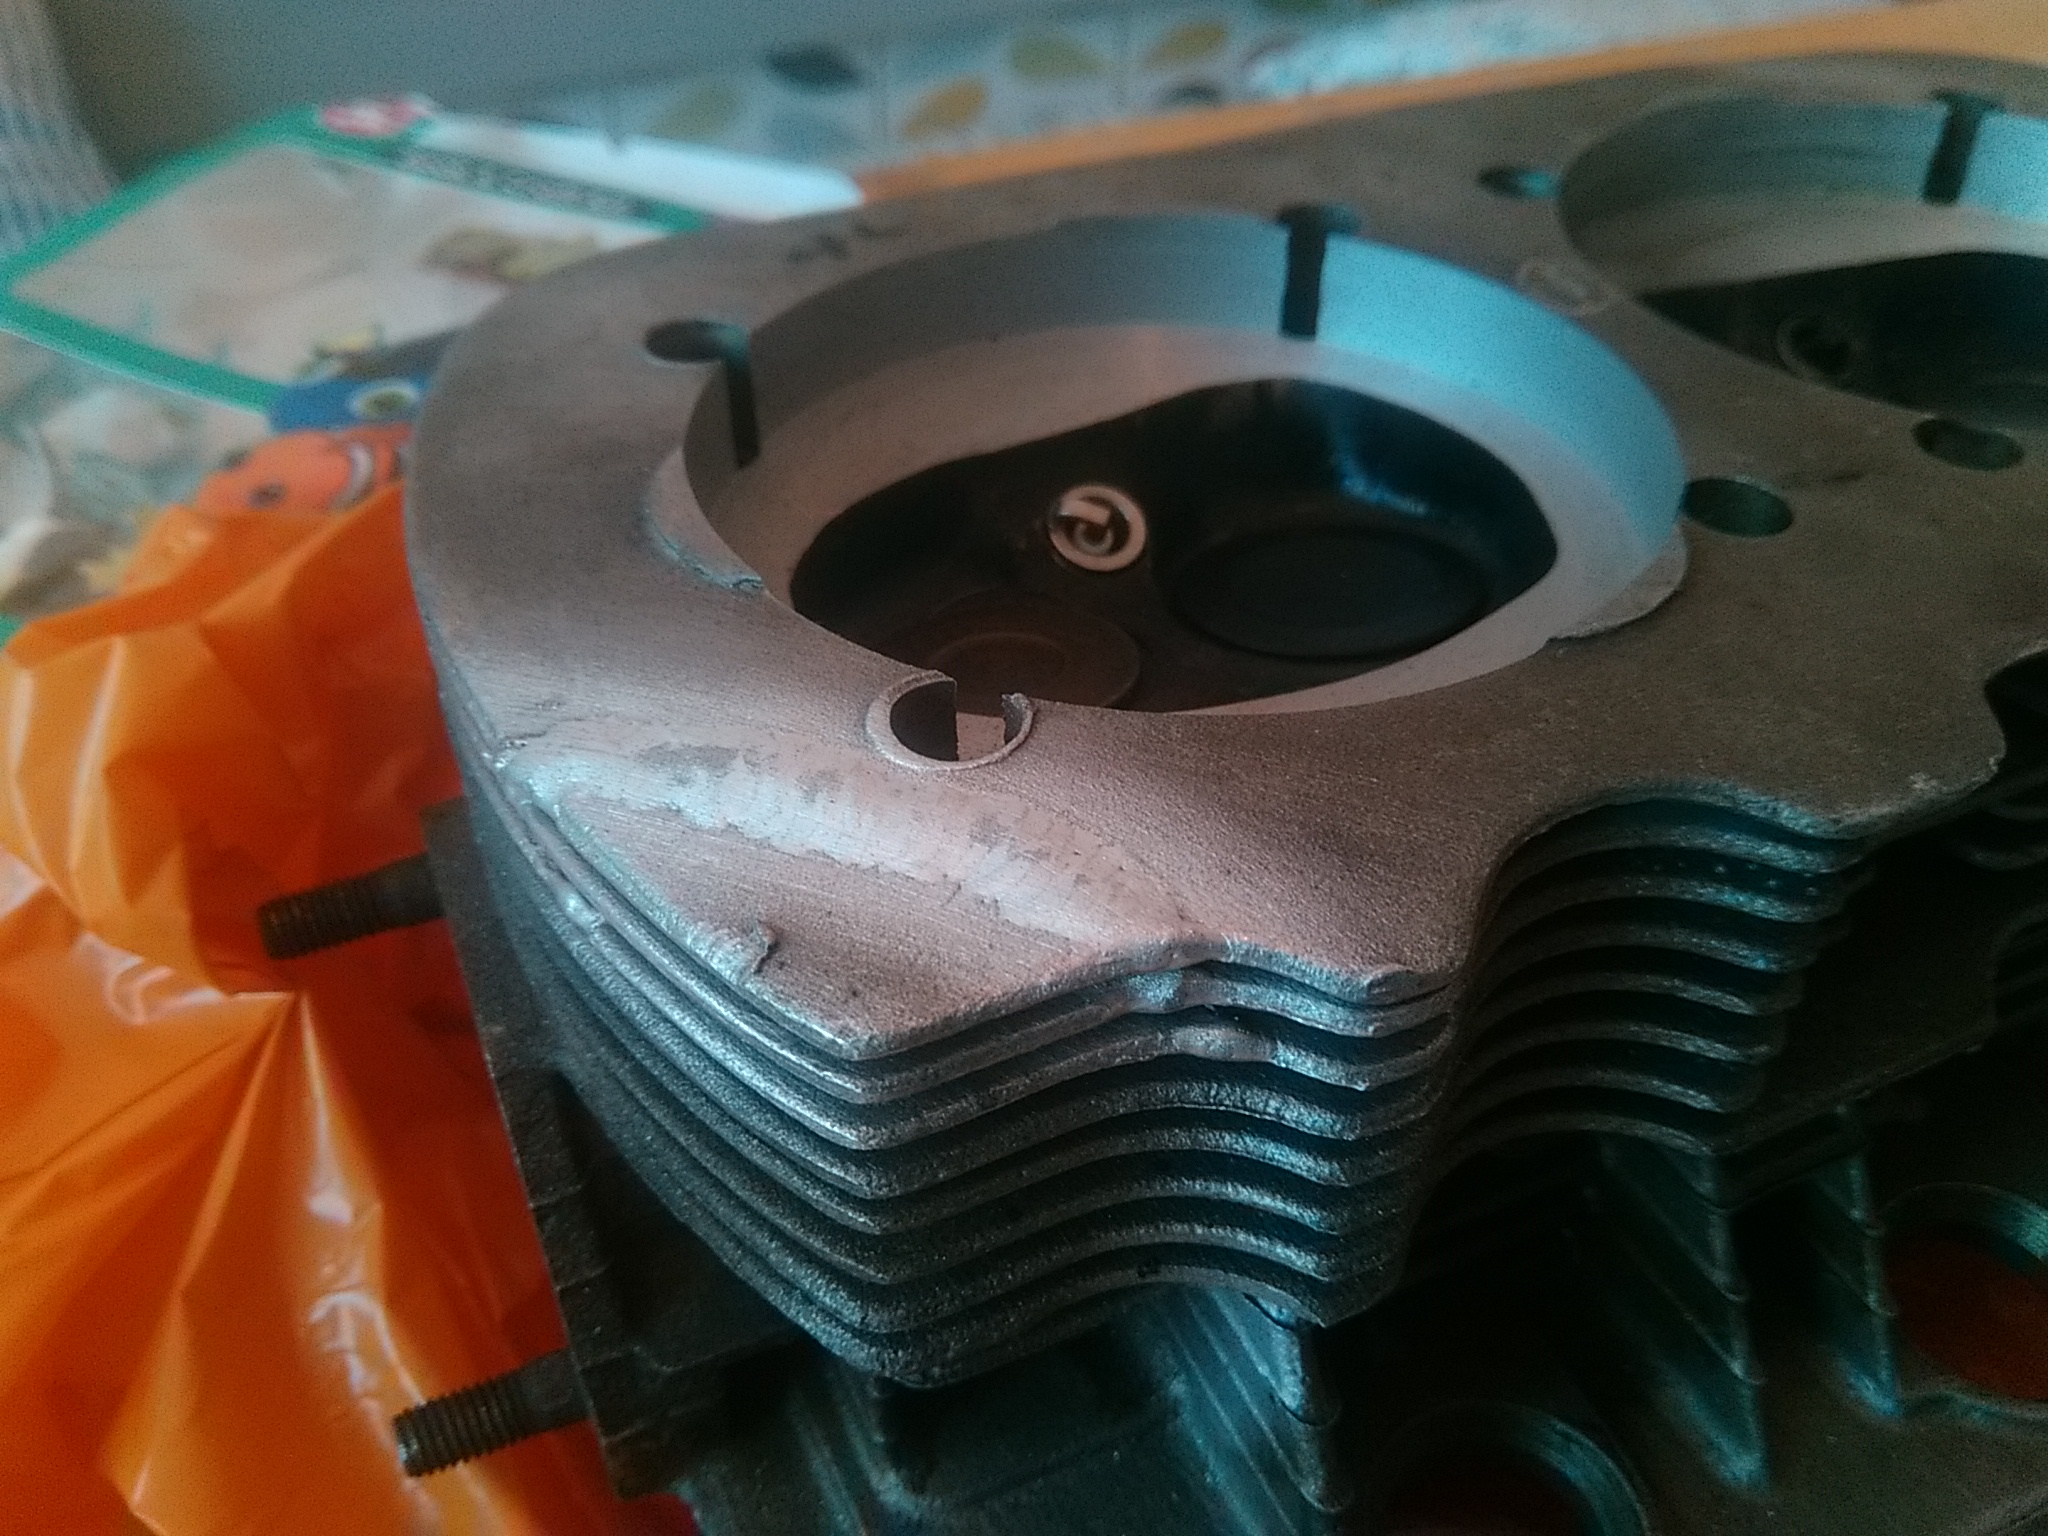
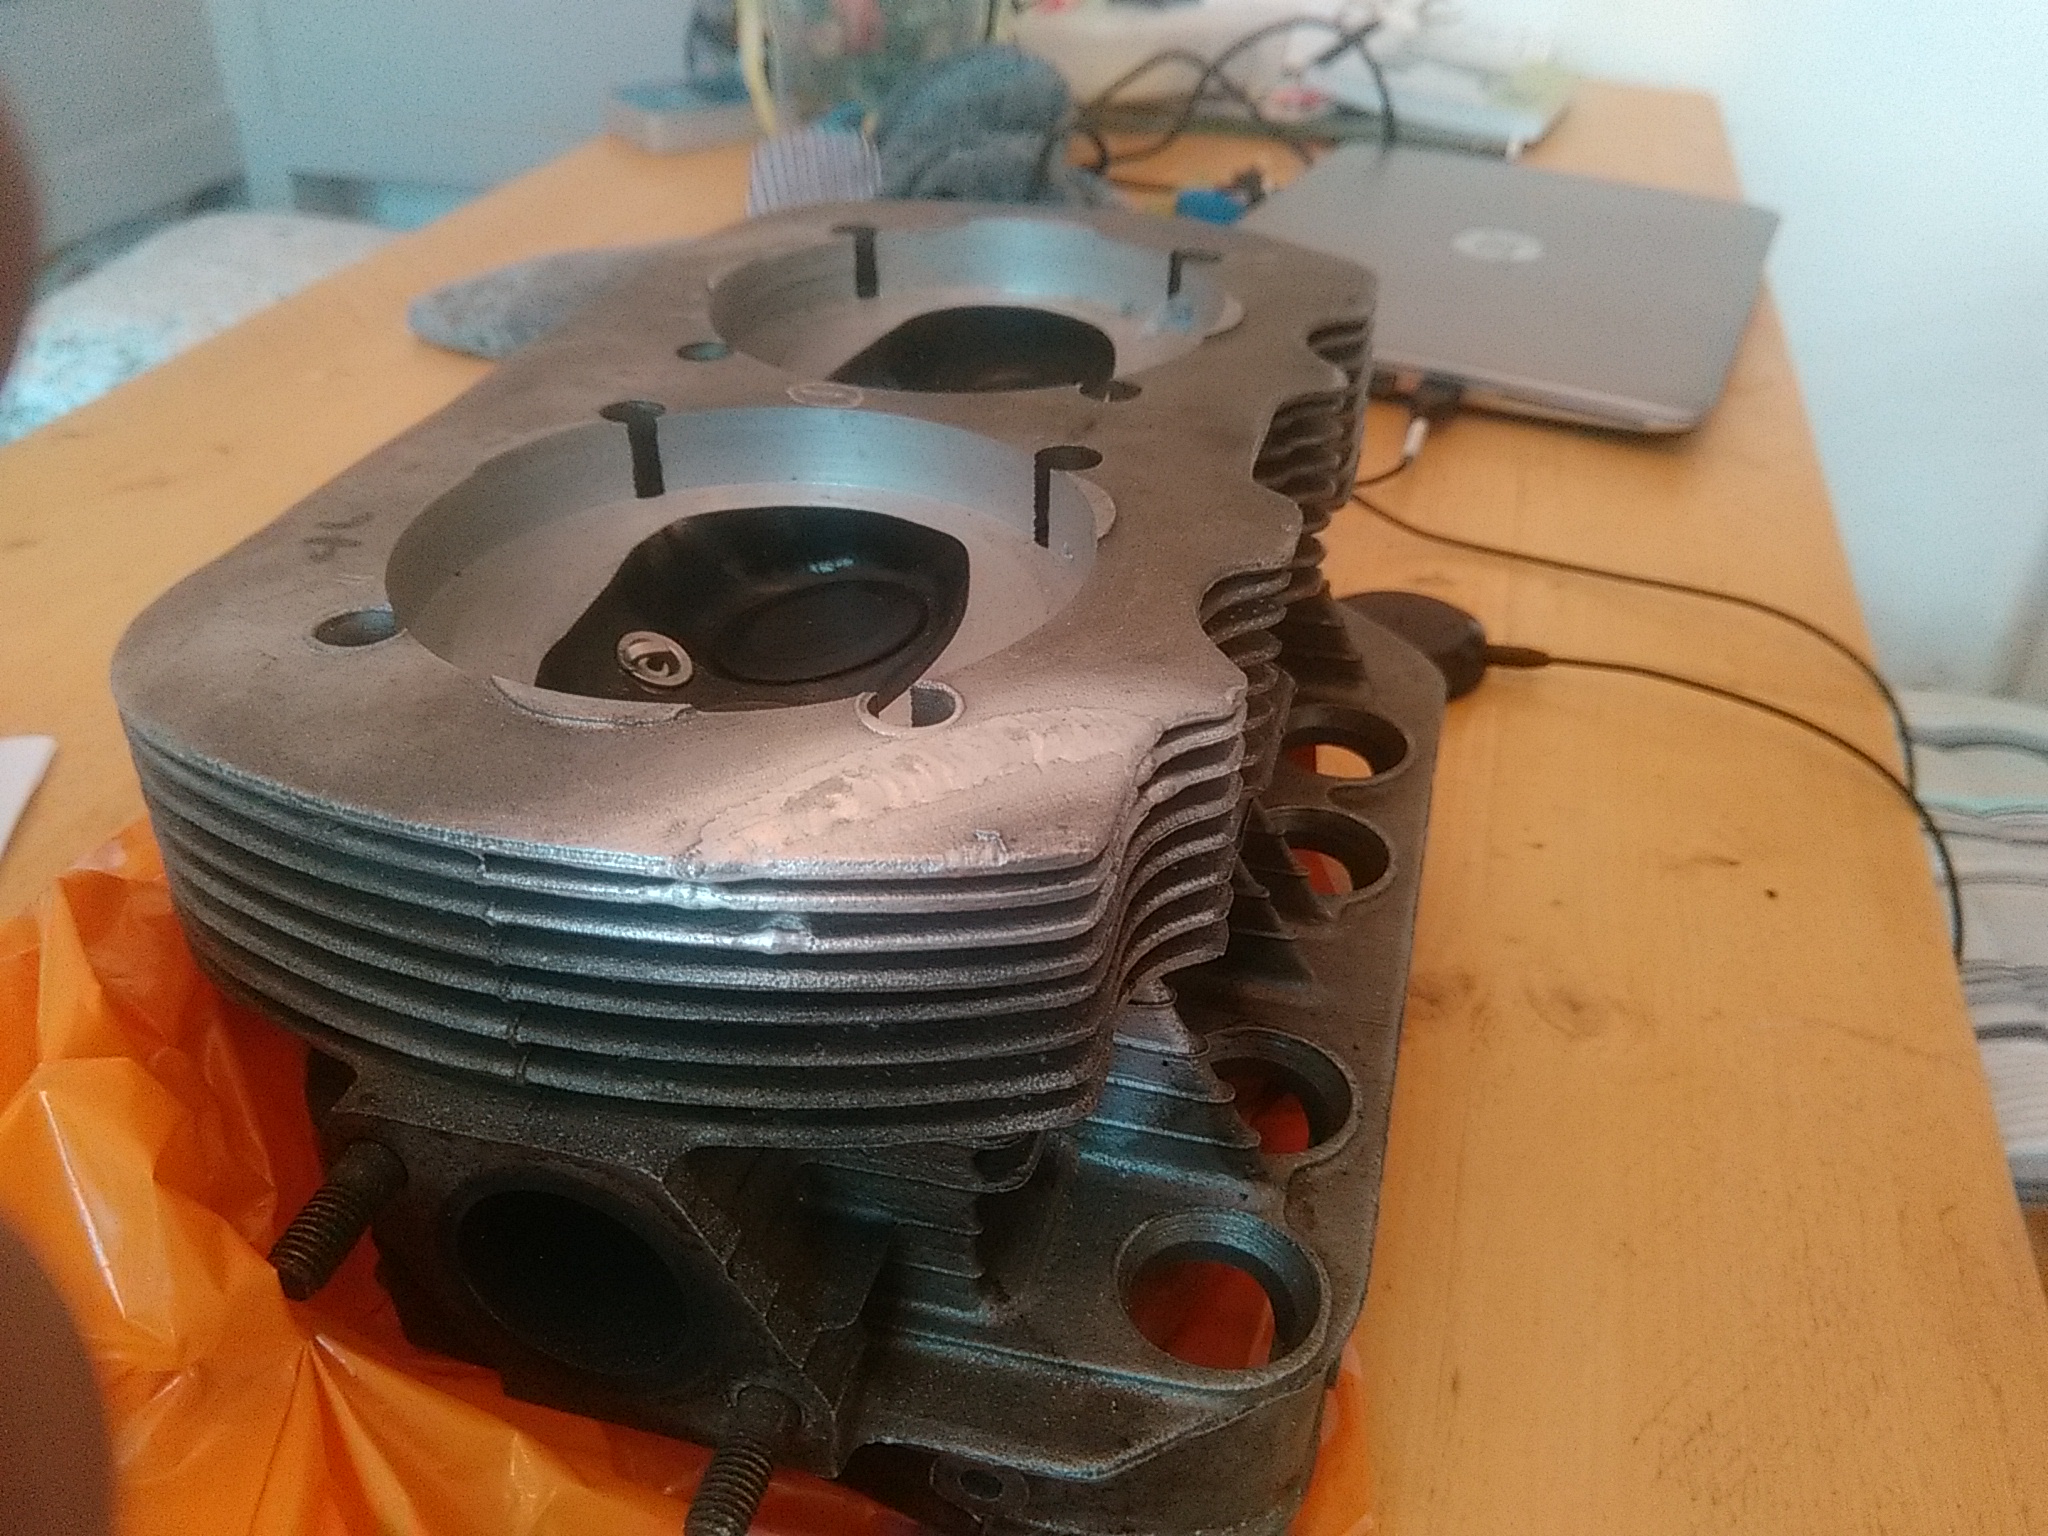
I also had more bad luck and dropped one of my heads - argh! broke off 3 fins - ouchy!!

IMG_20180228_084659_1.jpg


I was very lucky though to find someone locally who was able to weld and willing to have a go at reparing it -

£30 and done in an hour - very pleased!

IMG_20180301_160935_1_1.jpg


IMG_20180301_160950_1_1.jpg


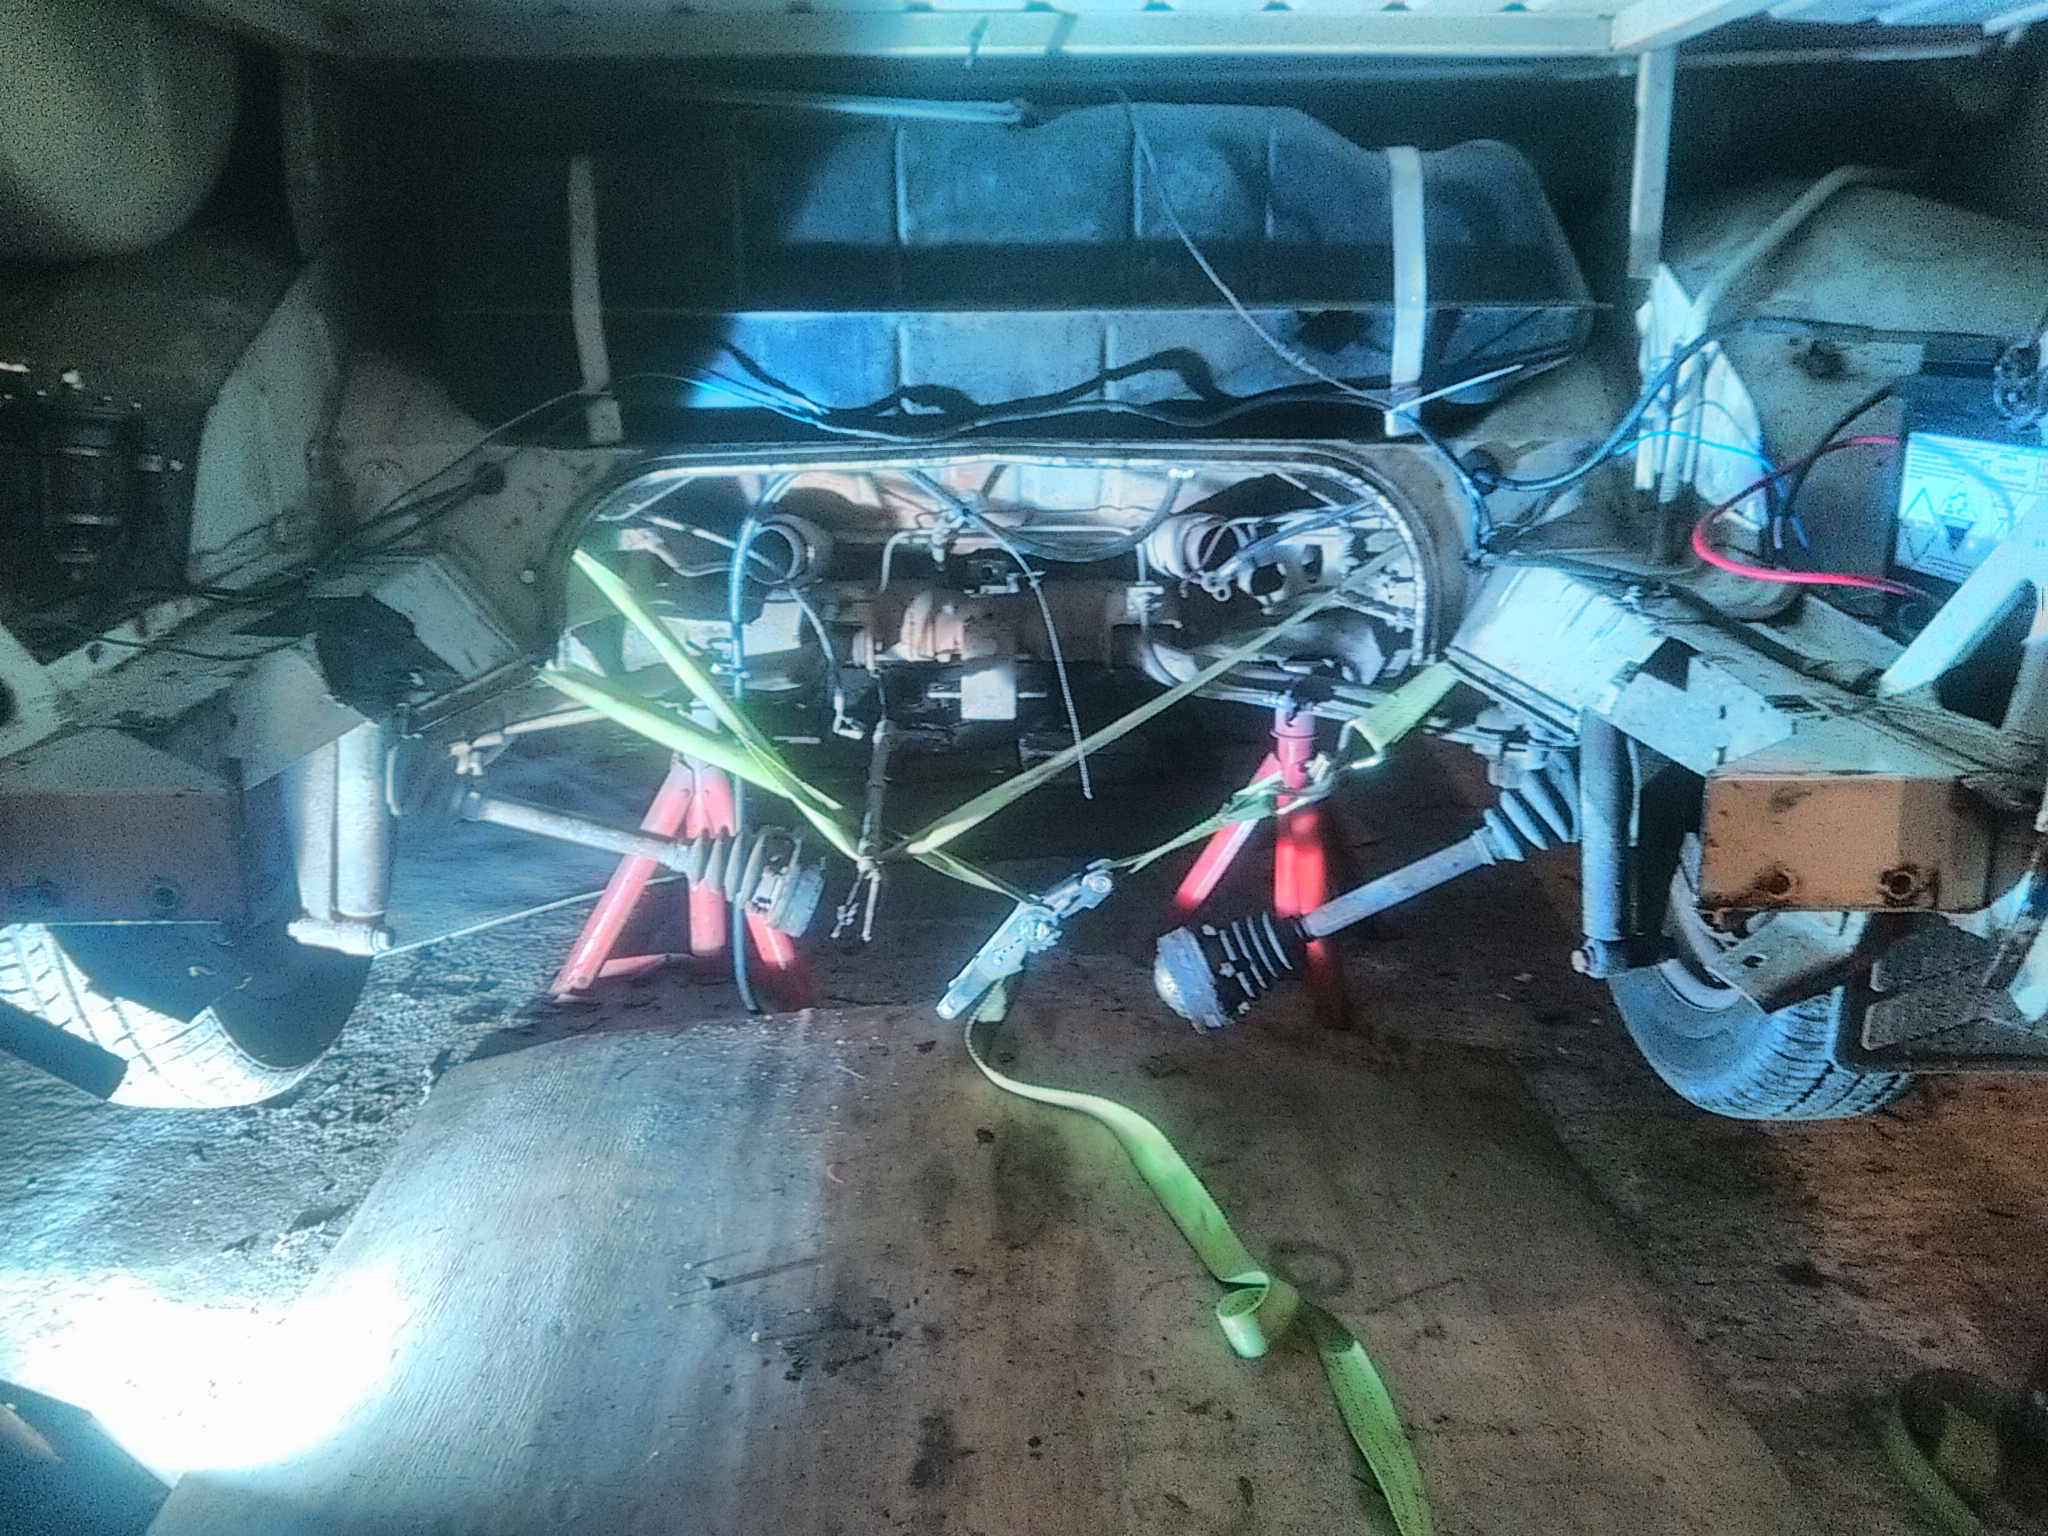
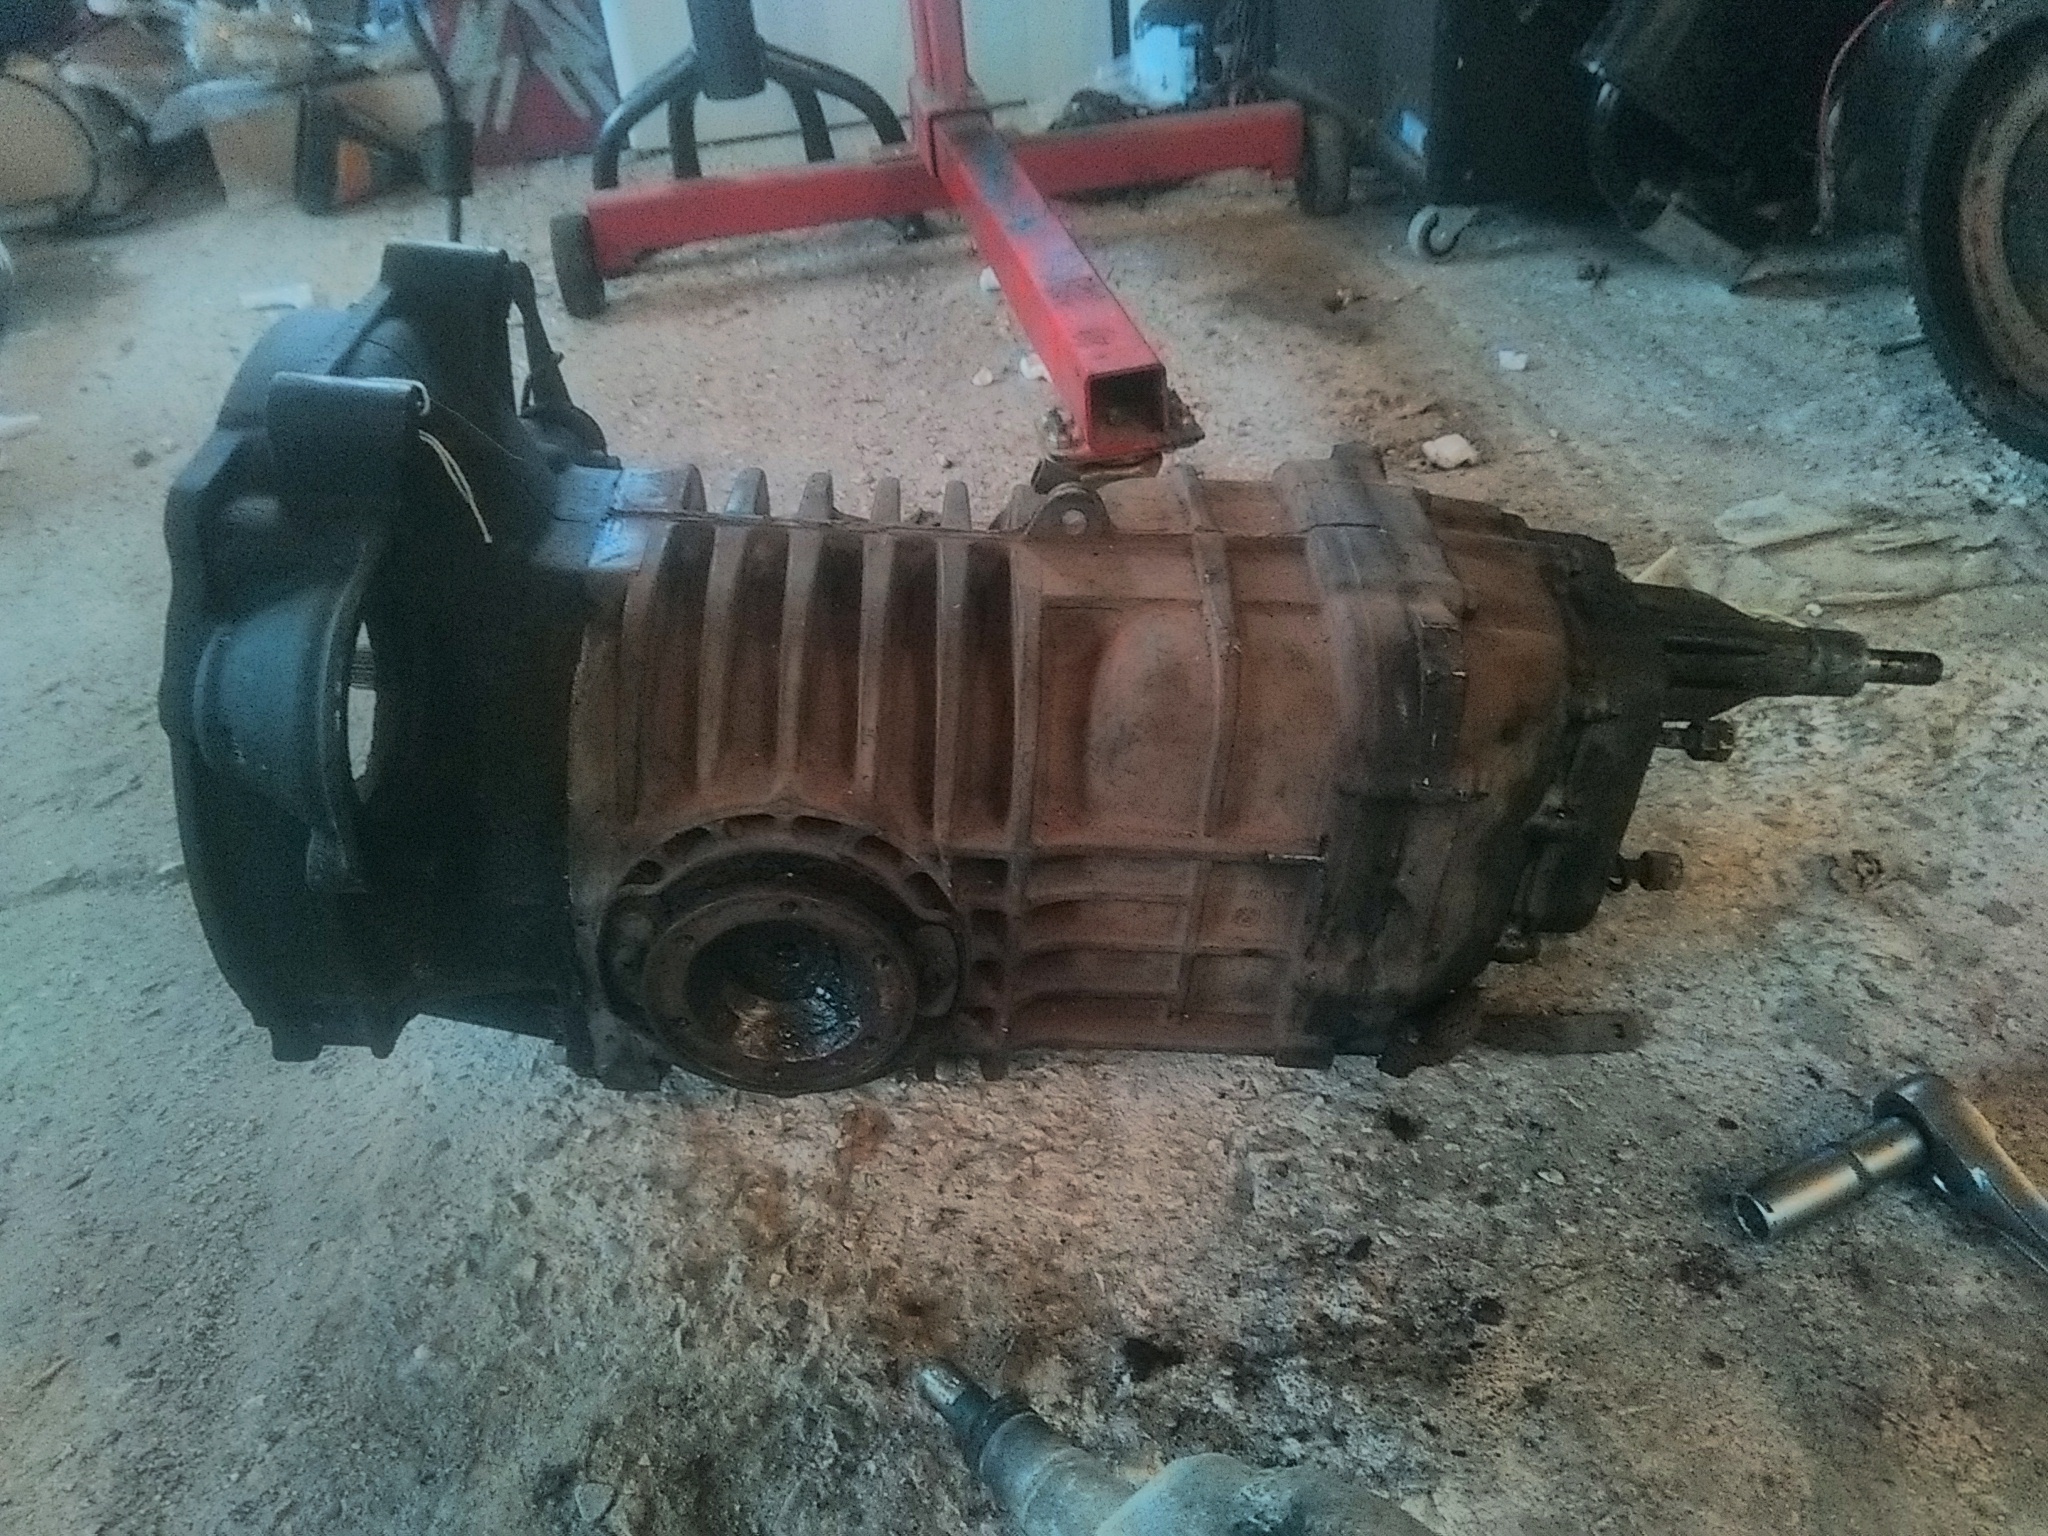
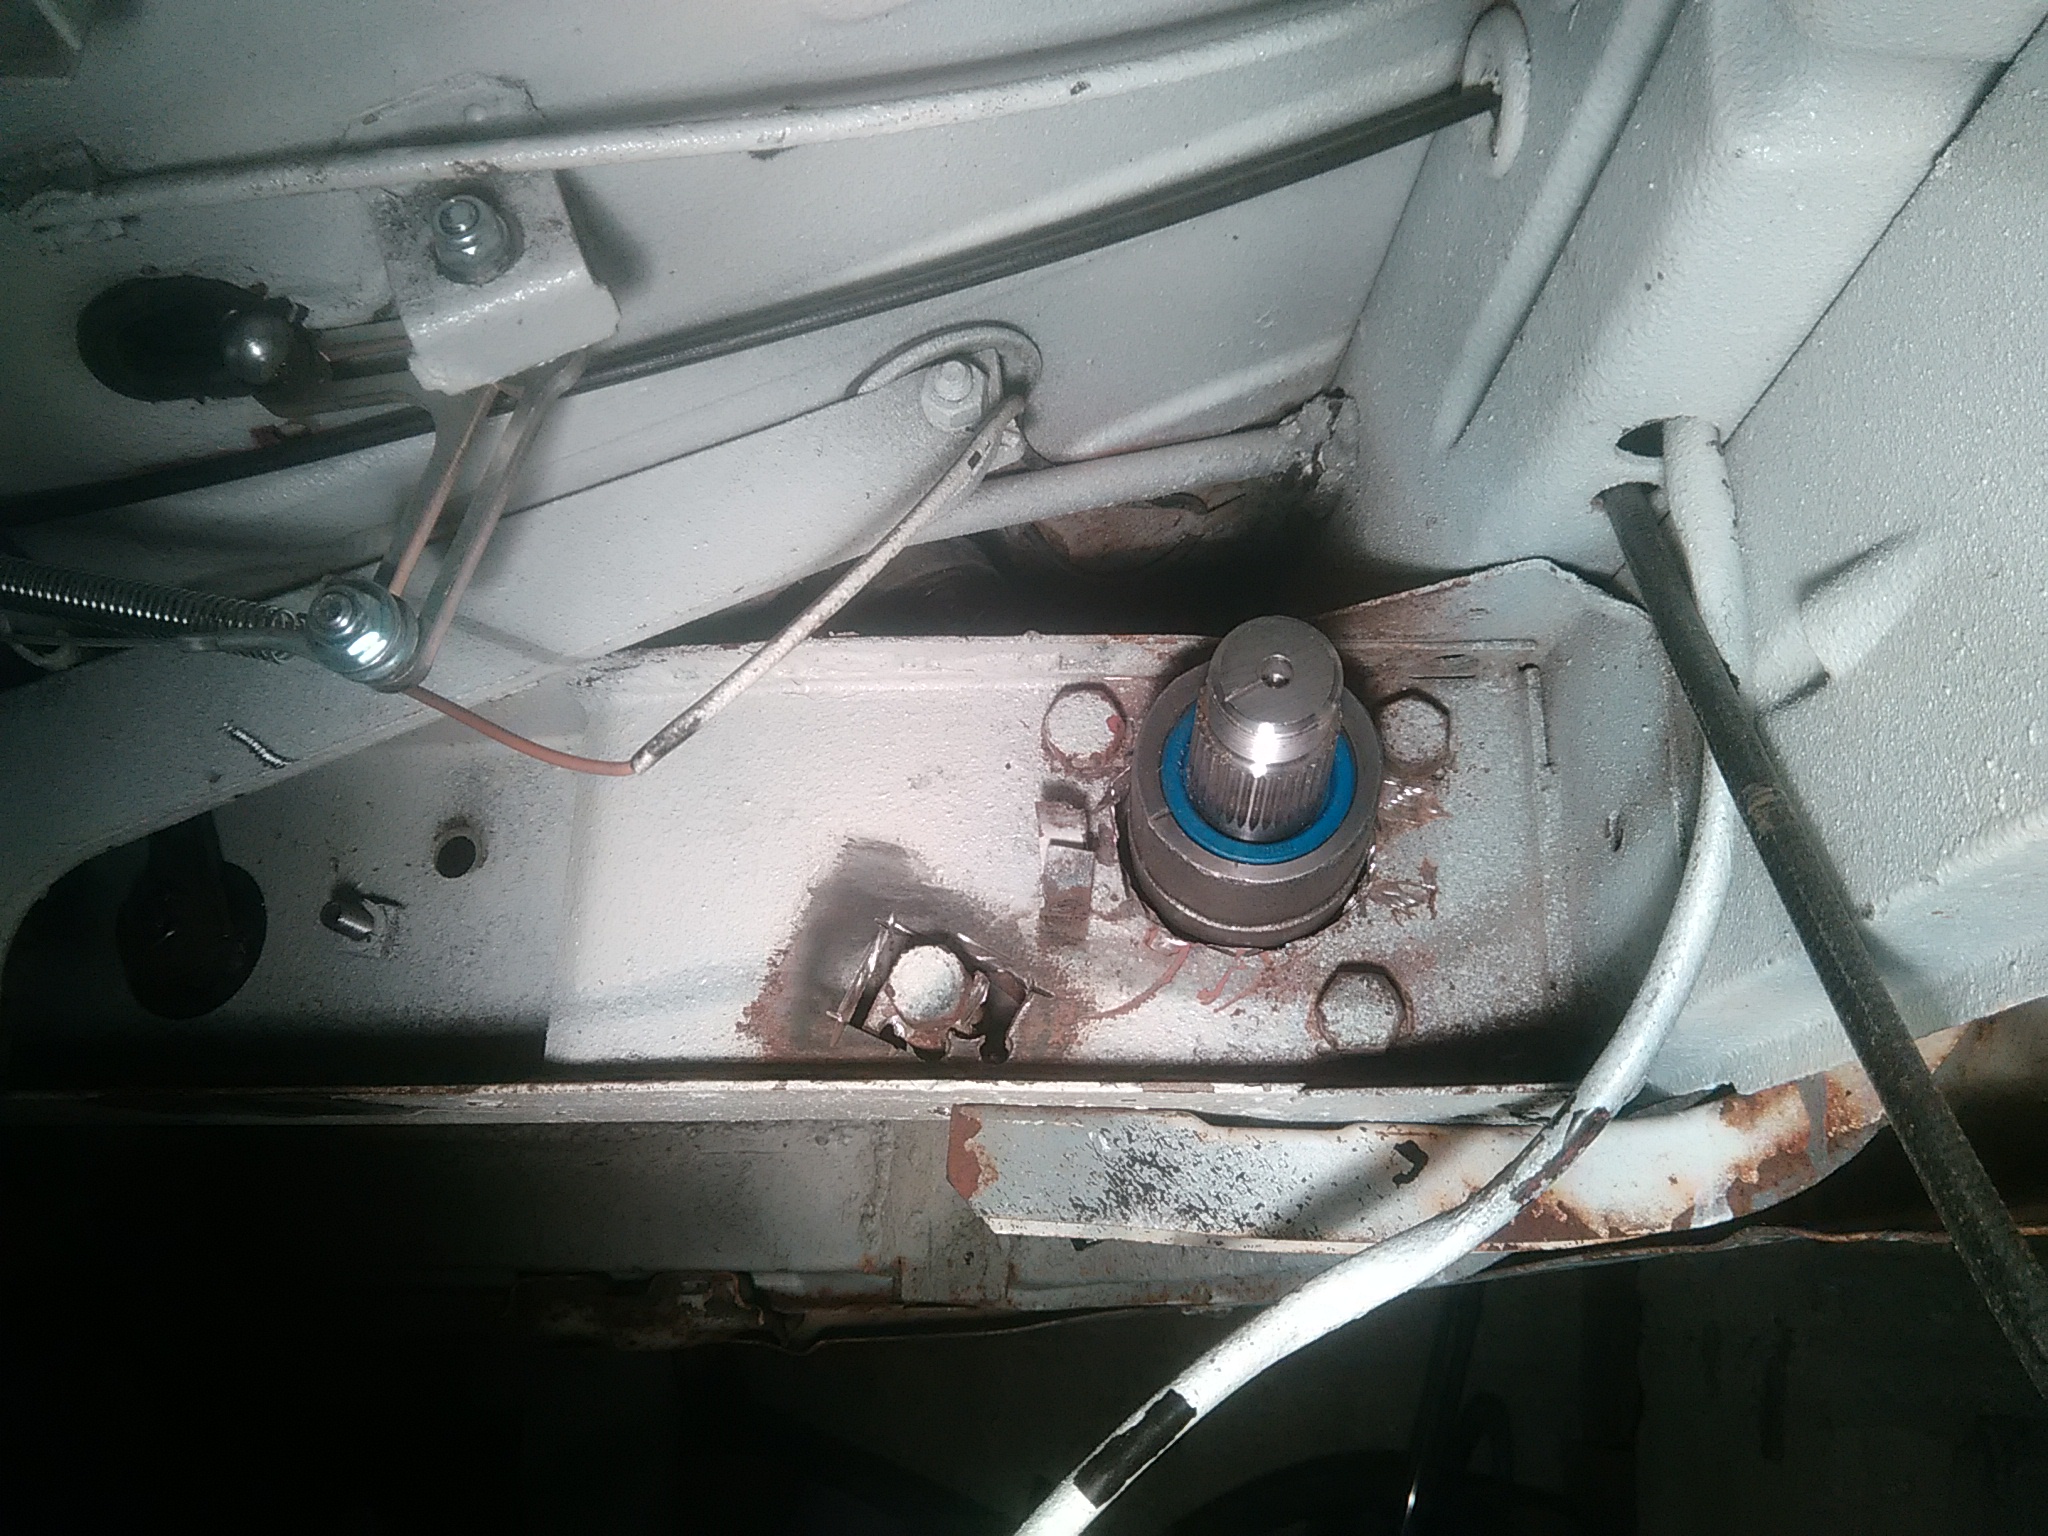
I also decided i`d like to fit a new steering box given that i`m going to have an engine with a but more umph in the van. I looked at rack and pinion, but decided it was a bit much work for now with little time that i have.

So i removed the old steering box which wasn`t actually that bad and modified my chassis mount to fit a brand new late bay steering box. It was n`t that dificult. You have to make the hole int he chassis a bit bigger - which a dremel is extremely useful for (!) and the move one of the pins in the chassis and weld it in in adifferent location. i also had to run a larger drill through one of the other pins to make it all fit.

Didn`t get too many photos unfortunately, but here is one part way through the work -

IMG_20180321_205847.jpg


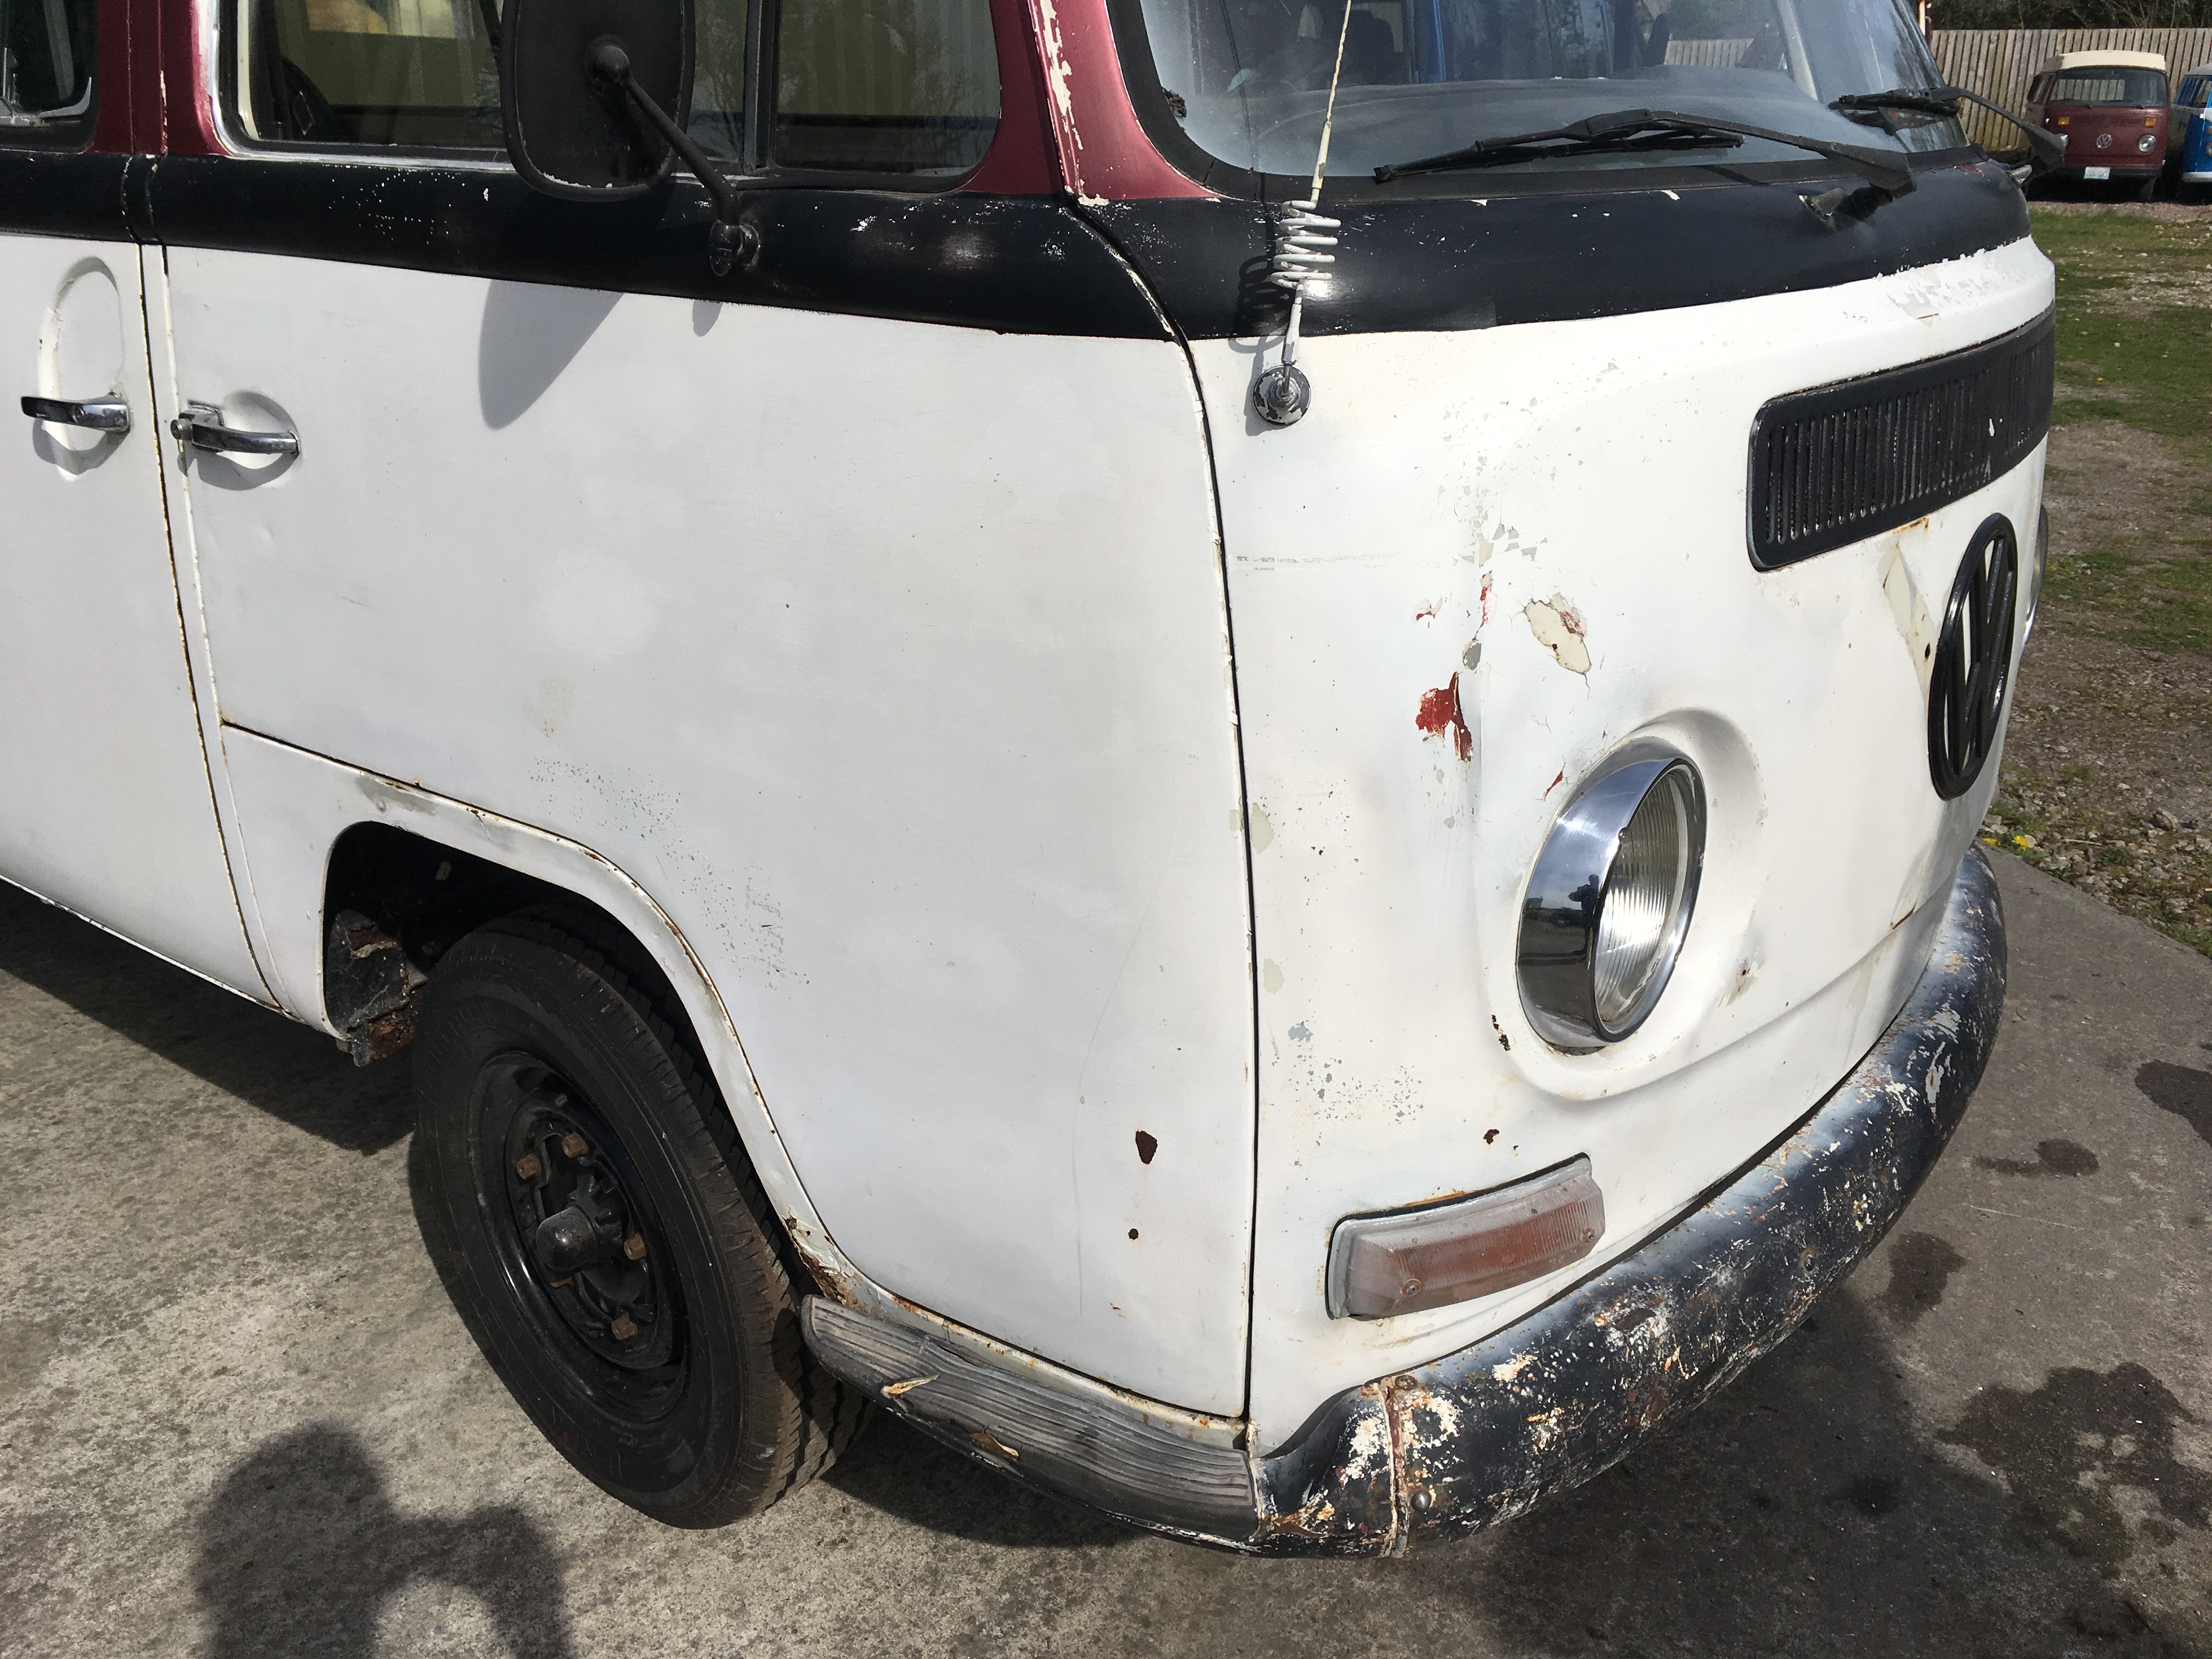
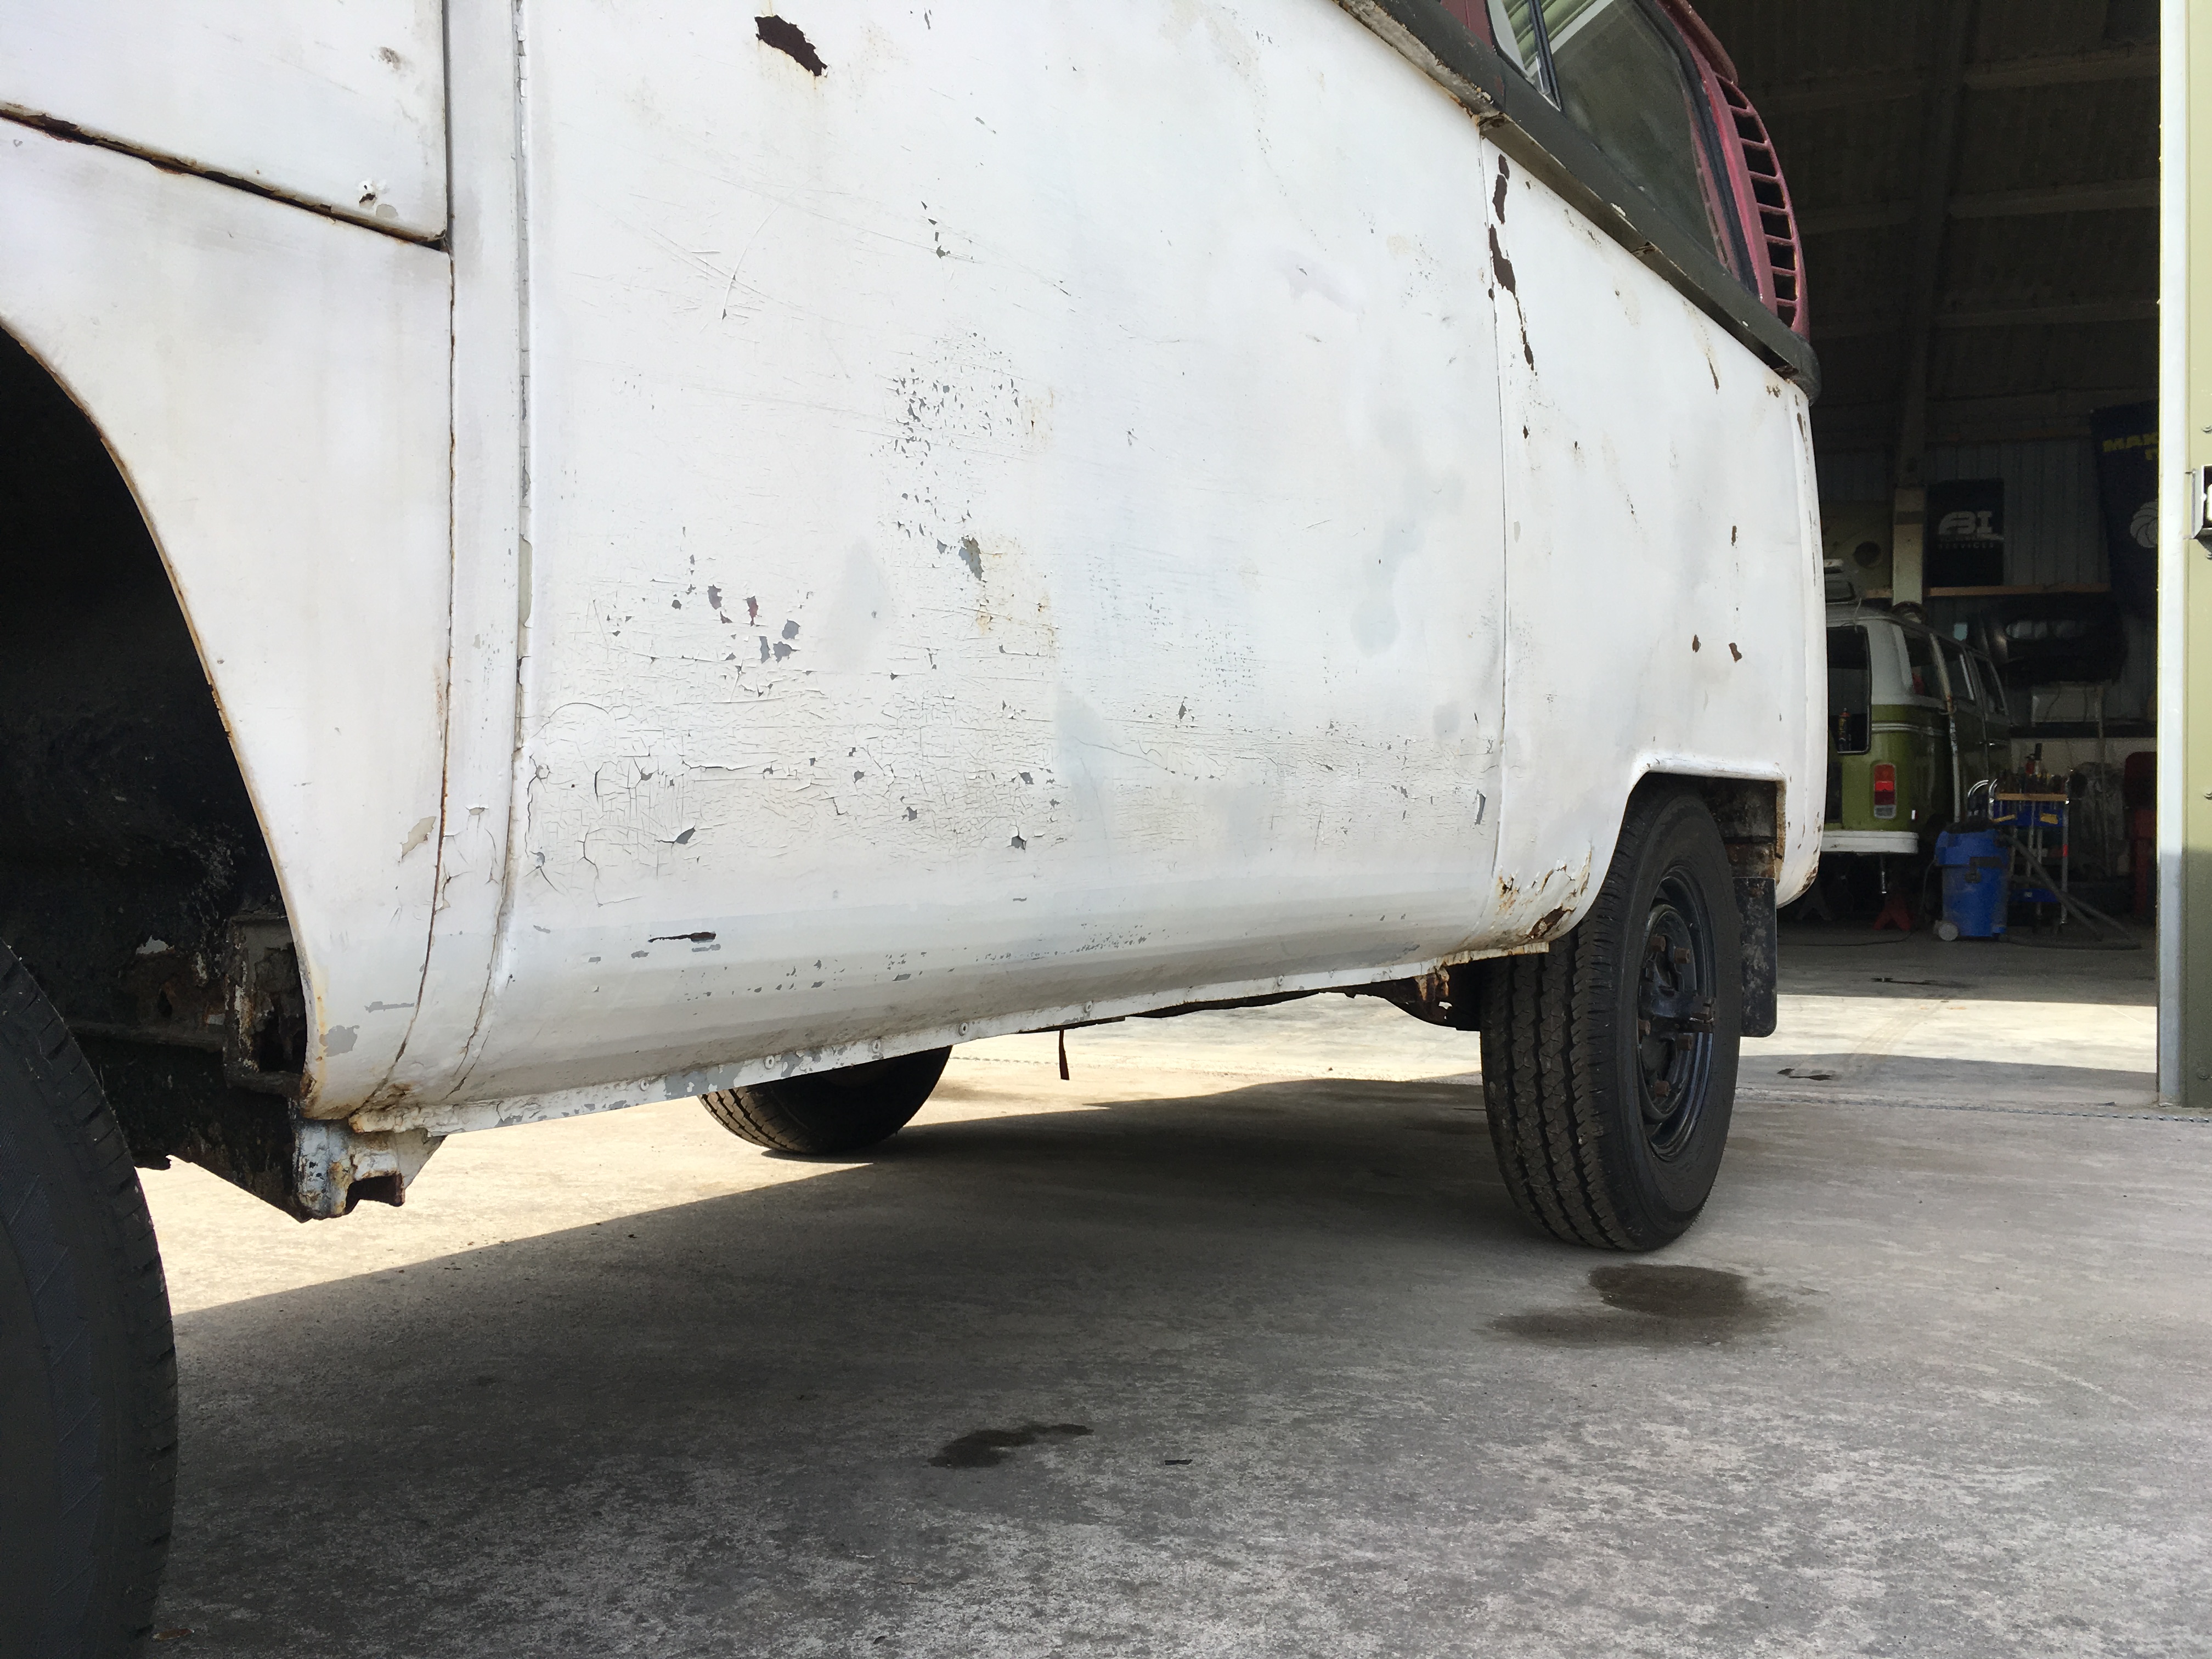
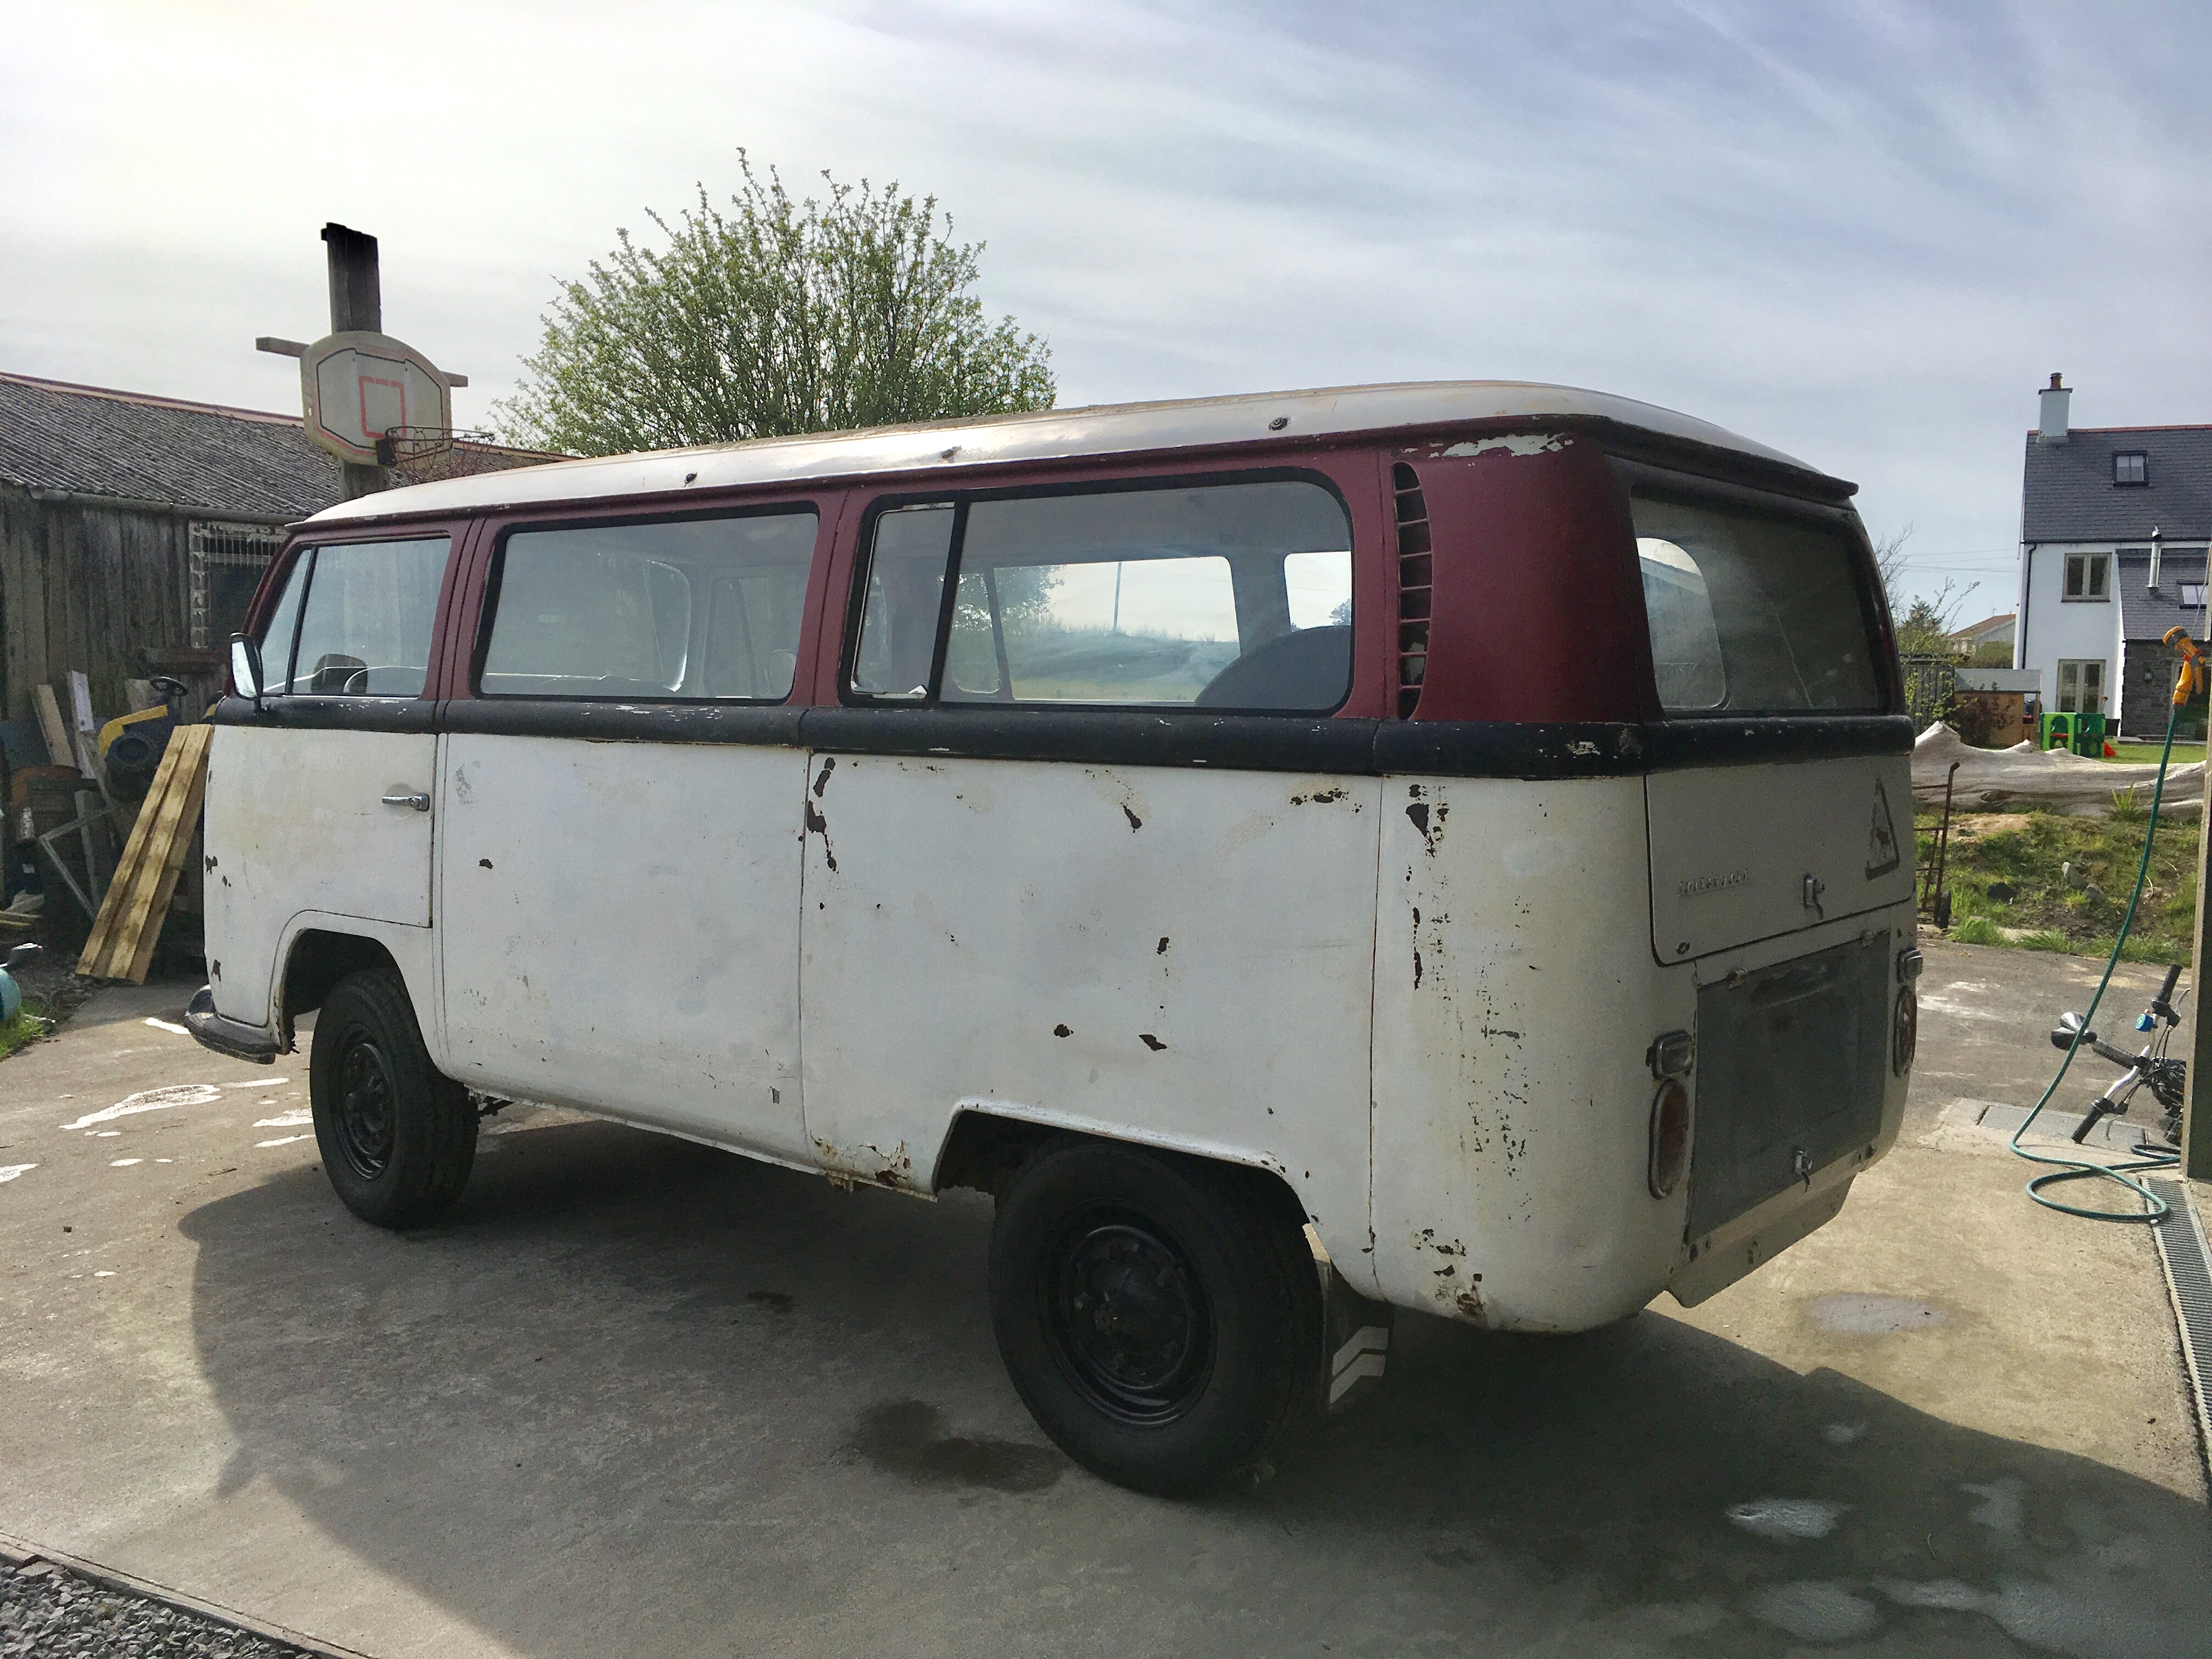
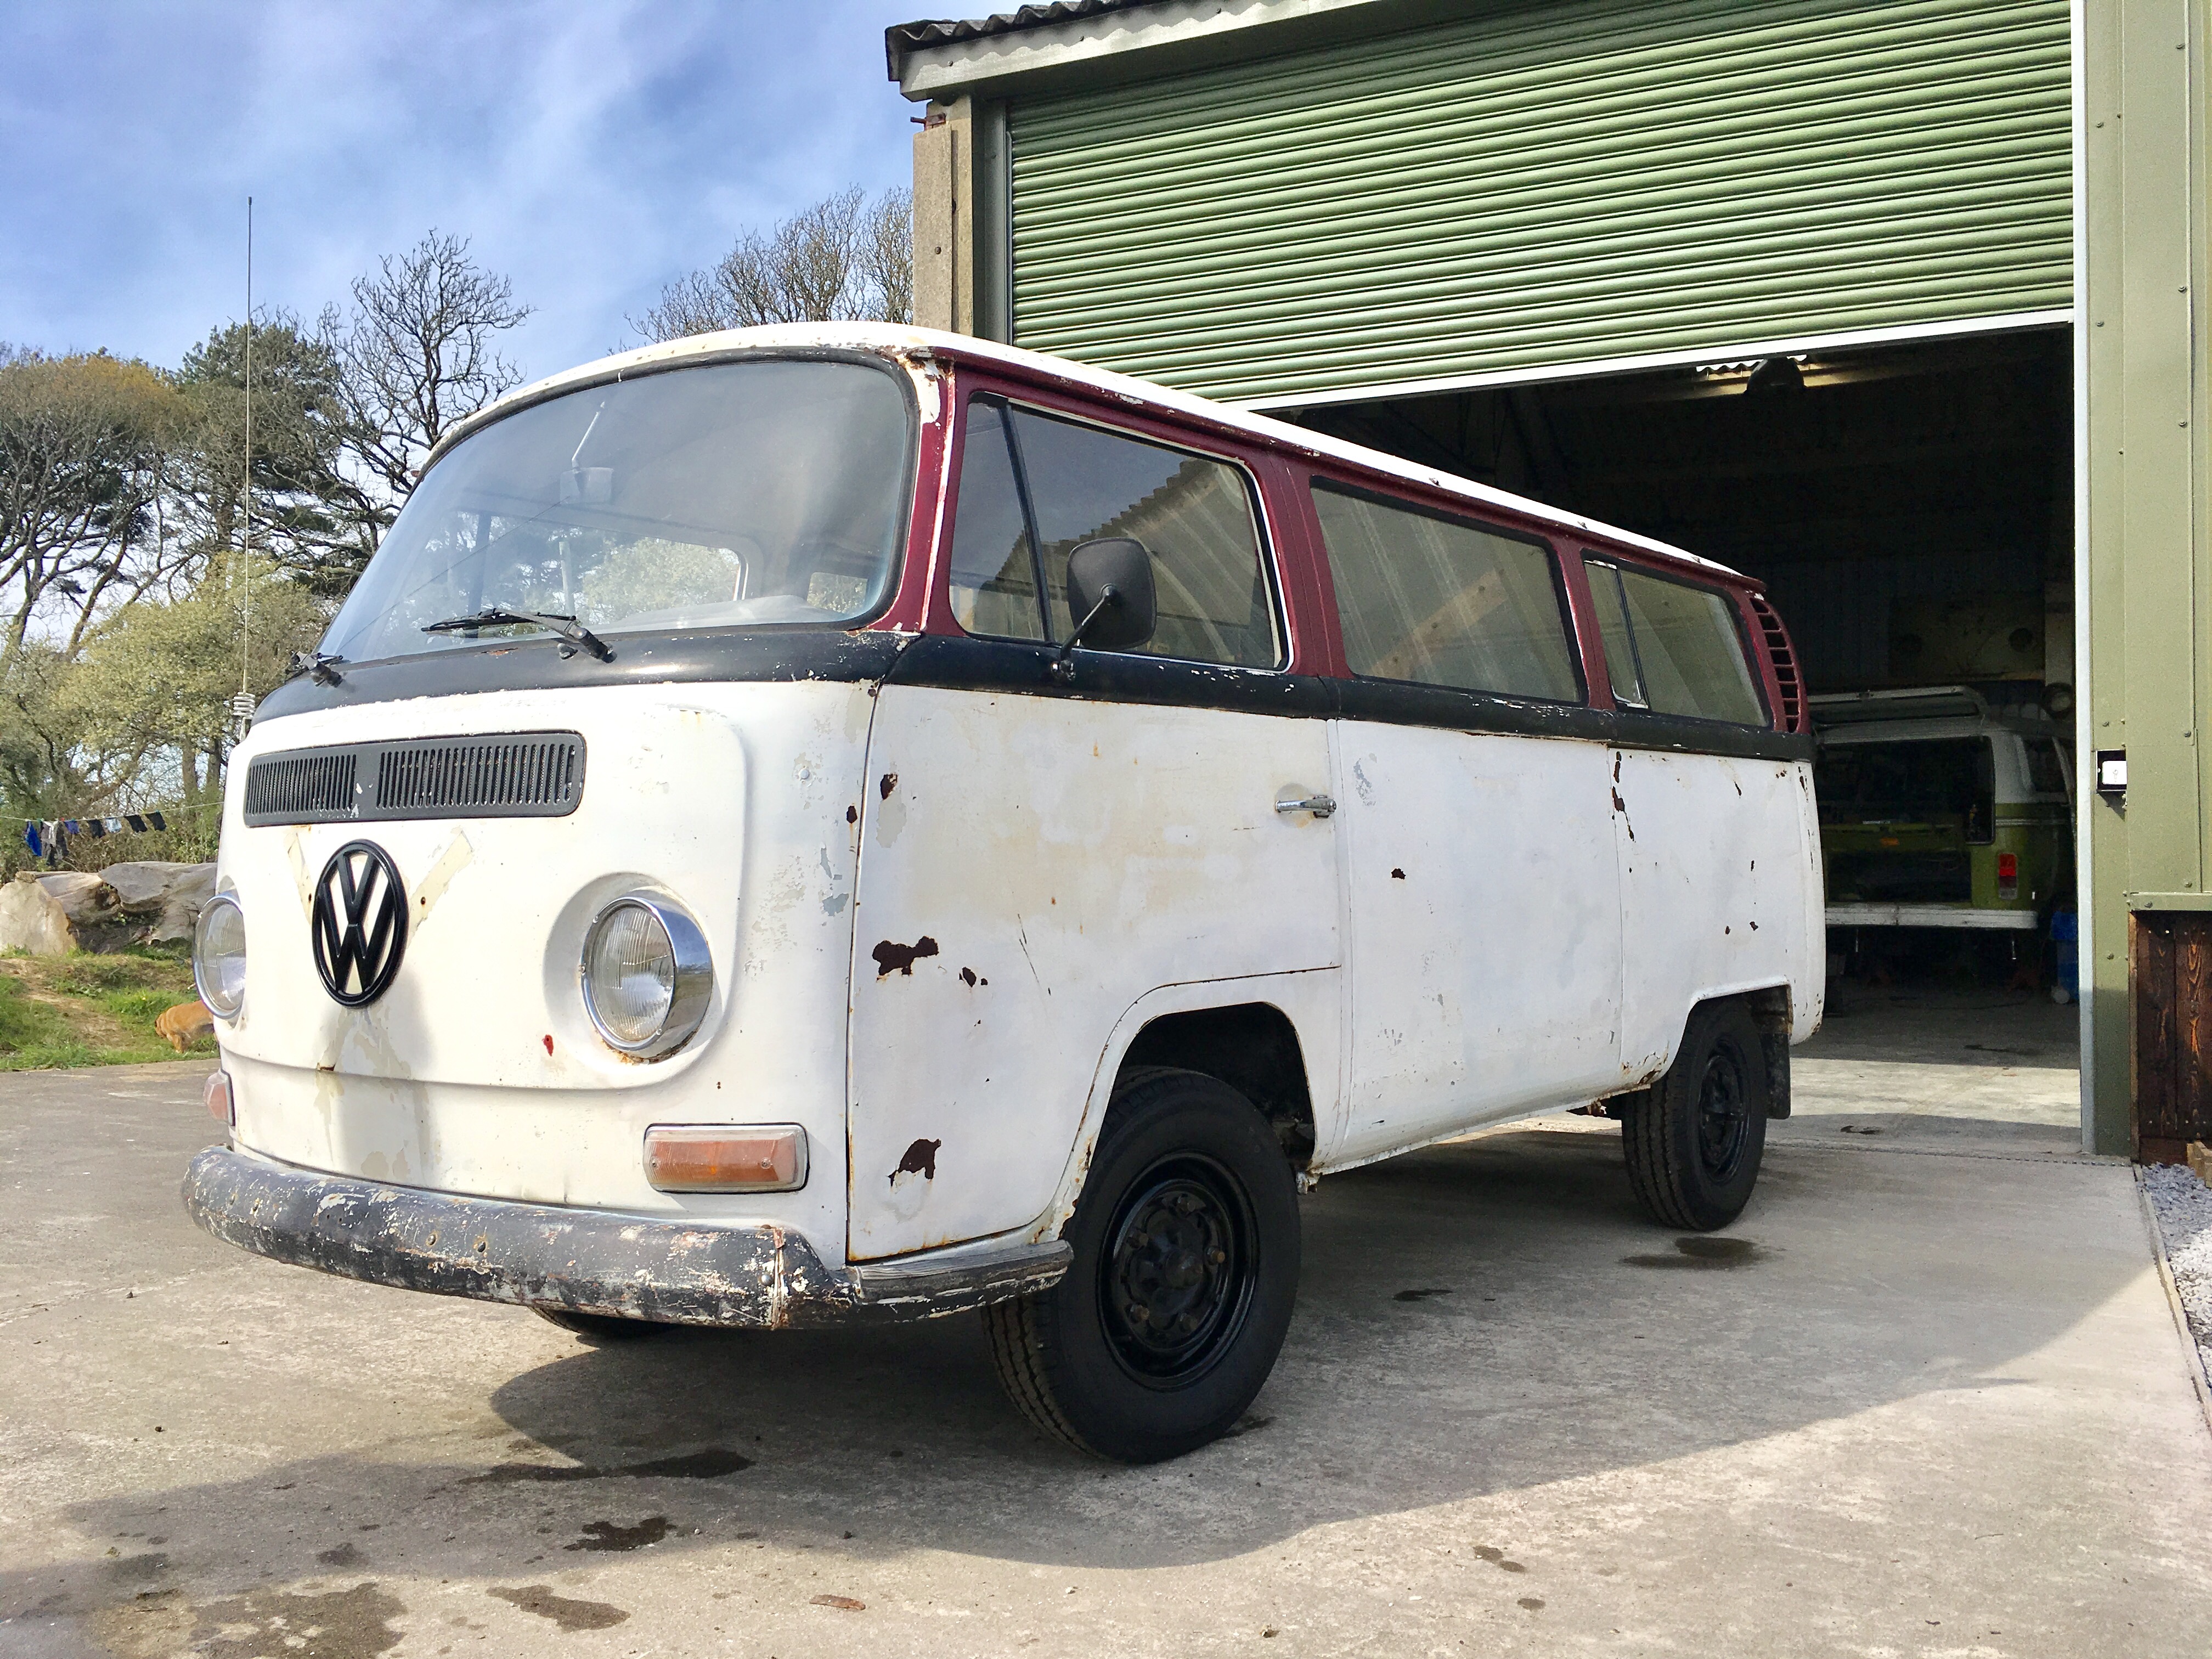
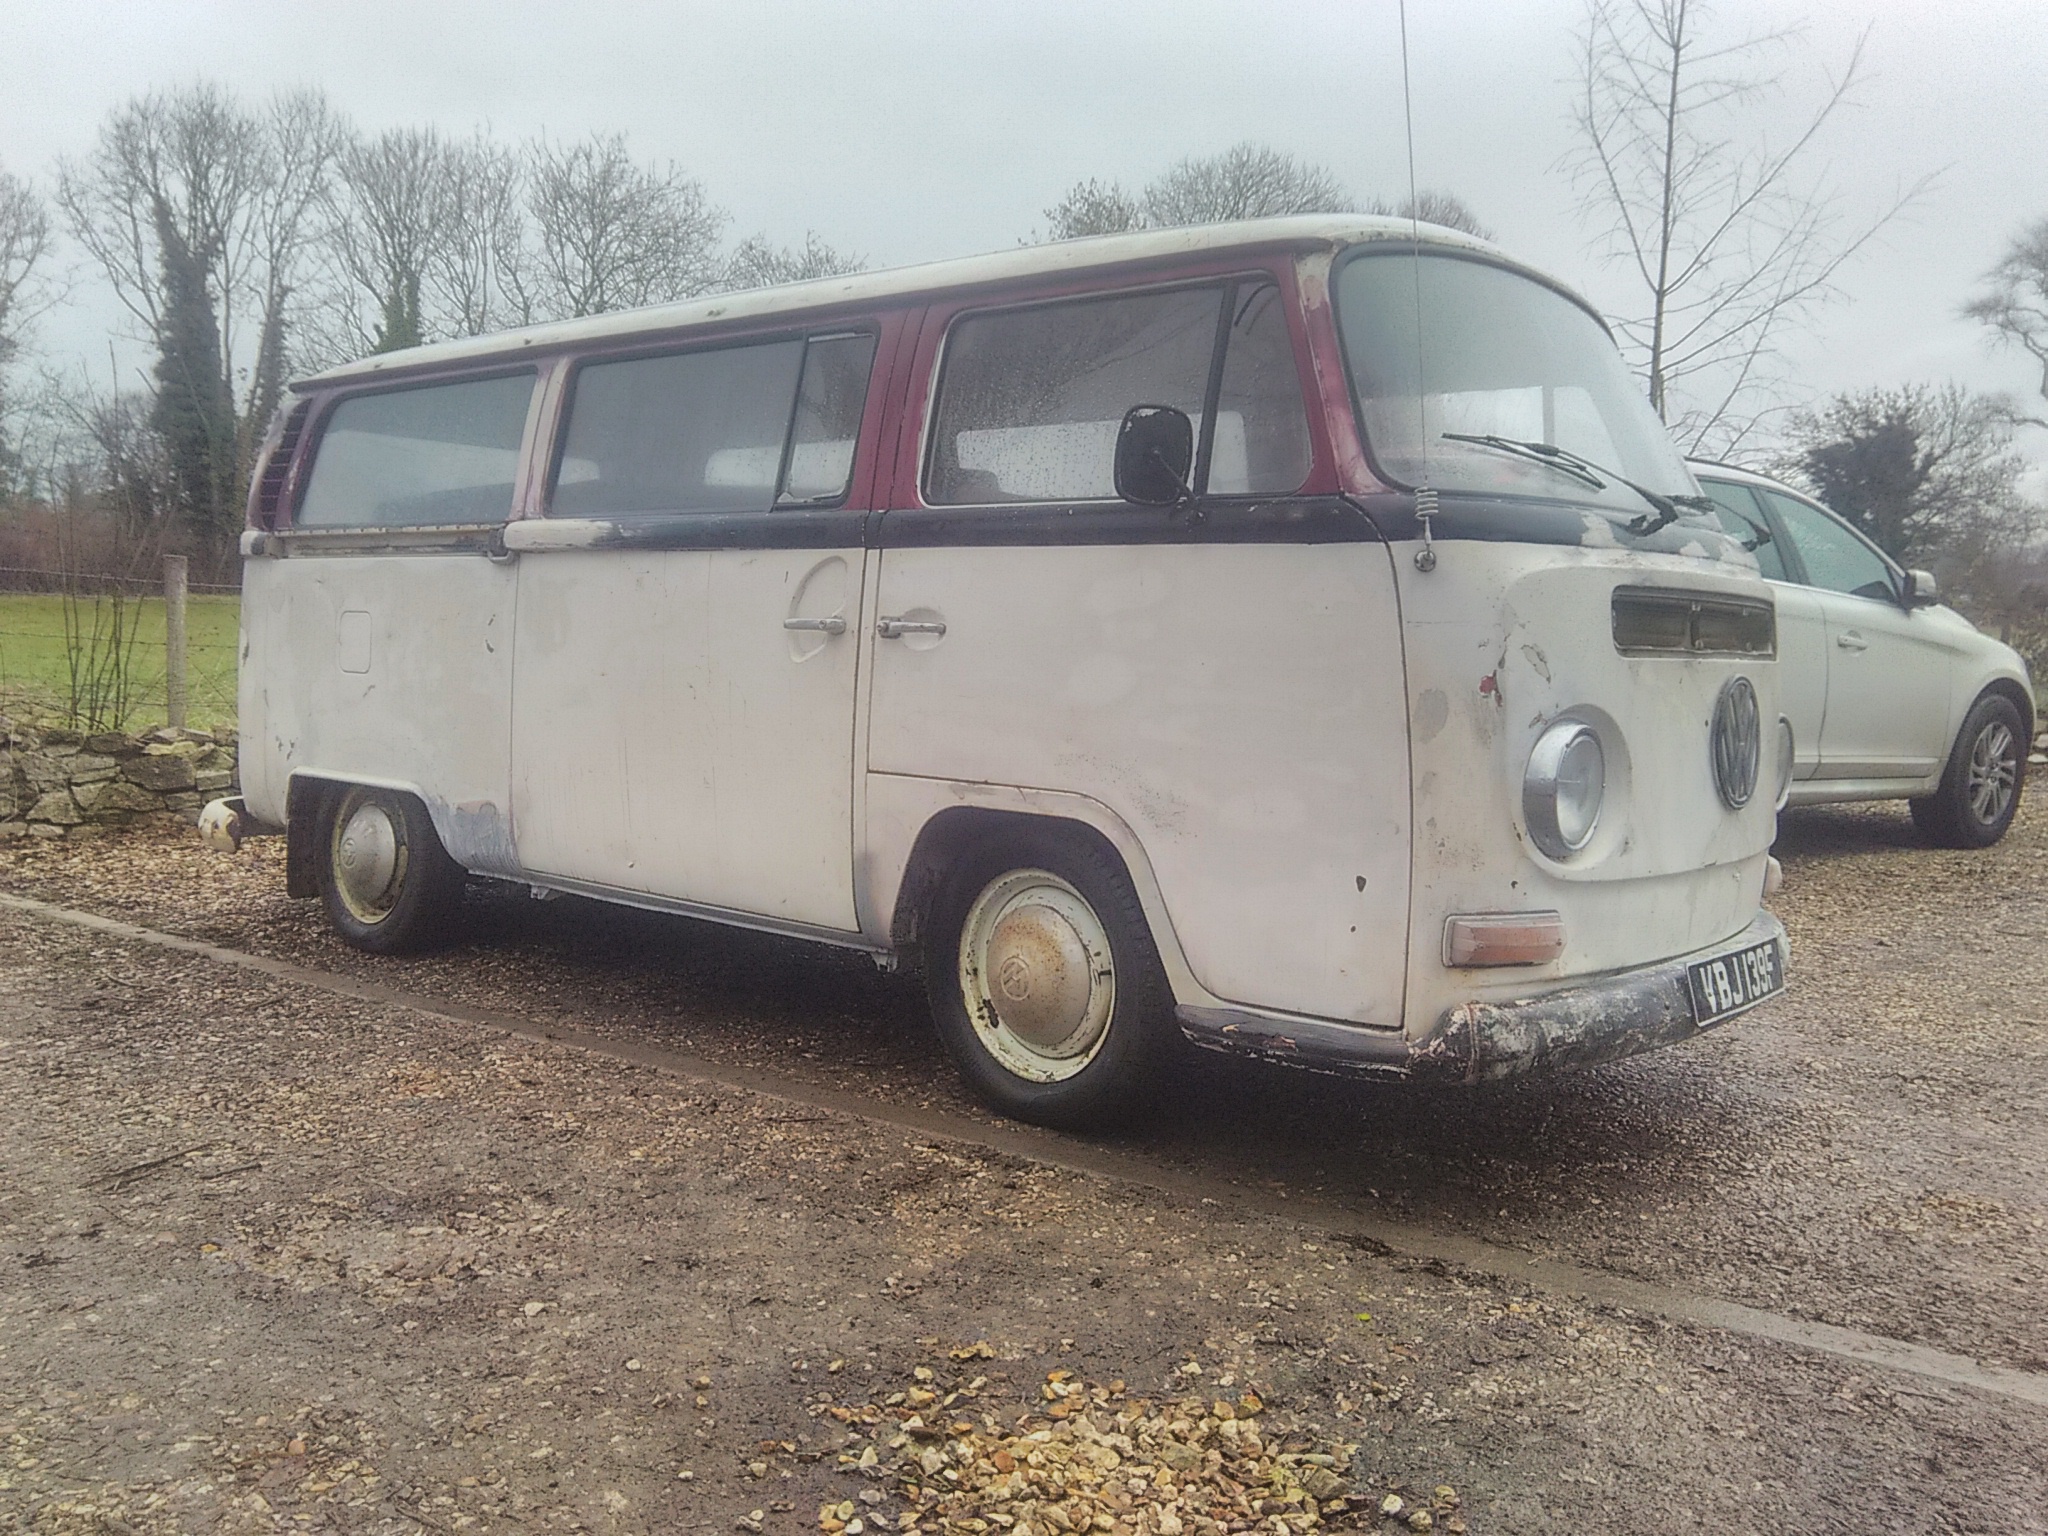
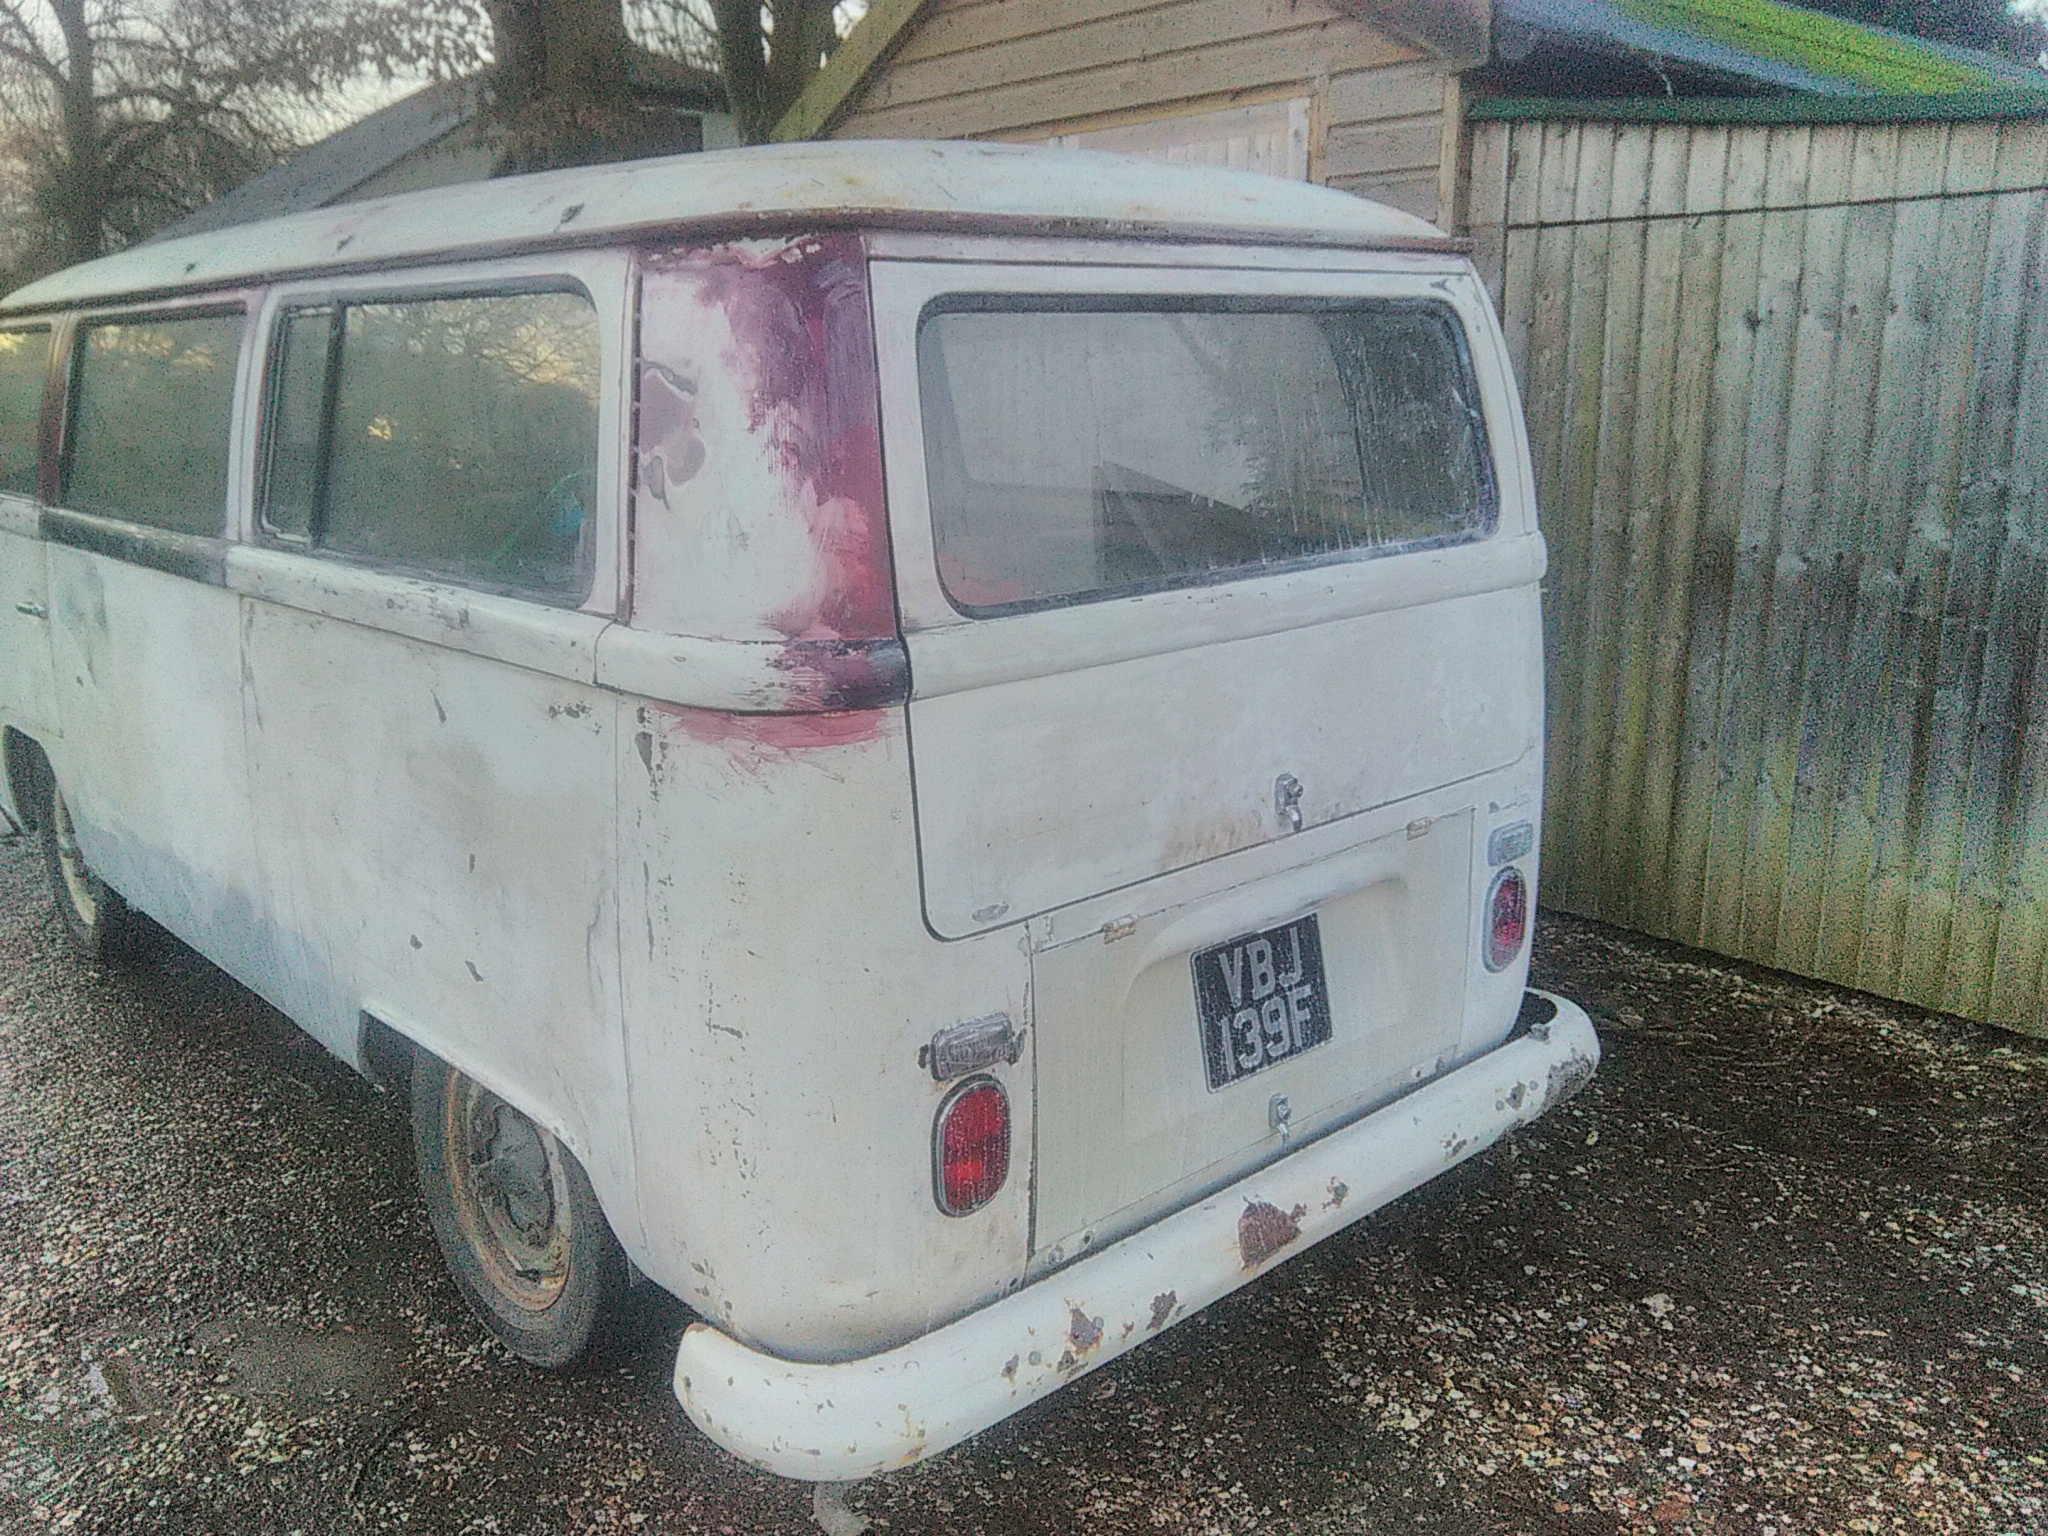
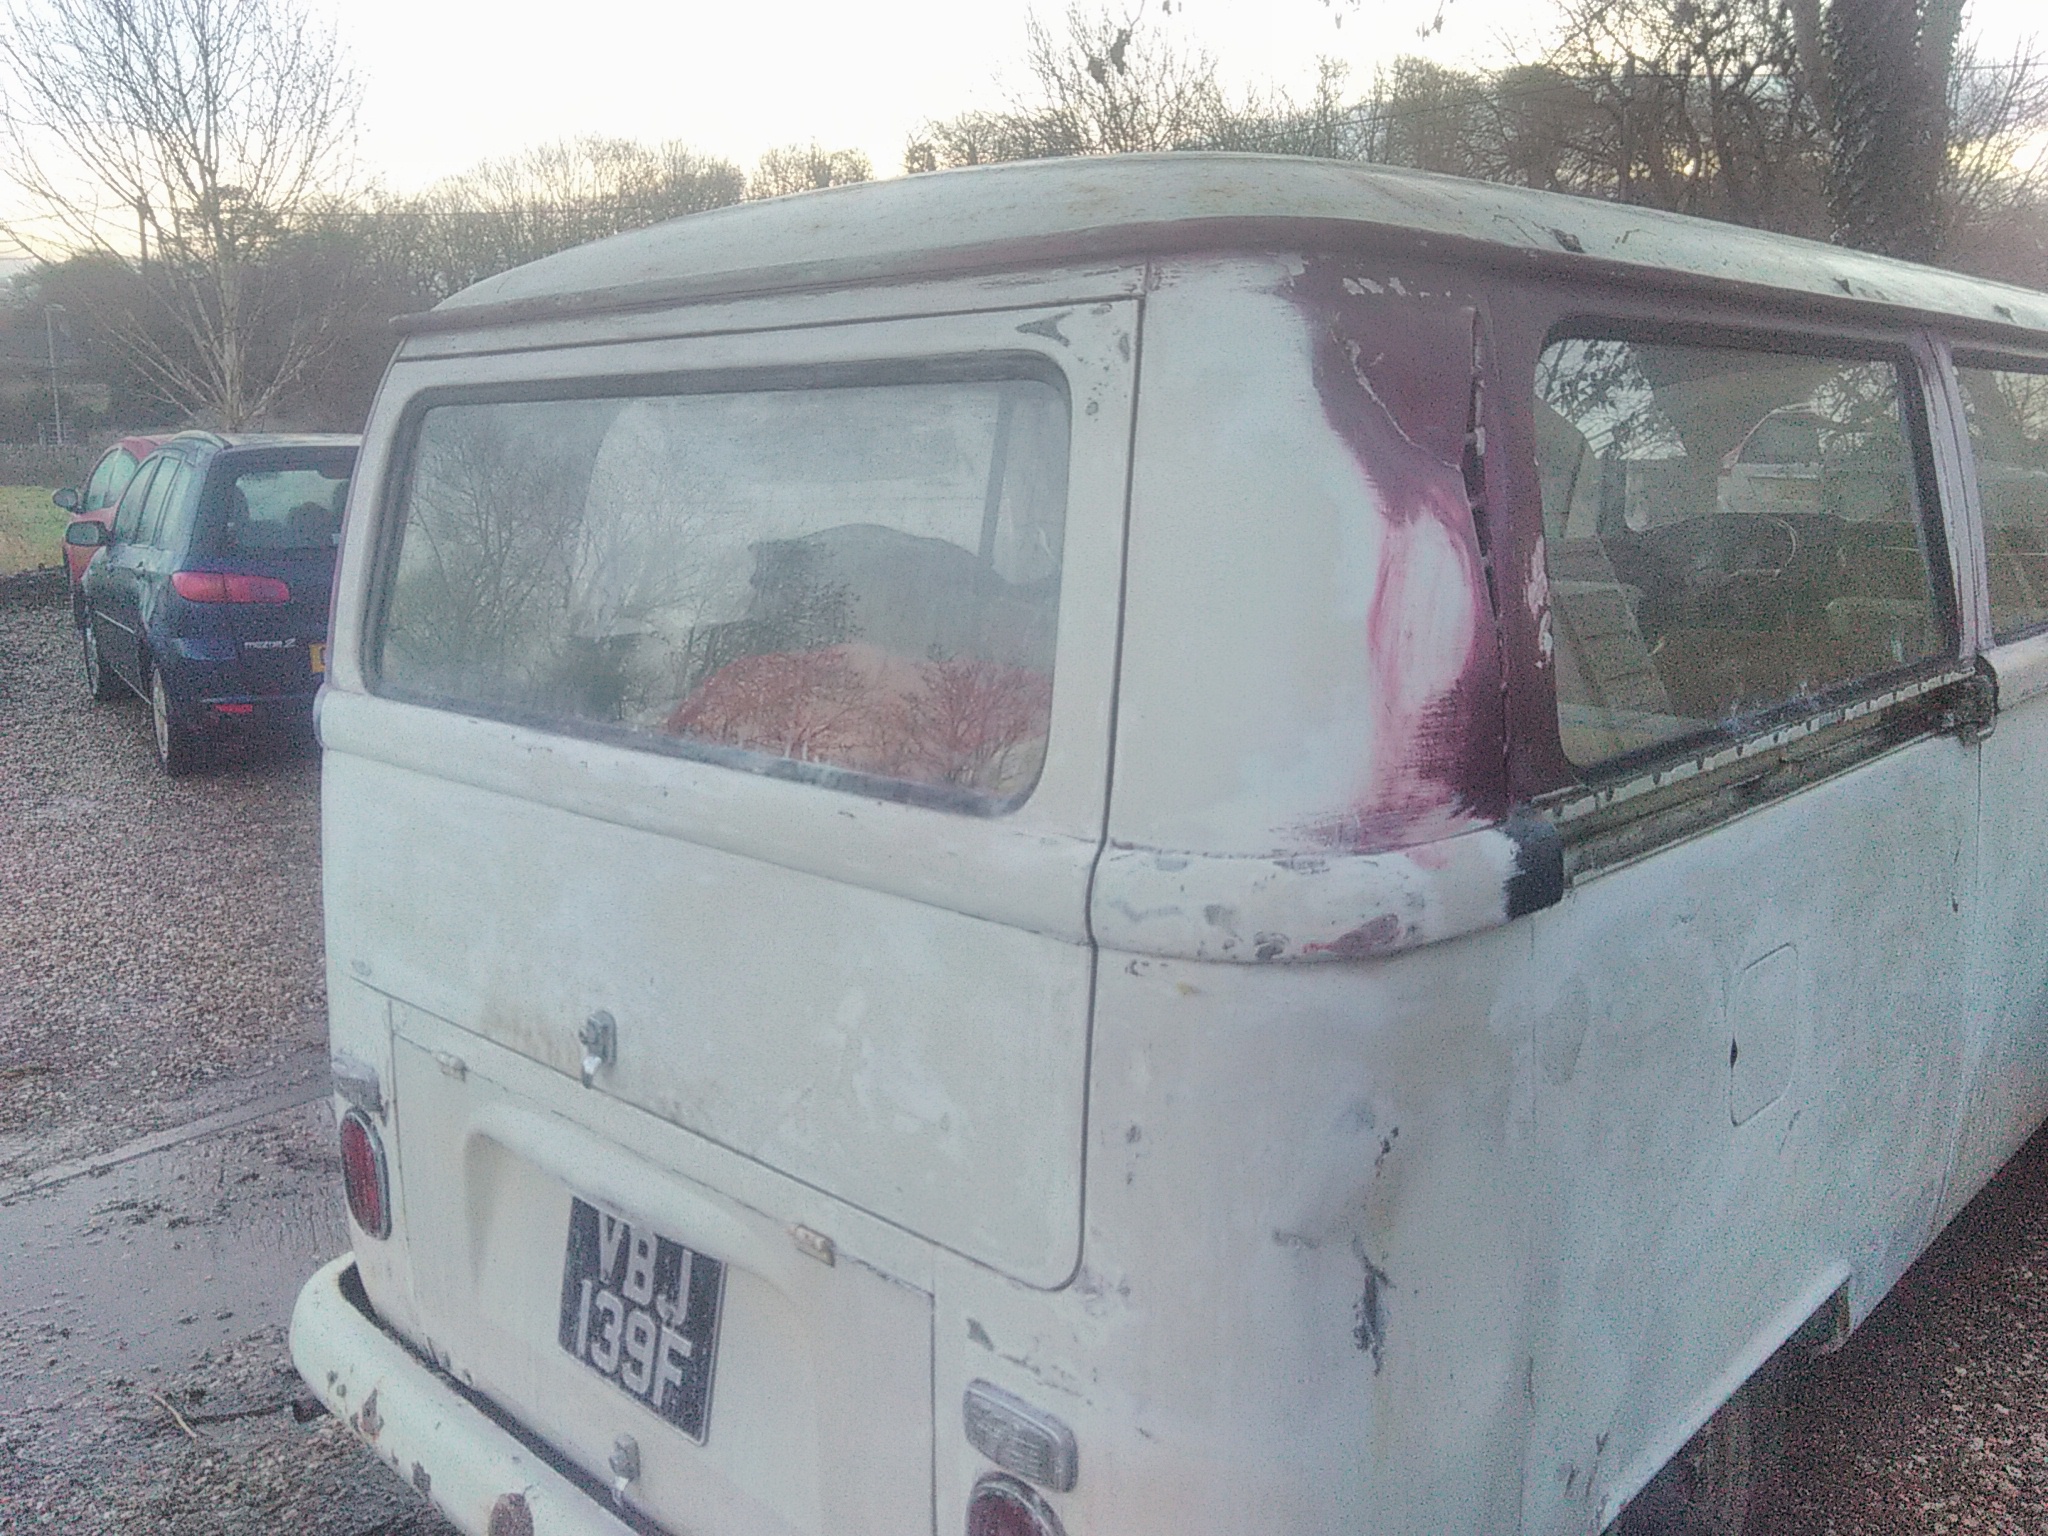
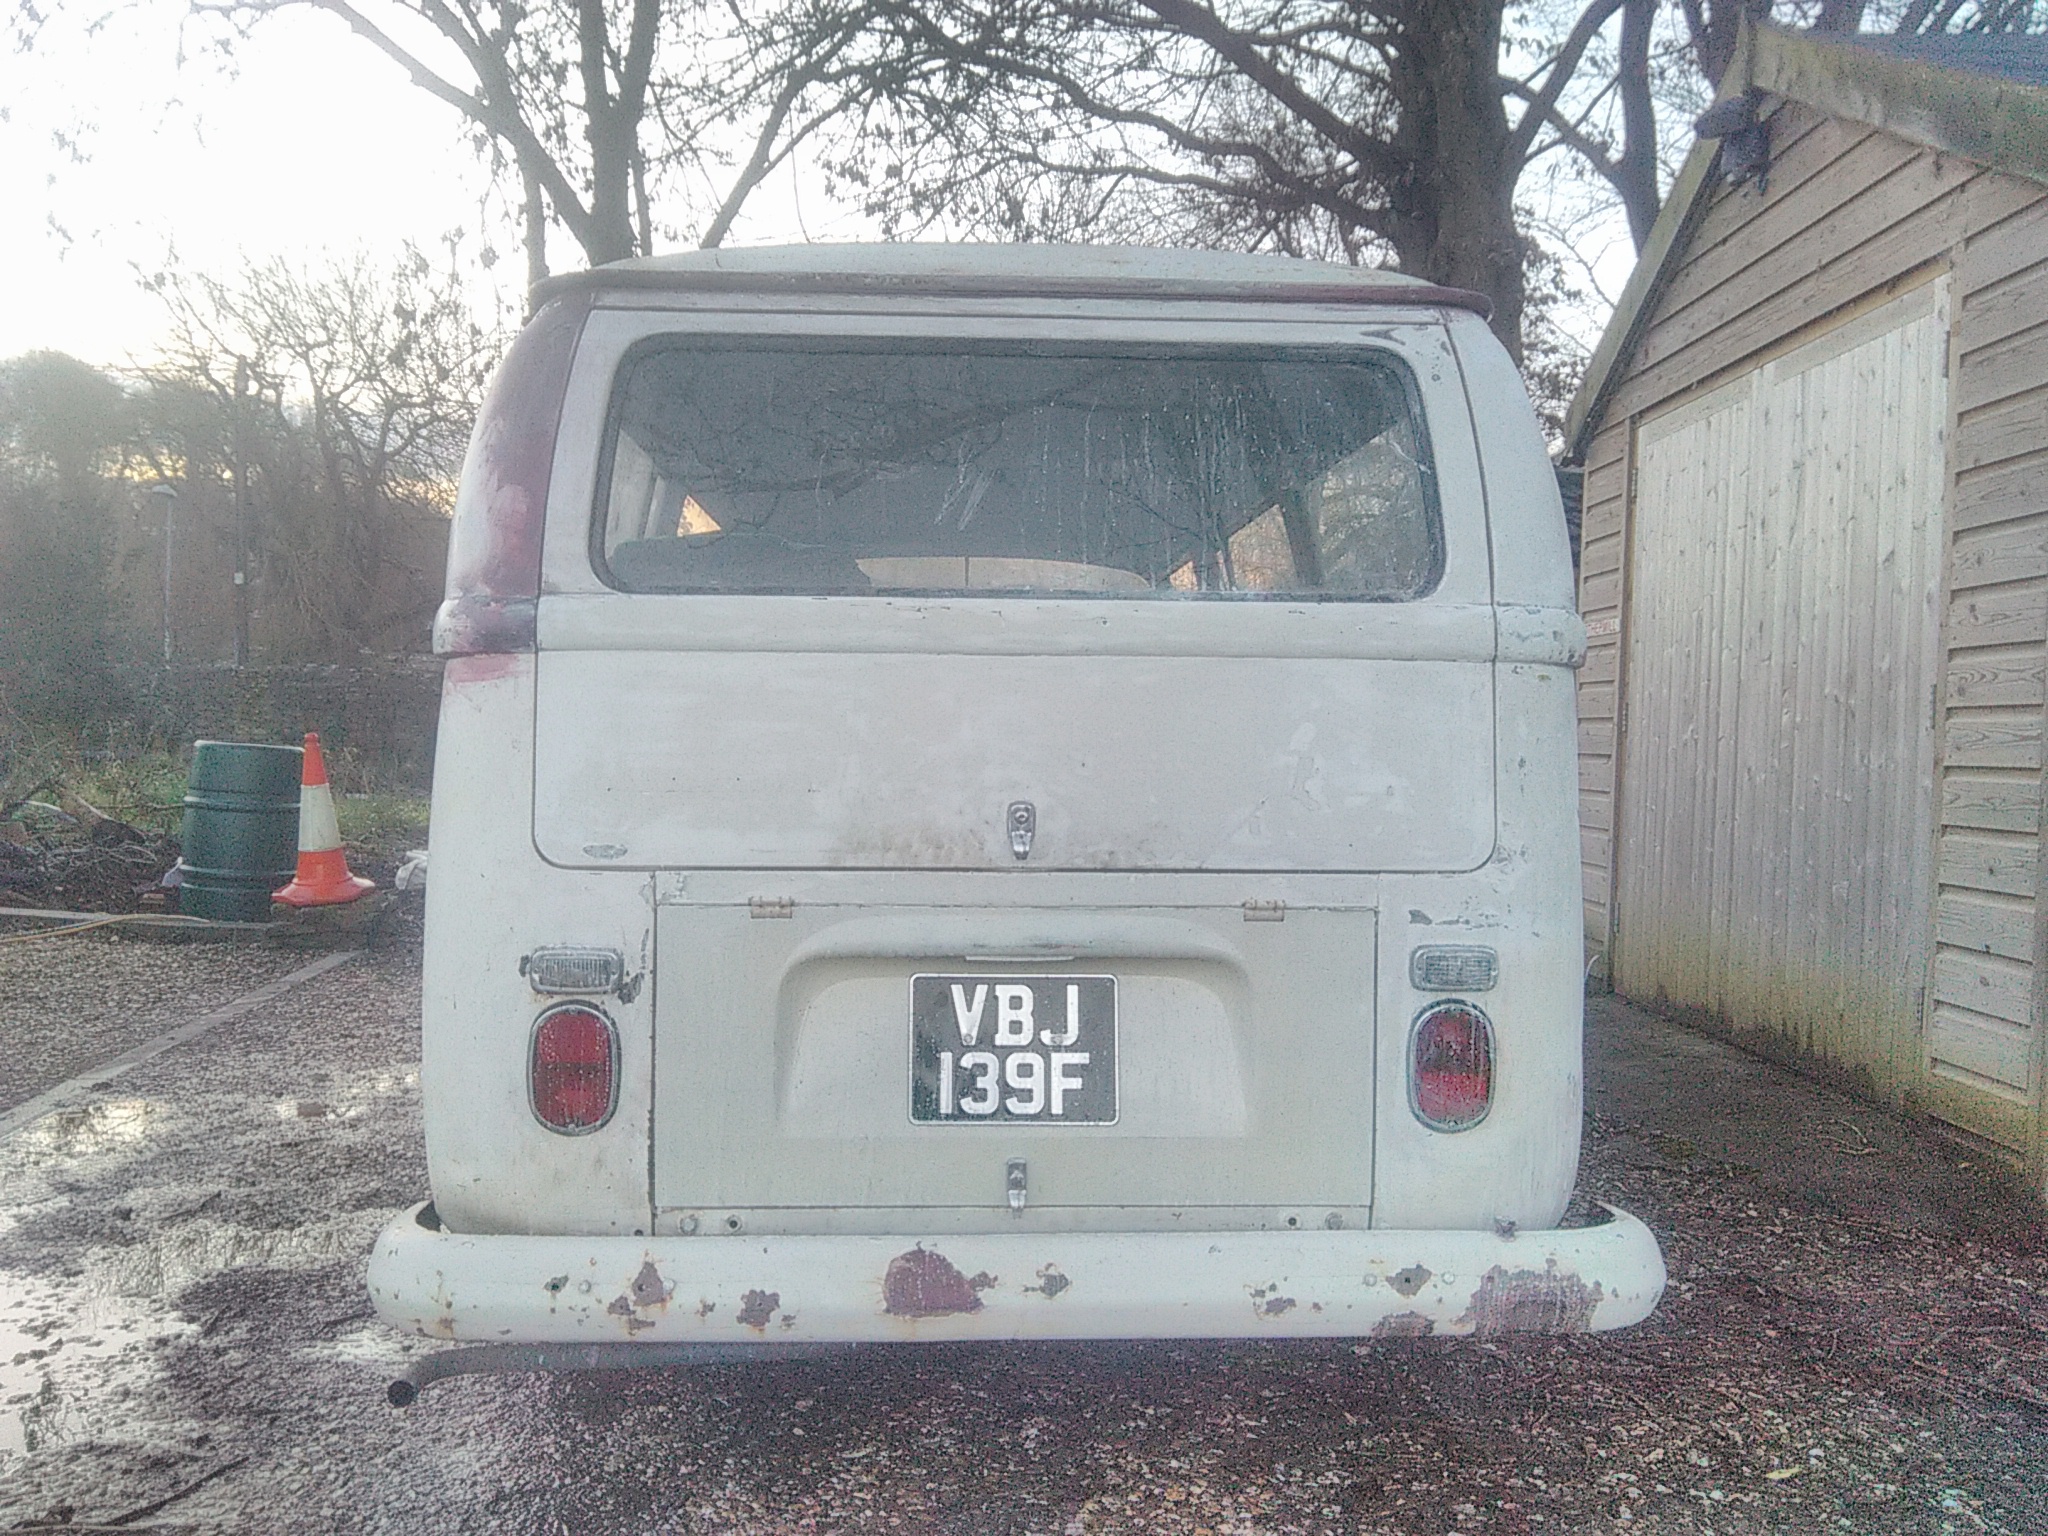
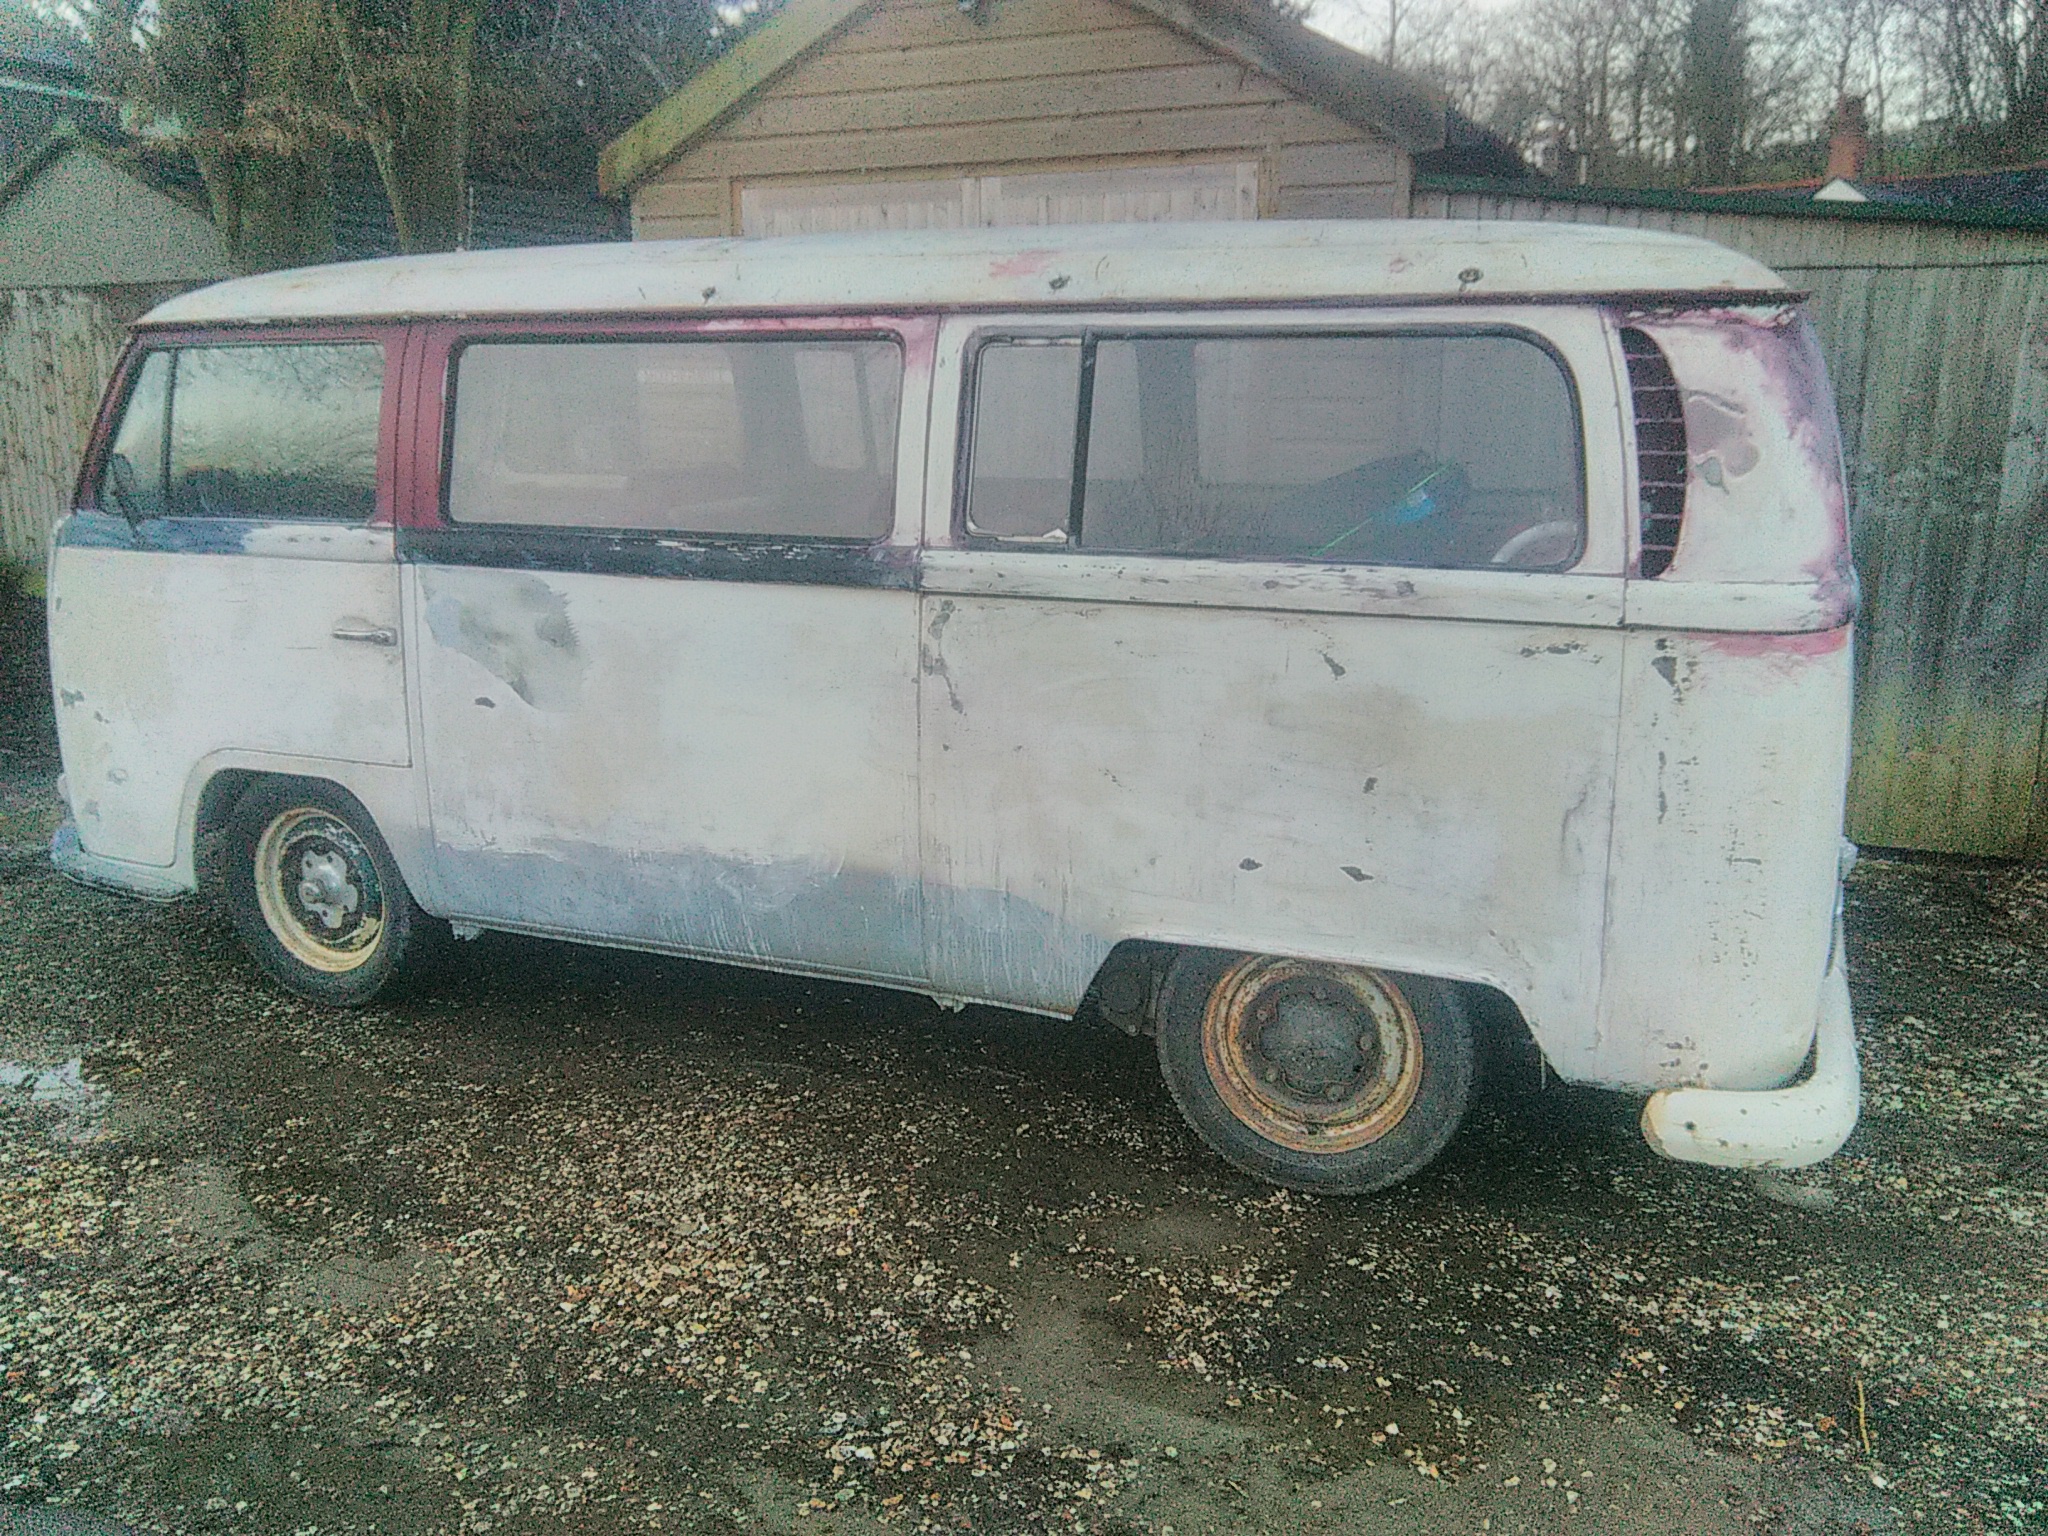
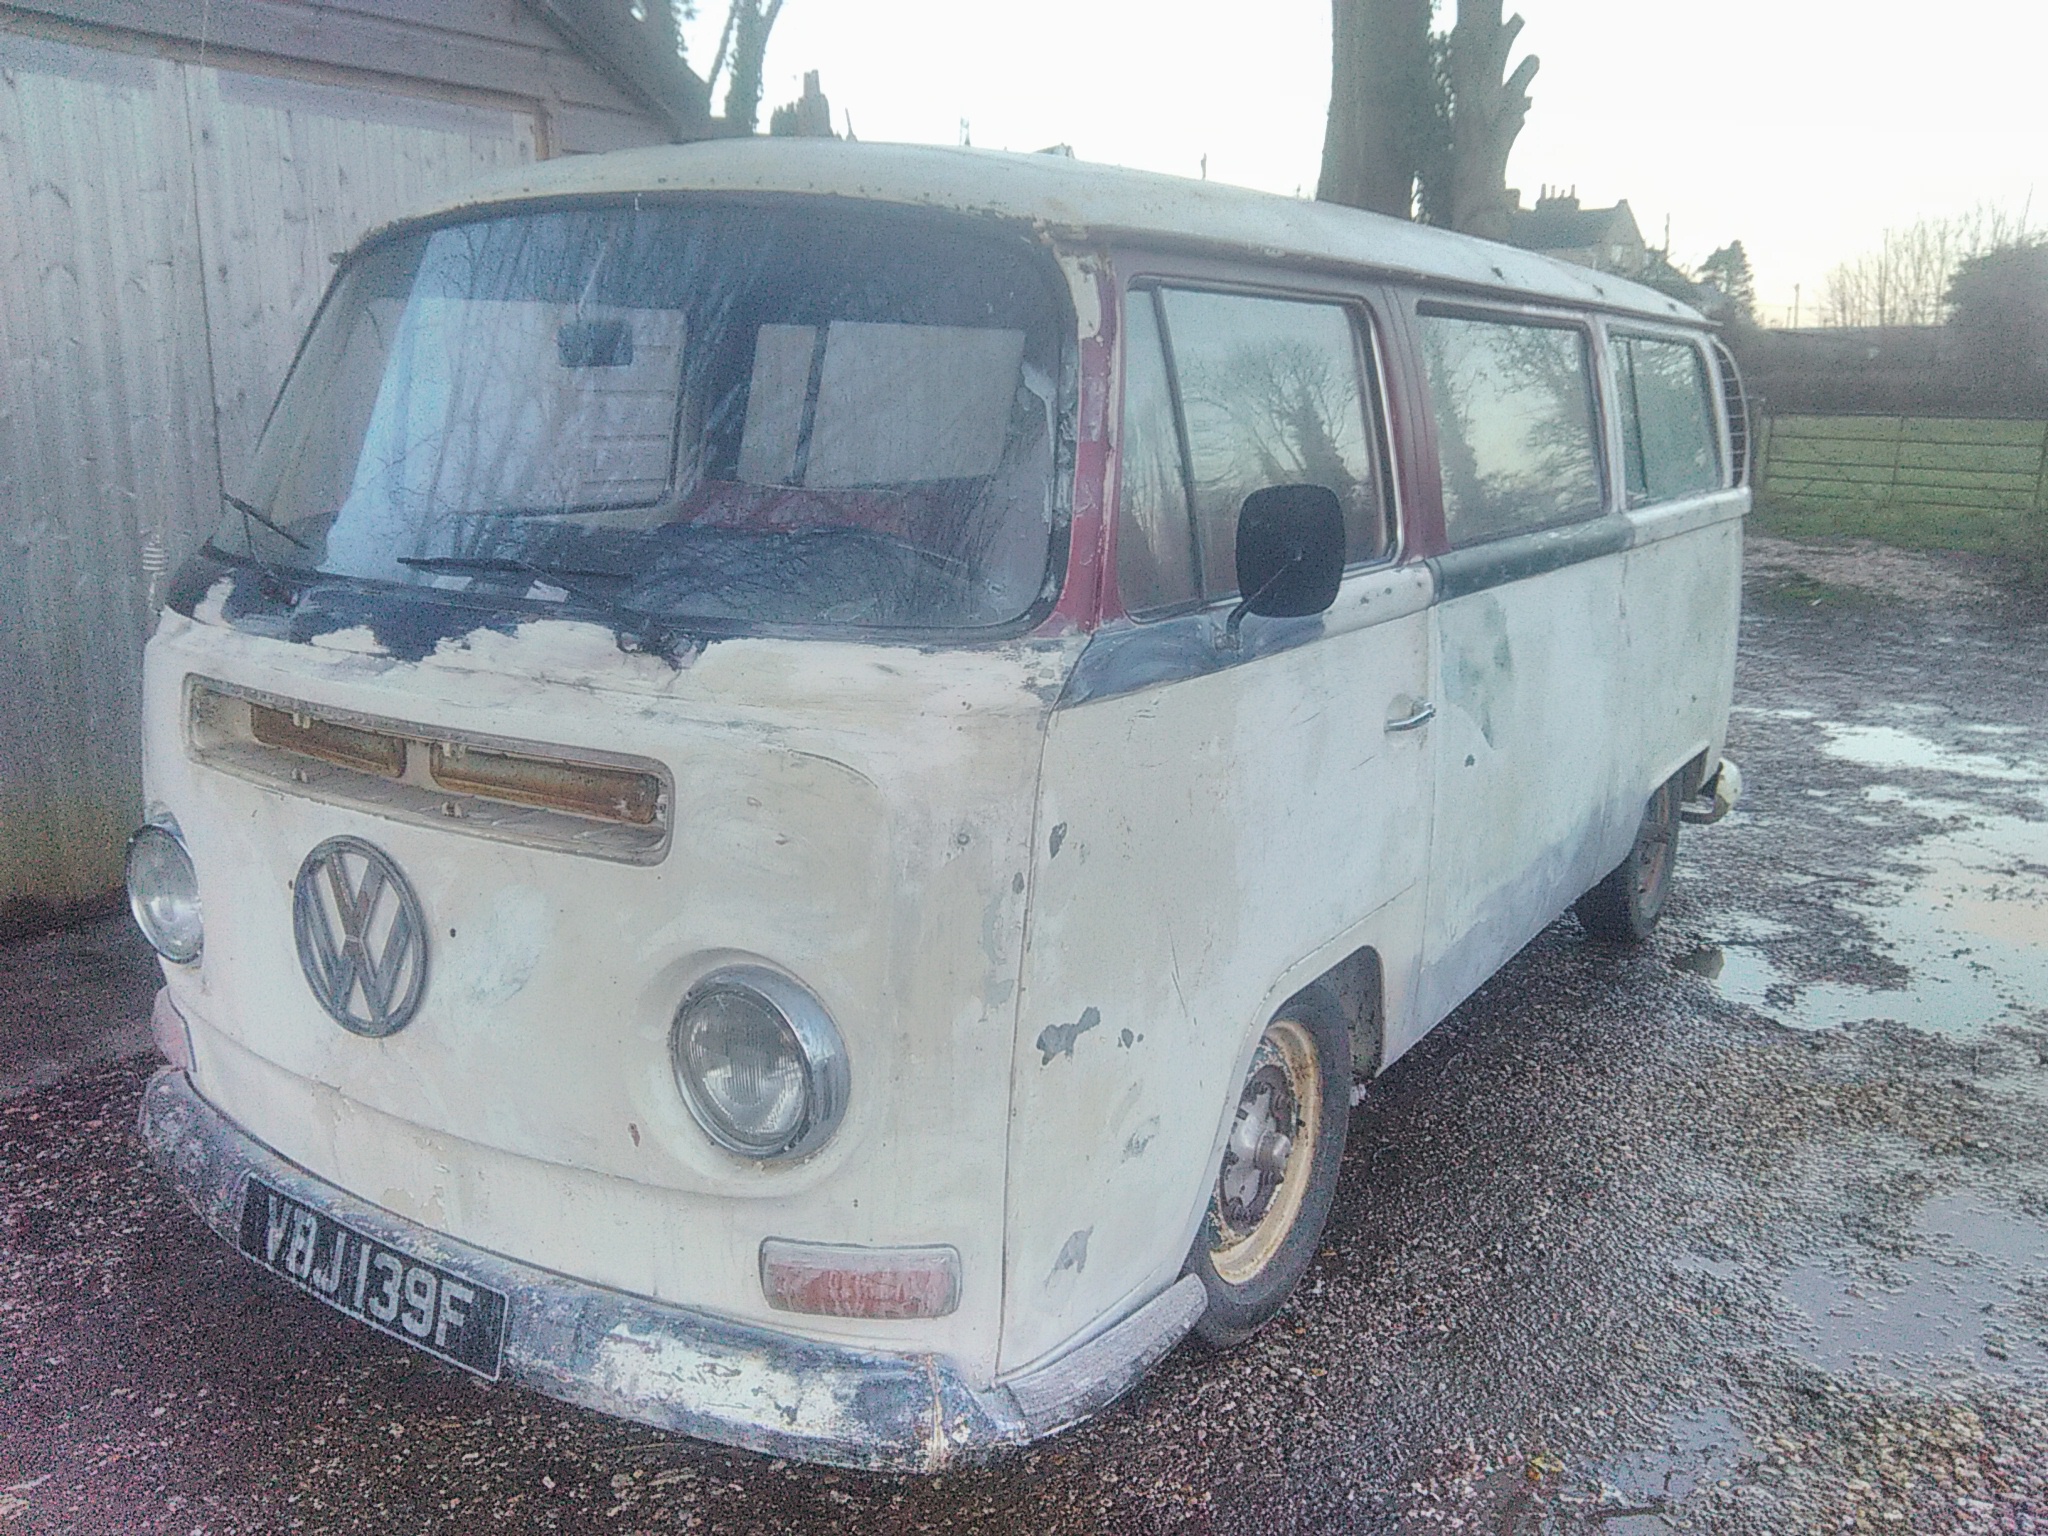
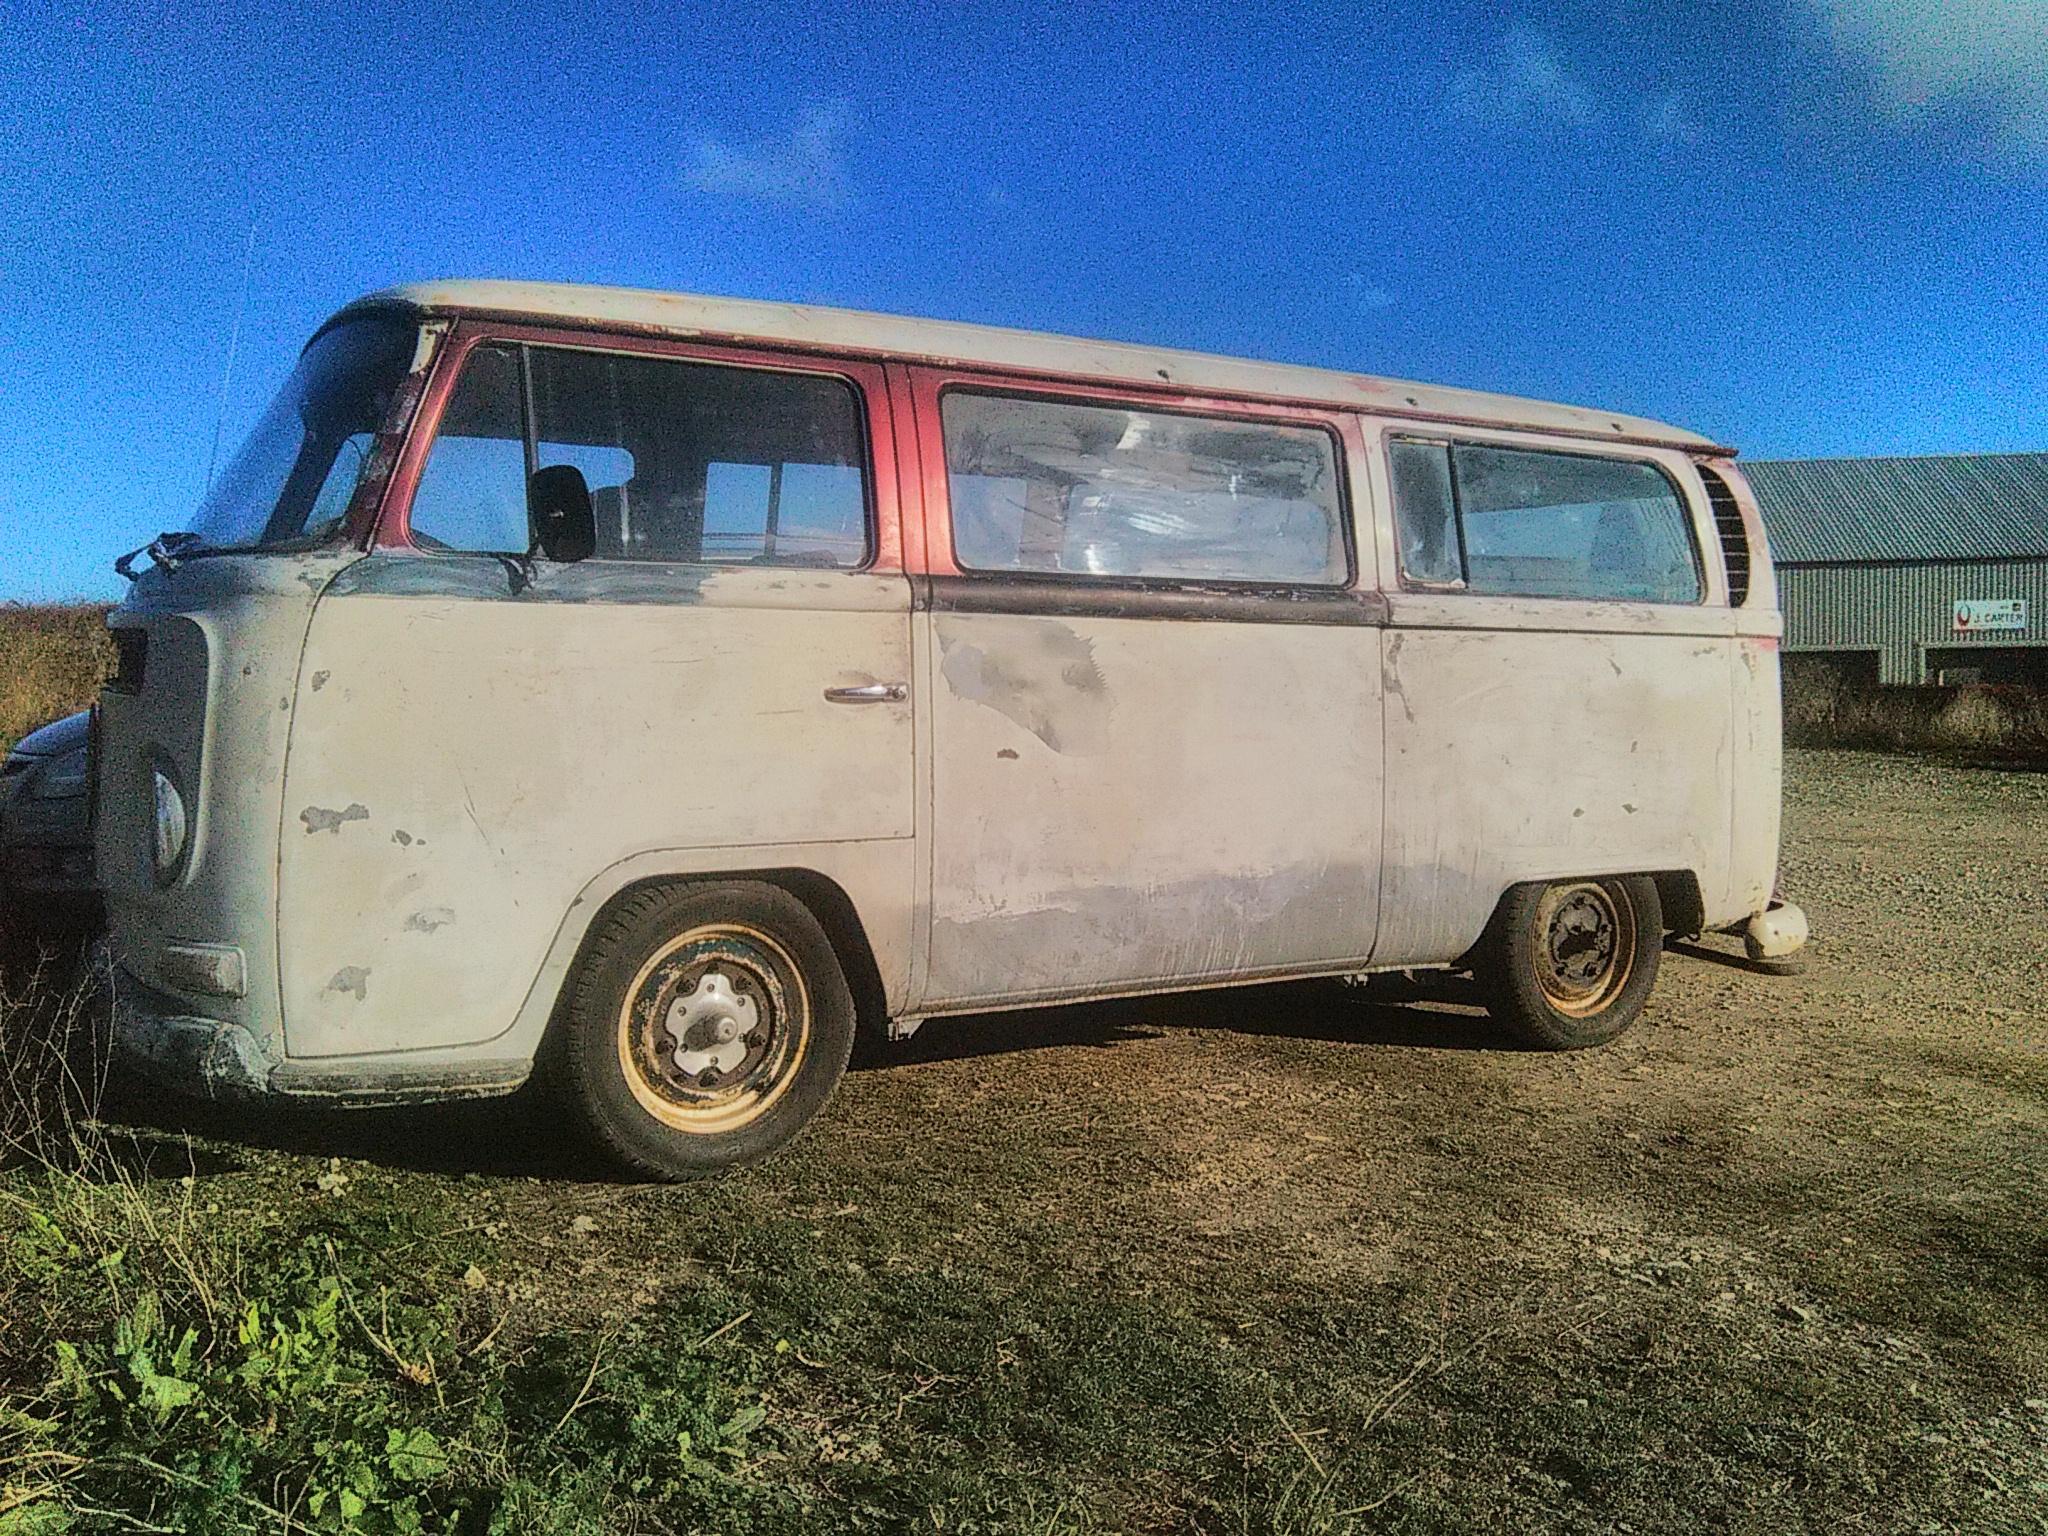
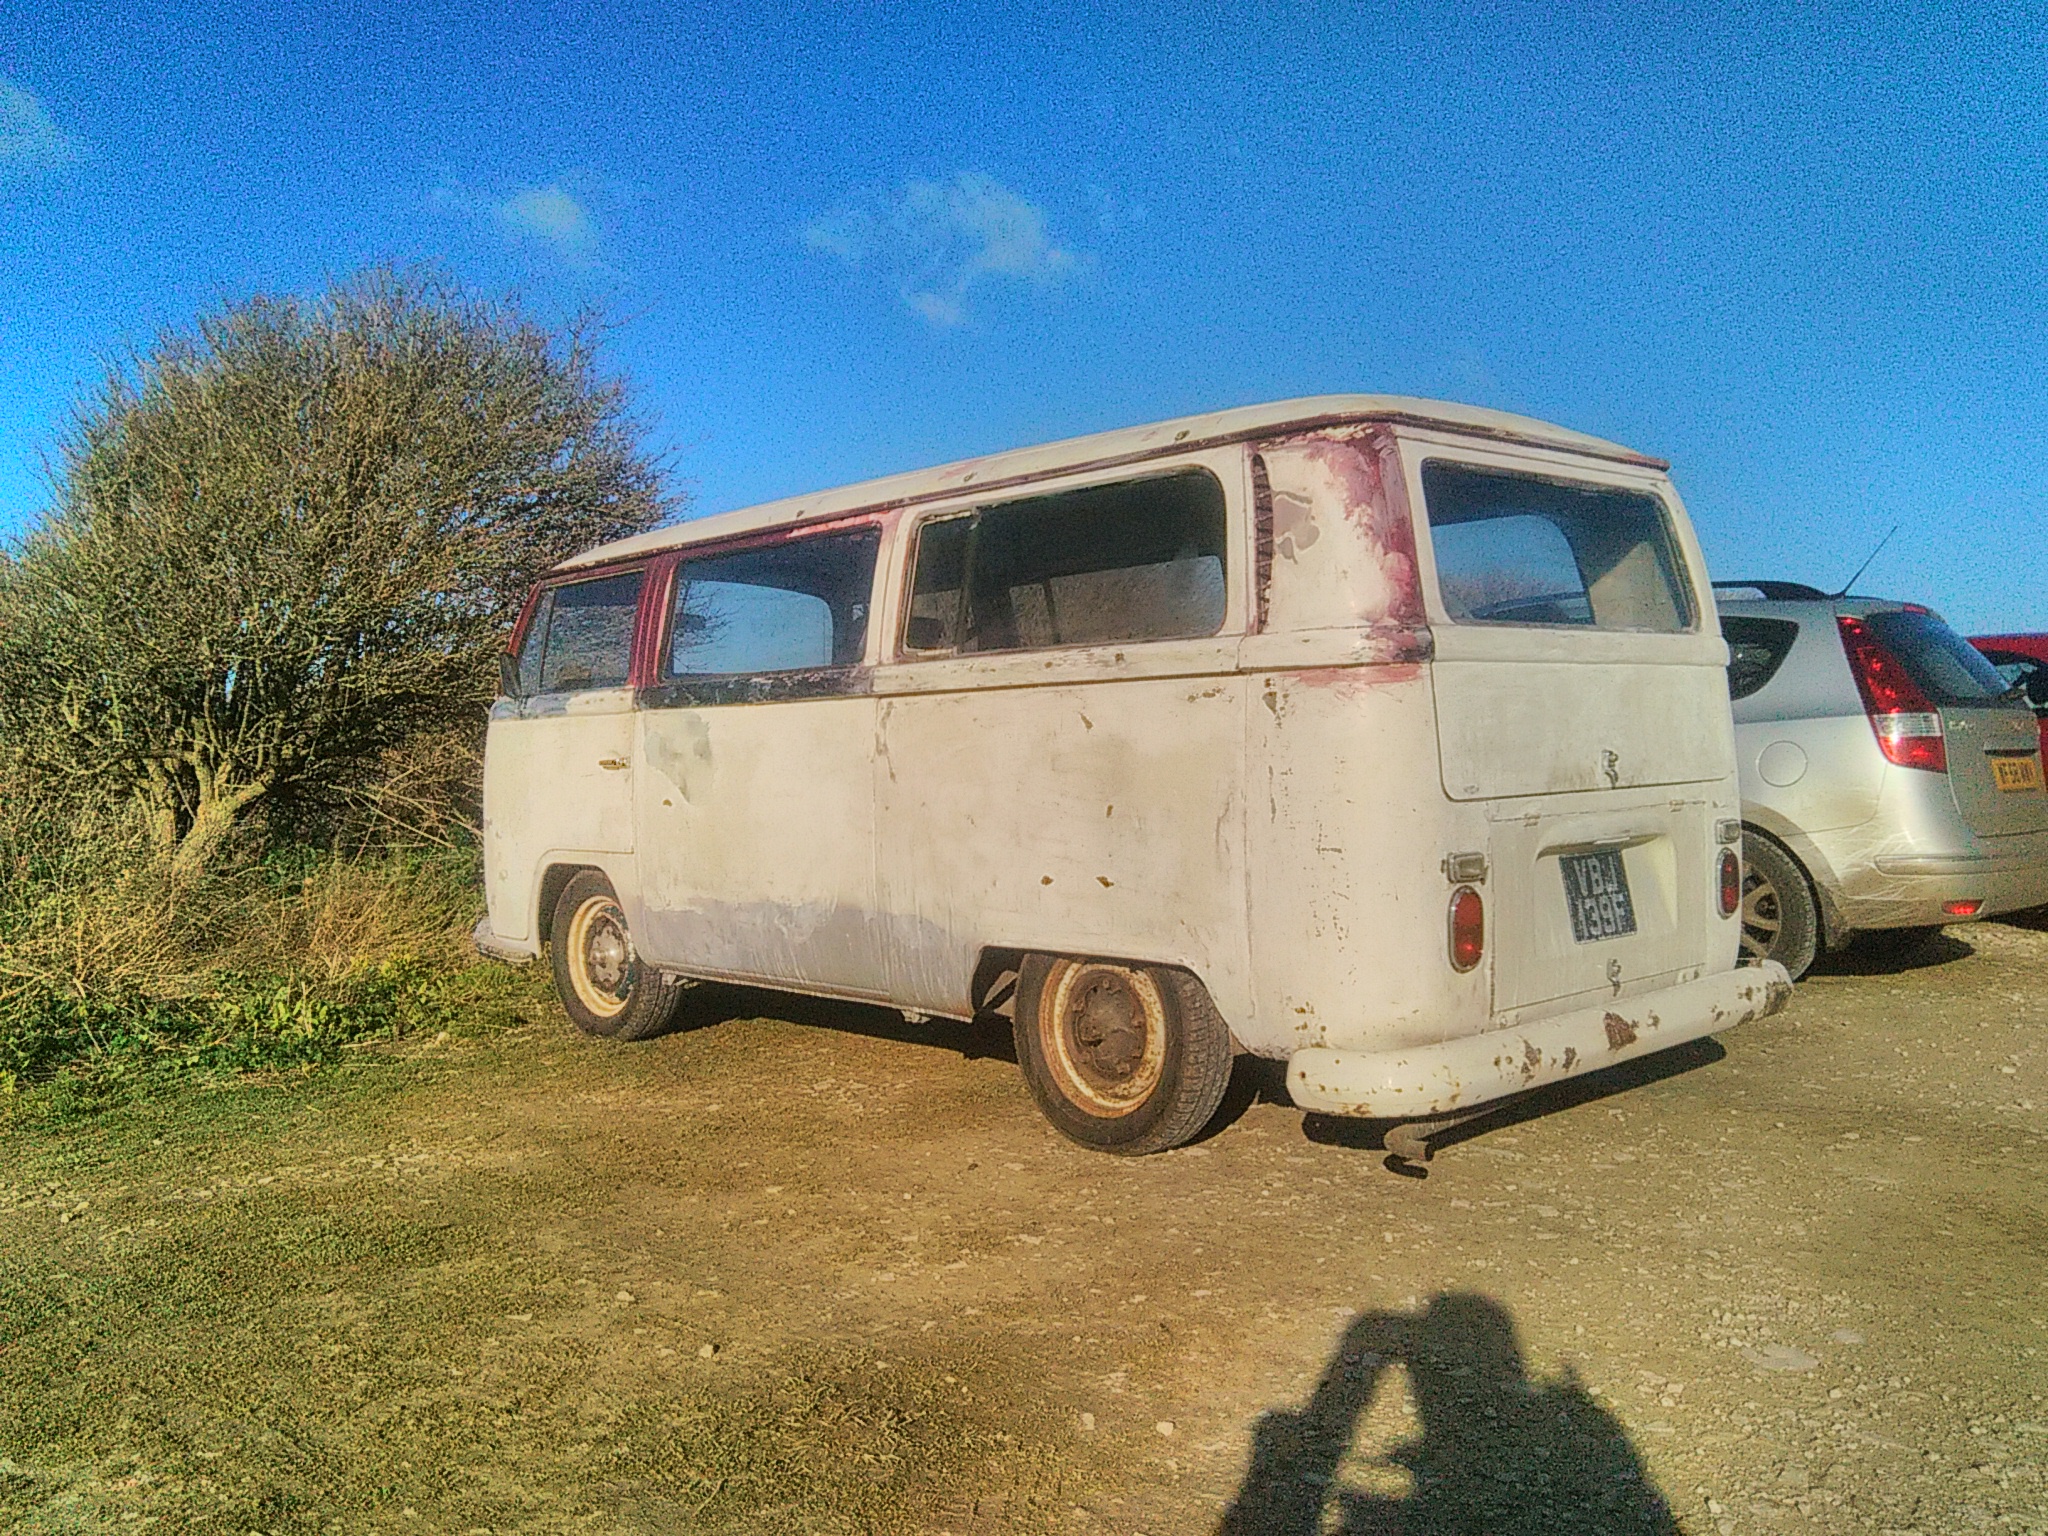
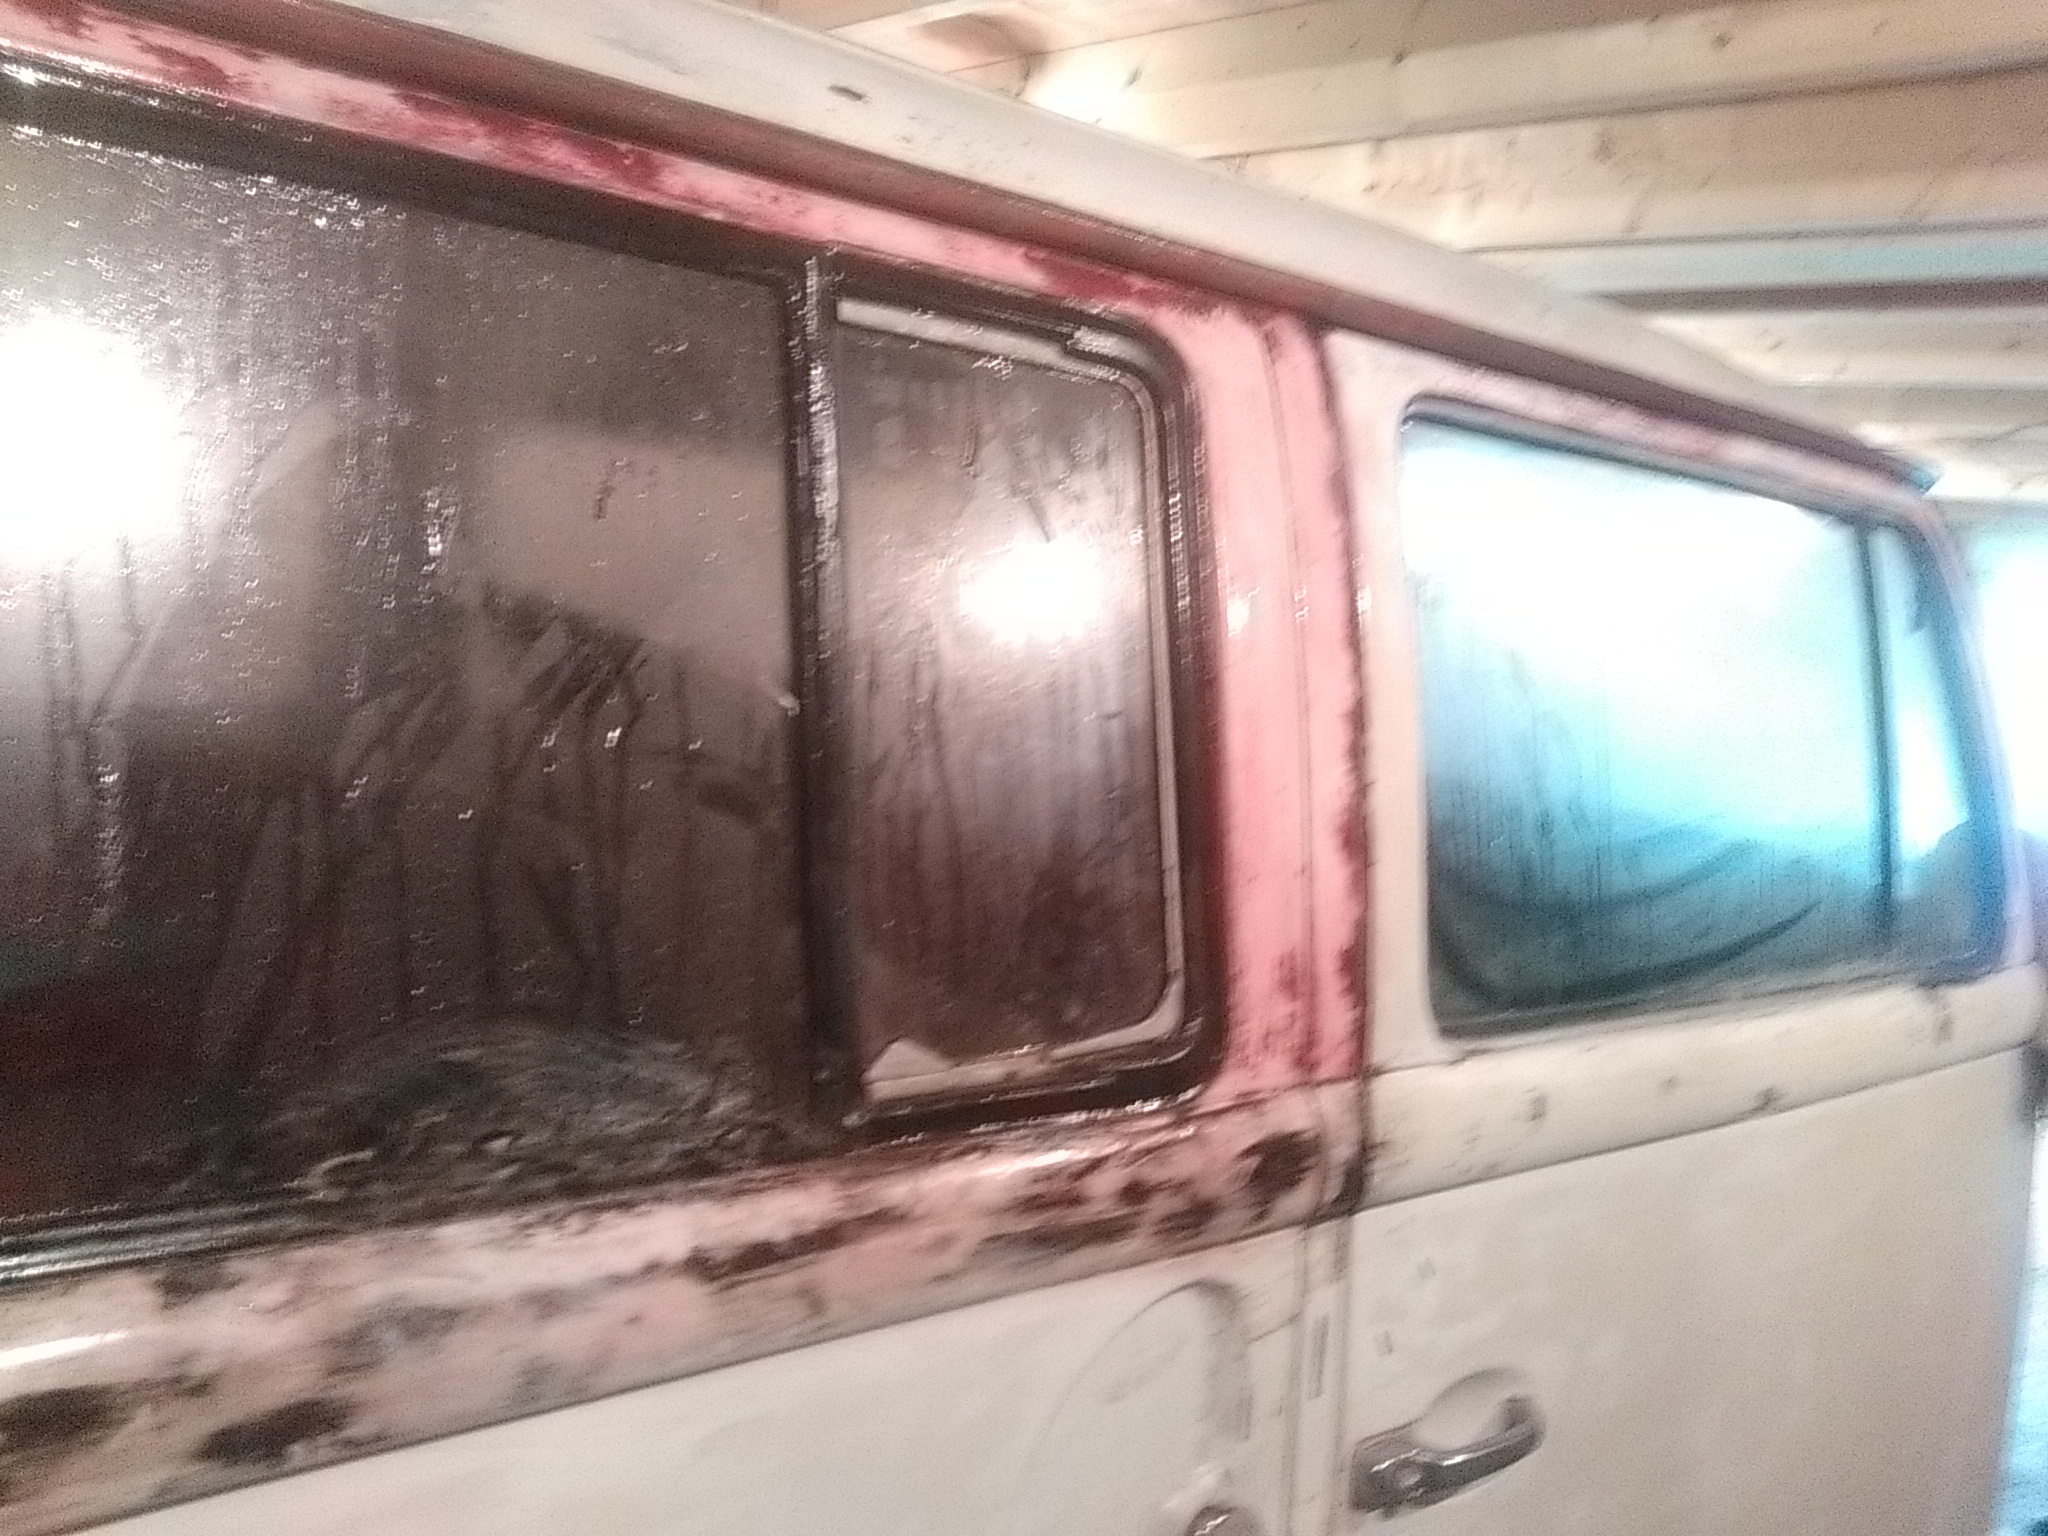
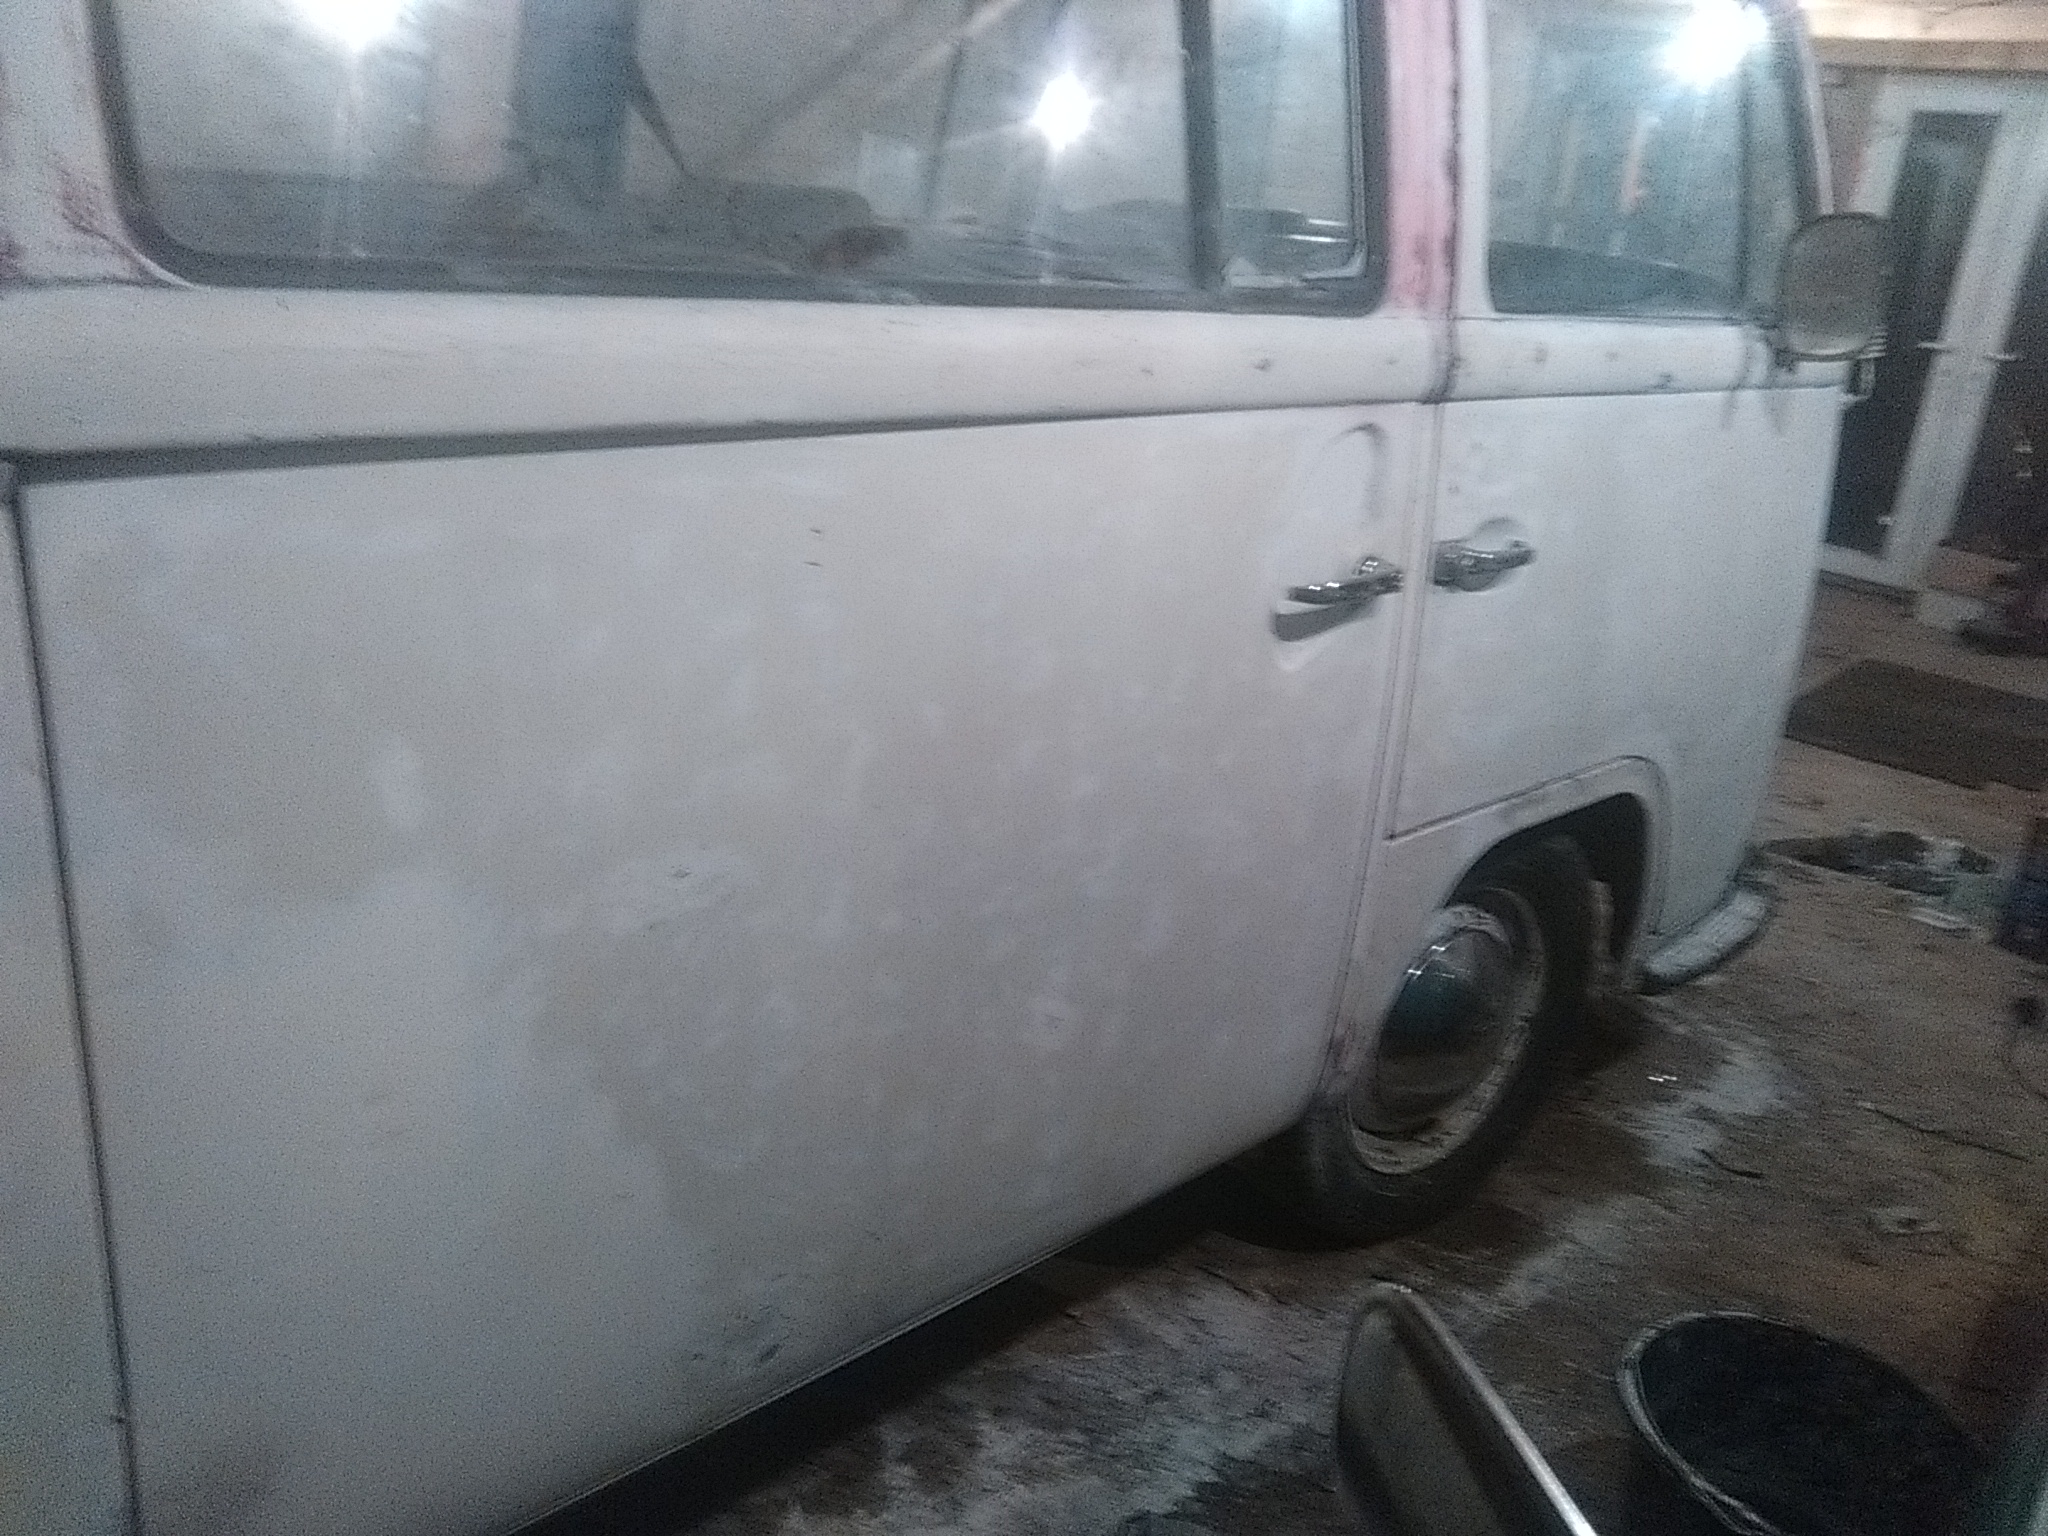
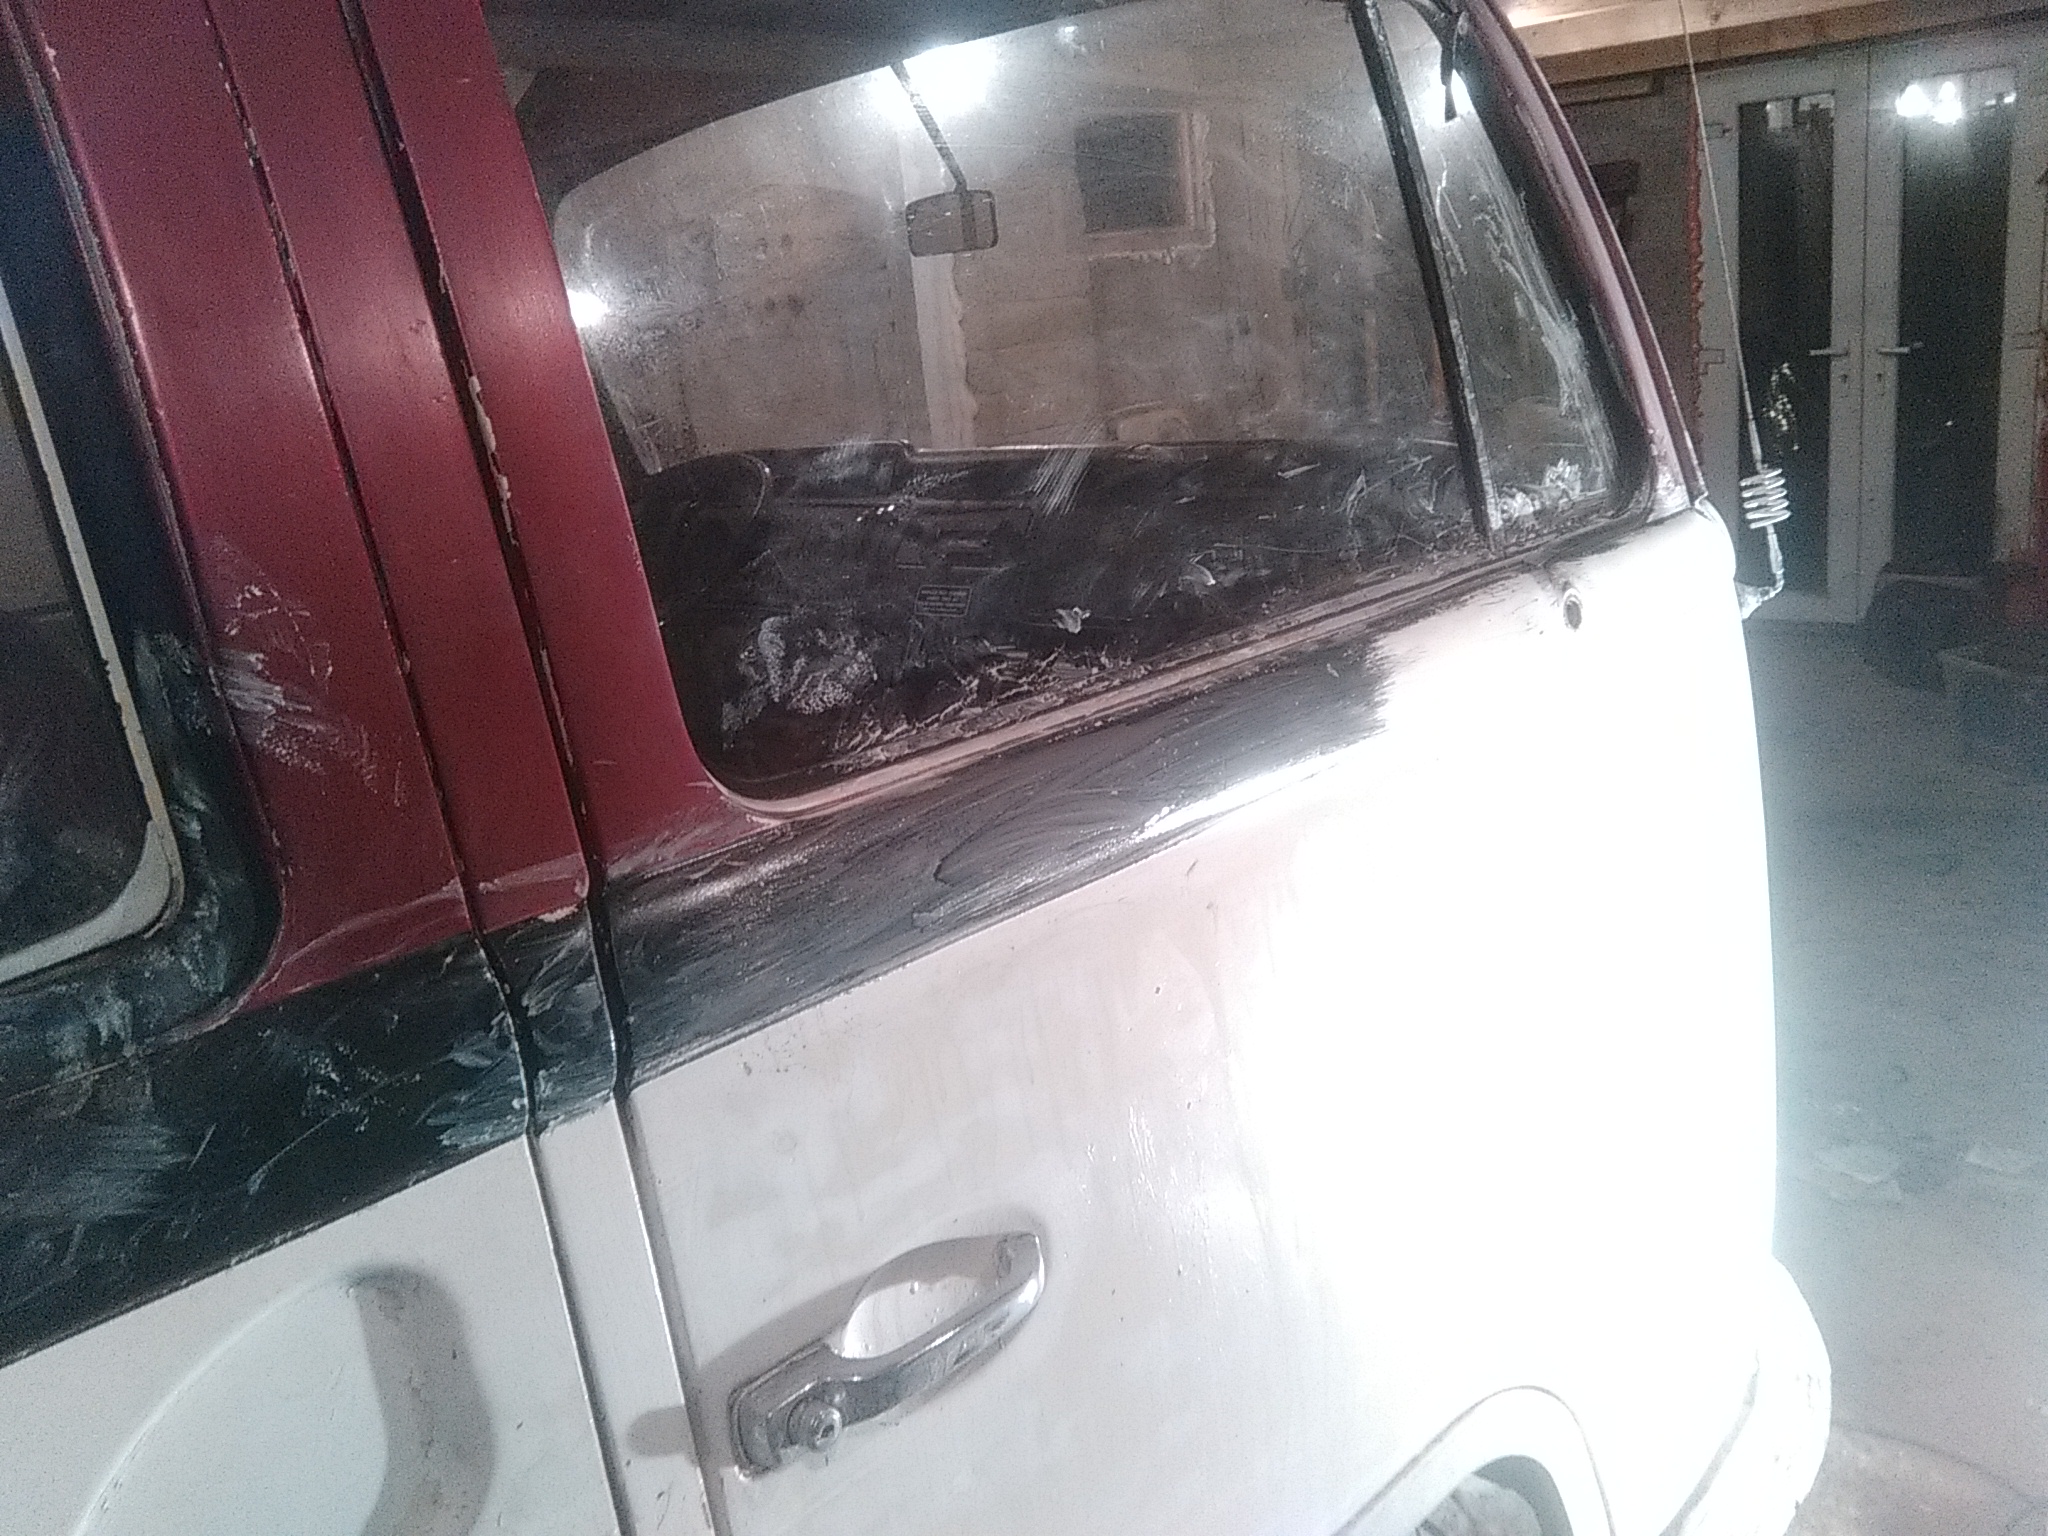
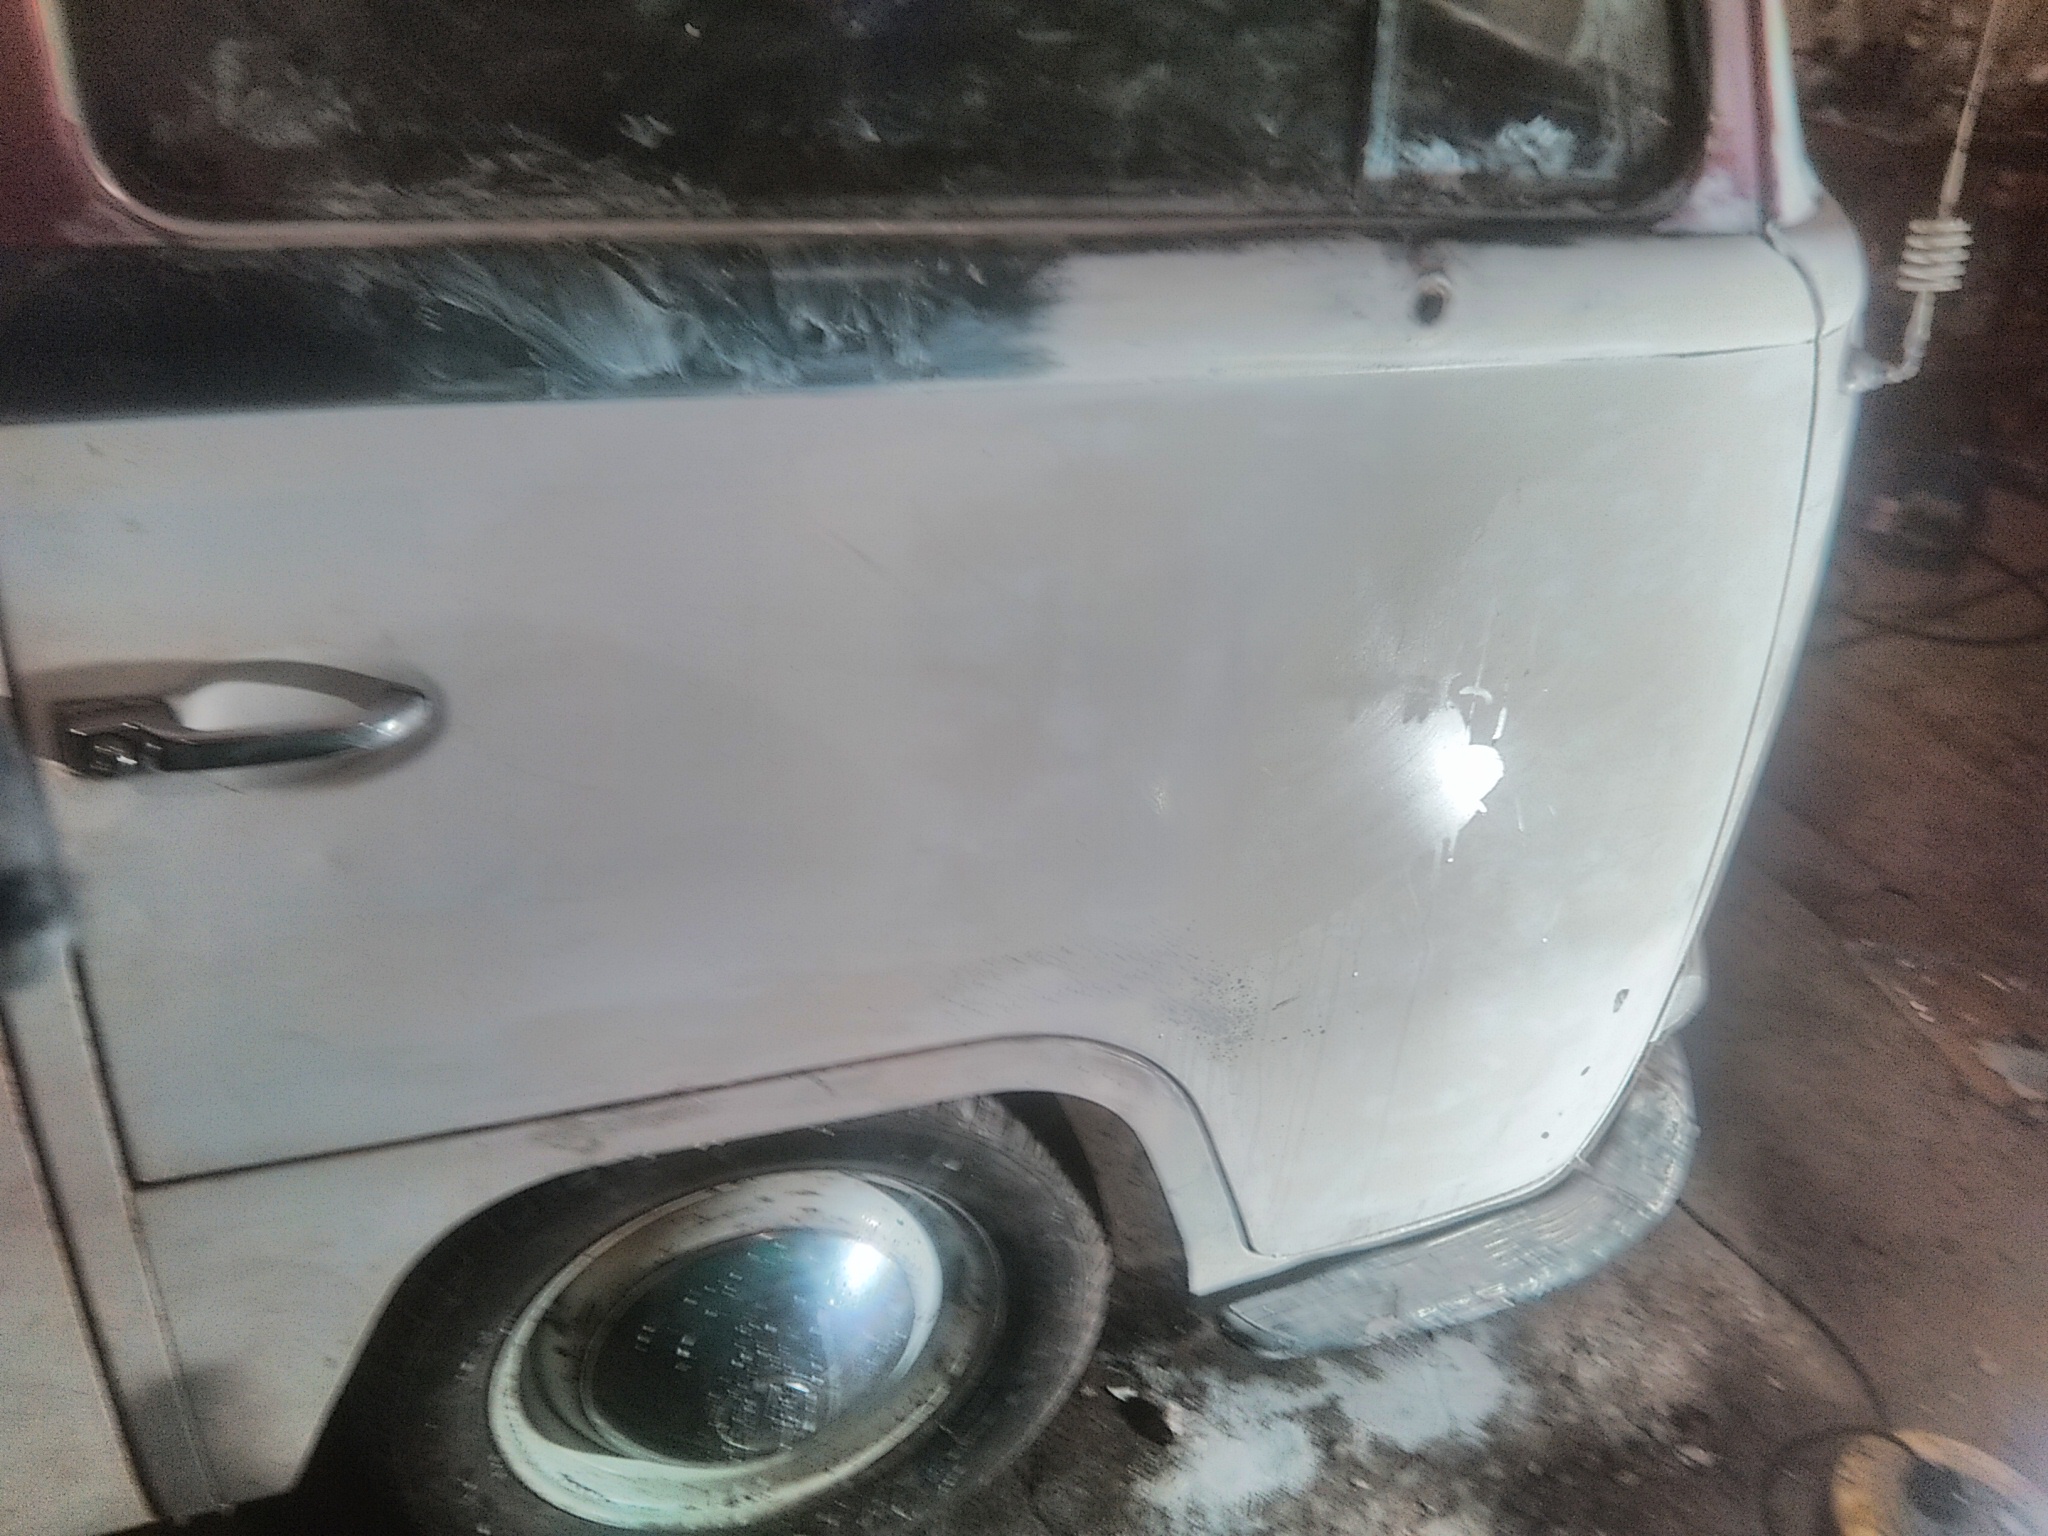
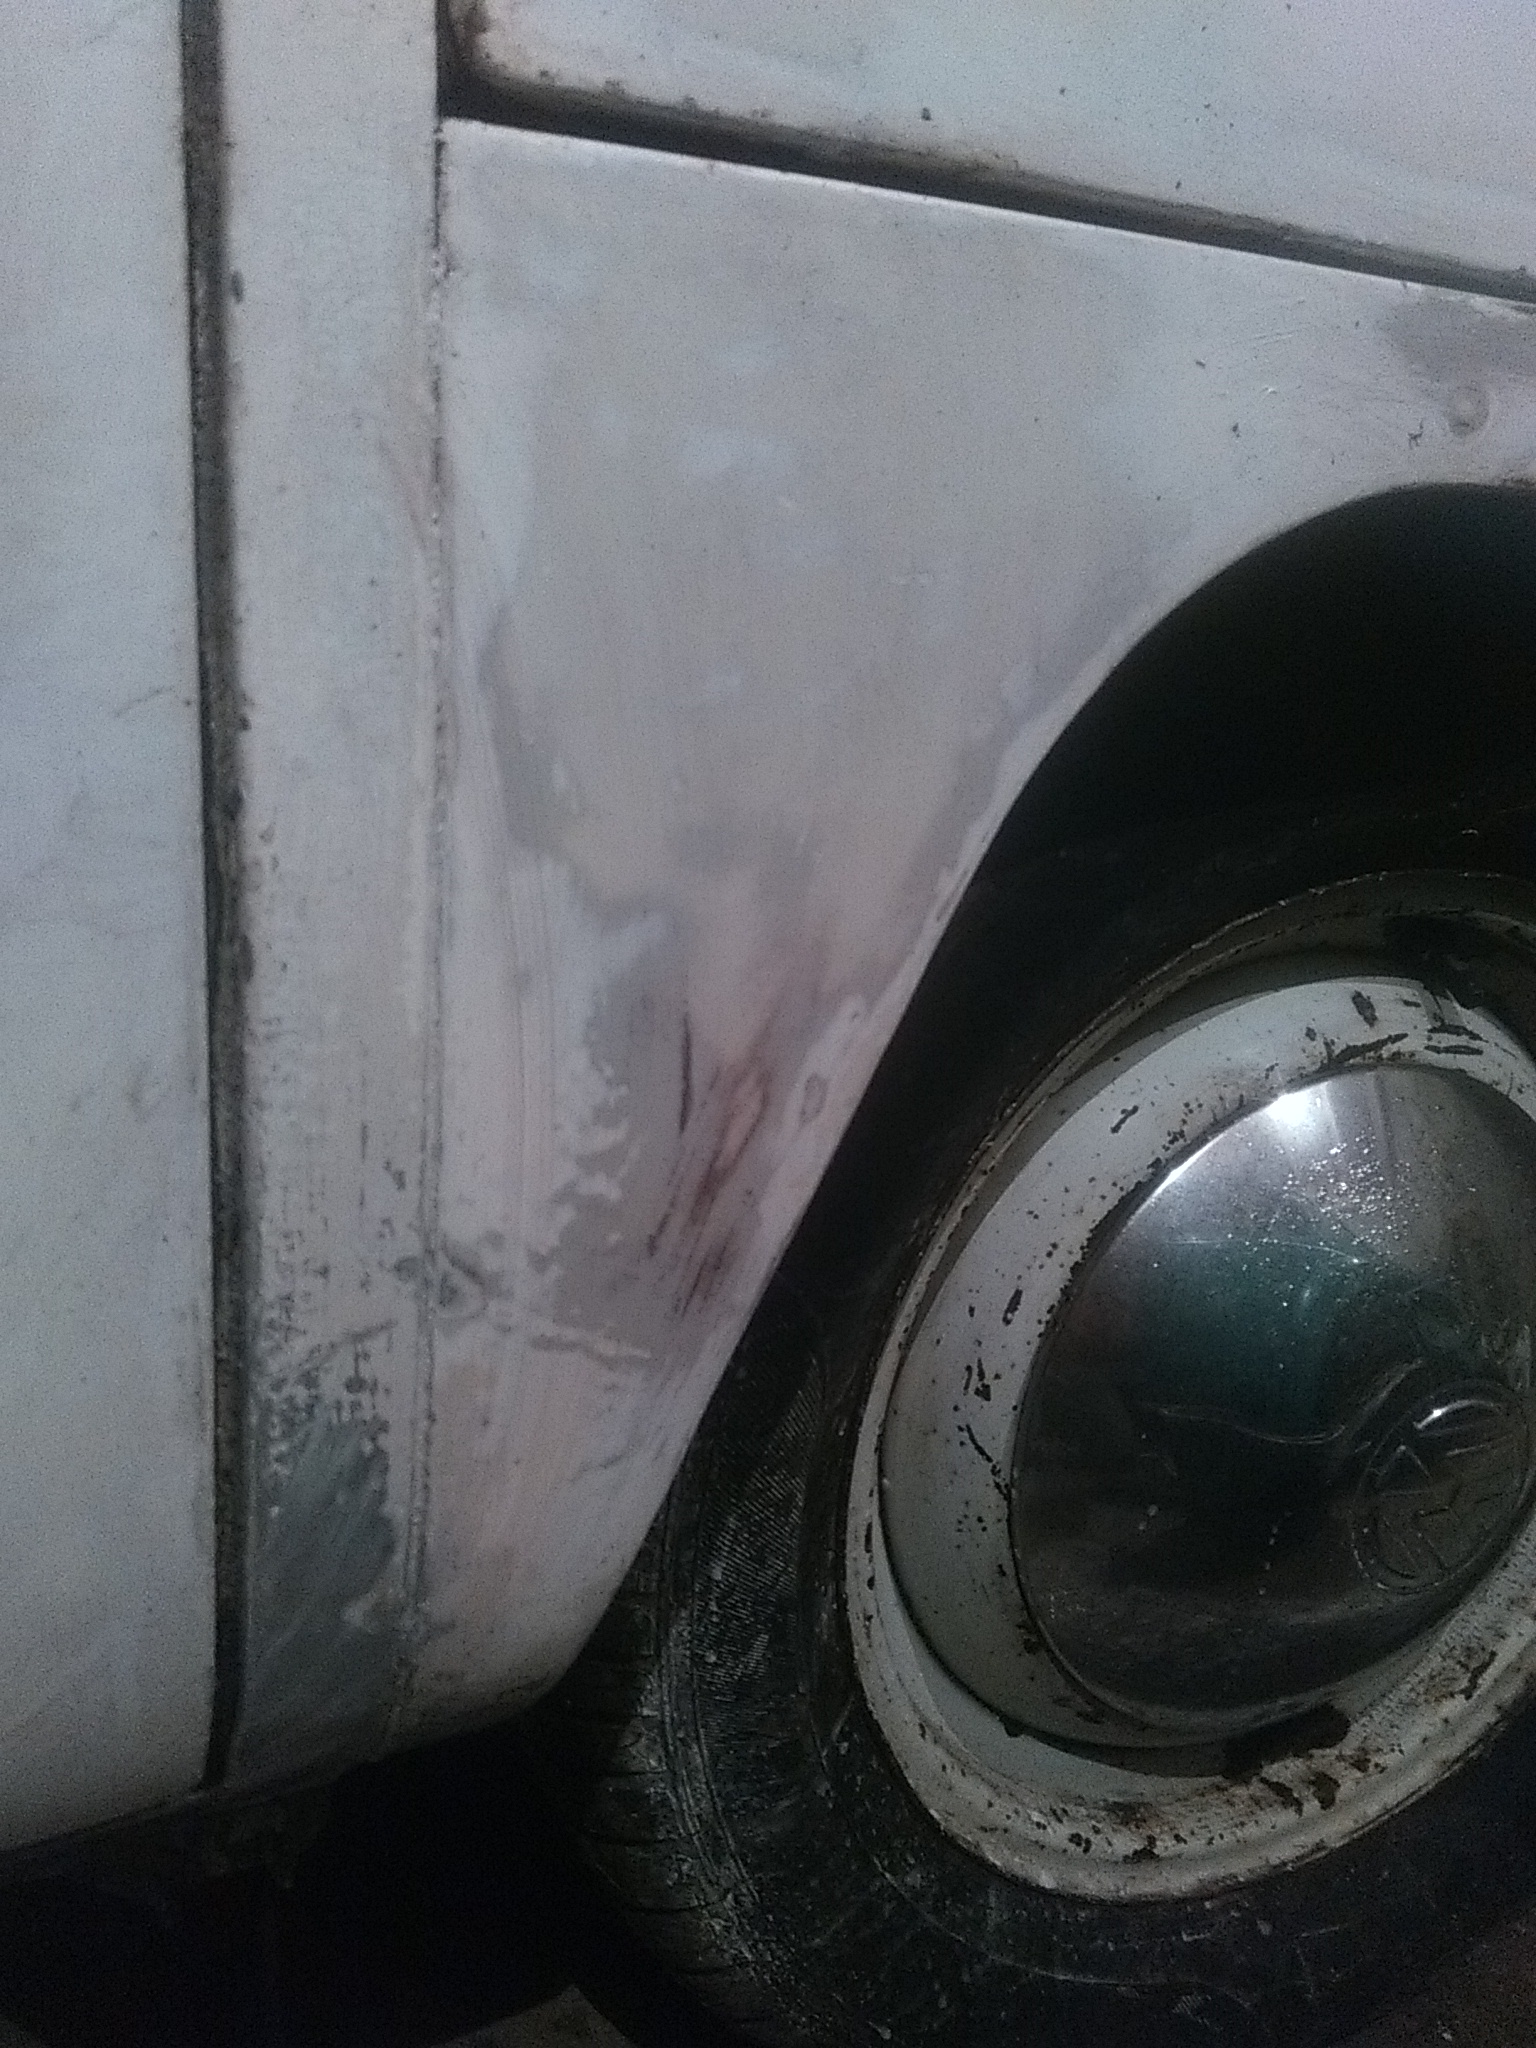
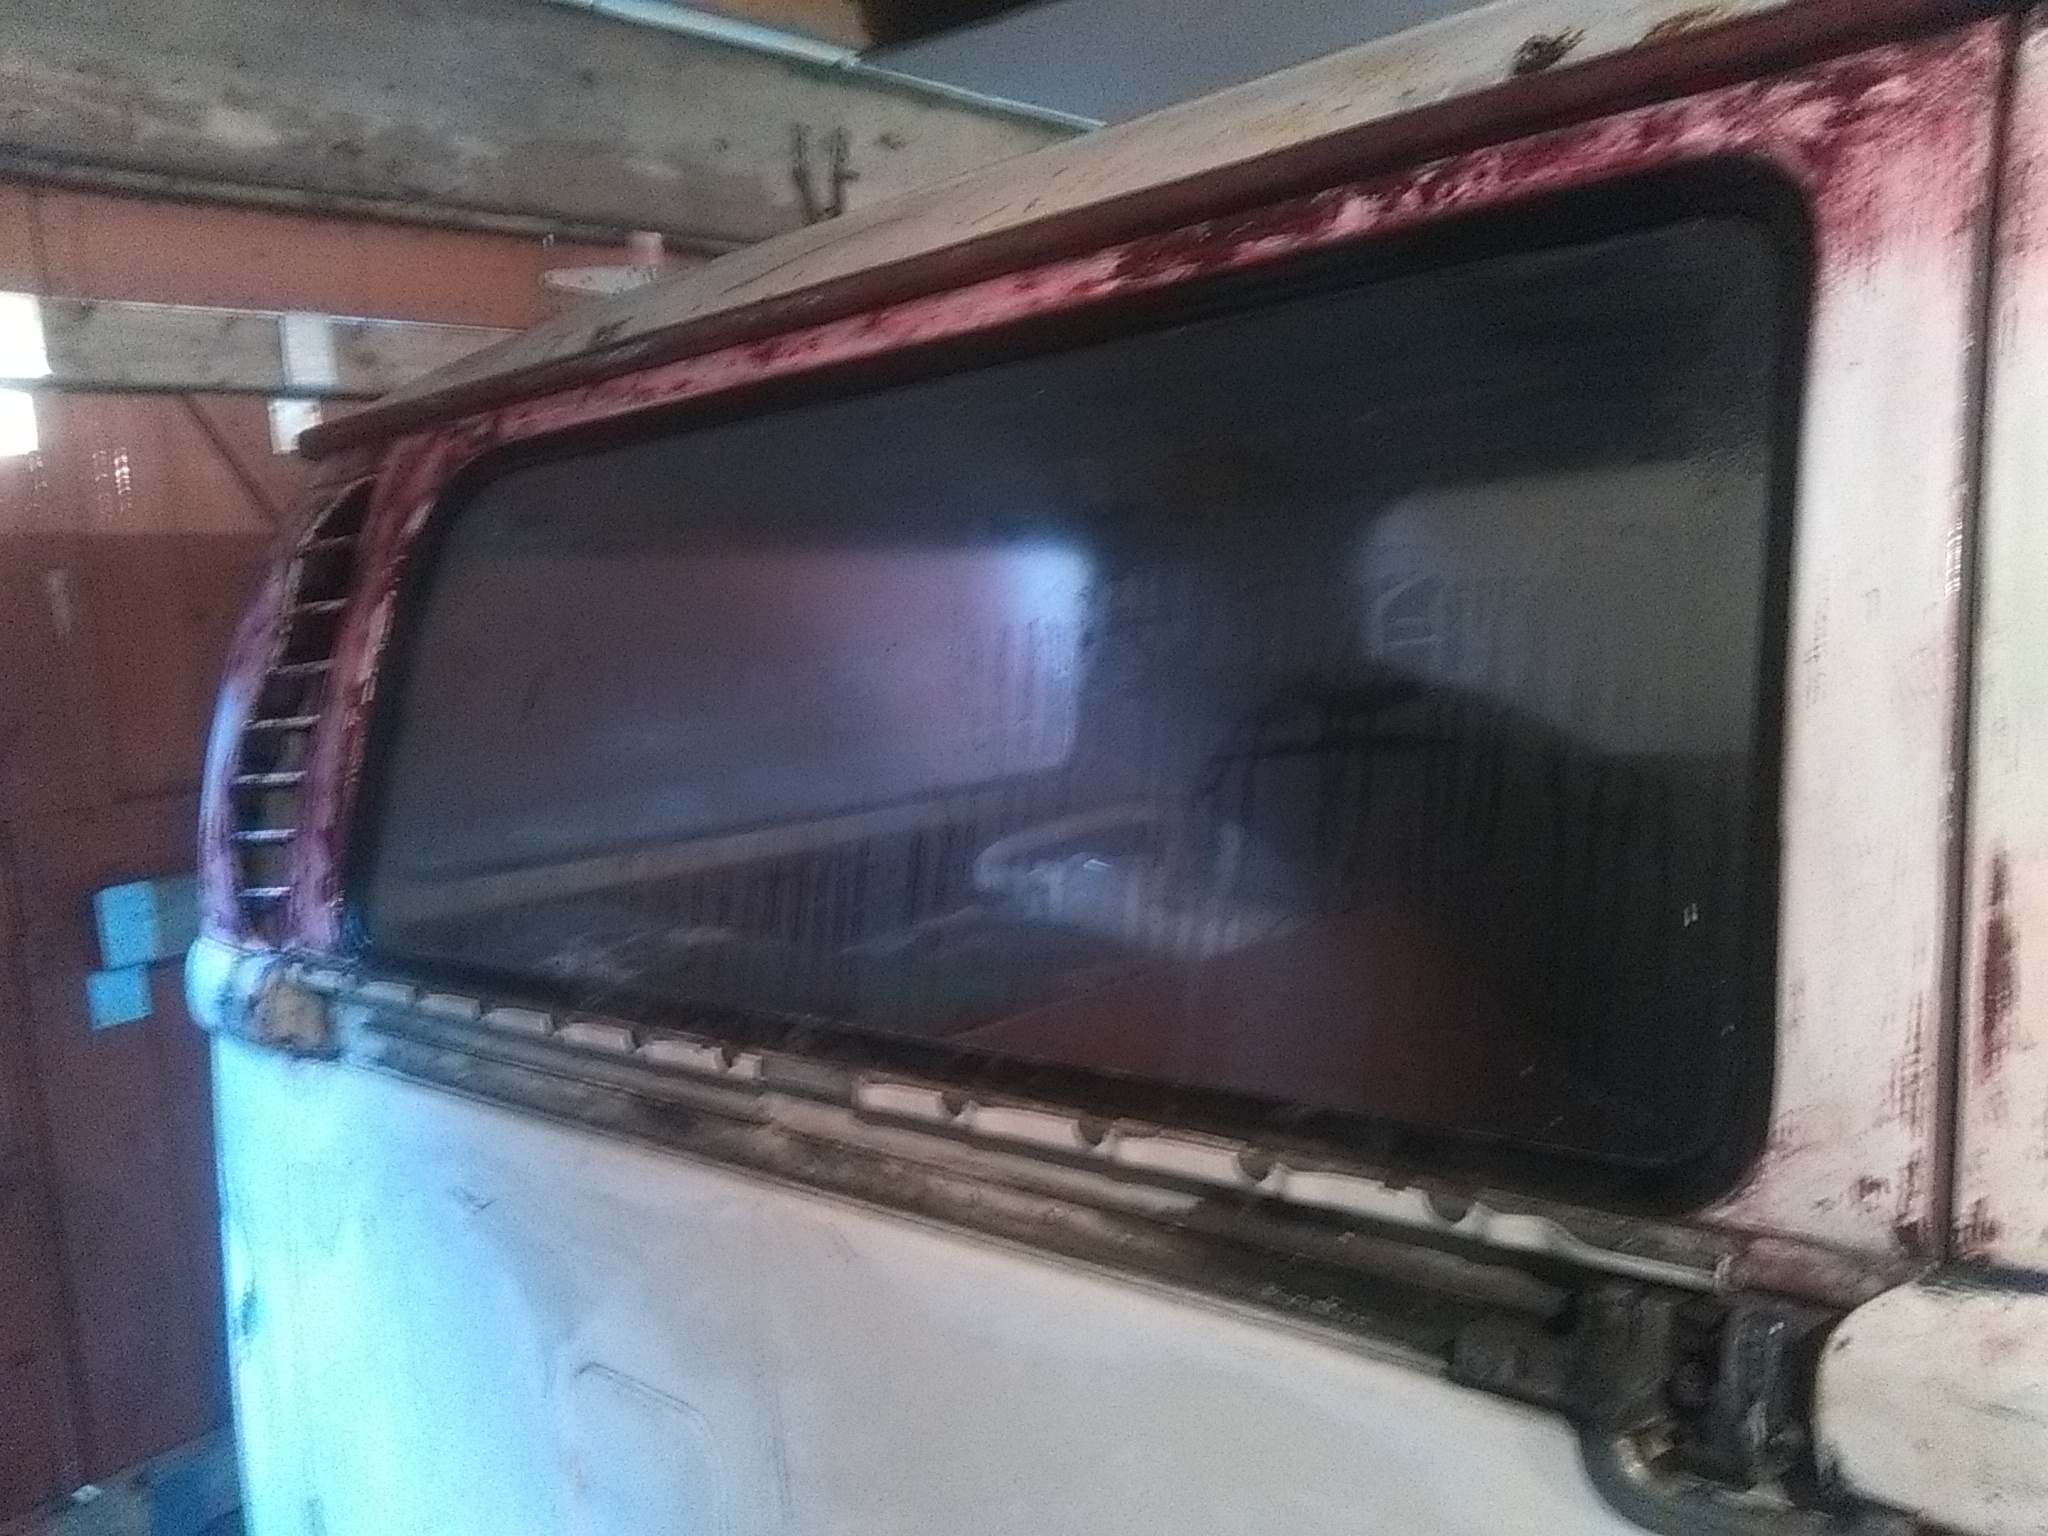
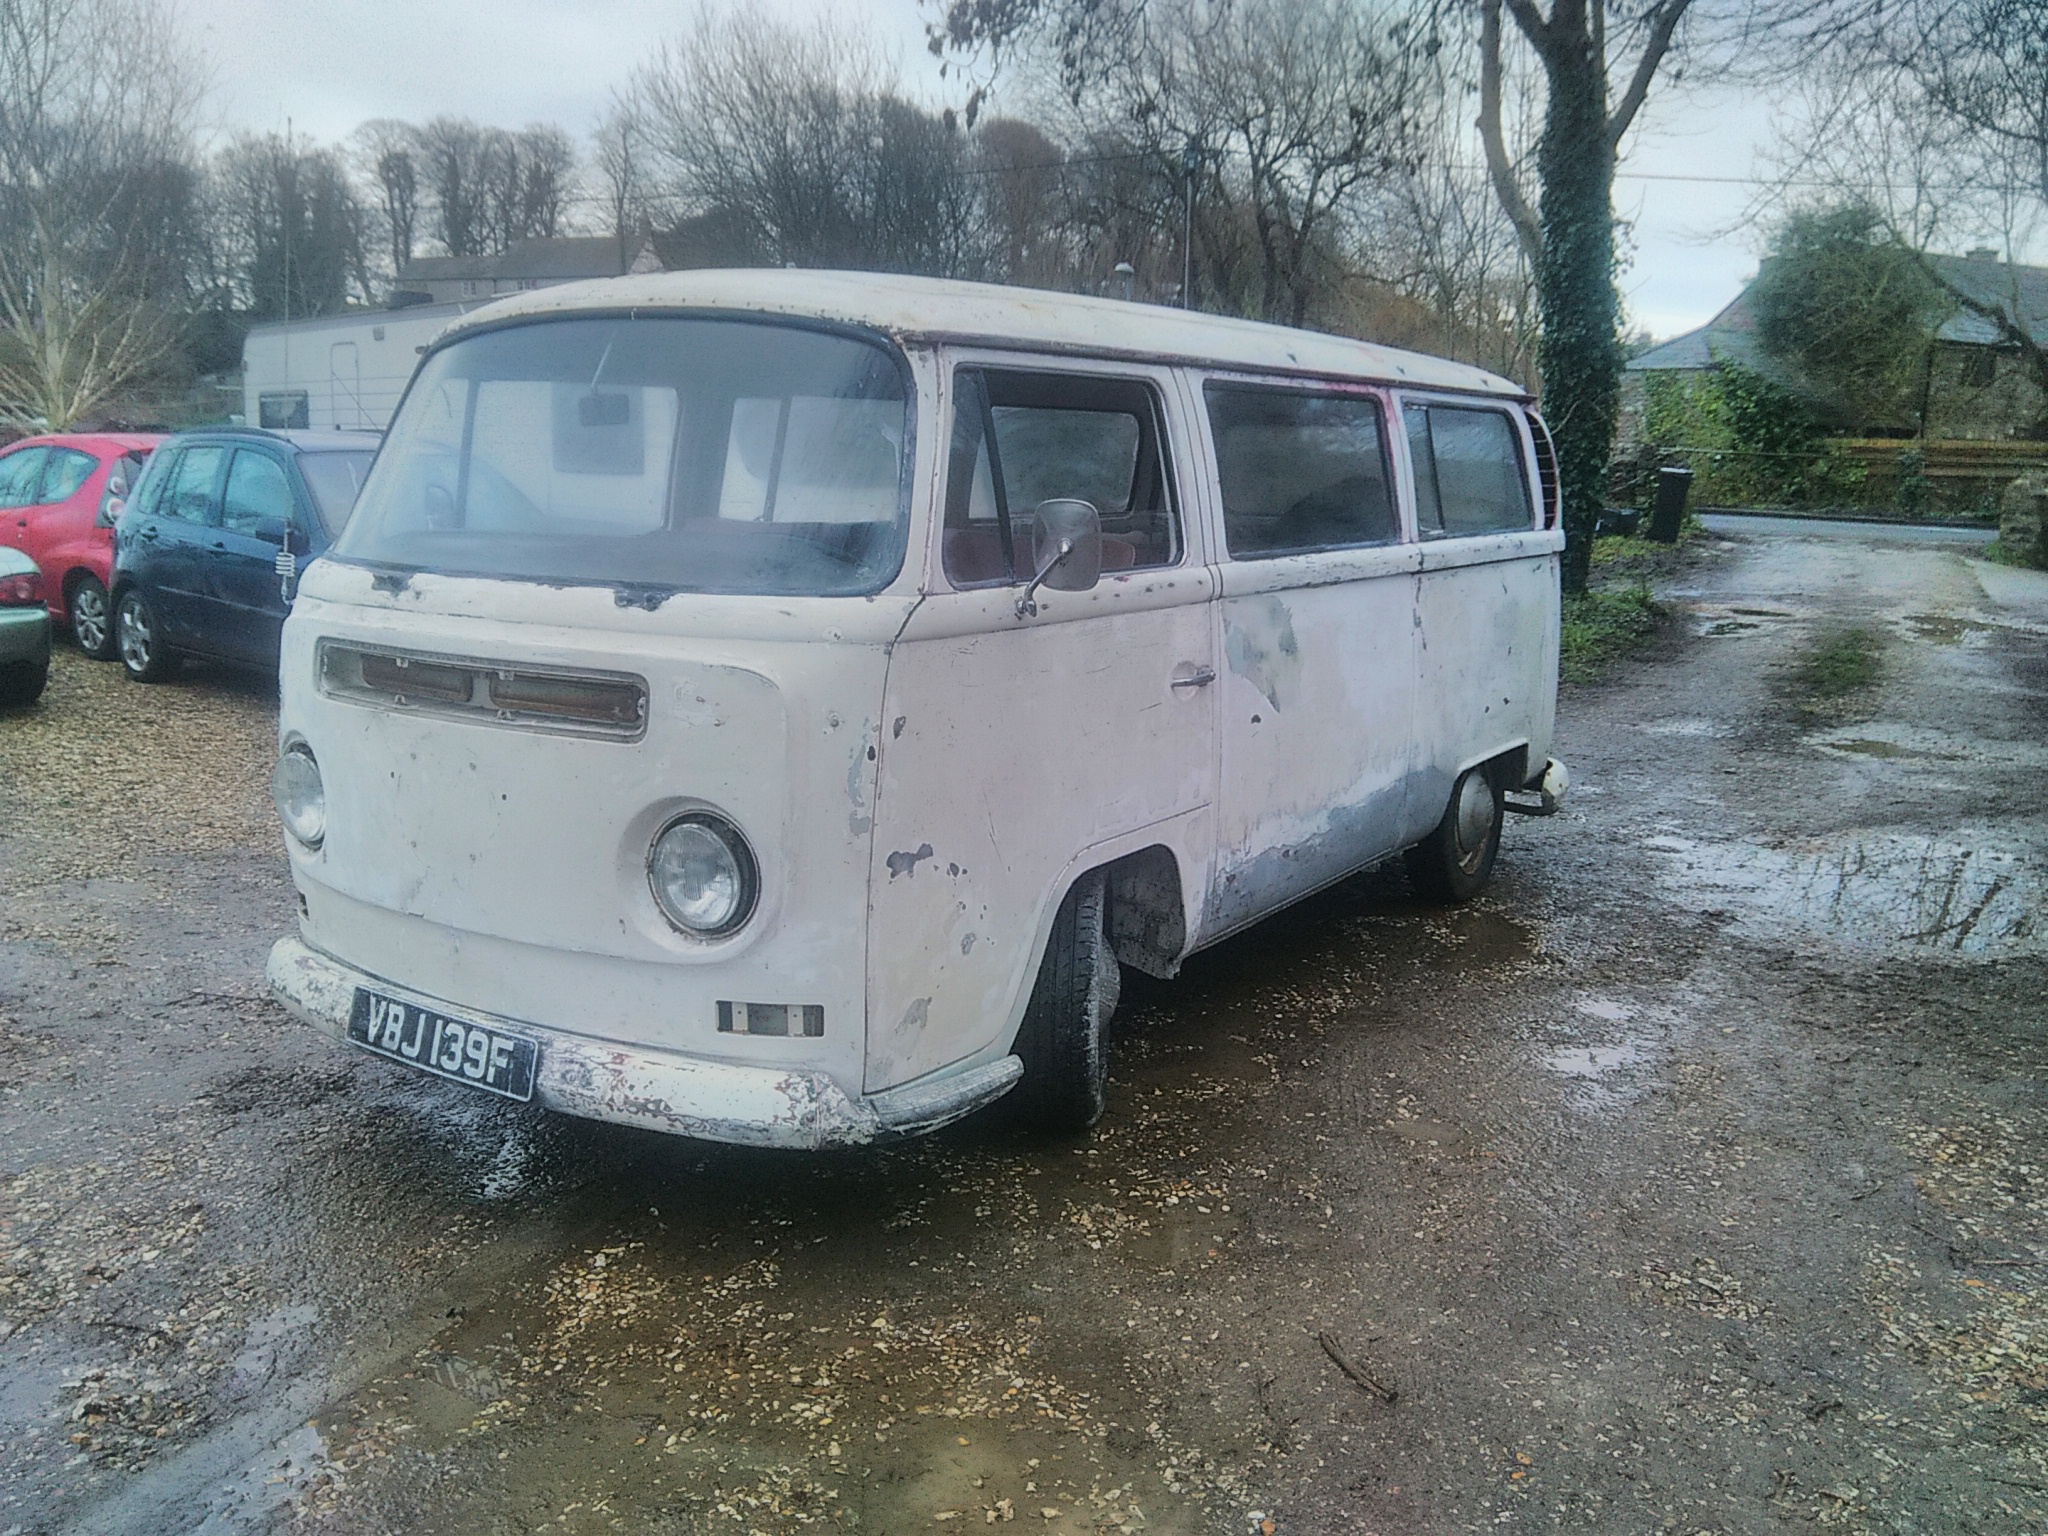
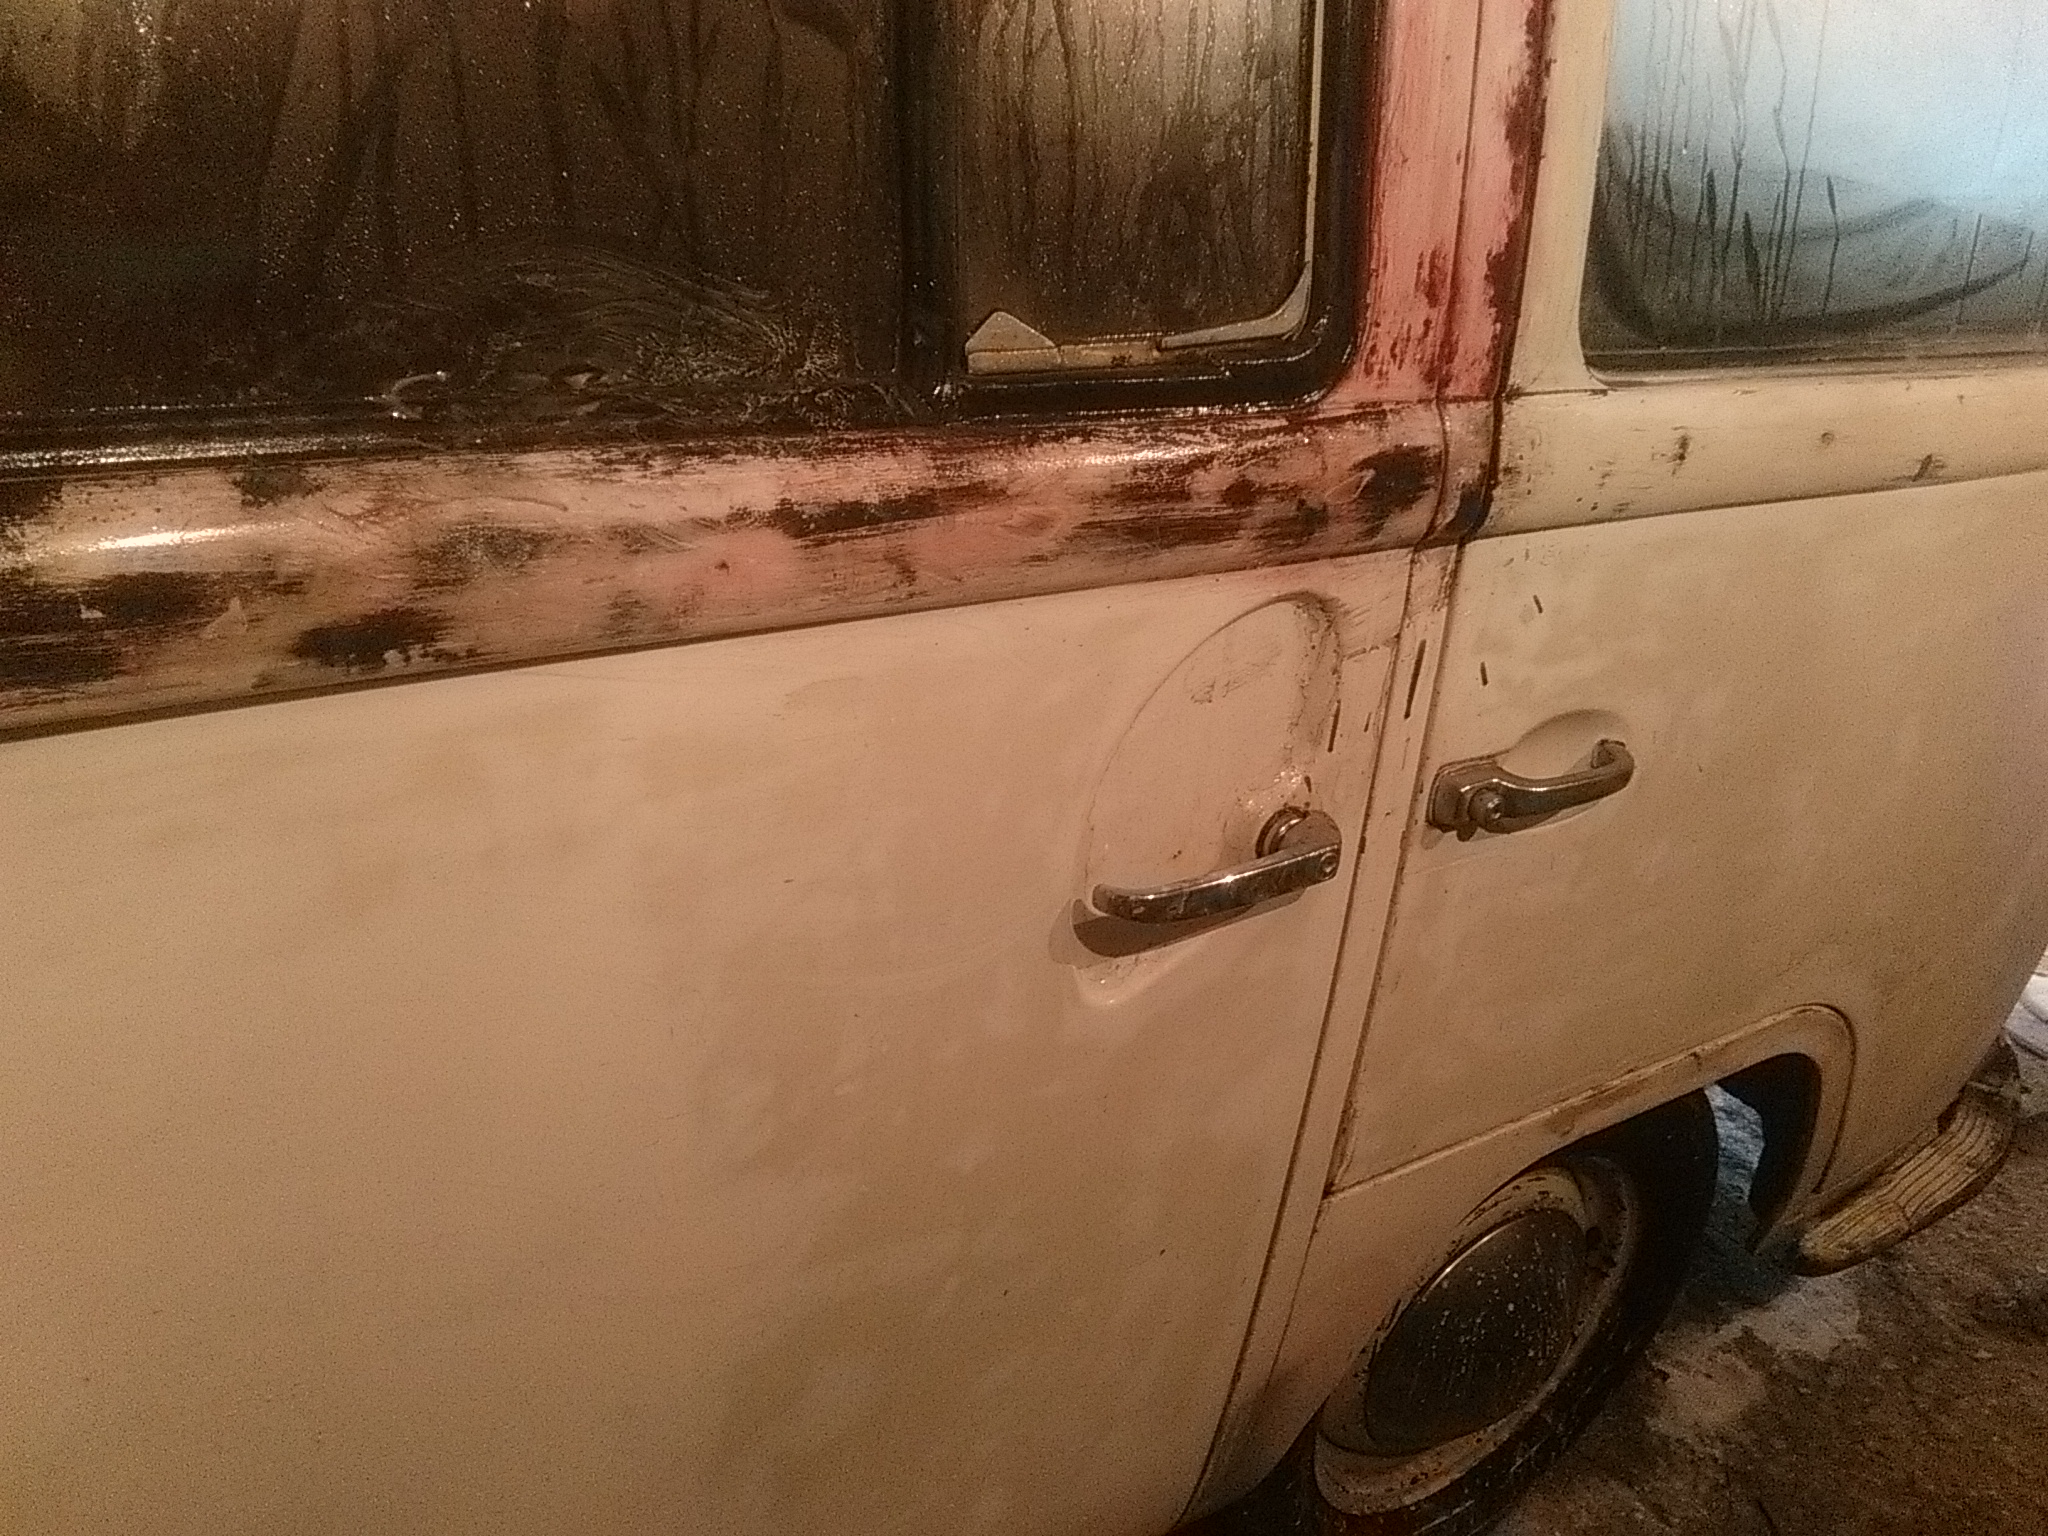
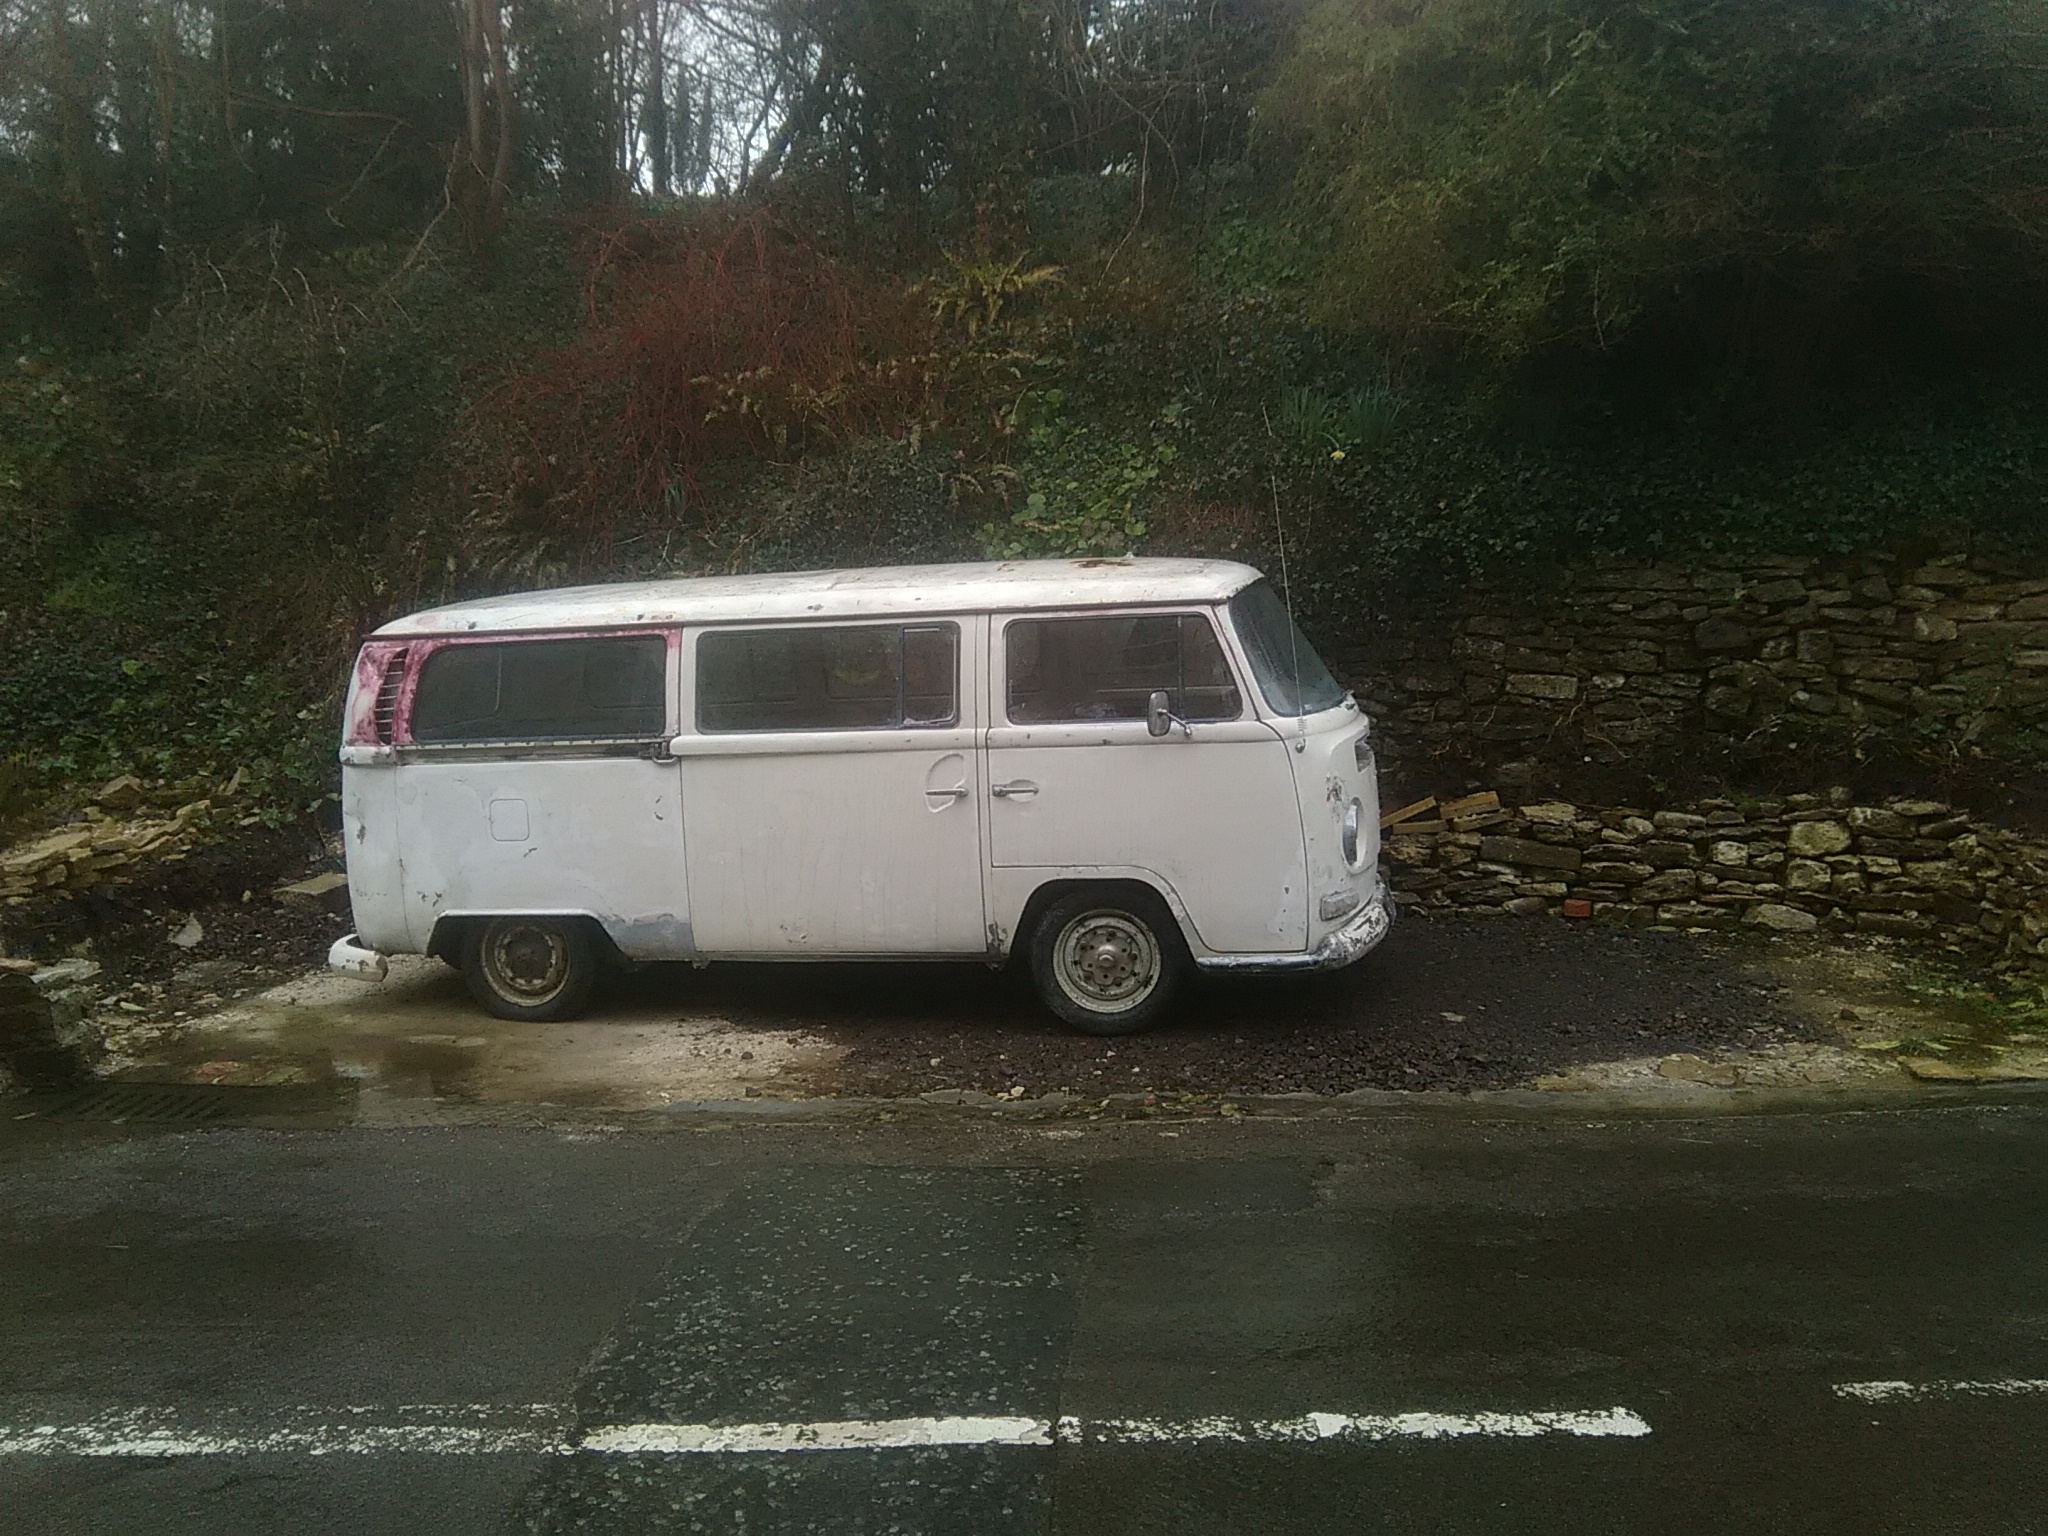
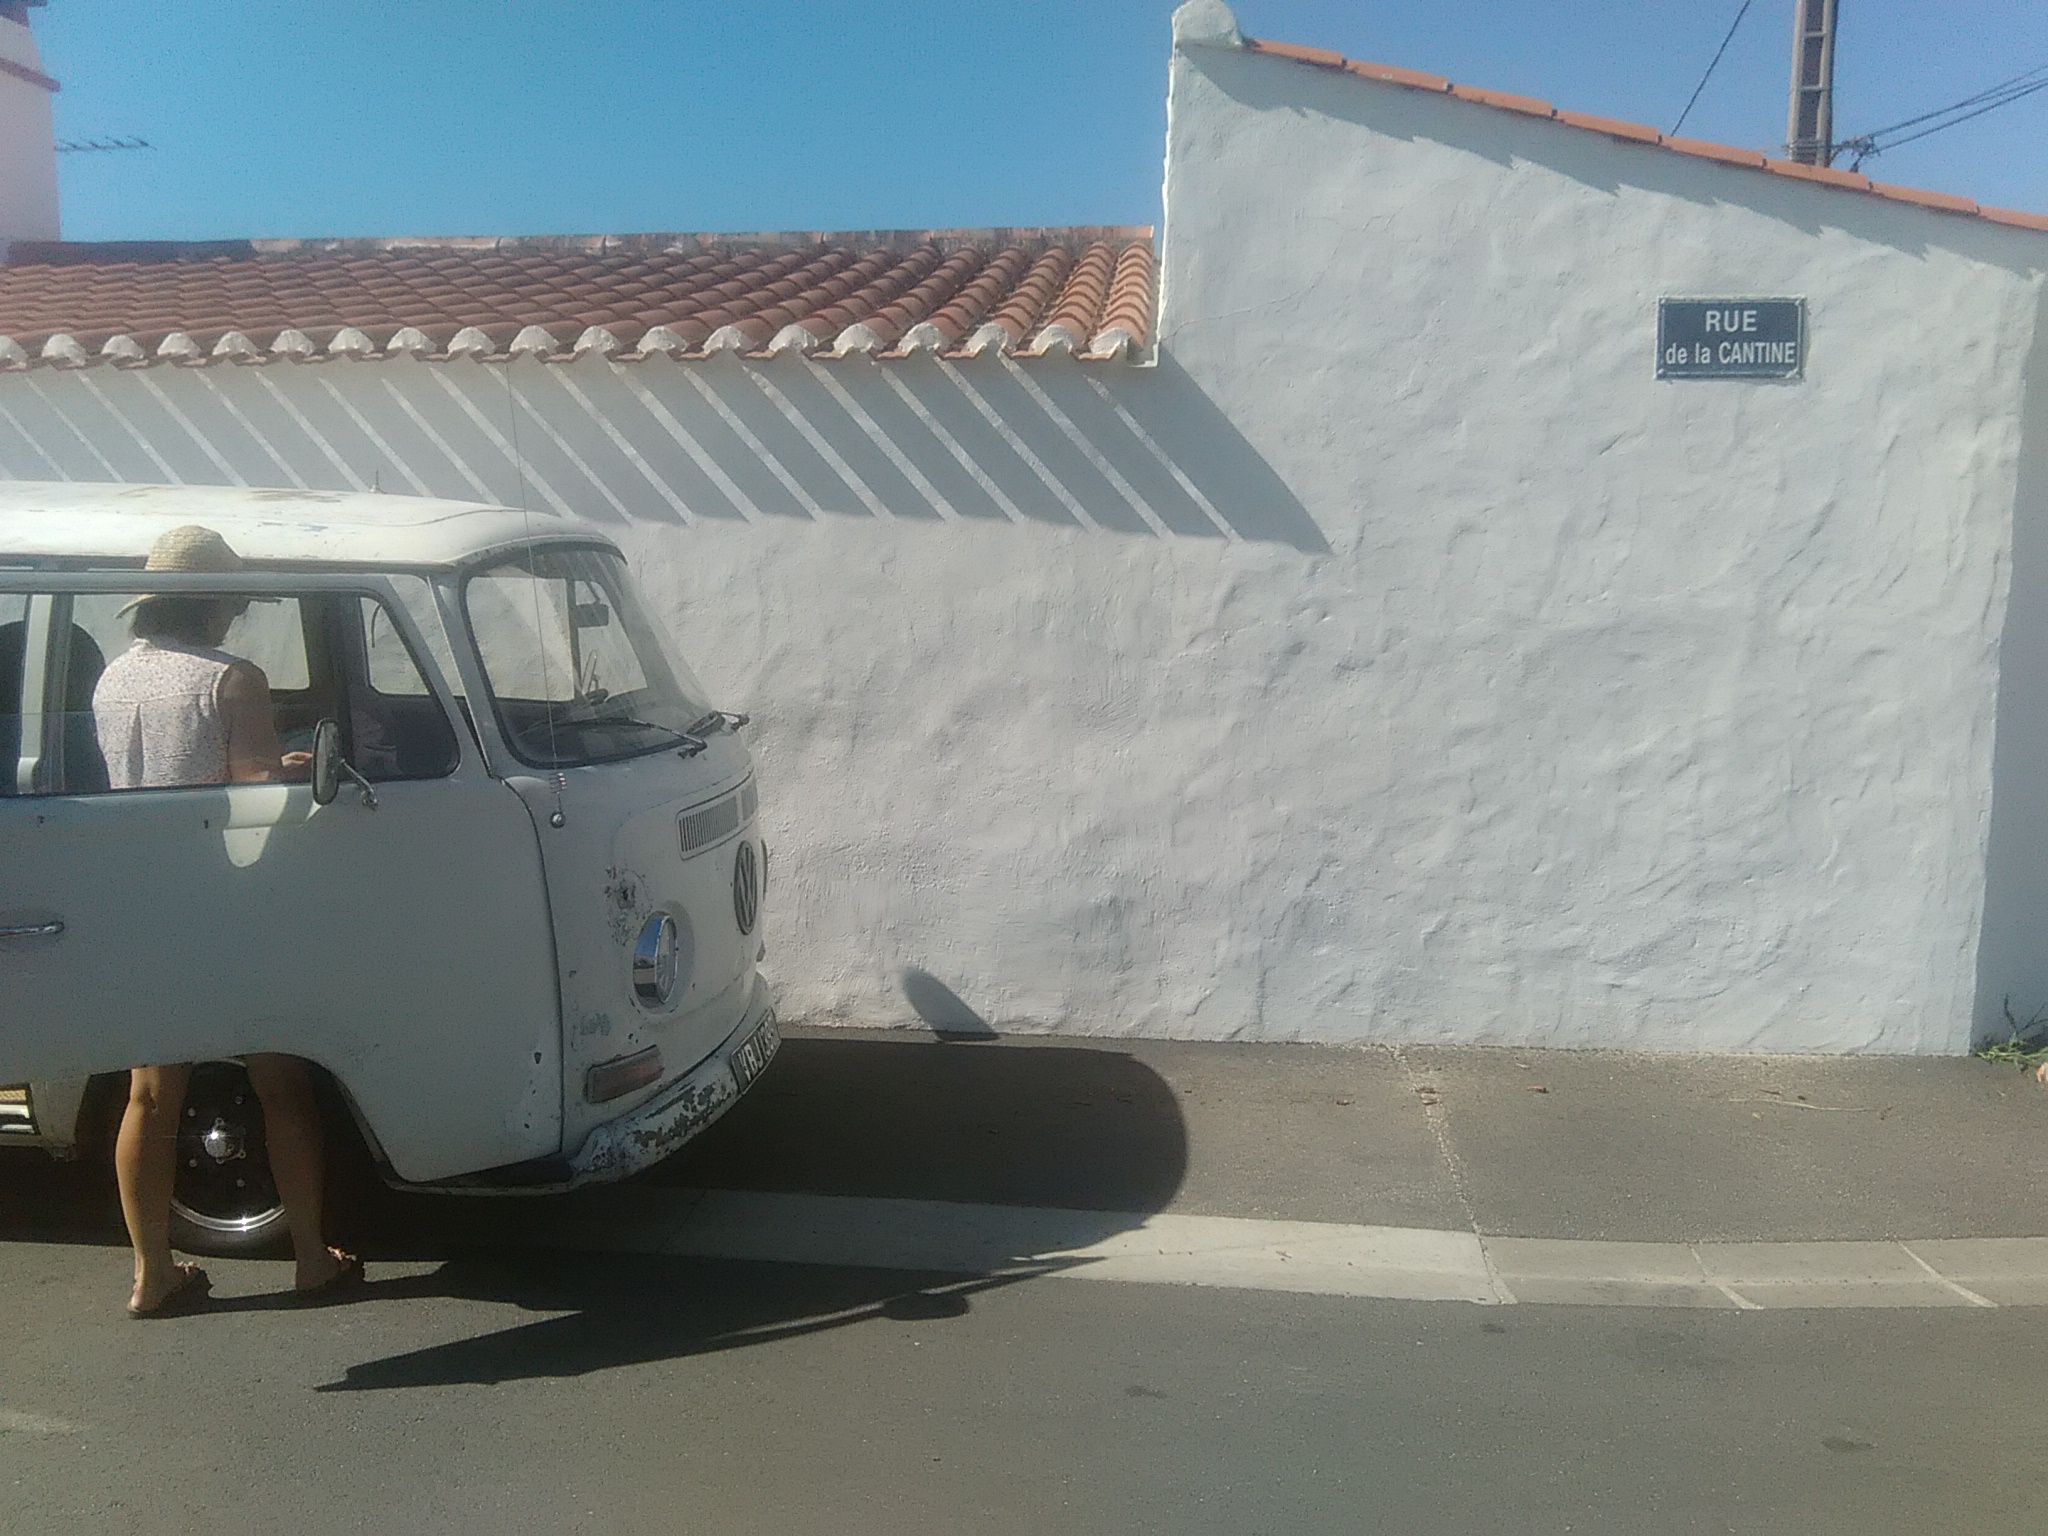
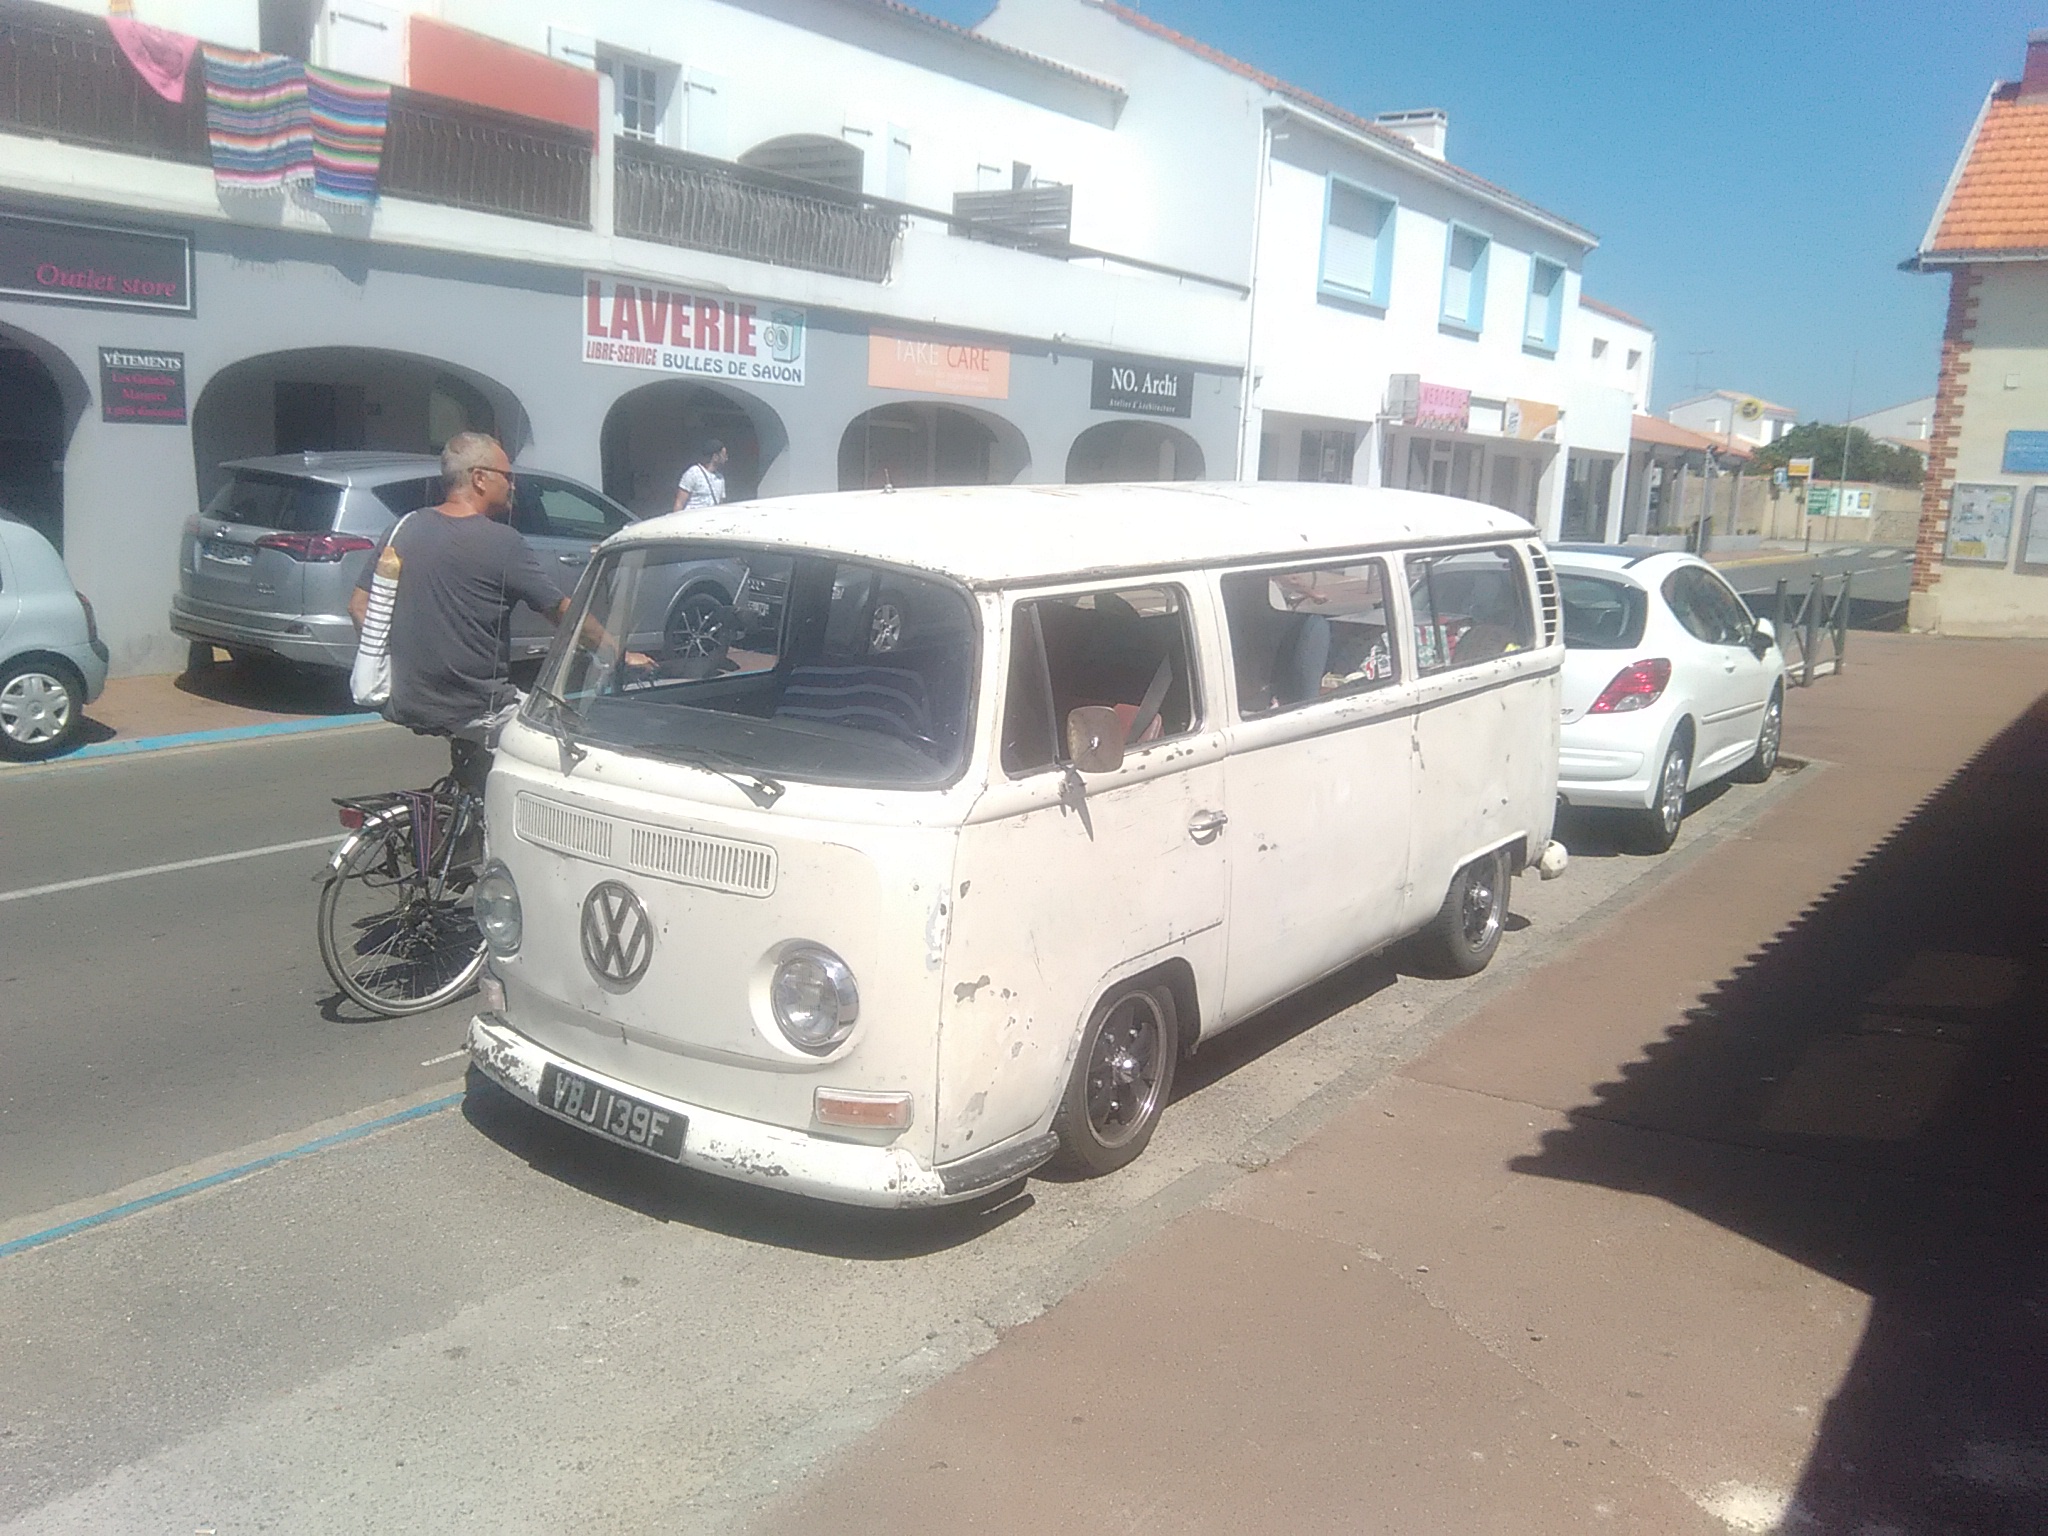
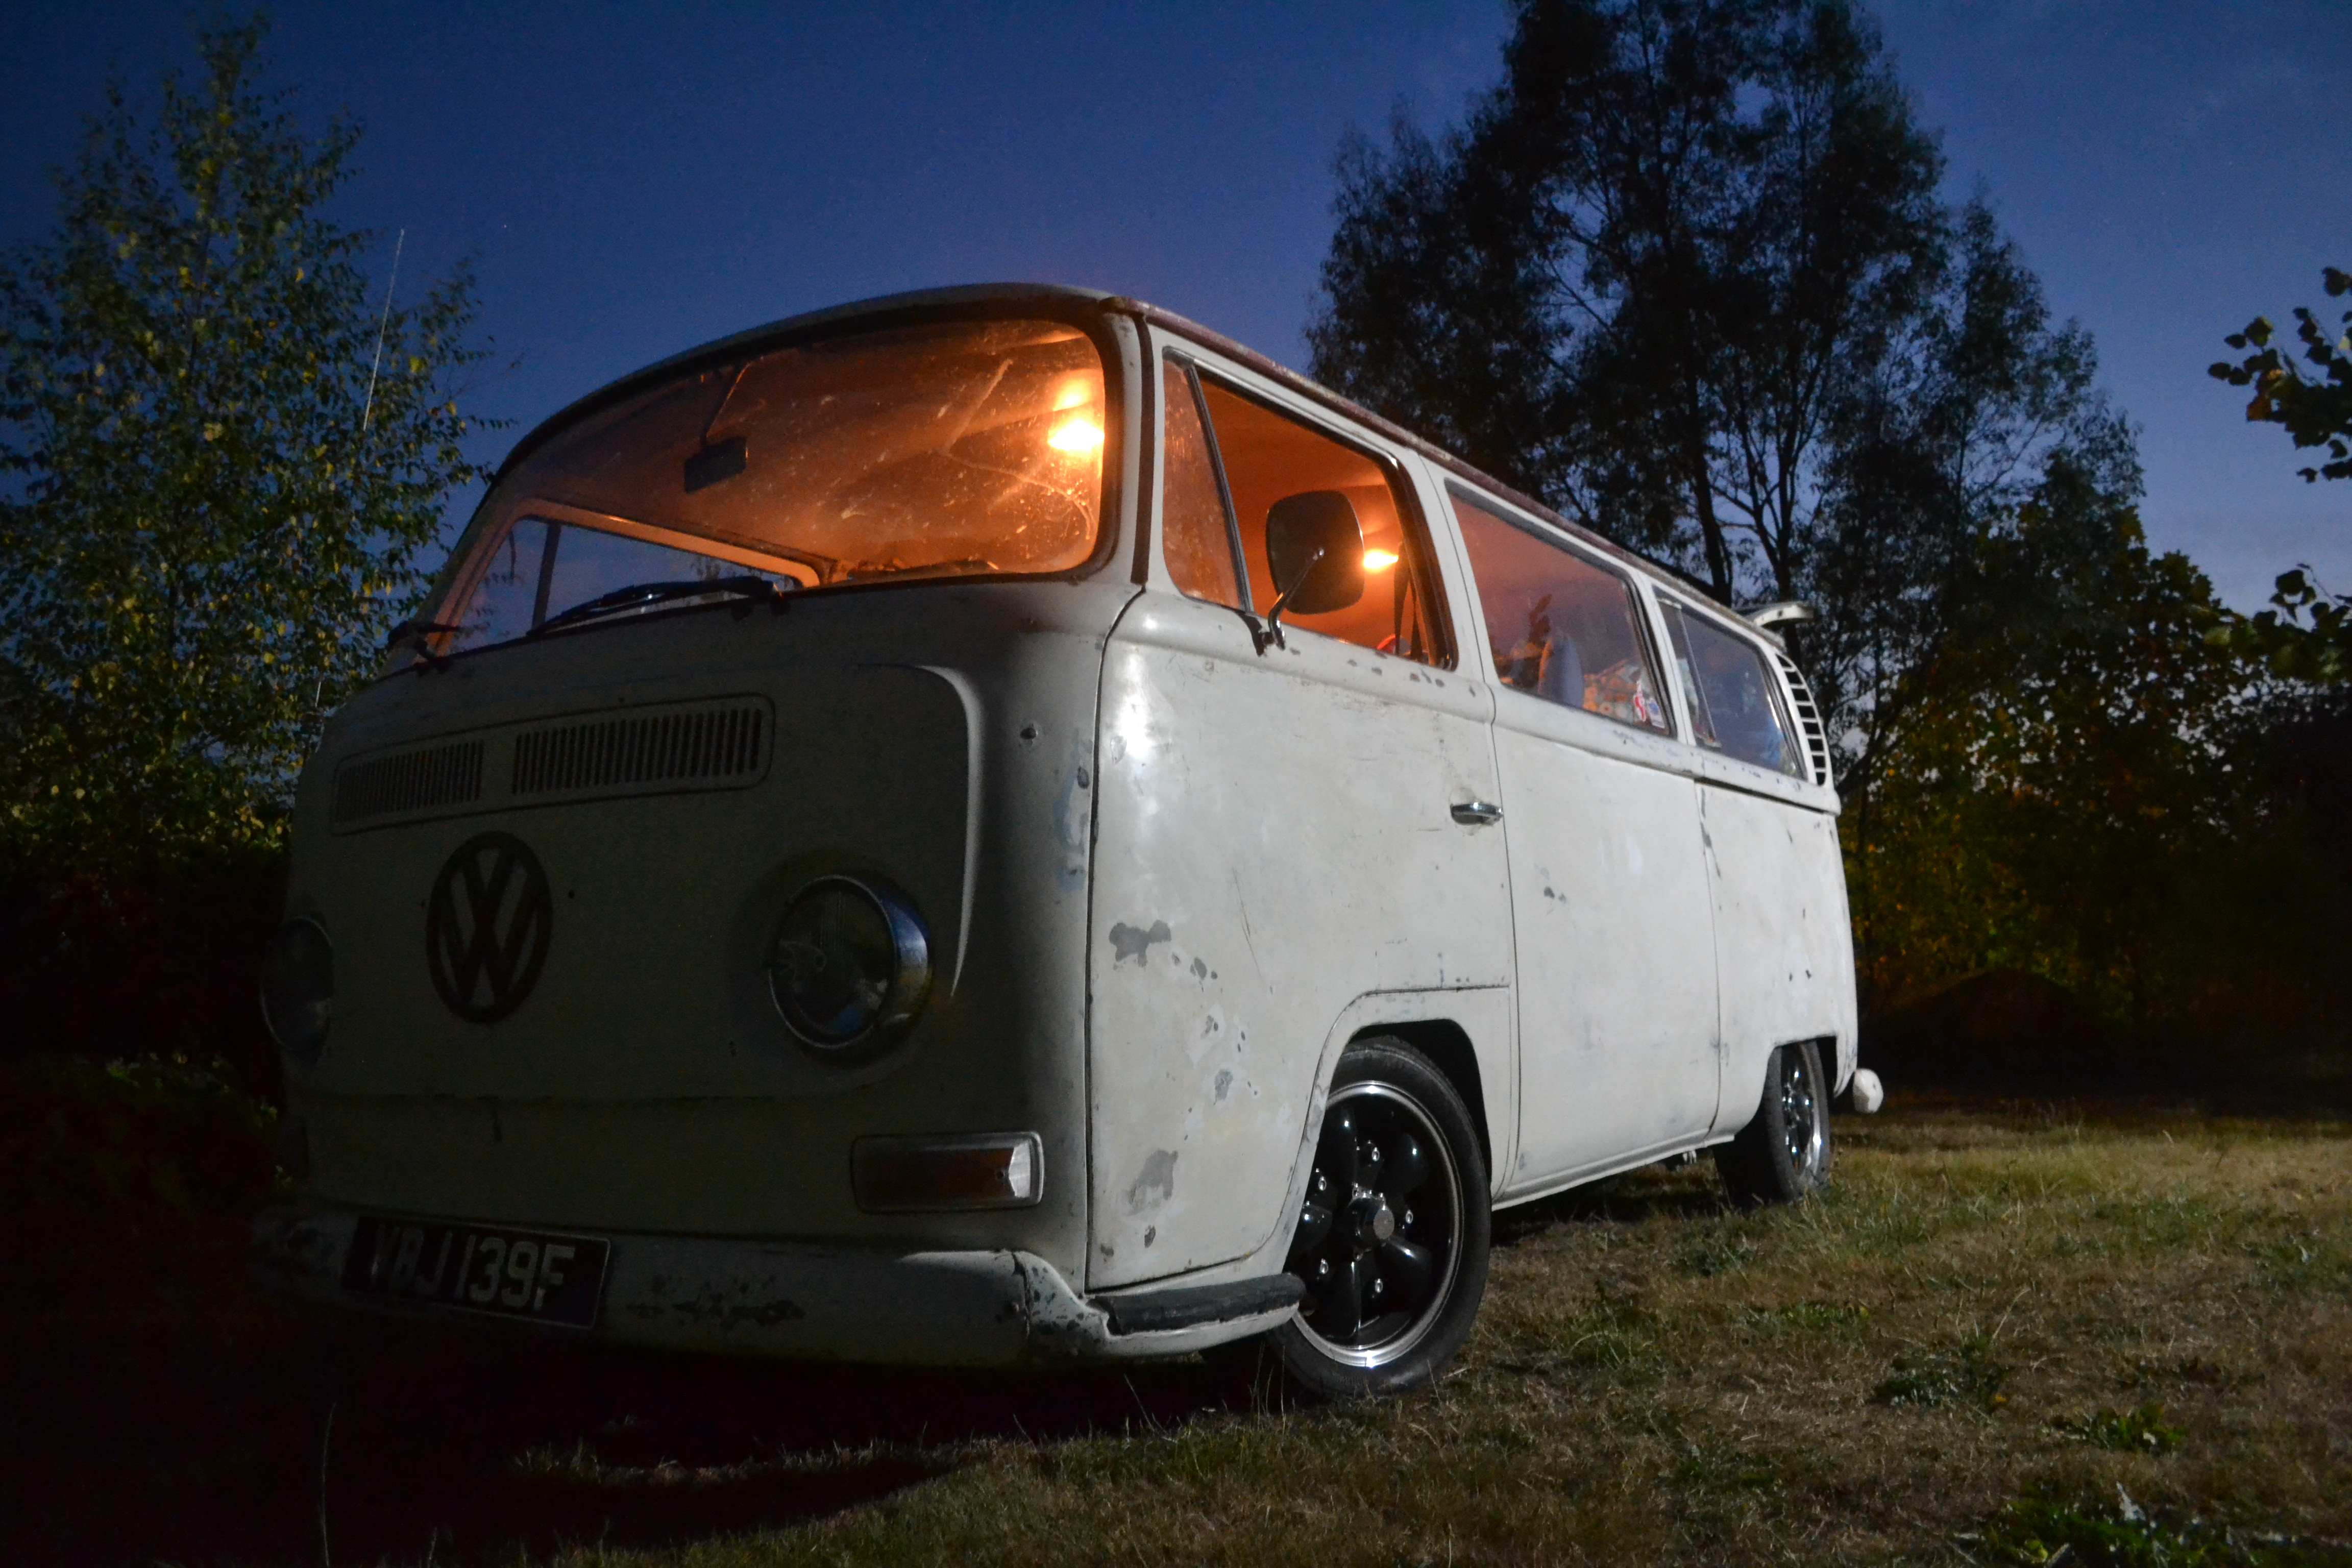
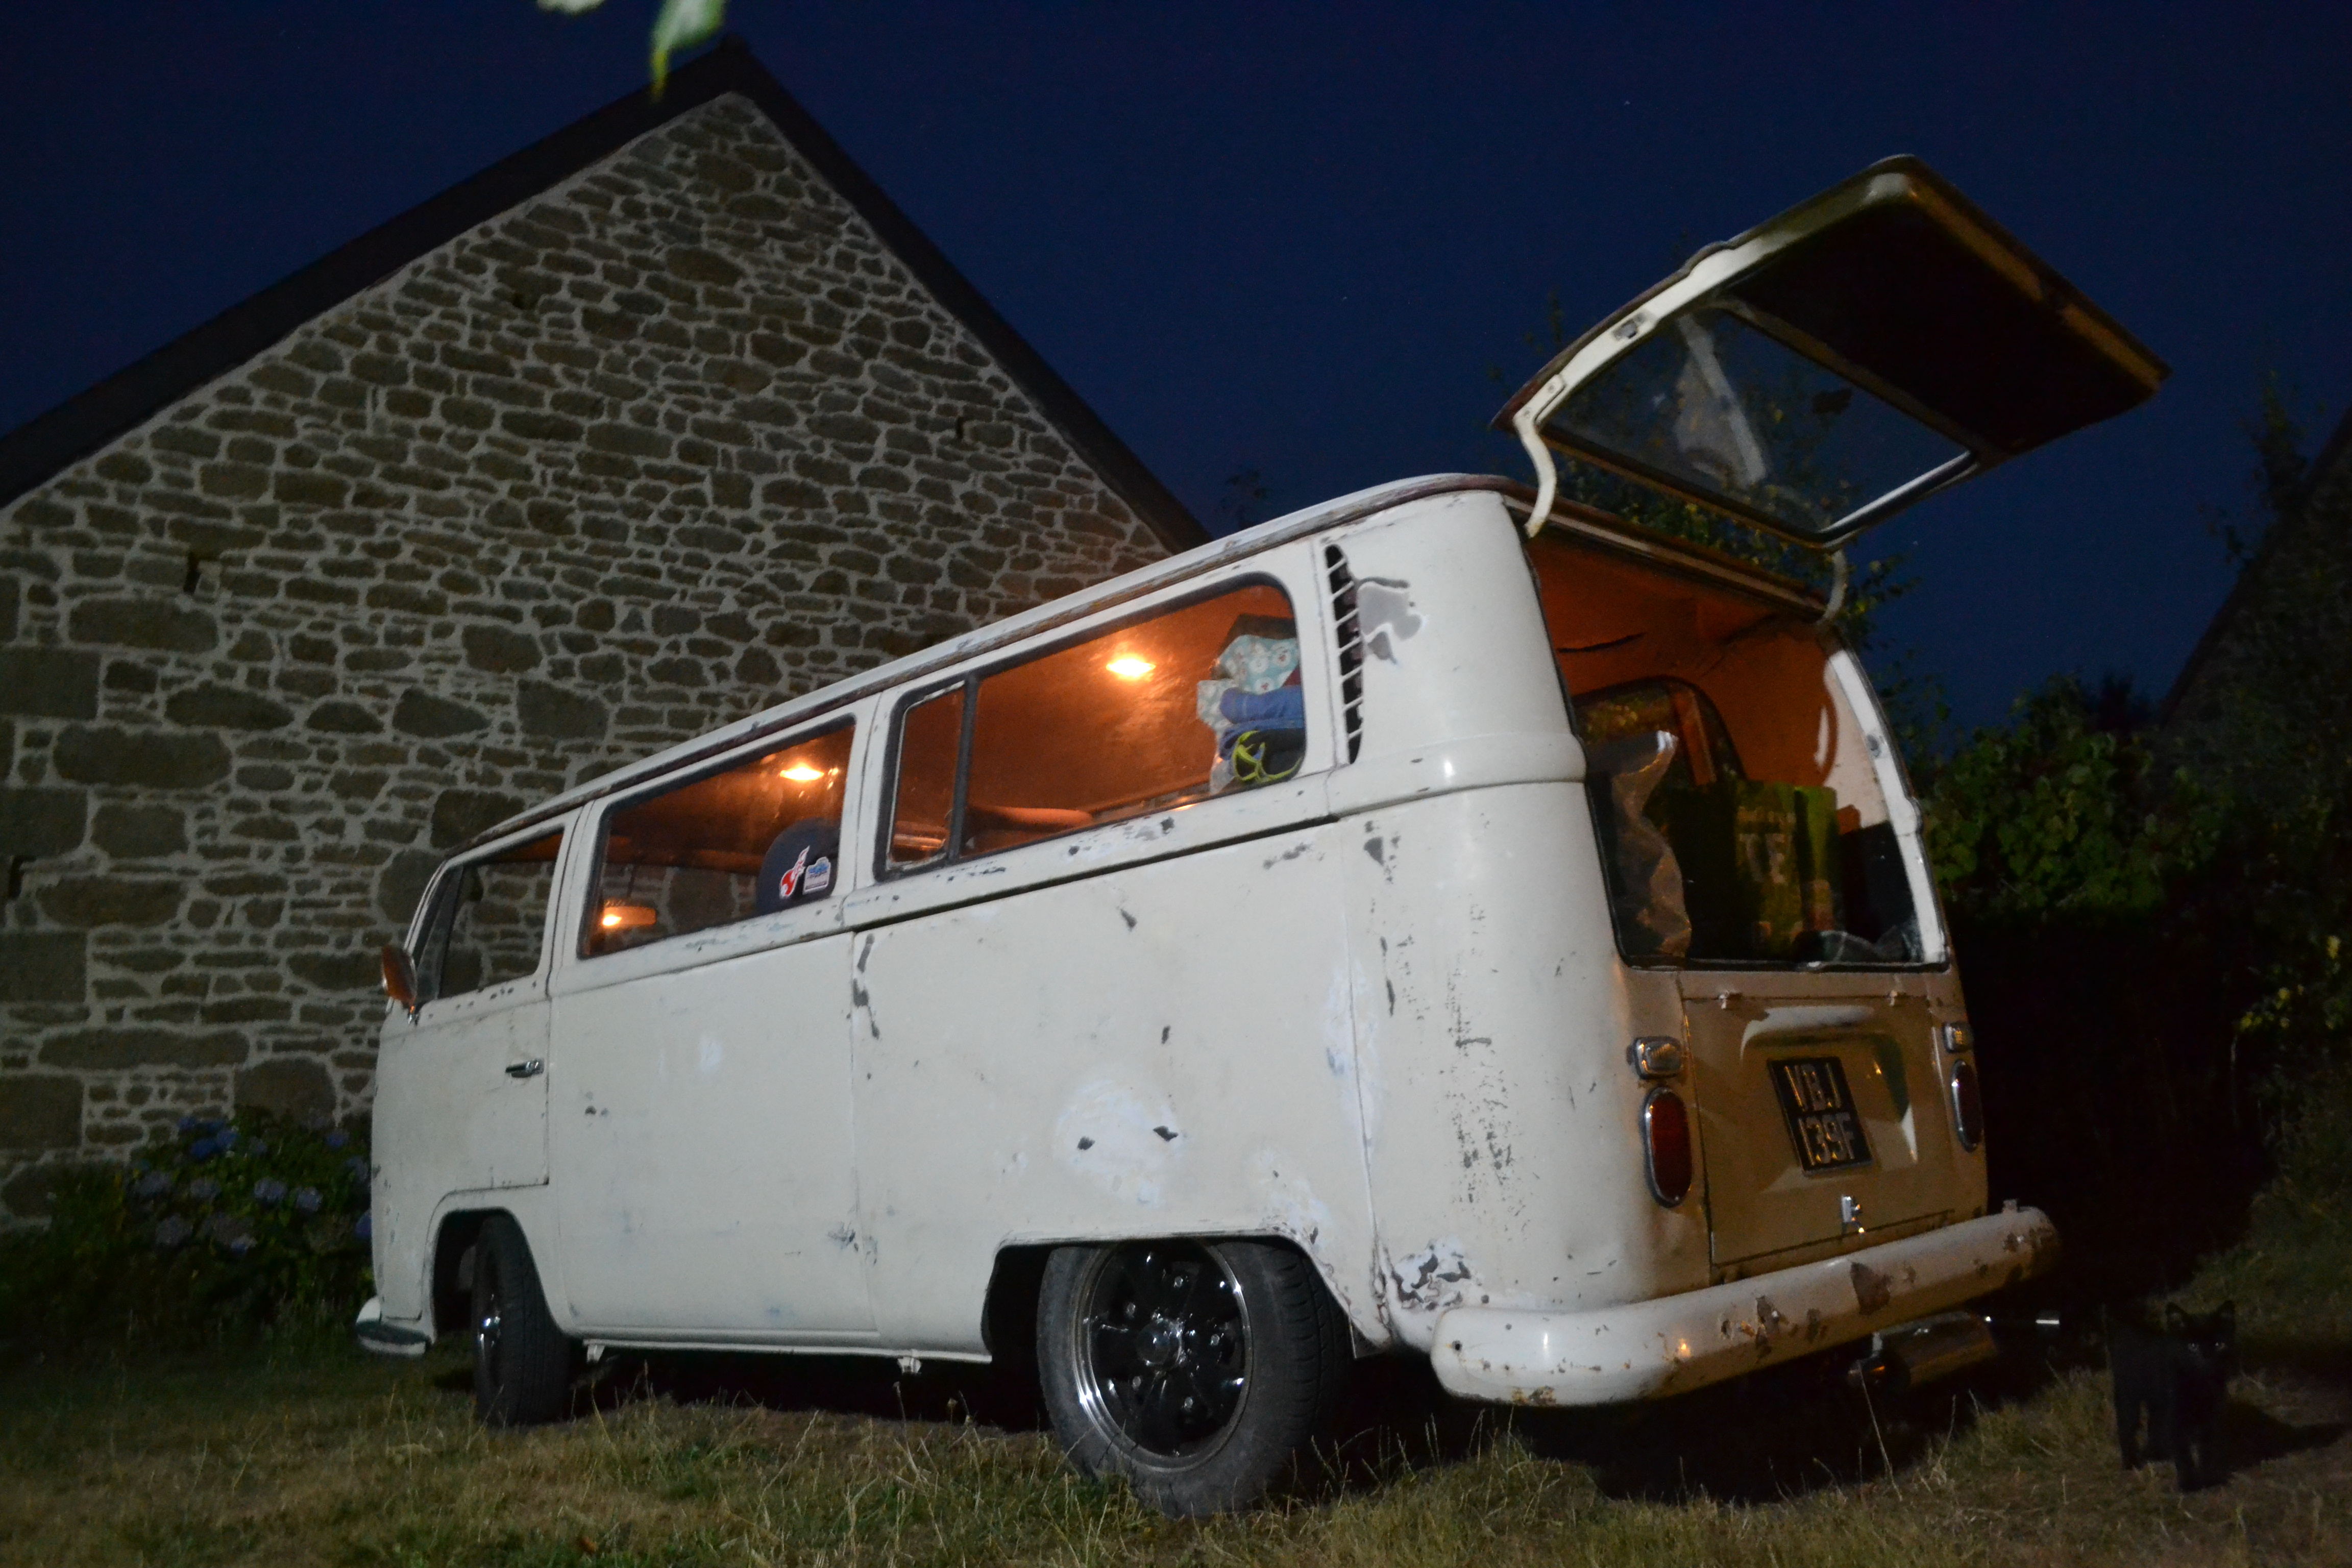
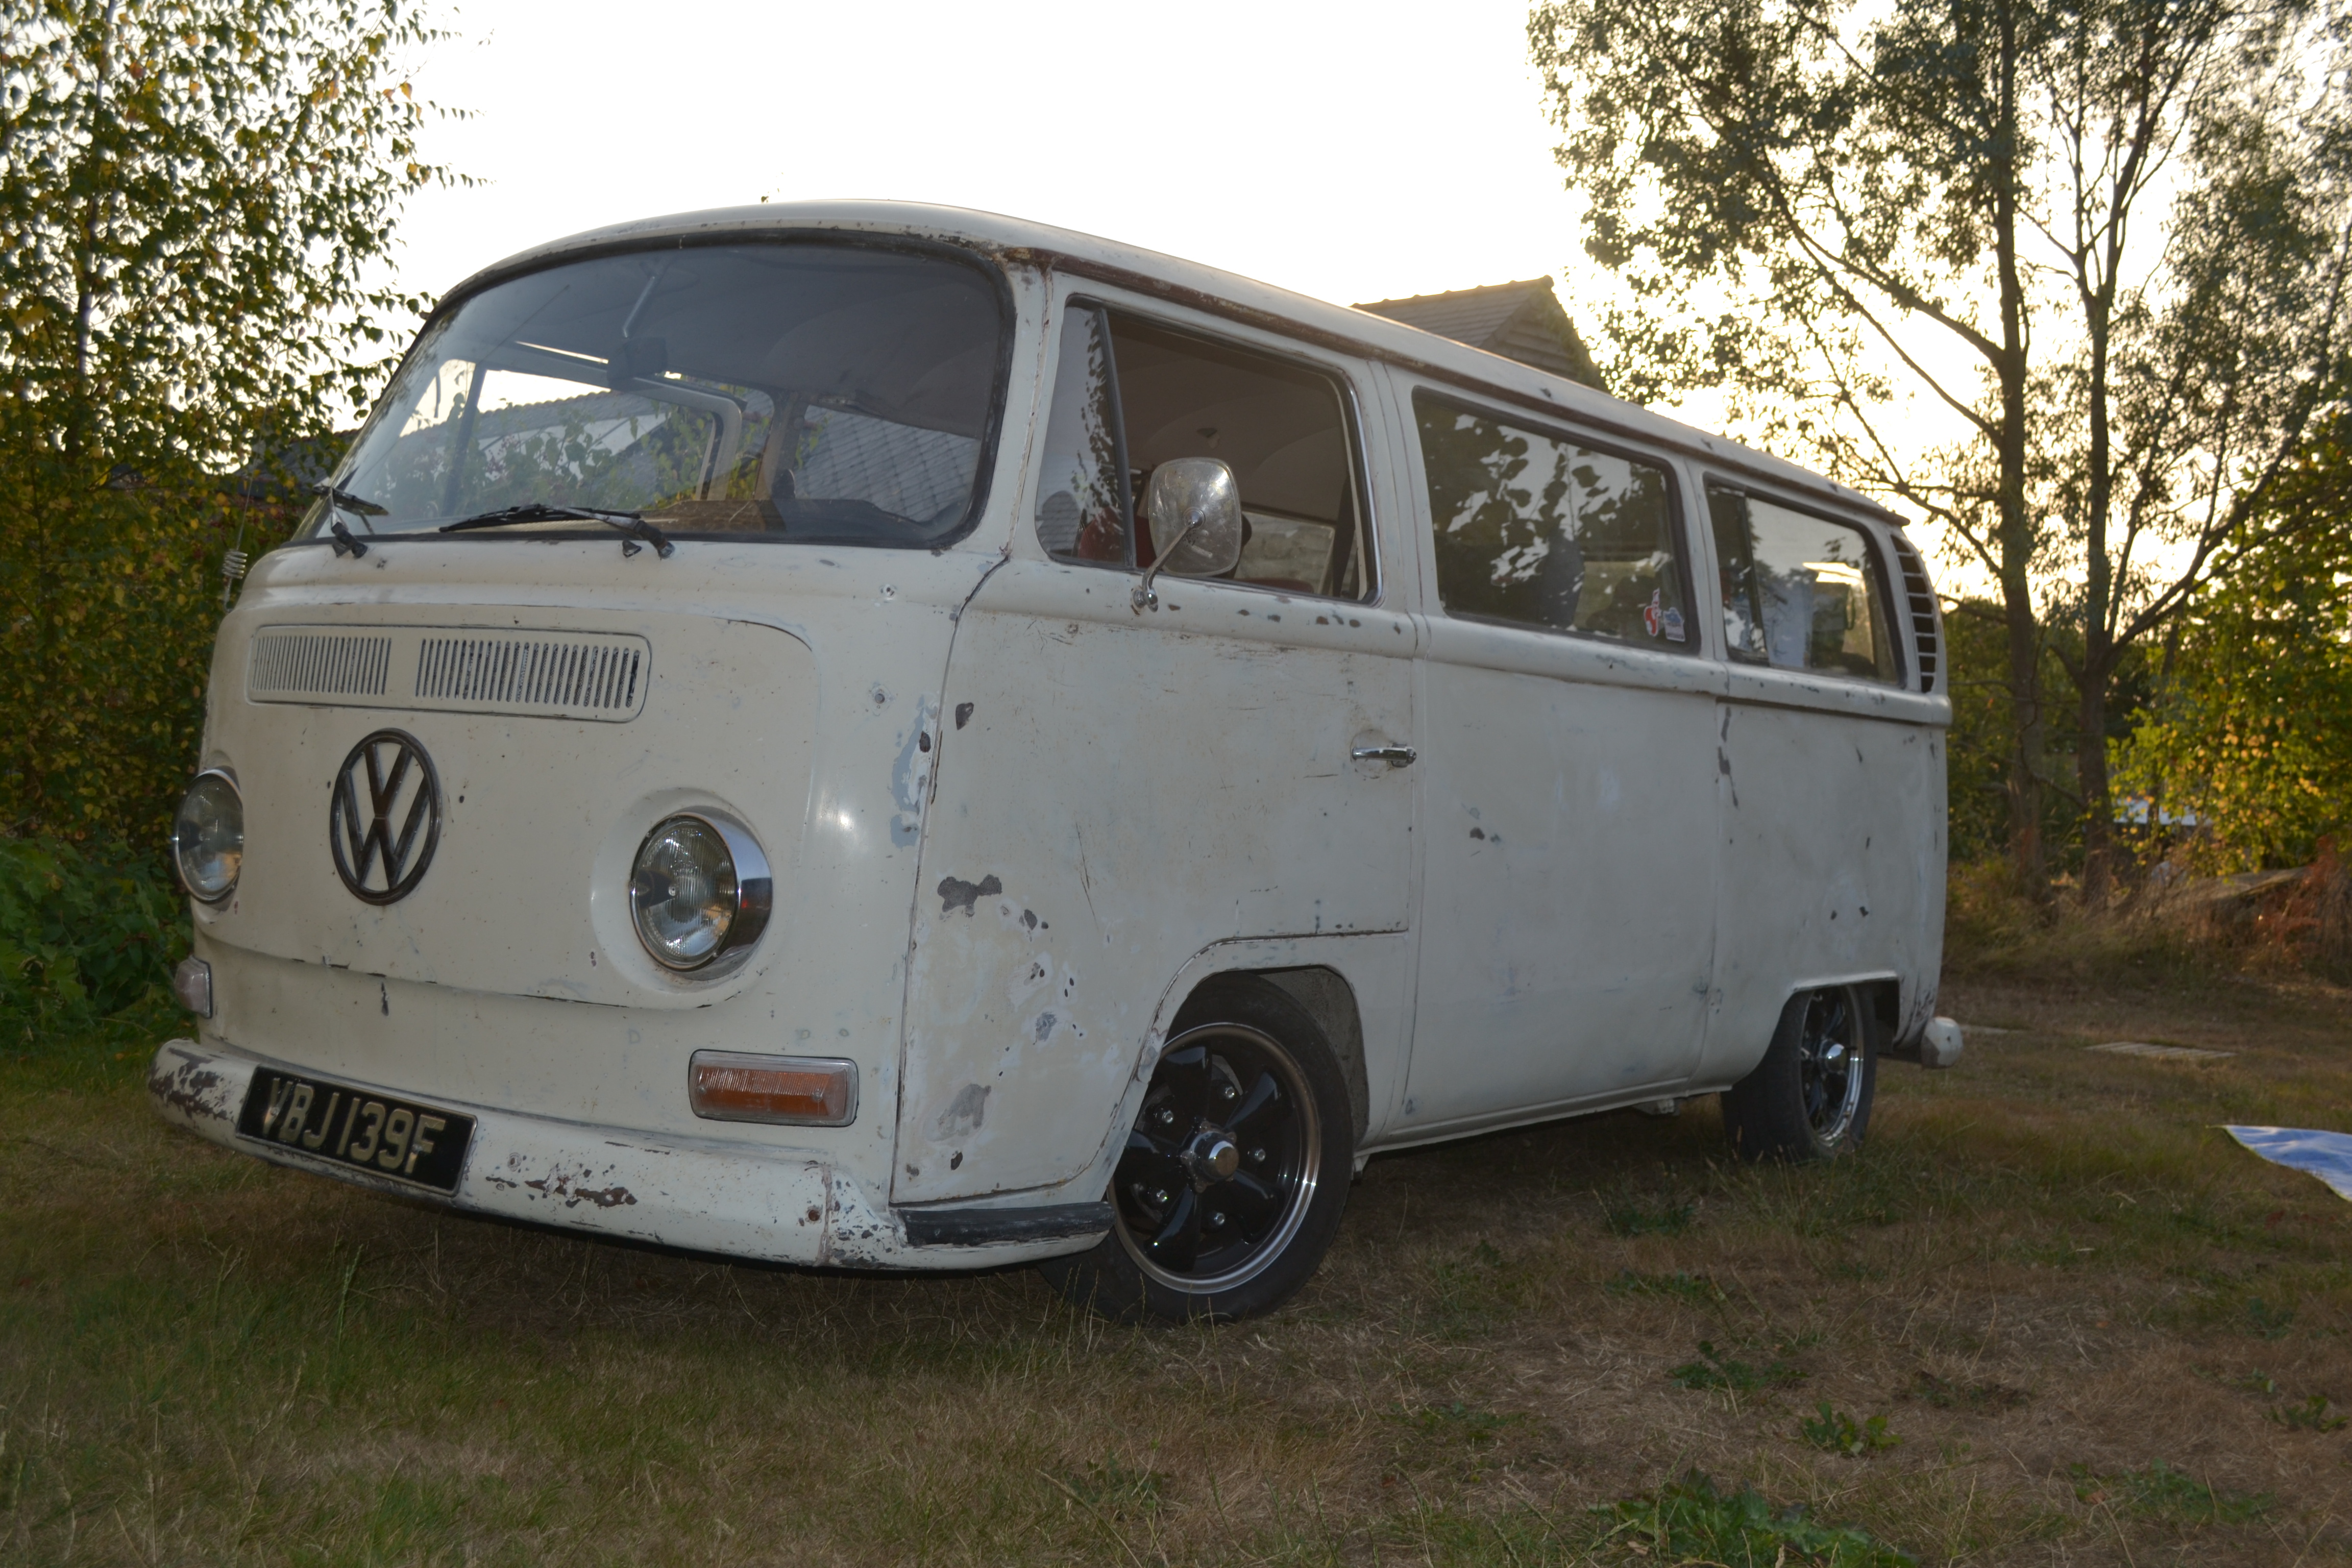
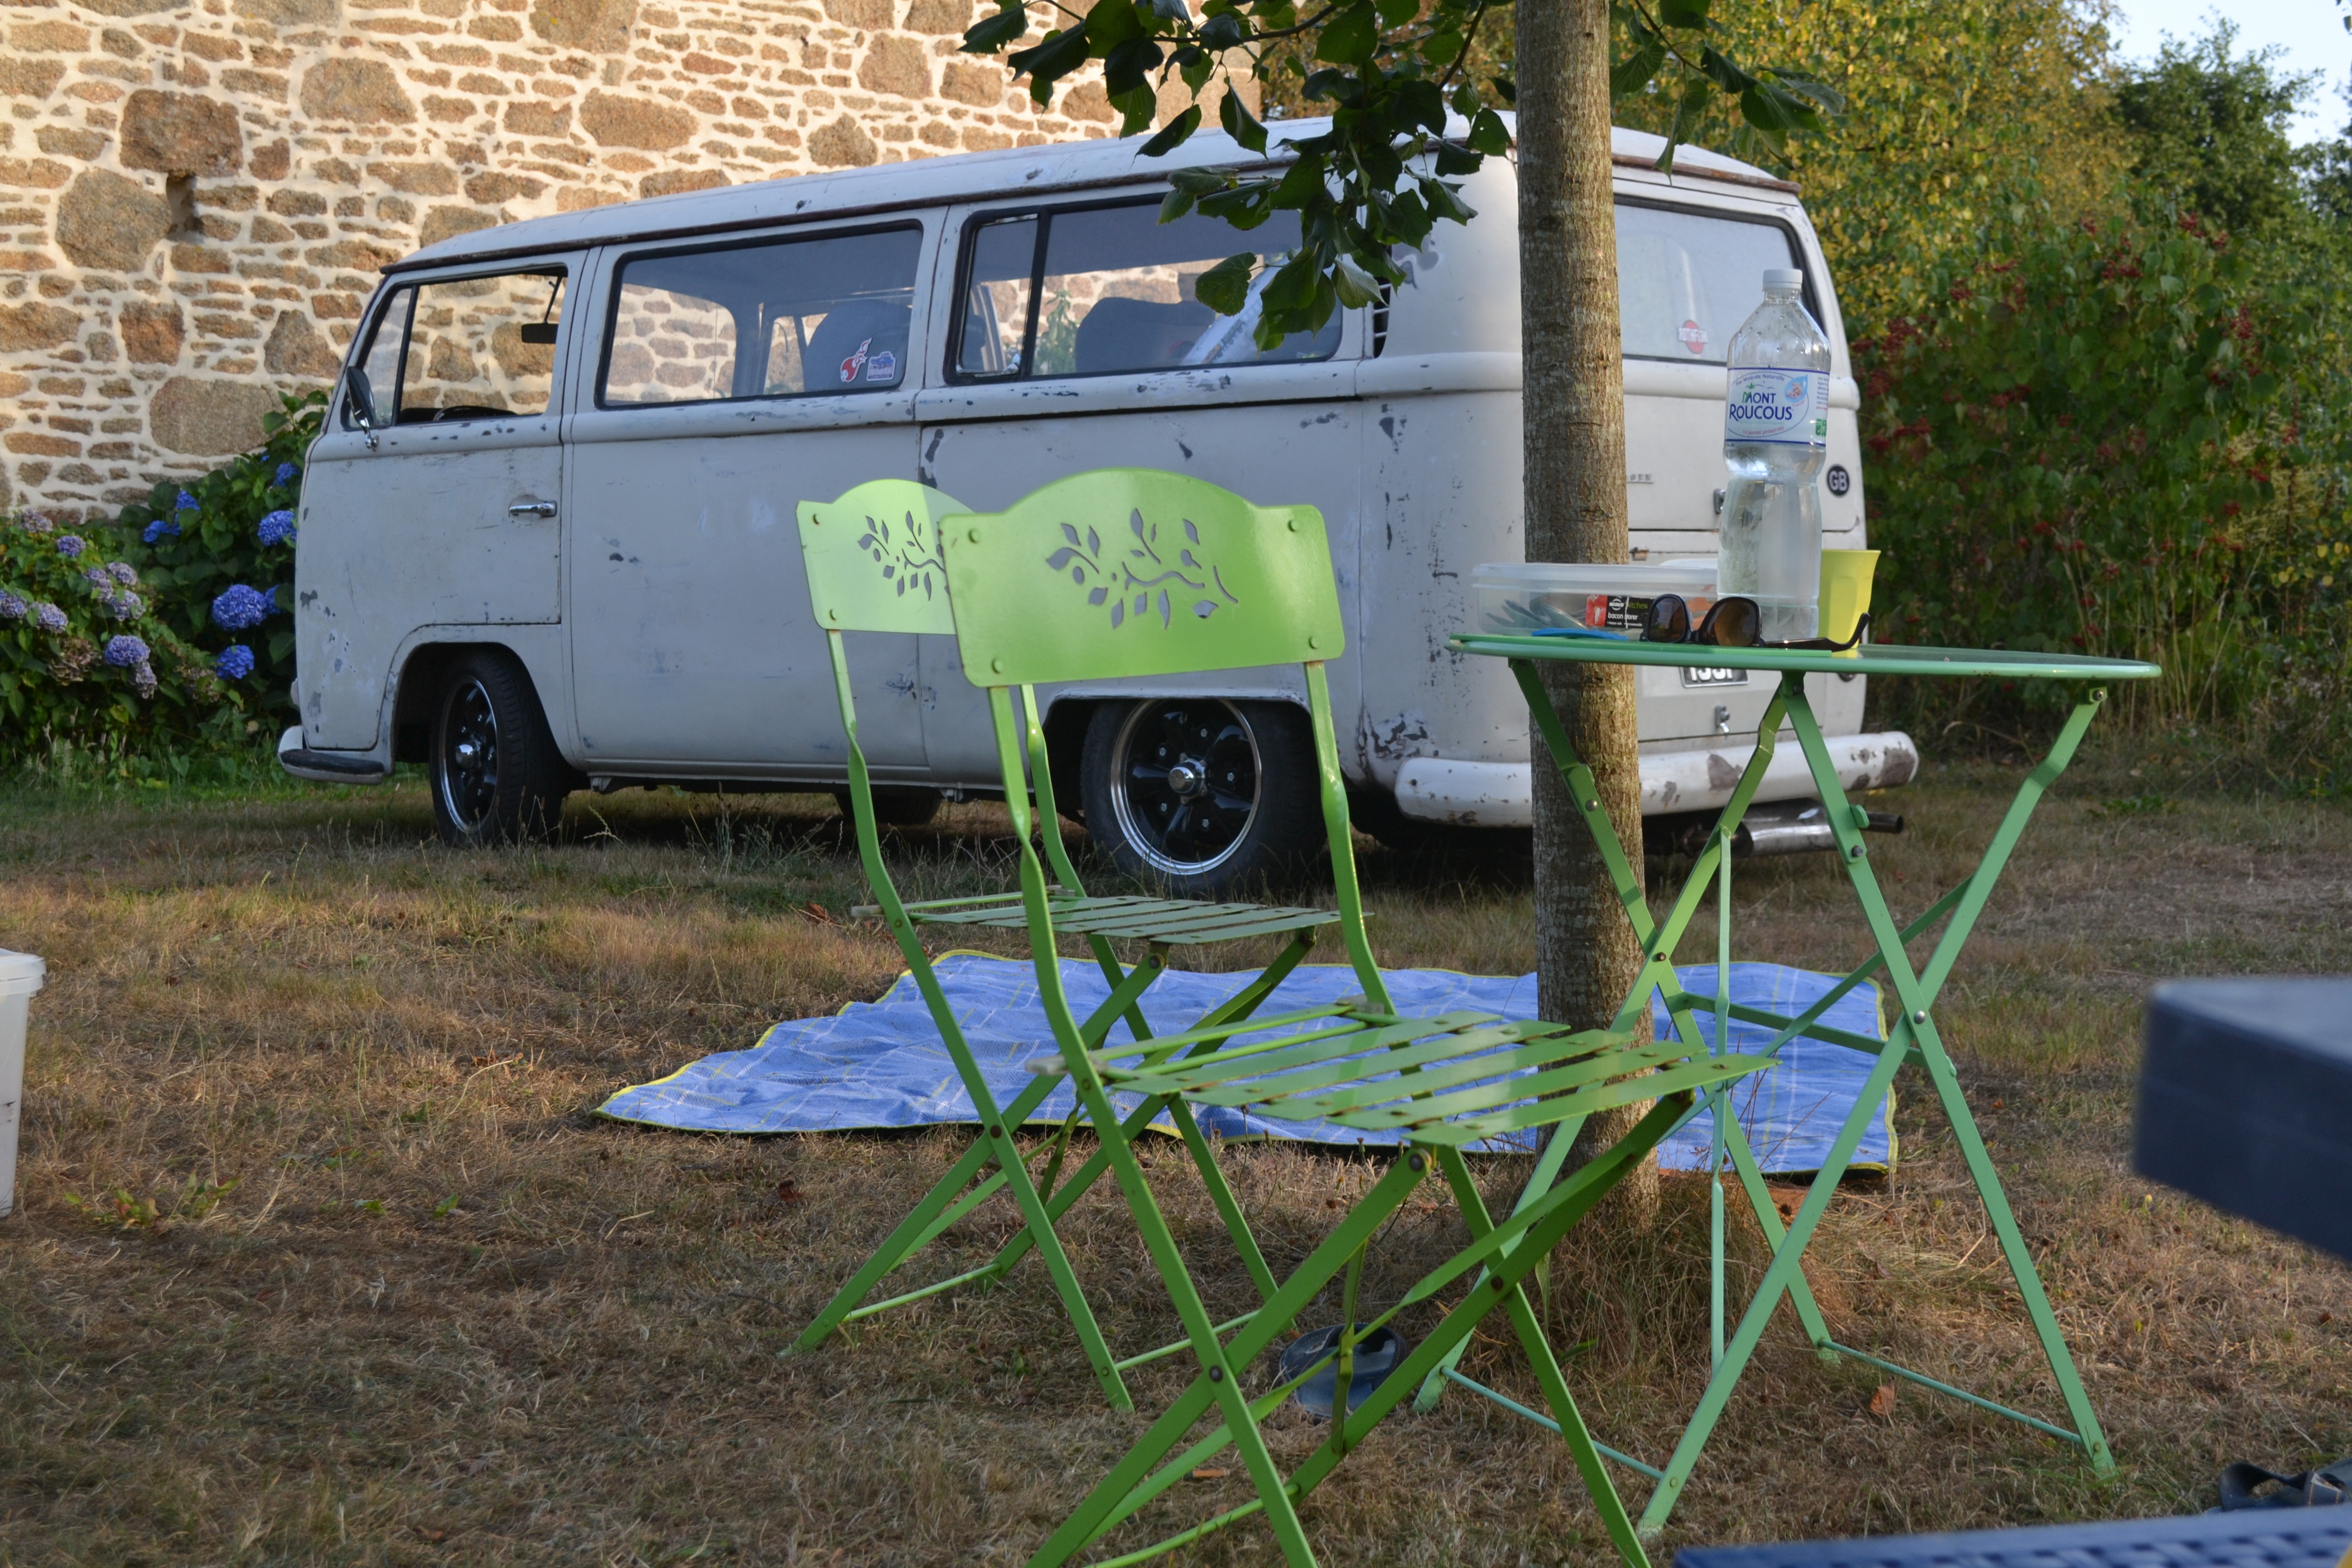
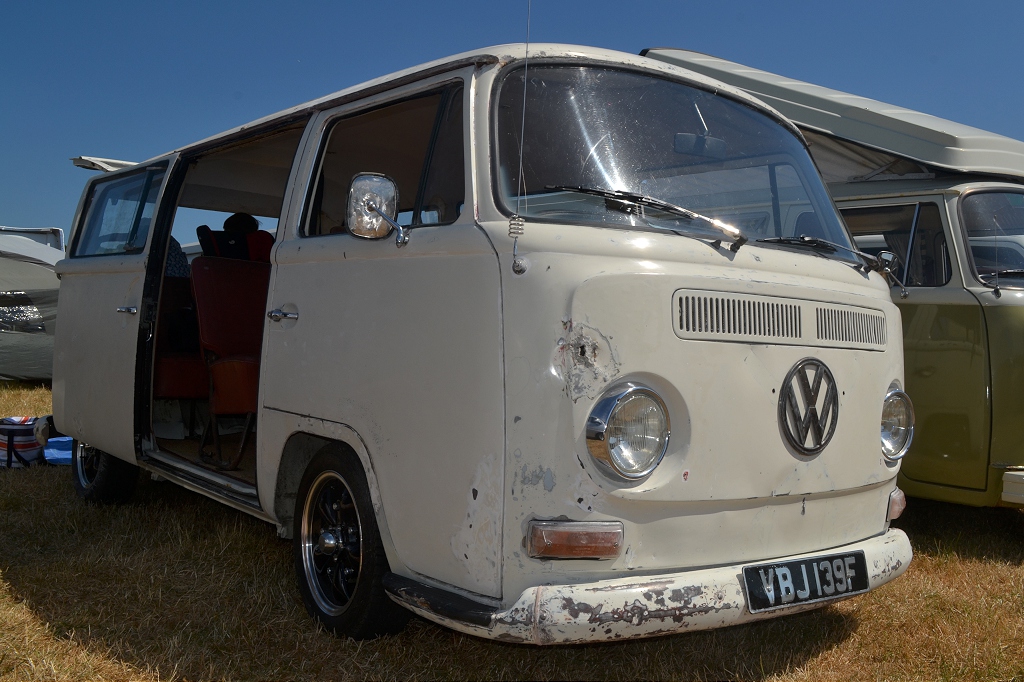
I have got a some sanding in the other night and this afternoon - i finally feel like the paint is coming back!

Picasso who did the Dulux job unfortuantely sanded through the OG paint in a couple of spots when prepping for his job, so there are few sand throughs, but could be a lot worse - iactually t-cut a bit of one of the front doors today and it came up pretty good.

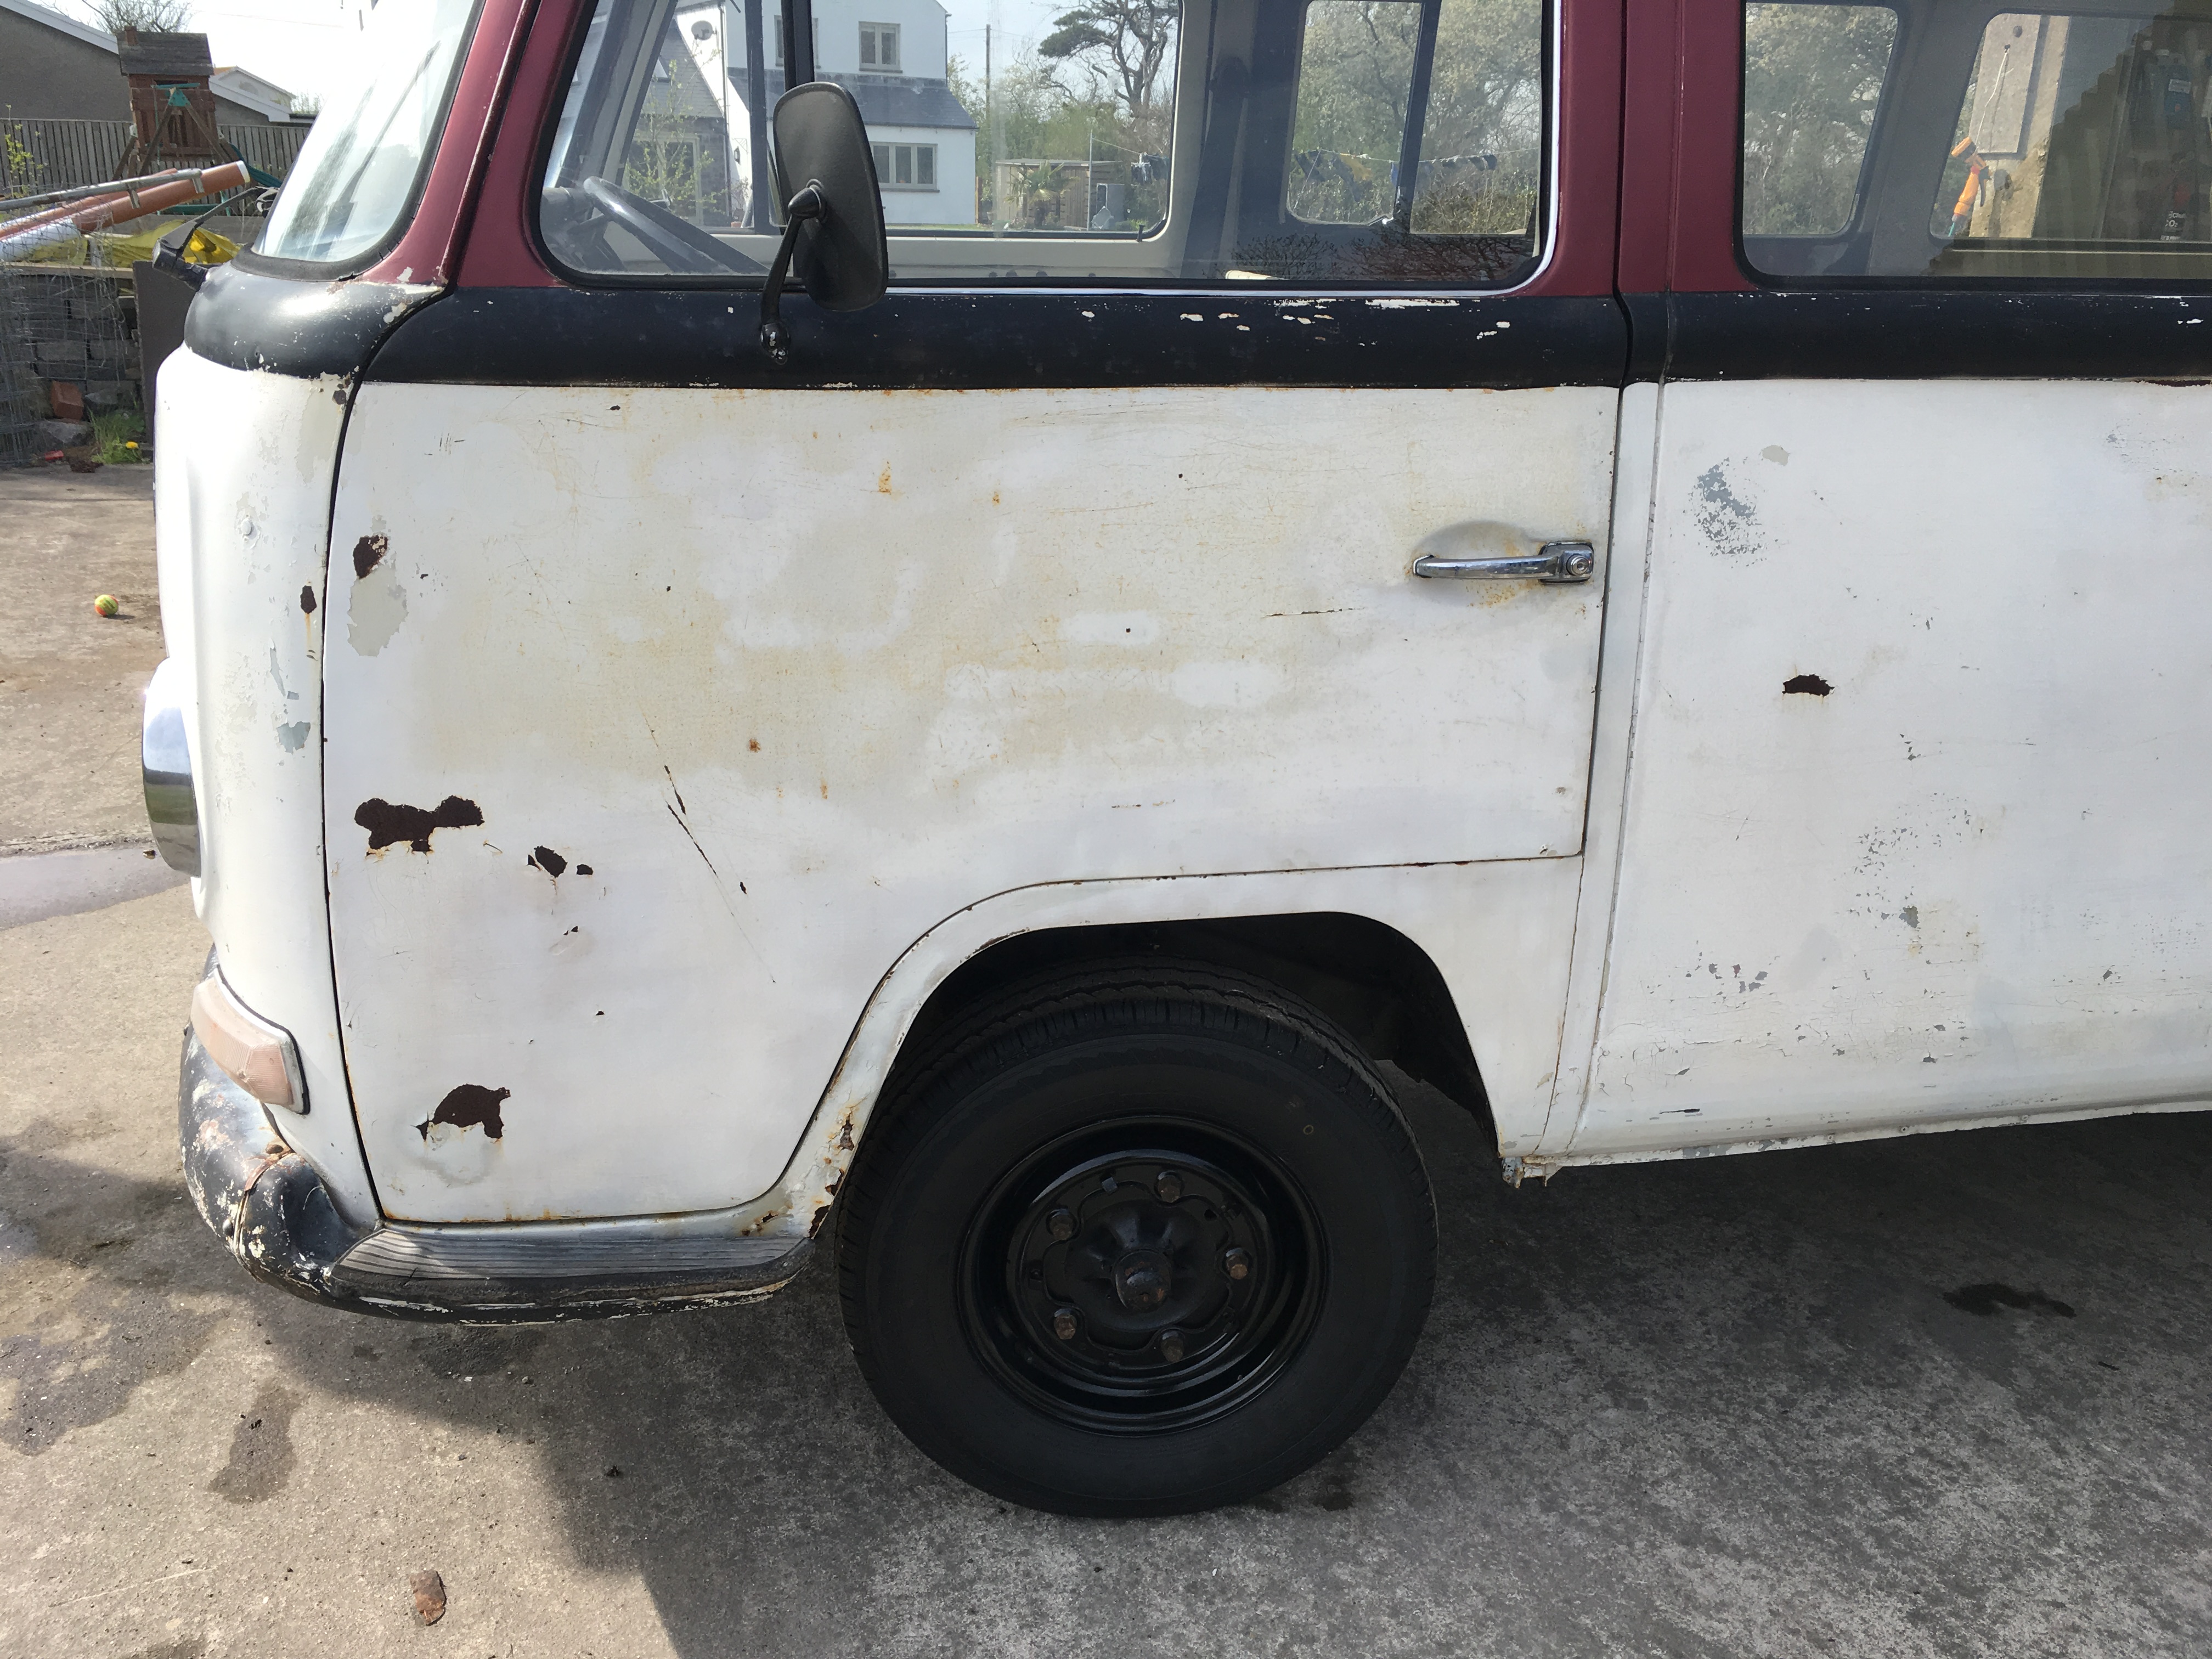
Latest pic (in bad light i`m afraid!)

IMG_20180330_181137.jpg
 
Thought i'd post a few new images as its a been a while!

We got the ferry over to France a couple of weeks ago and travelled down with temperatures 36C in the shade - nice!

I think i took everything possible with in regards to spares - even the trolley jack, but the van ran sweet as a nut all the way down and back - probably did around 1000 miles i reckon. I was a little concerned as i'd only done about 1000 miles on it since i built it.

The biggest mishap was the gear stick knob (aftermarket) breaking of in my hand - bit of superglue fixed it though!

I got the engine rolling roaded just before i went to make sure everything was in check. I built the engine for torque not speed, so was really pleased to get from 1915 - 121 lb ft torque right across the range and peaking at 90bhp at 4500rpm. It is soooo driveable! :D

Heres a few pics -

IMG_20180805_165608.jpg


IMG_20180805_132915.jpg


IMG_20180805_165852.jpg


DSC_0310.jpg


DSC_0258.jpg


DSC_0257.jpg


DSC_0207.jpg


DSC_0201.jpg


DSC_0175.jpg


DSC_0103.jpg


DSC_0005.jpg


DSC_0156.jpg


DSC_0210.jpg


DSC_0147.jpg
 

Latest posts

Top