You are using an out of date browser. It may not display this or other websites correctly.
You should upgrade or use an alternative browser.
You should upgrade or use an alternative browser.
Moose the '72
- Thread starter NickJ
- Start date

Help Support Early Bay Forum:
This site may earn a commission from merchant affiliate
links, including eBay, Amazon, and others.
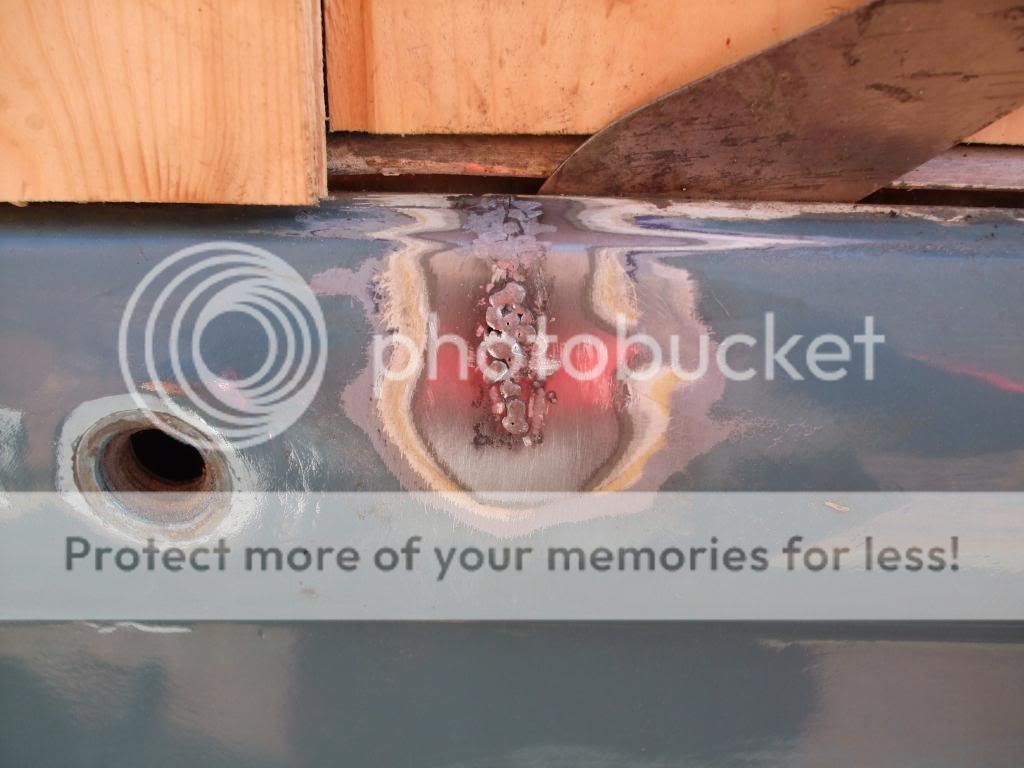
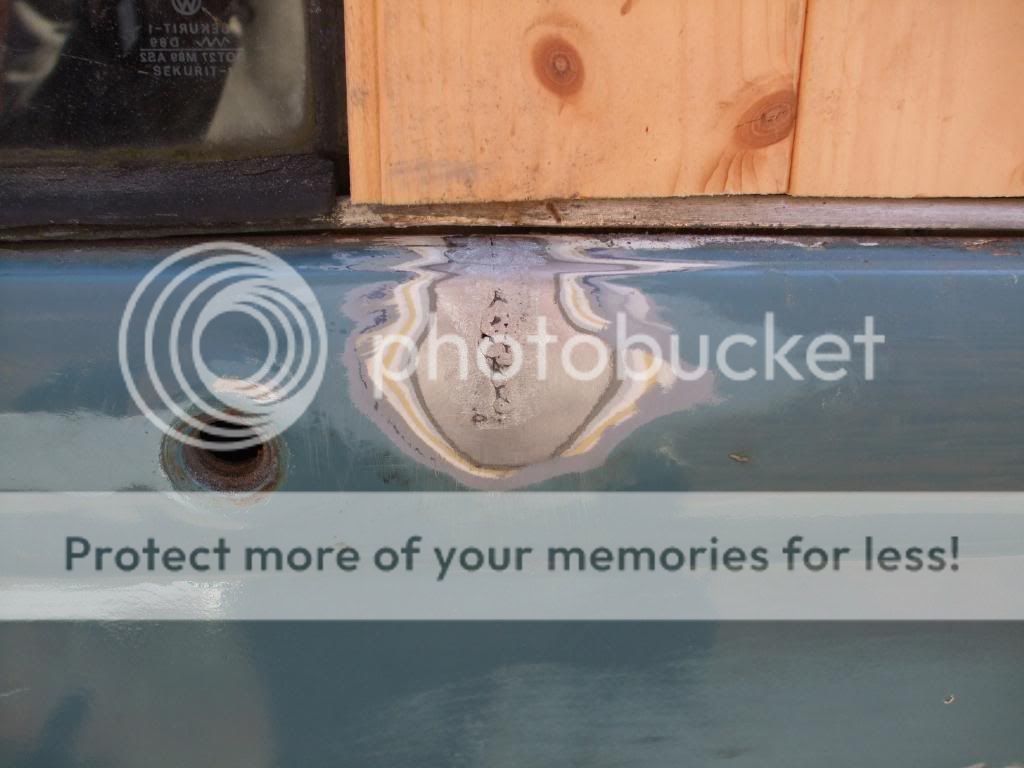
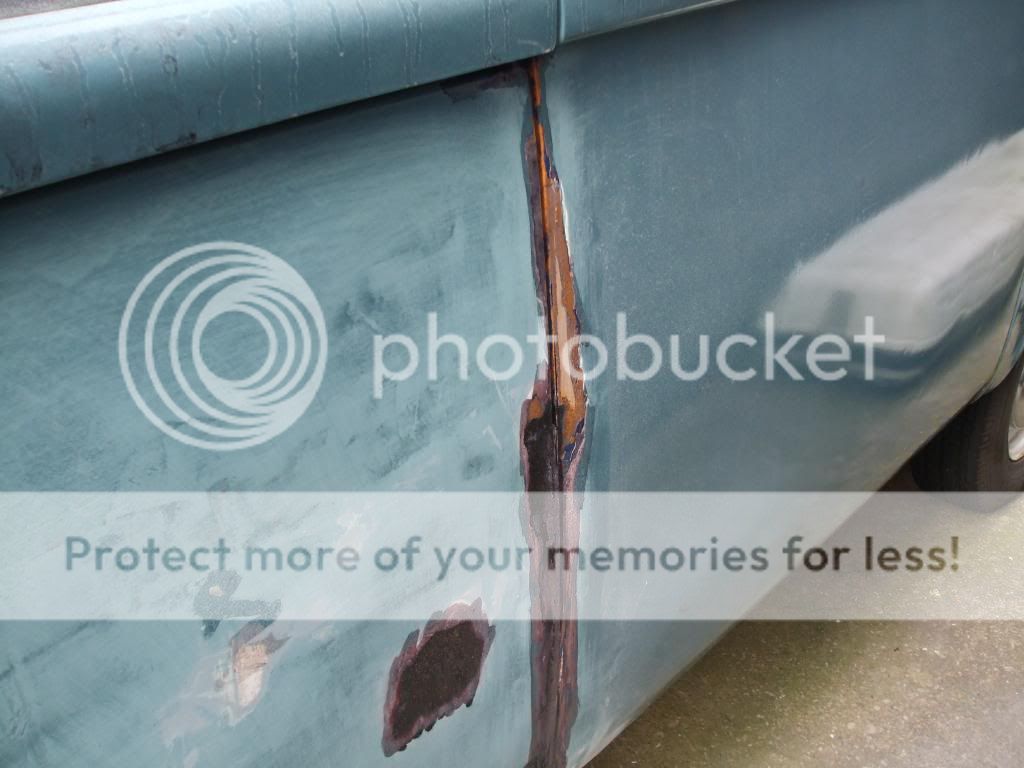
Well I finally decided to bite the bullet and make a start on the bodywork, the photo below shows a split in the top of the n/s door
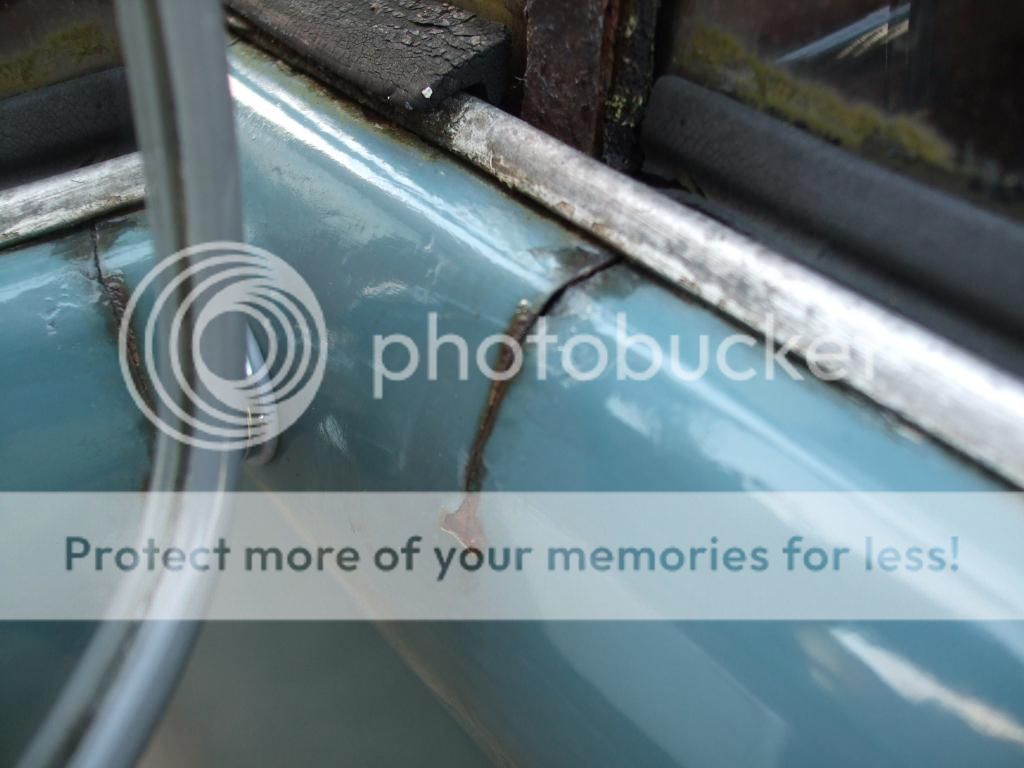
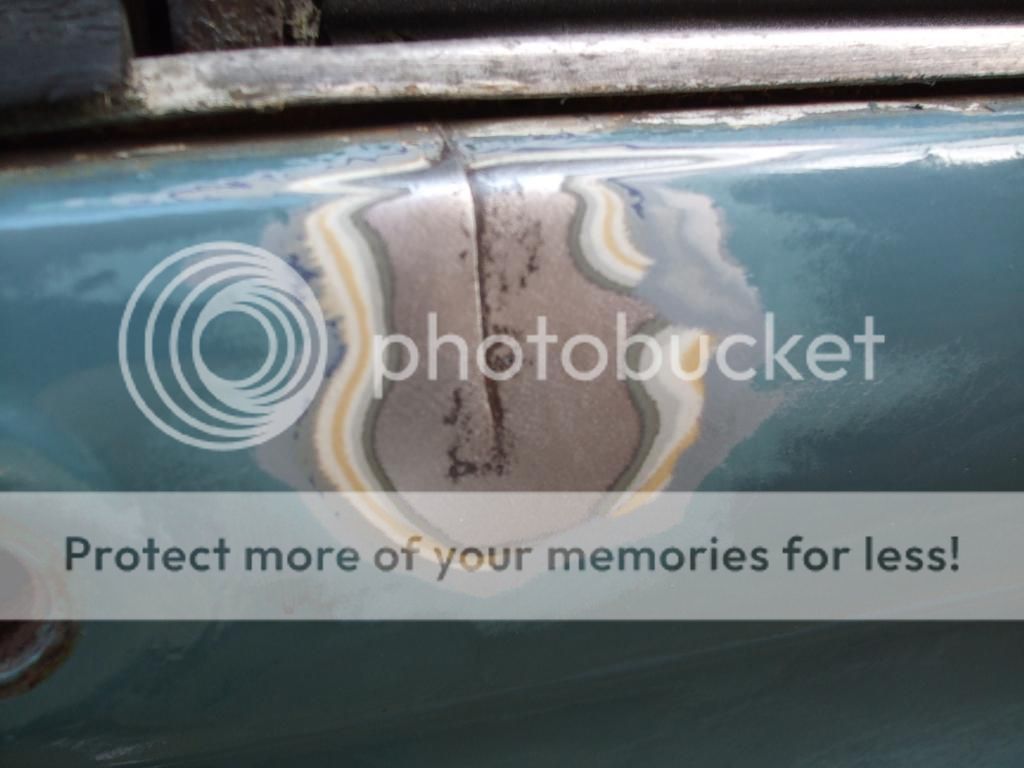
I'll be welding this up on wed if all goes to plan as I have to work outside on the drive.


I'll be welding this up on wed if all goes to plan as I have to work outside on the drive.
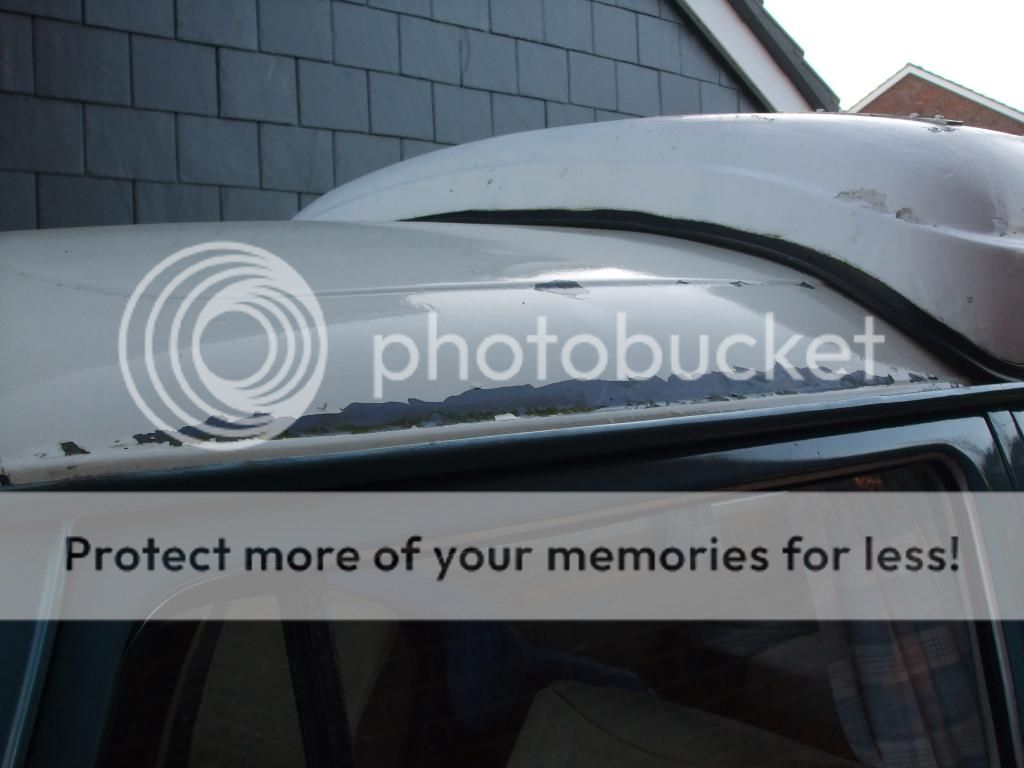
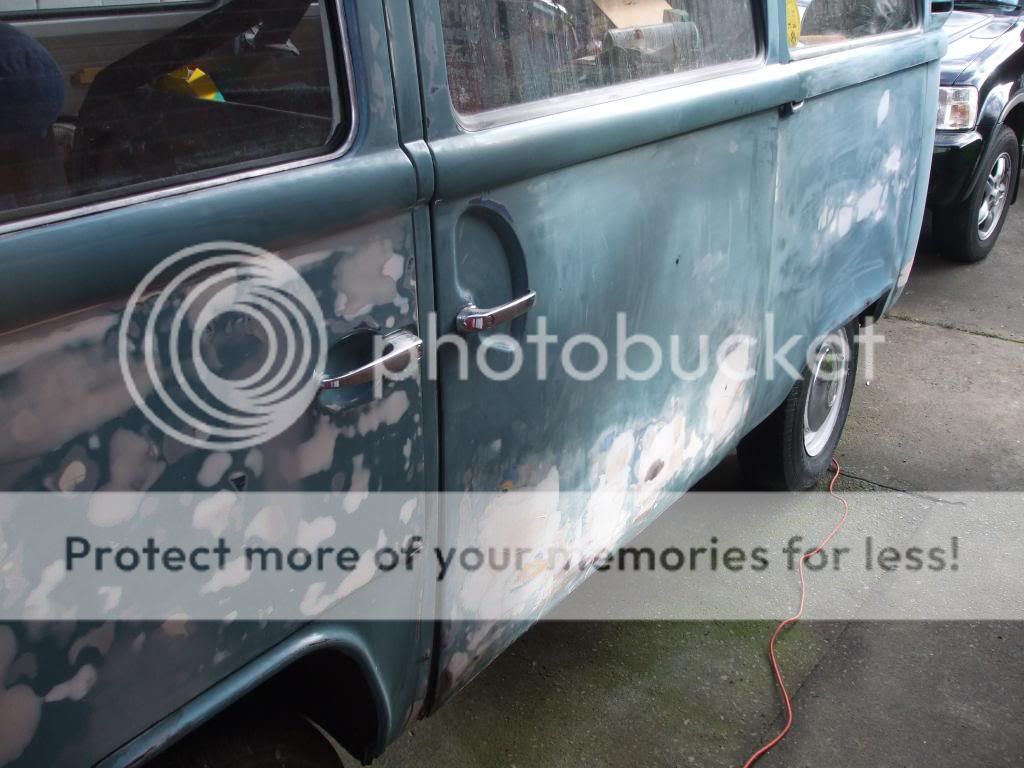
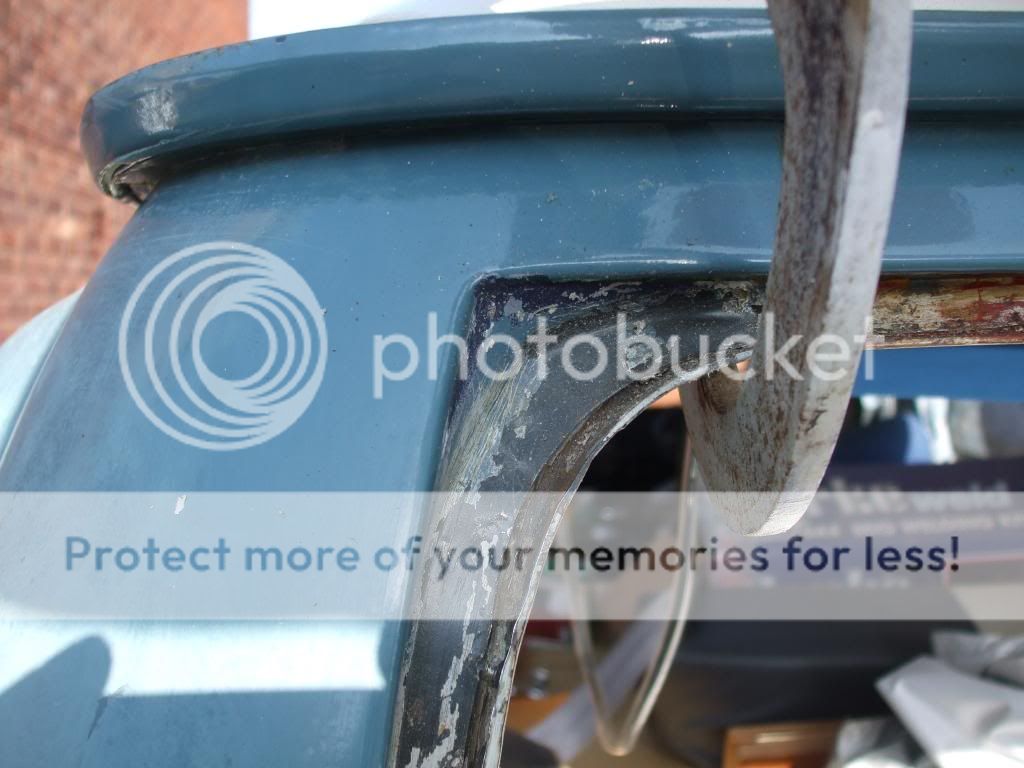
A bit more work done, the trim holes have been welded up and a skim of filler and a bit of primer, you can see that the whole skin was peppered with small dints. I've also started on the sliding door.
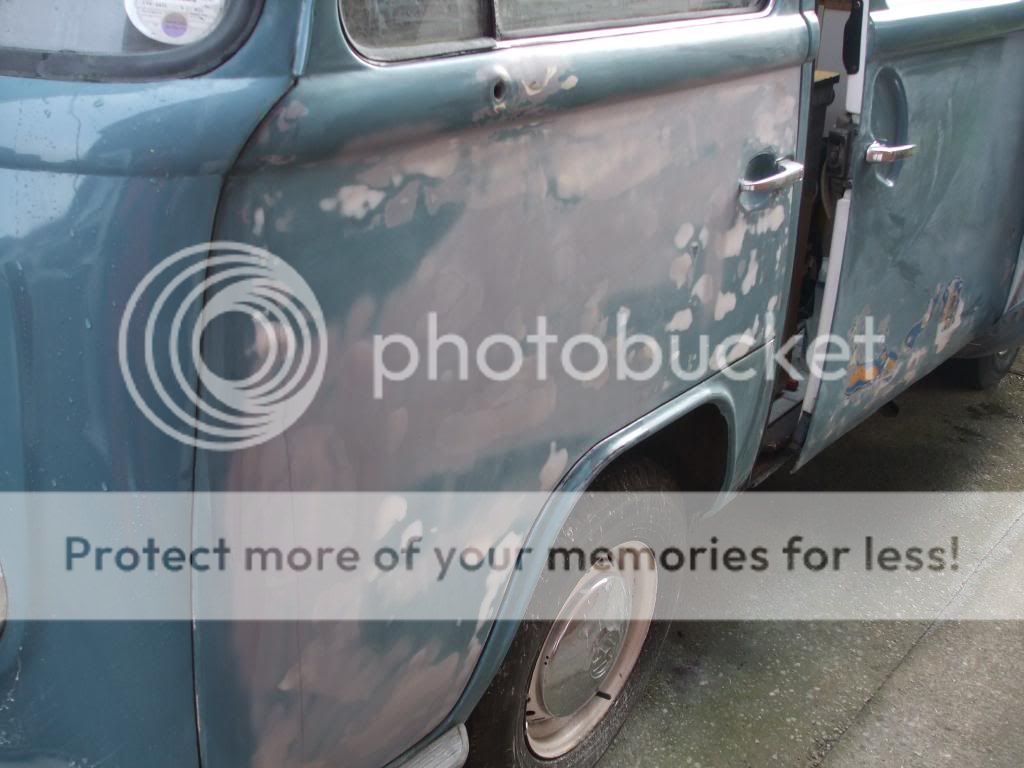
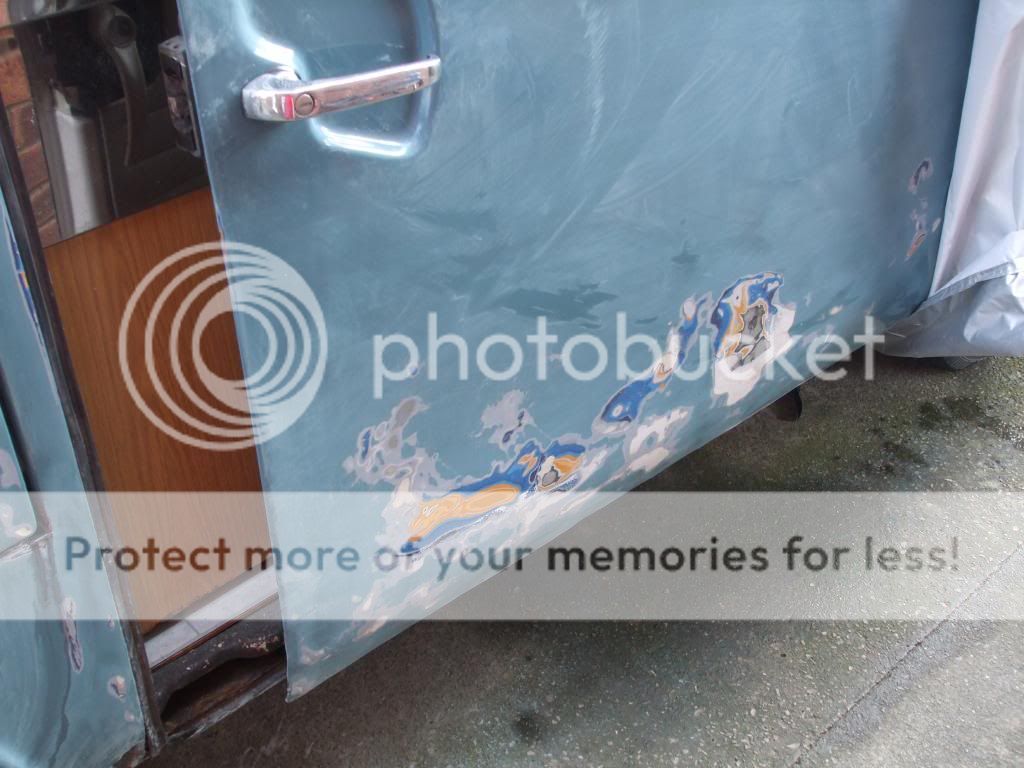
Just getting back to sound paint rather than bare metal as I'm doing it in the drive and using a cover to keep the elements off, I'm doing this on a fairly tight budget and plan to spray it with rustoleum paint so I'd be very interested to hear from anyone else who has done this.


Just getting back to sound paint rather than bare metal as I'm doing it in the drive and using a cover to keep the elements off, I'm doing this on a fairly tight budget and plan to spray it with rustoleum paint so I'd be very interested to hear from anyone else who has done this.

$24.61
Airfix Quickbuild Volkswagen Camper Van Red Brick Building Plastic Model Kit J6017, Multicolour
Amazon Global Store UK

$41.88
$46.95
Billet Window Crank, for All Years VW Beetle, Pair, Compatible with Dune Buggy
✅ Dune Buggy Warehouse

$9.94
$10.95
Empi 00-4428-B VW Bug, Beetle, Sun Visor Clips, Type 1, 68-79, Black, Pair
MOORE PARTS SOURCE

$9.37
Empi 4429 Ivory Sun Visor Clips for Vw Bug 1965-1967/ Vw Bus 1968-1979, Pair
MOORE PARTS SOURCE

$10.00
Volkswagen Genuine VW Driver Gear VW Logo Specifications T-Shirt Tee - X-Large - Black
wolframitersqga
gninnam said:Looking good dude 8)
I used the Rustoleum paint but on my poptop and found it easy enough to use, but not used on the body though
Cheers Andy, how did you apply it ? I've bought a sealey HVLP sprayer off fleabay that I'm going to use.
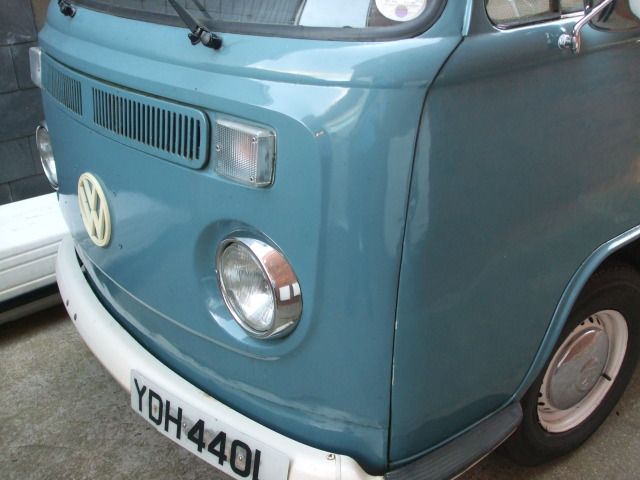
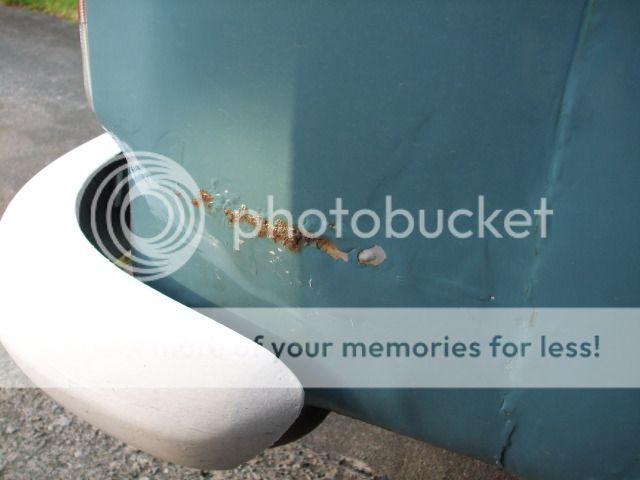
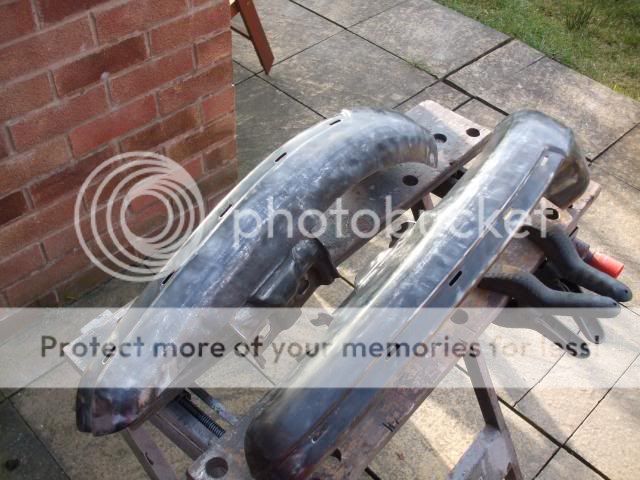
Took the front bumper off to start cleaning it up
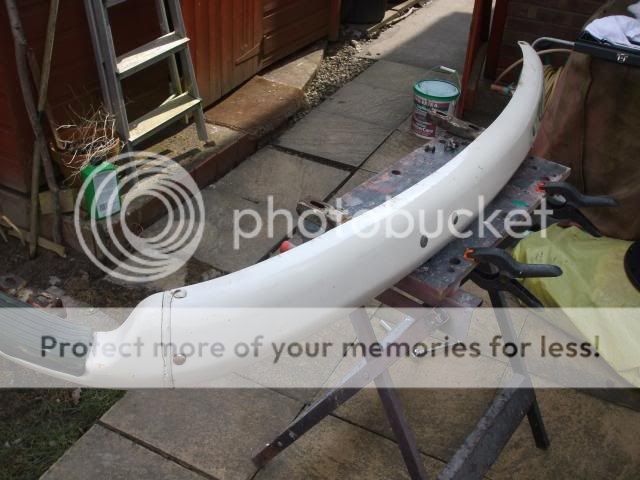
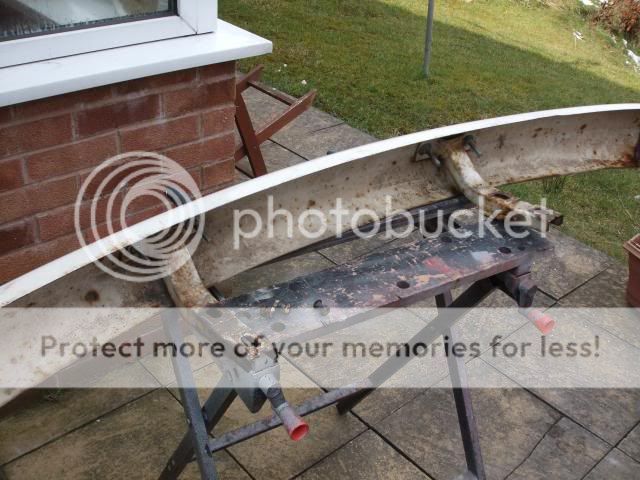
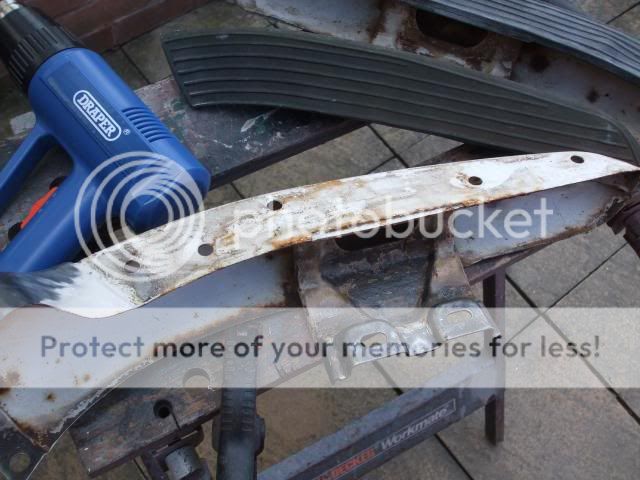
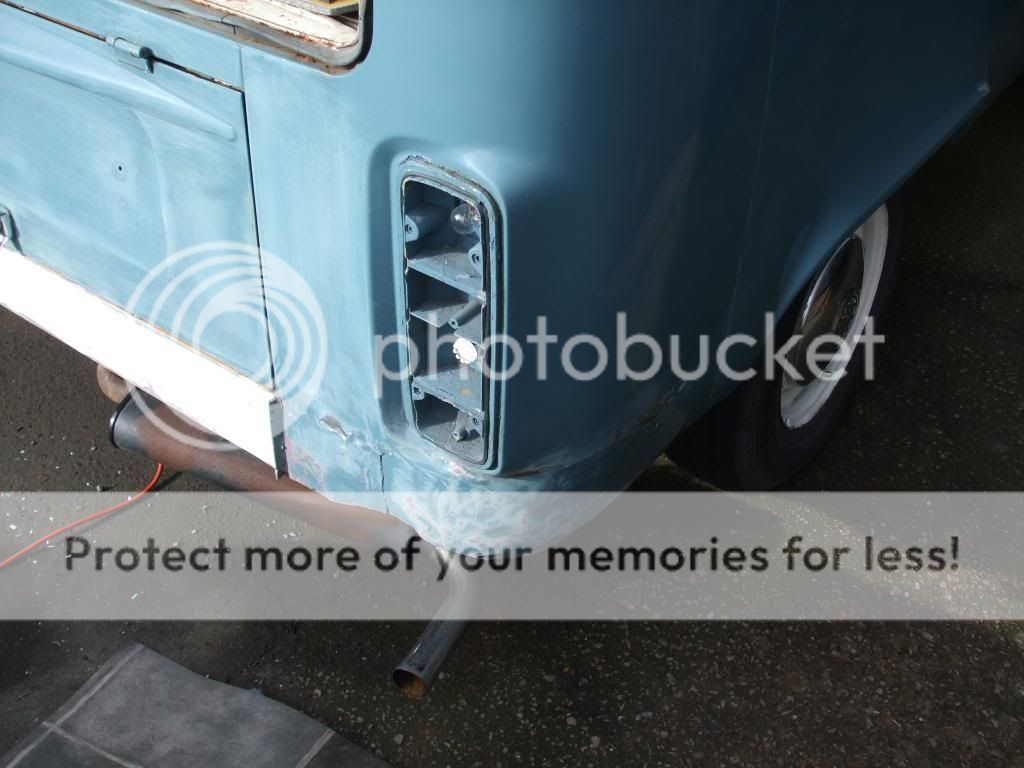
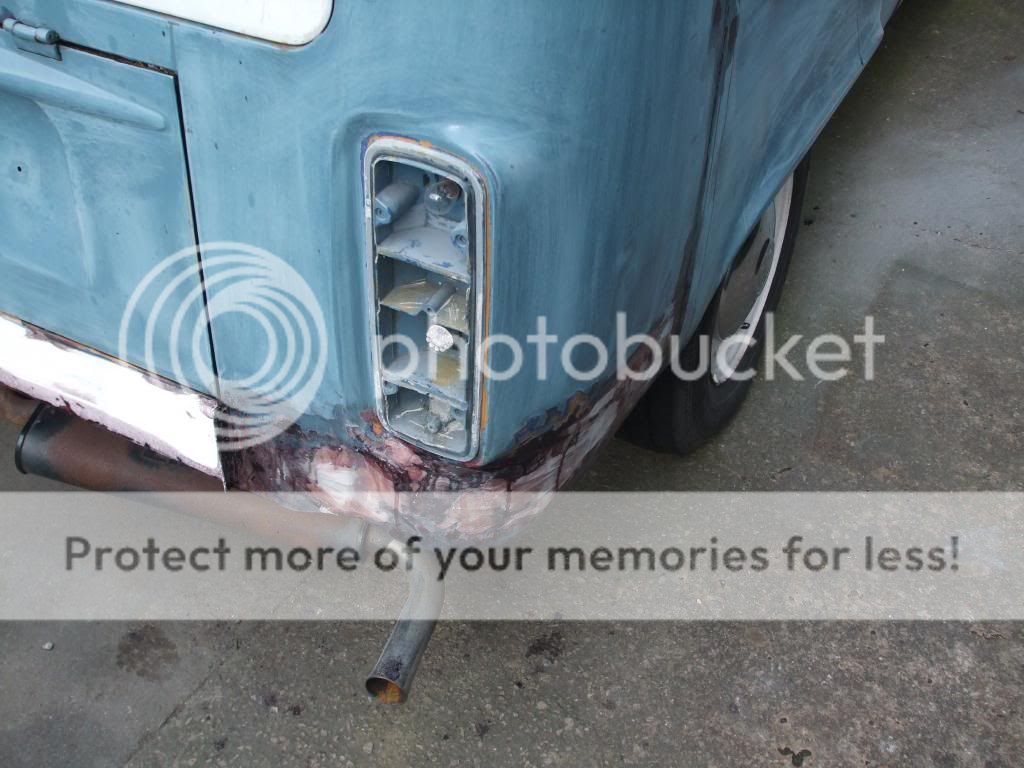
I used a hot air gun to soften up the step rubbers and they came off very easily, I'm using a combination of a wire cup on the grinder and a wire brush in the drill to clean them up.


I used a hot air gun to soften up the step rubbers and they came off very easily, I'm using a combination of a wire cup on the grinder and a wire brush in the drill to clean them up.
benveedub
Well-known member
Nice WOrk man, looks like there isn't much to do!! you still going all types this year?
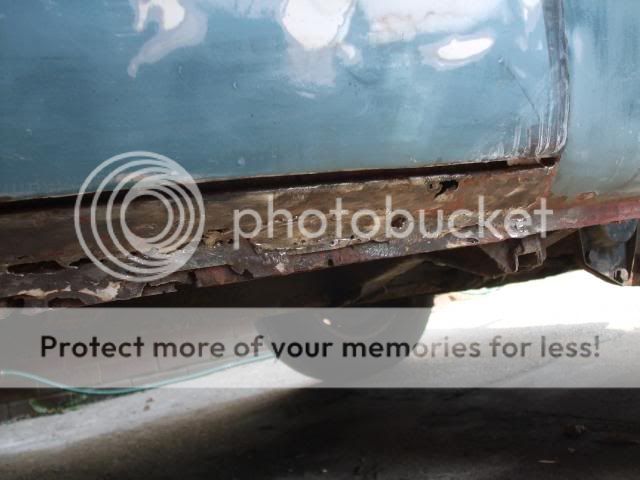
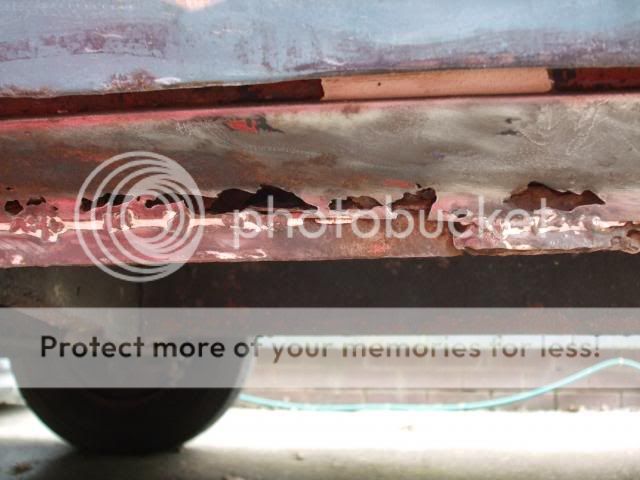
Been welding the sill today, no photo though  , because I'm working outside on the drive I've always used gasless to weld but ran out of wire today so set it up to use gas as I had the kit just never used it, wow what a difference much nicer to use and much neater results
  I think I'll have to look into getting a big gas bottle.
Toad
Well-known member
Hi there,
I noticed that one of your windows in your pop top is not fixed in with the normal rubber? I'm thinking of doing something other than the rubbers on mine as they just seem to leak however good the rubbers are, as rain water just sits on the glass and seeps in. Just wondering? thats all
I noticed that one of your windows in your pop top is not fixed in with the normal rubber? I'm thinking of doing something other than the rubbers on mine as they just seem to leak however good the rubbers are, as rain water just sits on the glass and seeps in. Just wondering? thats all
hi, yes when i got it one of the windows had been replaced by a piece of perspex and had been fitted using small screws every couple of inches all the way round. It looked like something out of a submarine :shock: so as a short term fix i replaced it with a new piece of perspex and used a combination of filler for the holes and sealant and it's been like that for nearly 5 years now  still seems to be watertight.


