VWAIRCOOLED
Well-known member
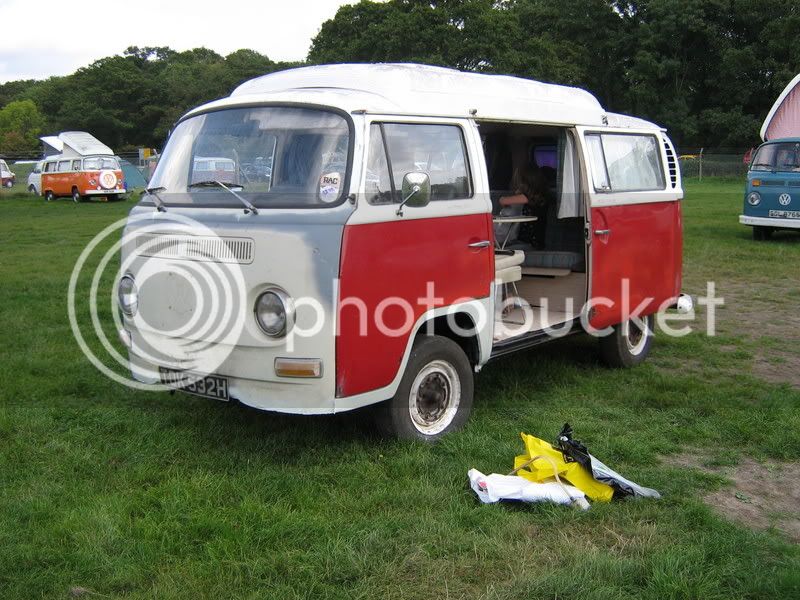
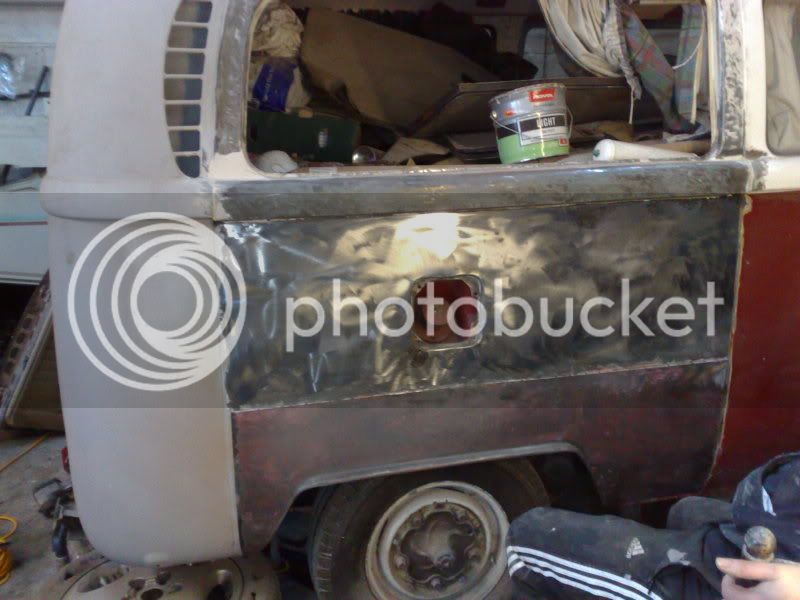
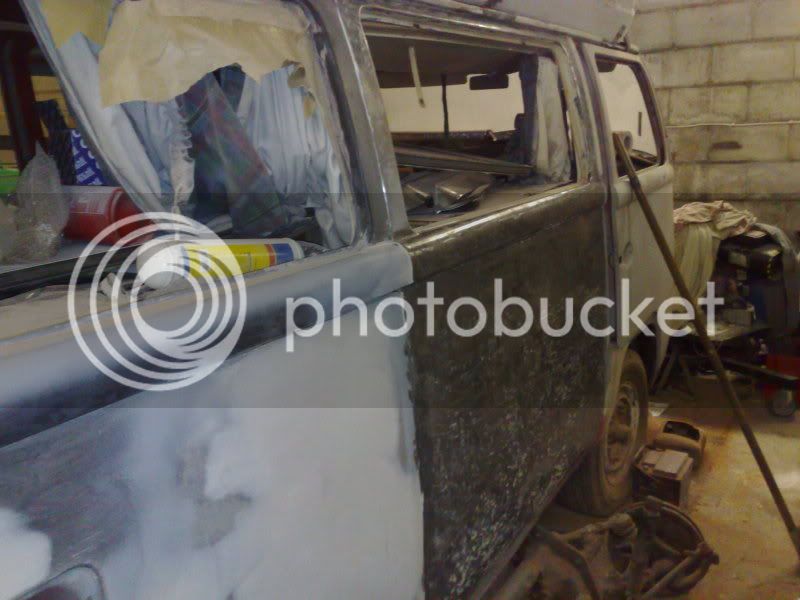
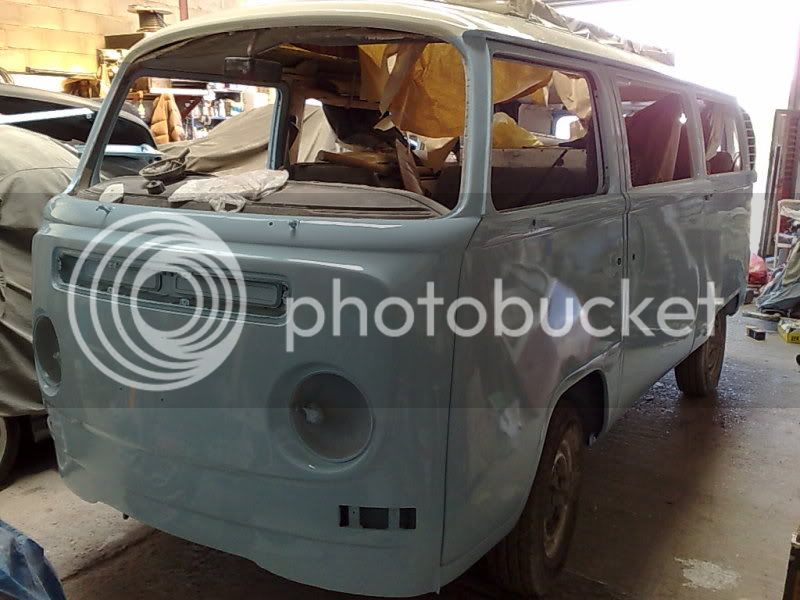
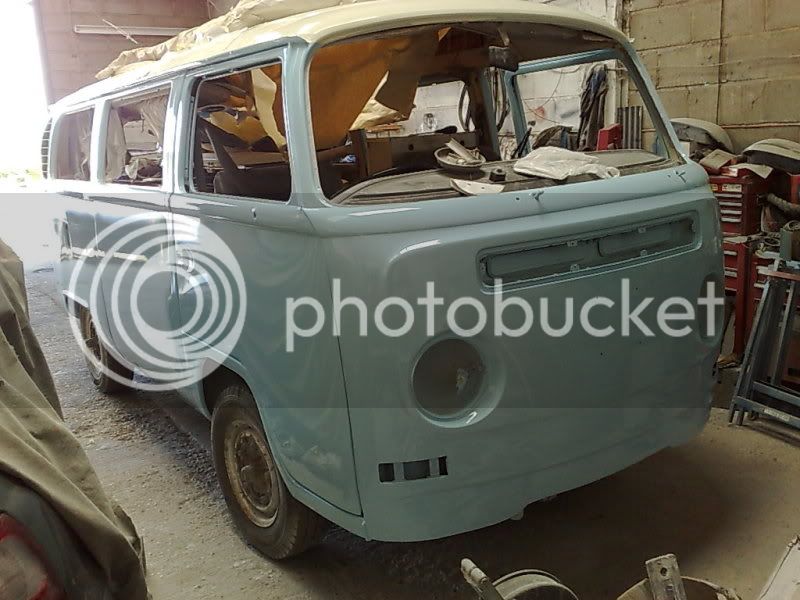
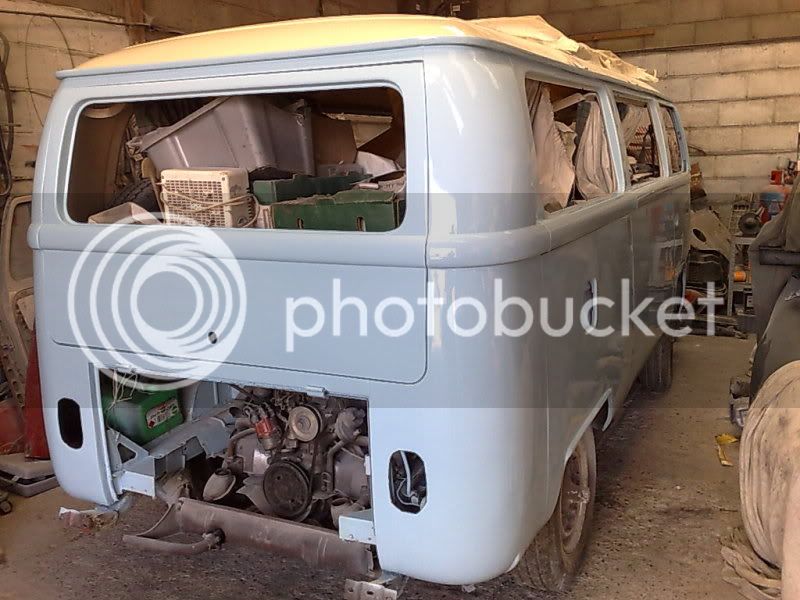
Thanks for the comments guys,it has been a hard slog to get it to where it is.I wanted to get it to the stage where I could drive it around a bit,get some use from it.Then take it off the road again and finish it.I don't think I'd want to do another one this far gone again though.
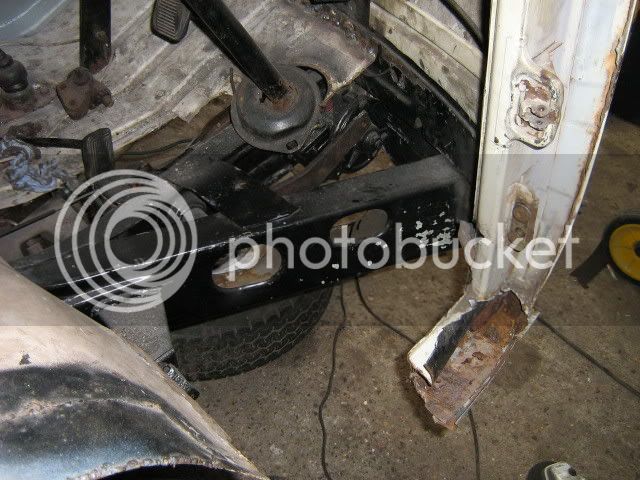
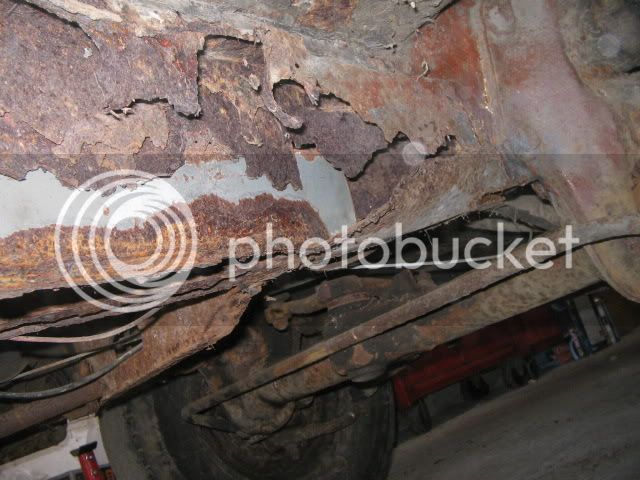
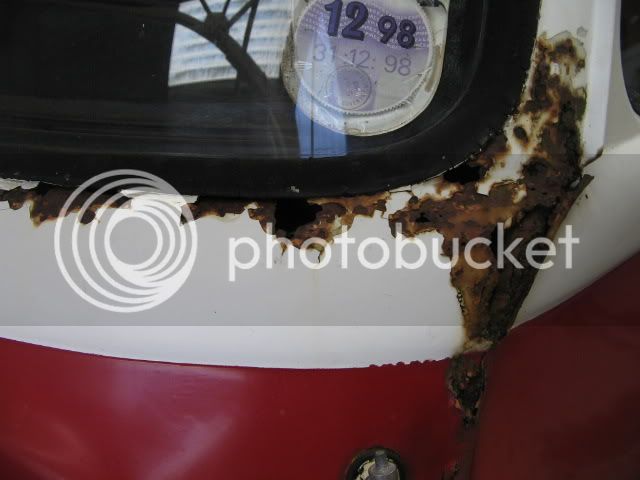
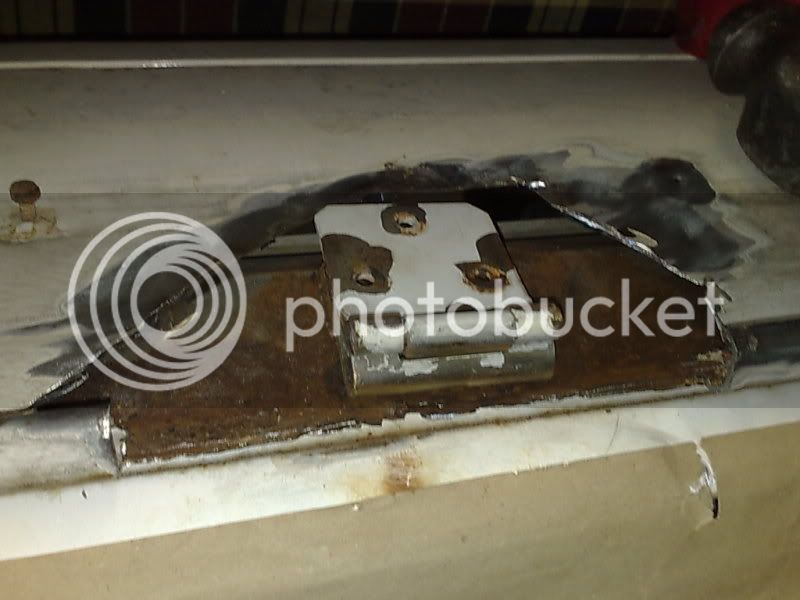
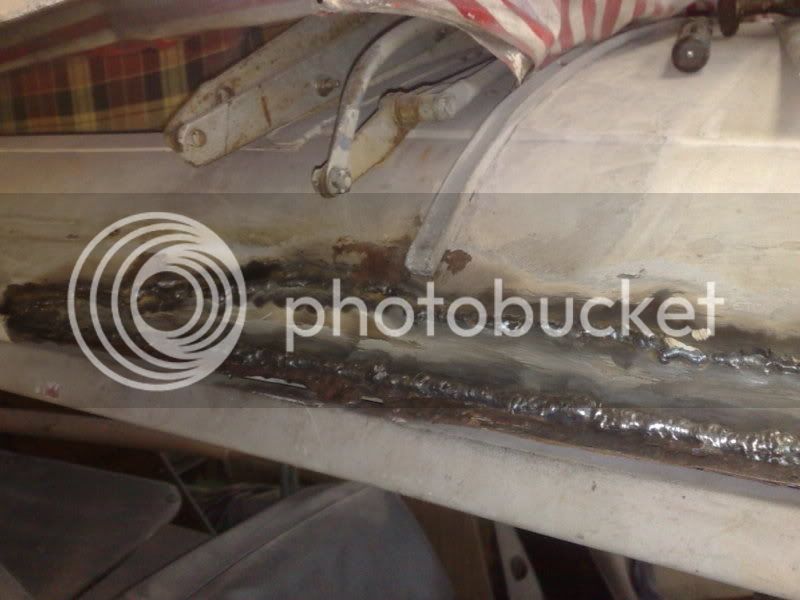
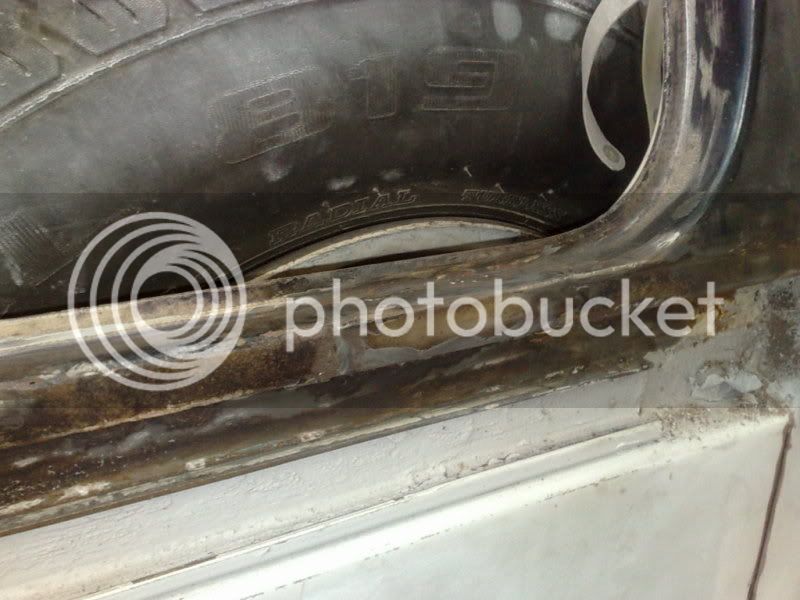
I had to repair the N/S/F seat base/wheel tub as I couldn't get one any where.I will replace it soon though.I seam welded it to the connecting bit and have tacked onto the wheel arch so I can remove it easier when it comes to replacing it properly.
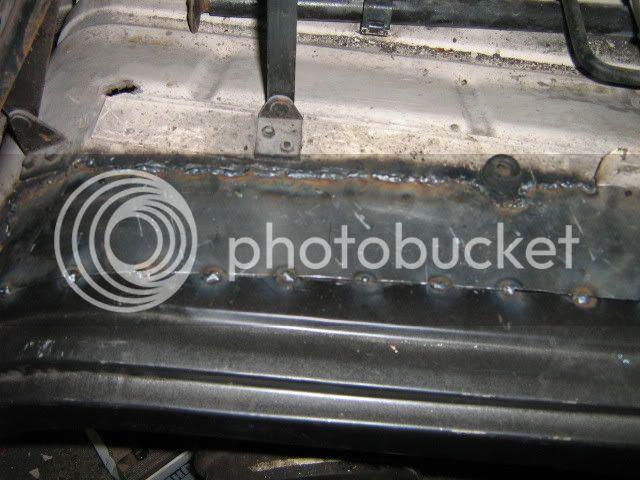
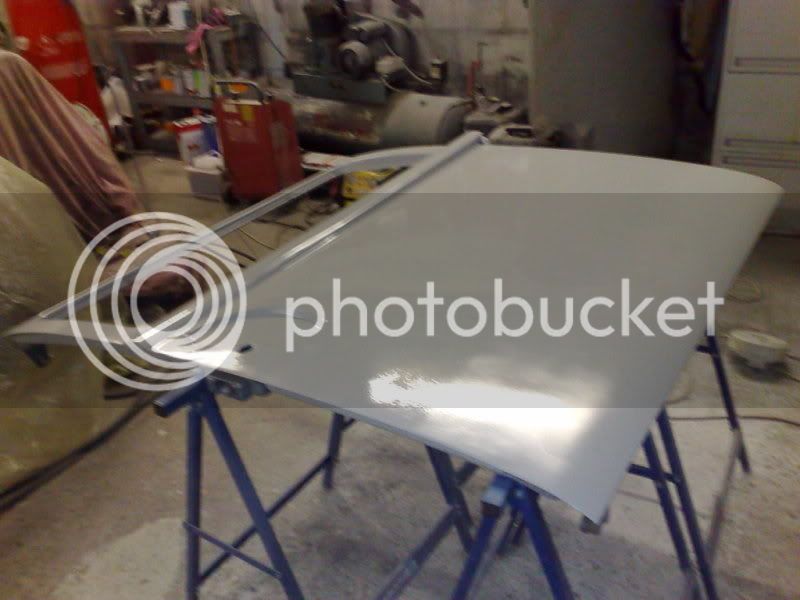
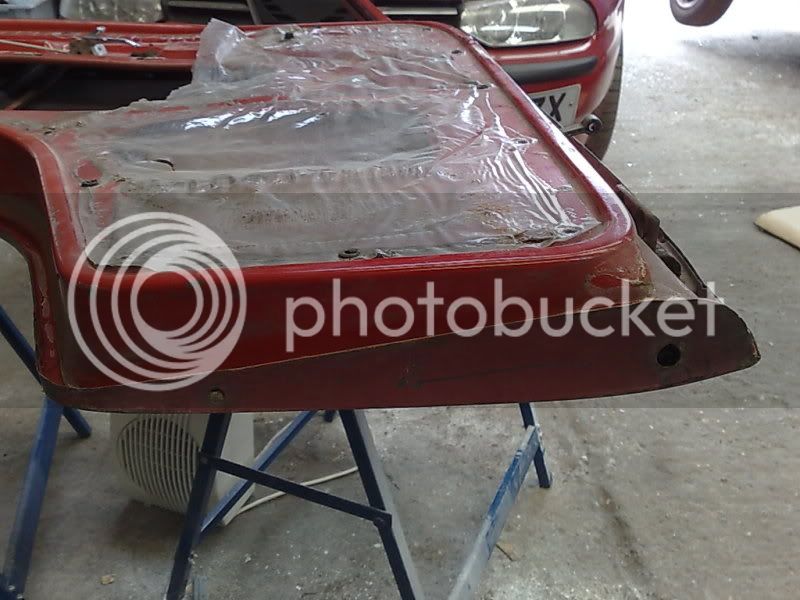
I was quite happy with how the cab floor section went on.
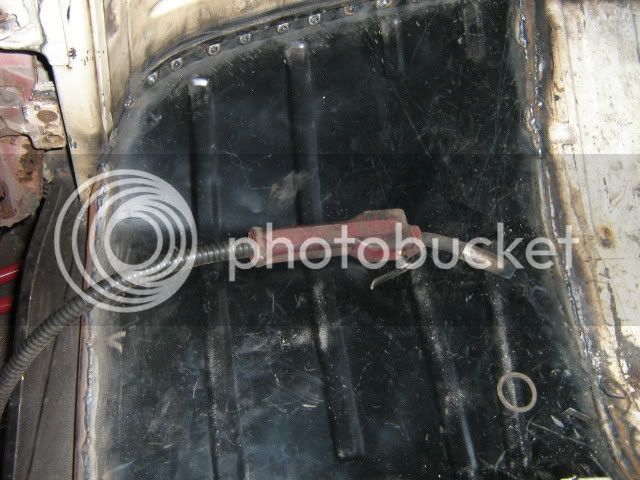
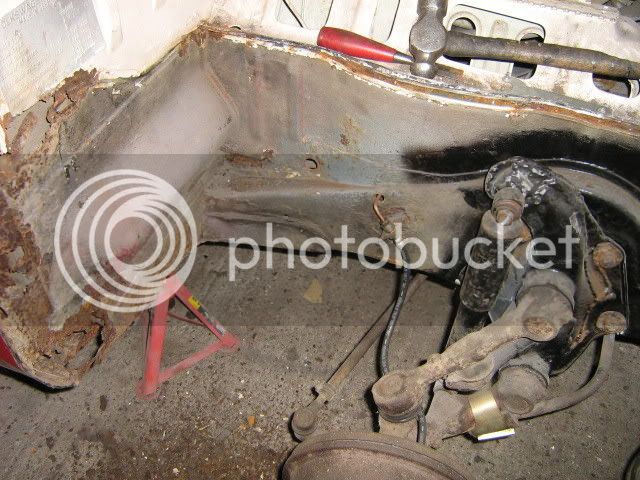
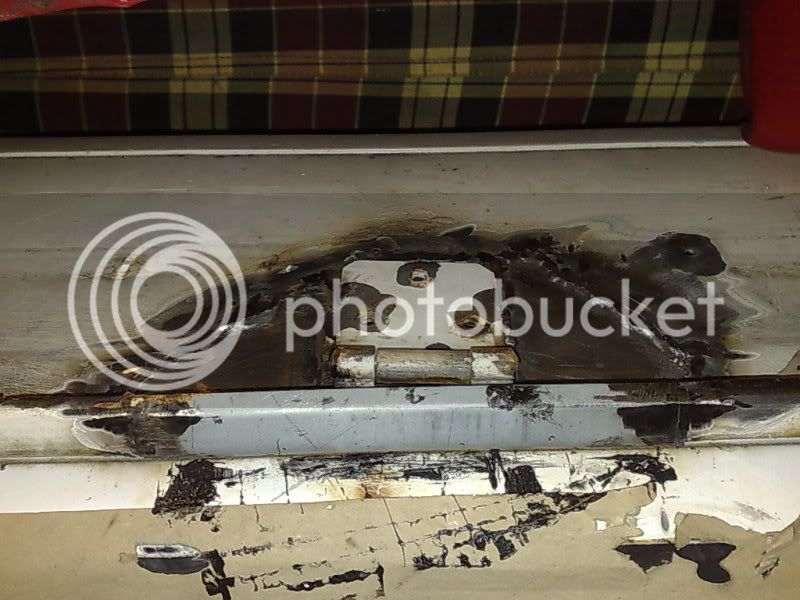
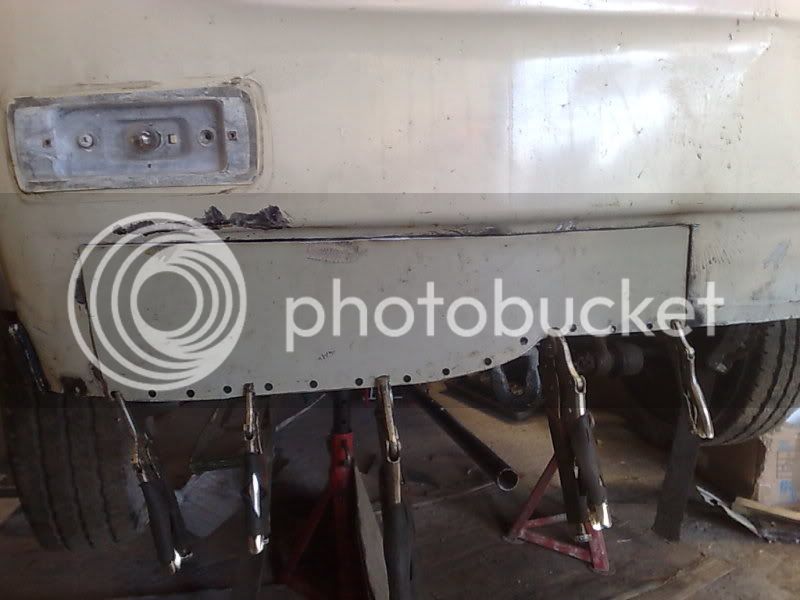
I also repaired the lower section of wheel tub,which will come with the new part when I replace it later on.

I had to repair the N/S/F seat base/wheel tub as I couldn't get one any where.I will replace it soon though.I seam welded it to the connecting bit and have tacked onto the wheel arch so I can remove it easier when it comes to replacing it properly.
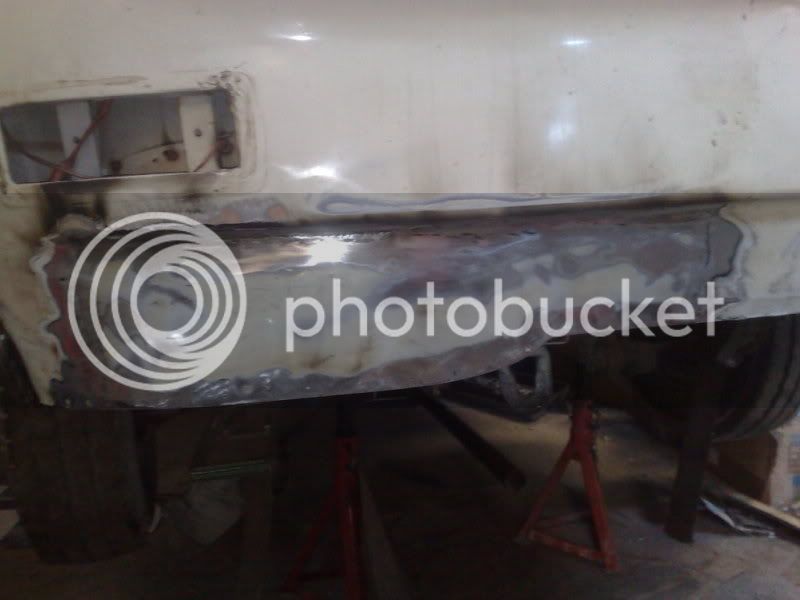
I was quite happy with how the cab floor section went on.
I also repaired the lower section of wheel tub,which will come with the new part when I replace it later on.
")