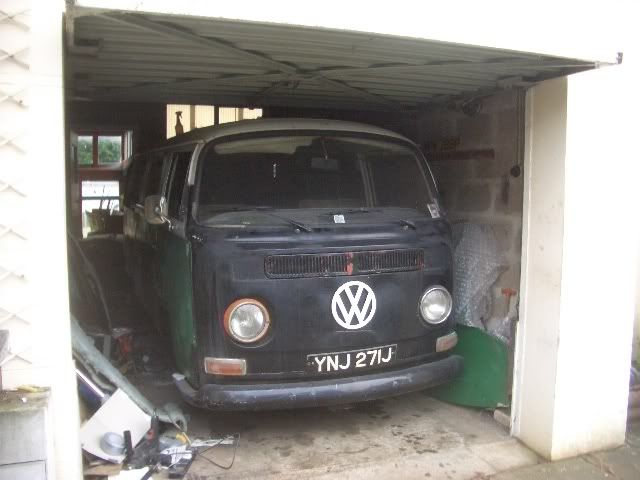
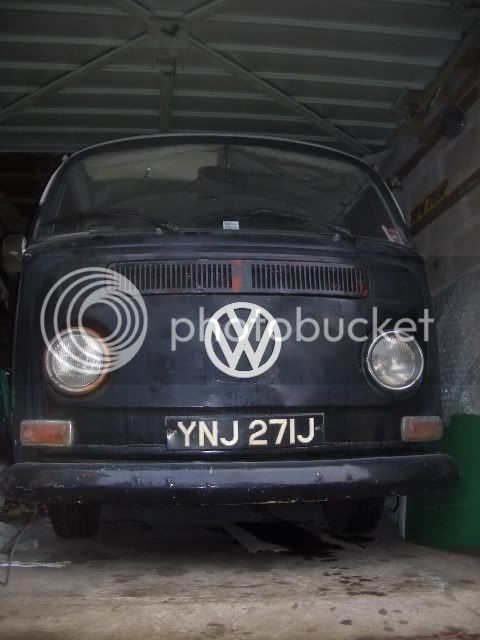
My 1971 bay project...

Early Bay Forum

Help Support Early Bay Forum:

This site may earn a commission from merchant affiliate links, including eBay, Amazon, and others.
I did a bit of welding years ago... thats why I wont take a welder to my van.. :lol:

mind you it was stick welding, a bulk load of dodgy welding rods and some ***** metal... I may yet take up the challenge on some projects I have in the pipeline.

but still i think Ill leave my van to those more practiced than myself...

Hat off to you Jim :wink:
 
I've never tried using a stick welder, but from what I've heard they are worlds apart from MIG welding.

Go on and take up the challenge ;)

Just a quick game of spot the difference...

CIMG7375.jpg


;)
 
Here's another pic... although all this shows is how much oil my bug drips and how much my van needs lowering :lol:

CIMG7374.jpg
 
Yup, I intend to do it all myself ;)

It is never gonna be a minter, more looking good from 10 feet :D
And spraying it myself saves cash, which as a poor student gets mostly spent on buying orange juice :lol:

A quick update:

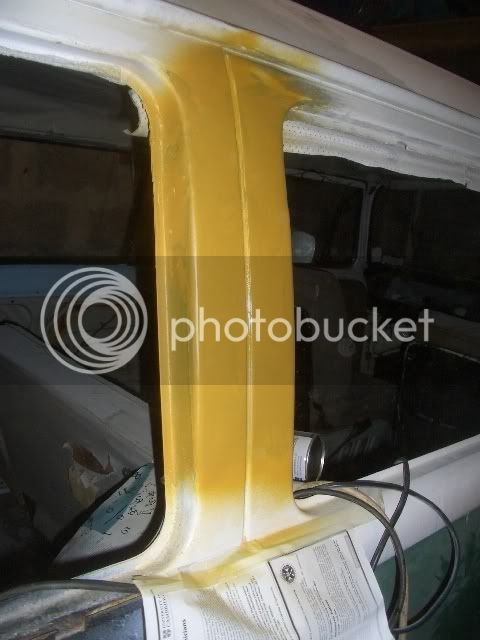
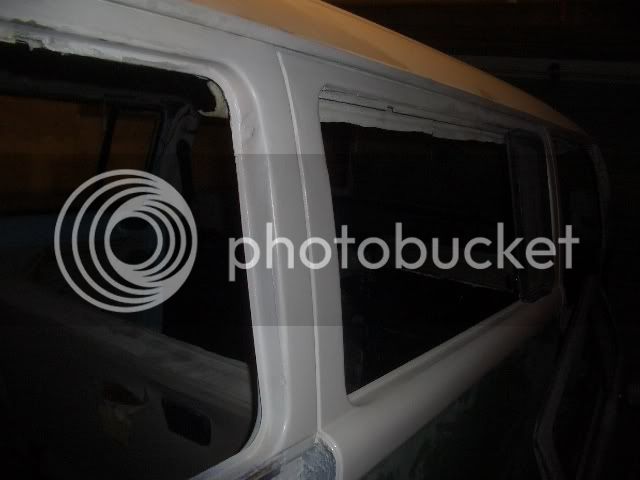
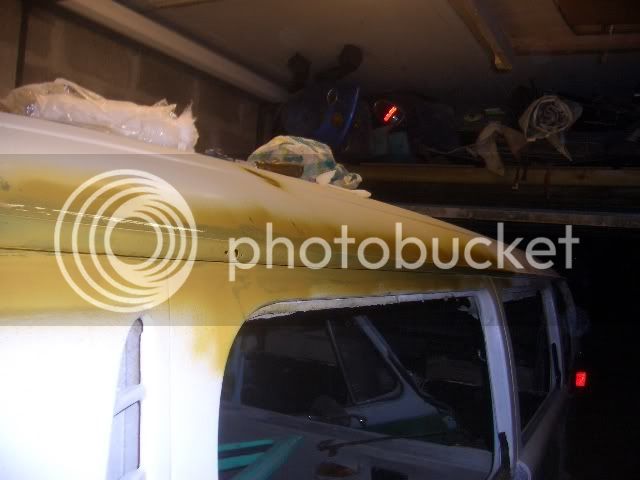
Finished filling the C pillar, drivers side. And got some filling primer on it.

CIMG7380.jpg


Still working on the rearmost pillar and gutters. :)

More to come soon!
 
And just a bit more of an update...

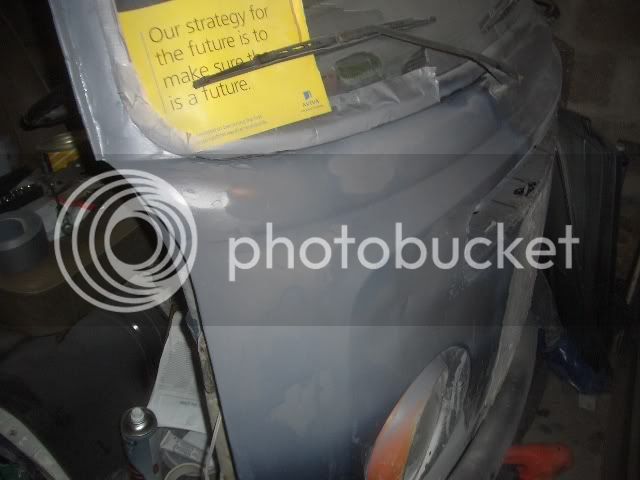
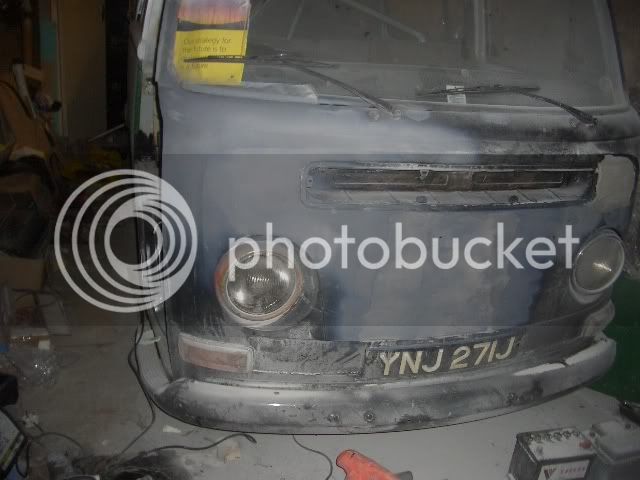
Started filling the bits of welding on the front panel. The RH indicator blank is the most progressed so far. Obviously, still needs more work to progress.

CIMG7385.jpg


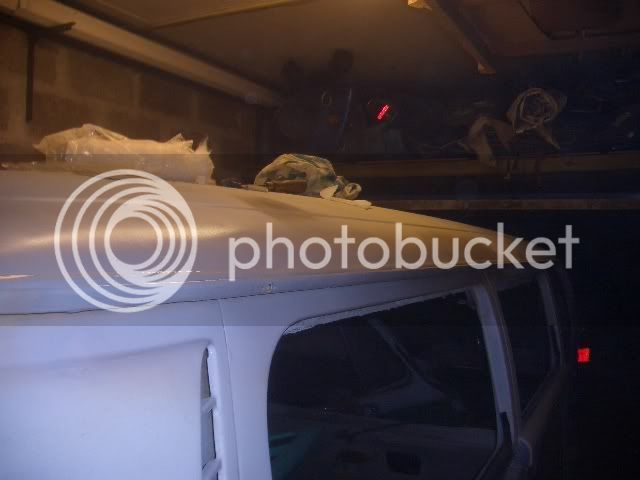
And I've painted the C pillar white too.

However, I've mostly been playing engines with my beetle engine, so not too much progress. I might do more tomorrow :)
 
Tis true :D

Sadly, I got my bug running absolutely spot on with its twin carbs this afternoon. Idles absolutely perfect.
Then the clutch started juddering, I suspect the flywheel may have come loose so it is engine out time (AGAIN!)

:(

In better news, here is the C pillar:

CIMG7394.jpg


Now shiny white :D

And the D pillar, in high build primer.

CIMG7395.jpg


In that photo I've noticed a slightly rough bit (as well as a couple of runs) - obviously it needs a lot more time and work to get it perfect, but it is progressing ;)
 
Just read through the whole thread. Awesome work!!!!!

hasthespaz said:
but my dad has a load of barns i can use when its raining and work needs doing...

Can i borrow one for my spring re-spray :wink:
 
Thanks guys :D

Still concentrating on getting my beetle running, to give the van a bit of a rest from daily driver duties. I'm going back to uni this weekend and my bug still has no carbs or exhaust, I only fitted the engine (in the pouring rain) today so fingers crossed!

A quick update this evening...

CIMG7403.jpg


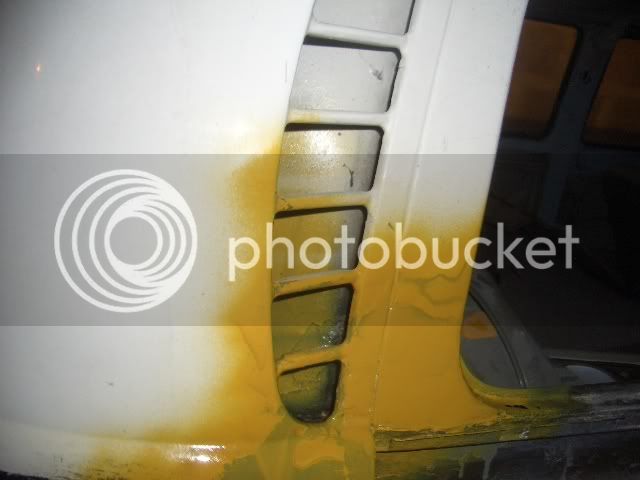
Rear pillar. The area close to the window, and the upper vent part are fine. The lower bulge bit where deluxe trim would fit to (if it had some, which it never will) is still rough and needs some sanding. But not now as (as above) I may need to drive it again soon.

I also POR15d the window frames where the window rubbers sit, as the bus will be a daily driver and I don't want it rusting. I figured the POR15 would give a bit more protection than the white celly rattle can paint I've been using.

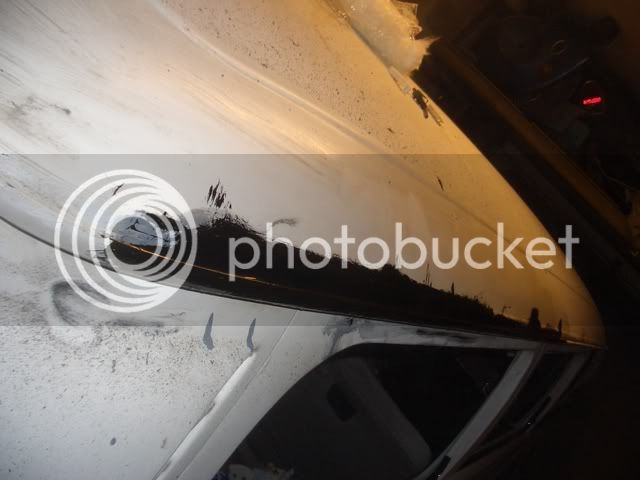
Also continueing the rust treatment of the gutters.

CIMG7404.jpg


This is experimental - I know it won't sodding well rust, but I don't know if it will look pretty. I'll find out tomorrow ;)
 
just read your hole post (took quite awhile!!) after seeing a link from the EB Awards post. blooming norah you've done a lot of work! 8) well done, keep up the great work and keep them posts coming :p
 
That work is incredible work mate. hats off to you.

i may have to take off the front panel to mine as i've just taked outer drivers chassis leg off in the cab area and open can of worms. not sure how good the middle panel is behind front skin. i see from you [pics that you cut the front off but replaced with new modified one. where would i have to cut if i were to take off the outer front skin and replace it after i had done the work???

keep up the good work and look forward to reading your progress
 
Thanks guys - Jenna, thanks for alerting me on the EB awards thing! I hadn't even noticed that thread (I tend to not notice the stickies..)

8)

Haveacamper, I think it may be very difficult to do the middle panel without disturbing the outer panel. The only modification I did to my middle lower panel was to split it in half and paint the inside before welding it back up again. It made it far easier to weld it in in 2 pieces too as it meant everything lined up perfectly - and a lot easier to clamp too!

If the front panel is OK, especially under / around the windscreen, I would leave it as it is, and just consider replacing the lower section.

To remove the outer skin, I just cut up the sides close to the A pillar. The front had to be picked off of the air box, and the side pieces just fall off as they are only folded around the A pillar, not welded.

Hope this helps, I'm not particularly awake today :)
 
thanks very much for the reply mate. i'm not too sure how bad the top is. the lip around the bottom of the windscreen has started to seperate, and the bottom corners are bit ******. however, i was thinking is may be better to replace the three parts below the indicators and replace the two bottom corners with the replacement panels.

suppose i'll just have to think about it.

NaFe
 
Good luck with it ;)

A quick update from me... Firstly, I've been playing around with filler on the front. I'm not too good at this, it seems.

Still, a picture from my trying:
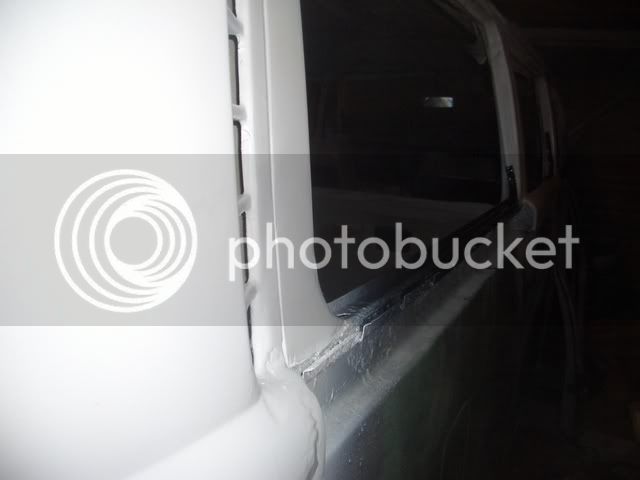
CIMG7425.jpg


I much prefer welding etc to bodywork :D

And the rear gutter...

In primer:

CIMG7428.jpg


(I know there is a hole in the outer gutter skin, I figured it didn't harm it and I don't currently have time to weld it up. Currently, I'm trying to make it look reasonable from 10 yards away and get it watertight and out of dad's garage before I am murdered (he has already tried moving the van out of the garage, good job the ign key has a knack to using it :lol: )

And in white:

CIMG7429.jpg


I will have to finish this job again, when I have the time to weld up the hole and a few bits could do with a blob of filler.

:)

Just back for the weekend, so few updates for a while.
 
Just a quick update.

Dragged the bus out of hibernation this morning. Fired up first time, and I've done 100 miles in him today without a hitch.

8)

Fitted the drivers side windows and door. Also, mended the sliding door. :)

The new area of white looks shiny from some angles. Definitely a 5 yard job though.

CIMG7495.jpg


Doesn't quite look perfect yet. More to come. My bug needs an MOT before I continue work on the van though.
CIMG7496.jpg
 
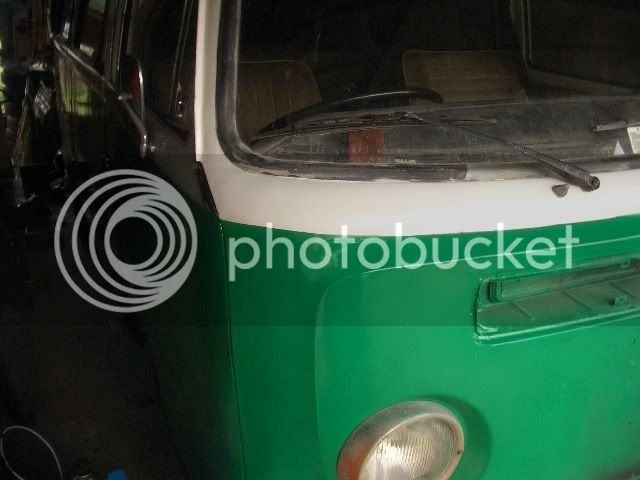
Got a bit more paint on..........


CIMG7545.jpg


CIMG7544.jpg


I'm not going for a perfect finish, just a 10 yard job until I've done all the other repairs to it. Just using rattle cans for the minute.


However, it's a shame........


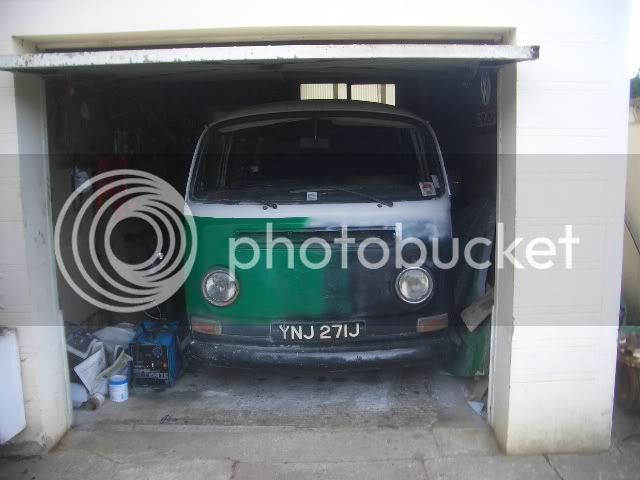
I've not had the time to do the other side...

CIMG7546.jpg


More to come, but I'm taking it on holiday on tuesday so no updates for a week or two.

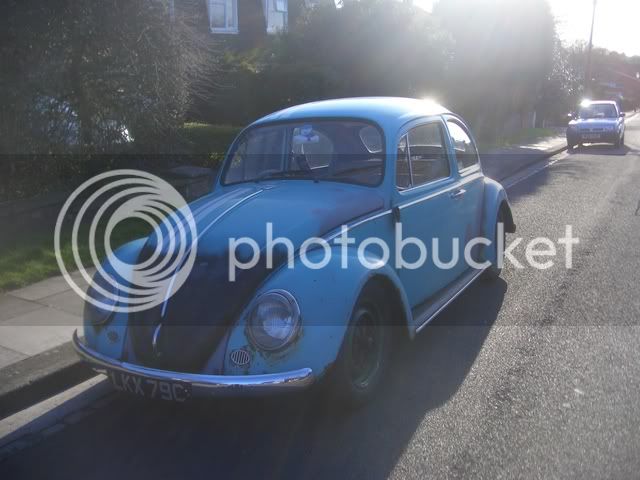
In other exciting news, my beetle passed the MOT first time (2 years running now) on Thursday :)

Result!

CIMG7529.jpg


:)
 

Latest posts

Top