My 1971 bay project...

Early Bay Forum

Help Support Early Bay Forum:

This site may earn a commission from merchant affiliate links, including eBay, Amazon, and others.
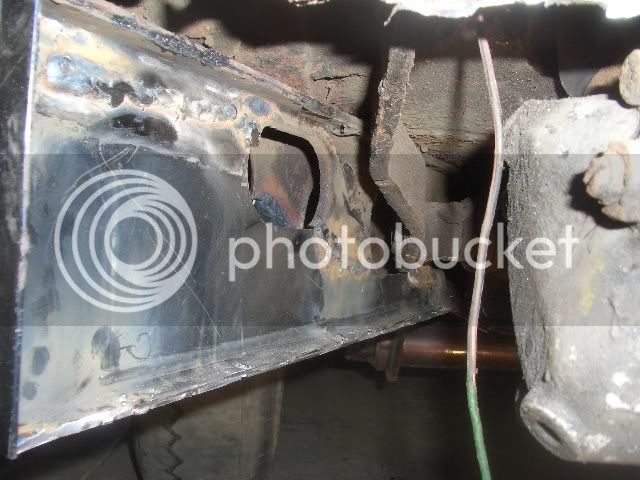
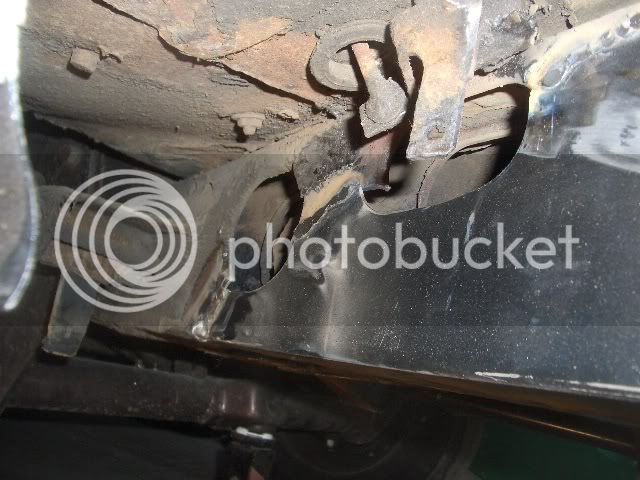
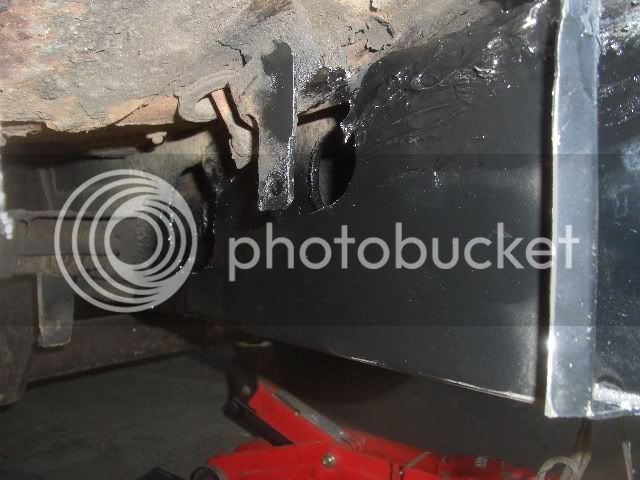
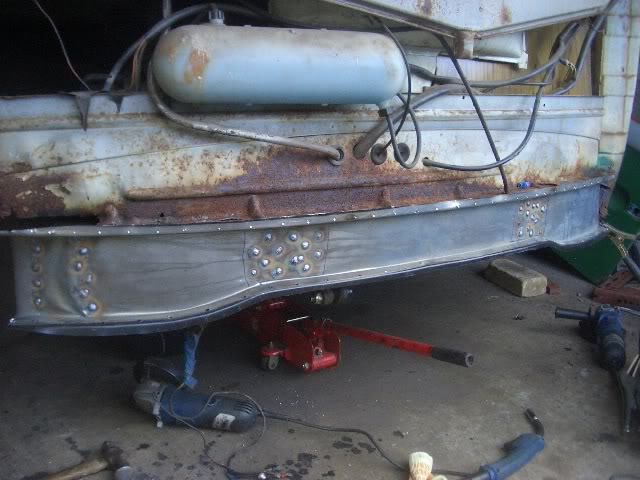
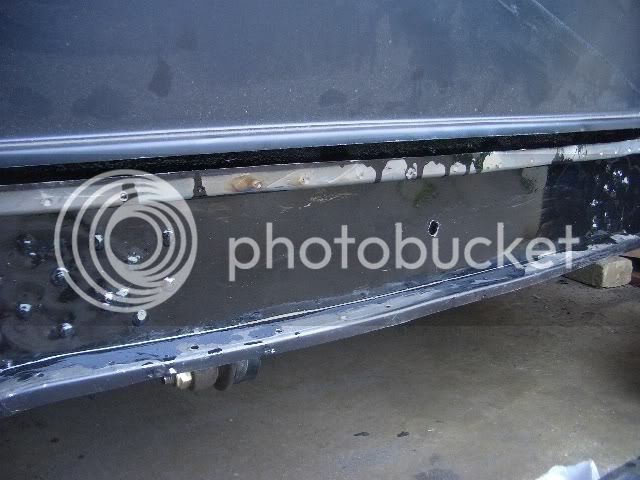
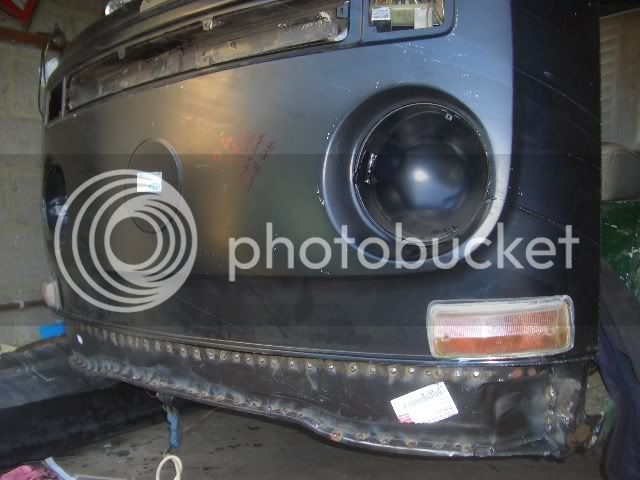
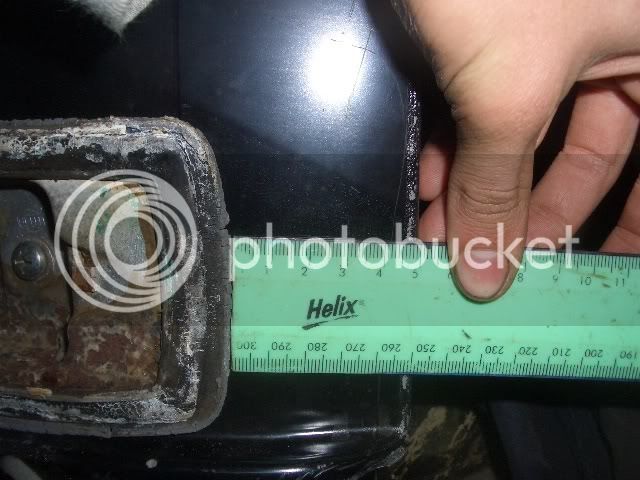
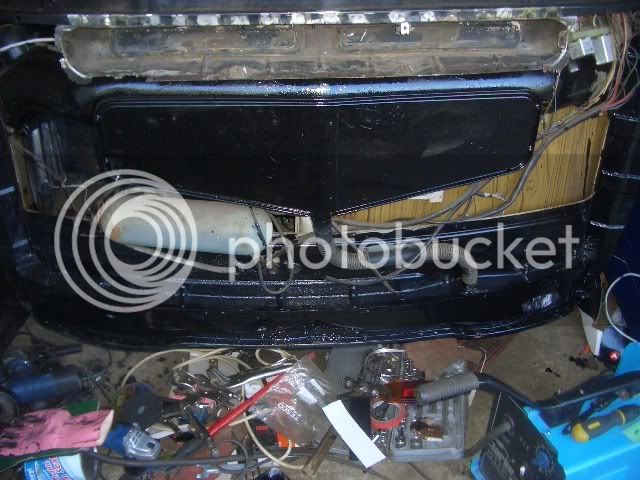
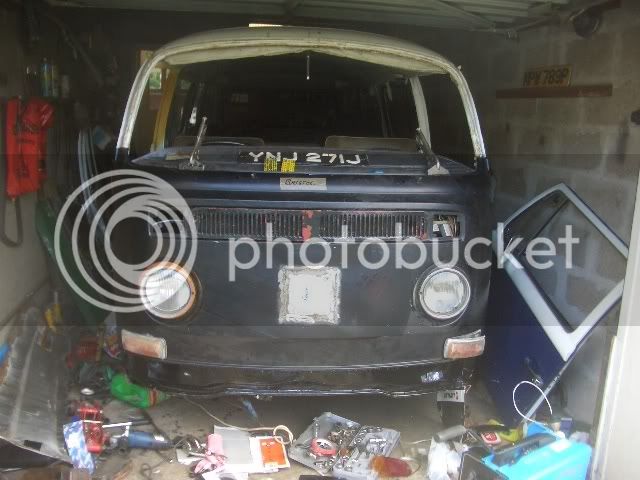
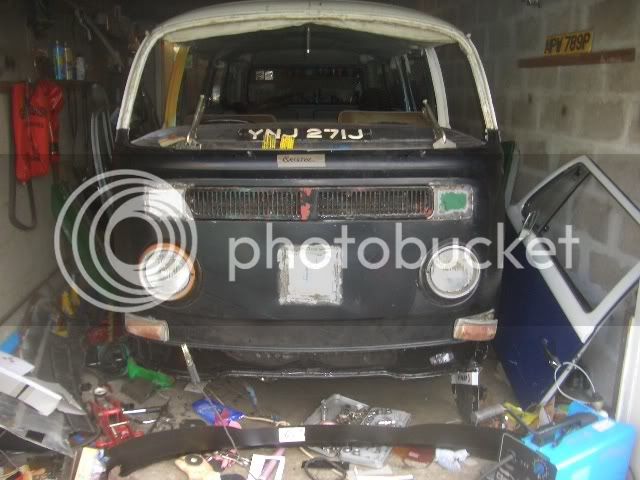
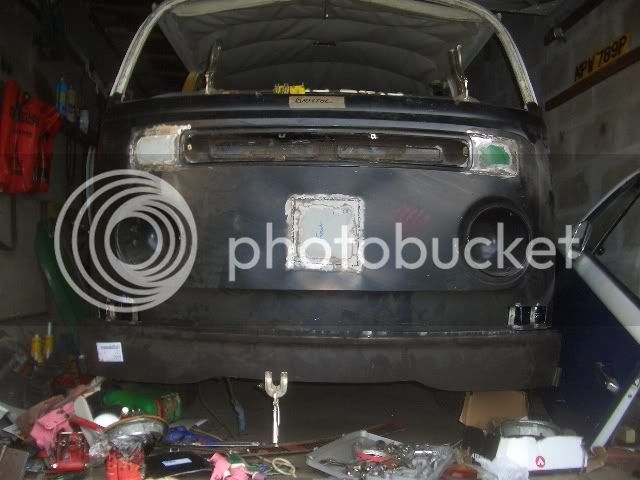
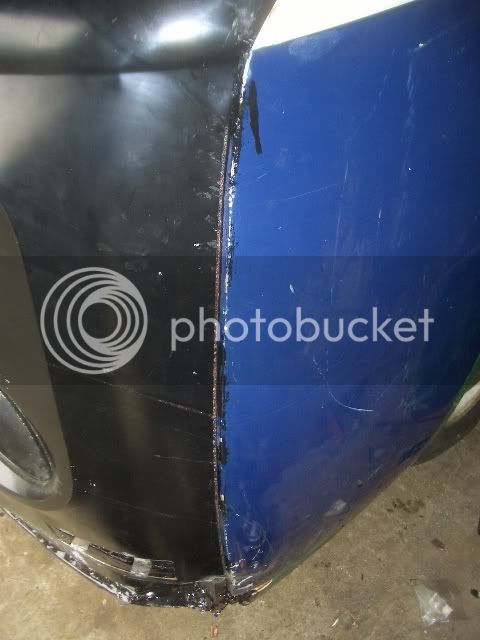
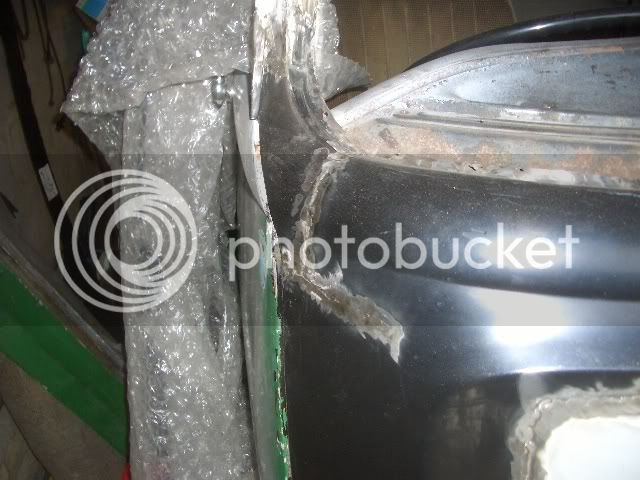
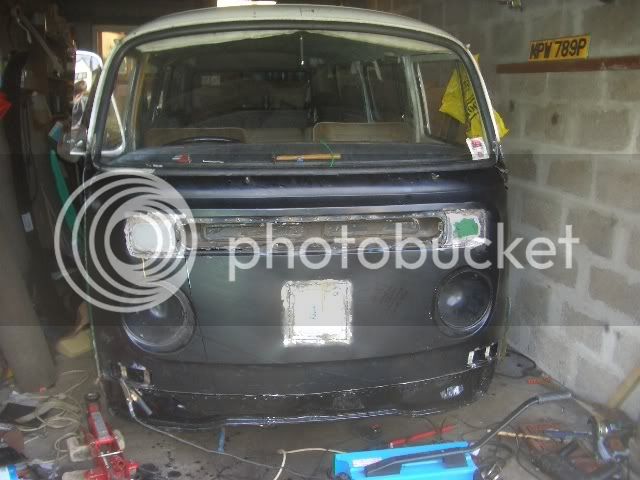
Just a quick update from this afternoon:

CIMG7010.jpg


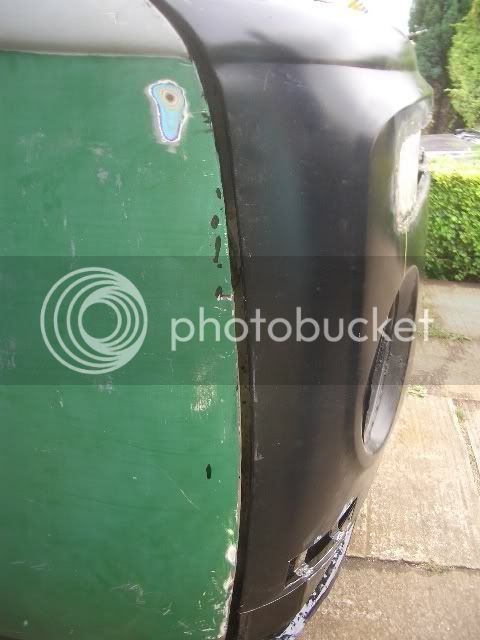
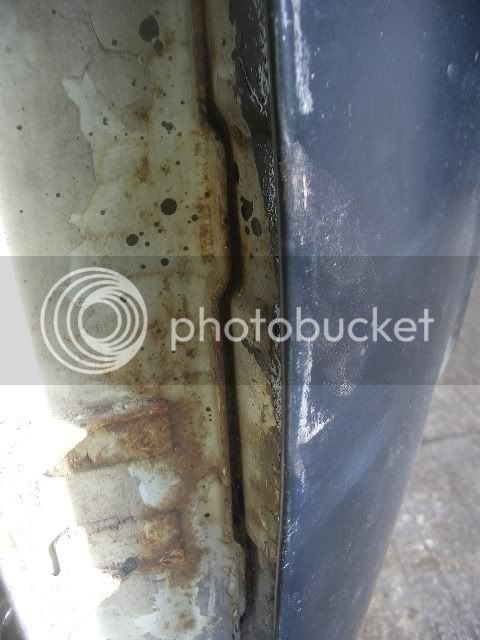
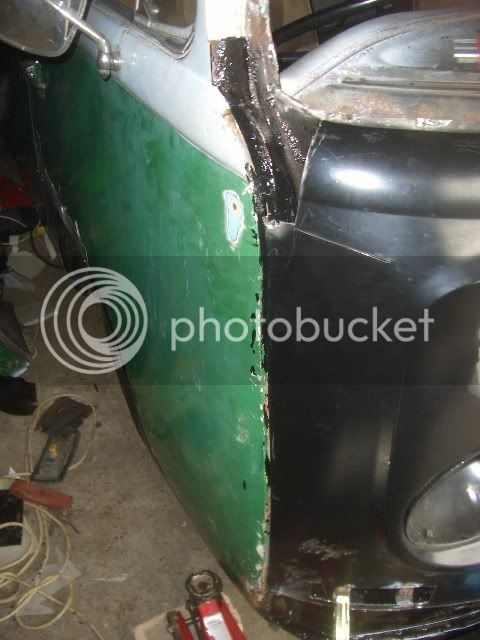
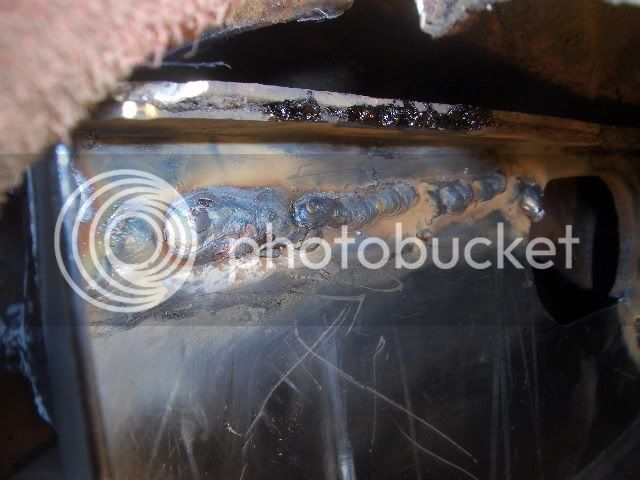
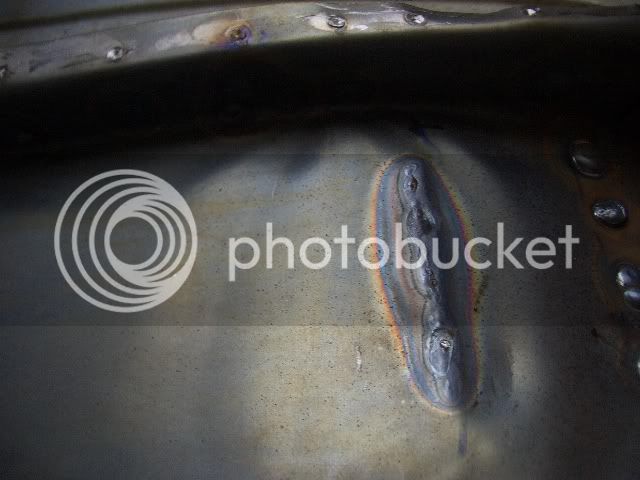
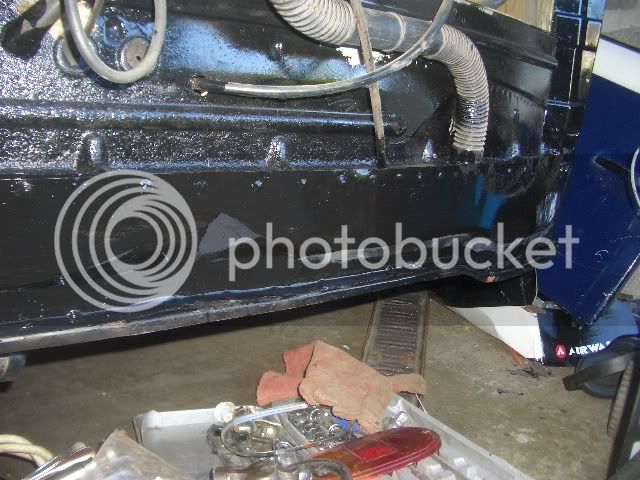
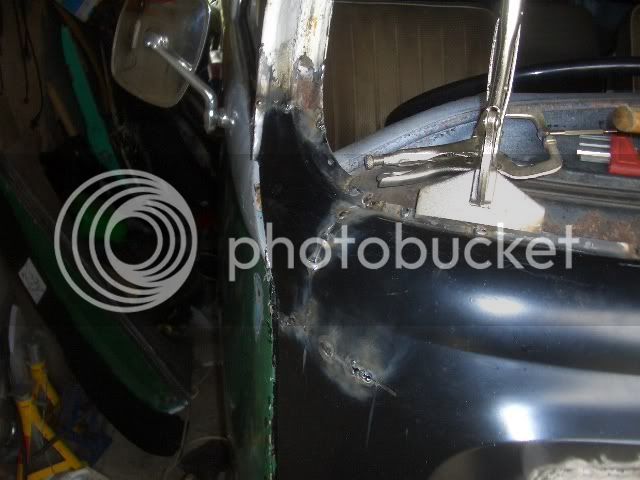
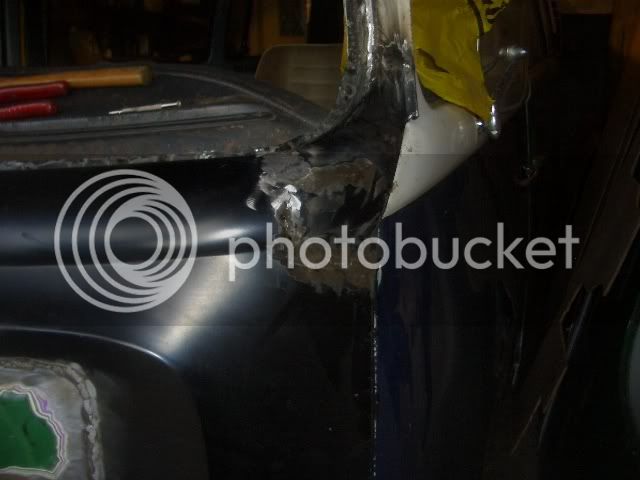
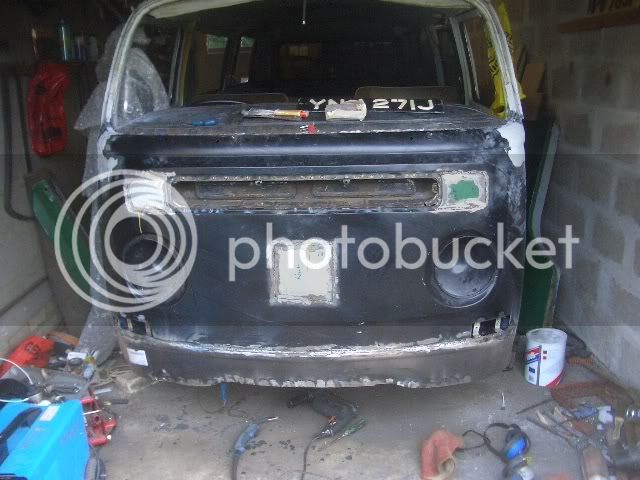
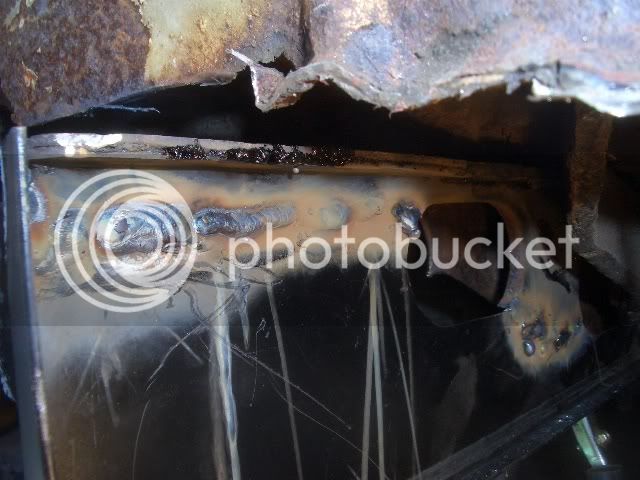
Got the chassis rail welded in both sides.

I didn't take any pictures of the second side after i welded it in. And the holes in the repro panel were nothing like the OG ones, so they don't quite match up perfectly.

My welder was working nicely though! Managed to blow the 13A fuse on the highest welder setting though.

CIMG7011.jpg


More to come tomorrow, i'm going out tonight. :D
 
Thanks Chris 8)

I've been working on it again today:

CIMG7012.jpg

On this side, the holes in the chassis were the right size!

The other side of the chassis rail:

CIMG7013.jpg


you can see the holes don't quite line up so well. I'll sort this when I have more time.

After some seam sealer and rattle can black:

CIMG7014.jpg


Looks a bit tidier.

I then spent ages welding this bit on:

CIMG7015.jpg


Very pleased with this, I can jump up and down on it and it doesn't budge a millimetre.

Finally, as a part of my attempt to stay tidy, I actually kept everything fairly neatly in the garage.

CIMG7016.jpg


That's all until tomorrow!

Stay tuned for more updates ;)
 
I had the same problem as you with the front inner valance panel not meeting the A post at either end. As you've suggested, I ended up welding in some extra metal in the end to join it all up.

I found the most difficult job though was to fabricate the bottom of the A pillars, as like yours mine had rotted away also.

Great stuff though mate, keep up the good work 8) :D
 
Cheers guys :)

Alfie, I'm not looking forward to those A pillar bottoms. They will be part of my job for tomorrow.

I didn't do a lot today as I managed to catch a bit of welding arc yesterday and my eyes hurt a fair bit. Wear those welding masks kiddies ;)

I've got a new welding mask (auto darkening) on order from eBay so I'm looking forward to that :)

Today, I went and bought a middle seat for the van. I also got the rubber floor mat (OG) and a spare wheel cover, all for the princely sum of £25 :)
This won't be permenant, but the idea of having a 2 seater was a little impractical. I'm still on the hunt for a rear seat if anyone knows of any ;)

I am planning on making another interior, with a proper RnR bed at some point in the distant future, so this is only temporary.

So anyway, here it is fitted:

CIMG7017.jpg


And I also replaced the 2 front tyres and tidied up the garage.

These tyres had a cm of tyre tread on them before I set out for cornwall (300 miles ago)

Only noticed how bad they had gotten when I got back from cornwall, they havn't seen the road since. They really are shocking (and remould/retreads too!)

CIMG7018.jpg


I didn't realise how far out the tracking was, but I've set it roughly using pieces of wood and a tape measure. I'll get it set up properly soon. It would explain why the van was such a bitch to drive in straight lines (one tyre gripped, pulling it to one side, then the other gripped, pulling it back again)
 
It is indeed shocking! I was amazed when I checked them after the journey.

I bet the van is gonna be nicer to drive now the tracking is almost right!

Here is today - I didn't take many pics as battery was very low..

I welded up either side of the lower panel thingie where it should meet the steps.

CIMG7020.jpg


Lots of pretty colours (this was seamed from the other side - this is the penetration (good :D)

CIMG7019.jpg


Really pleased with how well my welder has been working recently. Although, I really cannot weld upside down.

Finally, a good coat of POR15 on everything FTW!

CIMG7021.jpg


Ought to be able to do a good lot more work to it tomorrow :)
 
Cheers J&M. I'm looking forward to you starting work on your van again :)

Here's what I did today:

First, I drilled some hole in the lower panel inner thing I fitted yesterday.

This is so I can spray some Holts black gungy stuff into all the cavities (like POR15 but with a long spray tube), before using rubber bungs on the holes.

CIMG7023.jpg


Then, I trial fitted the front panel.

CIMG7022.jpg


After that, I replaced all my fuel lines to get rid of the fuel leak problem which plagued the van throughout the time in Cornwall. It was still dripping despite having been holed up in the garage, so it wasn't a quick leak!

Having welded the outer chassis bit at the bottom (I didn't take a seperate picture :? ) I trimmed the A pillars and got it fitting a bit nicer

CIMG7024.jpg


After that, I started cutting holes for the indicators.
CIMG7025.jpg


Using the measurements from the OG front panel.

Both holes cut...

CIMG7026.jpg


I cut the brackets off the original VW front panel... and welded them to the new one.

CIMG7028.jpg


CIMG7027.jpg


On the van:

CIMG7029.jpg


I'm not sure if I welded them a bit too close to the A pillar.

CIMG7030.jpg


So I may have to re-weld the brackets tomorrow.

Also, tomorrow I have to remove the late bay indicator holes and smooth the badge indent on the panel.

;)
 
Glad to hear you've sorted your petrol hose/time bomb issue :D

Front panel looks good, I'm glad you're taking the bump off, too!

Indicators look a bit close to the A-pillars, but it's difficult to tell from your pic - maybe someone can measure theirs for you... (I would but it's tricky to get to the far end of the garage at the mo'!).

;)
 
Cheers :D

The time-bomb issue was a bit annoying, especially seeing the fuel gauge change overnight...

Jabbo measured his indicators at 50mm from the edge of the panel.
I guess 1mm out ain't a big deal.

CIMG7031.jpg


Must just be the lip at the bottom of the panel then.
 
Cheers Airtime ;)

After the nose, the rear corners need finishing (not to mention the rear arch, sliding door, interior, removing the bellypans + replacing the sills etc etc)

:lol:

Just a tiny update from this morning - I'm having to go shopping for uni supplies (and a few welder parts ;) ) this morning but before I go I had time to paint the lower panel I welded (and didn't take photos of) yesterday...

CIMG7032.jpg


CIMG7033.jpg


Edit: (and yes, in this photo I had missed a bit. I went back out to the garage and painted it :) )
 
Right, following my shopping experience (bought everything I ever could have thought of possibly wanting / needing at uni and more :roll: ) I managed to get to work on the van this afternoon.

Are you sure this is the best way to remove the sticker? :p

CIMG7034.jpg


New bit welded on:

CIMG7036.jpg


Think I got a bit of distortion, it will need a bit of filler anyway.

CIMG7037.jpg


fitted to the van (not welded yet)

CIMG7038.jpg


With the grille on:

CIMG7039.jpg


I was able to start the upper indicator holes.

one:

CIMG7040.jpg


two:

CIMG7041.jpg


To do list - everything checked off :D

CIMG7042.jpg


Just as I was finishing welding the indicator blanks on, i ran out of welding wire (the only thing I didn't buy for my welder this morning as I thought I had enough...)

A quick trip in the beetle to toolstation later:

CIMG7043.jpg


And finally, I tried clamping the lower panel on too. It should line up OK :)

CIMG7044.jpg


More to come tomorrow ;)
 
Thanks :D

The last few days I've had a few issues fitting the front panel, detailed extensively here...

http://forum.earlybay.com/viewtopic.php?t=3319

not too exciting a read though.

Anyway, the first time I put it on I found (having welded it on) that the door gap on the drivers side was mahoosive! THis was caused by the A pillar seam coming apart.

CIMG7048.jpg


As seen here:

CIMG7052.jpg


So I seam welded it together, bashed it with a hammer lots and got it to fit proper once again :)

Following this (the next day) I attempted putting the front panel back on again.

CIMG7057.jpg


Much better :D

Other side is alright too.

CIMG7058.jpg


I had to re-weld both top corners to persuade the swage lines to fit, and to get them to line up with the doors rather than sticking out.

CIMG7059.jpg


CIMG7064.jpg


CIMG7065.jpg


Check the windscreen fits (had to take it back out again afterwards...)

CIMG7061.jpg


CIMG7062.jpg


Finally, today I welded on the lower front panel...

Spot welded in place, so I checked the bumper fitted.

CIMG7066.jpg


Seamed top edge, bottom all spotted into place.

CIMG7067.jpg


And finally, I gave all my repairs (including rear corner) a thick coat of POR15.

CIMG7068.jpg


Sadly, I also filled my hair etc with POR15 too, so I'm sticking to everything at the moment. I have a feeling I could be sporting a slightly unusual hairdo for the next few months til it grows out :lol:

I've gotta get this sucker ready to drive to birmingham as I've gotta be in birmingham (80 miles away) with it in less than 36 hours time...

I plan to run it as it is (but with lights and a screen etc) until christmas, when I can come back home from uni and give it a bit of cosmetic work...

:)
 
Agree with J&M, as the work is top.
Just a thought, have you used the 'Metal Ready' product before putting on
the POR15 as most of the steel your using looks good and the POR15 will
not adhere to it properly (will peel off within 6 months or so) :?:

I might be talking b*ll*cks, but I might also be right (hope not :oops: ).

Respect 8)
 
You must be pleased with what you've achieved during the summer 'holidays' :D
You'll be looking foreward to going back to uni for a rest :lol:
Whats on the to do list for xmas break ?
 

Latest posts

Top