My 1971 bay project...

Early Bay Forum

Help Support Early Bay Forum:

This site may earn a commission from merchant affiliate links, including eBay, Amazon, and others.
Thanks 8)

No more real updates I'm afraid. On saturday, my eye was a bit painful towards the end of the day, and on sunday it had got worse so a trip to the eye hospital followed. A lot of pain and they had dug a tiny bit of metal out my eye with a needle. :?

Anyway, this has put work on hold for a few days, although I have replaced the headlight bulbs for halogen ones (better than candles :D
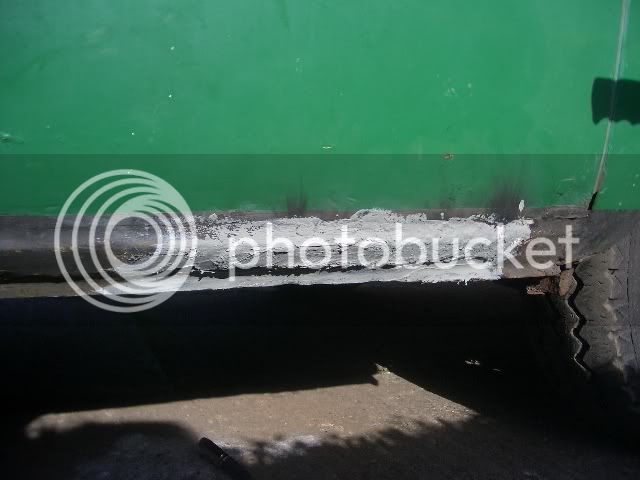
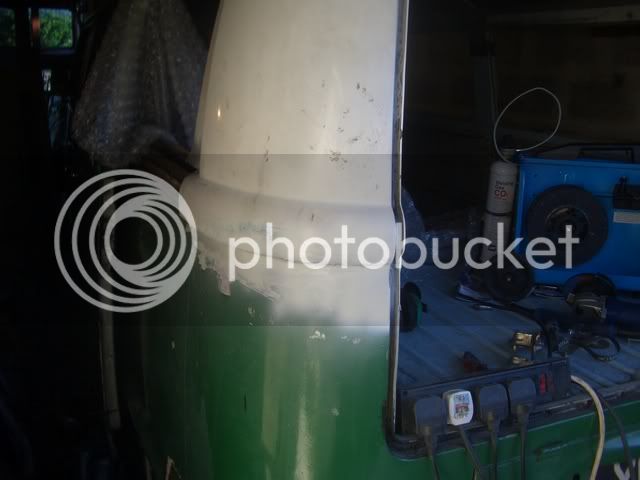
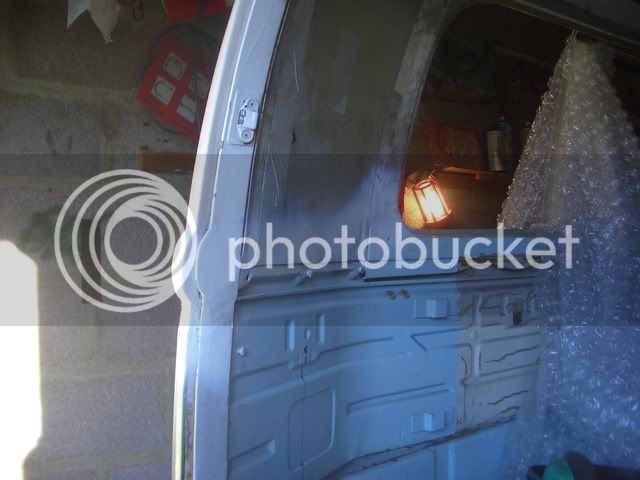
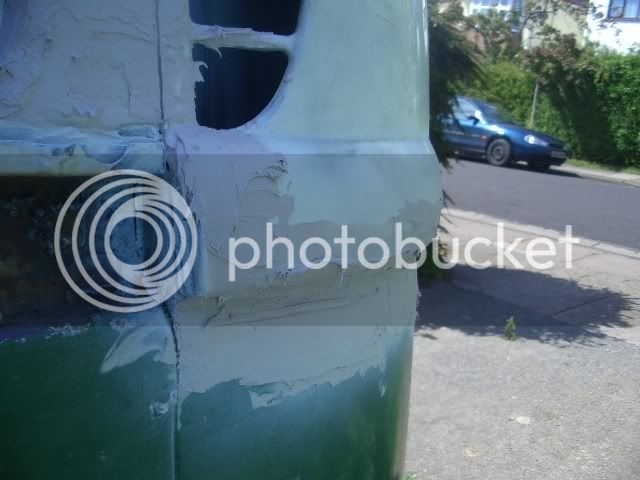
) and I tidied everything up. Hopefully I'll get more work done after an exam I have tomorrow.

8)
 
Went out for a couple more minutes to work on the van today.

The results of the tidying:

CIMG6364.jpg


Started welding up the drivers side C pillar, but my welder gave up rather abruptlys, so the outside isn't done - the welding tip snapped off inside the neck as I was trying to undo it. Also, the wire feed ate all the wire twice which didn't help too much.

CIMG6365.jpg

As the previous pillar, I opened this one up to weld up the insides :) - 
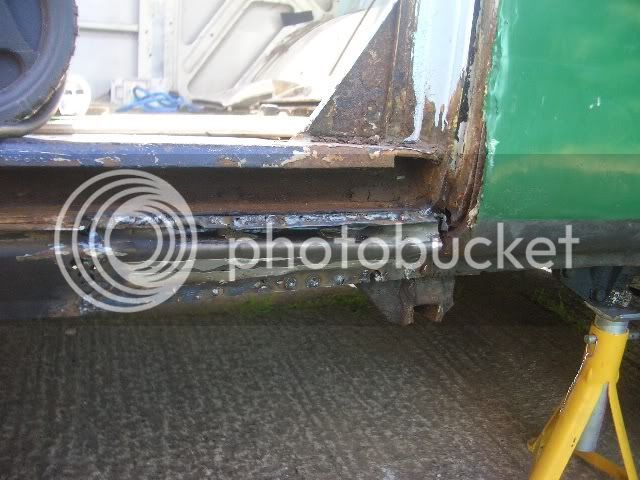
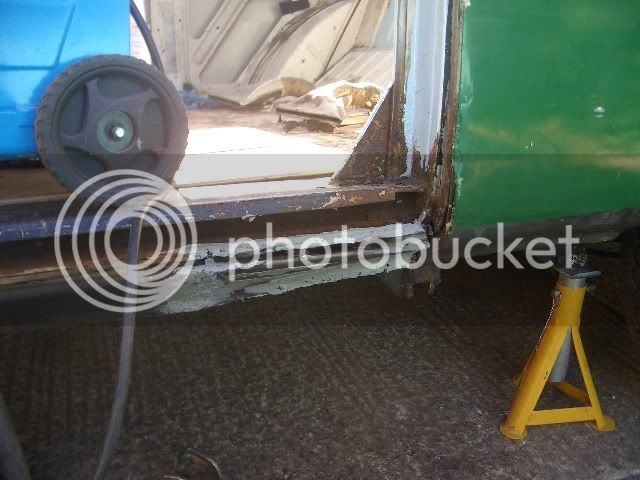
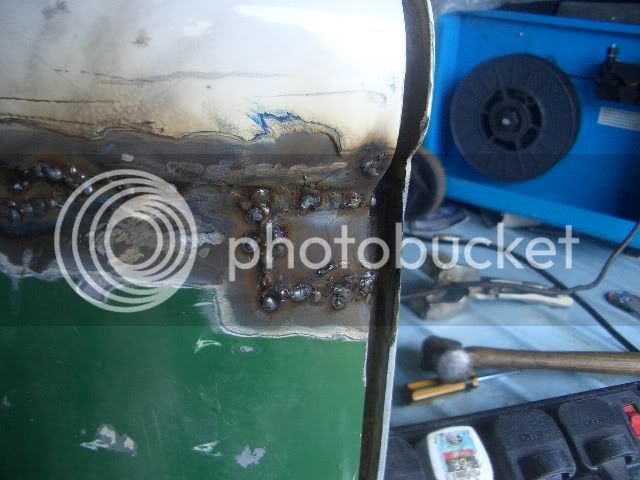
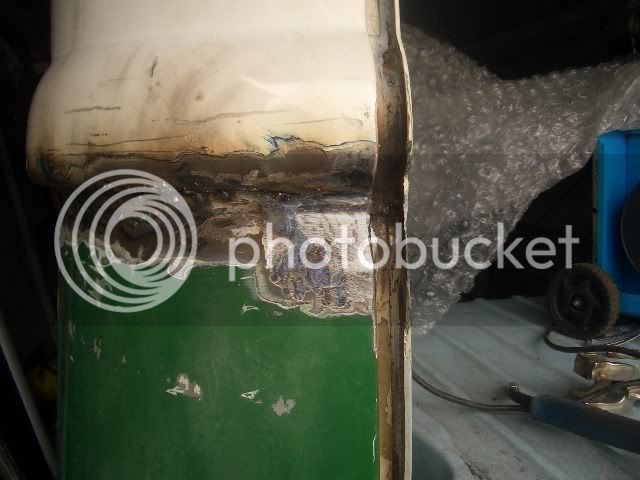
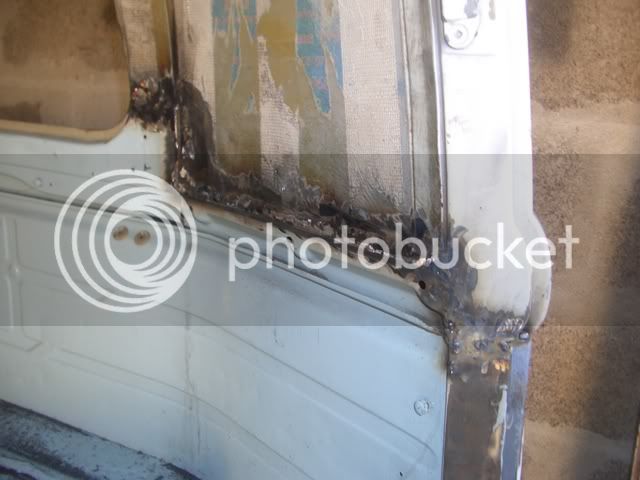
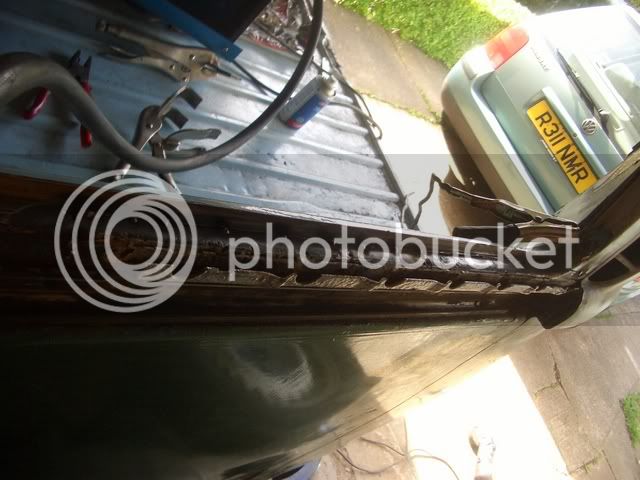
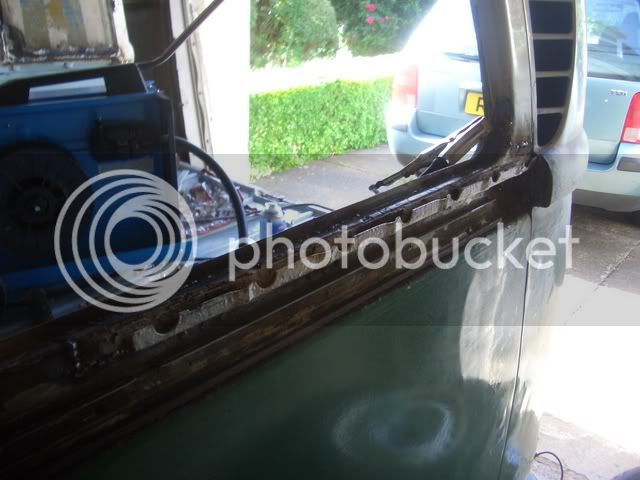
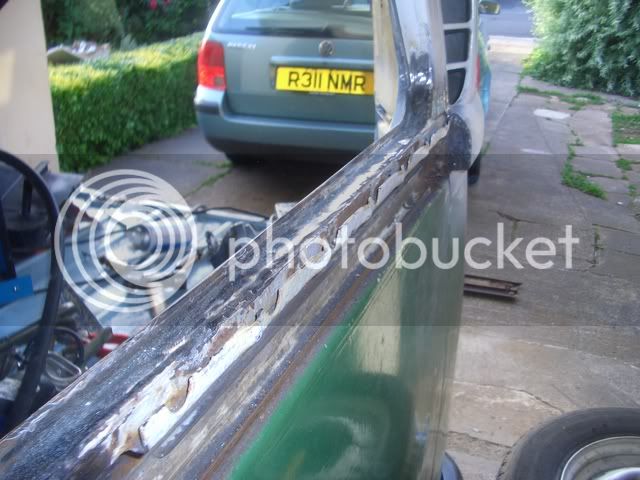
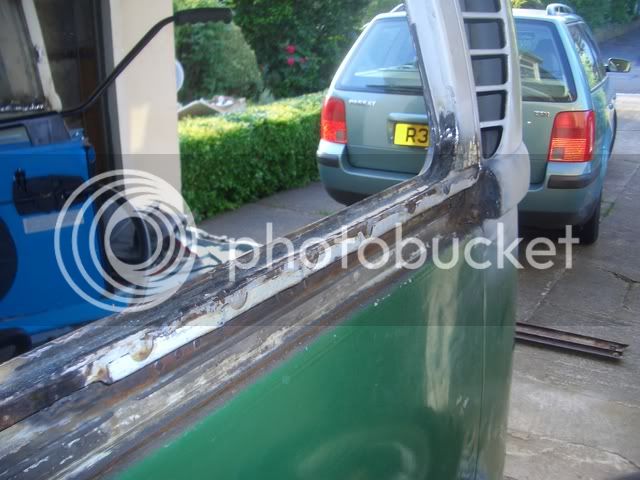
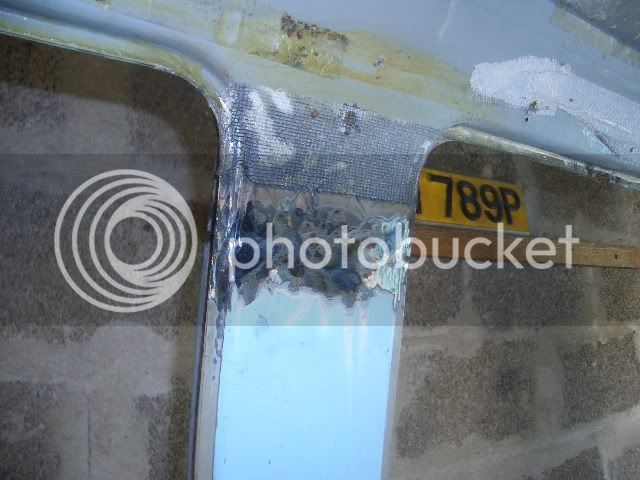
still half of the outside edge to go...

Also, this morning I booked an MOT for the van - it will be being tested on the 1st June, giving me 28 days before I will (hopefully) be driving it to cornwall.
Fingers crossed :wink:
 
Tofufi said:
...lot of pain and they had dug a tiny bit of metal out my eye with a needle. :?

Anyway, this has put work on hold for a few days...

And there was me thinking you were determined - call that an excuse?! :shock:

:lol:

Seriously though, I'm so impressed that you've done a complete roof swap - very brave and a great job too, mind you, that hole in the front panel looks quite bad! :cry:

;)
 
Dont forget to change that exhaust dude! Monza = NO! :wink:
 
Justin & Mutley, the front panel is on the "to-do" list :lol:

Ez and everyone else, the monza is going as soon as I can afford to buy another exhaust... could be a while :?

Did a bit more work today :)

CIMG6368.jpg


Hole...

Repair piece...

CIMG6370.jpg


Tacked into place

CIMG6371.jpg


Bent round and welded:

CIMG6372.jpg


Now to do the outer skin...

welded...

CIMG6373.jpg


Ground down:

CIMG6374.jpg


Hole #2:

CIMG6375.jpg


Welded.

CIMG6376.jpg


Ran out of time as I'm off to work now :)
 
:lol:


This evening, I finished welding the passenger rear pillar, before applying a bit of primer.
Only needs a small skim of filler to make it perfect :D

CIMG6382.jpg


CIMG6381.jpg


Big hole is the only thing left to weld on the passenger side top 24 inches...

CIMG6383.jpg


Panel cut to fill the hole...

CIMG6384.jpg


And finally, I got the passenger side inside welded up. Not quite such a neat job, but it will look fine when it's done :)

CIMG6385.jpg


That's all for today folks.
 
Cheers guys - Seabreeze, I now can't work out if you mean the neighbour in the picture or if you somehow know Paul down the road :lol:

A bit of progress from today:

Remember this?

CIMG6383.jpg


Repair panel trimmed and tacked into place:

CIMG6386.jpg


Partially seamed:

CIMG6387.jpg


Thought I had better check and see if the cover still fits... It does :D

CIMG6388.jpg


Erm. Think this is the finished pictures.

CIMG6389.jpg


CIMG6390.jpg


Ready for some POR15 action to help protect from the elements.
 
Some work from today: Credit card fillering again :D

Could be tricky to rub down though :(

CIMG6391.jpg


CIMG6392.jpg


I hand made a repair panel for the sill below sliding door from the old roof skin (genuine wolfsberg metal :D)

CIMG6393.jpg


CIMG6394.jpg


And t'other side:

CIMG6395.jpg


That's all I'm afraid, I went to play floor fitting with someone elses beetle this evening :)
 
Just a quick update:

the plan for sunday was to fit a new wheelarch tub bit (the bit below the seat) on the drivers side.

However, I got out there to find the panel I bought wasn't big enough. I'm gonna buy a new wheelarch to do the job properly :)

So I spent the day welding and filling the pillars. No pics of it though, I got a bit fed up :D

Hole:

CIMG6396.jpg


Panel put into place, still a hole :roll:

CIMG6397.jpg


Hopefully I'll go and buy the new panel tomrorow.
 
Been a while since an update, ho hum.

New panel:

CIMG6400.jpg


Started removing old panel - below all the filler, it was held on with.... you've guessed it... Pop Rivets :D

CIMG6401.jpg


Panel removed:

CIMG6403.jpg


B pillar: :(

CIMG6402.jpg


My handy helper Jo undoing some bumper bolts

edit: Picture removed before SHMBO attacks :lol:

Wheelarch held into place:

CIMG6405.jpg


Unfortunately I was dragged off on a shopping expedition so no more van work today.

More to come ;)
 

Latest posts

Top