You are using an out of date browser. It may not display this or other websites correctly.
You should upgrade or use an alternative browser.
You should upgrade or use an alternative browser.
my 1971 danburyfalia pop top project
- Thread starter andewilson
- Start date


Help Support Early Bay Forum:
This site may earn a commission from merchant affiliate
links, including eBay, Amazon, and others.
andewilson
Well-known member
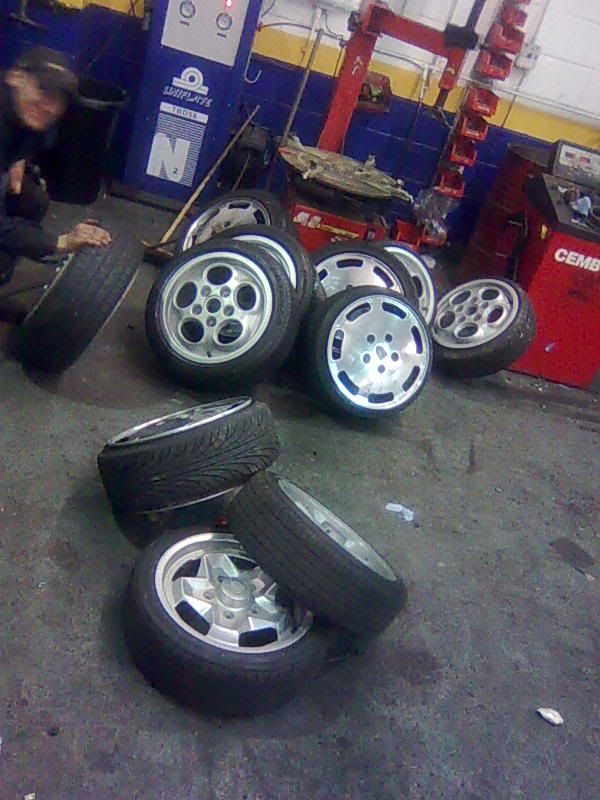
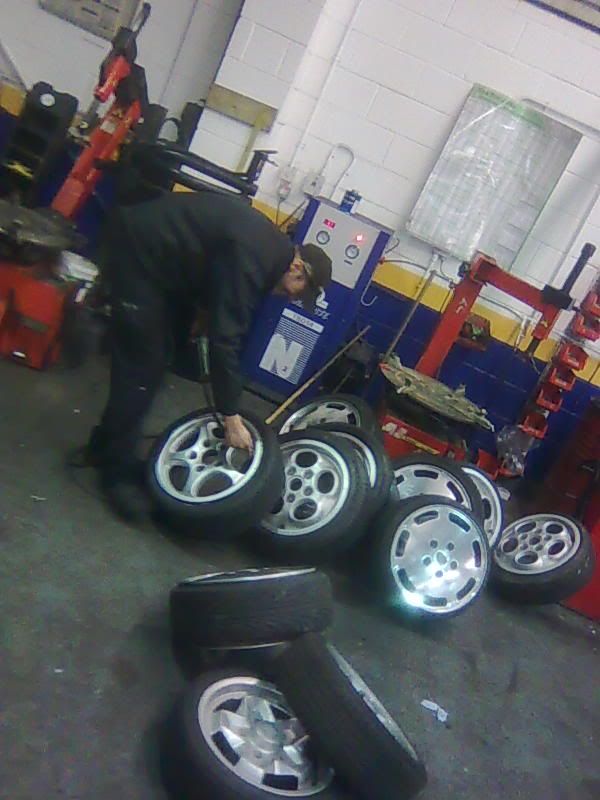
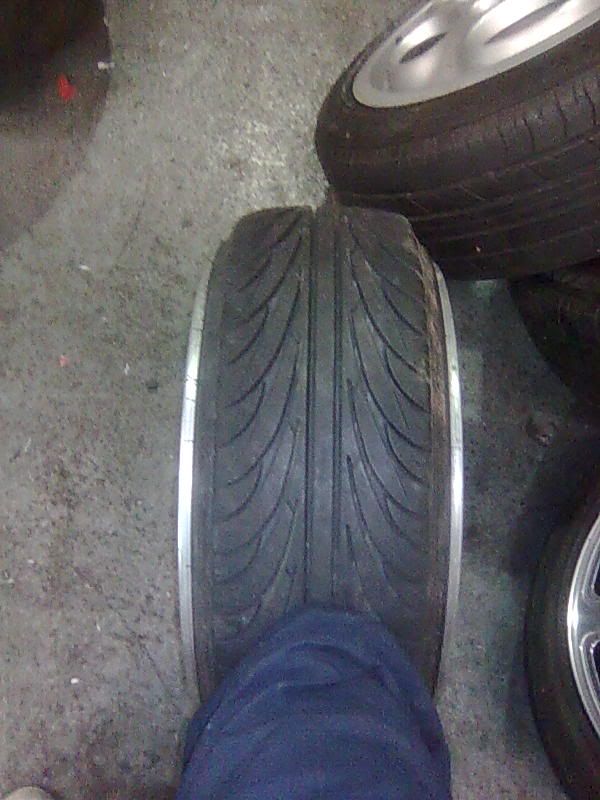
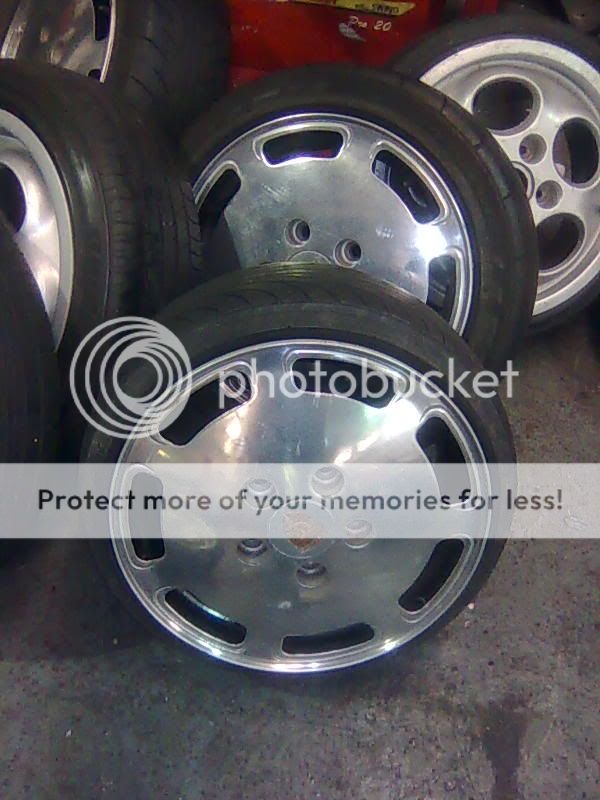
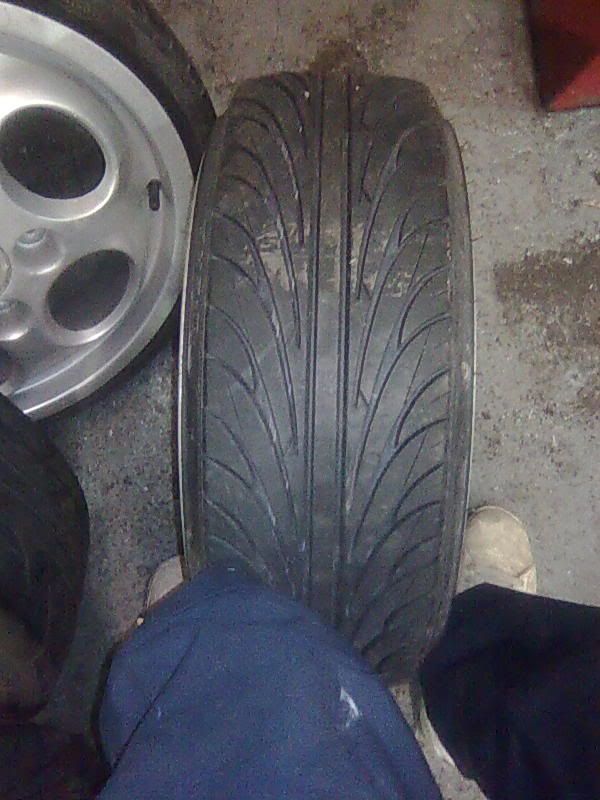
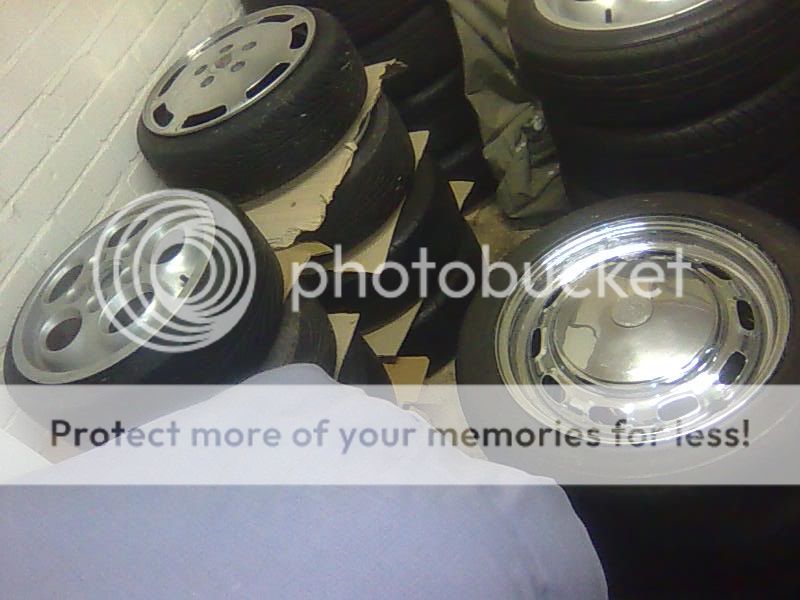
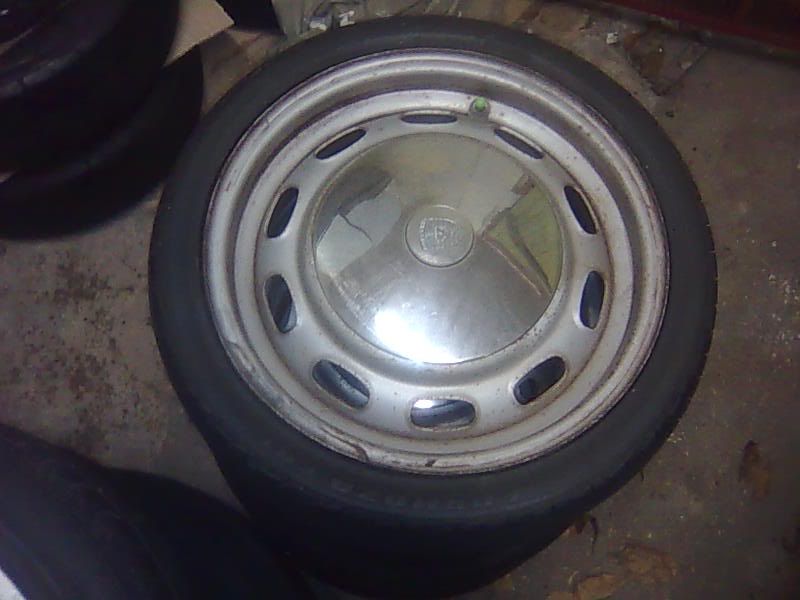
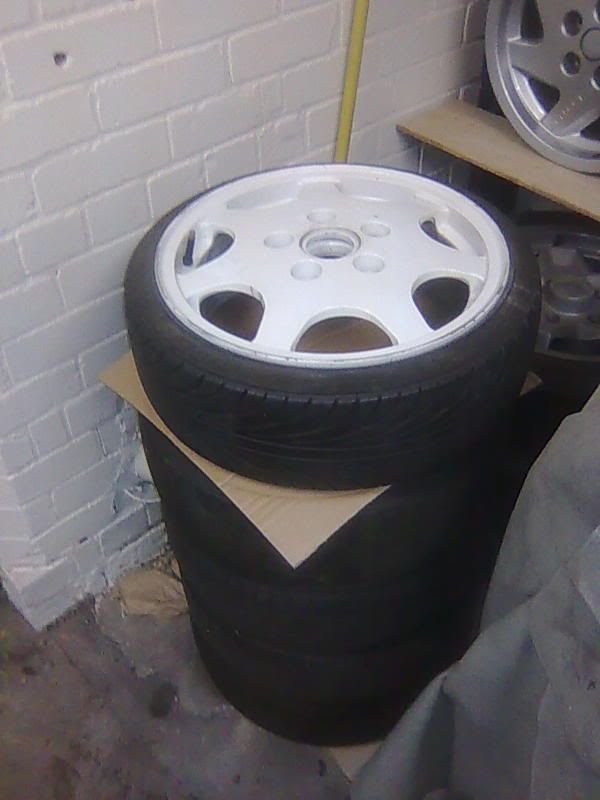
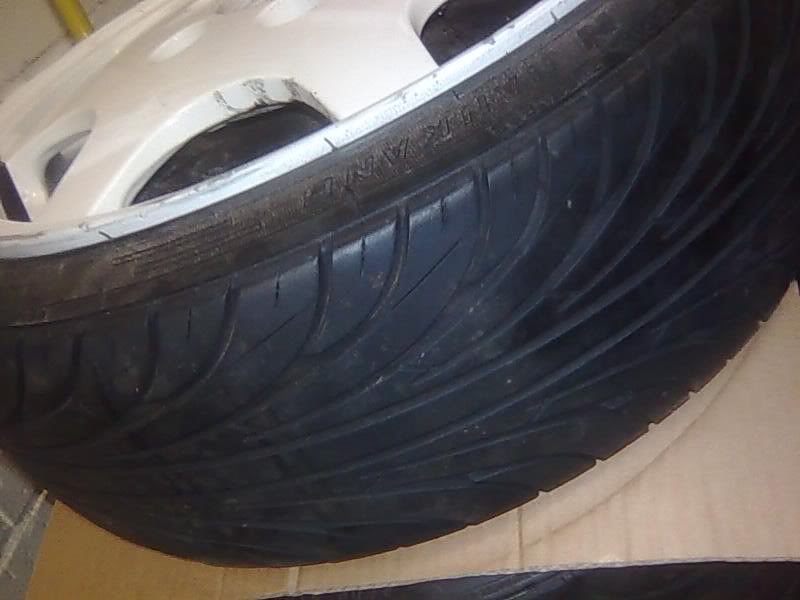
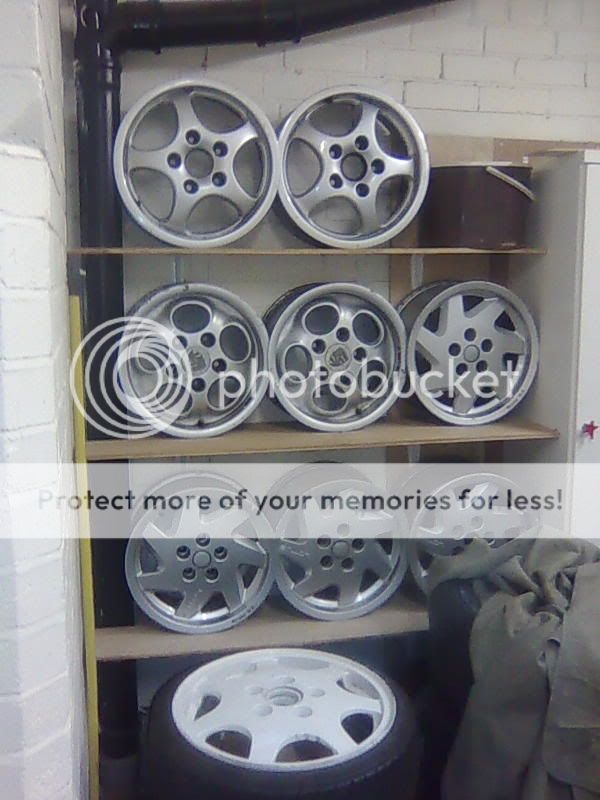
tonight i went round to my tyre man gaz who is king of the tyre stretchers to get a few recent purchases fitted to some of my rim hoard.
heres a few pics. ant mate, some of these are crying out for red banding blue banding, white banding. etc
when i finnally get the van on the road i may need a bulk purchase
then back in the hoard till the bus makes a move

back to the roof tomorrow and get stuck in rather than come up with as many ways to put it off due to bein sh#t scared of cutting into it
heres a few pics. ant mate, some of these are crying out for red banding blue banding, white banding. etc
when i finnally get the van on the road i may need a bulk purchase
then back in the hoard till the bus makes a move
back to the roof tomorrow and get stuck in rather than come up with as many ways to put it off due to bein sh#t scared of cutting into it
Marvel
Well-known member
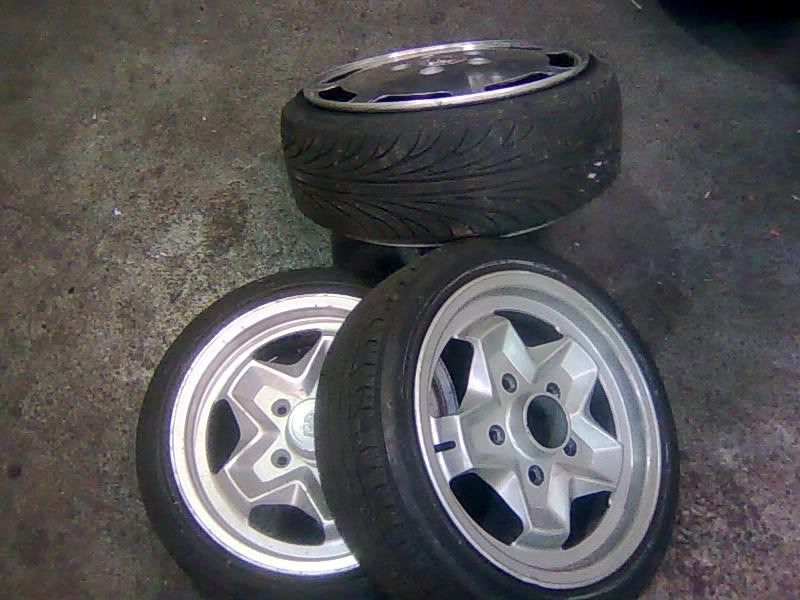
Do you have a wheel fetish?
andewilson
Well-known member
my name is andy wilson, and i am a wheelaholic.
admitting it is the first step.
admitting it is the first step.


$24.61
Airfix Quickbuild Volkswagen Camper Van Red Brick Building Plastic Model Kit J6017, Multicolour
Amazon Global Store UK


$10.00
Volkswagen Genuine VW Driver Gear VW Logo Specifications T-Shirt Tee - X-Large - Black
wolframitersqga


$9.37
Empi 4429 Ivory Sun Visor Clips for Vw Bug 1965-1967/ Vw Bus 1968-1979, Pair
MOORE PARTS SOURCE


$9.94
$10.95
Empi 00-4428-B VW Bug, Beetle, Sun Visor Clips, Type 1, 68-79, Black, Pair
MOORE PARTS SOURCE


$41.88
$46.95
Billet Window Crank, for All Years VW Beetle, Pair, Compatible with Dune Buggy
✅ Dune Buggy Warehouse


dubscum
Well-known member
wheel whore
slammedresto
Well-known member
dubscum said:wheel whore
kettle, black, mr changing wheel colour every other day :lol: :lol:
andewilson
Well-known member
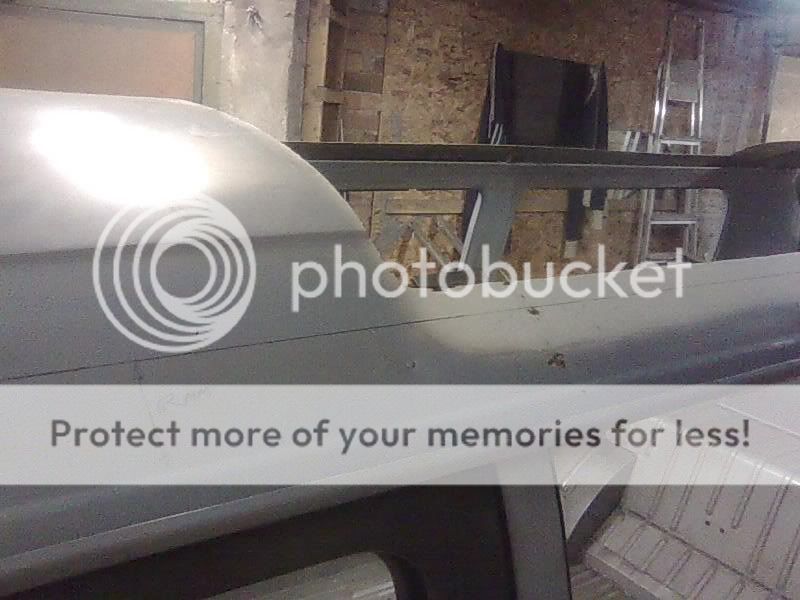
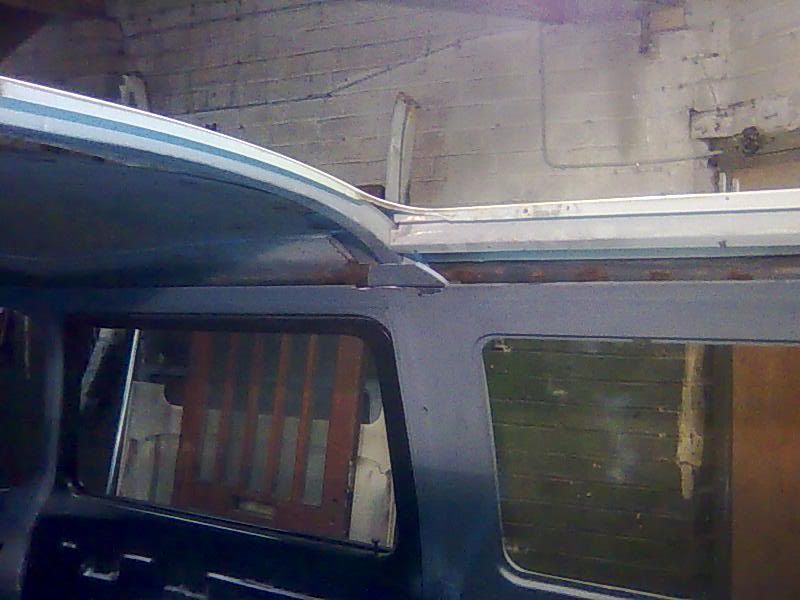
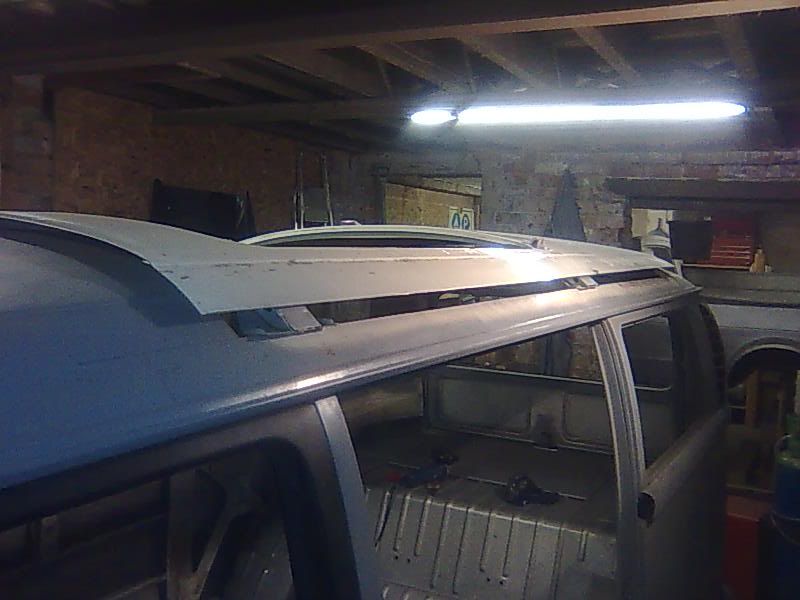
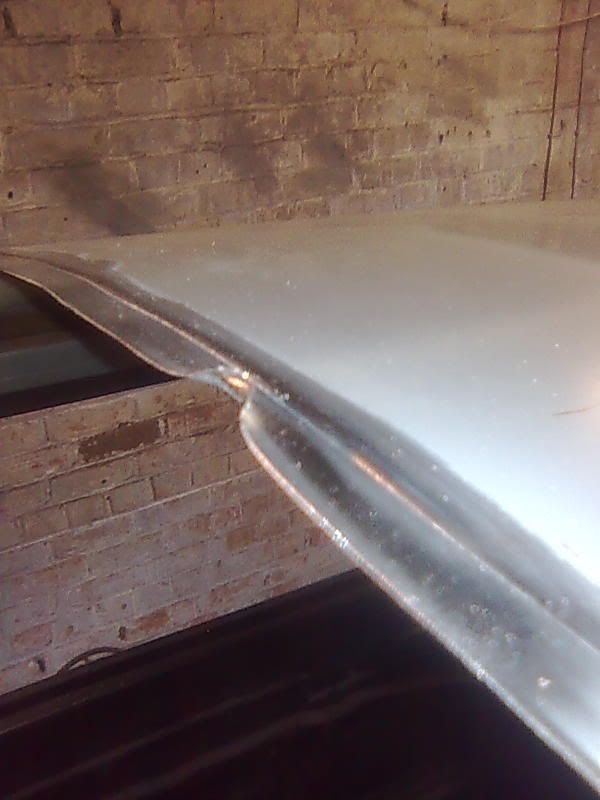
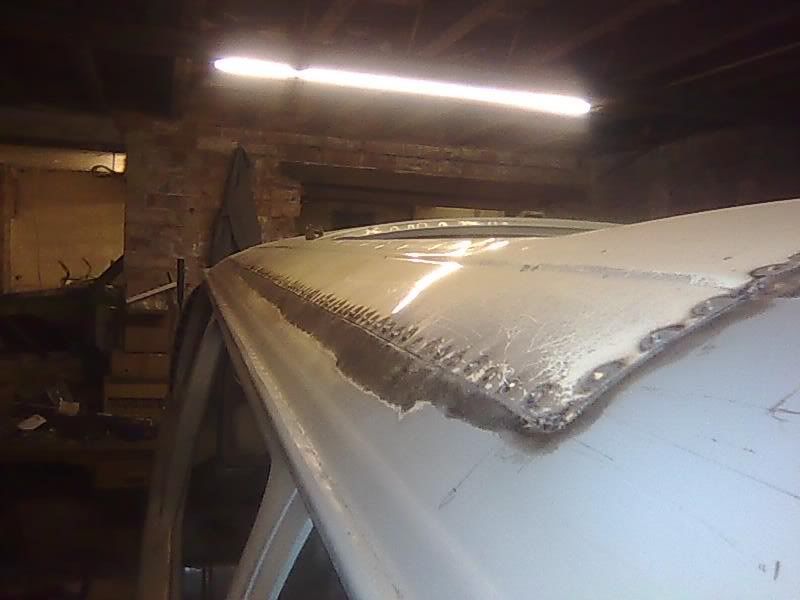
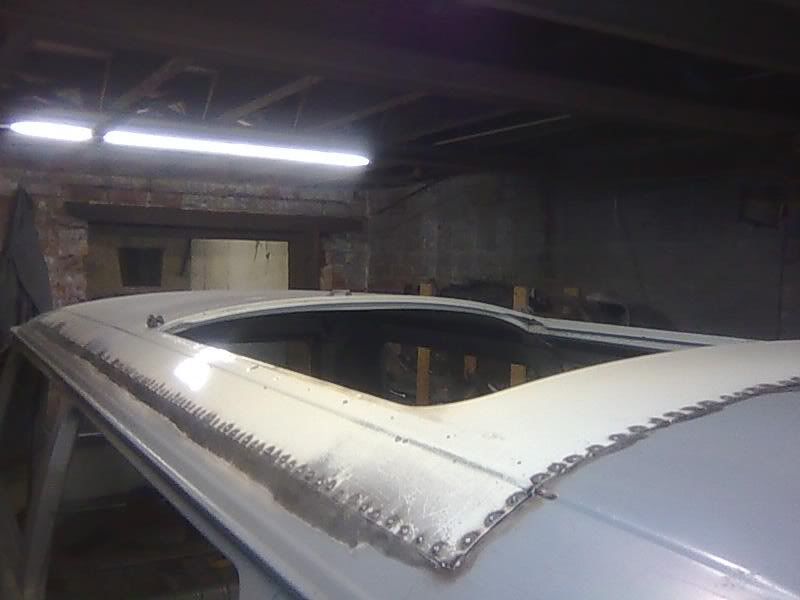
plucked up the courage tonight to remove the section of the roof i want to graft into mine from the late westy roof
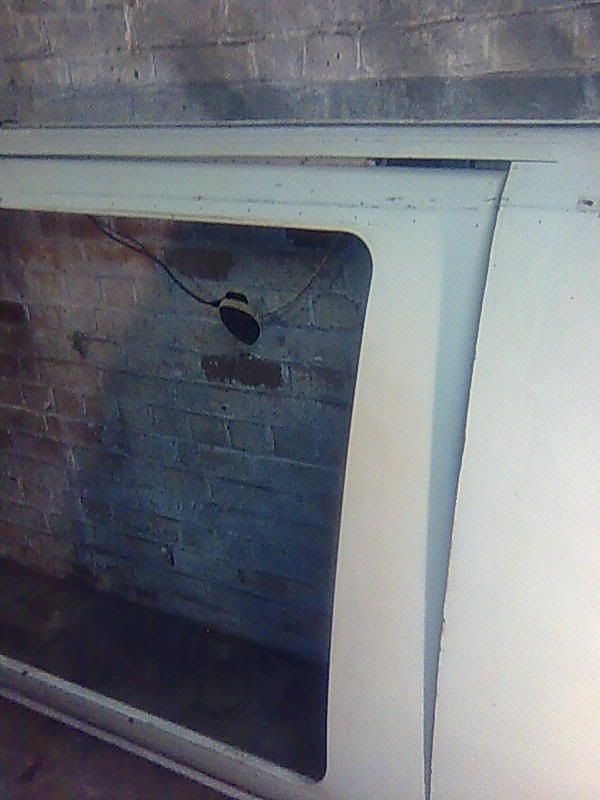
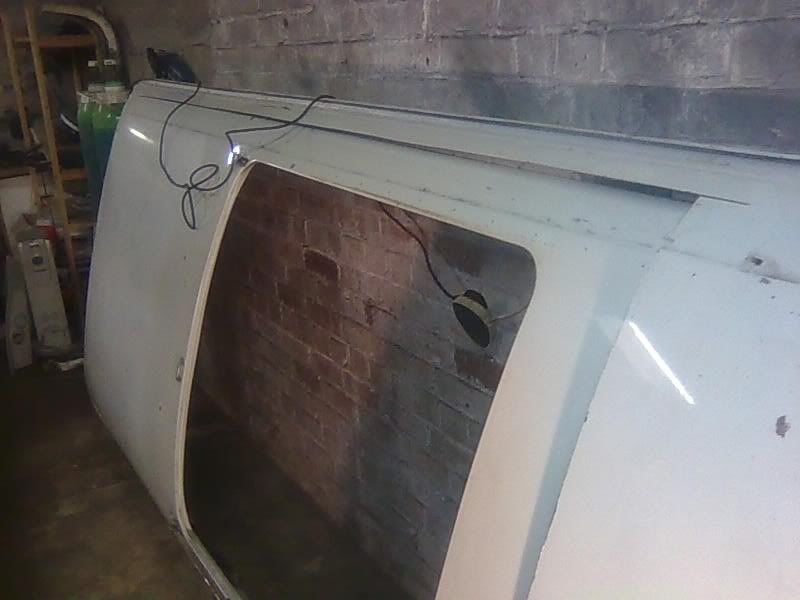

cleaned the feet up on the bows and primed ready for weldin in place on my bus

should get my roof joggled over the weekend and begin plug welding it in
cleaned the feet up on the bows and primed ready for weldin in place on my bus
should get my roof joggled over the weekend and begin plug welding it in
andewilson
Well-known member
well, didnt get much done on the van over the weekend due to the bloke who has spent ages putting off finishing rendering the front of my house, gave me one weekend to fully paint the house and replace the gutters and drainpipes before the scafold was taken down :evil:
needless to say the scafold is still there :evil:
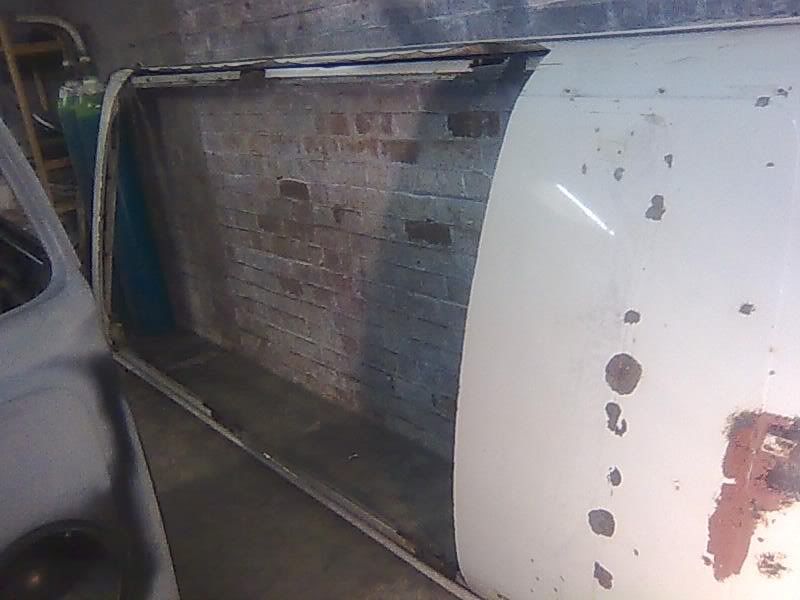
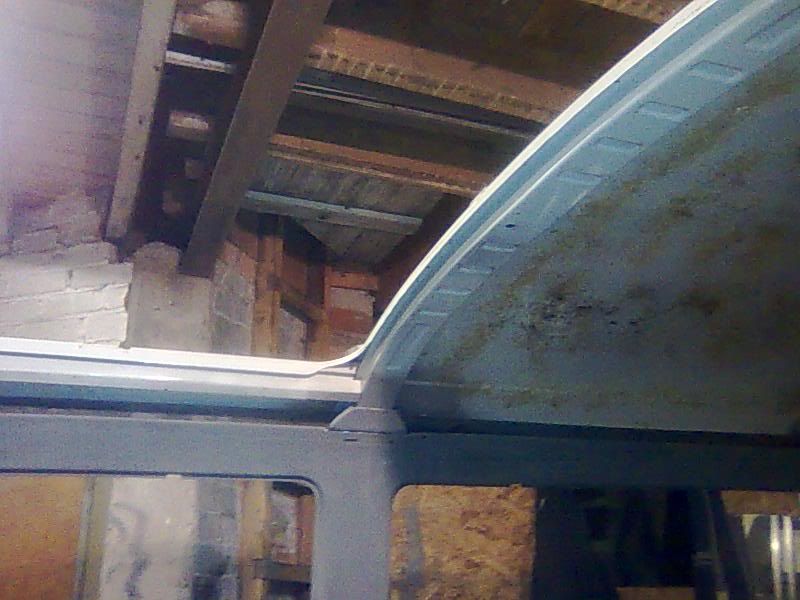
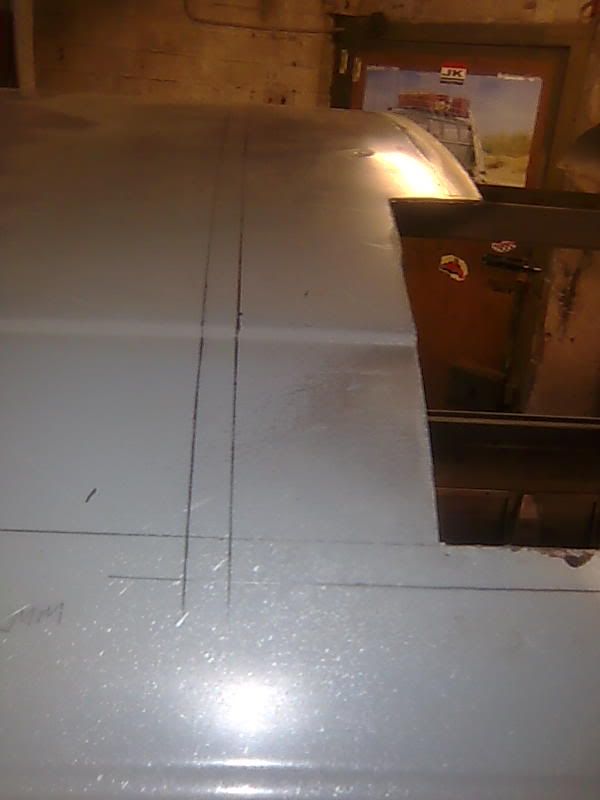
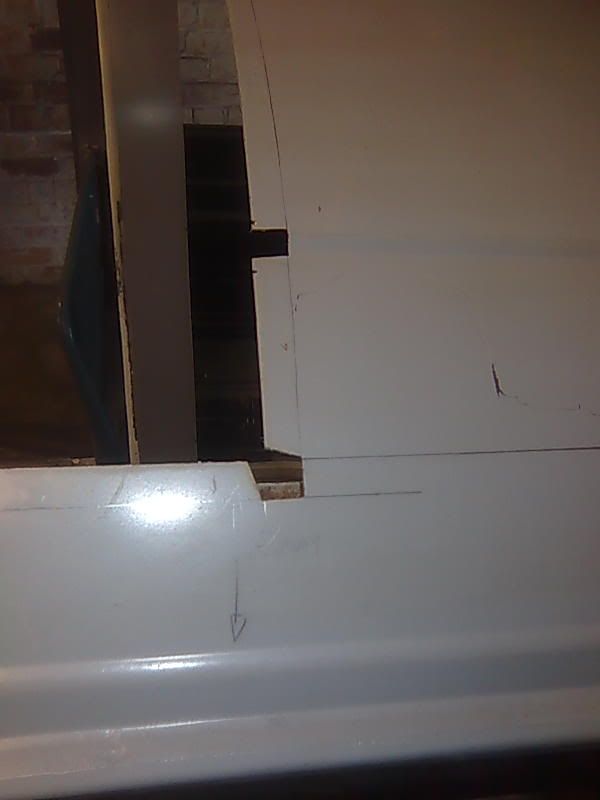
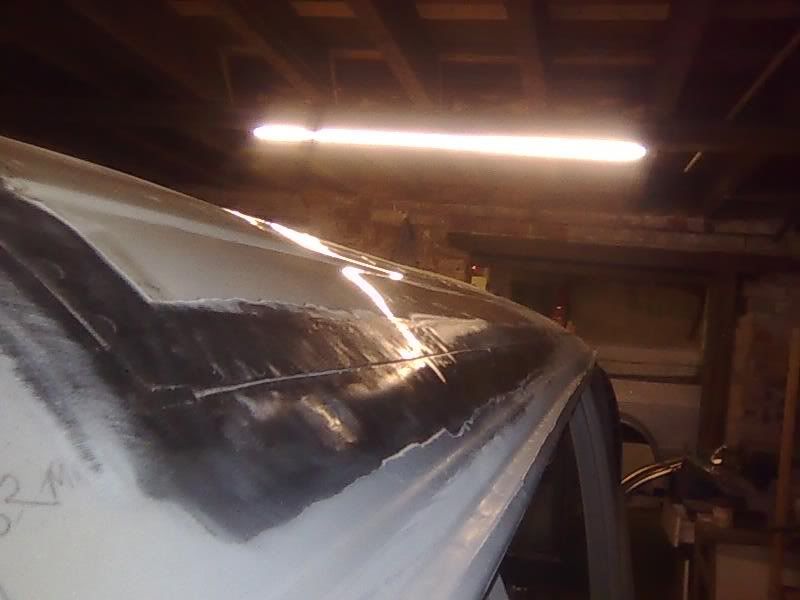
i did get round there tonight however to start trimming my hole :shock:
62mm up from the fold line above the gutter to match up to the 50mm from th line on the graft section which should give me a 12mm joggle.


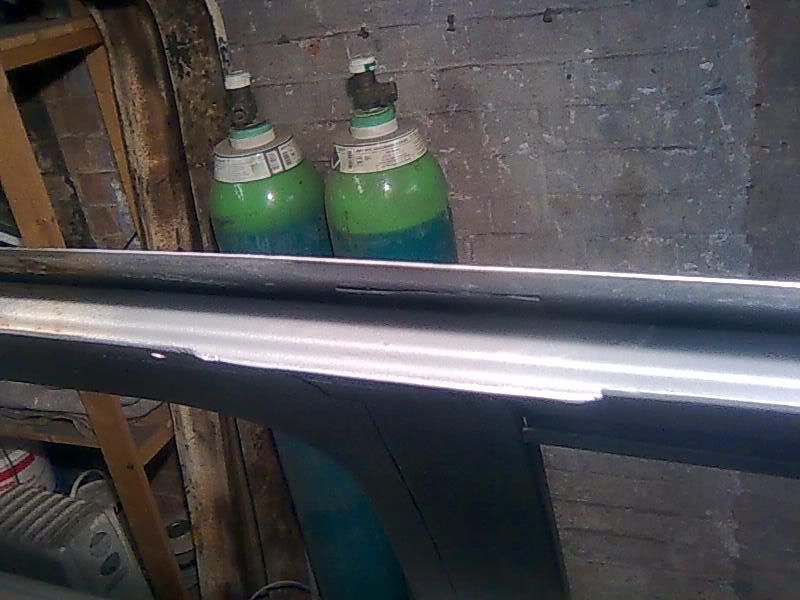
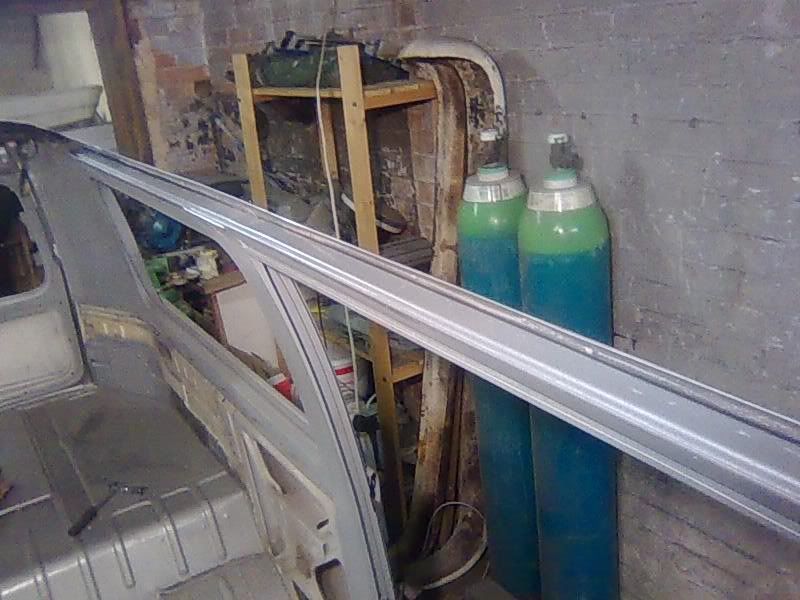
thats the passenger side finshed ready for the joggler. just the drivers side to do then a bit of trial fitting to get the measurement for the two ends
needless to say the scafold is still there :evil:
i did get round there tonight however to start trimming my hole :shock:
62mm up from the fold line above the gutter to match up to the 50mm from th line on the graft section which should give me a 12mm joggle.
thats the passenger side finshed ready for the joggler. just the drivers side to do then a bit of trial fitting to get the measurement for the two ends
froggy
Well-known member
You get my respect for even trying this conversion 8)
i would love to do something like this to mine in the future (might also save me some money instead of having to buy a westy :lol: )
i would love to do something like this to mine in the future (might also save me some money instead of having to buy a westy :lol: )
andewilson
Well-known member
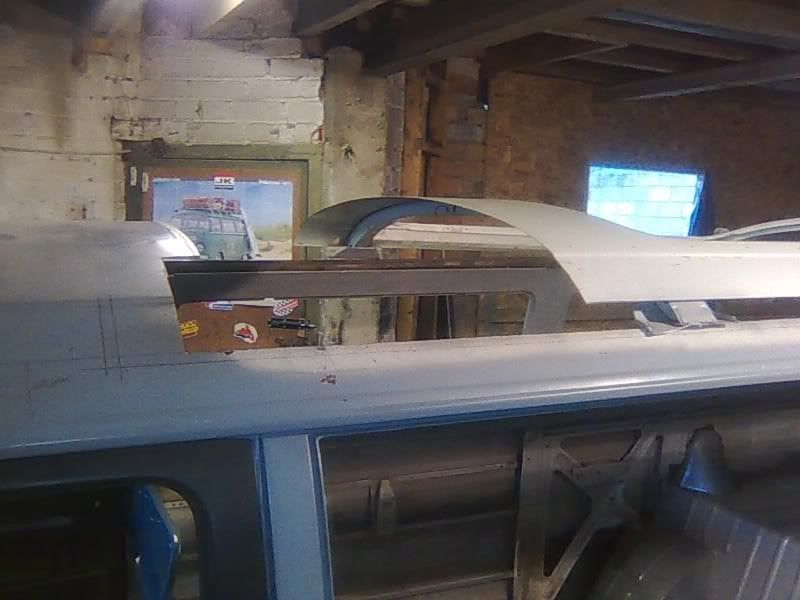
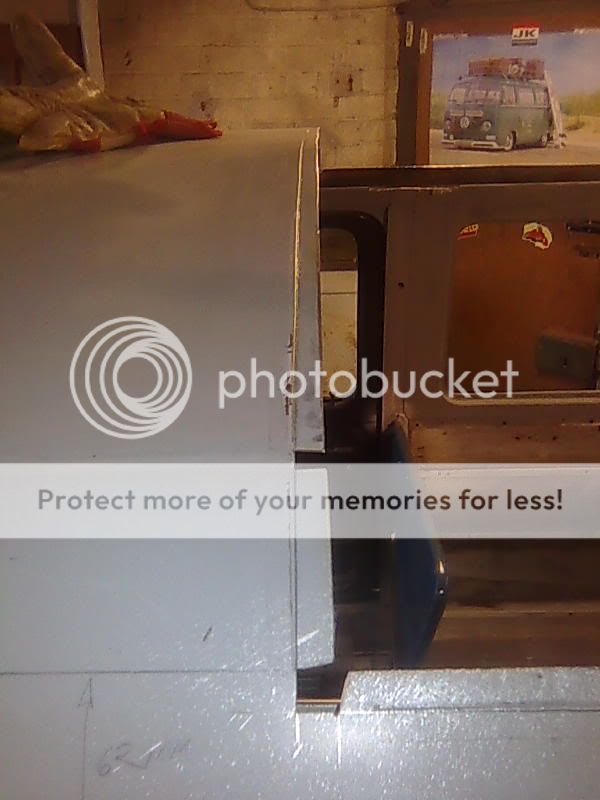
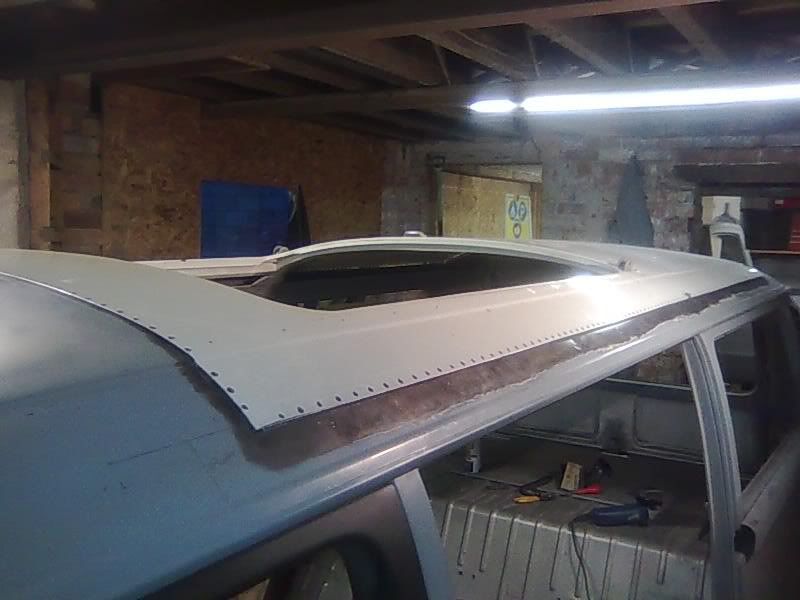
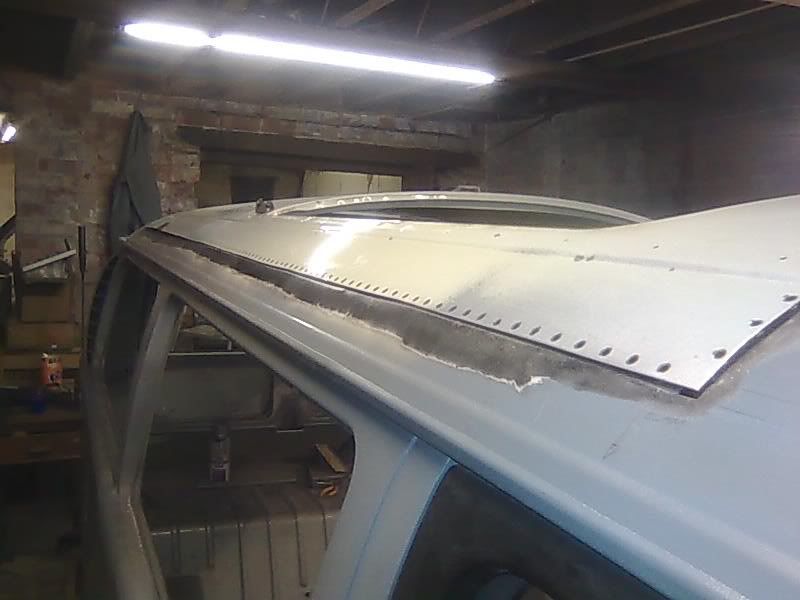
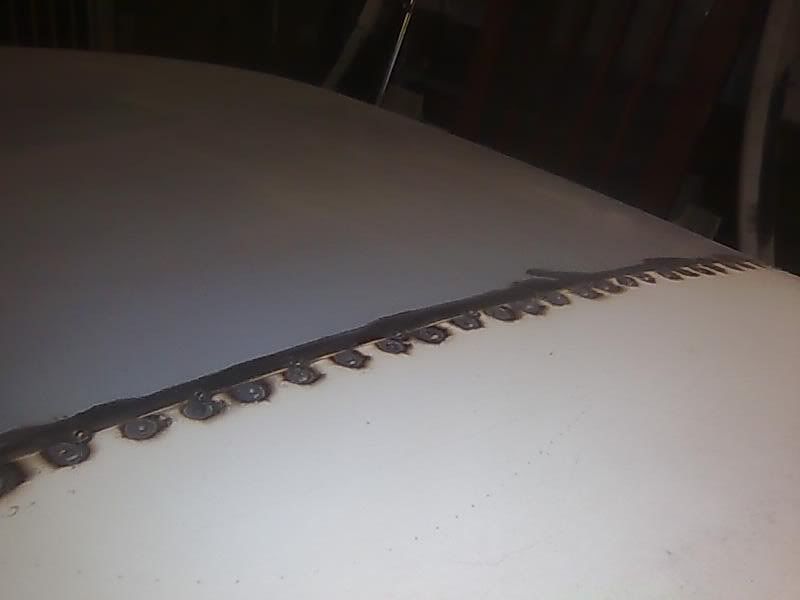
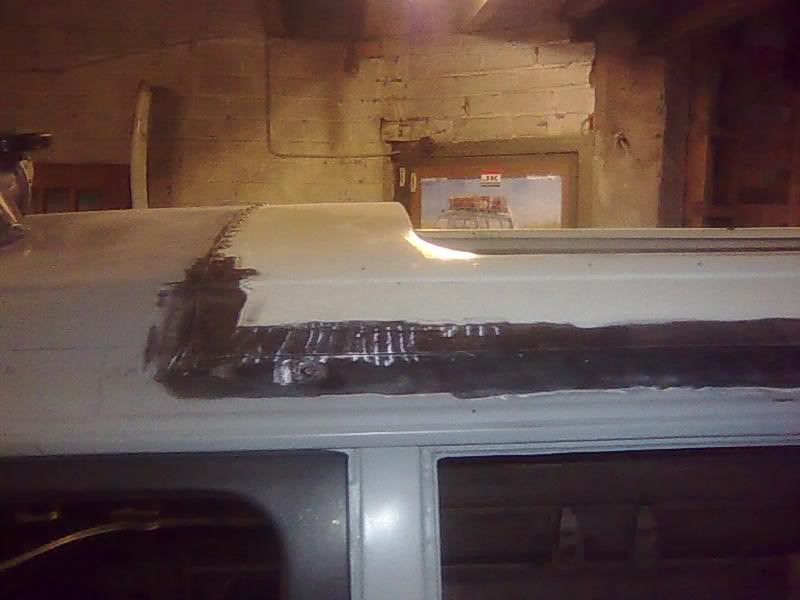
got a few hours on the van over chrimbo. a full day on new years eve which was a rarity. heres a few pics.
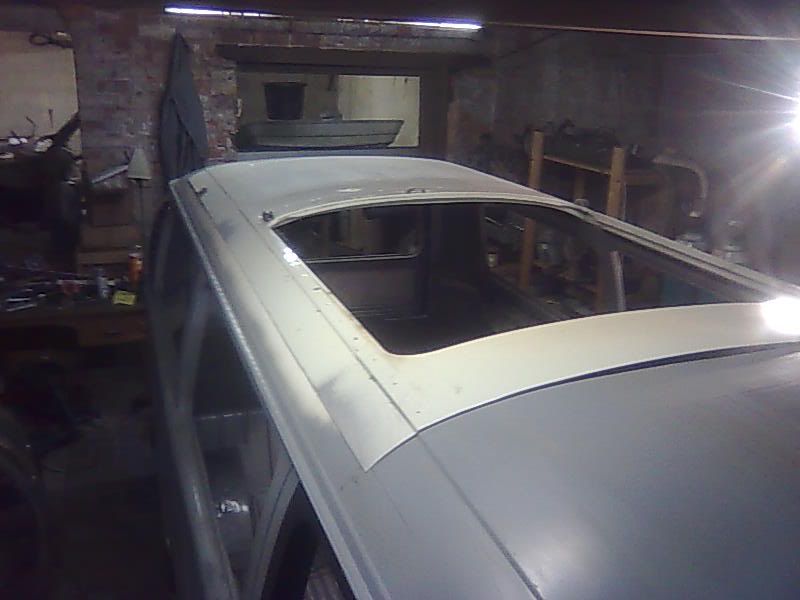
it was bloody cold yesterday. five layers of clobber and still bloody freezing
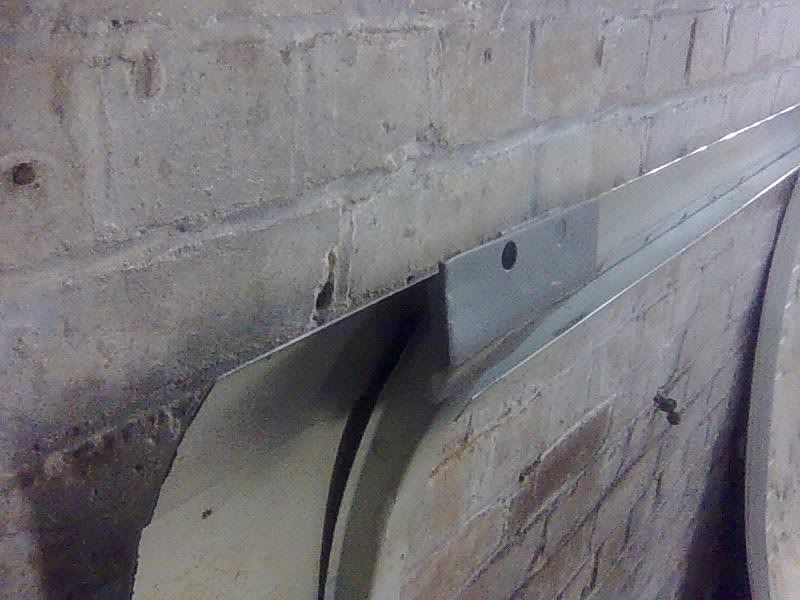
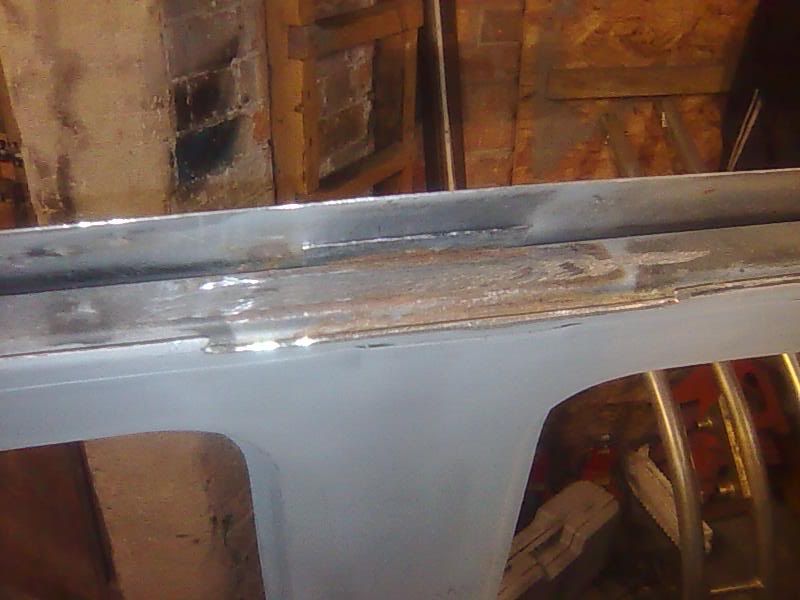
note to self. dont let your mind wonder whilst wire brushiing your joggling
all joggled and scrubbed ready for the final fit
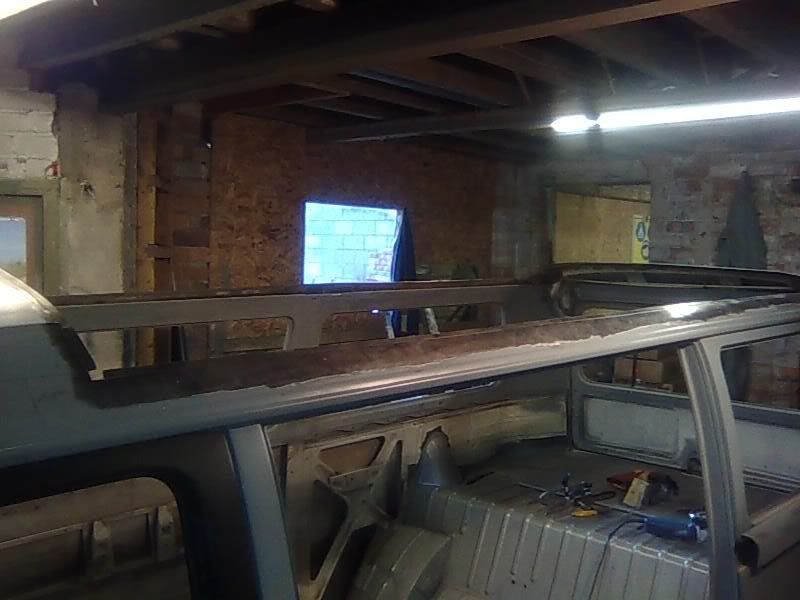
hopefully i should get it welded tomorrow if i can.
mulling over seam welding the joggle line once i'm done plug welding to prevent the requirement for a load of filler.
it was bloody cold yesterday. five layers of clobber and still bloody freezing
note to self. dont let your mind wonder whilst wire brushiing your joggling
all joggled and scrubbed ready for the final fit
hopefully i should get it welded tomorrow if i can.
mulling over seam welding the joggle line once i'm done plug welding to prevent the requirement for a load of filler.
dubscum
Well-known member
i agree with graham, amazing work, gonna be special when its done, when do you think you'll (you and bus) make your first show ?
andewilson
Well-known member
the original and quite frankly very pesimistic unveiling plan was stamford hall 2010. i think i blew that one
new pesimictic unveiling plan, stanford 2011. but happy with any show on the 2011 season.
i would be happy just to get a roling empty shell on the road for then, then carry on the build as i go. that would allow for a decent shake down time before comitting on interior etc.
new pesimictic unveiling plan, stanford 2011. but happy with any show on the 2011 season.
i would be happy just to get a roling empty shell on the road for then, then carry on the build as i go. that would allow for a decent shake down time before comitting on interior etc.
andewilson
Well-known member
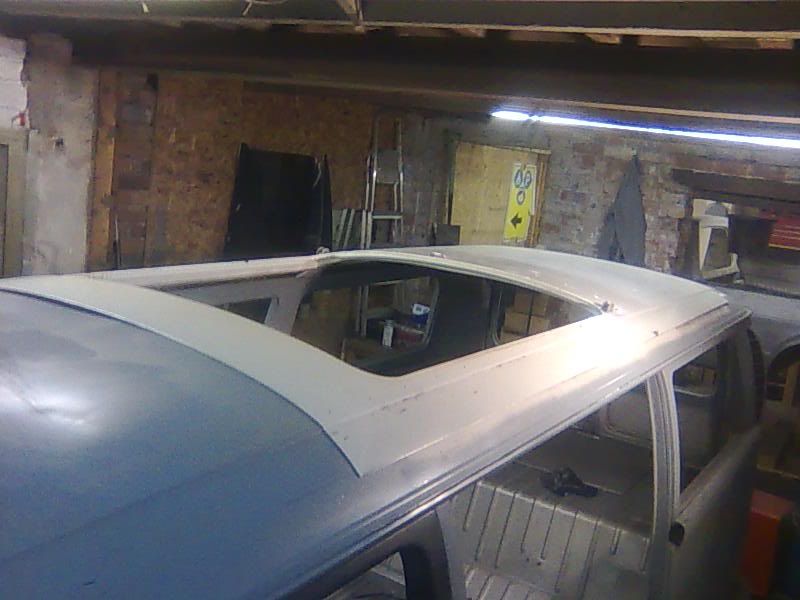
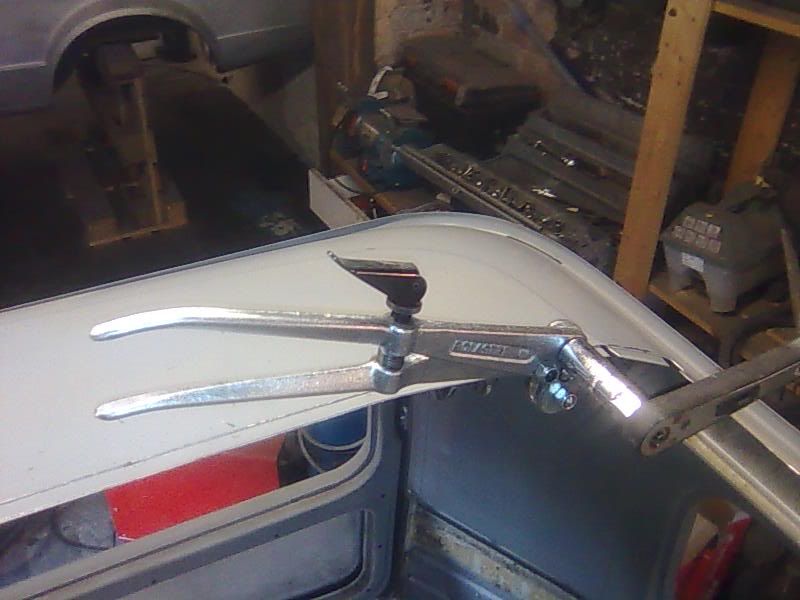
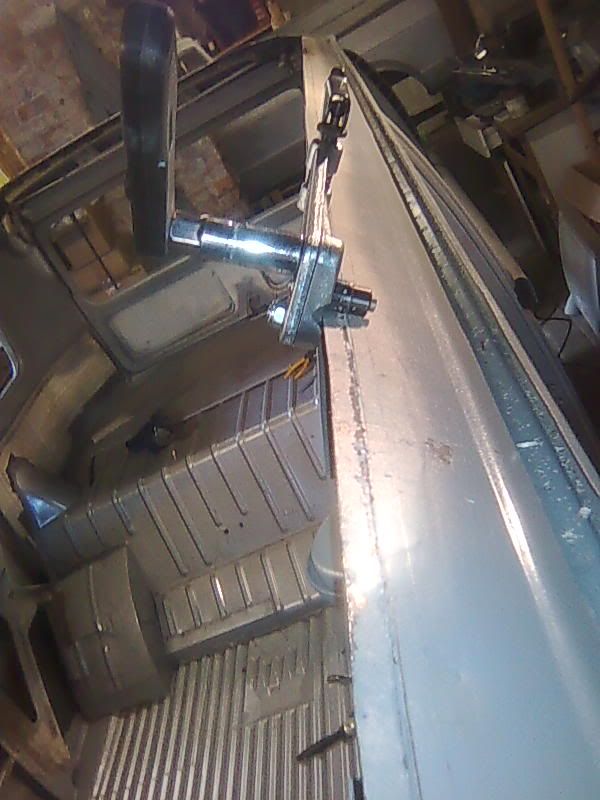
spent the afternoon round the workshop. and got the welding tan to prove it.
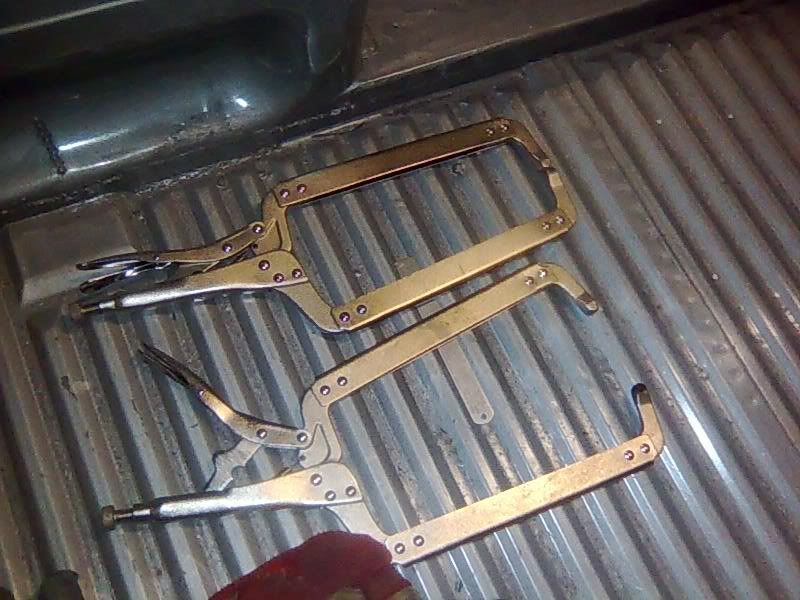
went to machine mart today and had to buy to packs of htree to get a pair of these boys
and did this

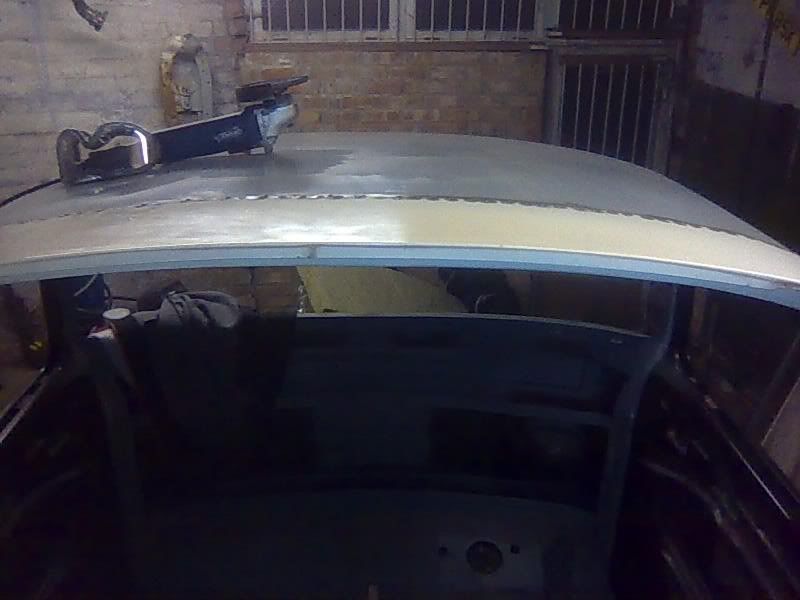
hopefully i should get a few hours round there tomorrow and it should be done. danbury?
I'm in the westy crew now!
albeit a fake one
went to machine mart today and had to buy to packs of htree to get a pair of these boys
and did this
hopefully i should get a few hours round there tomorrow and it should be done. danbury?
I'm in the westy crew now!
albeit a fake one
cunning plan
Well-known member
- Joined
- Jul 15, 2008
- Messages
- 2,625
- Reaction score
- 1
- Location
- Northamptonshire
- Year of Your Van(s)
- 1968
- Van Type
- Clipper / Microbus
Impressive work dude. That's not exactly a small job :shock:
andewilson
Well-known member
cheers guys, sadly i payed the price when i got up this morning. due to having a clamp in one hand and welder in the other i went for the age old method of squint eye spoy welding. due to the sheer volume of welds my right eye took a little too much tanning
spot the difference
left eye
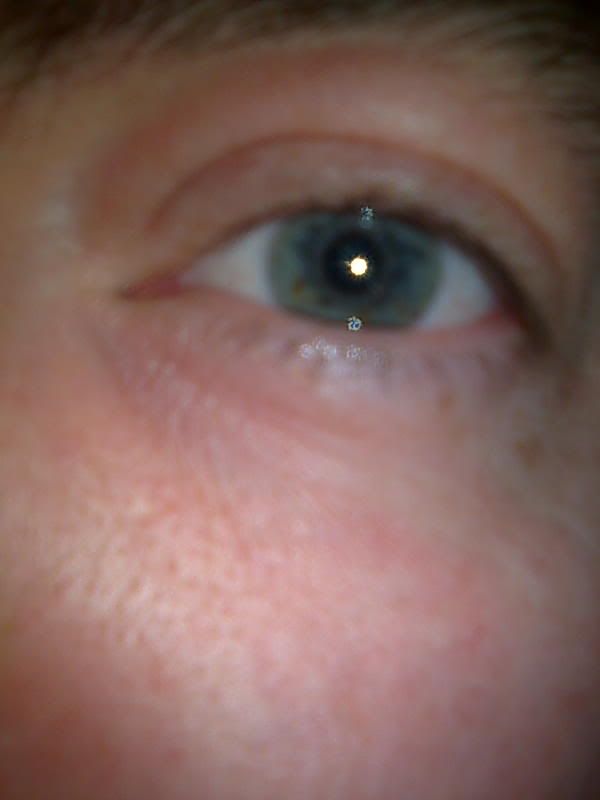
right eye


ouch!!!! it hurts and i look like a prat
spot the difference
left eye
right eye
ouch!!!! it hurts and i look like a prat