my 68' bay

Early Bay Forum

Help Support Early Bay Forum:

This site may earn a commission from merchant affiliate links, including eBay, Amazon, and others.

68_early_bay

Well-known member
Joined
Mar 1, 2012
Messages
3,606
Reaction score
5
Location
Hucknall, Nottingham, uk.
hi there,
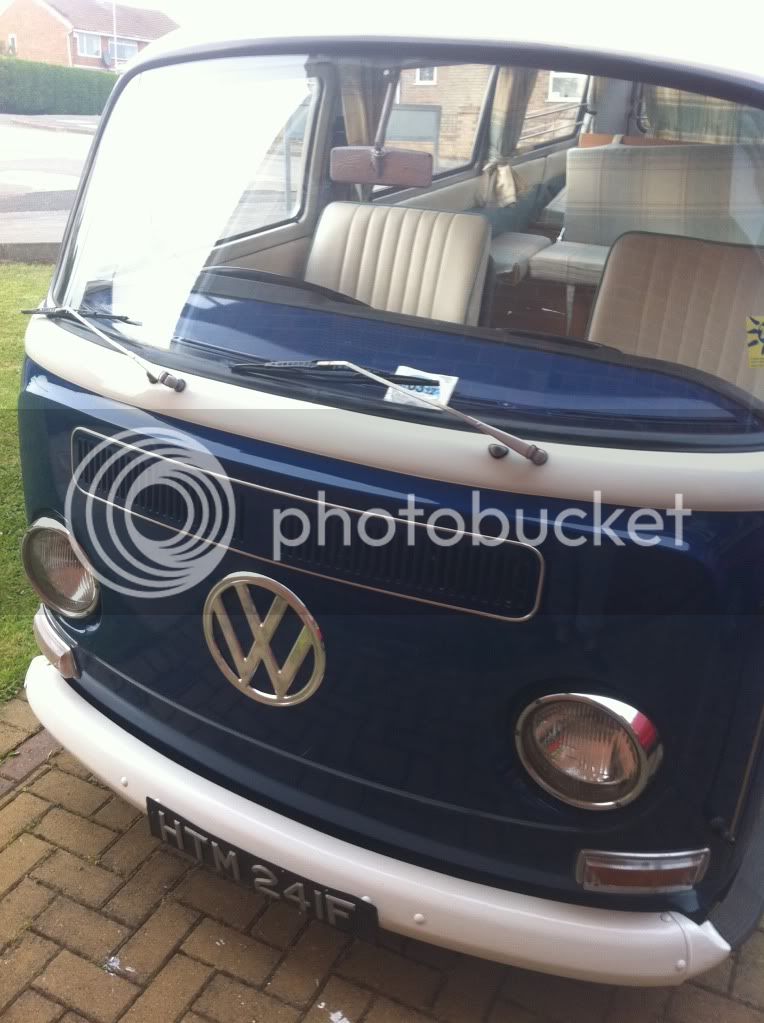
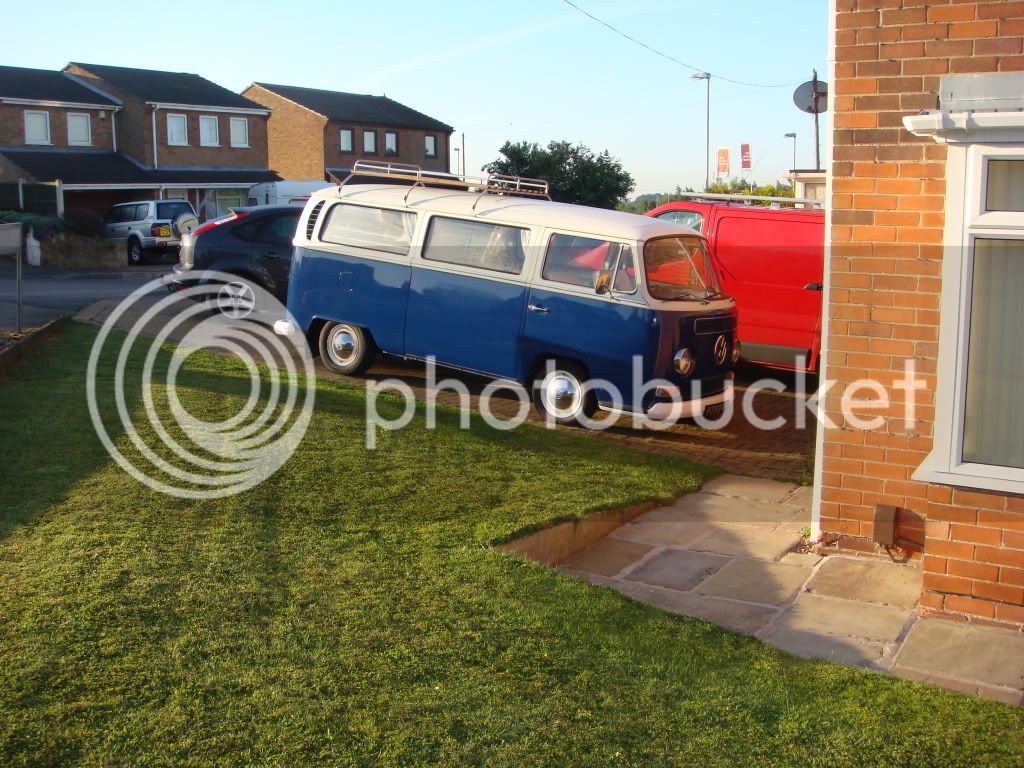
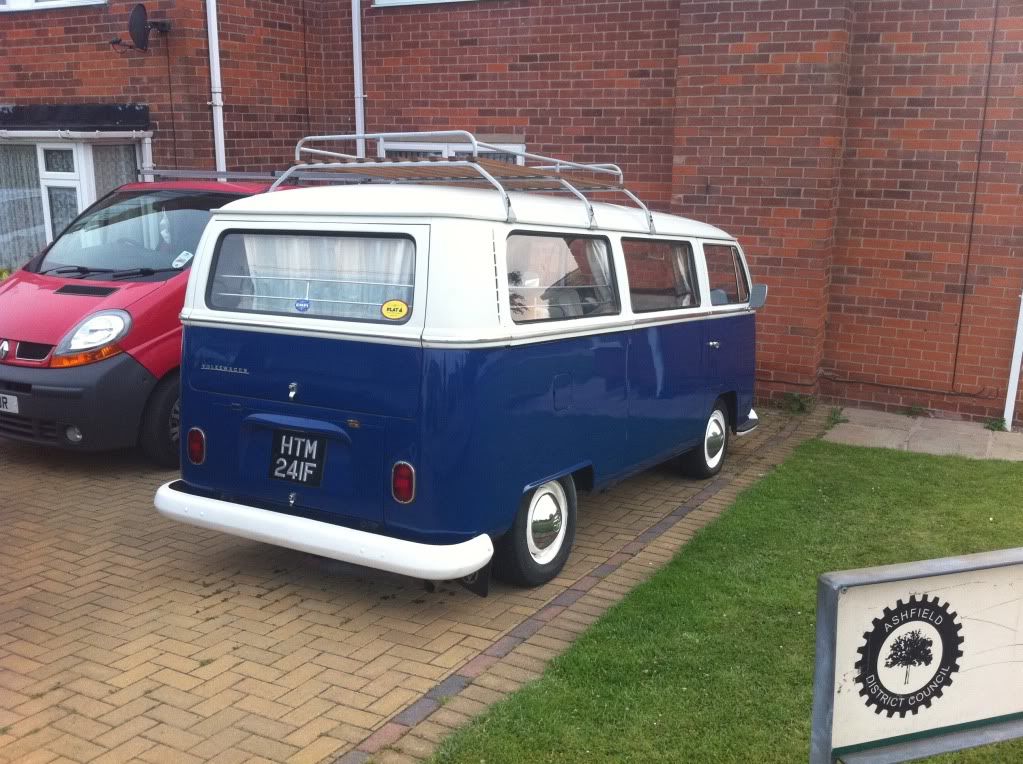
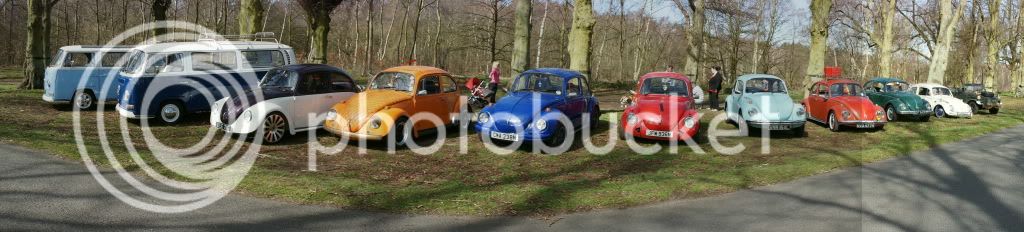
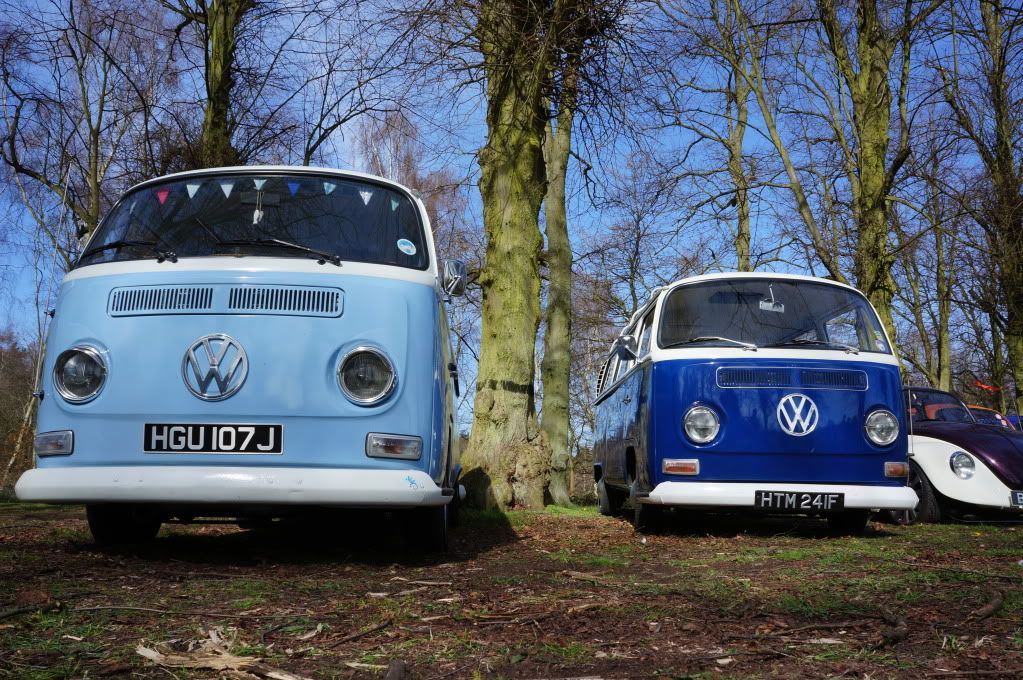
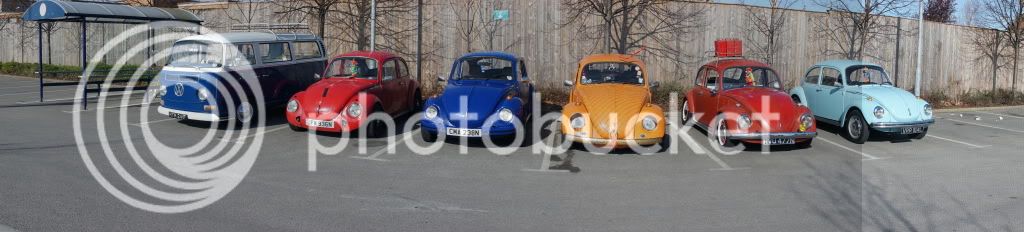
i thought seeing as i havent been on here long that i would break the ice and share a few photos of my bay lol,
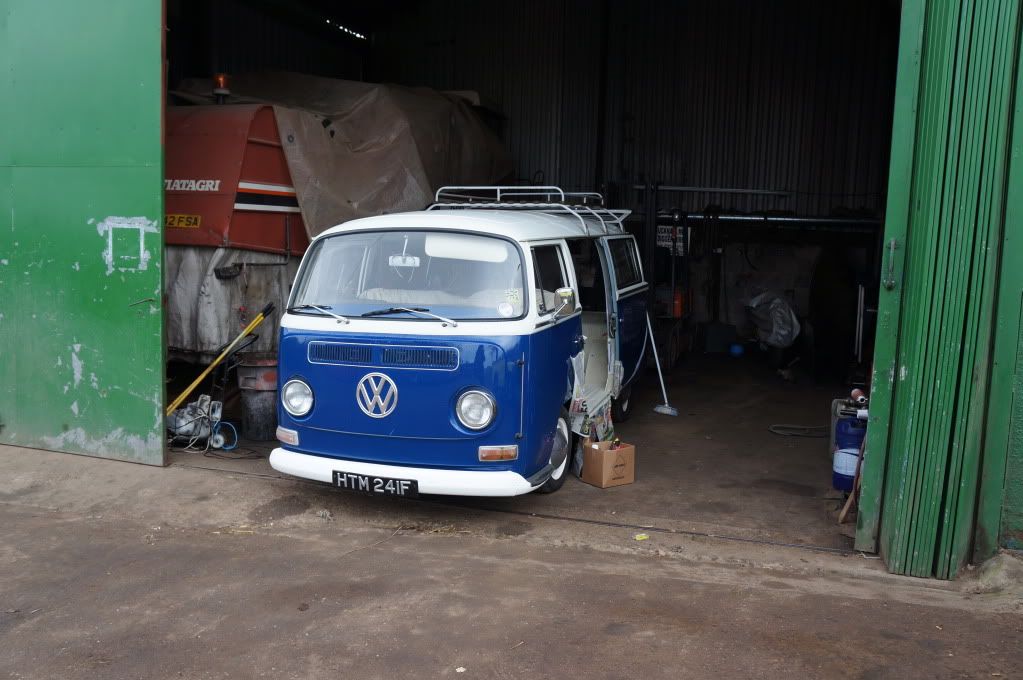
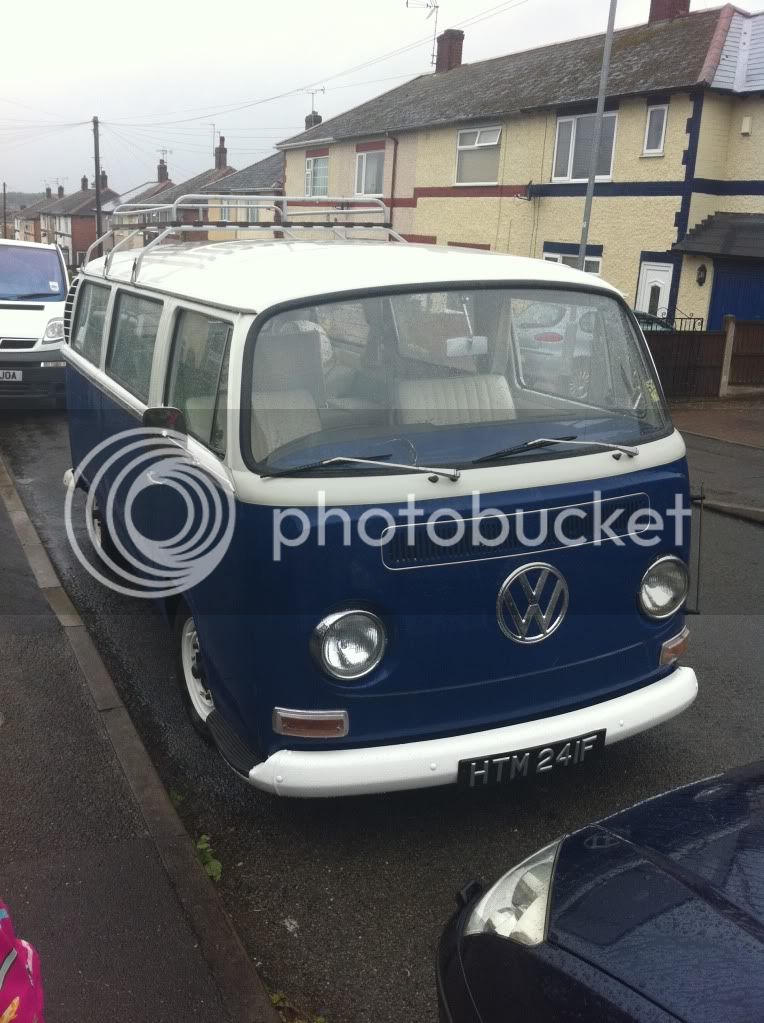
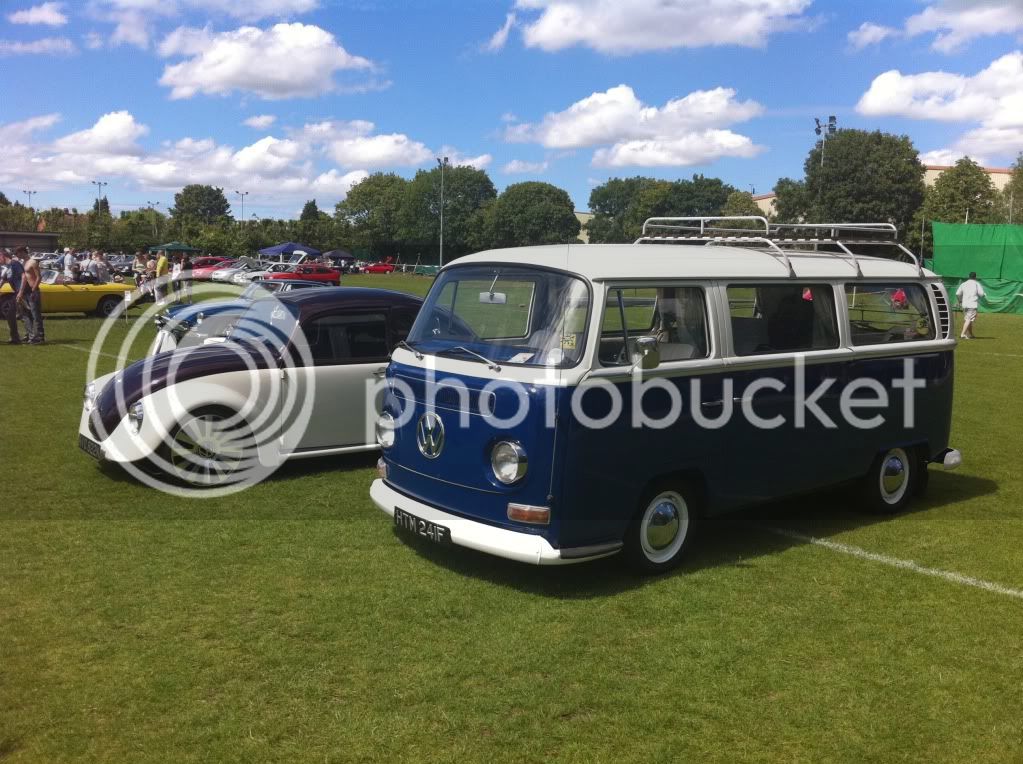
ive been into the classics all my life (i can blame my dad) and always wanted a bay, but it wasnt til last year i could afford one so after quite a few months of searching, travelling and looking did i find 'tilly'......... funny thing was she was only 1/2 a mile away across town lol :eek:

photo211.jpg


photo14.jpg


photo36.jpg


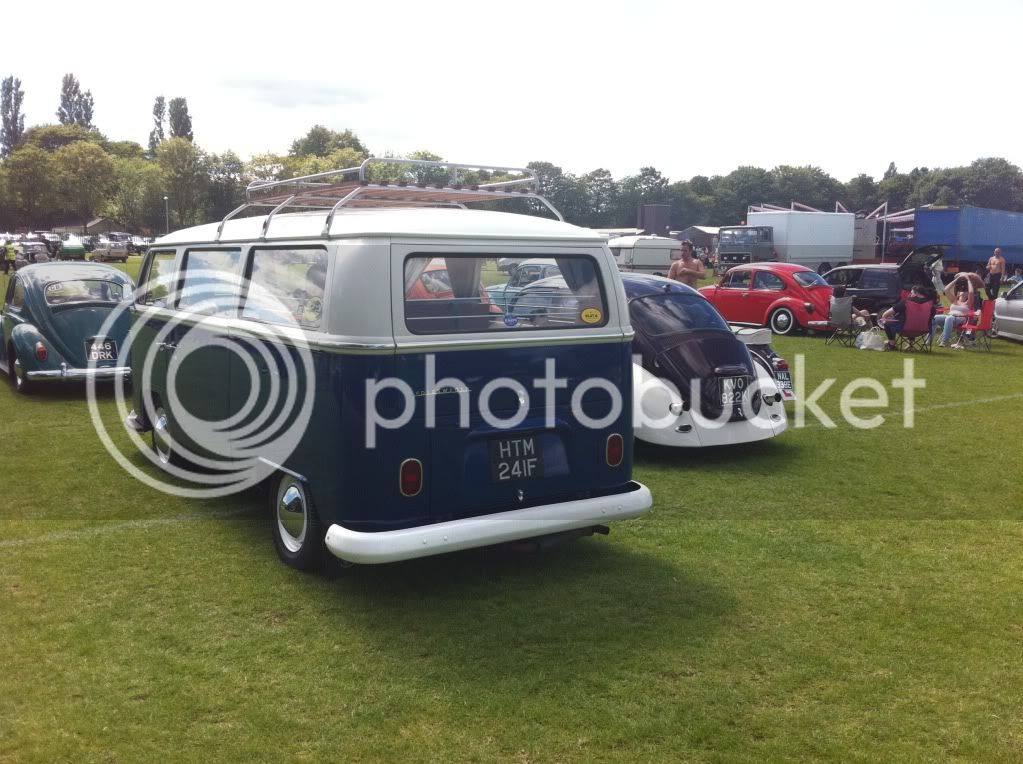
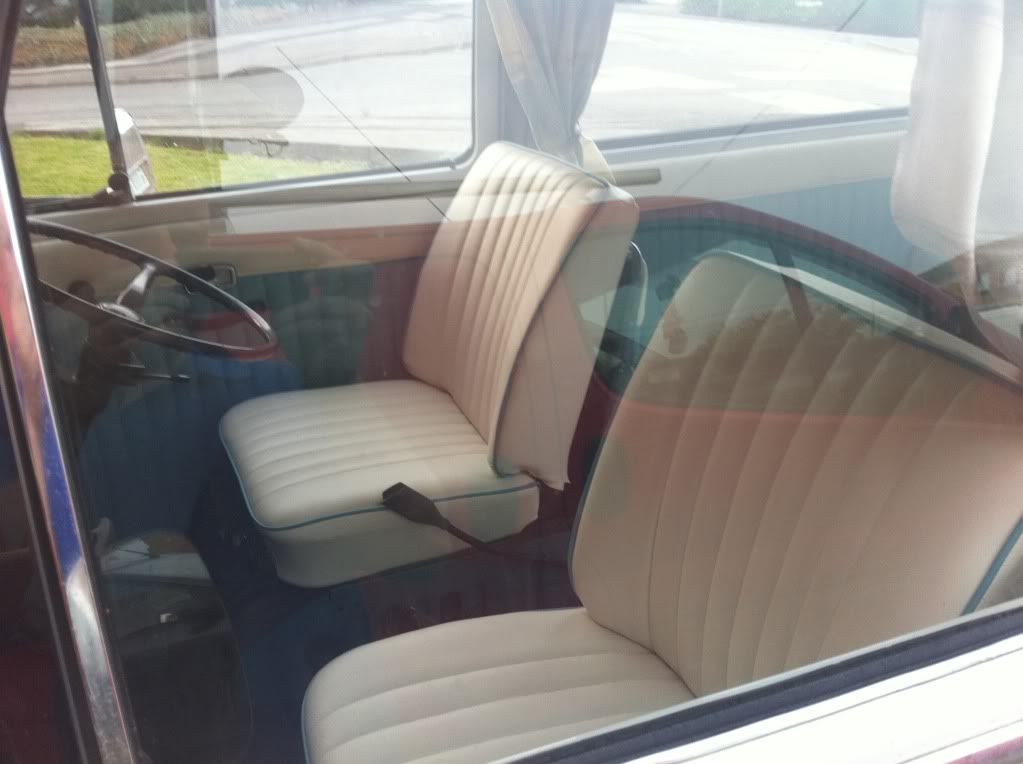
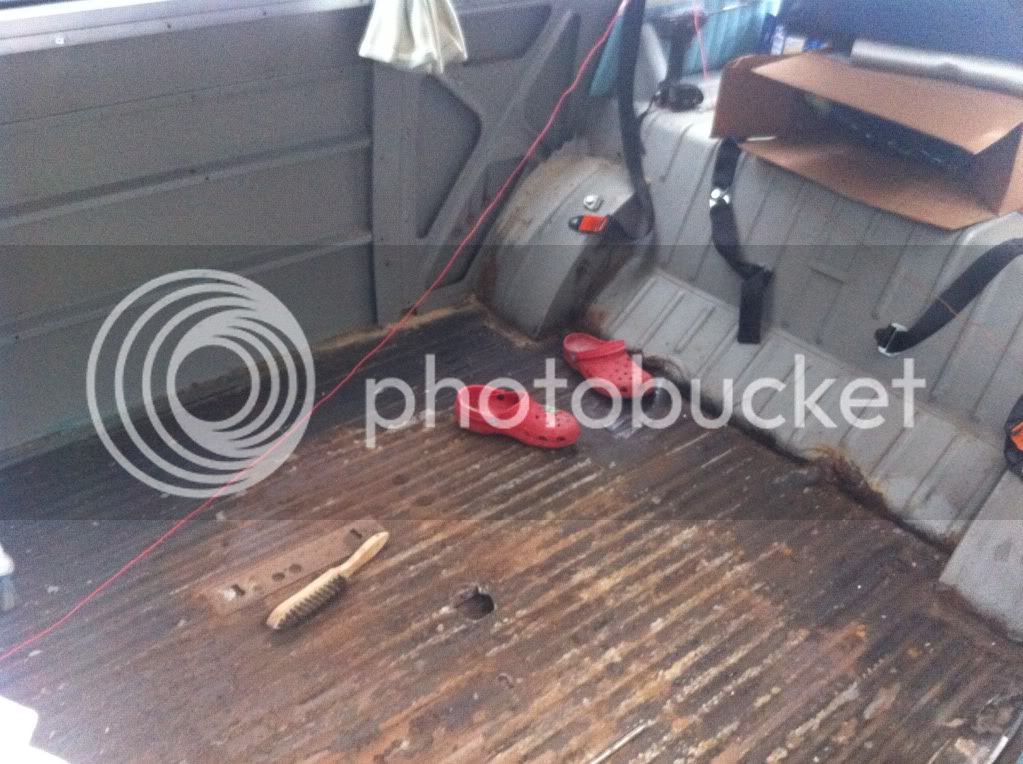
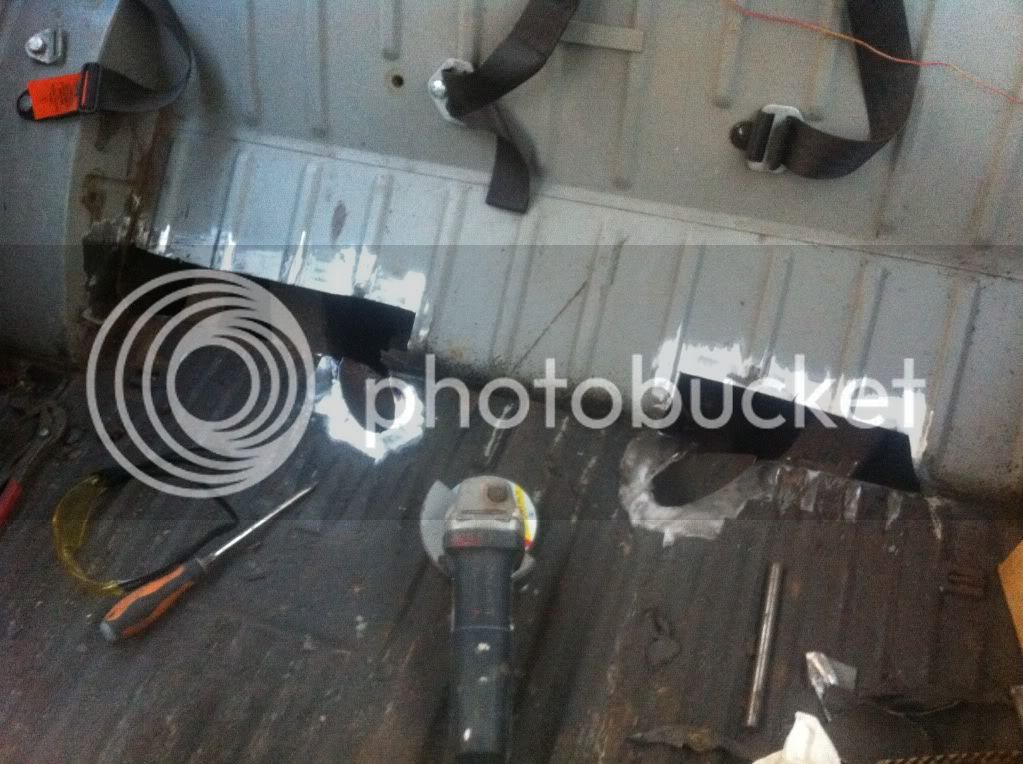
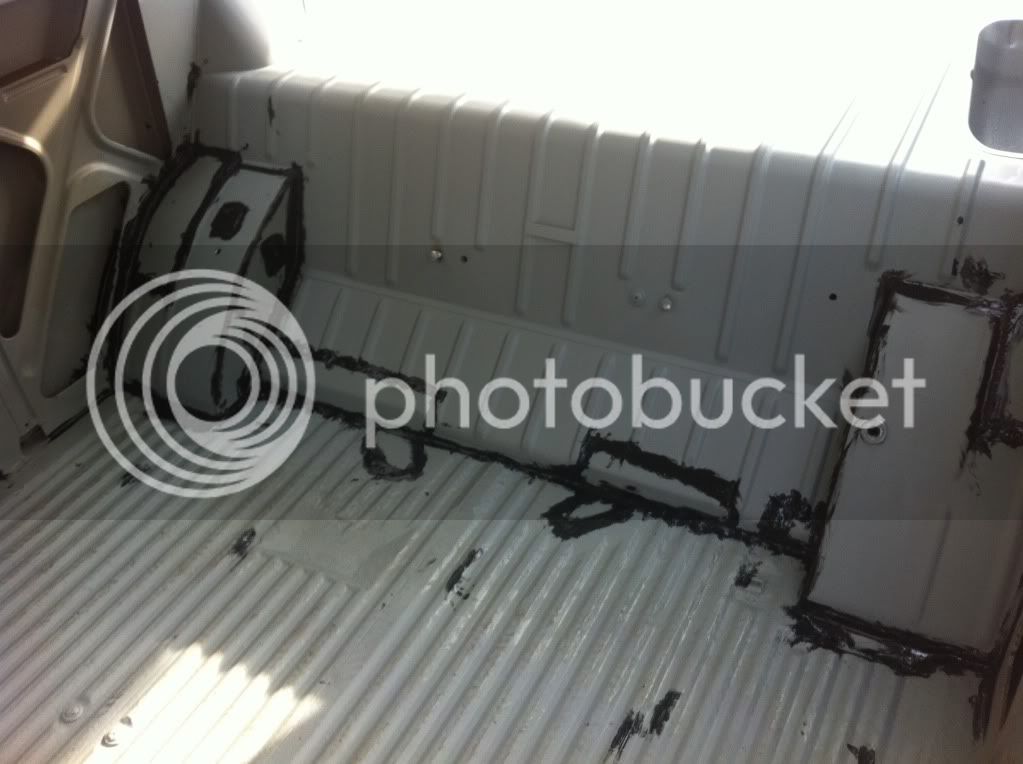
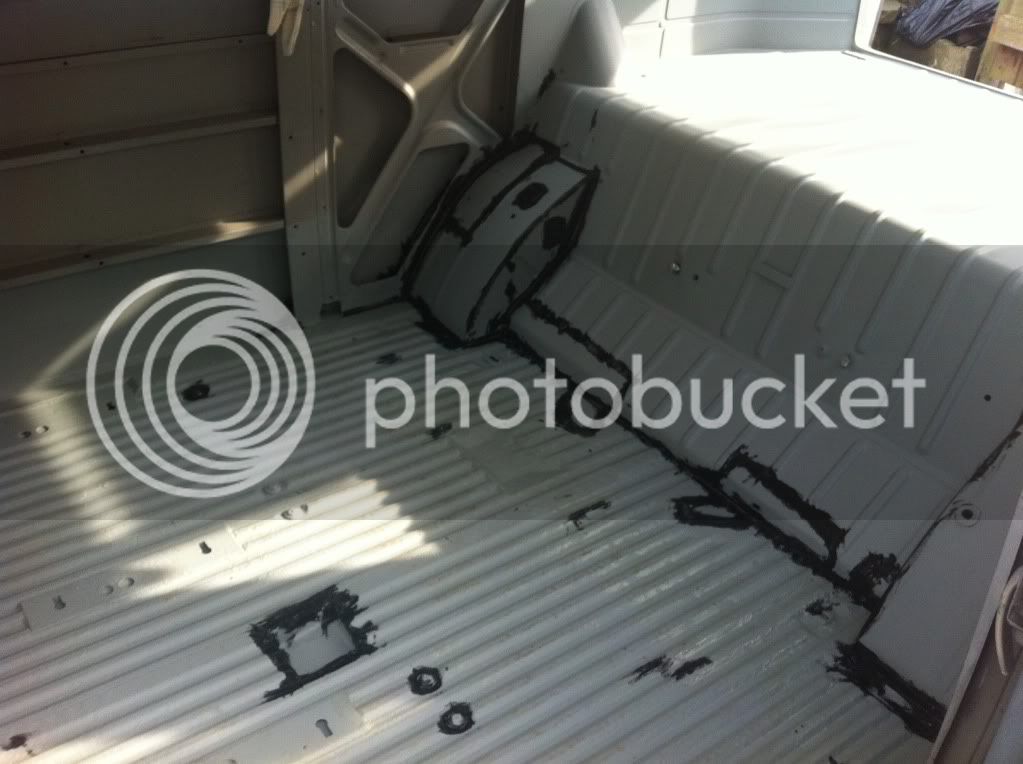
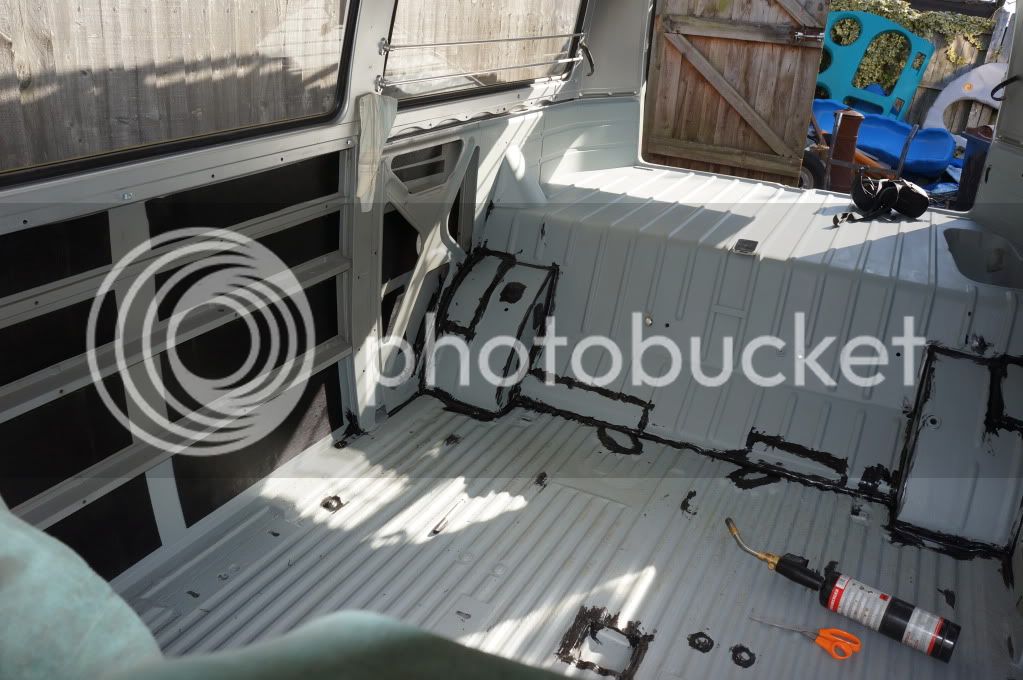
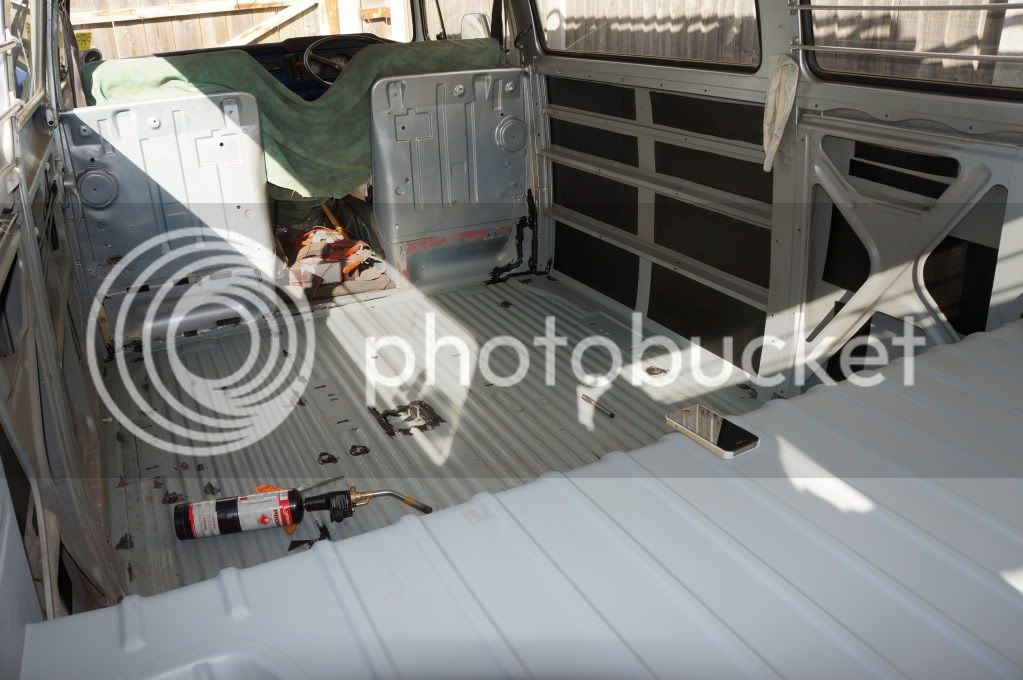
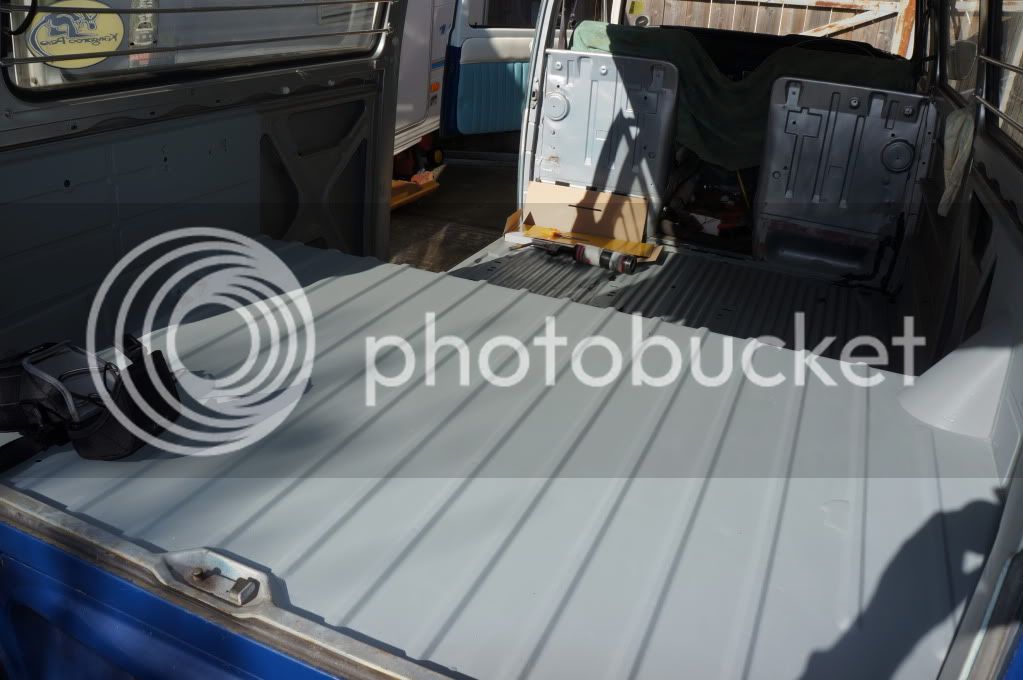
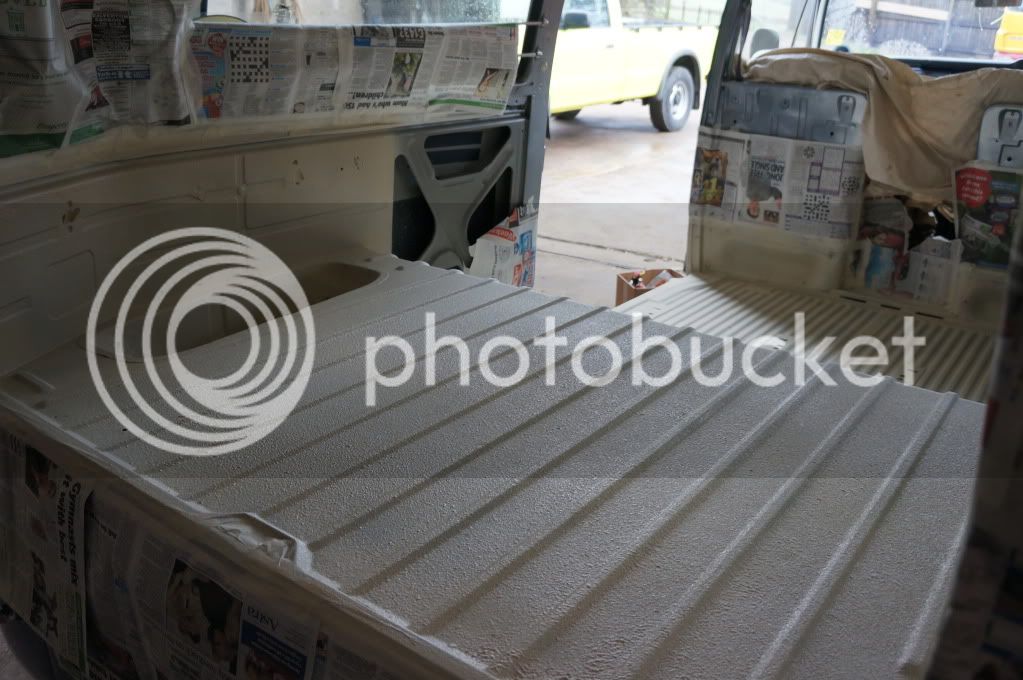
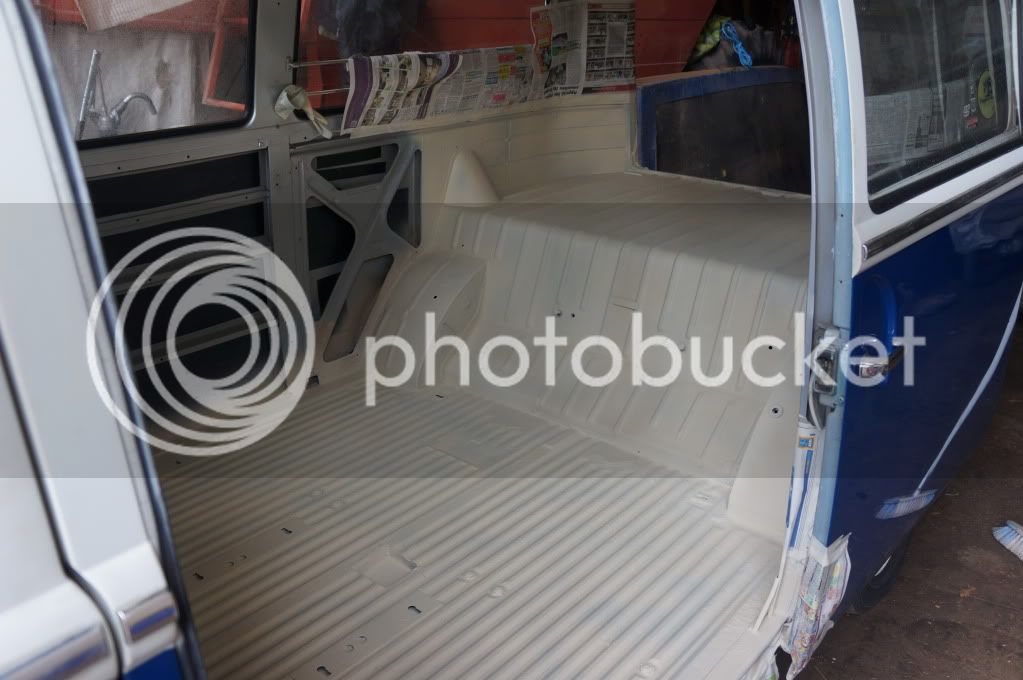
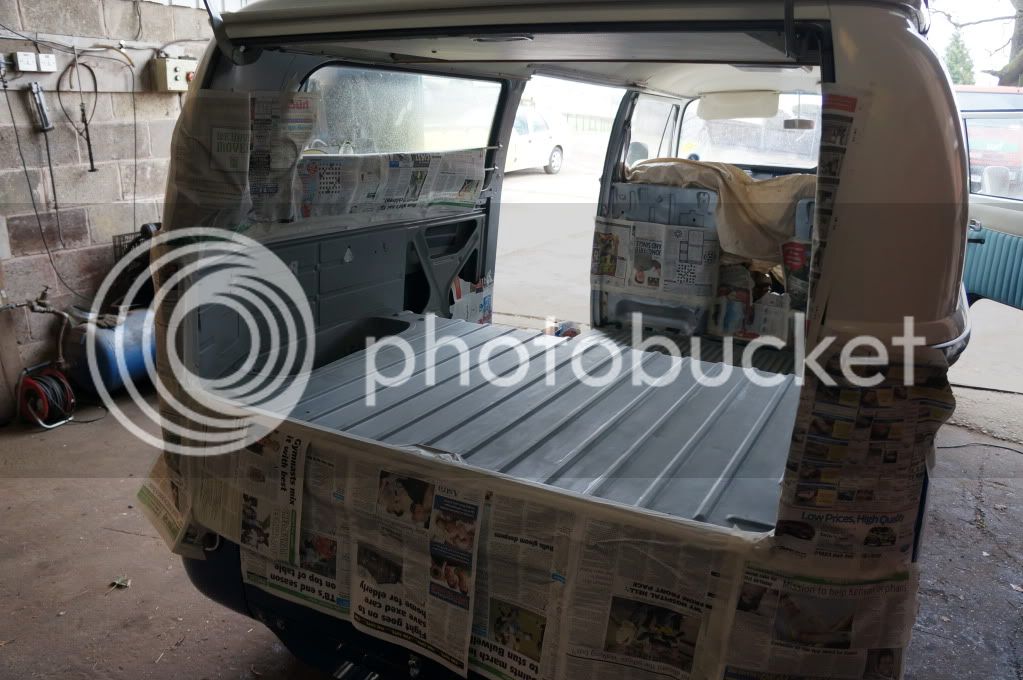
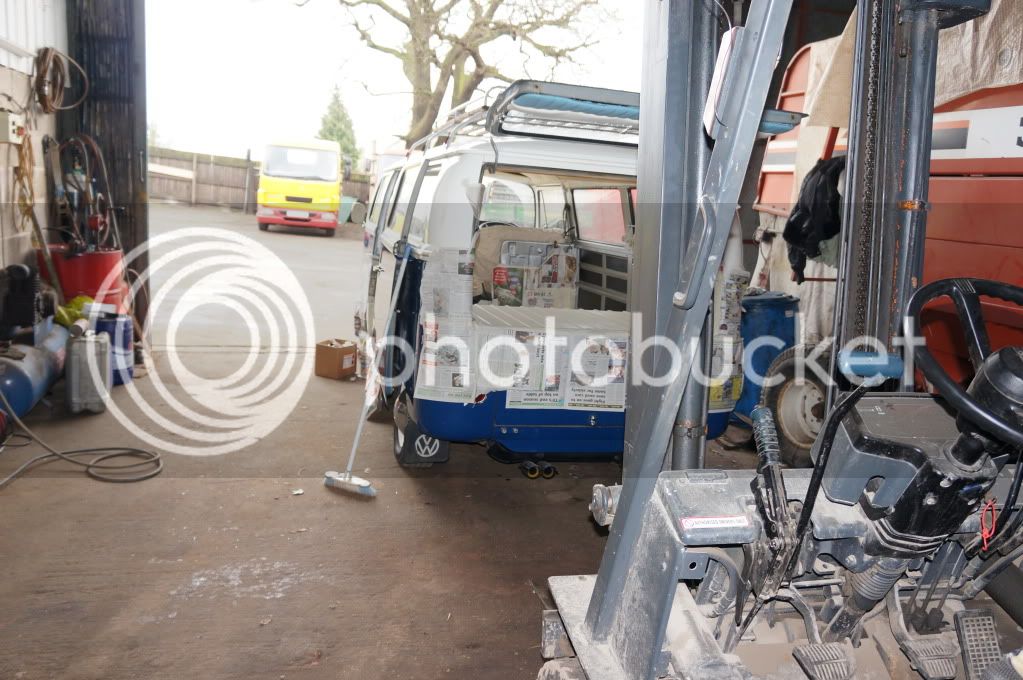
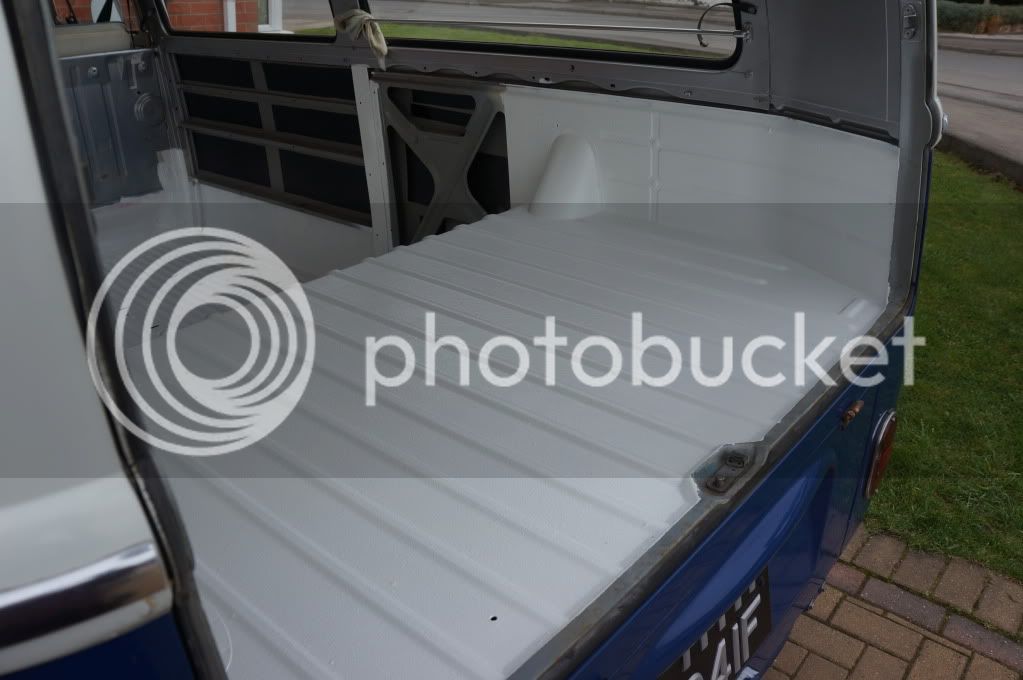
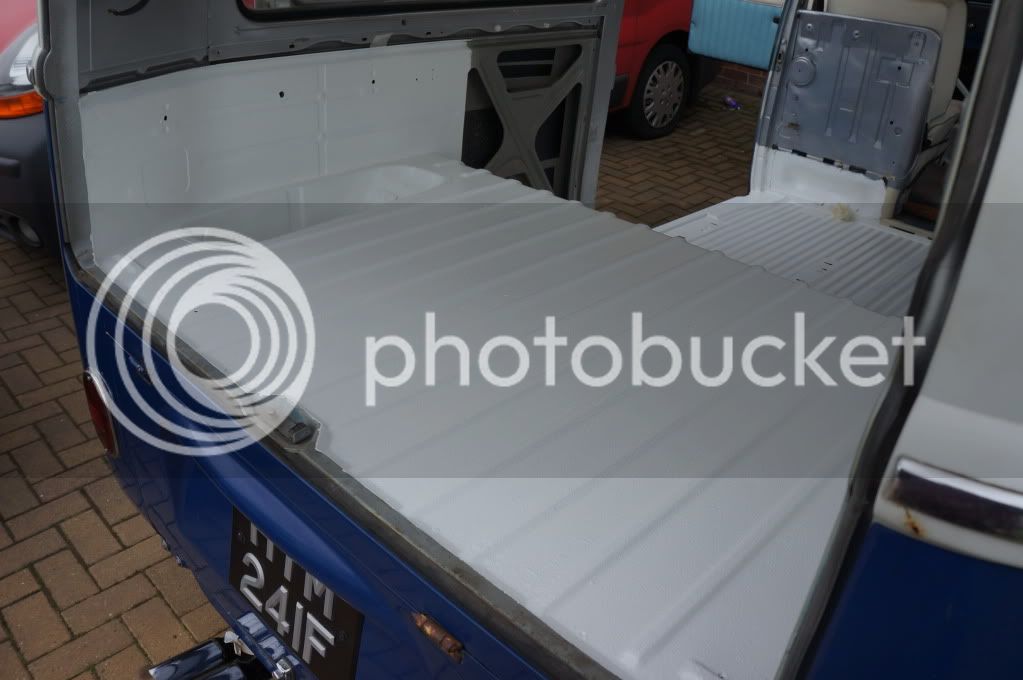
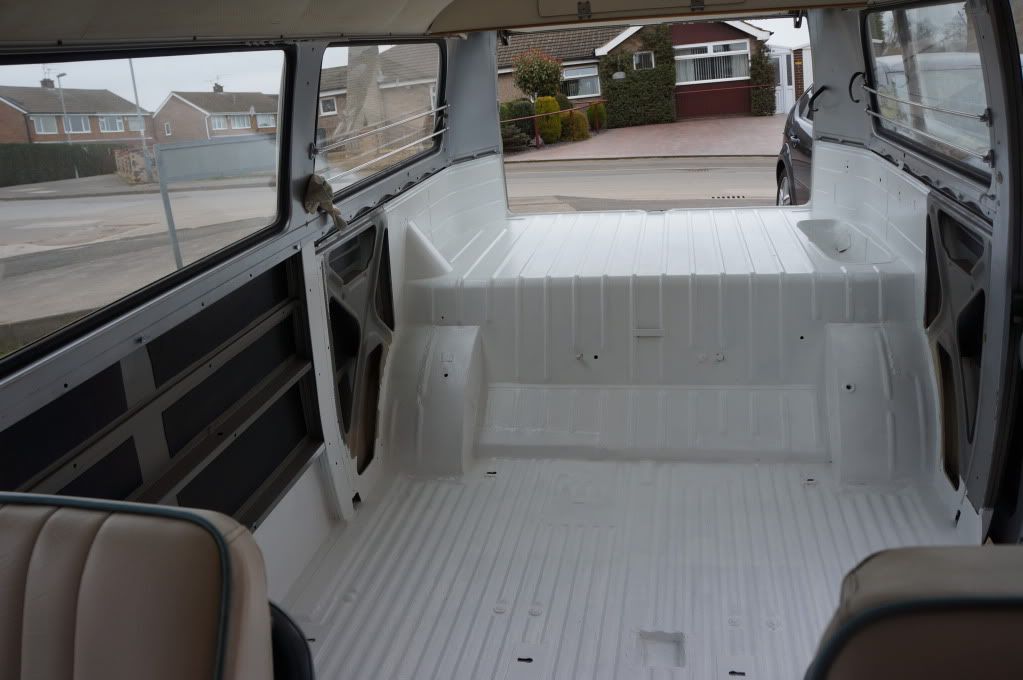
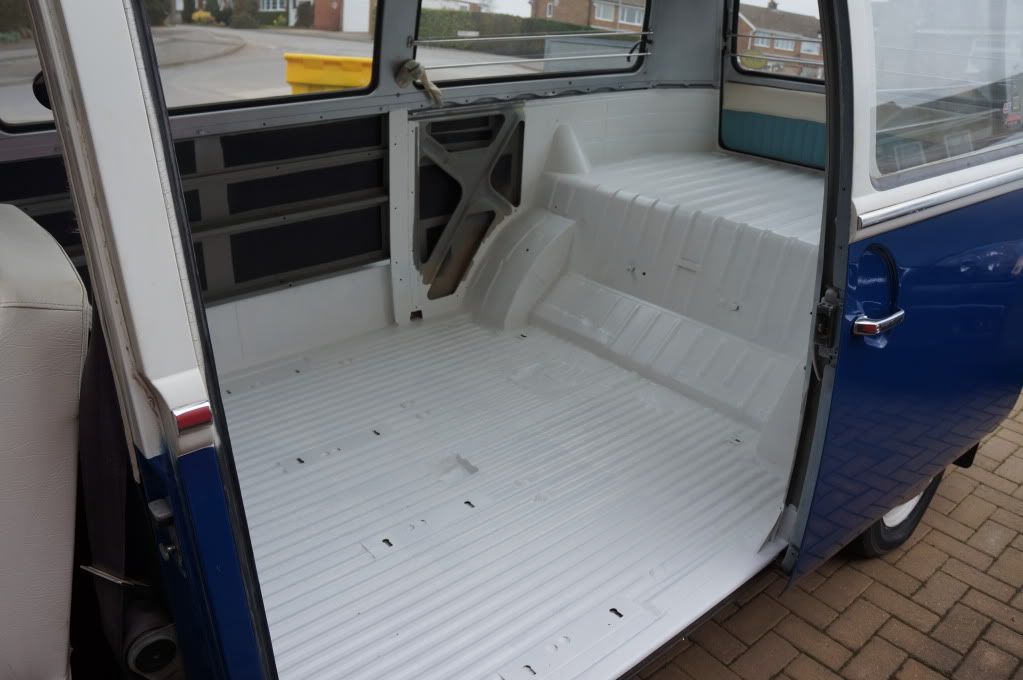
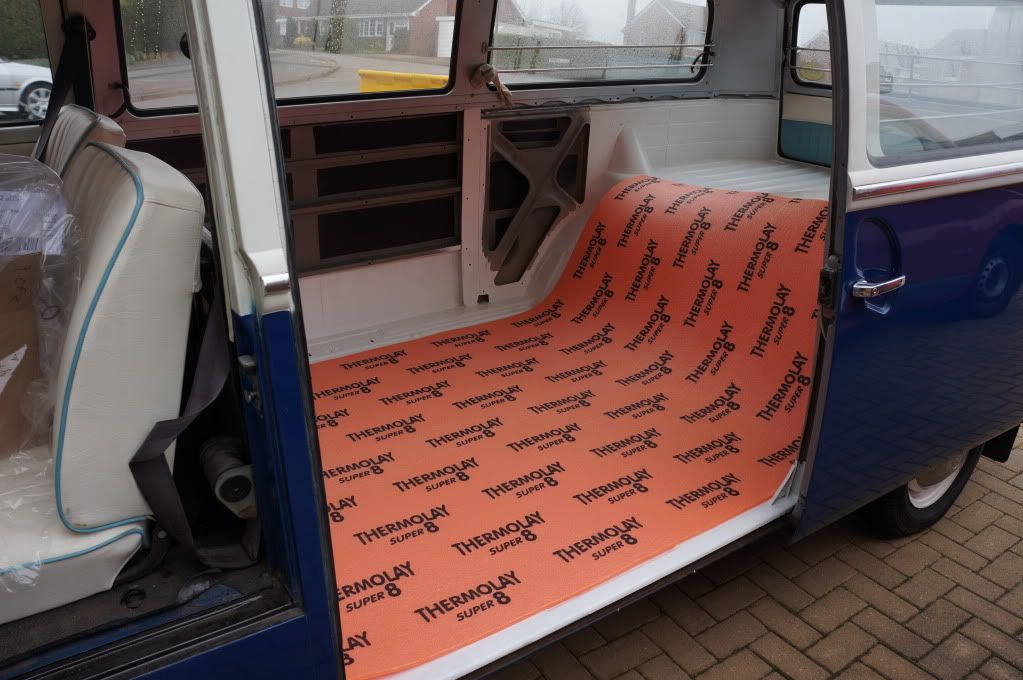
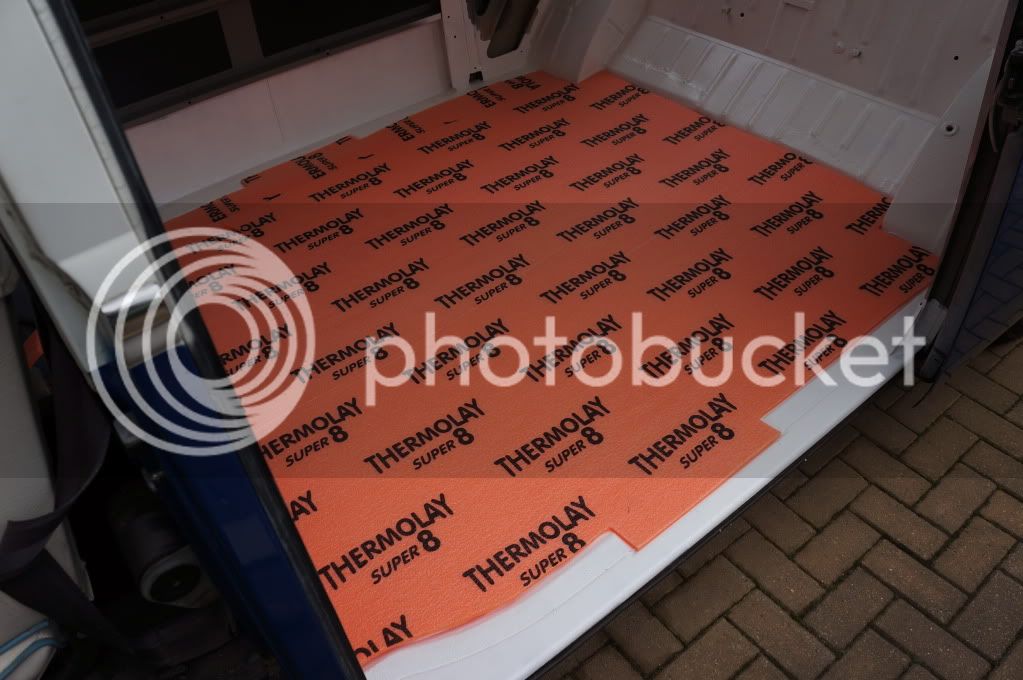
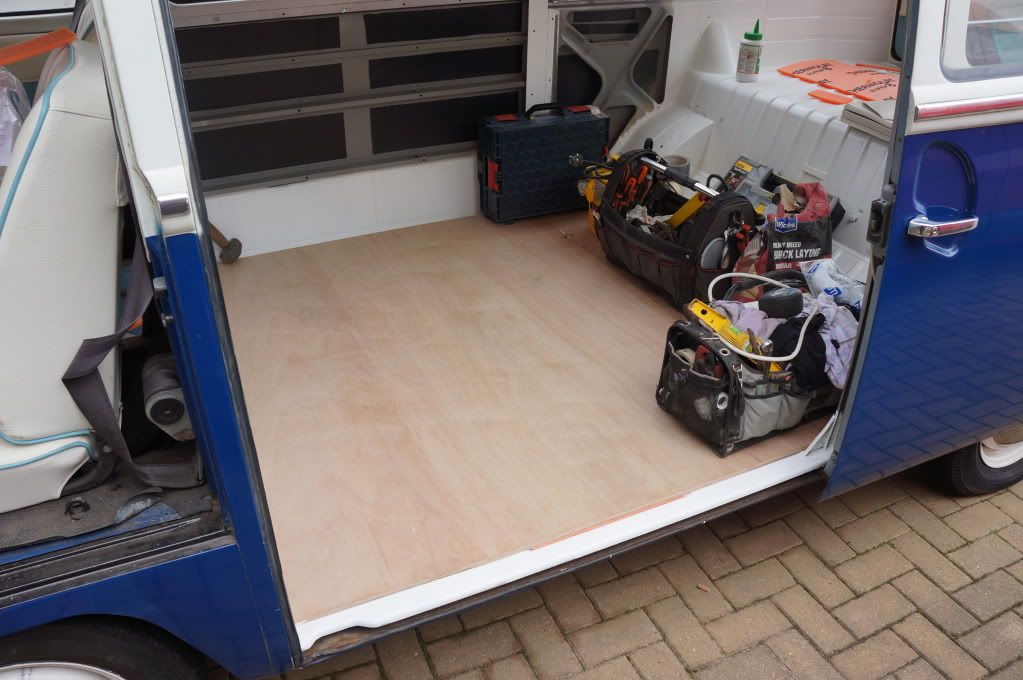
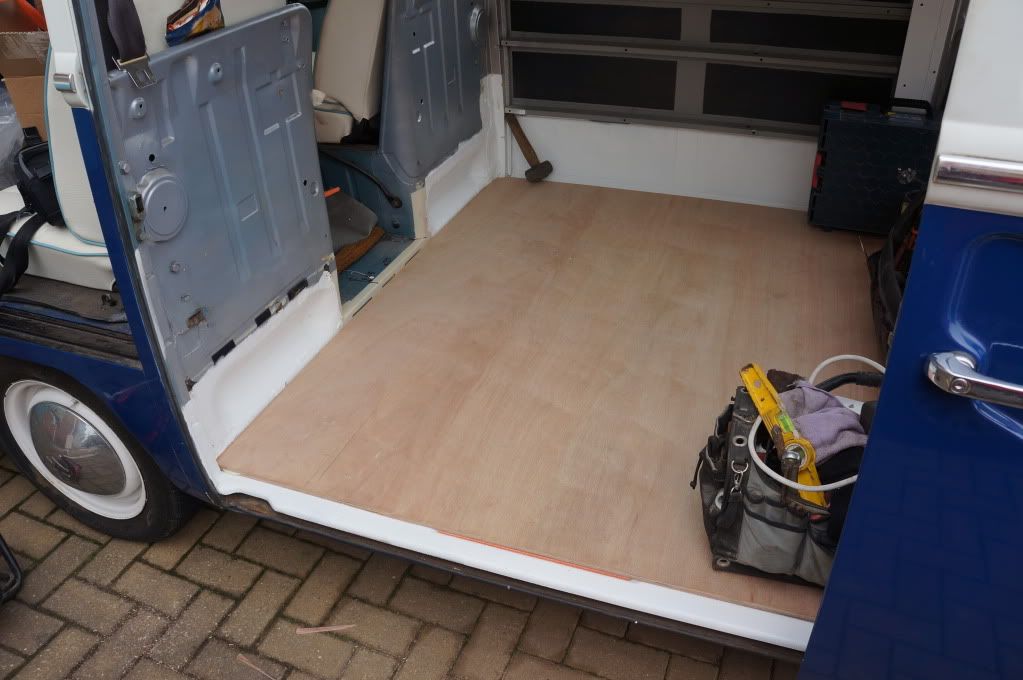
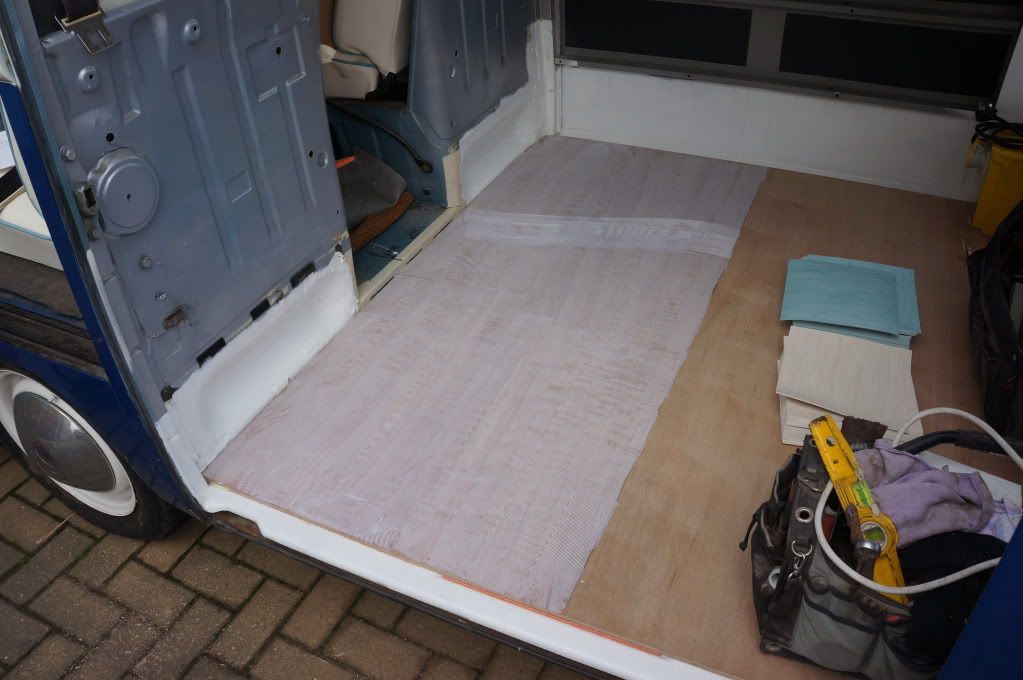
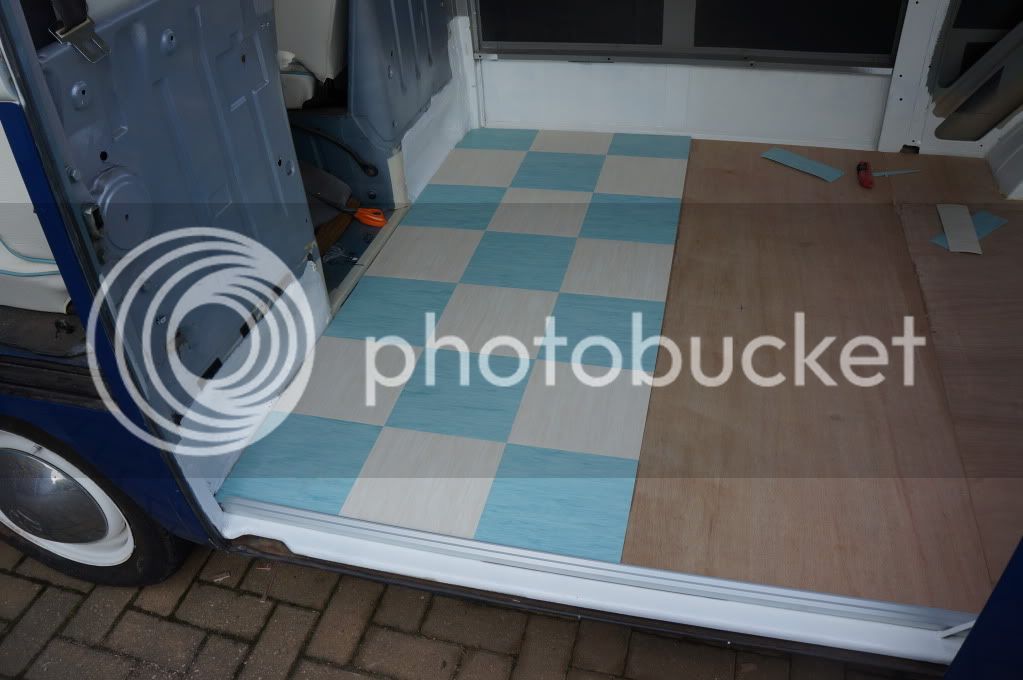
just in the process of stripping out the interior and building up :)
 
myvanway 69 said:
Tidy!! :D


Not sure about the bug though!!!! :shock:


Cheers for the compliment :D got plenty of plans just doing the interior at the mo will put some photos of my progress on that later,

Shhhh lol on the bug ;) it's my bro in laws nut 'n' bolt pride and joy :D
 
68_early_bay said:
myvanway 69 said:
Tidy!! :D


Not sure about the bug though!!!! :shock:


Cheers for the compliment :D got plenty of plans just doing the interior at the mo will put some photos of my progress on that later,

Shhhh lol on the bug ;) it's my bro in laws nut 'n' bolt pride and joy :D


oop!!! sorry!!!! :lol:

.......Nice van anyhow. :lol:
 
myvanway 69 said:
68_early_bay said:
myvanway 69 said:
Tidy!! :D


Not sure about the bug though!!!! :shock:


Cheers for the compliment :D got plenty of plans just doing the interior at the mo will put some photos of my progress on that later,

Shhhh lol on the bug ;) it's my bro in laws nut 'n' bolt pride and joy :D


oop!!! sorry!!!! :lol:

.......Nice van anyhow. :lol:

:lol: :lol:
 
hi,

just done a bit more on the new interior this morn and i thought id put a few pictures on what ive done so far :)

firstly when i bought the bus i was really happy with everything apart from the rear interior and the i thought this would be my first upgrade
the rock and roll bed was a chip board type and i wasnt happy with the kids being strapped to it so i stripped all the rear interior out,

photo45.jpg


but when i had stripped it i found that a previous owner had years ago installed a sunken table base in to the cargo floor of the bus but hadnt sealed it to prevent any sort of water ingress bbut thankfully it was only surface rust and had not had enough time to do some serious damage..., and i also found a couple of areas around the wheelarch and heat tube part of the bulkhead

photo17.jpg


so first thing i did was to cut out the few bad bits i found as i thought i dont want to remove the new interior any time soon, so i thought if im gunna do it, I'll do it right first time lol. i decided to to de-tube it as im going to be fitting a propex heater.

photo38.jpg


once i had welded in the new sections i totally stripped the floor back to bare metal and then gave it 2 coats of anti corrosive/zinc primer and then toatlly tiger sealed up all seams corners, patches etc just to be sure

photo48.jpg


i also welded in a sunken well in the middle as i want to also fit a fixed table, but didnt want any future problems with water etc

march2012013.jpg


march2012011.jpg


march2012006.jpg


i then decided to fit sound deadening pads in the panels to help with the noise :)

march2012050.jpg


march2012047.jpg


march2012043.jpg


march2012051.jpg


next thing i have done is totally stone chip the floor to help protect the metal and also to hopefully help with sound deadening :) and it wont be seen at all once all the new inerior is in :)

march2012053.jpg


really helpful being friends with local farmers lol the large sheds come in handy :)

i going to give the floor 2 coats of white topcoat sometime this week, leave it a few days then i should hopefully can begin the refit:
i got a volksware full width r n r to fit but im still thinking what else to do ......
 
Just thought I'd do a bit of an update of what I've done this week,

After stone chipping the floor I've given it 2 coats of top coat,

march_2047.jpg


march_2046.jpg


march_2045.jpg


march_2044.jpg


Ordered my floor this morn and a new rear tailgate seal so some treasure to look forward to coming in the post lol

Shaun
 
Very nice bud
You've done a tidy job on the inside,looks so much better.
One day in the distant future mine will look this good (I hope)
 
si. said:
Very nice bud
You've done a tidy job on the inside,looks so much better.
One day in the distant future mine will look this good (I hope)

Cheers :) I can't wait to get the floor, panels and rock and roll in then she's ready for summer :)
You'll get there , there's so much satisfaction in doing resto on one of these, just read through yours, nice bus :)
 
had a few boxs of treasure come this week including my new flooring.

i priced up a 10x5 sheet of ply to do the floor but the local wood yard wanted £60 + vat for a sheet so i passed on that and decided to to get 2 thinner sheets of 8x4 and use timbermate pvb to glue them together and once that stuff goes off its for keeps lol

but first i put in my 8mm closed cell underlay :)

shaun2012010.jpg


shaun2012012.jpg


shaun2012013.jpg


shaun2012014.jpg


i went down the madmatz route for my flooring, its a real good match for the interior colours, but i know after reading a few threads that people are having probs with it marking/scratching etc, but ill see how i go on :) i was only able to do half of the tiles yesterday before i had an appointment at work, so hopefully going to finish it off at some point this weekend :) :D

shaun2012016.jpg


shaun2012017.jpg


it says approx 10 min for the adhesive to go tacky/clear but took about an hour lol

shaun2012018.jpg


shaun2012019.jpg


hopefully get the other half done later, then i can get my r n r built up and in :D

shaun
 

Latest posts

Top