My 68 deluxe twin-slider progress thread

Early Bay Forum

Help Support Early Bay Forum:

This site may earn a commission from merchant affiliate links, including eBay, Amazon, and others.

mcvw

Well-known member
Joined
Oct 10, 2006
Messages
1,682
Reaction score
68
Location
West Sussex
Hi,

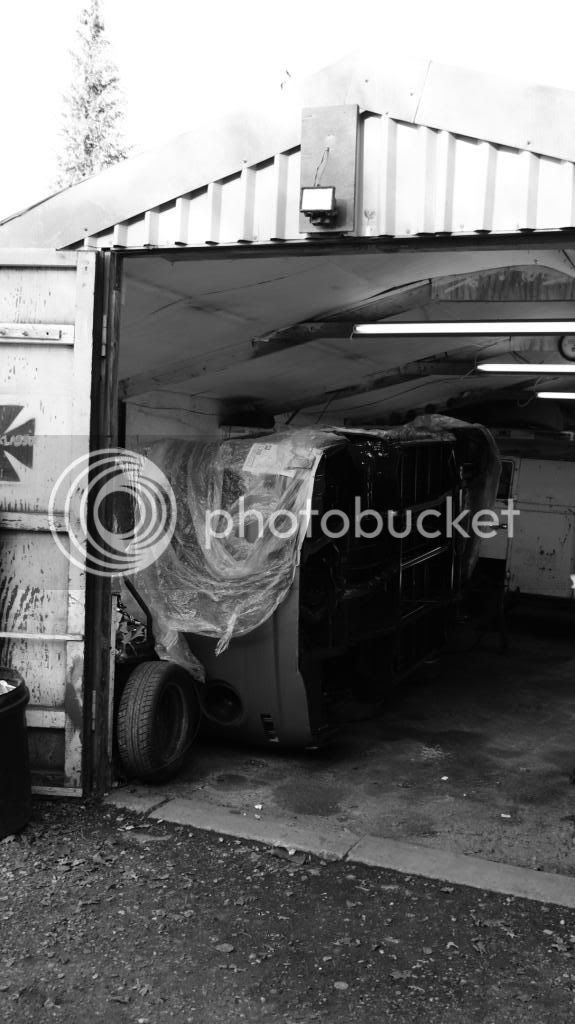
Not a great deal to report, but at least things are going in the right direction.

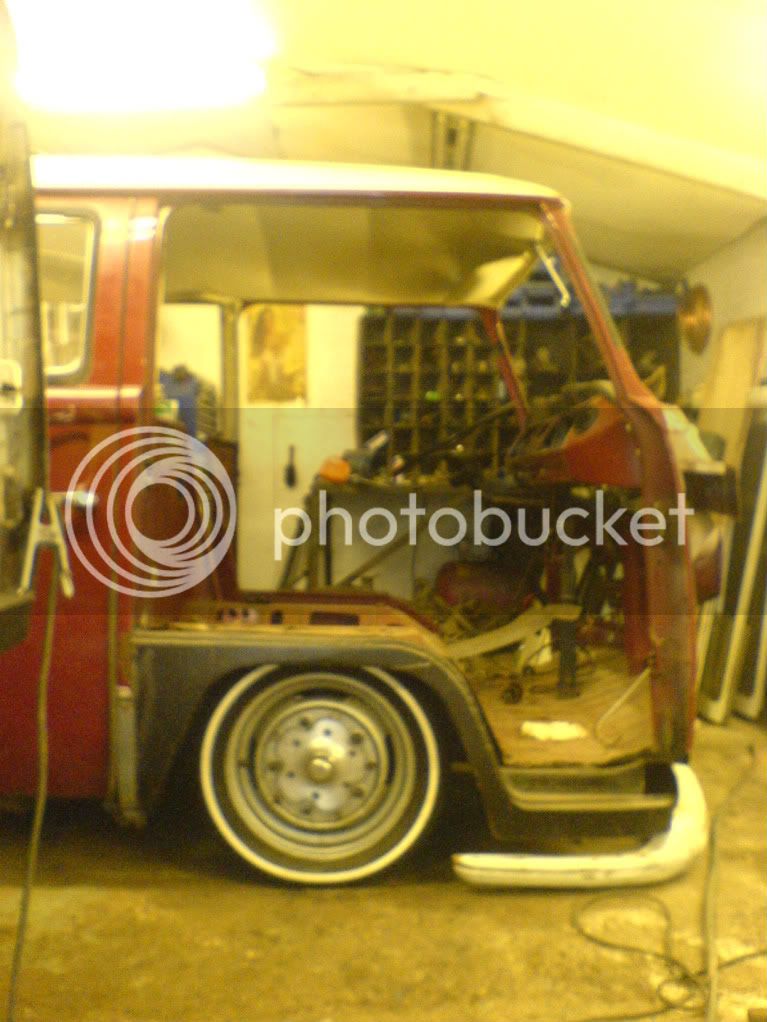
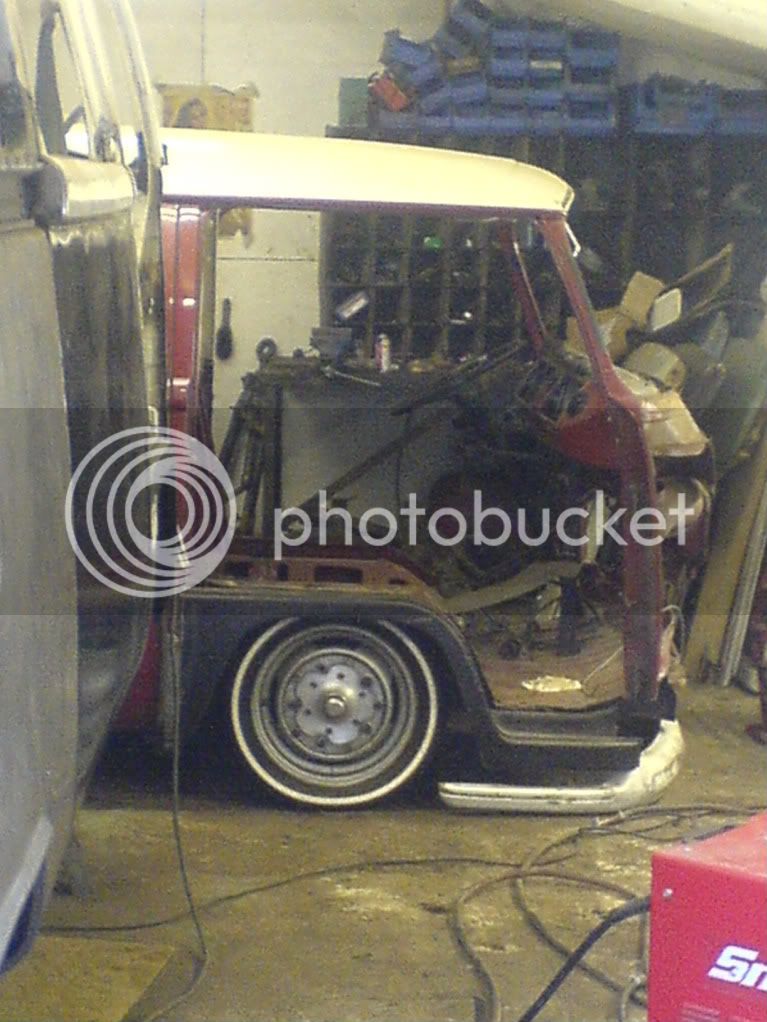
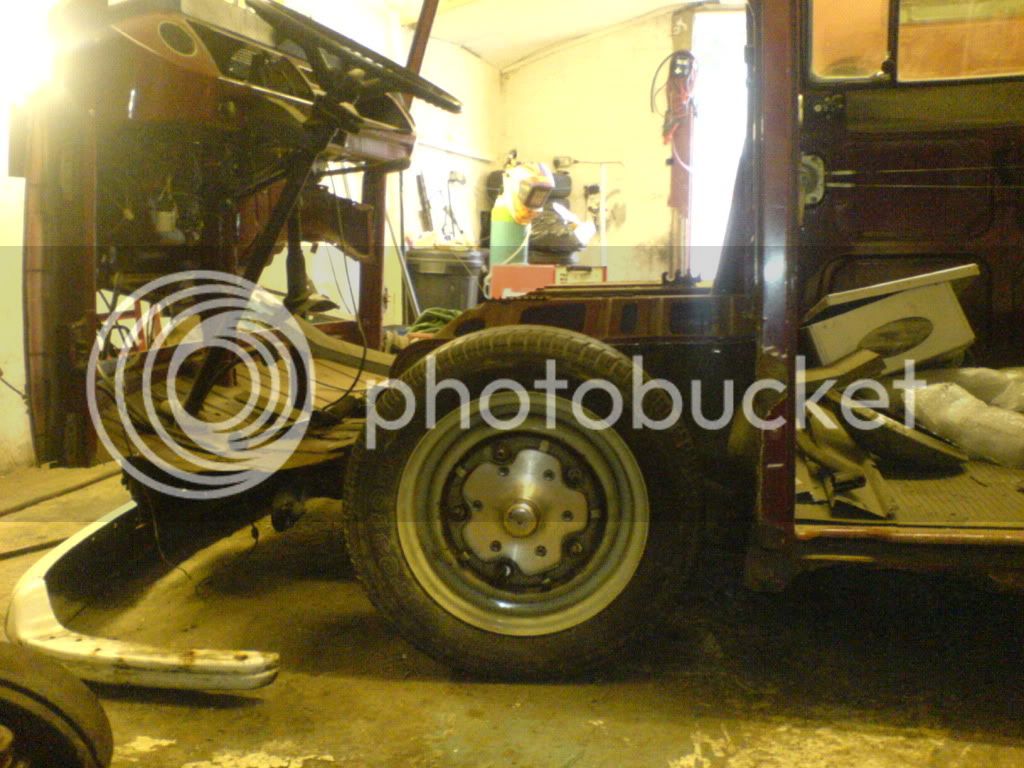
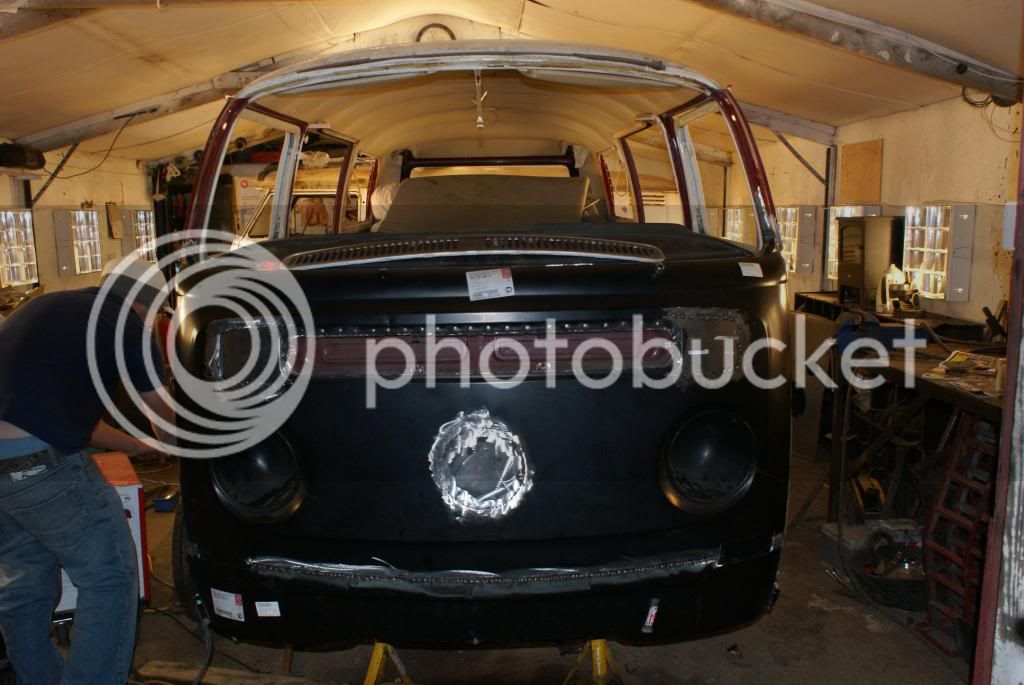
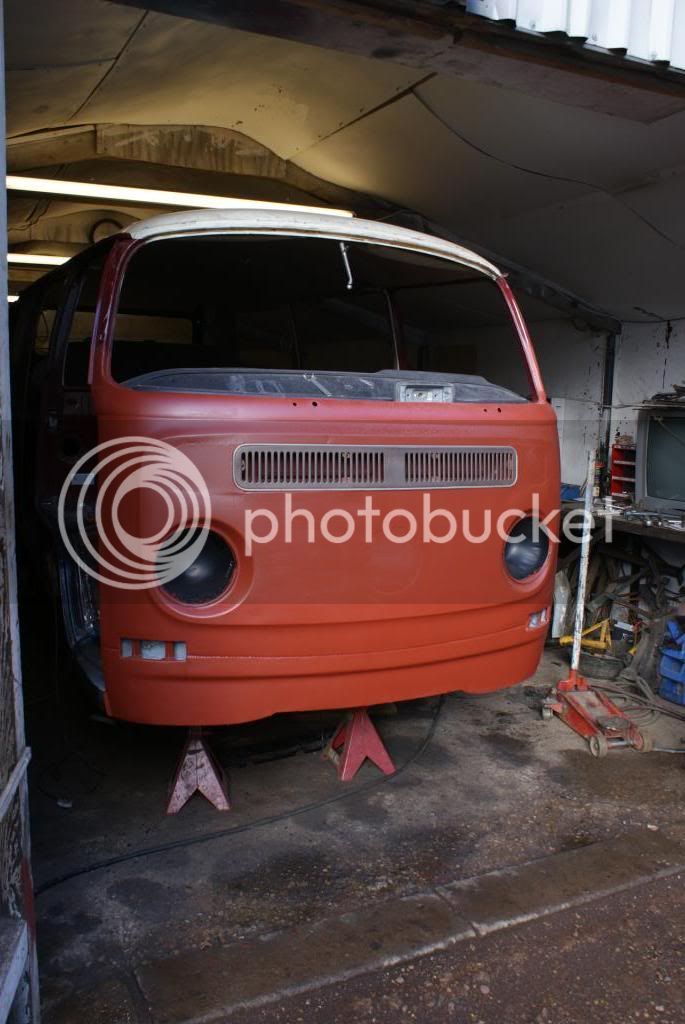
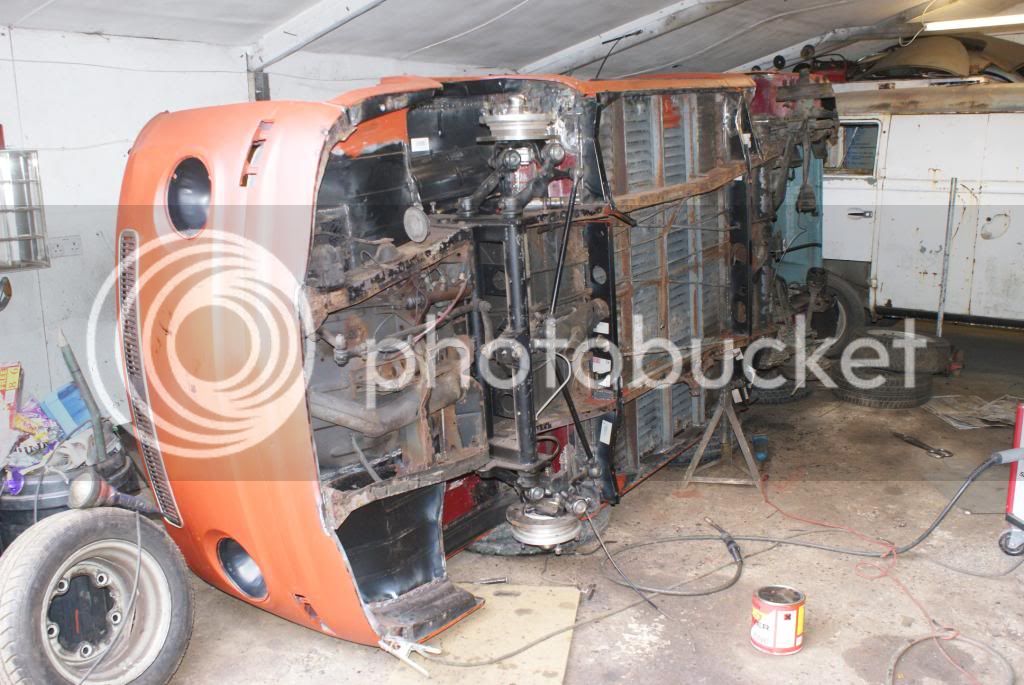
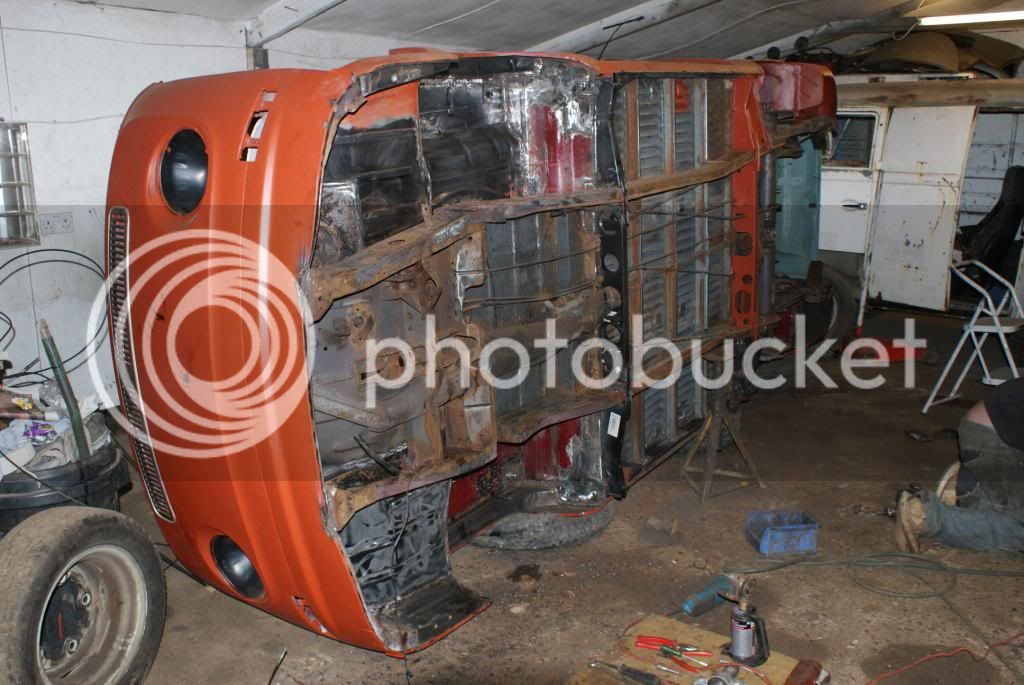
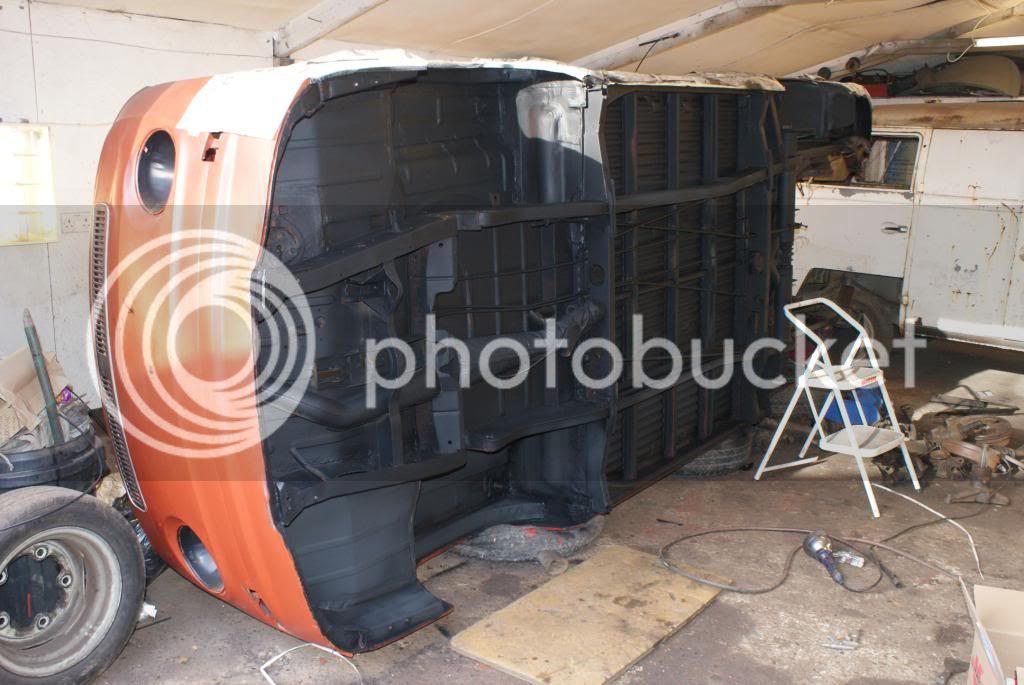
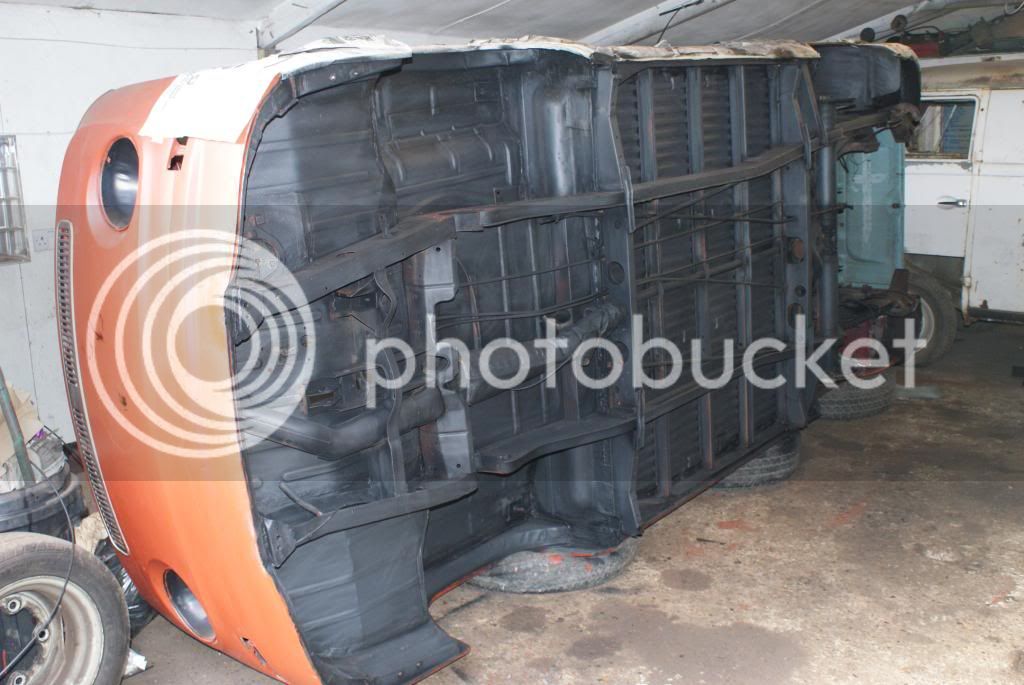
Front panel removed...
DSC00434.jpg


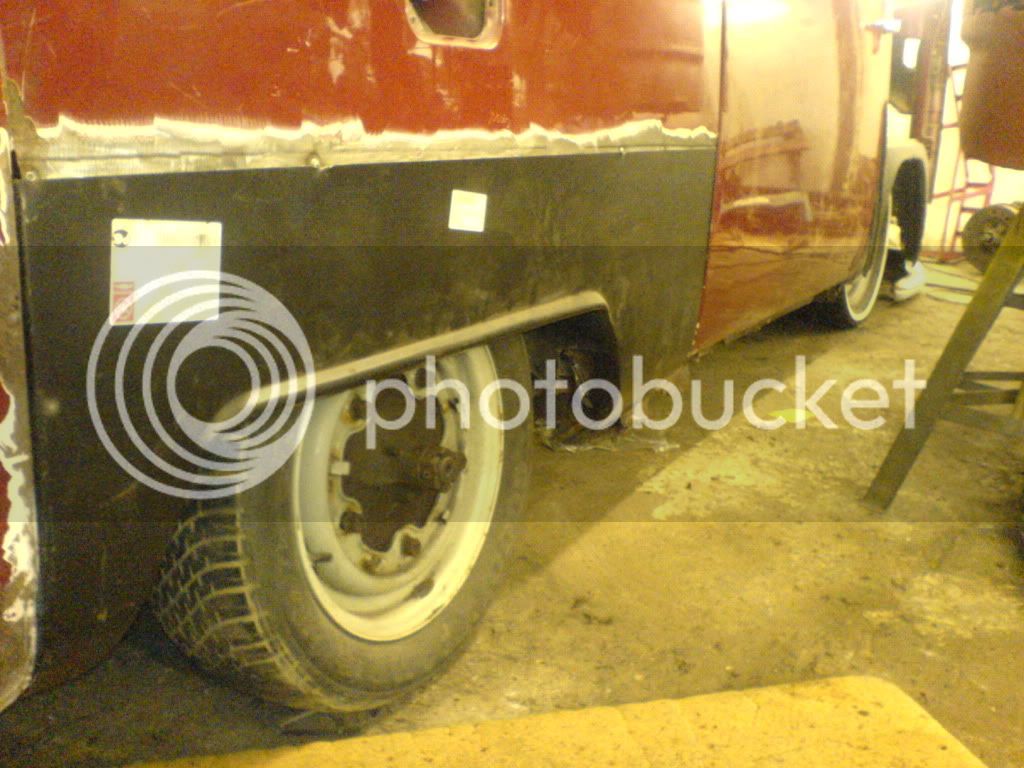
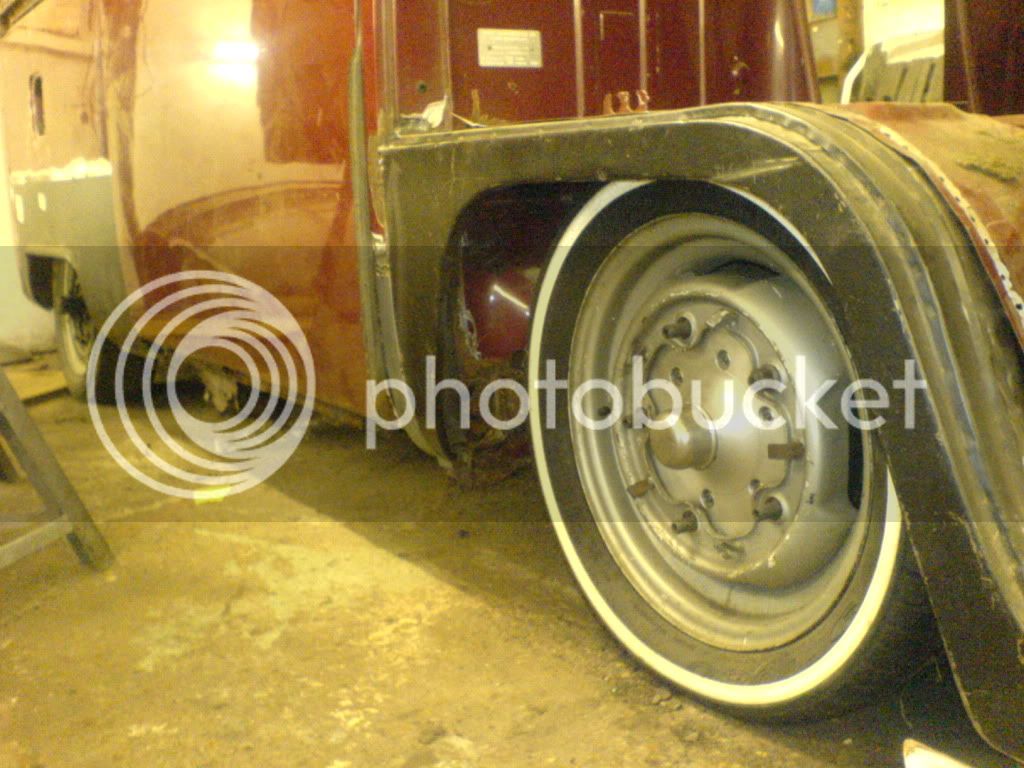
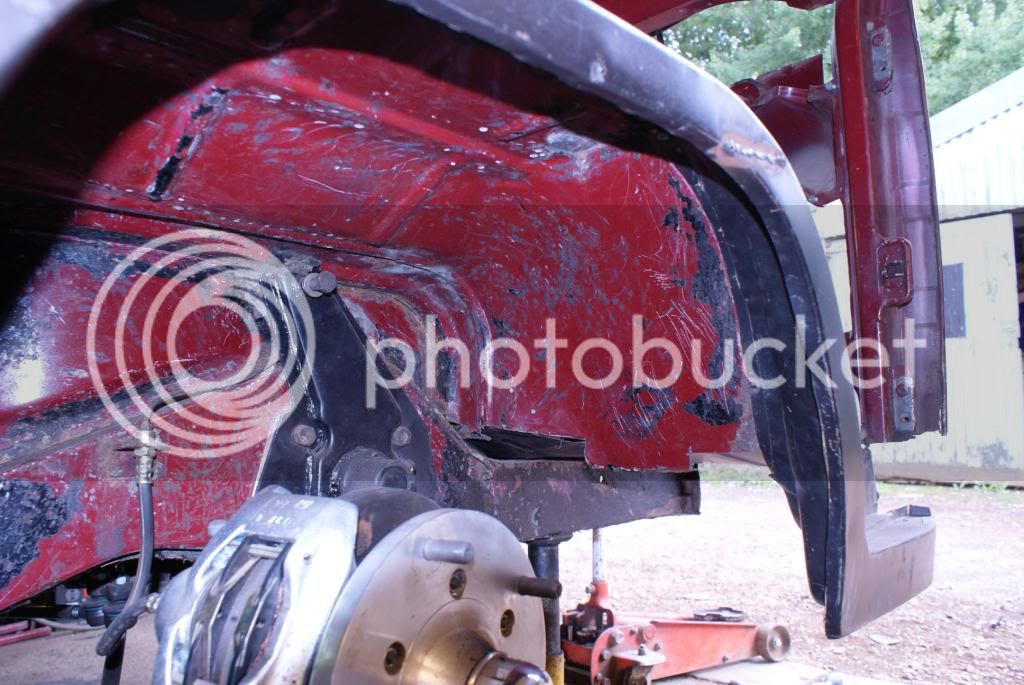
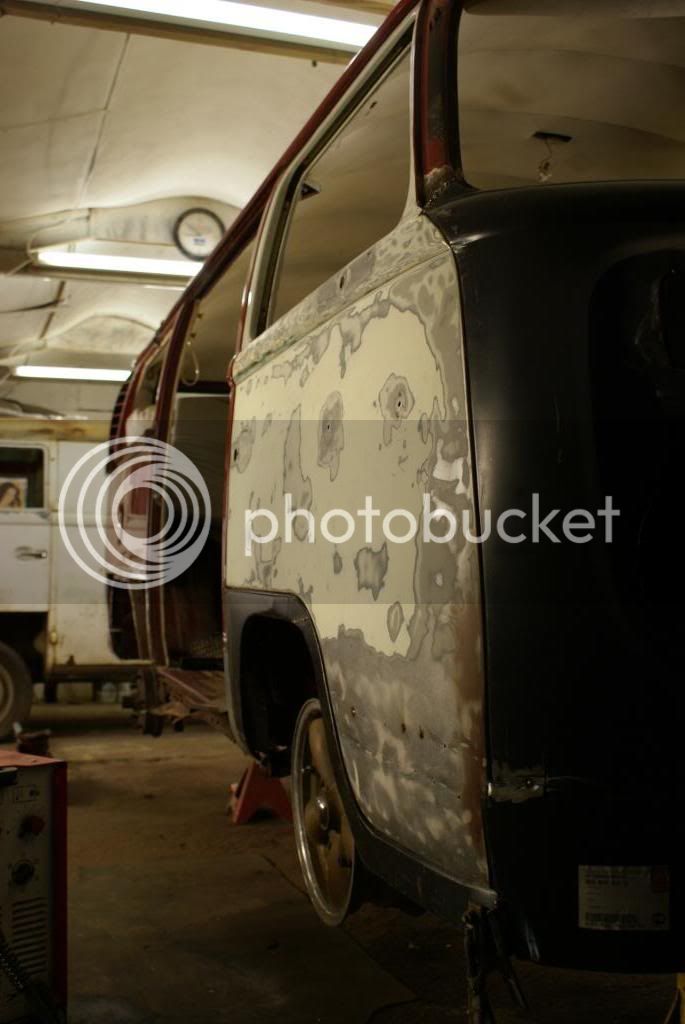
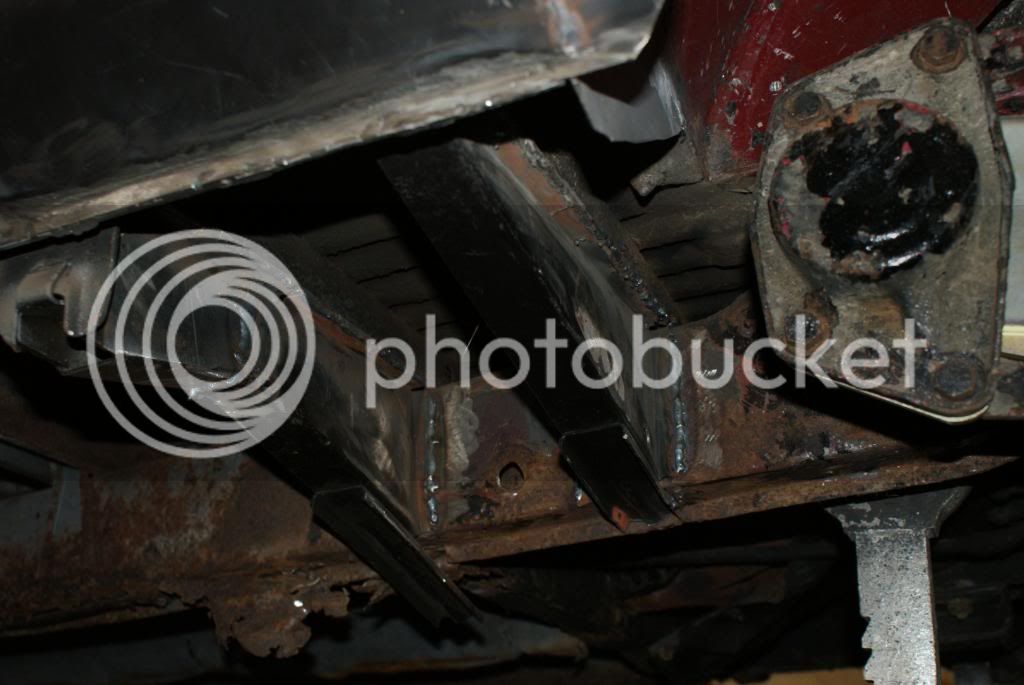
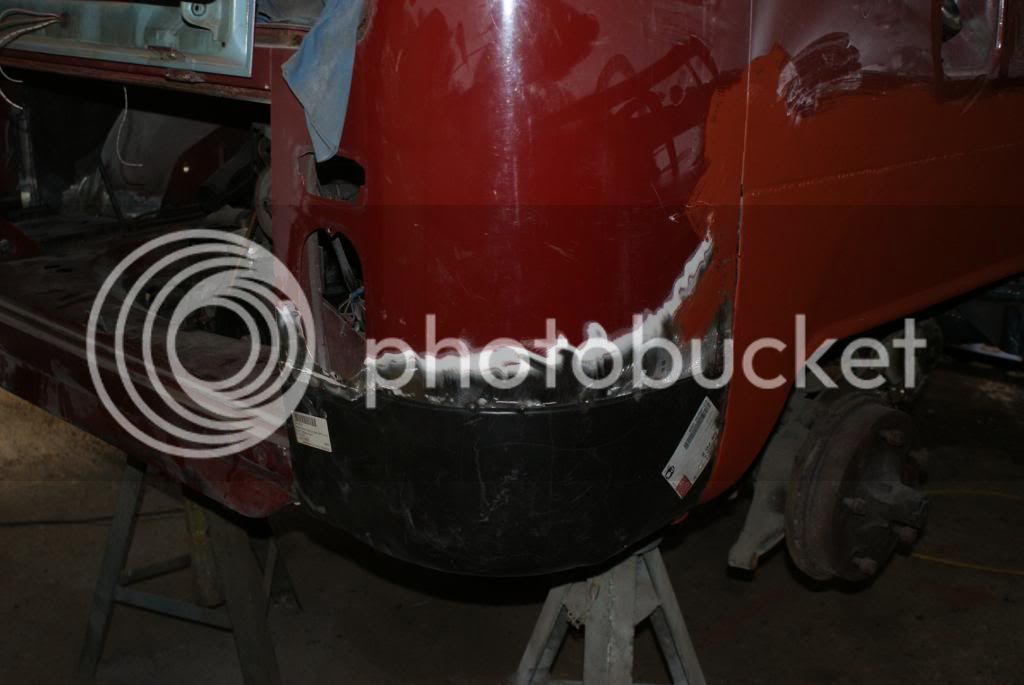
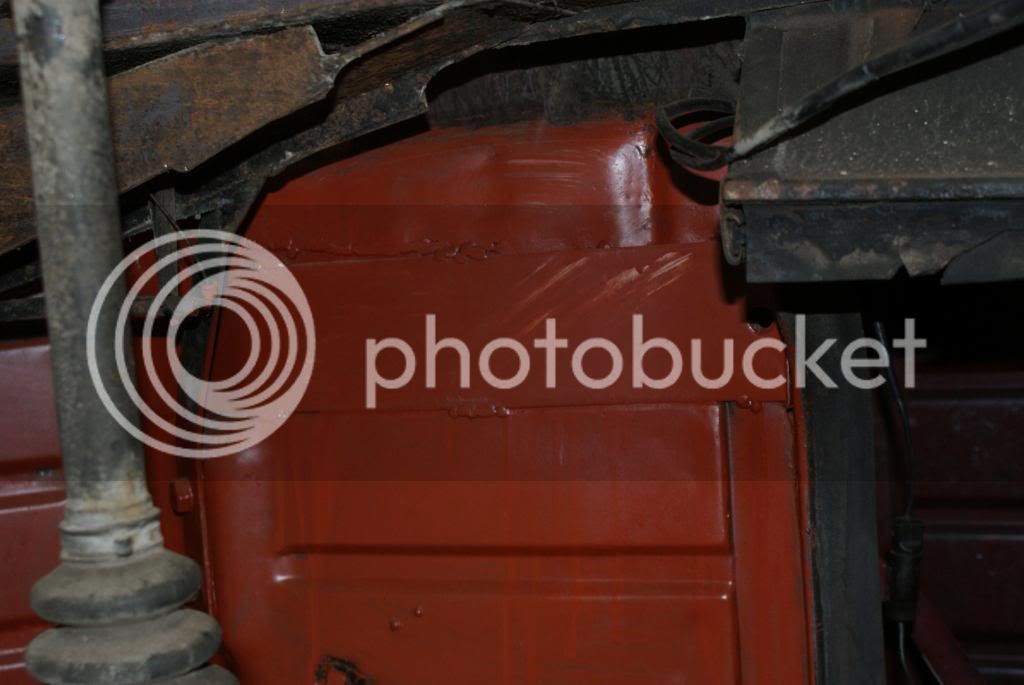
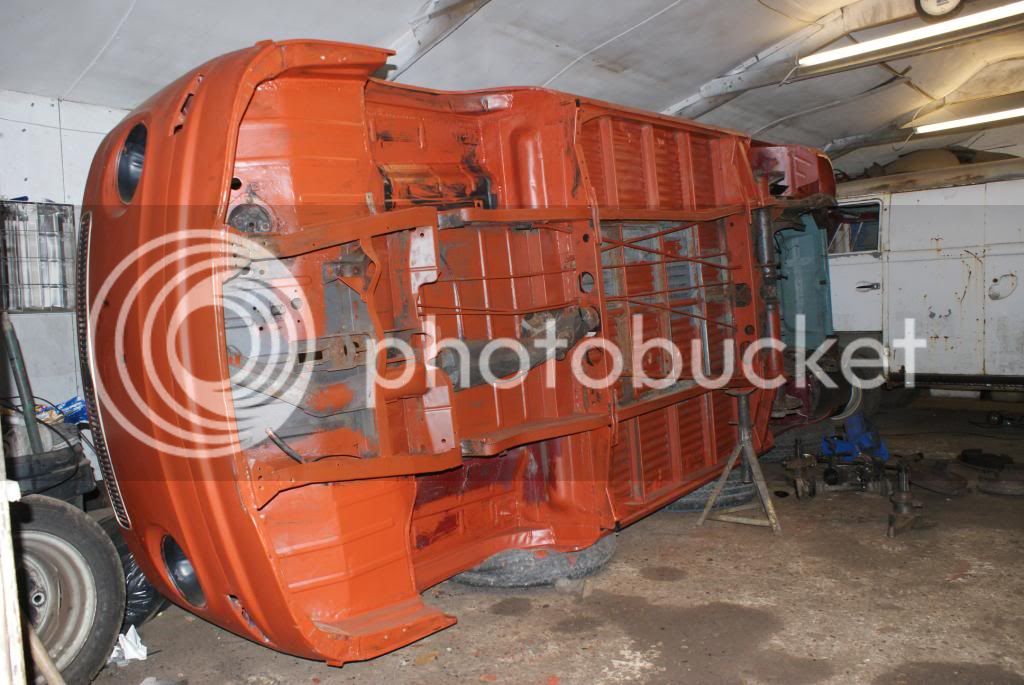
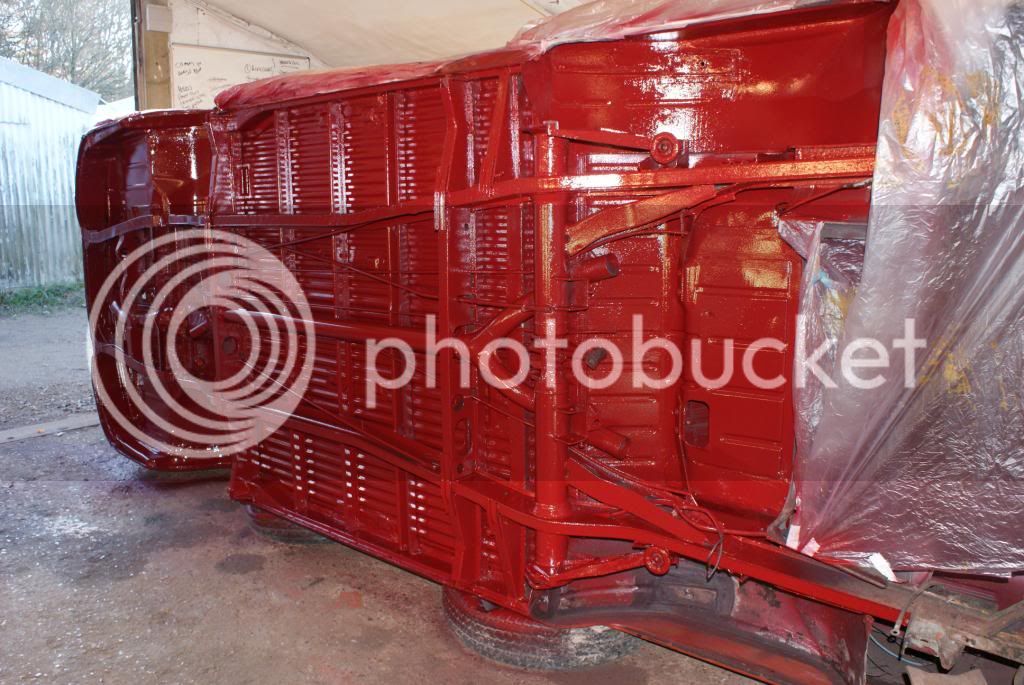
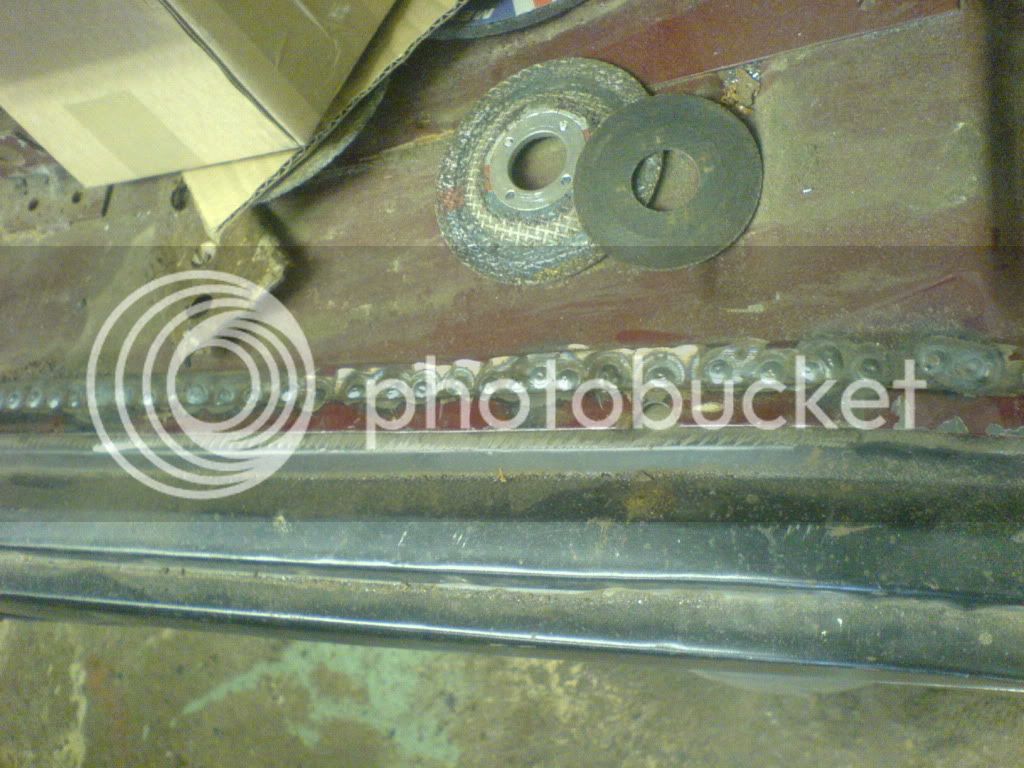
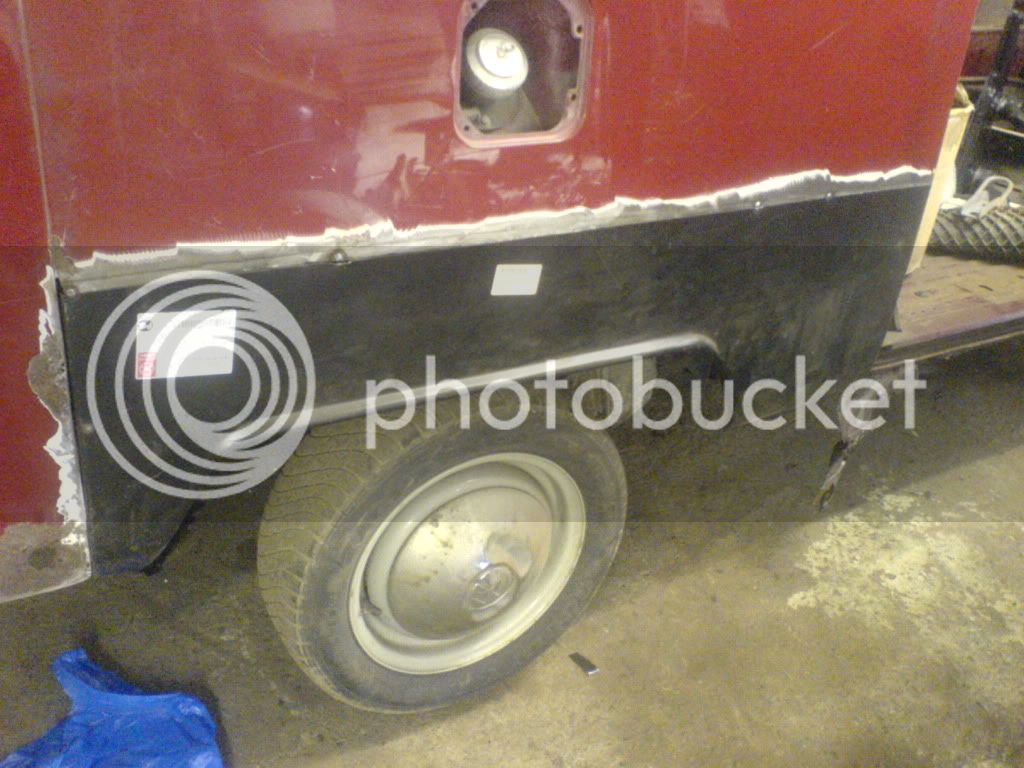
O/S front arch replaced...
DSC00433.jpg


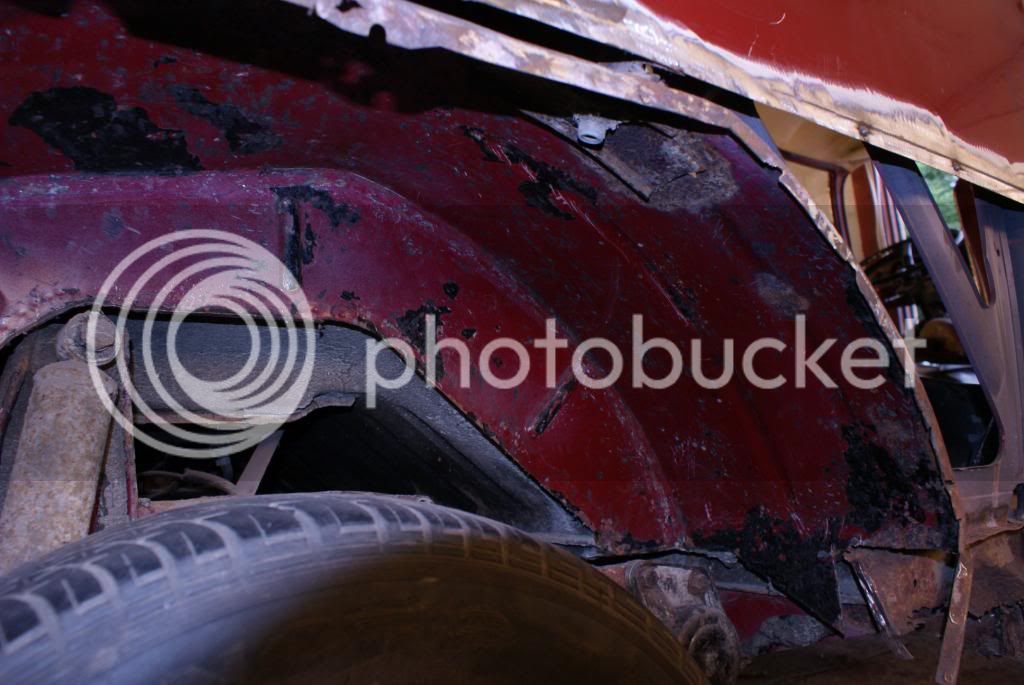
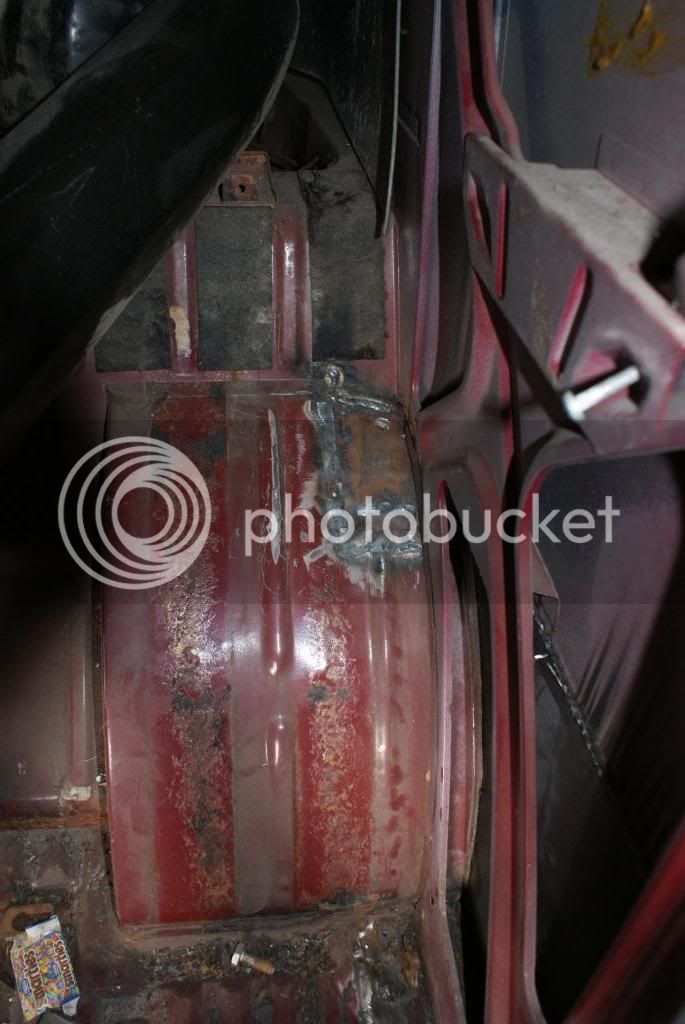
Close up of o/s front arch...
DSC00438.jpg


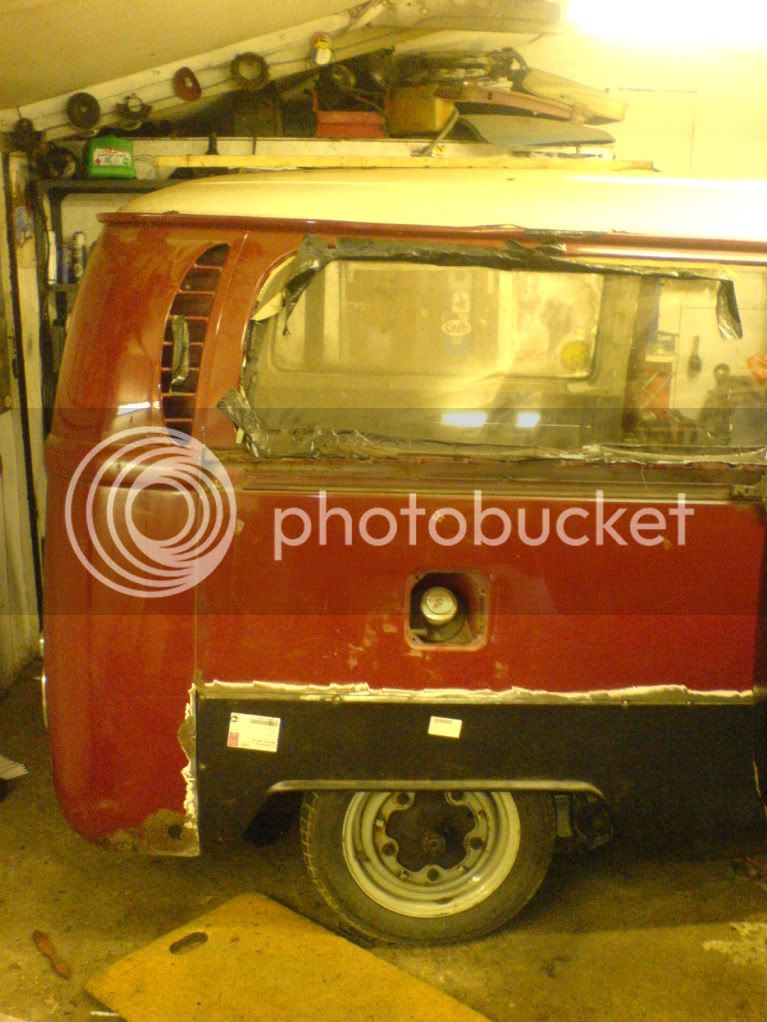
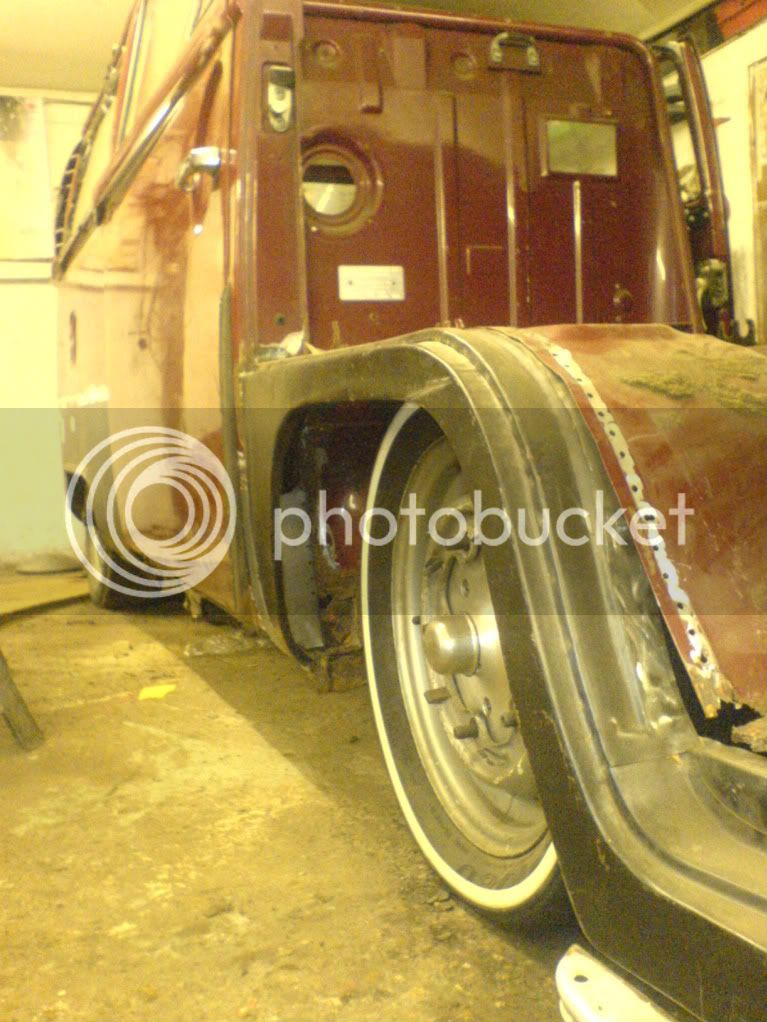
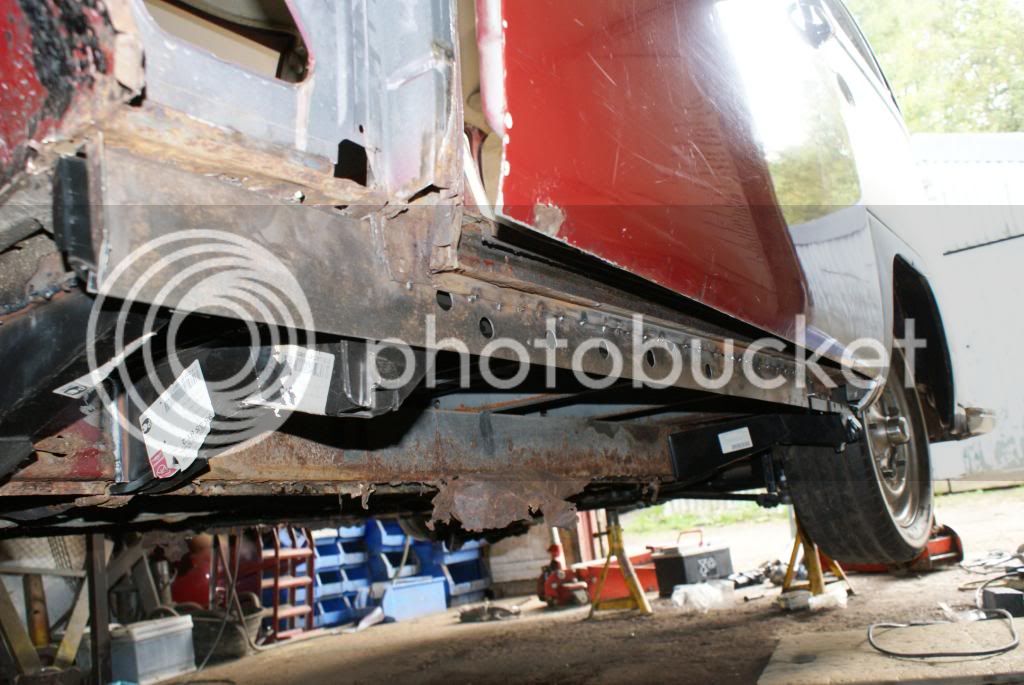
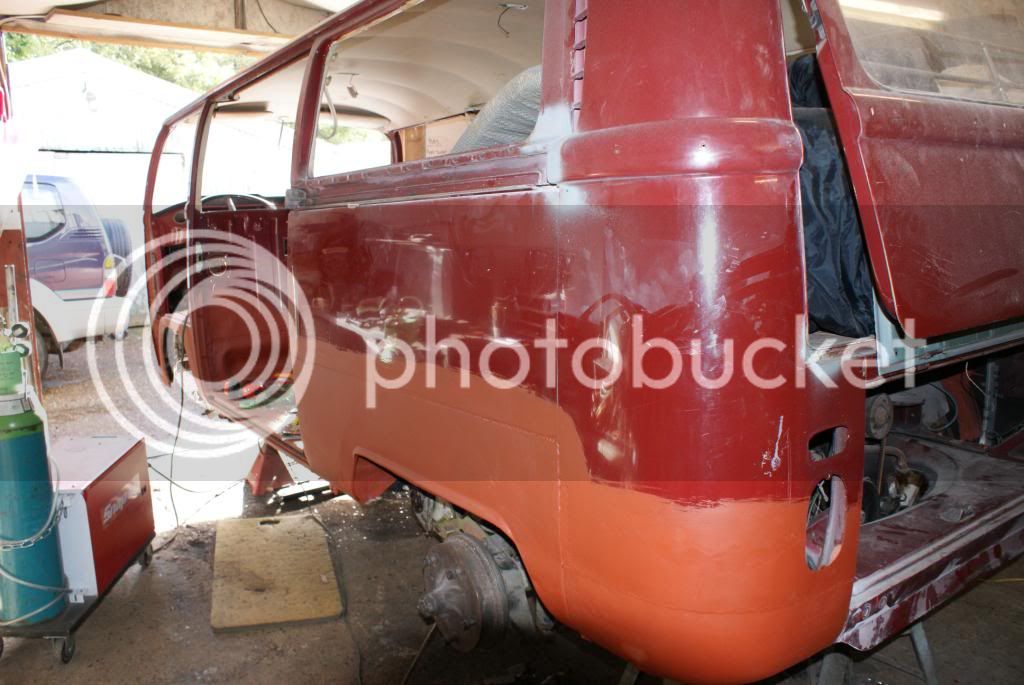
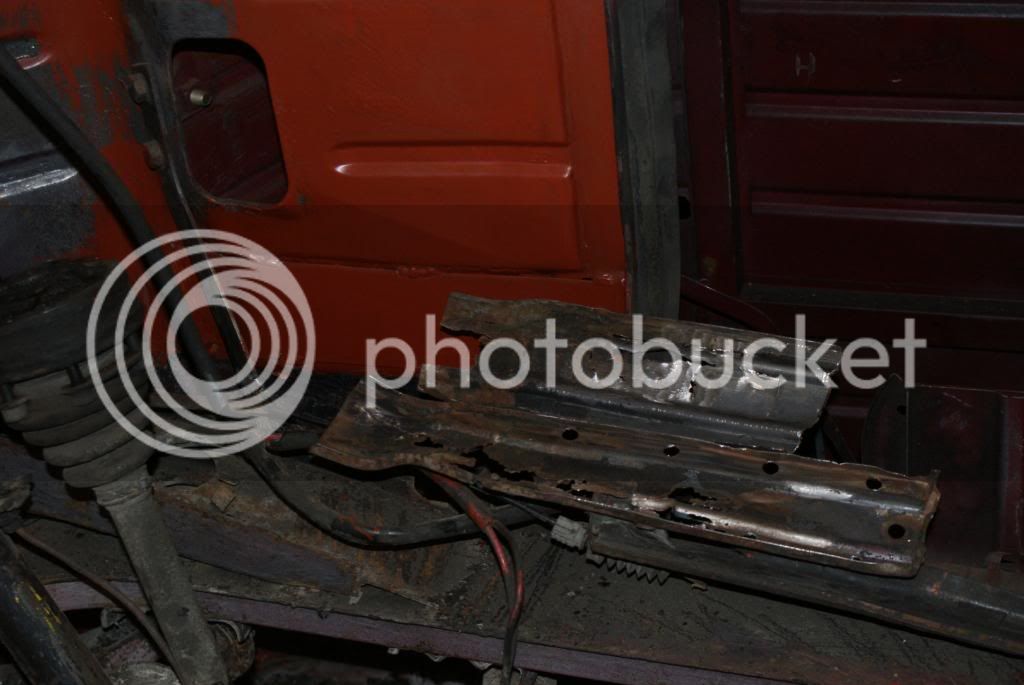
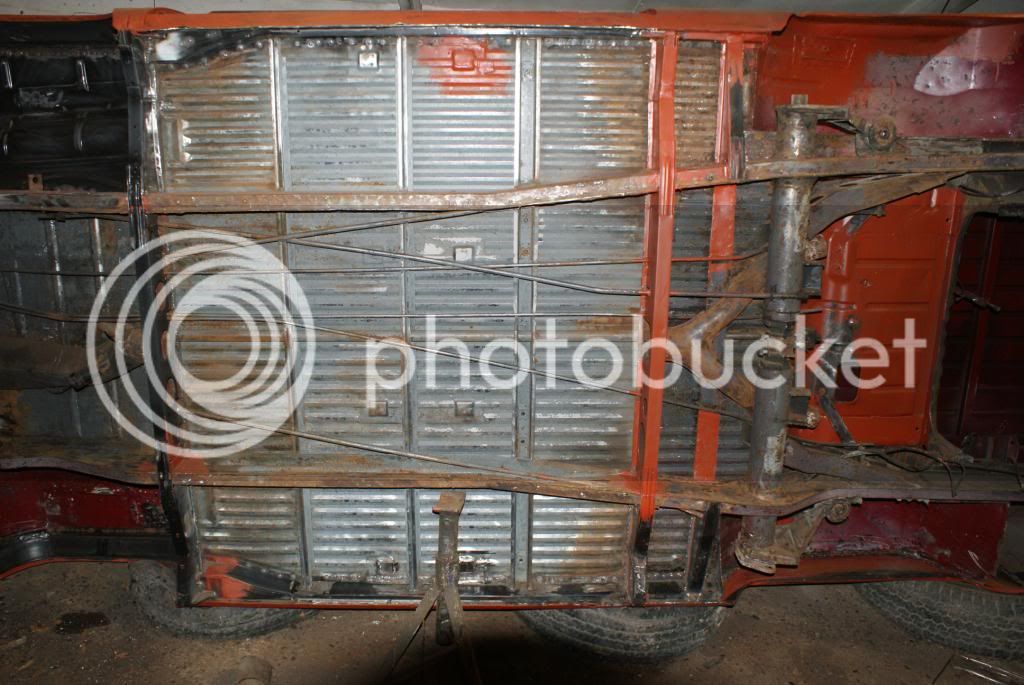
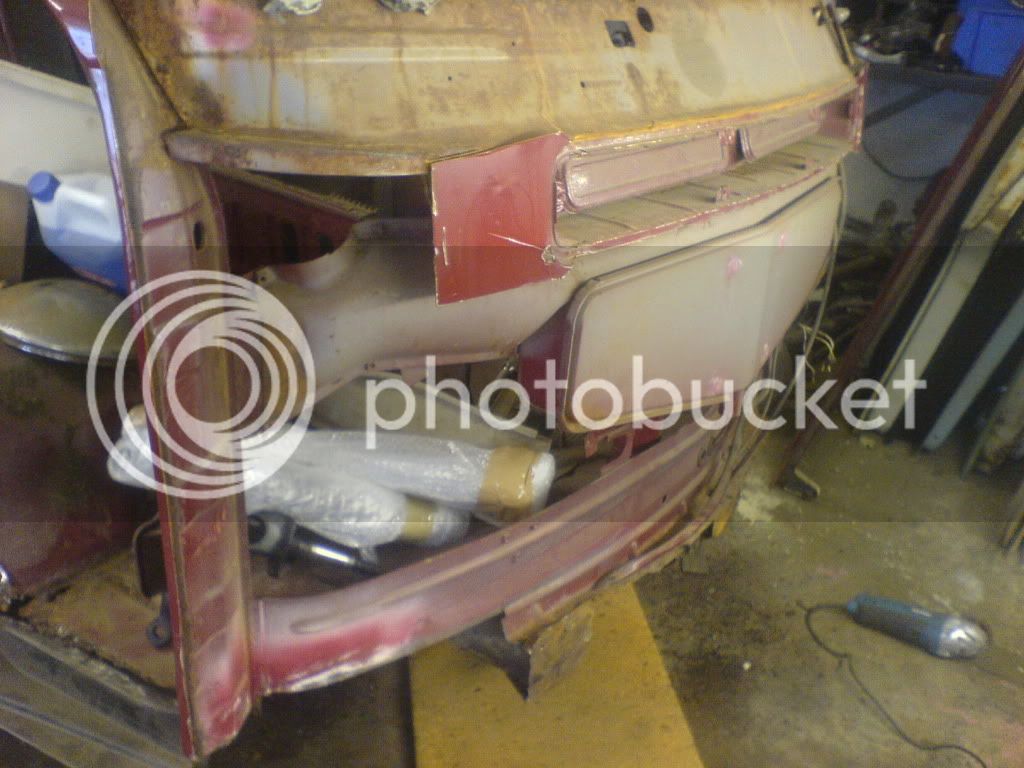
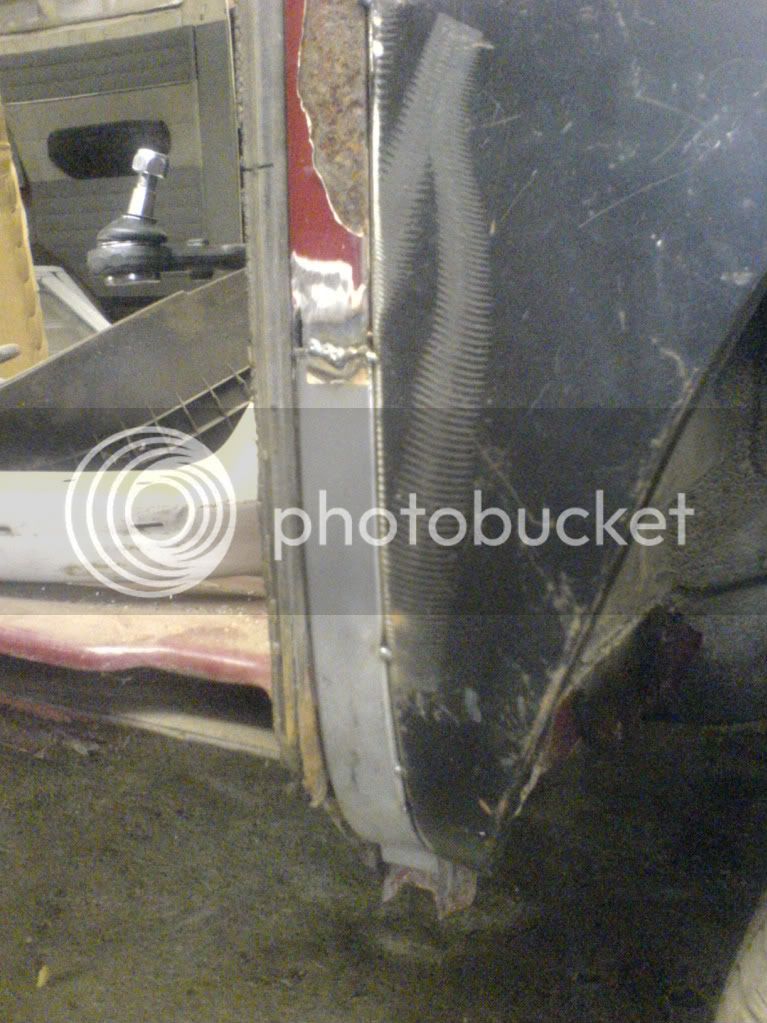
O/S B-post replaced...
DSC00432.jpg


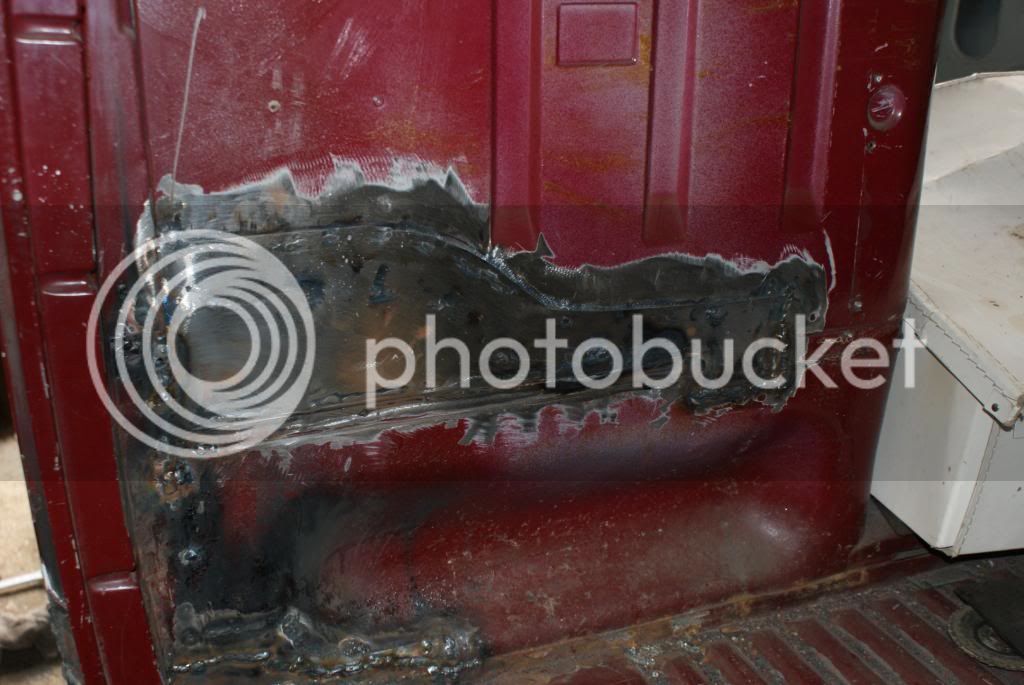
O/S rear arch - only tacked up for position at the moment
DSC00435.jpg


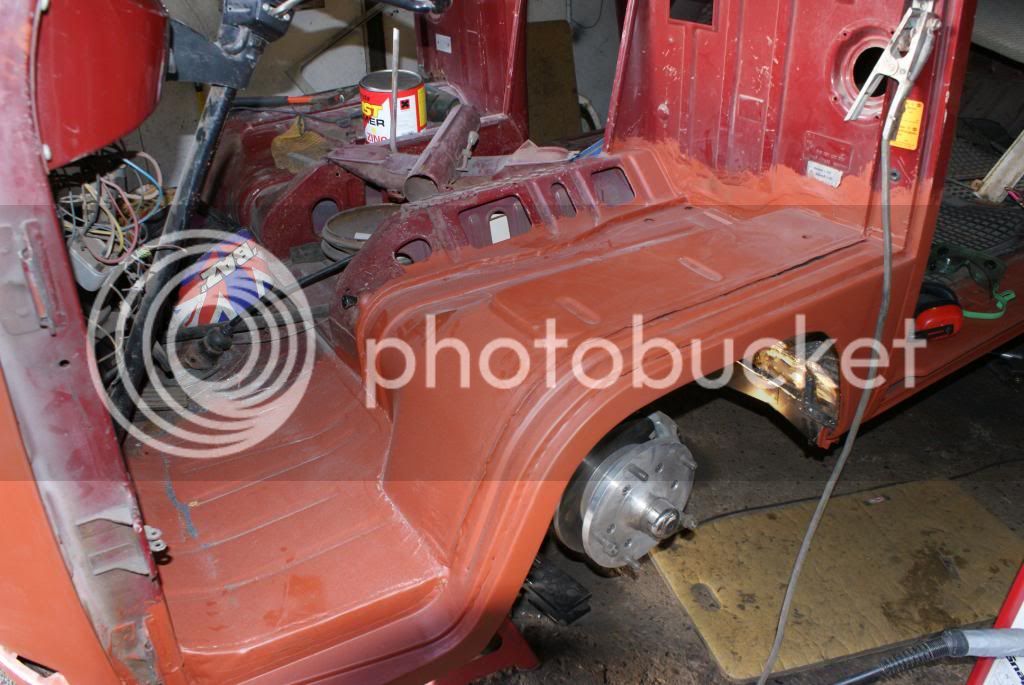
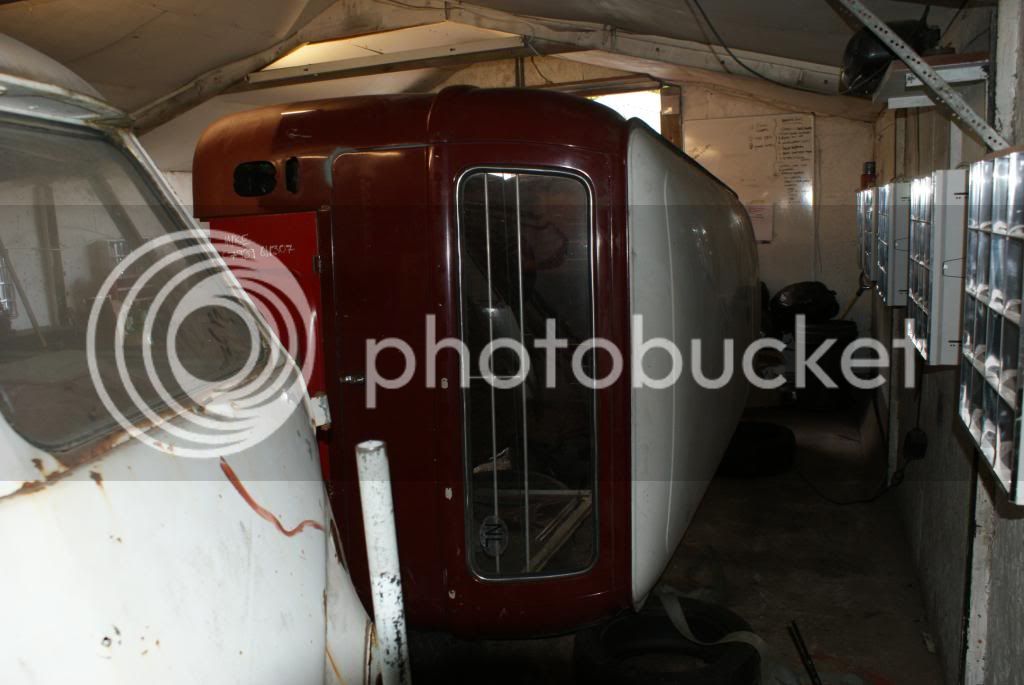
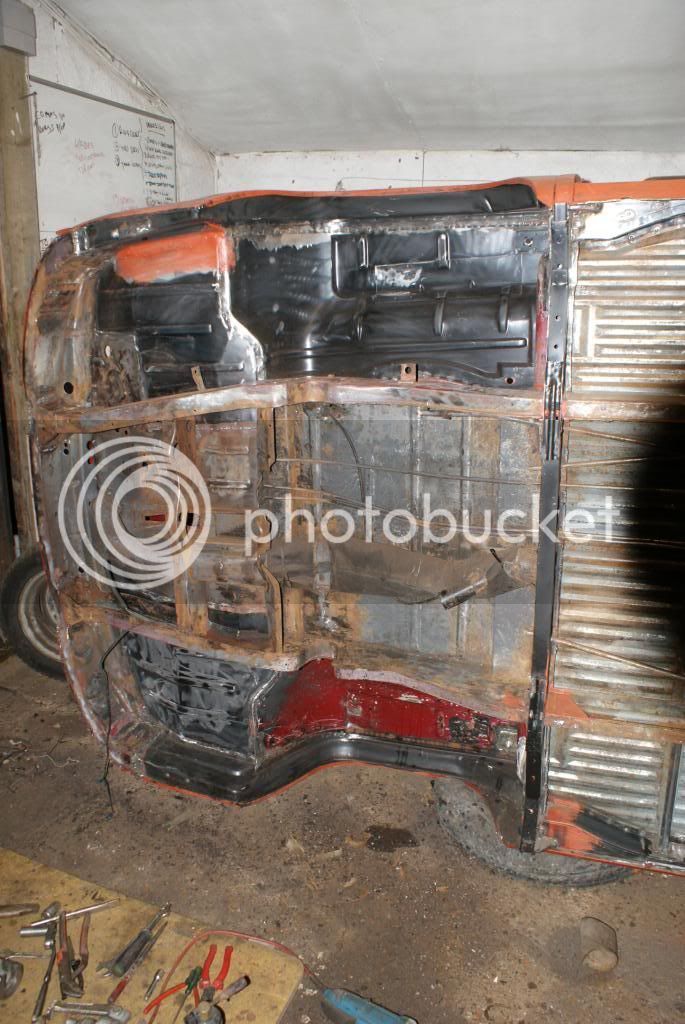
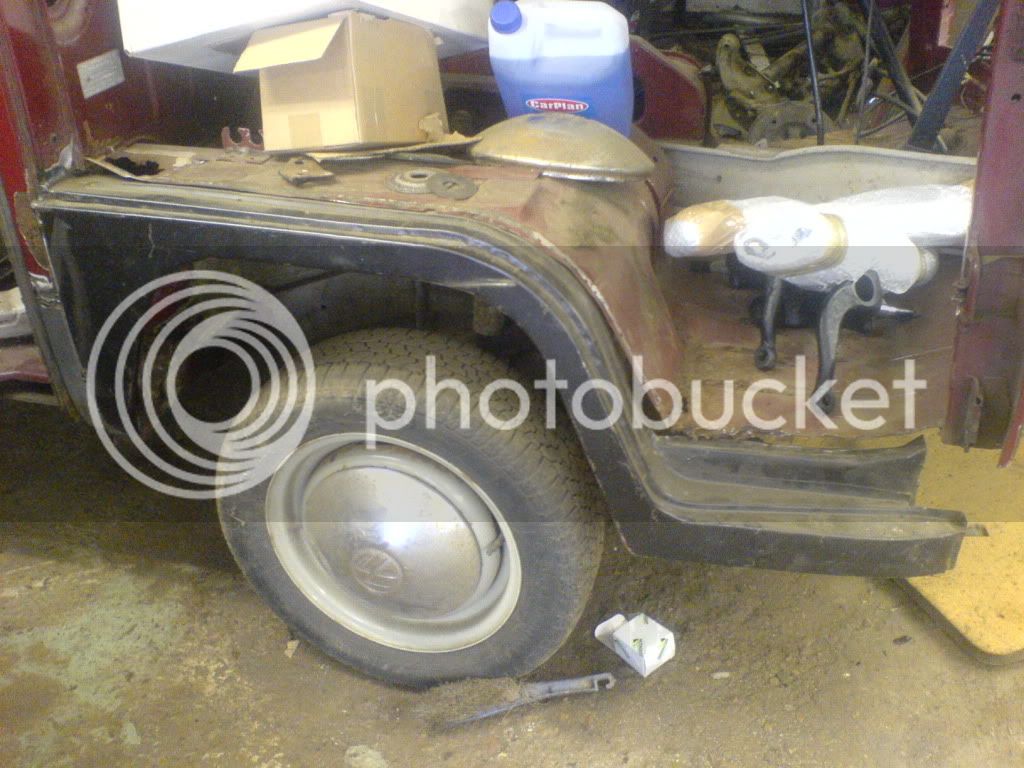
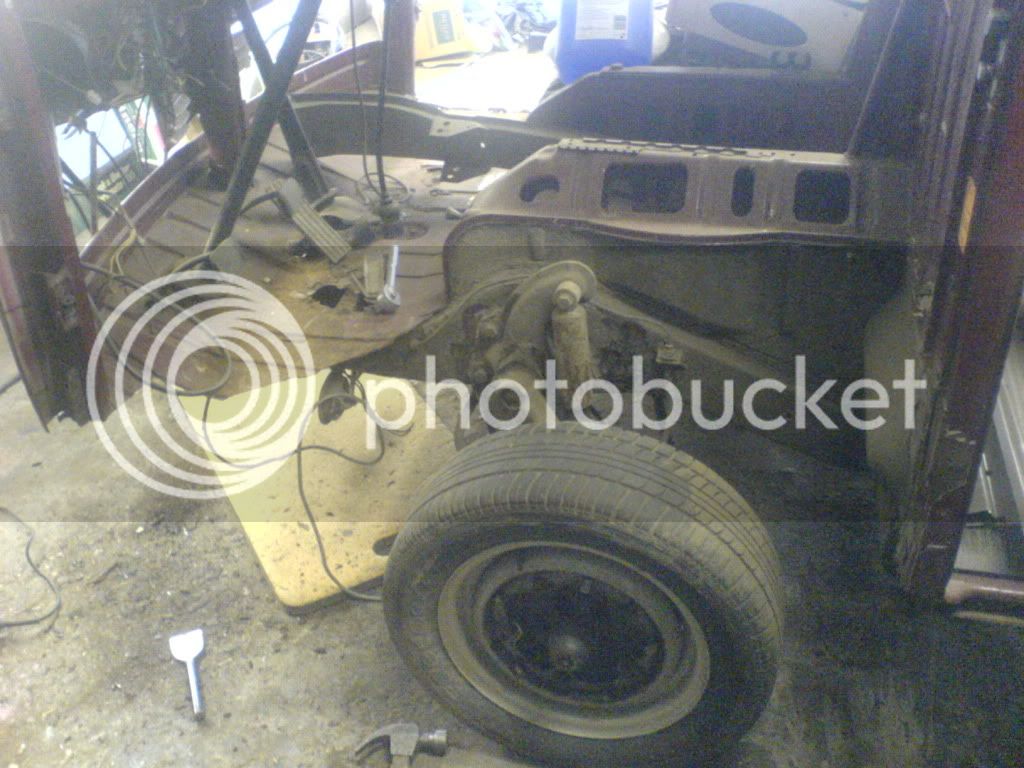
N/S front: floor still needs cutting back. Tub has been cut out
DSC00436.jpg


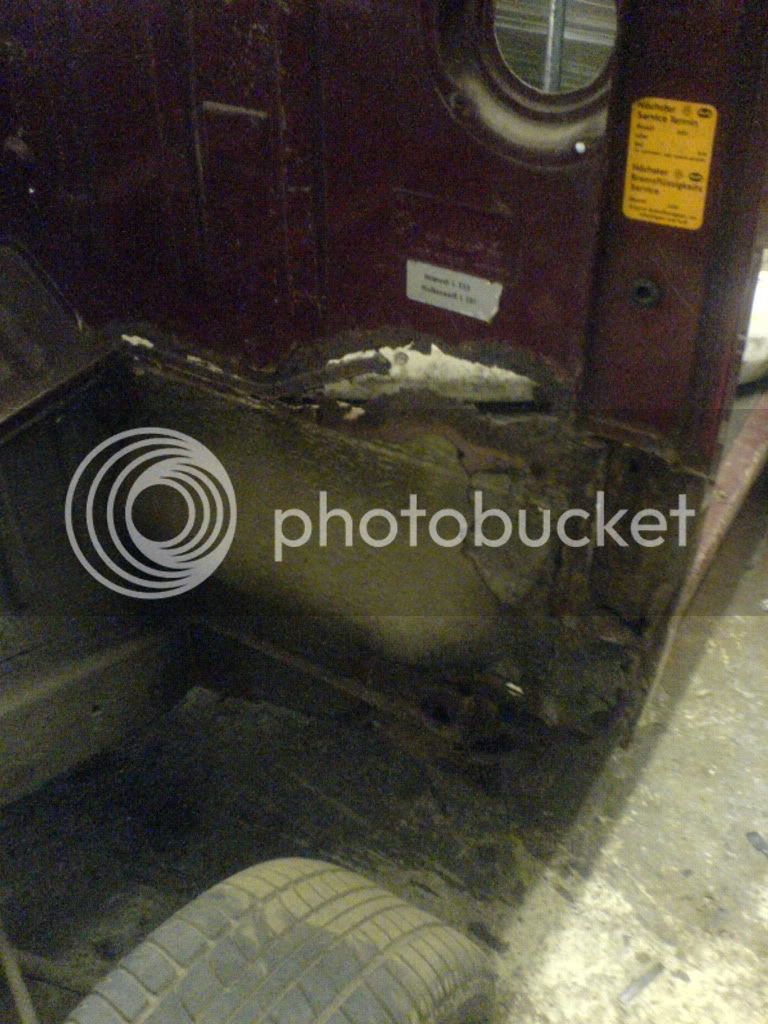
N/S inner front arch awaiting cutting out & replacing
DSC00437.jpg


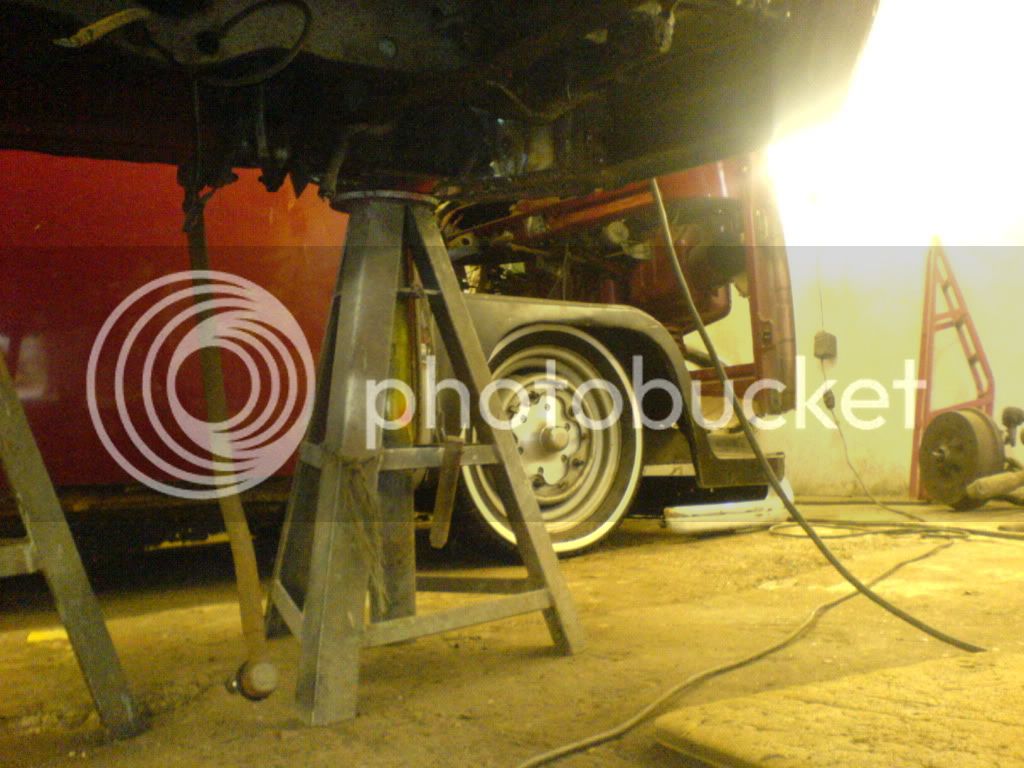
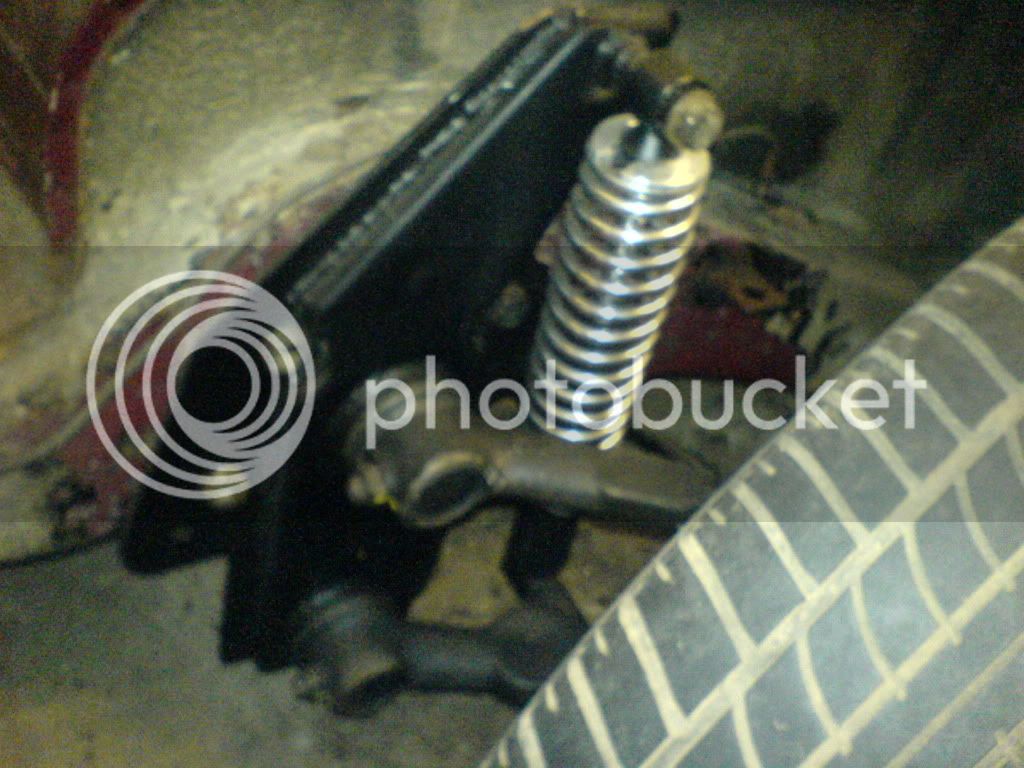
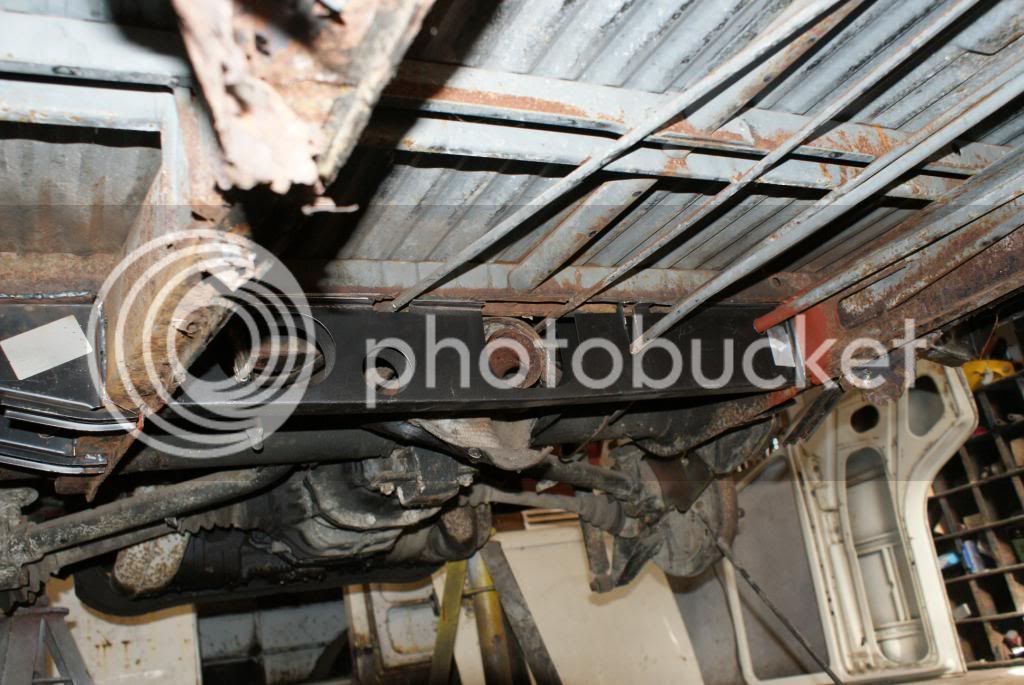
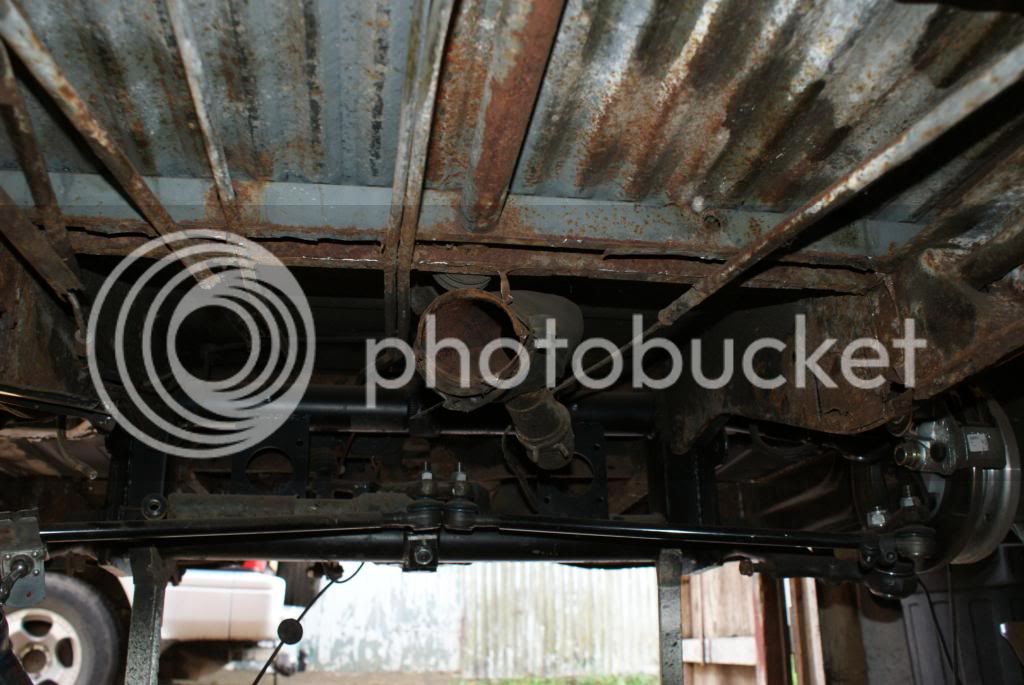
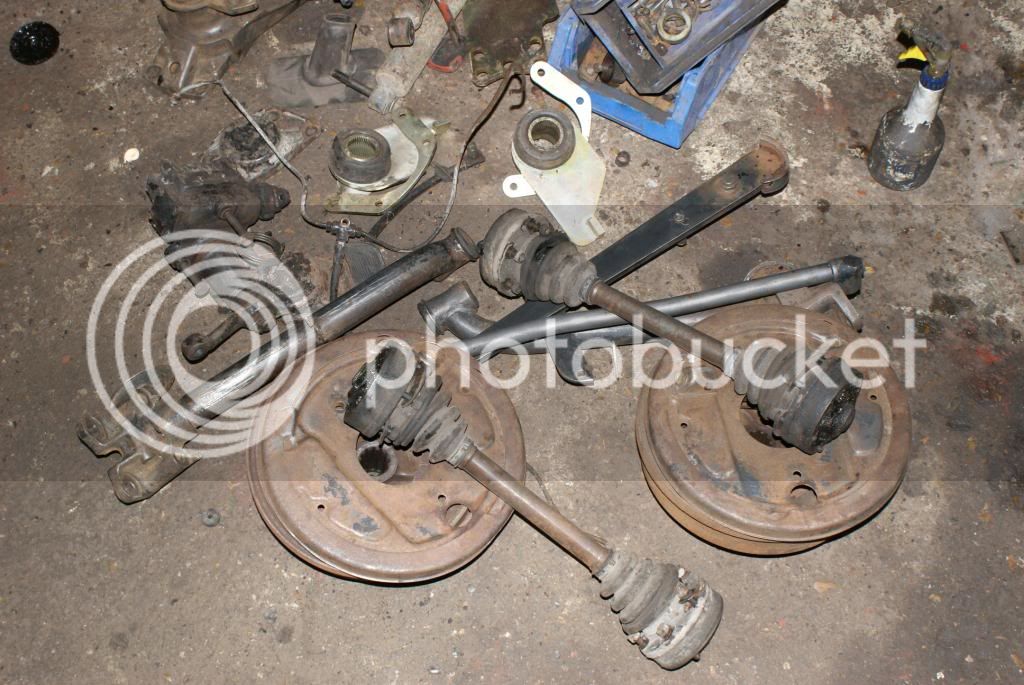
While I was there I dropped off my CSP disc kit, weedeater beam & t2d dropped spindles - and Bazza seemed to be liking them a lot:) So who knows... Maybe next time I go visit the front end will be slammed 8)

There's still a long way to go and more work which hasn't started yet i.e. inner, middle & outer sills (both sides), n/s rear arch, battery tray, but that's for another day and another update :)

... And hopefully the next update will be before Christmas... 2009!!! :lol:

Cheers,


Mike
 
Went down to see Bazza and my bus at Kult Klassix this morning. The weedeater and T2d goodies are now on (drop-spindles, coilovers and adjustable springplates), and it looks a little something like this... 8)

DSC00543.jpg

DSC00544.jpg

DSC00545.jpg

DSC00546.jpg

DSC00547.jpg

DSC00548.jpg

DSC00549.jpg

DSC00541.jpg

DSC00542.jpg


There are still plenty of panels to replace/finish, but what a transformation!!! It's amazing how something like this can completely renew your enthusiasm, and all of a sudden from thinking it'll be forever until the bus is ready I can now almost see it being finished (well... maybe :lol: )!

The beam isn't at it's lowest setting and there is about an inch of clearance at the top - so it will be going up slightly - but then I have different tyres to put on too... It's down 2 outers at the rear and (I think) is nearly at it's lowest setting on the springplates, so they will be wound up a touch - but I will see how it sits when it's on all four splitty rims (it's on 14" bay rims at the moment - with one splitty 15" at the front).

Anyway... I'm too stoked right now to think about anything else :lol:

Cheers,


Mike
 
roland said:
Looking good! Love it with the thin white wall..
It's actually one of Ant's old wheels (Ant I still owe U a beer/cider or three) - hence the whitewall. Even tho Ant says the tyre/whitewall wasn't that good it does look the nuts! And when I get all my wheels and tyres sorted I'll be asking Ant to work his magic on them :)

EgoTrippin said:
Thats sat well nice fella.
It looks ace - but couldn't be considered practical. I couldn't even get the 'tin of beans' underneath the front bumper :lol: Baz said that to go lower at the back (is he mad!) the chassis would need notching. I was considering getting the front tubbed - while the repairs are at this stage - but not sure if I could still run my Porsche seats with tubs :?:
 
Looks like its gonna be a good un Mike , although I wouldn't fancy going too far with only one wheel nut on :lol:
I can see why you need that B-I-G tent , you probably be selling your house to pay for all that fancy gear on the bus :shock:
 
Grazy said:
Looks like its gonna be a good un Mike , although I wouldn't fancy going too far with only one wheel nut on :lol:
I can see why you need that B-I-G tent , you probably be selling your house to pay for all that fancy gear on the bus :shock:
Hey Gra',

Thanks - I hope it's gonna be good too :) Now it's a bit lower it'll probably fit in the tent too :lol:

Agreed, the fancy stuff isn't cheap, but I'm hoping that it'll outlast cheaper/alternatives :)

See you next Saturday!!

Cheers,


Mike
 
That is low........

Coming together nicely - don't drop to low as you know you will end up tubing and notching (loads of money... :shock: )
 
Nice to see that my old van is restored so well.
Hav'nt seen her since 2007 when I had to sell her. (had her since 2003 waiting to be restored)

IMG_4679.jpg

How I bought her :) in 2003
 
Hi Mike, its me, Max, we've never met but I was the owner before Richard.
Had to sell the van (did not want to).
I'm not that often on this site, most of the time I'm on http://www.vct2.nl" onclick="window.open(this.href);return false;
 
Ok... long overdue an update...

Started removing the underseal from the inner arches...
DSC03473-1.jpg

DSC03478-1.jpg


New front panel on...
DSC03568.jpg


Tried some Rocket Industry 5-spokes. Not bad. Ok on the front, but not on rear (didn't clear castings on drum)
DSC03562.jpg


O/S middle-sill (or is it inner sill?) going on + remnants of bellypans :)
DSC03688.jpg


Repair to front n/s bulkhead (and n/s sill)...
DSC03690.jpg


Repair to rear n/s seatbelt mount...
DSC03691.jpg


New n/s rear jacking point/outrigger ...
DSC03696.jpg


New n/s front jacking point...
DSC03697.jpg


n/s rear corner and arch in primer
DSC03704.jpg


n/s front tub & floor in primer
DSC03706.jpg


Peek-a-boo!
DSC03709.jpg


Trial fit o/s rear corner...
DSC03719.jpg


Replacement rear crossmember tacked in...
DSC03713.jpg


Front cross member cut out...
DSC03716.jpg


A dead bug... I mean bus LOL!!!
DSC03732.jpg


The roof's pretty straight :)
DSC03737.jpg


Rusty under-tank panels were cut out...
DSC03759.jpg


No repro-panel available, so simple plate made and put in. Won't be seen once painted and the gearbox is back in :)
DSC03760.jpg


Running gear removed & new front crossmember...
DSC03772.jpg


So... Let's wire wheel the underneath, then scotchbrite her shall we...
DSC03779.jpg

DSC03778.jpg


And now give her a squirt of red-oxide...
DSC03845.jpg


Some cleaned up bits... Still need final cleaning before paint...
DSC03849.jpg


I reckon a coat of stoneguard would look nice...
DSC03889.jpg


and through the splitty window...
DSC03898.jpg


Now let's scotchbrite the stoneguard...
DSC03895.jpg


and add some colour - it's Titian Red (68 only colour - and the original colour of the bus). It's also actually a lot darker - the flash makes it look lighter...
DSC04069.jpg


It was damn cold today so a B&W picture sets the scene well :)
DSC04079.jpg


I have bundles more in-between pics but I didn't want to bore you all. But suffice to say, what started off as a quick-n-dirty resto is turning into almost a full-blown resto. Maybe Volksworld 2012... LOL!!!

The next update will feature a re-painted front beam and begin re-fit of re-painted running gear (spring plates, a-arms, rear hubs etc)...

Cheers,


Mike
 
I have been there with my van mate so i know how frustrating it is having your bus in bit , I promise you its well worth it and be it 2012 or later , when its done its well worth the cold days ( and nights ) in the workshop ,

Looks great in red underneath 8)
 
Great work so far - love the underside, looks very good 8)

How did you tip the bus and will it cause any damage to the side which is on the floor (blankets underneath I take it!!) ;)
 

Latest posts

Top